When you click on links to various merchants on this site and make a purchase, this can result in this site earning a commission. Affiliate programs and affiliations include, but are not limited to, the eBay Partner Network.
Started this to consolidate how-to's on the trim pieces... vents, spats, grill and so on.
I will be replacing the wheel moldings (spats), hood vent, side "Z06" panels and the rear upper shoulder vents with carbon fiber pieces.
As I get responses, I'll update each one up here in the first post. Hopefully as the weather comes around here this coming few weeks, I'll attempt some of this myself with pictures.
Also, some people from non-Z06 forums might chime in as a few of the things might be done the same and they may have info from the service manual. We can also post links to YouTube or other posts.
Front wheel well spats
From member Elegant:
"The spats come off, starting at the front with an underneath bolt (just like mud guards), then three torque-headed small screws, then, across the top, two sided tape, then two male protrusions (to align it perfectly with the fender, with no snaps or clips there), then one "snap clip" (like the whole car is out together). Tiny bit tricky in the rearmost part (one snap-clip) because the front edge of the skirt is right against it, but can be finessed (no loosening nor adjustment of the skirts needed)."
Originally Posted by Donjuan
It's not a big deal to installed yes they come with the rear clip and the tape also to clean the tape I rub it off with my finger came off really easy and of course you have to removed the end windglets from the splitter but the job is really easy also apsis provides cleaning alcohol wipe and 3m automotive adhesion promoter
Hood Vent
Open hood. Remove 2 torque head screws on the inside of the vent and remove large plastic cowling. Hood vent can then be pushed out from the outside of the hood to the inside. There are a number of plastic fasteners that can be quite hard to push out. Just use a bit of force on the outside rim of the vent so that you don't damage the vanes. Replacement is the reverse.
Side "Z06" Vent Panels on Front Fender
The fender vents are held on with three 8 mm nuts that you have to get to from behind.
The drivers side is pretty straight forward. Pull off the lower splash guard. Only one screw underneath. Grab the top edge of it and pull it forward.
Take 3 screws out of the wheel well liner.
Bend back the liner and there is just enough room with nimble fingers and a 8mm ratcheting wrench to break the nuts loose with the wrench and unscrew them with your fingers. Not to much of an issue if you drop one as it simply falls into the bottom and is easy to retrieve.
The passenger side requires partial removal of the fender. Just the back so you don't mess with the front... lights and such. You are only taking enough fender hardware off to be able to pull the fender out and reach in since the dry sump oil tank prohibits access like the drivers side.
Basically you need to remove all fender hardware starting on top under the hood.
Remove the trim piece in the corner of the windshield valance to get to another bolt under it. It simply pulls off.
Pull up on the windshield valance and remove bolt under there.
Remove bolt in door jam at top corner of fender.
If you have the side skirts you need to drill out probably 5 rivets and remove one skirt bolt up front because the skirt goes through the fender. You can't pull the back of the fender out if it's still attached to the skirt.
I think there are 4 more bolts along the bottom holding the fender.
At this point the rear of the fender is free. You might need to slide a screwdriver in the front lower portion of the fender-to-underside to release the drilled out rivet.
I slid some towels between the skirt and the fender so as not to scratch things up when I pulled the fender out just enough to do the job.
Once I got the fender pulled out I could very easily get to the hardware from the wheel well liner.
Hood Vent already replaced with a Carbon Fibre one..
Open hood. Remove 2 torque head screws on the inside of the vent and remove large plastic cowling. Hood vent can then be pushed out from the outside of the hood to the inside. There are a number of plastic fasteners that can be quite hard to push out. Just use a bit of force on the outside rim of the vent so that you don't damage the vanes. Replacement is the reverse.
These videos are excellent. I too would like to see something similar in the removal of the rear diffuser. Thanks for all responsible for the videos so far.
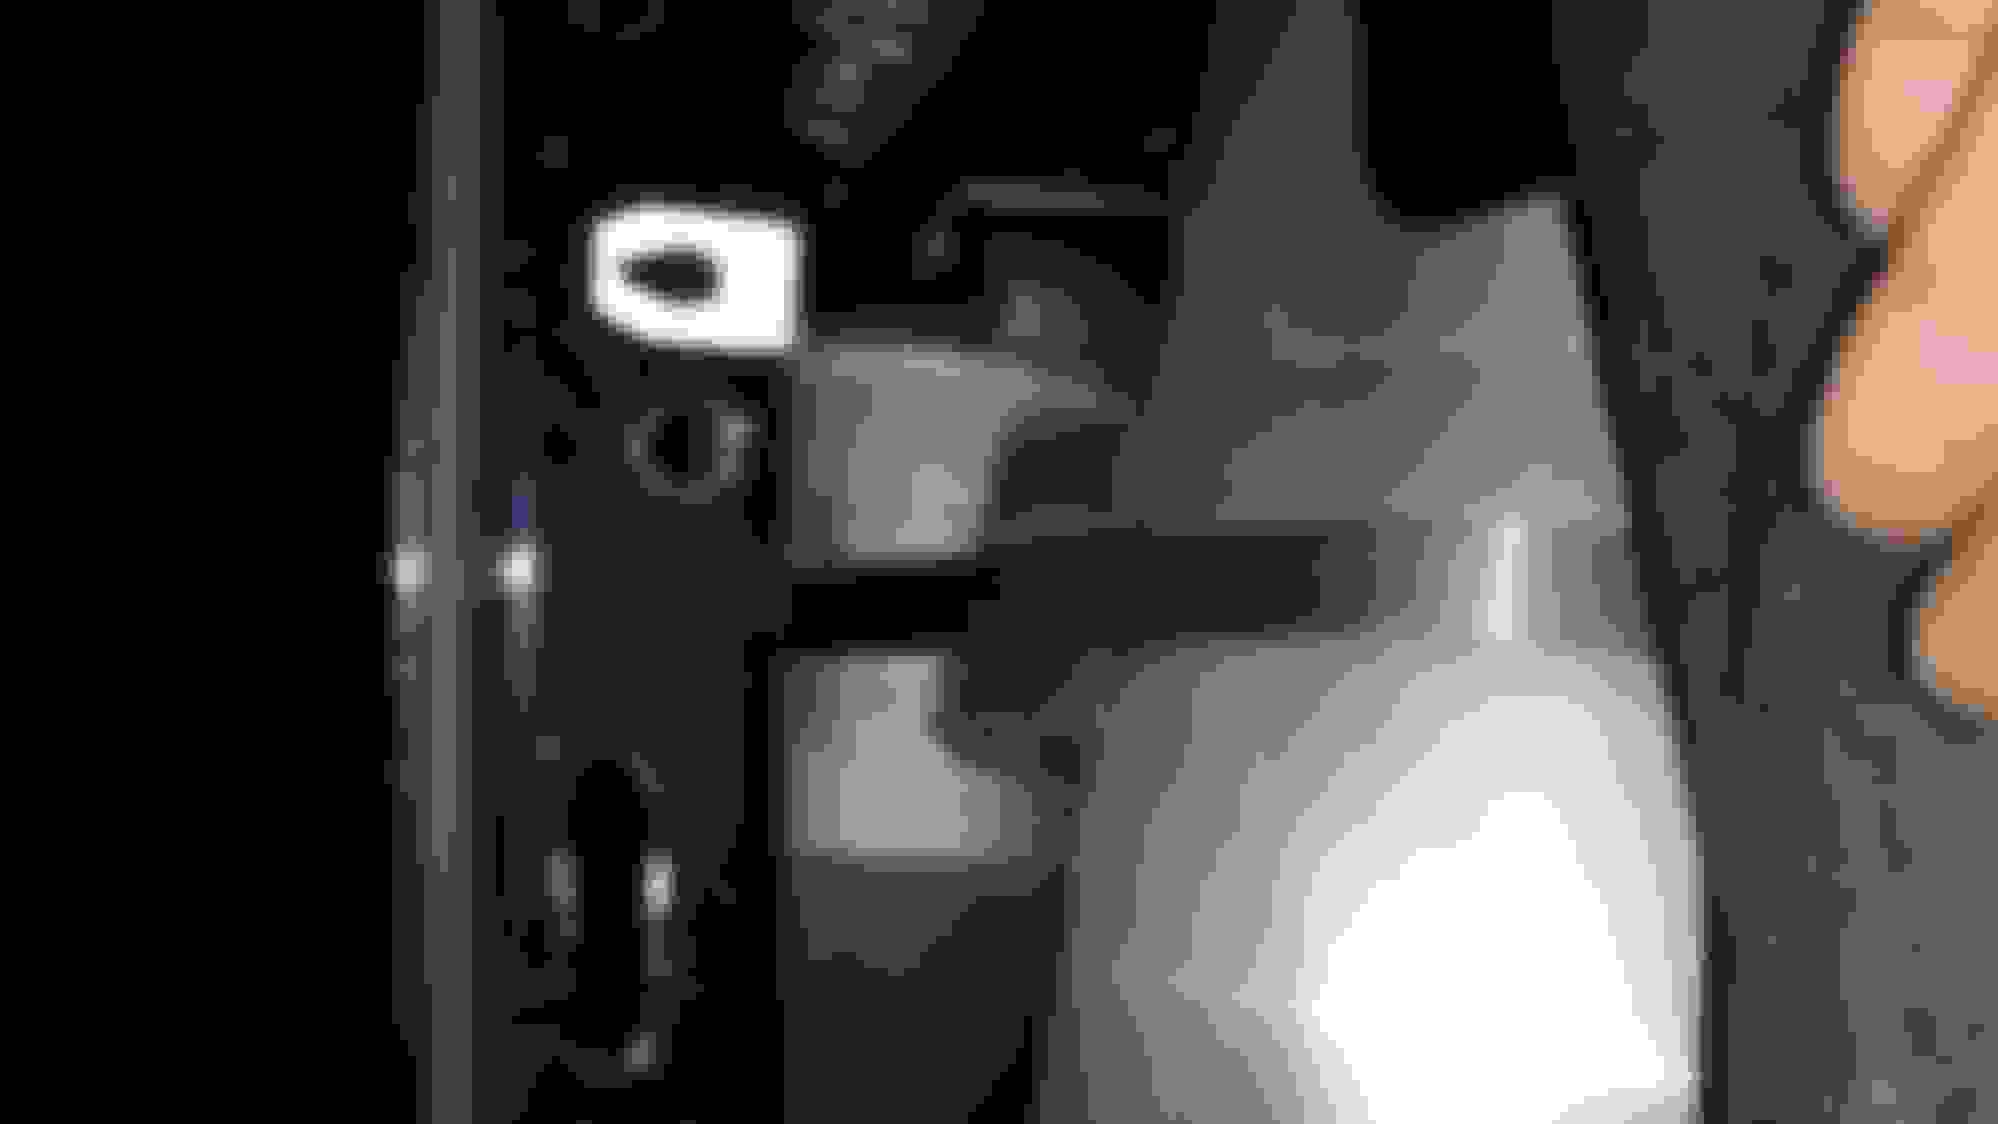
I posted my experience but I am sure it got lost in the shuffle. I have taken all of my C7 vents to CF. Note on the front fender side vents. I did not have to mess with fender only pull back wheel spats. Driver side is a breeze on a C7 just be prepared to have your fore arms roughed up. Here is a huge hint, you can leave the nuts on the new vents and just pre tighten them, inside on the fender panel where they attach there are holes that match each bolt/screw location (see the above pic) that are big enough to accomodate putting them in and sliding them down a tad so that they will not pull out. This is huge because not having to reach in and screw the nuts on top of each of the 3 new screws makes life very easy. he driver side on a C7 is far more difficult as there is some sort of module mounted to close to te top bolt /screw to allow any clearance to get it on or off. I managed to get a needle nose vice grip in. I am on wife's ipad or I would post my pics, search my threads and you will find.
I posted my experience but I am sure it got lost in the shuffle. I have taken all of my C7 vents to CF. Note on the front fender side vents. I did not have to mess with fender only pull back wheel spats. Driver side is a breeze on a C7 just be prepared to have your fore arms roughed up. Here is a huge hint, you can leave the nuts on the new vents and just pre tighten them, inside on the fender panel where they attach there are holes that match each bolt/screw location (see the above pic) that are big enough to accomodate putting them in and sliding them down a tad so that they will not pull out. This is huge because not having to reach in and screw the nuts on top of each of the 3 new screws makes life very easy. he driver side on a C7 is far more difficult as there is some sort of module mounted to close to te top bolt /screw to allow any clearance to get it on or off. I managed to get a needle nose vice grip in. I am on wife's ipad or I would post my pics, search my threads and you will find.
I think the Z06 makes the passenger side impossible without pulling the fender out. Not only can you not see the lower nut, you can't touch it either. Not sure how you got needle nose on it but if you did a Z06 and you did it without pulling the rear of the fender... I'll buy you a beer!
great post!! the rear spoiler is a pain. . you have to remove bumper then tail lights then a bunch of nuts then of course its taped down..
I will be taken my car apart again in a few weeks. .I will try and video some of the stuff for everyone. I never think of it when I take the stuff apart.
BTW you can do the Z06 front fender inserts without taken fender loose.. i have done it twice. Never even occurred to me to loosen fender.
How do you remove the Z06 front inserts with loosening the fenders?

 03-08-2015, 07:23 AM