When you click on links to various merchants on this site and make a purchase, this can result in this site earning a commission. Affiliate programs and affiliations include, but are not limited to, the eBay Partner Network.
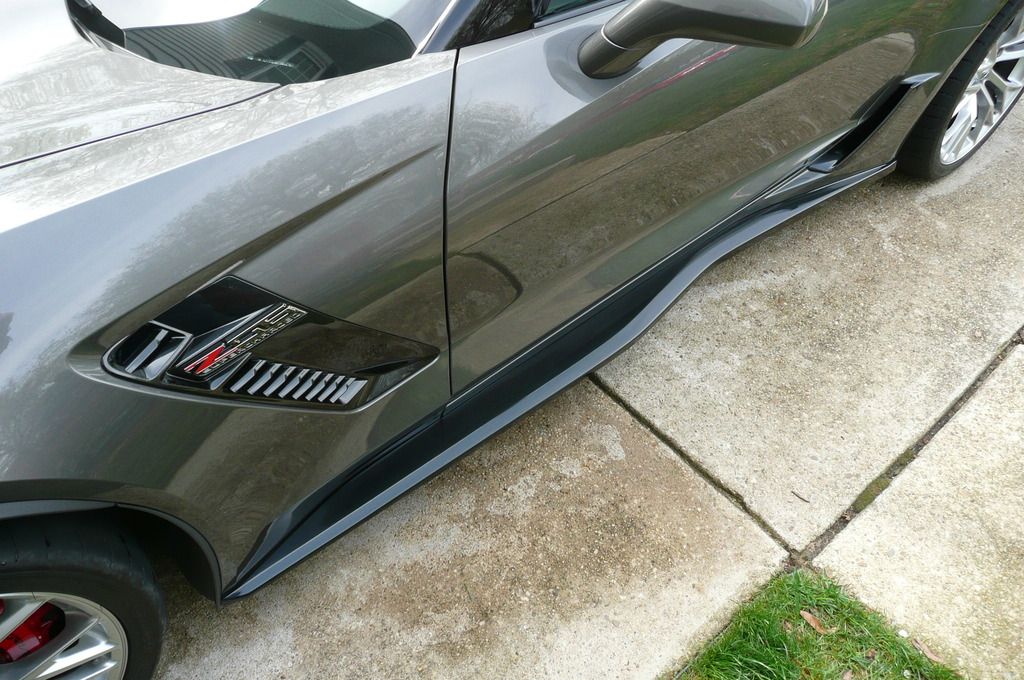
Do you have to remove both bolt types shown in the picture to remove the splitter? The ones seem to be some type of hex bolt but are not across the whole bottom of the splitter.
The splitter is attached with bolts and 10 rivets. The only way to remove the pop rivet is to drill them out. And yes, you will need to remove both to get it off
Last edited by -HAIRBALL-; 07-04-2015 at 11:56 AM.
The splitter is attached with bolts and 10 rivets. The only way to remove the pop rivet is to drill them out. And yes, you will need to remove both to get it off
Oh ok. I want to remove it, to paint it. What size drill bit do you recommend to drill it out with? Keep in mind that I want to put the same piece back on with I guess new rivets when I get it painted.
Is there a part number for the rivets after I drill them out so I can replace them? Is there a tool to get them out without drilling?
I would investigate using RivNuts where the rivets went. Threaded fasteners can back off, unlike rivets, so make sure you do it right, proper torque, etc.
3/16" drill bit, Must drill rivets out. The special rivets= Dorman #963-205 at local parts store that carry Dorman brand stuff. Also need to purchase/borrow a rivet gun to install new rivets.
I have removed my Stage 1 splitter for driveway clearance.
PS: I like the new look, in my book the stage 1 now looks cleaner, leaner & meaner without the front splitter and with the 'addition' of the aftermarket side skirts, IMHO.
Aftermarket Side Skirts below:
Look MA! No stage1 splitter.
Last edited by C7/Z06 Man; 04-19-2020 at 05:36 PM.
If I recall, I used a 3/16 bit to drill the holes so I would try one size smaller to drill them out. If you don't have a rivet gun, you will need to purchase one and any auto store should have them. Many folks on here have not used rivets and went with the clips so you can use screws. That way it's easy to remove if needed. I don't have a part number for the rivet but you should be able to call a dealership and either get a part number or specific size. They sell all kinds of them at auto zone if you want to save a little. The rivet pulls down on the plastic flange and holds the item in place. I don't know of a tool that will "pull" them; however, you might try a punch and small hammer to see if you can tap/force the pin up enough to allow you to pull the rivet/tab out without needing a drill. On a side note, I needed to place some larger size rivets on my truck that would not fit in the rivet gun. I ended up using one pair of pliers to hold the base of the rivet in place while I used another pair to pull the pin down. It worked but was a PITA to pull the pin until it snapped off.....like is shown in your pick.
"Trust Me" I know of what I type. 3/16" drill bit than once the rivet head breaks loose from the rest of the rivet push the rest of the rivet up and out of the hole with something of that diameter or smaller. Then you can raise the body flaps and with your fingers or a small stick or something pull the other part of the rivets out. The Dorman rivets #963-205 are an exact match for the special factory rivets. Doing the job this way you are back to factory/dealer installed.
Last edited by C7/Z06 Man; 04-19-2020 at 05:11 PM.
I would recommend that you reinstall the splitter with the same screws and U-nuts that hold the bumper cover on...
You can reach inside the bumper on all but the two holes in the center, and install a washer and U-nut. Then, you can just use two 1/4" plastic push in rivets in the two center holes....
What is a good source for those plastic push in rivets?
What is a good source for those plastic push in rivets?
You can order the plastic rivets on Ebay or get them at most auto parts stores... I went with 1/4 inch instead of 5/16" just to minimize the hole size.
If you want the GM body screws and U-nuts you might be able to get them at the dealer's body shop, or you can order the same quality from places like this. They are an odd thread (M4.2-1.41 x 20 mm) so I used the U-nuts just like regular hex nuts so the threads would match.. (part #15373) on attached page. U-nuts are 20339.
You referred to installing a washer and U-nut. Where did you install the washer?
The bumper cover screws have a built-in washer, but I also put a 1 inch flat washer inside the bumper, then the U-nut (just as you would a regular hex nut). I did not clip the U-nut on anything, just threaded it on against the washer... They are self-locking, so they should not come loose.
Not sure about your individual car but mine has several u-nuts that are on the car and not used. In the area under the car across the bottom between front wheels there are several u-nuts in place for a deflector that was never placed on the production car. You could just pull these off and use them for the splitter install. Just an idea if you need some....if they left them on the car, they did on mine
Not sure about your individual car but mine has several u-nuts that are on the car and not used. In the area under the car across the bottom between front wheels there are several u-nuts in place for a deflector that was never placed on the production car. You could just pull these off and use them for the splitter install. Just an idea if you need some....if they left them on the car, they did on mine
Good suggestion.
I actually got enough from the dealer's PDI shop to install the stage 1 splitter on mine, for free. They had a box of GM fasteners that they did not use.
Took the liberty of adding the front end pic in post #5 back up that Photobucket deleted years ago when they changed their policy; no more free service, now wanted money. However, they did add the side view back in some time later which I also have noticed too in a number of my other old posts. I'm sure they pissed a lot of the free customers off (bad will, etc.) at the time, like Me who lost a lot of their pics due to not backing them up on their home computers at the time, like Me .
Last edited by C7/Z06 Man; 04-19-2020 at 10:54 PM.

 07-04-2015, 11:47 AM


 However, they did add the side view back in some time later which I also have noticed too in a number of my other old posts. I'm sure they pissed a lot of the free customers off (bad will, etc.) at the time, like Me
  .
.