
How to cut the roof off a C5 FRC or Z06 Corvette
 05-15-2013, 12:14 PM
#1
Burning Brakes

Thread Starter
I didn't find much info on how to do this out there, so I figured I'd post this up. I was gonna put it in the C5 tech section but I doubt too many guys are cutting the roof off their street cars...
I tried all kinds of fancy crap but in the end, it was pretty simple and I had it off in less than 3 hours.
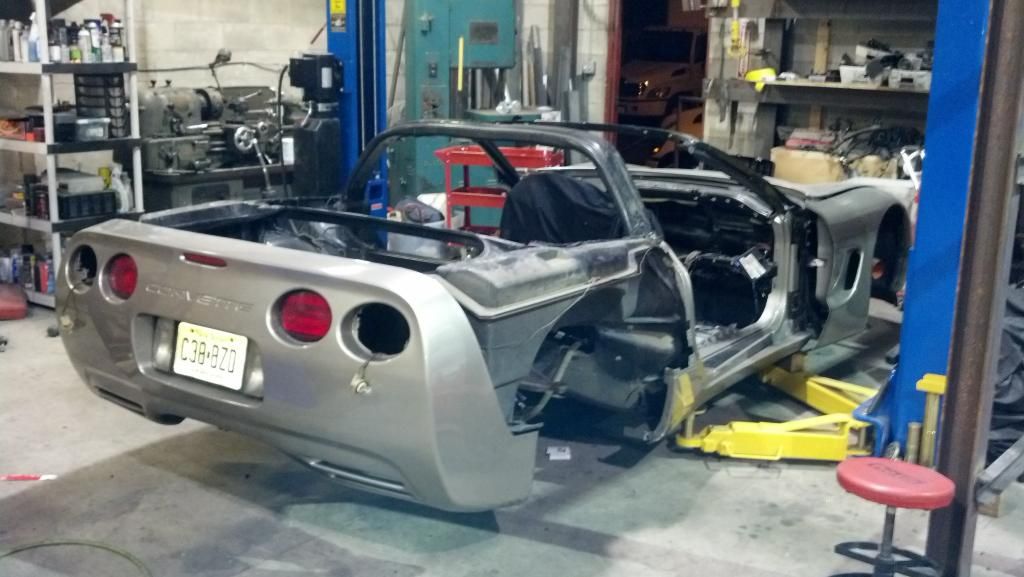
First off strip the car down, it's getting a cage anyway, why else would you cut off the roof. Get the rear quarter panels off, and the doors out of your way. Obviously all interior plastic is removed. Remove all windshield moldings, and well as front and rear glass. I wouldn't want to try this with either in place, too much hammering. Remove all the bolts that hold the top in place. The screws that hold the brackets above the windshield will have to have their heads cut off to get them all the way out.

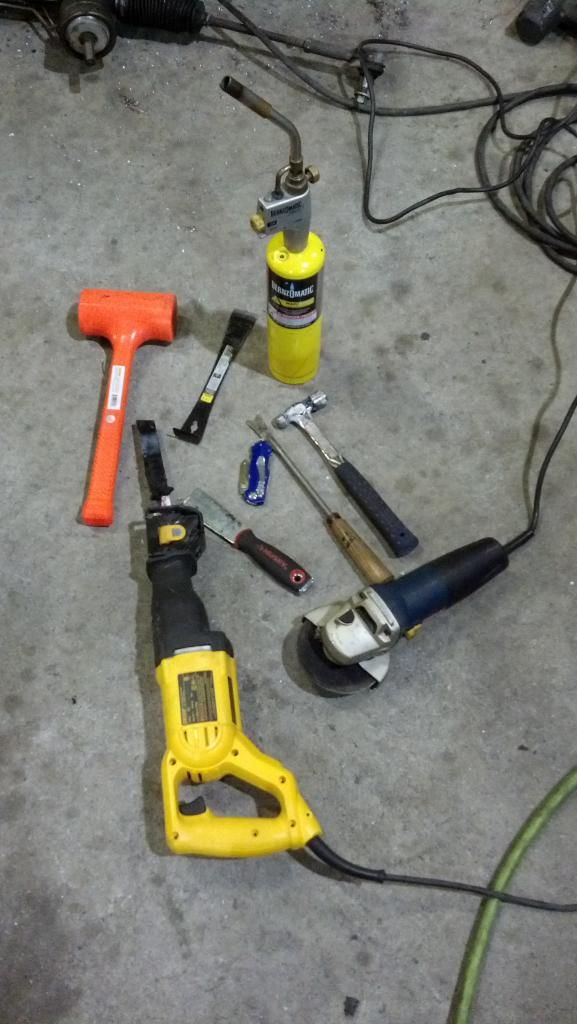
First off here are the tools I used. Pretty basic stuff, a rigid scraper that I sharpened, Razor knife, a torch, stainless wire (about 3/32" but smaller is better), hammer, some prying tools, sawzall with long metal cutting blades, and grinder with a cutoff wheel.
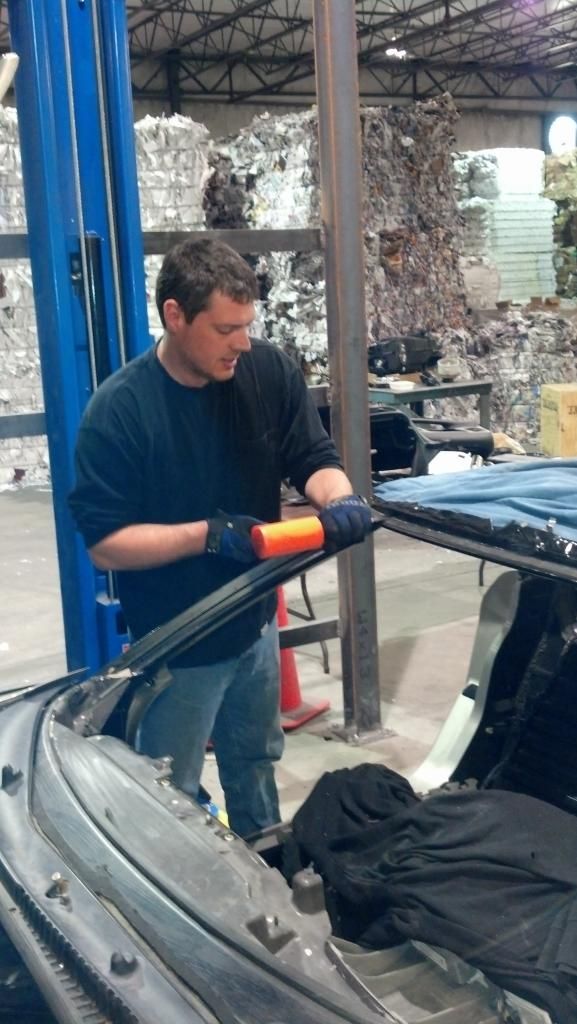
I started at the front across the top of the windshield, trying all kinds of things to cut the glue. I used the wire, then went at it with the sawzall, then finally just started hammering the scraper in there, 2" at a time. This worked the best and I had that cut in no time. The ends are hardest, just keep going at them with the scraper and razor blade. Don't force the roof, you'll crack the paint.
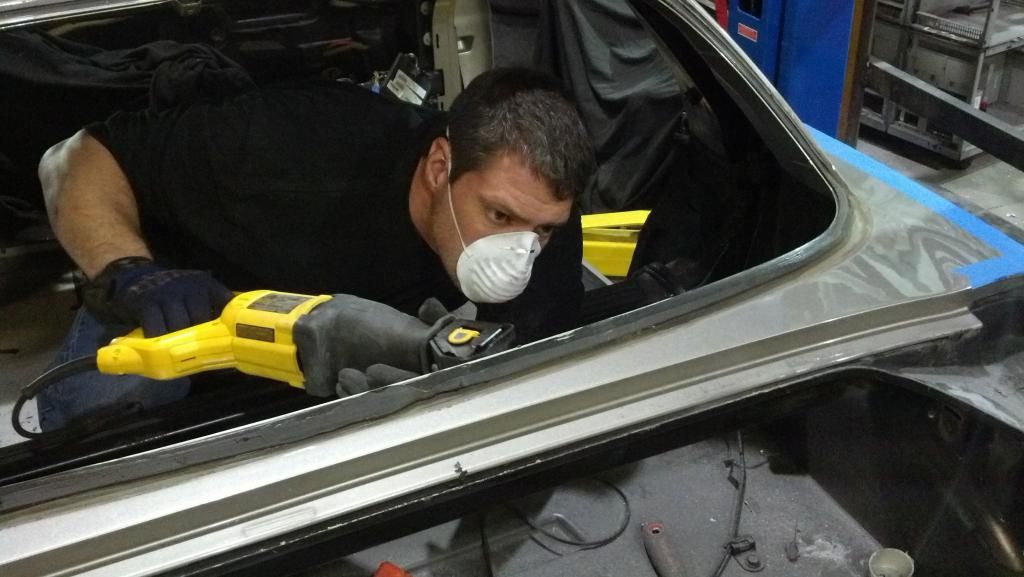
Now the rear deck. Trunk removed, shove the scraper through somewhere towards the middle, then use that hole to get the sawzall in there to finish it off. I went at it from the inside. Take your time and be neat. I made a mess of it, but I had walking pneumonia when I was doing this, and I can tell you it doesn't make you any more patient. Always wear eye protection...
There are two teardrop shaped "bubbles" on the underside of the deck lid that will block your way, I just cut them off. Be careful not to cut off the flange around the trunk. Work your way around to the back side of the roll hoop. Make a cut through the glue on the outside flat of the hoop. Now use the scraper to make a vertical cut between the inside of the B piller and the outside of the hoop, then get your sawzall in there.
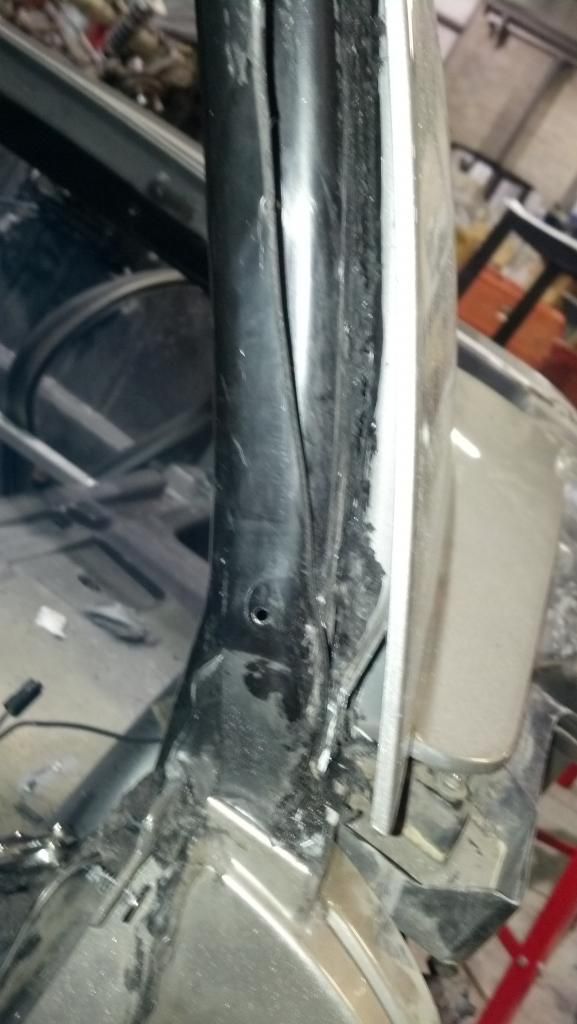
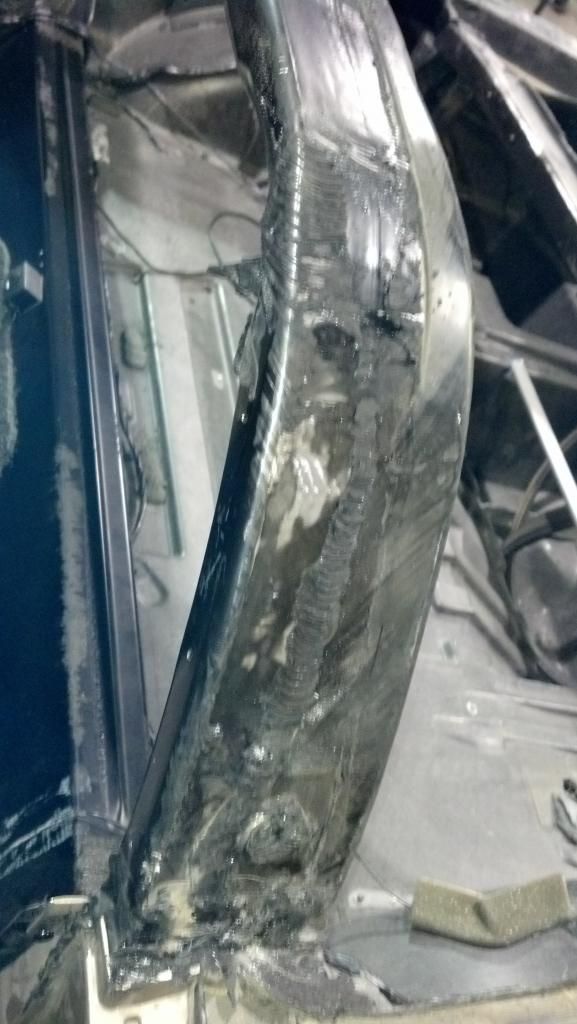
I know some of these pictures suck. Don't get a droid razr if you want to take pictures. Anyway run the saw right up to the top corner of the B piller, careful not to cut into the roof, but go as far as you can. Run the cut down as far as you can, then use a knife and scraper to try to clear out as much glue at the bottom of the B Pillar as you can. There was a ton of it down there in my car. If the scraper just won't go through, heat it up with the torch and plunge it in there. Keep it moving or the melted glue will stick it in place!
Now get your wire out, and slip it through your cut on the B pillar. Heating the end might help, as the glue tends to stick back to itself behind your cuts.
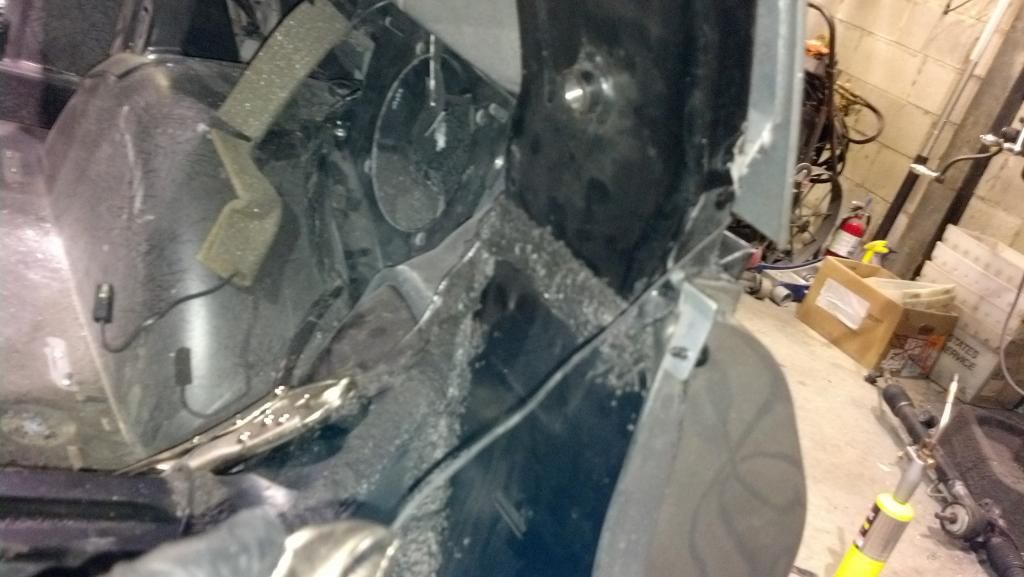
Sorry for the picture but you get it. Now slide the wire up, it won't want to go but keep sawing it up and around the corner then on top of the roll hoop. Keep sawing, it sucks but just keep going. Make sure you are pulling towards the hoop, and not the roof, you don't wan't to cut into fiberglass. Have a 5 hour energy and a shot of jack. If you have heart problems keep your nitro close. Just don't stop sawing until you get up and around that corner. All of a sudden it will just start cutting, all across the top then back down the other side. Going down at the top corners is much easier, but I couldn't figure out a way to start the wire in over top of the hoop, too many bends. Make sure you cut the roof to hoop glue line at the front top corners of the roll hoop, there is a little 1" line there that is loaded up.
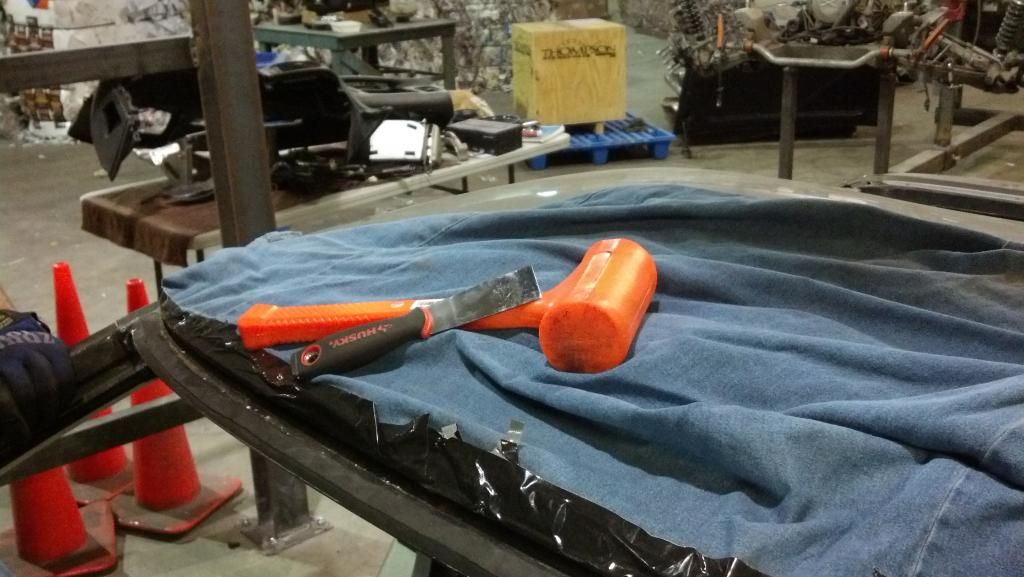
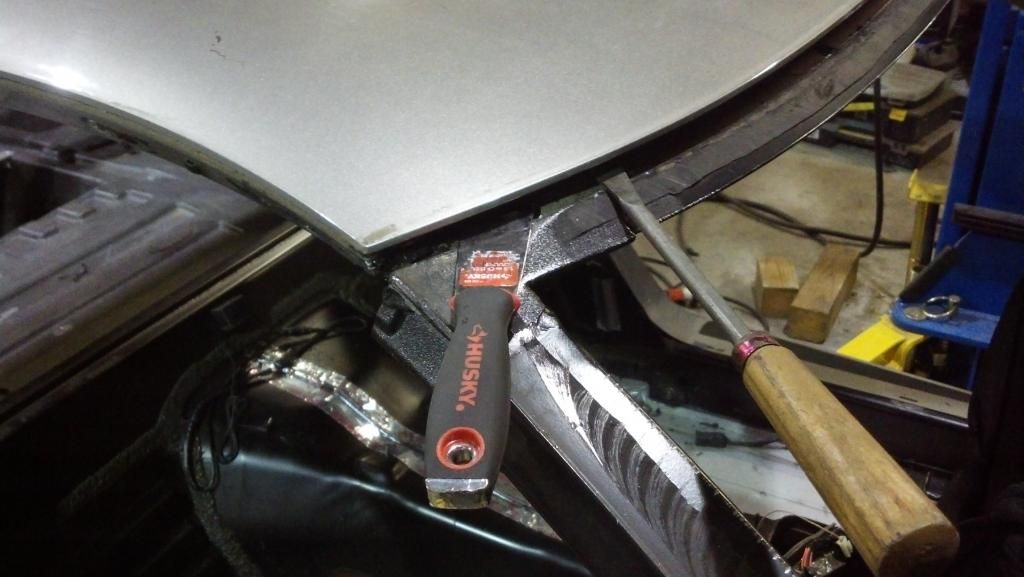
Now that you've got pretty much everything cut, try lifting in various places, but don't force it. Get out your prybar, and pry a little to make some space, then get the scraper in there to cut any leftover glue. If you have to, use heat and the scraper or wire to get any globs that you missed. When a section is loose, you'll know it for sure. Don't try to force it up, you will crack the corners near the top rear of the side windows. This little garden tool I found laying in the bottom of my toolbox worked great. Put some Pink Floyd on and be patient...
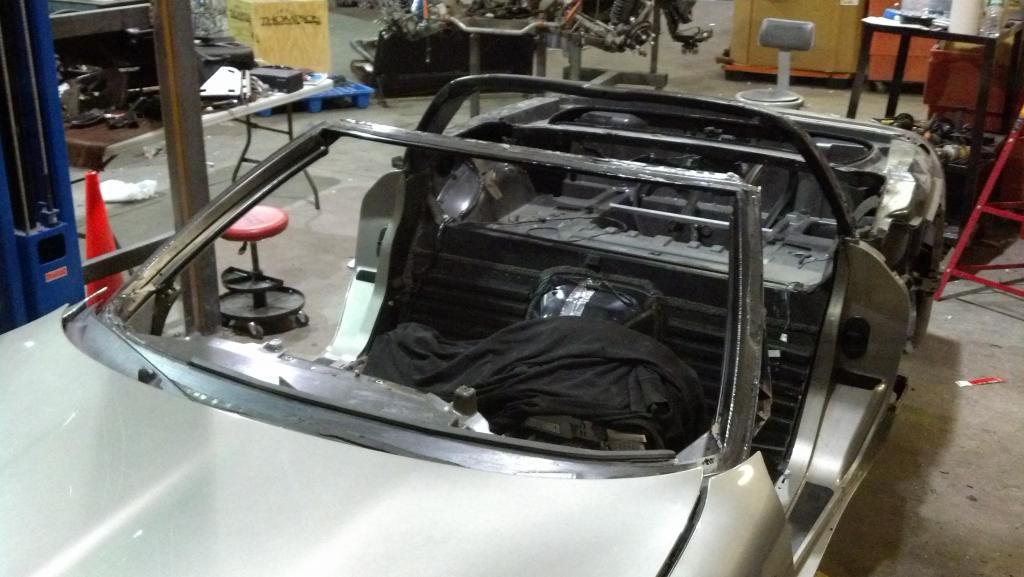
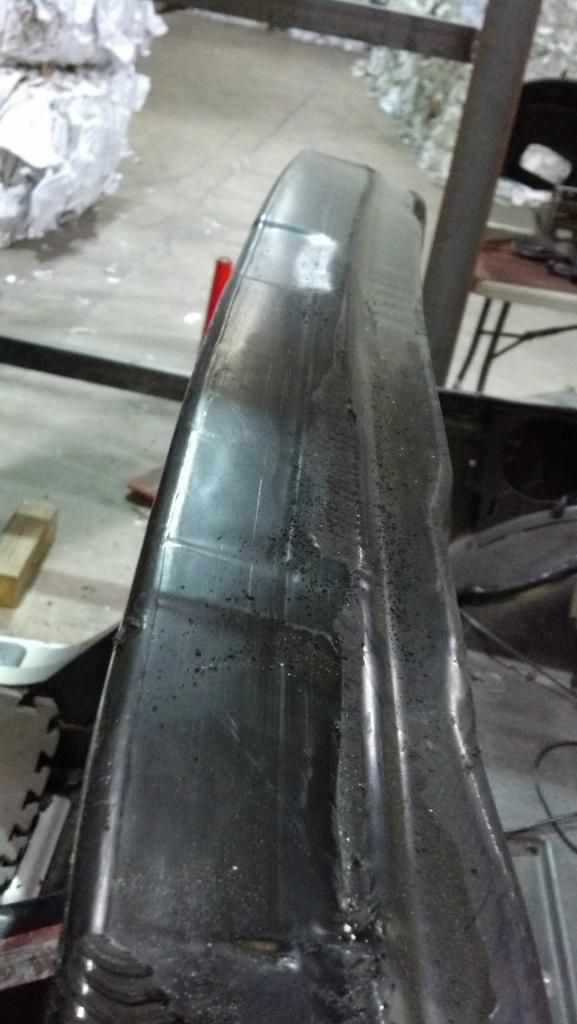
So here we are, roof off. There is still a ton of glue to be scraped off but I'll get to it. I'll cut the roll hoop off later to make some room for the cage.
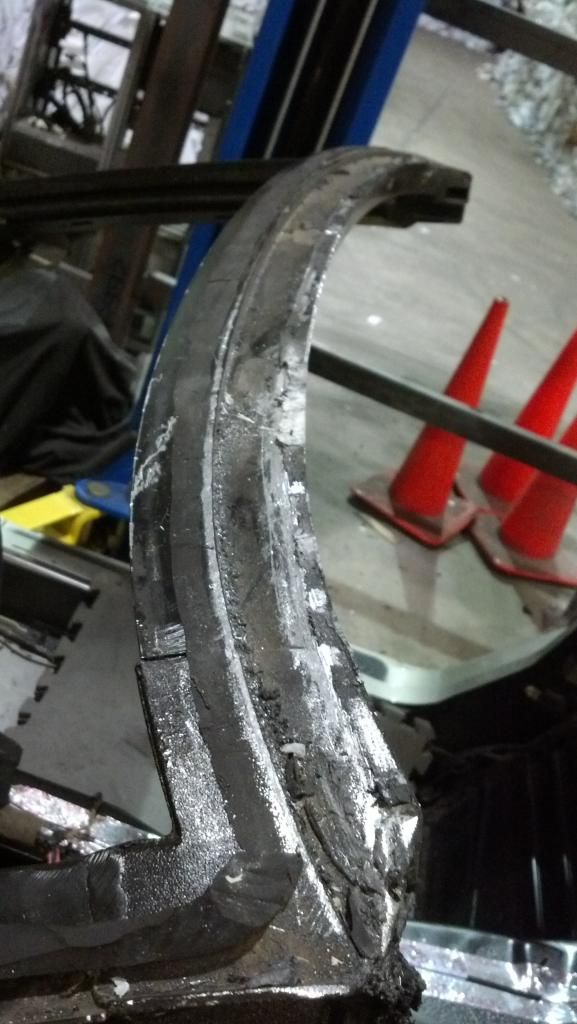
Not much glue at all on the top of my hoop...
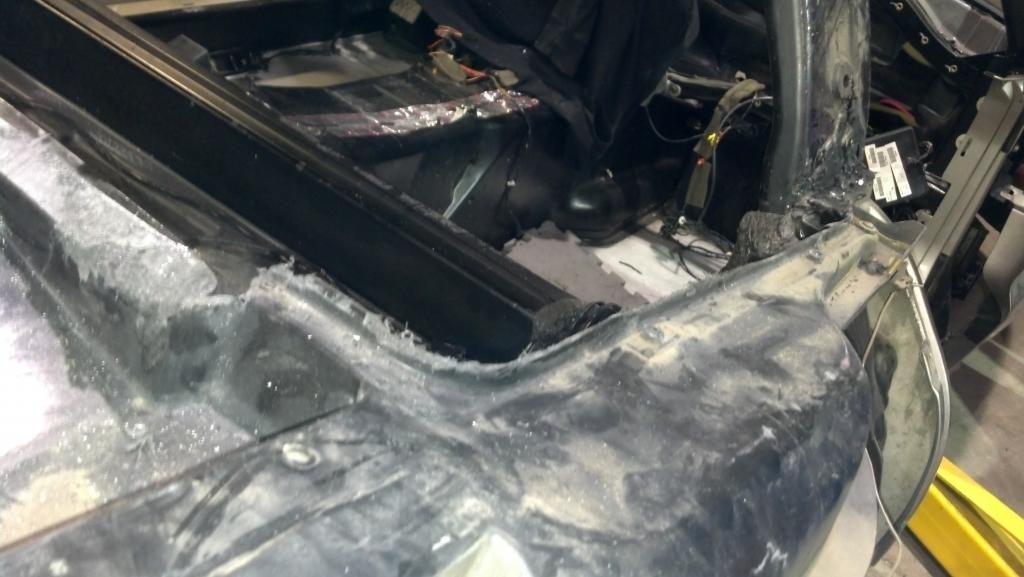
I made an absolute mess of the flange under the deck lid, but when I re-install the roof I'll seal the gap with some stick on window foam so it doesn't leak. I mean to leave the roof removable, so I may add a few more attach points later on.
I tried all kinds of fancy crap but in the end, it was pretty simple and I had it off in less than 3 hours.
First off strip the car down, it's getting a cage anyway, why else would you cut off the roof. Get the rear quarter panels off, and the doors out of your way. Obviously all interior plastic is removed. Remove all windshield moldings, and well as front and rear glass. I wouldn't want to try this with either in place, too much hammering. Remove all the bolts that hold the top in place. The screws that hold the brackets above the windshield will have to have their heads cut off to get them all the way out.
First off here are the tools I used. Pretty basic stuff, a rigid scraper that I sharpened, Razor knife, a torch, stainless wire (about 3/32" but smaller is better), hammer, some prying tools, sawzall with long metal cutting blades, and grinder with a cutoff wheel.
I started at the front across the top of the windshield, trying all kinds of things to cut the glue. I used the wire, then went at it with the sawzall, then finally just started hammering the scraper in there, 2" at a time. This worked the best and I had that cut in no time. The ends are hardest, just keep going at them with the scraper and razor blade. Don't force the roof, you'll crack the paint.
Now the rear deck. Trunk removed, shove the scraper through somewhere towards the middle, then use that hole to get the sawzall in there to finish it off. I went at it from the inside. Take your time and be neat. I made a mess of it, but I had walking pneumonia when I was doing this, and I can tell you it doesn't make you any more patient. Always wear eye protection...
There are two teardrop shaped "bubbles" on the underside of the deck lid that will block your way, I just cut them off. Be careful not to cut off the flange around the trunk. Work your way around to the back side of the roll hoop. Make a cut through the glue on the outside flat of the hoop. Now use the scraper to make a vertical cut between the inside of the B piller and the outside of the hoop, then get your sawzall in there.
I know some of these pictures suck. Don't get a droid razr if you want to take pictures. Anyway run the saw right up to the top corner of the B piller, careful not to cut into the roof, but go as far as you can. Run the cut down as far as you can, then use a knife and scraper to try to clear out as much glue at the bottom of the B Pillar as you can. There was a ton of it down there in my car. If the scraper just won't go through, heat it up with the torch and plunge it in there. Keep it moving or the melted glue will stick it in place!
Now get your wire out, and slip it through your cut on the B pillar. Heating the end might help, as the glue tends to stick back to itself behind your cuts.
Sorry for the picture but you get it. Now slide the wire up, it won't want to go but keep sawing it up and around the corner then on top of the roll hoop. Keep sawing, it sucks but just keep going. Make sure you are pulling towards the hoop, and not the roof, you don't wan't to cut into fiberglass. Have a 5 hour energy and a shot of jack. If you have heart problems keep your nitro close. Just don't stop sawing until you get up and around that corner. All of a sudden it will just start cutting, all across the top then back down the other side. Going down at the top corners is much easier, but I couldn't figure out a way to start the wire in over top of the hoop, too many bends. Make sure you cut the roof to hoop glue line at the front top corners of the roll hoop, there is a little 1" line there that is loaded up.
Now that you've got pretty much everything cut, try lifting in various places, but don't force it. Get out your prybar, and pry a little to make some space, then get the scraper in there to cut any leftover glue. If you have to, use heat and the scraper or wire to get any globs that you missed. When a section is loose, you'll know it for sure. Don't try to force it up, you will crack the corners near the top rear of the side windows. This little garden tool I found laying in the bottom of my toolbox worked great. Put some Pink Floyd on and be patient...
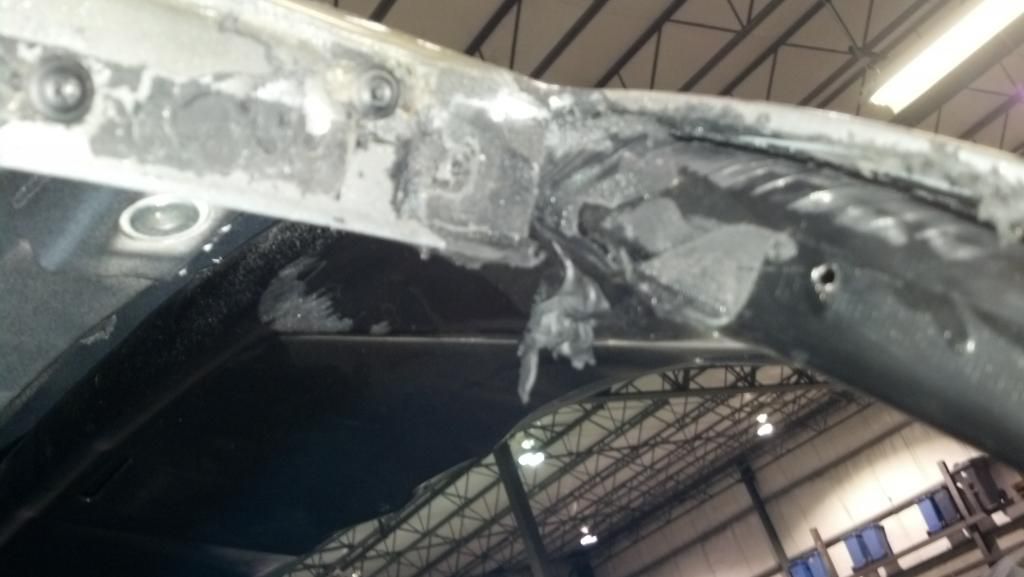
So here we are, roof off. There is still a ton of glue to be scraped off but I'll get to it. I'll cut the roll hoop off later to make some room for the cage.
Not much glue at all on the top of my hoop...
I made an absolute mess of the flange under the deck lid, but when I re-install the roof I'll seal the gap with some stick on window foam so it doesn't leak. I mean to leave the roof removable, so I may add a few more attach points later on.
Last edited by moespeeds; 05-15-2013 at 12:27 PM.


 05-15-2013, 02:59 PM
#3
Burning Brakes
Thread Starter
I've got a cage in a wrecked Z06 sitting out back. I'm going to cut that out, and drop it in here. Plus I'm 6'3", and I only have a TIG welder, so the contorsions involved in welding on a cage with the roof on just ain't gonna work...
05-15-2013, 03:20 PM
#4
Safety Car


Nice work... another option is to cut the b-pillar out first and then remove the roof with the b-pillar still stuck to it. It makes using the cable saw to remove the b-pillar metal that much easier.
05-15-2013, 03:23 PM
#5
Burning Brakes
Thread Starter
Travis that was my original intention as I saw Brian Bowers' pictures. I just kept thinking of trying to saw that crap loose with a floppy roof attached, so I figured I'd give my best shot with the pillar in place. Worked out ok but those corners really sucked.
05-15-2013, 04:00 PM
#6
Melting Slicks


This is really interesting. I've been thinking about the effort involved in making my z06 a targa. Is the b pillar the same as the one on the coupe? I wonder how a coupe glass-top would fit inside that gap.
I did this to a Camaro I used to own: http://www.flickr.com/photos/royelra...7607167629086/
I did this to a Camaro I used to own: http://www.flickr.com/photos/royelra...7607167629086/
 05-16-2013, 02:32 AM
#8
Drifting

This is really interesting. I've been thinking about the effort involved in making my z06 a targa. Is the b pillar the same as the one on the coupe? I wonder how a coupe glass-top would fit inside that gap.
I did this to a Camaro I used to own: http://www.flickr.com/photos/royelra...7607167629086/
I did this to a Camaro I used to own: http://www.flickr.com/photos/royelra...7607167629086/
You can see my write-up at:
http://forums.corvetteforum.com/c6-z...-analysis.html
 05-16-2013, 09:26 AM
#9
Safety Car
This is really interesting. I've been thinking about the effort involved in making my z06 a targa. Is the b pillar the same as the one on the coupe? I wonder how a coupe glass-top would fit inside that gap.
I did this to a Camaro I used to own: http://www.flickr.com/photos/royelra...7607167629086/
I did this to a Camaro I used to own: http://www.flickr.com/photos/royelra...7607167629086/
If I had to do it over again I'd get the Caravaggio kit. SMC is very hard to work with and after a few years the seam in my roof started to show from the continuous thermal expansion and contraction. FWIW it'e cool looking and unique, but fighting little water leaks around the a-pillars wasn't much fun and it's very very blustery with the top out and the notch-back roof line.


 05-16-2013, 09:48 AM
#10
Melting Slicks
It's the same... exactly the same. Has all the holes for the weatherstripping and brackets etc. etc. The windshield surround is the same too. You just have to cut the roof out and do the body work to add the front edge of a coupe b-pillar. Or, Caravaggio sells a kit with a new roof already molded, but you have to remove the entire roof and bond the new one in place.
If I had to do it over again I'd get the Caravaggio kit. SMC is very hard to work with and after a few years the seam in my roof started to show from the continuous thermal expansion and contraction. FWIW it'e cool looking and unique, but fighting little water leaks around the a-pillars wasn't much fun and it's very very blustery with the top out and the notch-back roof line.
If I had to do it over again I'd get the Caravaggio kit. SMC is very hard to work with and after a few years the seam in my roof started to show from the continuous thermal expansion and contraction. FWIW it'e cool looking and unique, but fighting little water leaks around the a-pillars wasn't much fun and it's very very blustery with the top out and the notch-back roof line.
07-21-2014, 02:07 PM
#11


For those who have done this roof removal, do you think the oscillating power saw would work as well or better than a sawzall?
http://www.harborfreight.com/power-t...8861-8493.html
http://www.harborfreight.com/power-t...8861-8493.html
07-31-2014, 02:33 PM
#12
Burning Brakes
Thread Starter
You won't be able to get that oscillating saw into some of the tight spots. The sawzall with a 12" blade is the way to go because you can bend it way over while you are cutting so the saw body clears.
10-25-2016, 04:18 PM
#13
Le Mans Master

11-02-2016, 06:14 PM
#14
Drifting
