When you click on links to various merchants on this site and make a purchase, this can result in this site earning a commission. Affiliate programs and affiliations include, but are not limited to, the eBay Partner Network.
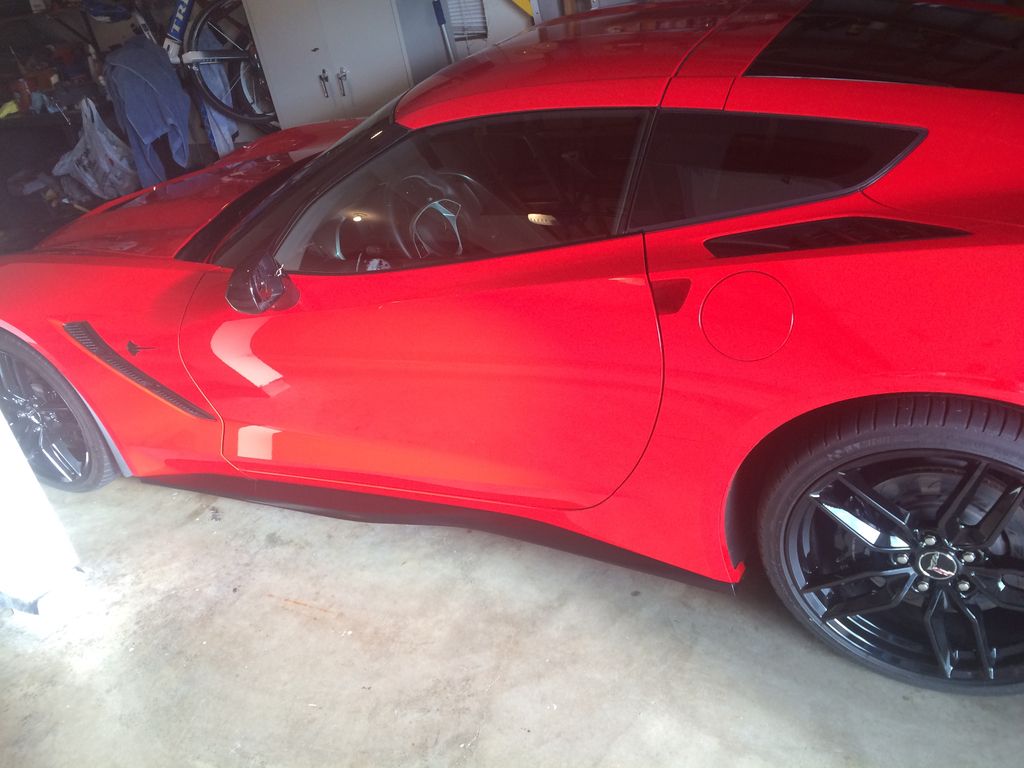
Over a year ago, I purchased the side skirts, primed and painted them, and then they sat in the storage shed. Since then, I've run several HPDEs, and started noticing more and more nicks--preventable with the side skirts.
I have forgotten the brand, but they came with aluminum rivets. The sum of my knowledge and experience about rivets and riveting came from watching a Utube video, and squeezing a rivet gun once.
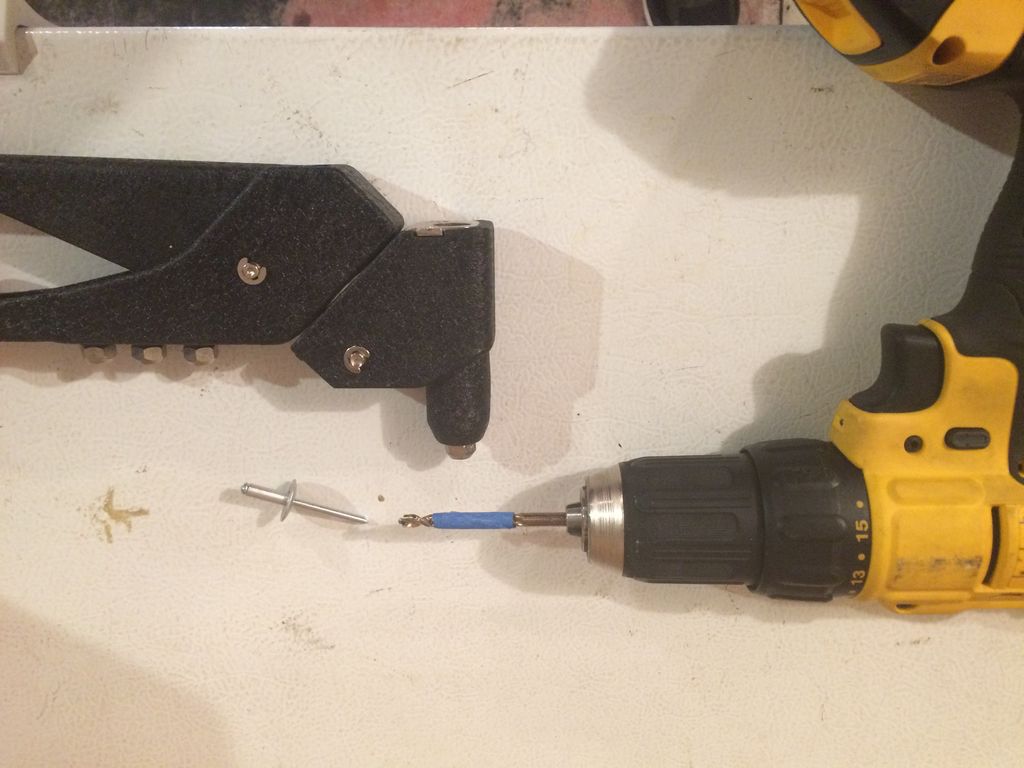
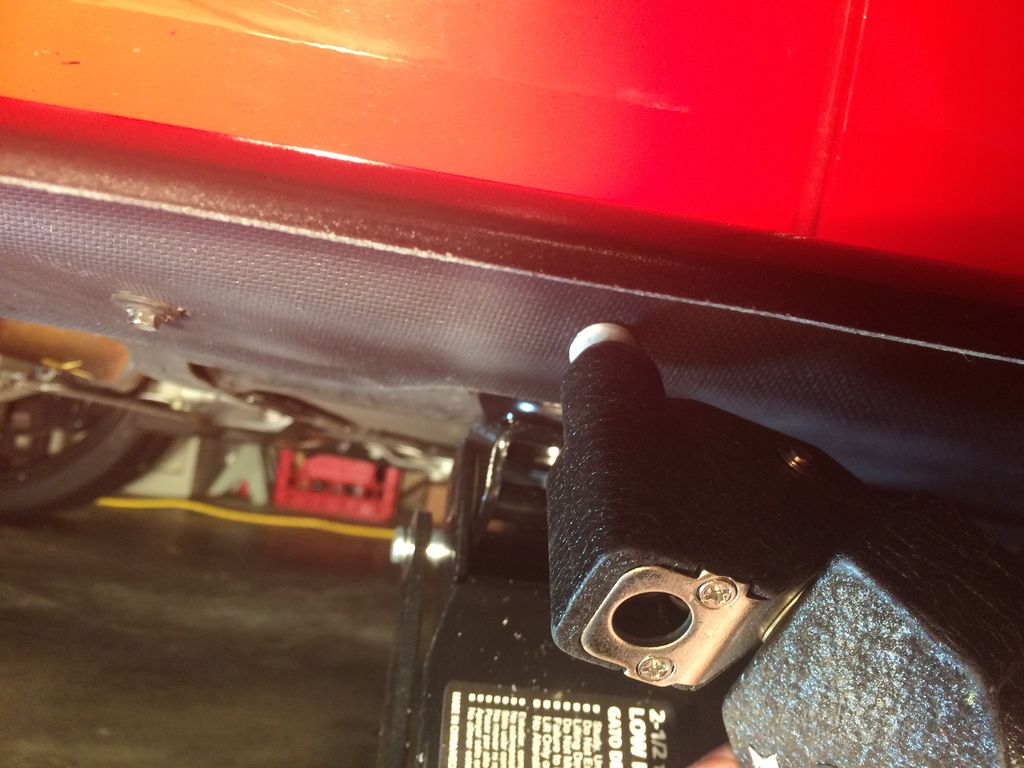
Here's how I took the plunge, beginning with the tools: a 3/16" drill bit, rivet gun, 7mm socket, and a drill motor.
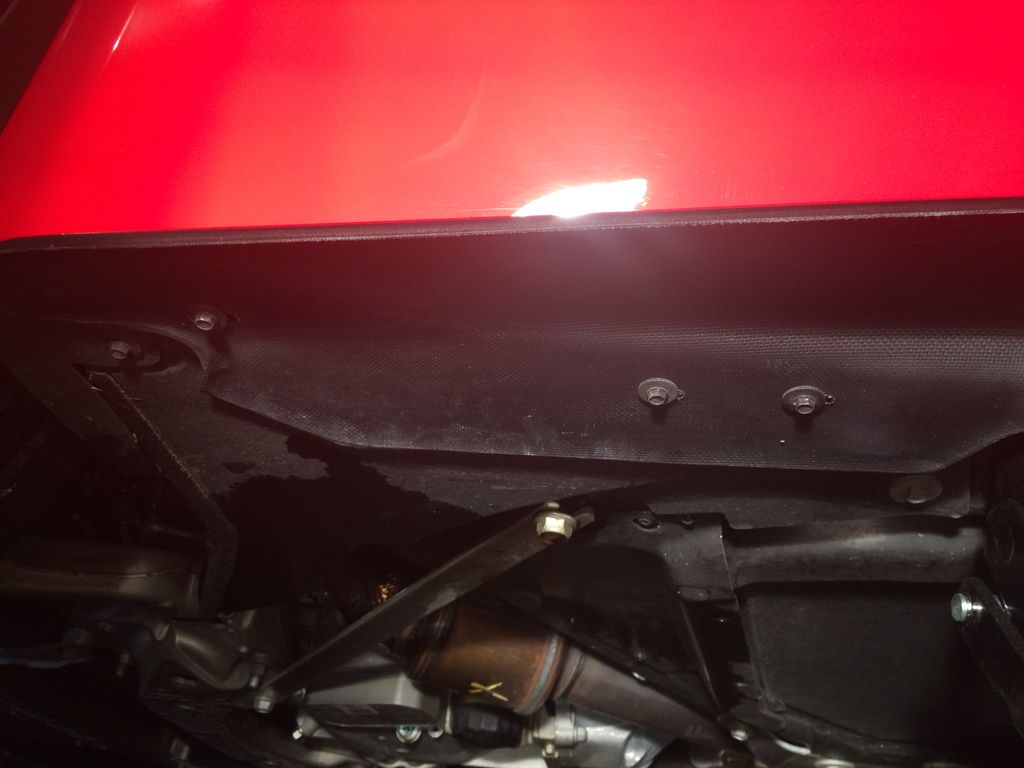
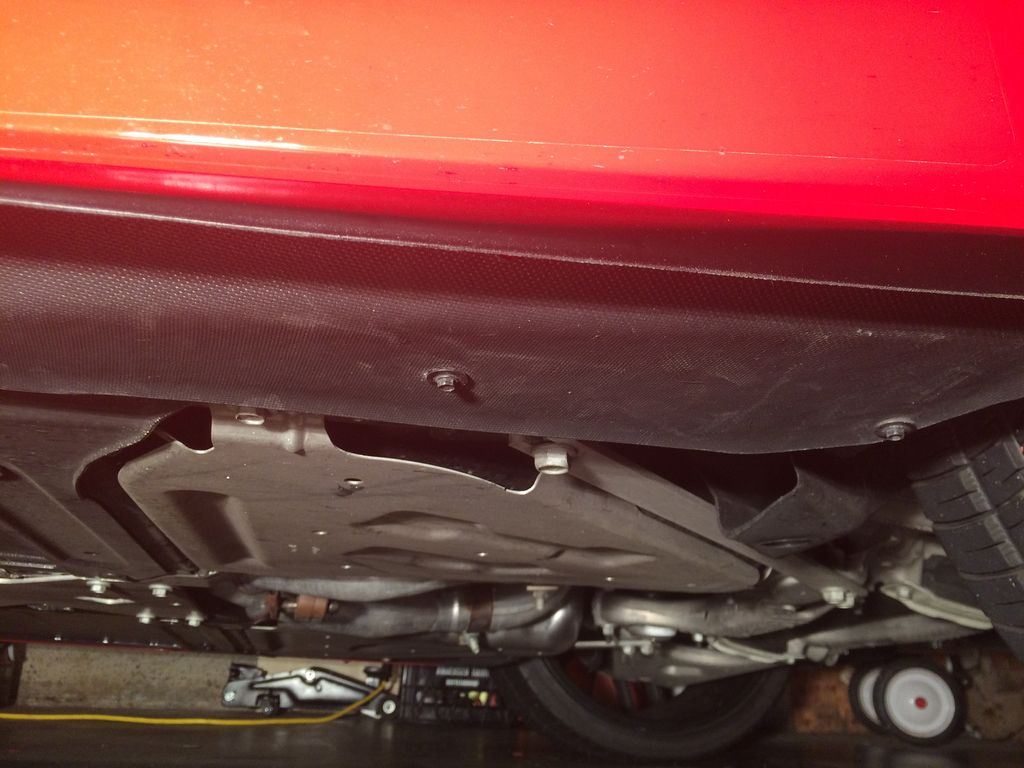
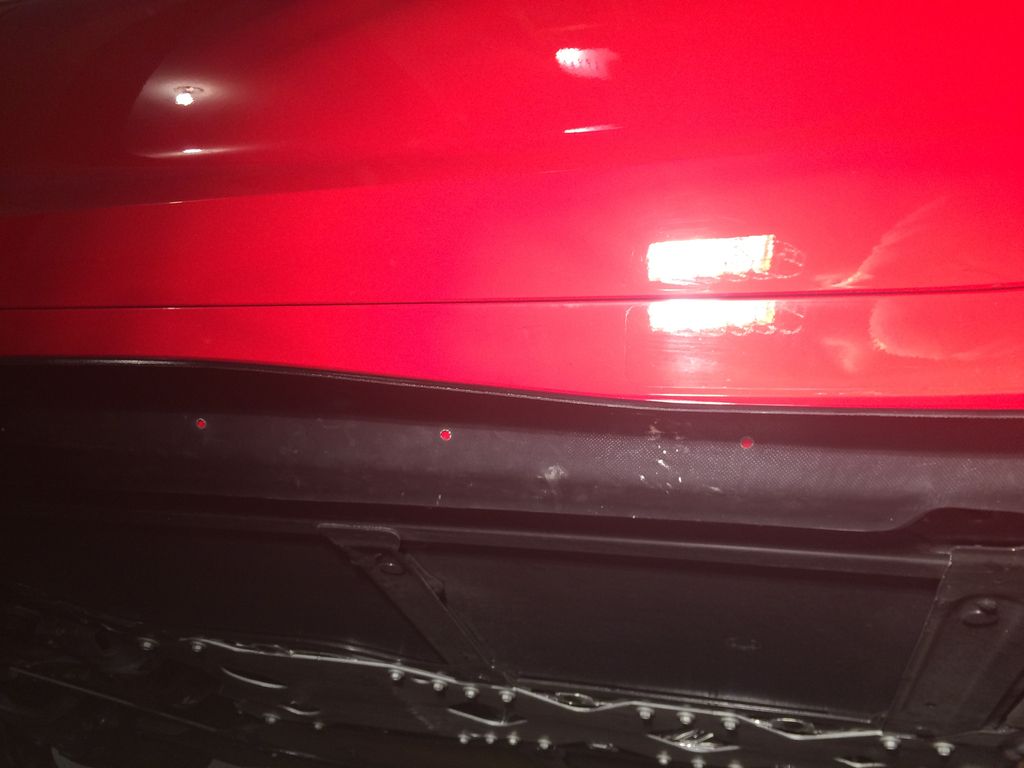
There are five, 7mm screws that match the pre-drilled holes on the flat portion of the skirts. A shot of the front three, followed by a view of the rear two.
The five 7mm screws were not tightened to ensure the skirt could be fitted flush with the body.
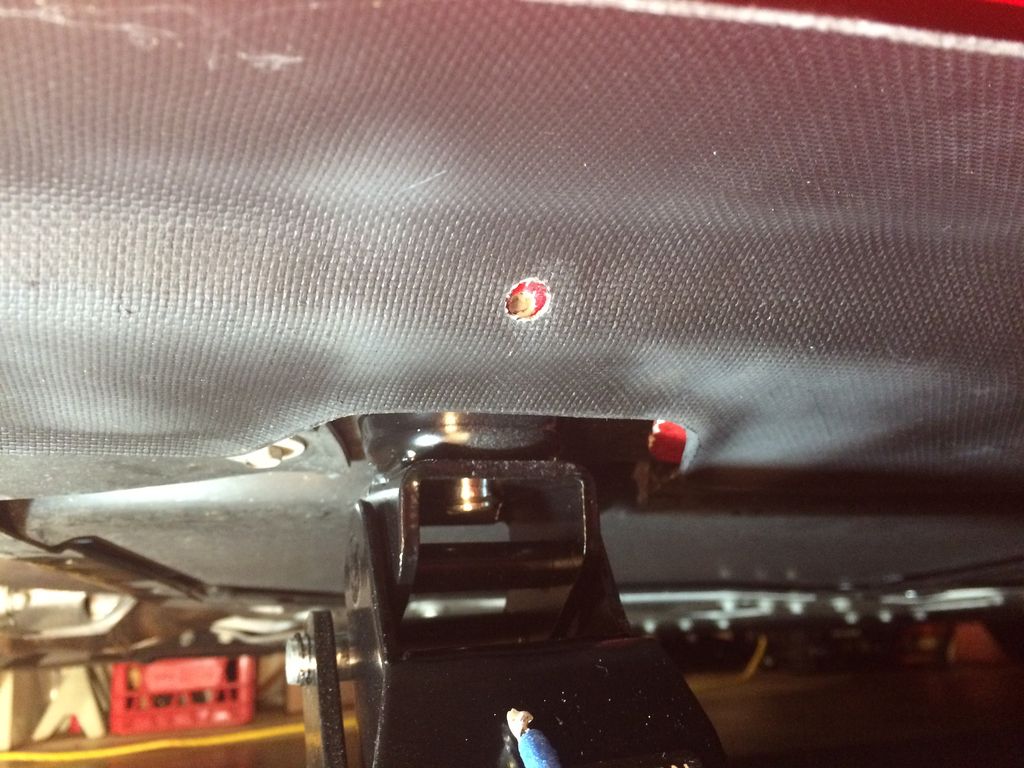
In one of the posts, someone mentioned a warning about being careful while drilling close to the transmission lines-not to drill too deep. I wrapped a pieced of painter's tape about 5/8" from the tip of the drill bit. (Now that the project is done, that step was unnecessary.)
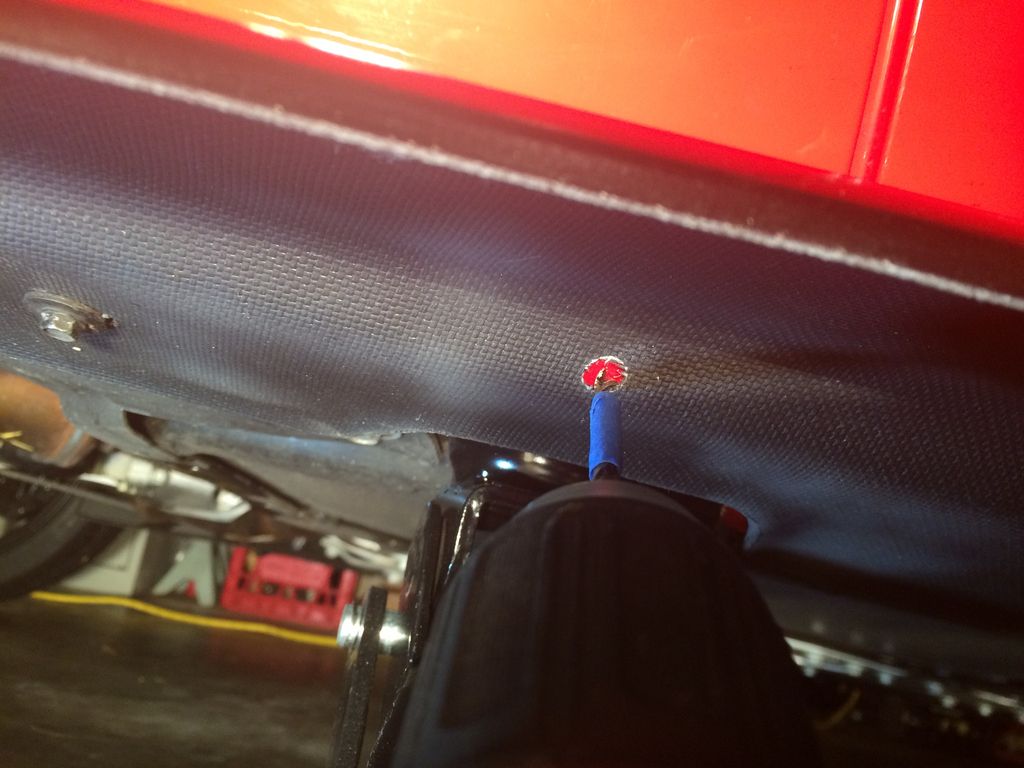
If you numbered the rivet holes from 1-7 beginning with the front of the vehicle, holes #3, 4 and 5 can only drilled so far before hitting something solid. Holes #3, 4, and 5...
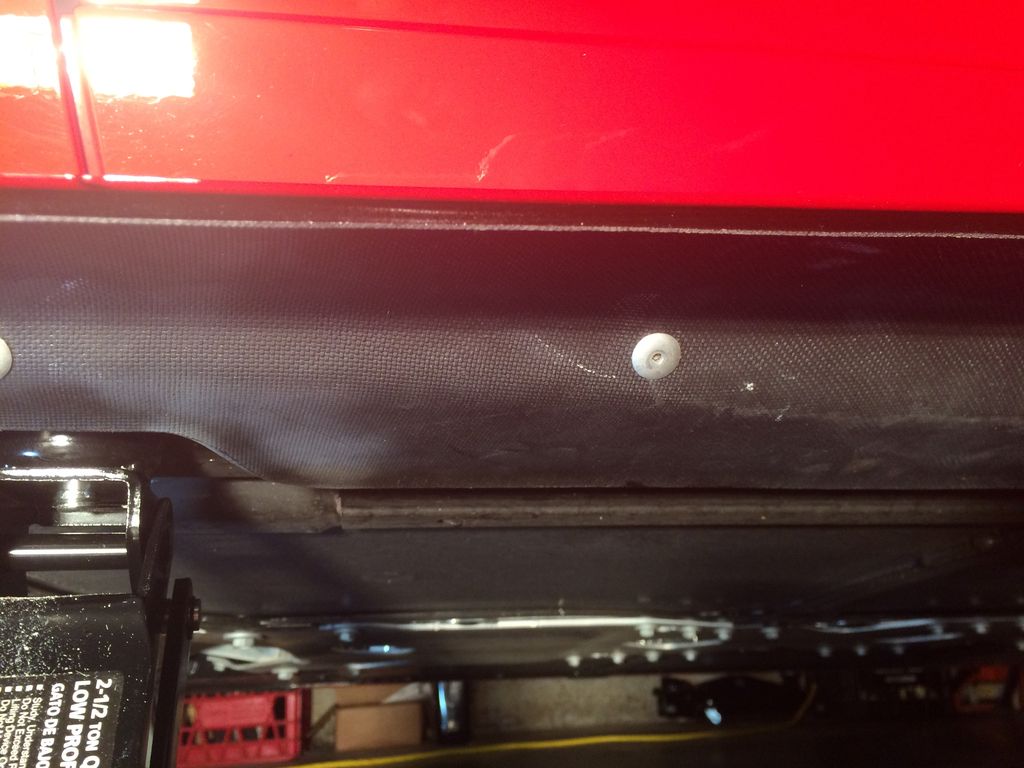
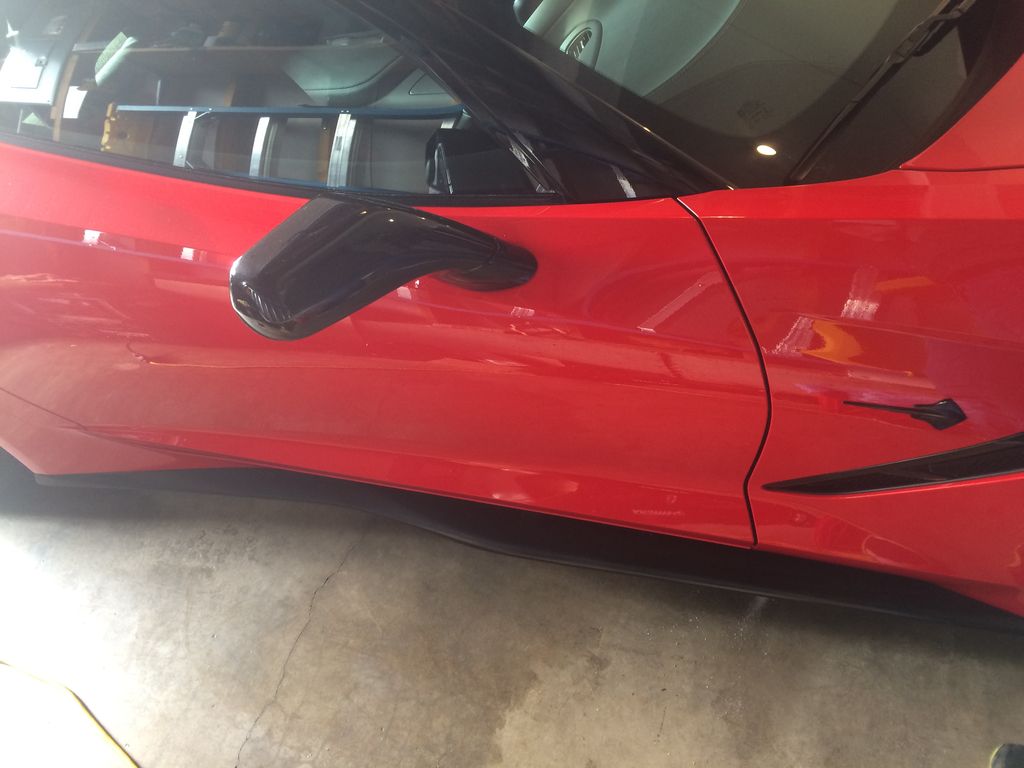
With the holes drilled, the next step was to attach all seven rivets per skirt. Admittedly, I am not Mr. Flex Crunch, but I frequent the gym and lift weights. Holy Cow, I squeezed with all my might to pop the rivets. Each rivet took 8-10 squeezes to snap the tail off of the rivet.
After all the rivets where attached, the skirts felt extremely secure for subsequent HPDEs.
I put a set on my C7 last summer but used screws in case I need to remove for any reason. You can drill out pop rivets but they can be a pain. I think I had 10-12 screws each side.
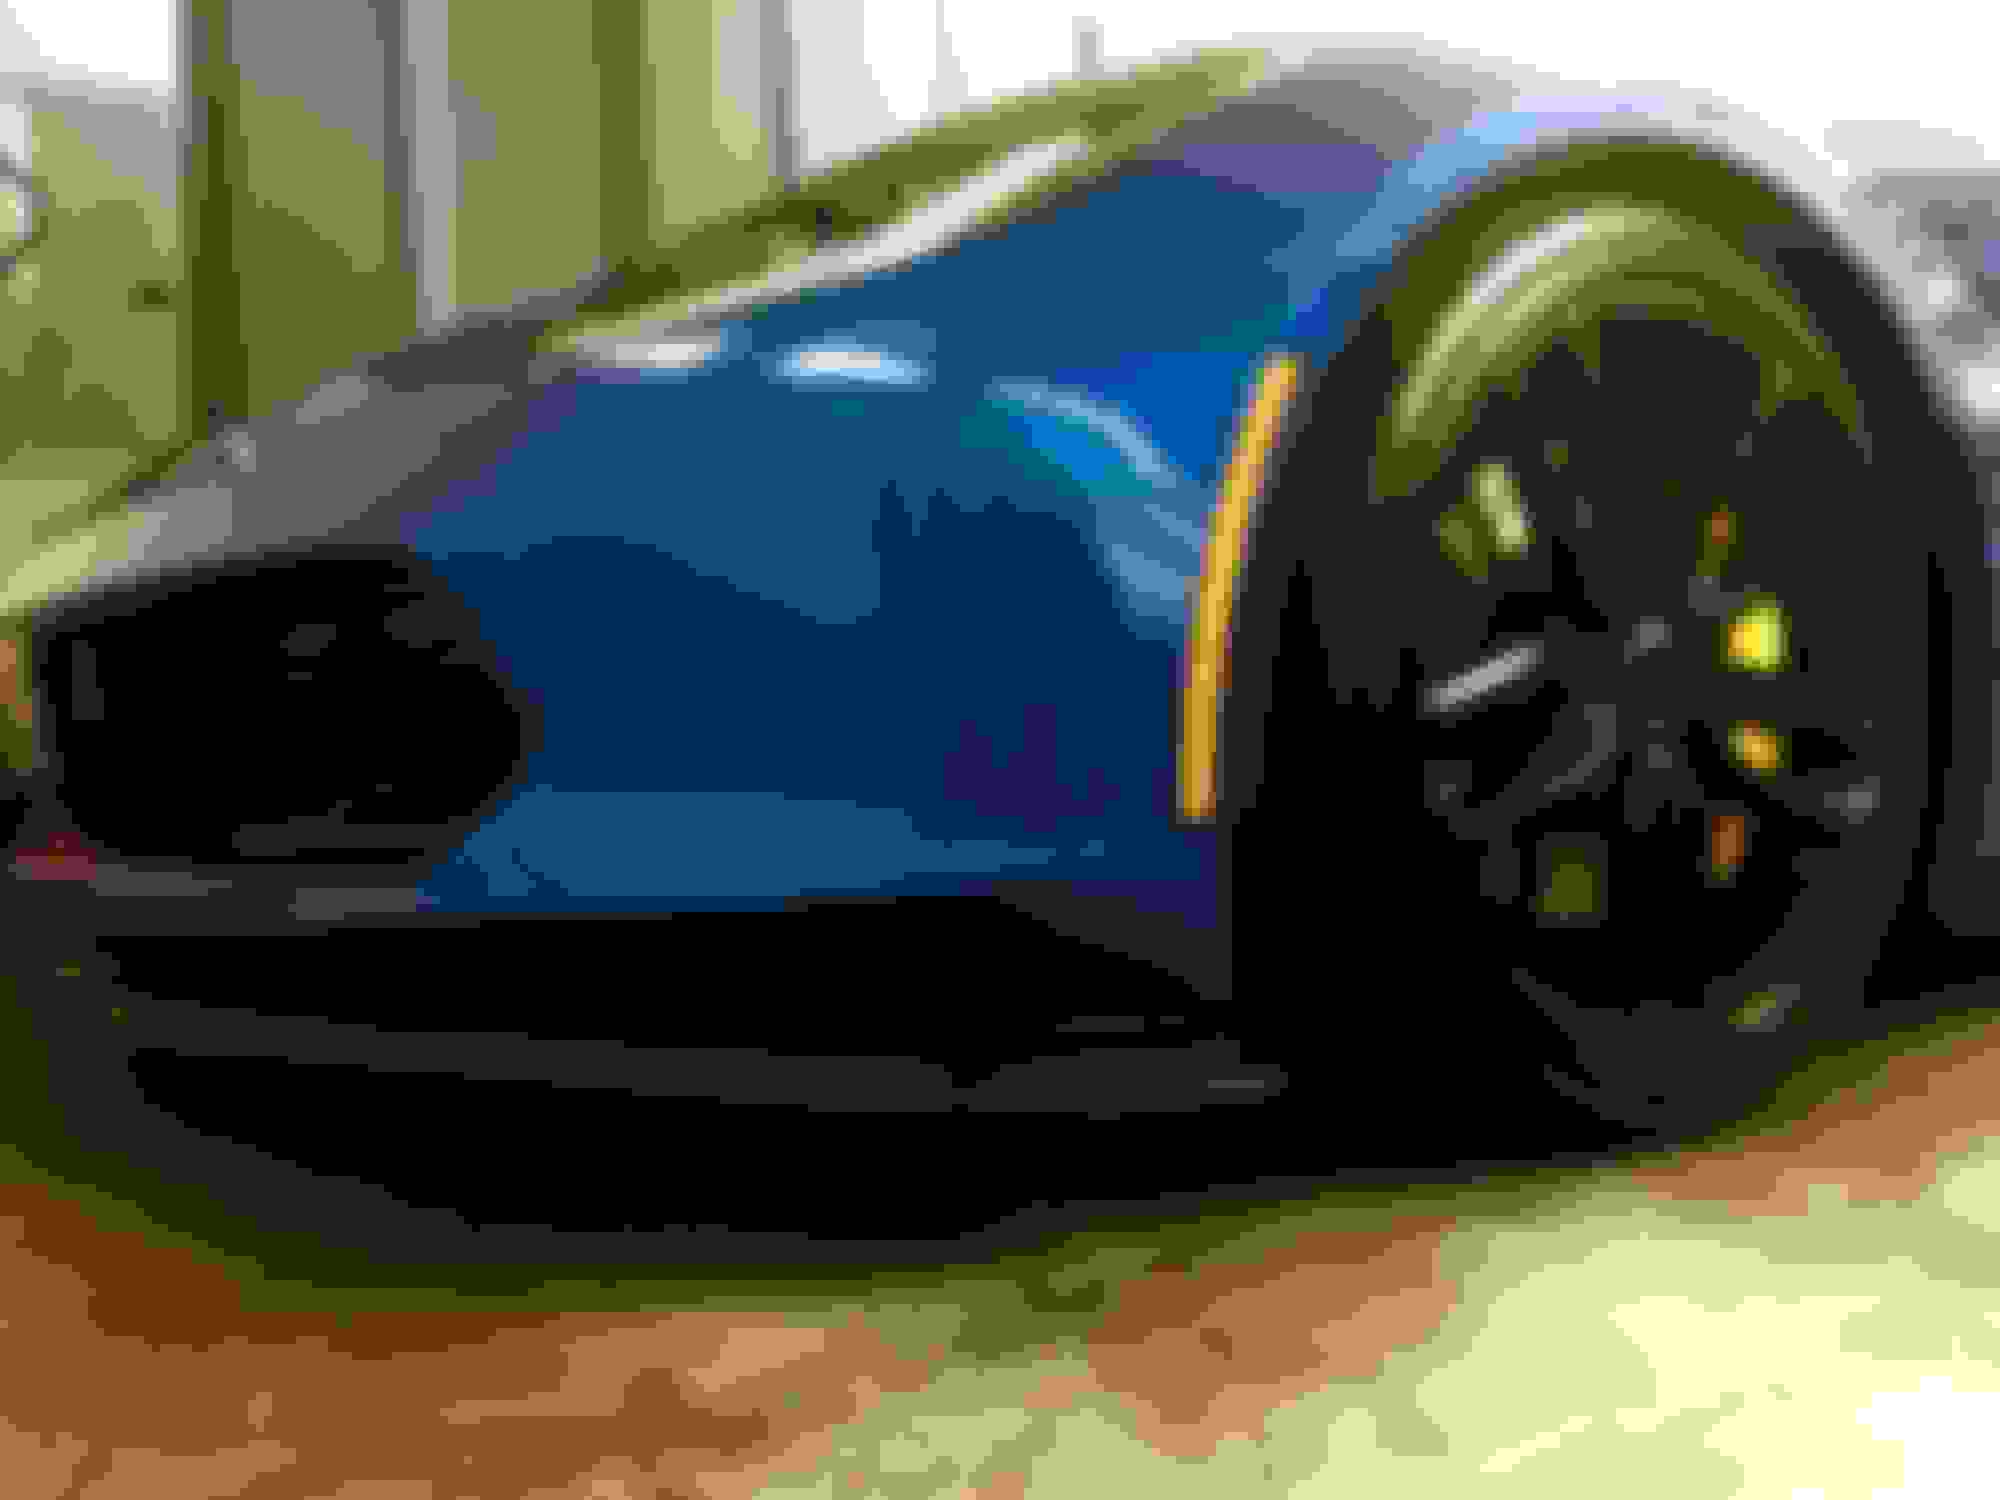
This is is my splitter. A little easier to install since you use existing screw holes
I put a set on my C7 last summer but used screws in case I need to remove for any reason. You can drill out pop rivets but they can be a pain. I think I had 10-12 screws each side.
This is is my splitter. A little easier to install since you use existing screw holes
Ken, that looks great--makes the front pop! After reading dozens of posts about the "best" method to install the side skirts, I was reluctant to drill holes into the car. (Explains the lag between purchase and installation.) I thought about using screws for the same reason you mentioned, but finally went with the vendor's suggestion. Adhesive tape wasn't going to hold for HPDEs, and an air chisel will remove the rivets fairly easily. I am thrilled with the look and impressed by how secure they feel.
Side skirts go a long ways toward protecting your car from paint damage. I put them on my Z06 in the first 100 miles and consider them a necessity. Still ended up with a couple little chips before getting them on but nothing since.
 12-30-2016, 04:37 PM