When you click on links to various merchants on this site and make a purchase, this can result in this site earning a commission. Affiliate programs and affiliations include, but are not limited to, the eBay Partner Network.
Ok DUB... you just answered a lingering question I had as well. But I am curious... how do you protect the frame? I'm assuming it's painted on the frame as well?
Ok DUB... you just answered a lingering question I had as well. But I am curious... how do you protect the frame? I'm assuming it's painted on the frame as well?
Another good question that I was wondering about. From your avatar are you also doing an off body restore 13611?
Yeah... and currently at the point of needing to spray some product on it. The body is on a dolly I built from the plans I got from a forum member. Doors, hood, etc. are off and all major fiberglass repairs are done. I bought it apart so I'd like to put it together on the frame to see how everything lines up before paint. But I've been on the fence about painting it on the dolly or mounted to the frame. Obviously, It'd be much easier to do on the dolly. But as DUB mentioned, may need repairs when put back together anyways. The rolling chassis is completed and very nice. So the thought of dust... most importantly... over spray getting all over it worries me! But "yes" another frame off Vette story!!! Congrats on getting that clip off the donor without damaging it!!!
I use two methods to protect the frame and engine,etc. It depends if the car is going to be driven and allowed to get hot. And in my case at my shop...I have to drive the car to the booth area....so wrapping the exhaust in Saran Wrap is pointless. I wrap the exhaust in aluminum foil.
Some frame areas are wrapped in Saran Wrap...and other areas or depending on how I feel at the time ...I apply a coat or two of KEY MASK...from Keystone Automotive. It is a product that can be sprayed and washes off with warm/hot water and DOES NOT allow anything to stick...because this stuff is basically a soap that dries. I use it in my paint booth for the floor and walls and other areas where I do not want stuff to stick but can wash off.
AS for protecting the undercarriage of the body when it is in the booth...well that has everything to do with the 8+ hours I spend taping and setting up parts in the booth so not overspray can get on anything I do not want painted.
Yeah... and currently at the point of needing to spray some product on it. The body is on a dolly I built from the plans I got from a forum member. Doors, hood, etc. are off and all major fiberglass repairs are done. I bought it apart so I'd like to put it together on the frame to see how everything lines up before paint. But I've been on the fence about painting it on the dolly or mounted to the frame. Obviously, It'd be much easier to do on the dolly. But as DUB mentioned, may need repairs when put back together anyways. The rolling chassis is completed and very nice. So the thought of dust... most importantly... over spray getting all over it worries me! But "yes" another frame off Vette story!!! Congrats on getting that clip off the donor without damaging it!!!
Thanks, removing the clip was a learning experience to say the least. Looking forward to setting it on the project car and aligning things before I paint. I am sure there is a ton of prep work but hey that's all part of it. Good Luck with yours.
Roger
Thanks DUB for your quick response. That info will help me down the road.
Will it be necessary to have the wheels aligned professionally before I can put the front clip on to get things aligned properly. Is it something nice to get done but you can work around it. DUB!
R
Will it be necessary to have the wheels aligned professionally before I can put the front clip on to get things aligned properly. Is it something nice to get done but you can work around it. DUB!
R
POINTLESS...the car needs to be at CURB WEIGHT( or VERY close to it)...in my opinion.....going back to like what I wrote in an above post....'being just like it would be driving down the road'. SO NOT HAVING the front clip on would make it not be at curb weight.
I would CHECK to make sure you wheelbase is really close to factory specs or not off a lot form one side to another. So you are not fighting how the wheel fit looks in the wheelhouse area and then REALIZE that you have a bent damaged lower A-arm ( for example) and have been fighting something that needs to be replaced or that area of the frame straight end or pulled back correct.
I have my alignments done either......when I have applied the gelcoat or when it is completed. When it has been competed and cured out with infrared heaters ...I use soft blankets and try not to touch the paint when leaning over the hood surround to adjust the camber/caster on the front end. IF it is in gelcoat...it still has the PVA on it. So touching it is not a big deal...because the PVA washes off with warm/hot water and that is also when I do any air conditioning re-charging and work also. SO...just in case if something were to happen...I can fix it and then primer over my gelcoat and then paint the car and not worry. Obviously ...the rear alignments is all done form underneath.
Although again I am not up to this point but I notice the rivets across the front clip keep changing. Hot days they are almost flat other days kind of raised. What will I be doing to fix that issue if any. DUB!
R
Although again I am not up to this point but I notice the rivets across the front clip keep changing. Hot days they are almost flat other days kind of raised. What will I be doing to fix that issue if any. DUB!
R
You are OBVIOUSLY referring to the rivets that are where the support beam for the headlight actuator mount....correct?
You can heat up and remove this beam...using the same process that you did to remove the front clip. so them you can
Are you worried about being able to feel the rivet when you feel for it????So that it is still 'original'...so-to-speak???
KEEP IN MIND....that GM riveted fiberglass bonding strips to this steel beam....them bonded it to the top hood surround.. SO...you are wanting to get in between the bonding strips and the top hood surround and NOT between the beam and the bonding strip.
Need to know what you intentions are and what you want. Because you can bond a newer design beam in place but that makes it so you will not feel the end of the rivets...and also the actuator relays mounting provisions are different.
Mark the beam and the top hood surround so you know where it goes.
We will start here and when I know some things...I will give more info...depending on what you choose.
DUB
I guess I am wondering how you fix that or is that just part of the way it came. Never really noticed other vettes having that issue. Do you fill them in or block sand, just curious. I would prefer not to remove it so I don't screw things up.
Roger
I guess I am wondering how you fix that or is that just part of the way it came. Never really noticed other vettes having that issue. Do you fill them in or block sand, just curious. I would prefer not to remove it so I don't screw things up.
Roger
Roger,
TRUST ME...it is a DESIGN FLAW.....and known all to well by many of us. Which is why I wrote what I wrote.
I would NEVER tell you to grind them out from the topside....when the beam can come out.
Depending on if you want to feel the rivets or not is what I need to know....it makes a big difference. the process can be different and due to your clip being off the car and you can turn it upside down...this can help you.
DUB
Ah I forgot that I could work with the clip upside down. Now when I take it off am I repairing it? I know you mentioned a new version, but I am wondering what I am doing when I take the beam out.
Starting back at post #29. Please answer my questions I asked you. I need to know.
DUB
Oh sorry DUB, I need to think about that. A new version leaves no rivet bumps or keep it original and possibly have the rivet bumps. I will get back to you on that. Thank you again.
Roger
Oh sorry DUB, I need to think about that. A new version leaves no rivet bumps or keep it original and possibly have the rivet bumps. I will get back to you on that. Thank you again.
Roger
You can keep it original with the rivet bumps on the underside that you can see and feel...and it will not cause for bumps of the top side. Or do away with the rivets that you can feel all together....and re-use the beam ...if it is in good shape.
It has to do with what you want and the time you want to spend on it.
DUB
I have the time and would prefer not to have the rivet bumps for the finished product however I am not sure what that would take to make happen or if I am capable of doing it nicely.
Roger
POINTLESS...the car needs to be at CURB WEIGHT( or VERY close to it)...in my opinion.....going back to like what I wrote in an above post....'being just like it would be driving down the road'. SO NOT HAVING the front clip on would make it not be at curb weight.
I would CHECK to make sure you wheelbase is really close to factory specs or not off a lot form one side to another. So you are not fighting how the wheel fit looks in the wheelhouse area and then REALIZE that you have a bent damaged lower A-arm ( for example) and have been fighting something that needs to be replaced or that area of the frame straight end or pulled back correct.
I have my alignments done either......when I have applied the gelcoat or when it is completed. When it has been competed and cured out with infrared heaters ...I use soft blankets and try not to touch the paint when leaning over the hood surround to adjust the camber/caster on the front end. IF it is in gelcoat...it still has the PVA on it. So touching it is not a big deal...because the PVA washes off with warm/hot water and that is also when I do any air conditioning re-charging and work also. SO...just in case if something were to happen...I can fix it and then primer over my gelcoat and then paint the car and not worry. Obviously ...the rear alignments is all done form underneath.
DUB
Hey Dub,
Does this mean you need to have the drive train in as well as having the alignment done to align up the panels properly?
I have the time and would prefer not to have the rivet bumps for the finished product however I am not sure what that would take to make happen or if I am capable of doing it nicely.
Roger
Roger,
When you write 'rivet bumps'....you are referring to the little stud of rivet that you can feel from the underside...CORRECT???
And NOT writing about the bumps that you can feel on the top surface.
If you want to do this...YOU CAN.....just let me know.
PM me and I can give you my shop number if you still do not have it and I can walk you through this. It is NOTHING as intense as removing the front clip.
Originally Posted by PierreOlivier
Hey Dub,
Does this mean you need to have the drive train in as well as having the alignment done to align up the panels properly?
Pierre
Pierre,
When I install panels...regardless if they are bolt on OR bonded on. I have the car as complete as possible...So the engine and all is in...BUT...I prefer...if possible....NOT to have the interior in...and that is mainly due to the dusts....BUT I have done exterior panel installing when the interior was in.....BUT it depends. I know...a lot of 'back and forth'...due to each scenario is different.
This is how I do it....so I can not confirm that the body panels can change if the engine is out...because I always have it in.
Hey Dub, I sent JohnZ a pm and said he only does C1 and C2. I guess I will just put the body on the chassis with no shims and start from there. I guess I am not doing the front clip at that point. I need to look at the AIM and see if I understand what they are trying to tell me. I'll show you the car which to me did not sit straight looking at the back from the get go. Not sure because of all the rotted items. Anyway when you get a chance.
r
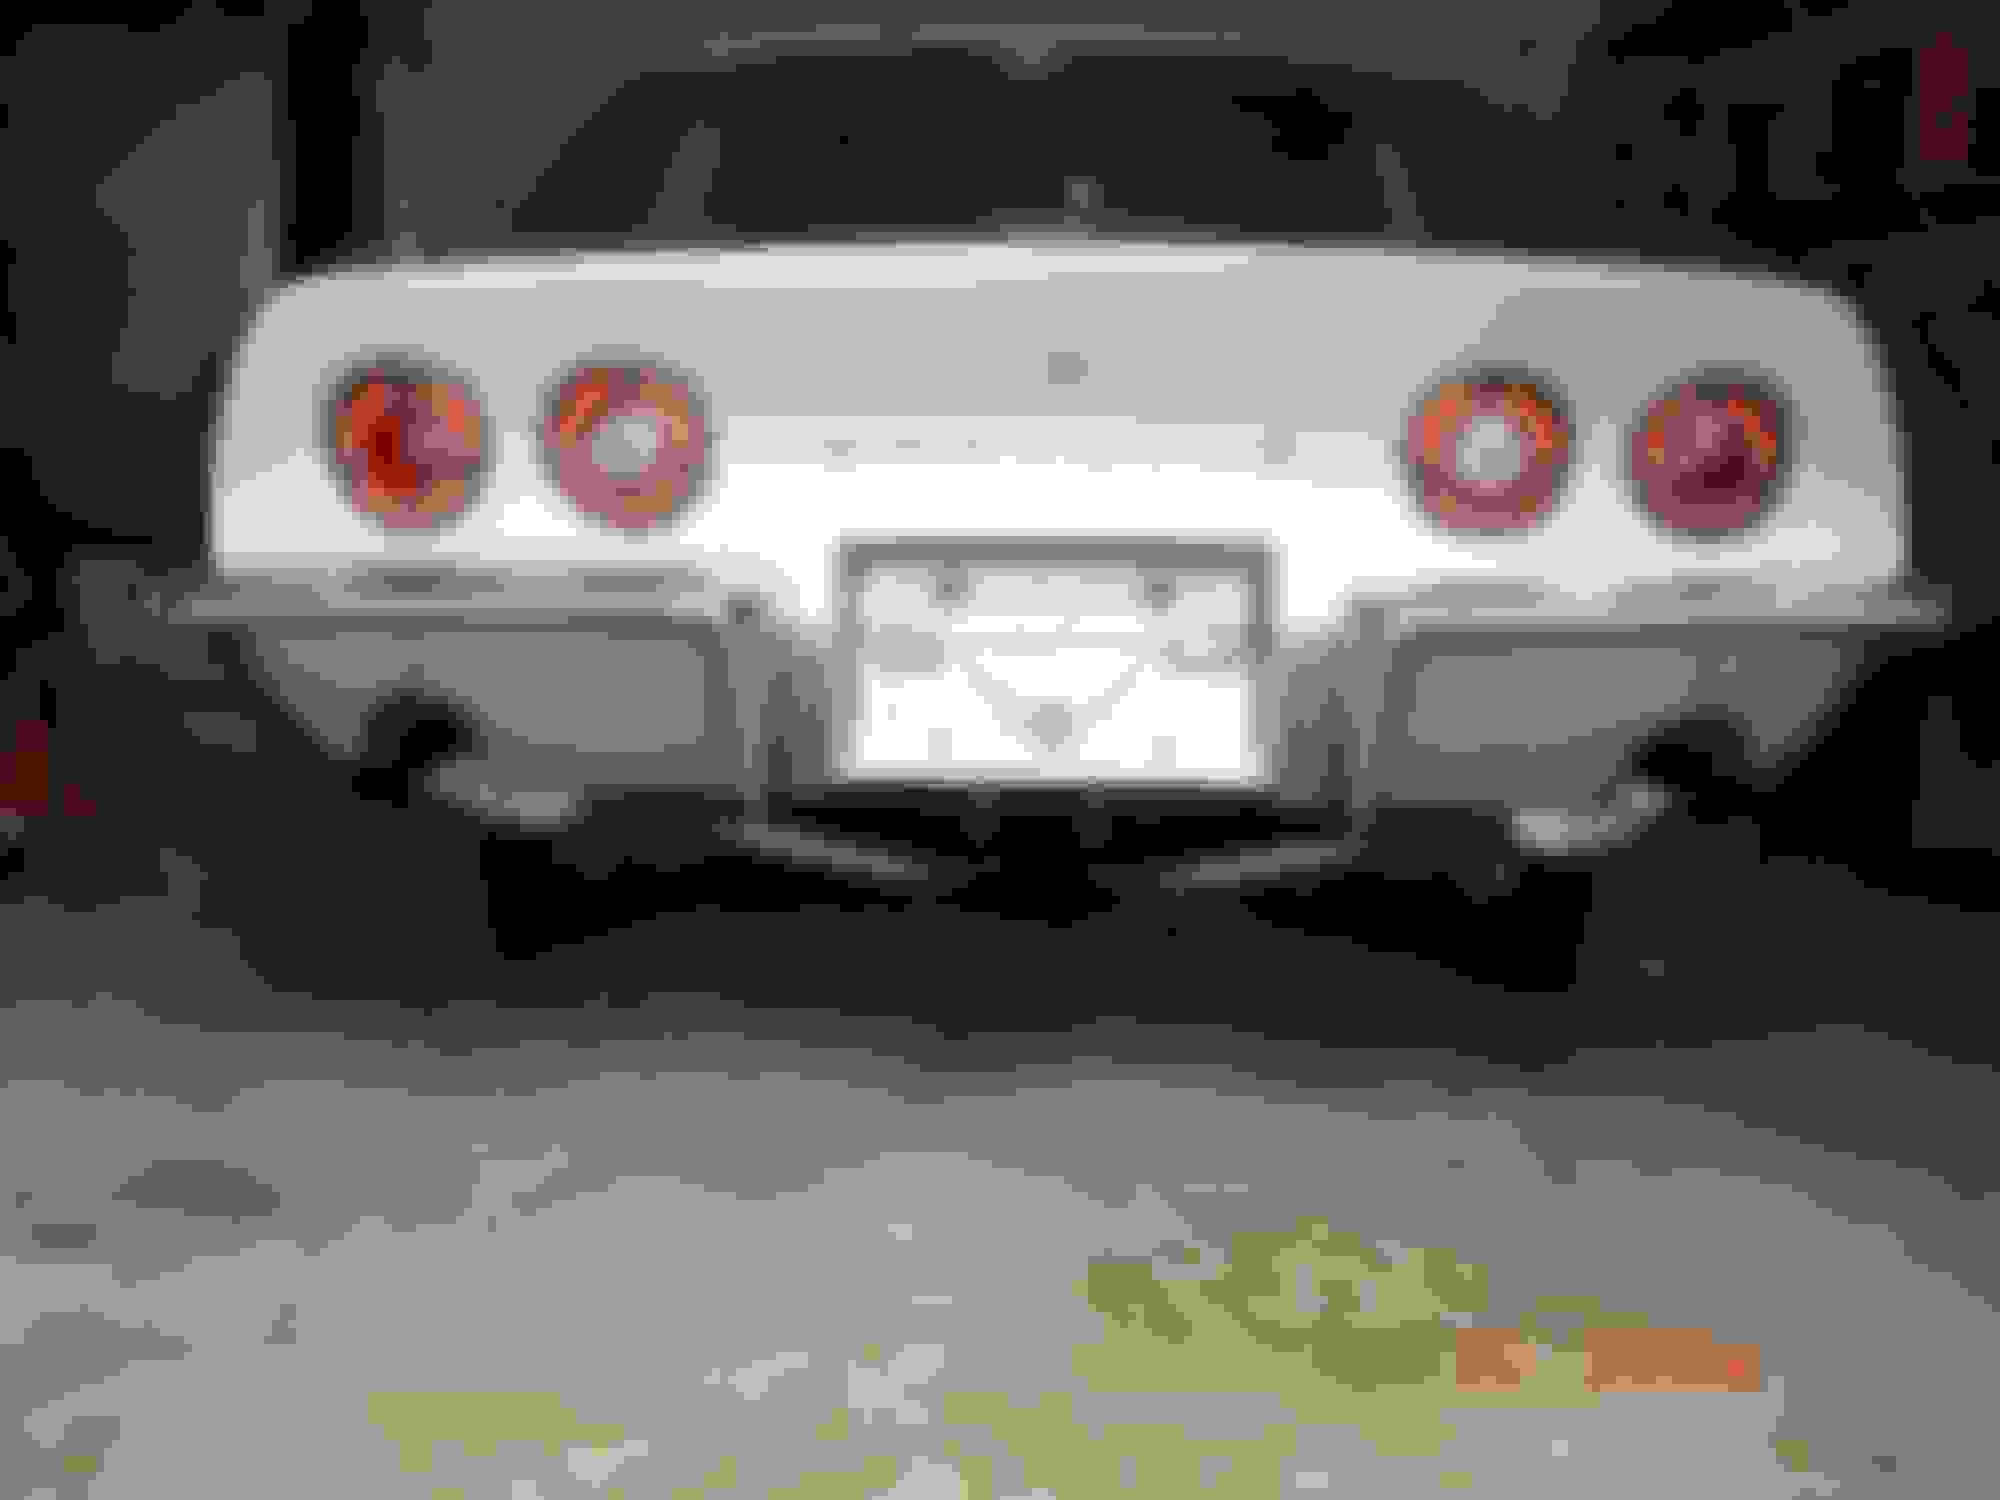
The *** end did not drop a whole lot after driving it around the block.
Make sure you check your wheelbase on each side and see how close it is. In POST#30, the third photo. The rear wheel on the drivers side looks to be a bit forward. It may just be me...
BE CAREFUL if you plan on setting the body down with no shims.
You will be aboe to get this right.
QUESTION: DID you mark the bolt locations for both doors before they were taken off.....OR...at least able to see good witness marks where they were bolted on????
QUESTION: Have you removed the hinges from the hinge post?????
QUESTION: Are the tires the correct size and not a smaller diameter and have basically the same amount of thread on each tire????
Your main concerns with setting the body height is making sure that the pinion of the differential does not hit the tunnel area. And you have decent clearance between the floor pans and the transmission cross member. Also the roller wheel for your parking brake is clear and the bolt is not hitting the floor pan/tunnel area. THEN it is making sure that you can install and set the bumper brackets by the license plate area and the outer ones also.
It has been discussed on a previous post I was involved in where the body is not straight across the back. I have seen them off quite a bit...sometimes I have to use the aftermarket spring bolts and adjust them differently. EITHER WAY....do not get all caught up in that...when you get it back together ....drive it a bit and ten deal with it if you are worried about it being off 1/2".
 01-12-2015, 12:25 AM