In need of adult supervision for quarter panel repair on a 92
 11-12-2015, 09:05 AM
#41
Melting Slicks


I am guessing that the PVC pipe I see in a couple of your pictures is to try and control the overspray? If so how does it work and can you supply a little explanation as to how it is hooked up?
Good progress things are looking good.
Good progress things are looking good.
 11-12-2015, 05:22 PM
#42
Safety Car

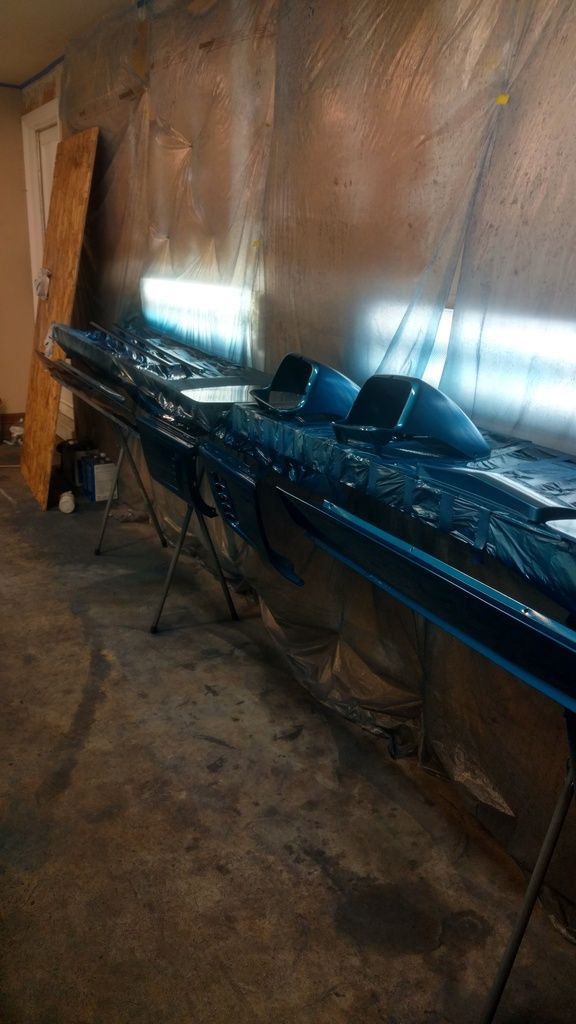
Jams are painted. Everything went perfectly until I sprayed the clear. I quickly learned that you need much more air flow to spray clear. There's a few sags in the clear simply because the garage filled with so much fog I couldn't see what I was doing and kind of pounded the clear on to ensure I had ample coverage. Figured I can always sand the sags out. Will double up on the fans once I spray the body. Doors on and adjusted, ready for epoxy. Body is finally one color. And I have a few minor craters that I had no idea were there until the body was one color. Do I need to fill them in before the feather fill or will the filling properties of the polyester primer fill that in?
11-13-2015, 09:59 PM
#43
Pro

Thread Starter

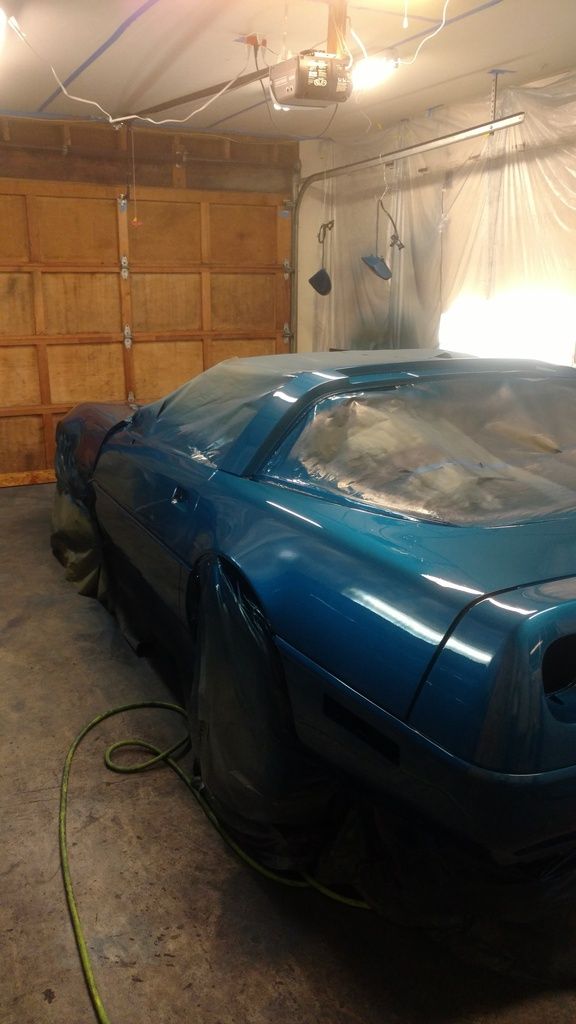
It became too cold to spray and I've come too far to stop now so I'm now pulling air from inside my house which I keep at 72degs. Every time I've sprayed regardless of outside temp the garage has been 68 to 72 degs and 50%-60% humidity, so I can't really complain other then the air flow was lacking. The extra exhaust fan helped quite a bit and I will add another intake and I think that should take care of the flow issues.
These are the fans on the other side of the garage door. They are H.O 8" inline fans, rated around 600cfm which I'm sure is much less being restricted as they are.

This is the intake fan and filter which goes through a makeshift plywood door that I screw up while spraying. There will be another intake set up once I get to base and clear.

Thanks, you don't know how ready I am having this thing done. This project was only suppose to be a 6 month project, next month will be a year. Literally each step has taken me twice as long as I thought it would.
Last edited by syco_cop; 11-13-2015 at 10:05 PM.
11-14-2015, 06:46 PM
#44
Safety Car
I know the feeling. Last November I started tearing down mine for repaint. It was supposed to be done in spring and I just wrapped it up today. Felt great to go for a drive again!

 03-07-2016, 05:24 PM
#48
Race Director


Looking like it is getting ready to get color on it. Looks good from the photos.
DUB
DUB
03-16-2016, 08:44 PM
#50
Pro
Thread Starter
So finally painted the car the weekend before last. So happy its over. Overall I'd give it a B. Every issue that I've has as far as spraying goes I can trace back to not enough ventilation. I was fine while spraying primer and base, but clear was very challenging; simply because I couldn't see.
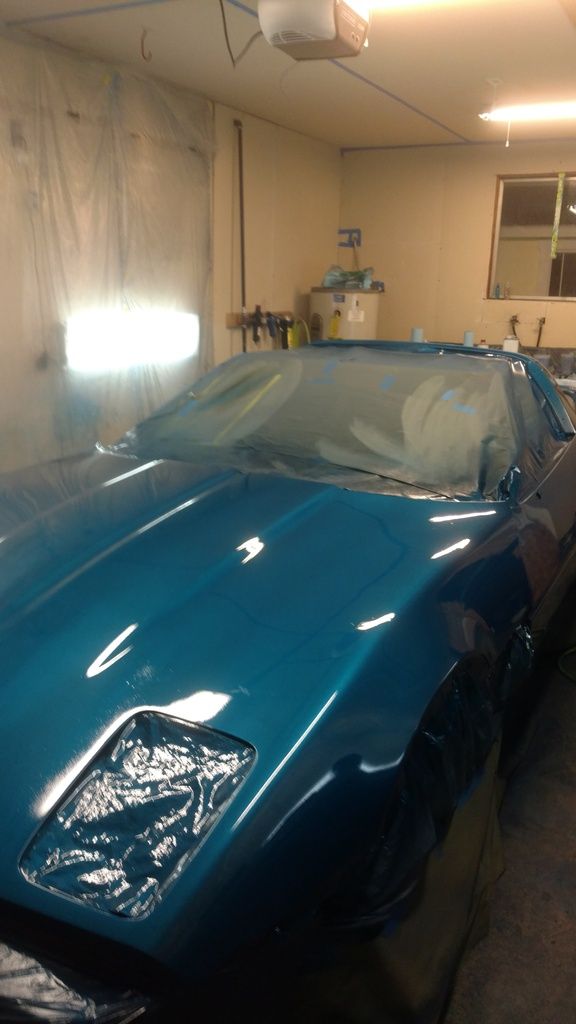
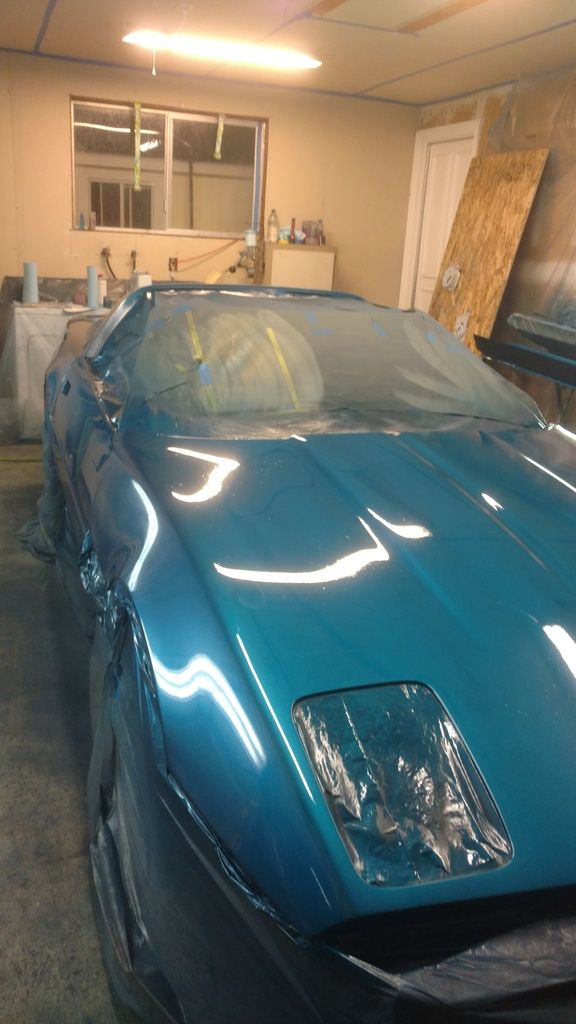
So this is the biggest flaw. In case it isn't obvious its the slight color change down the center of the hood. This was caused buy a very slight variation in texture of the non-sanding sealer primer. In hind sight I should have fixed this before spraying the base but I honestly thought it wouldn't be an issue. Lesson learned: Fix any possible issue before spraying the base. Might not have showed on a solid color but this quasar blue has a lot of pearl and metallic in it.
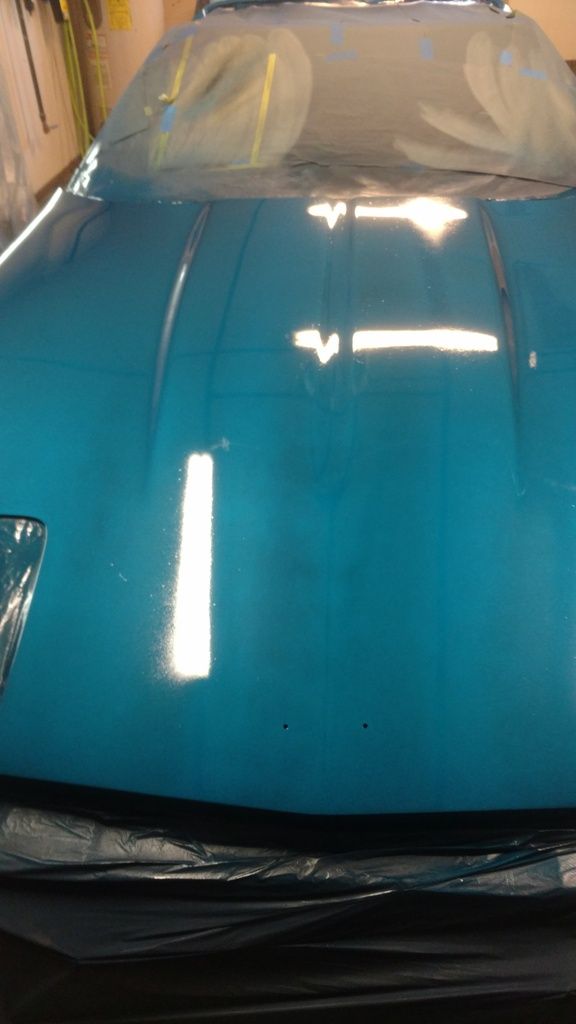
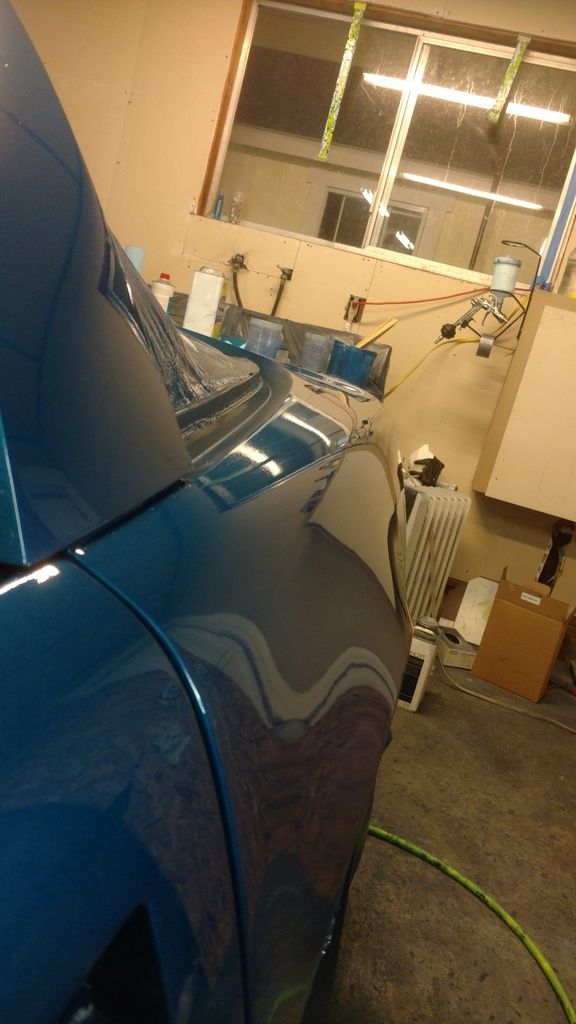
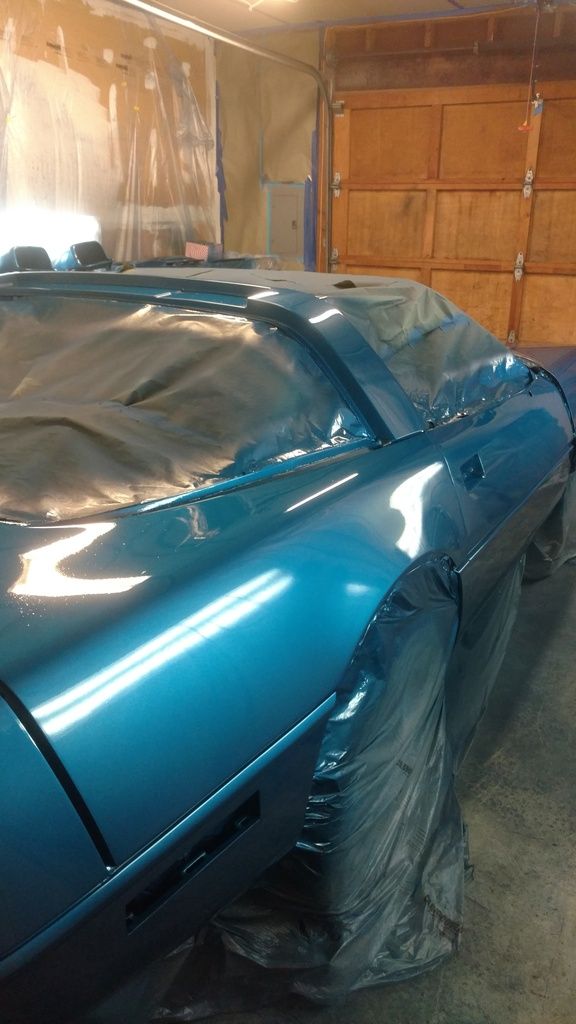
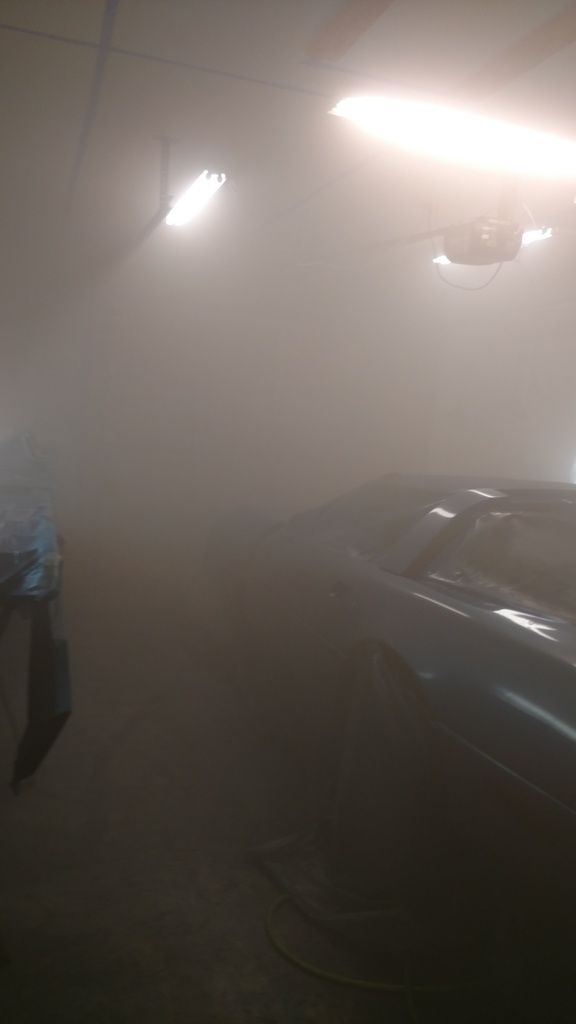
The other issue is I got more fine particles in the clear then I would have liked. One can see it in a couple of the photos. This is because the fumes in the garage were so bad I had to leave between coats of clear and this let in dirt. The last pic will show what I'm talking about, it was taken 5 minutes after spraying. Lesson learned: Make damn sure you have plenty of ventilation, or better yet rent a paint booth. unfortunately neither was an option for me at the time.
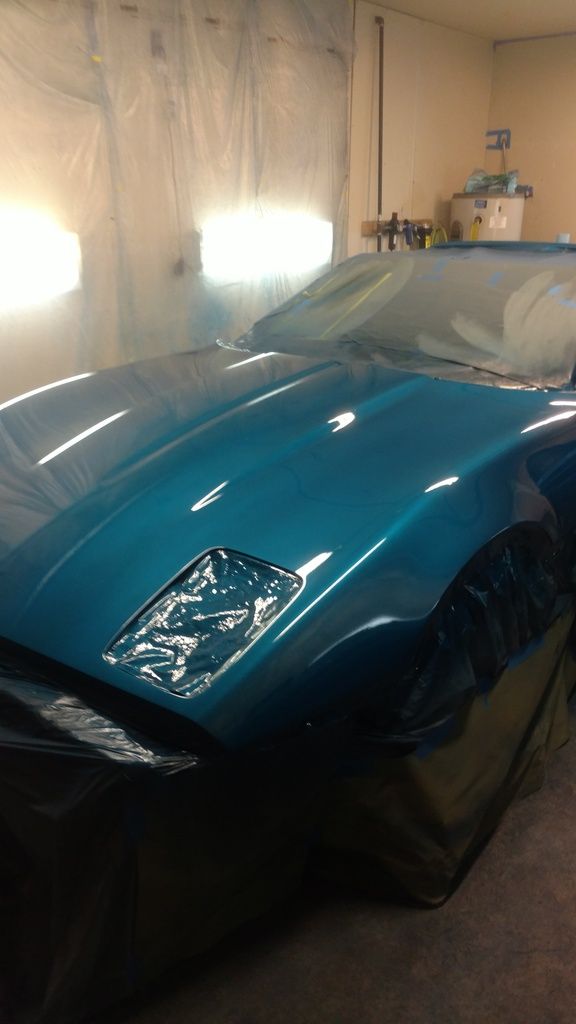
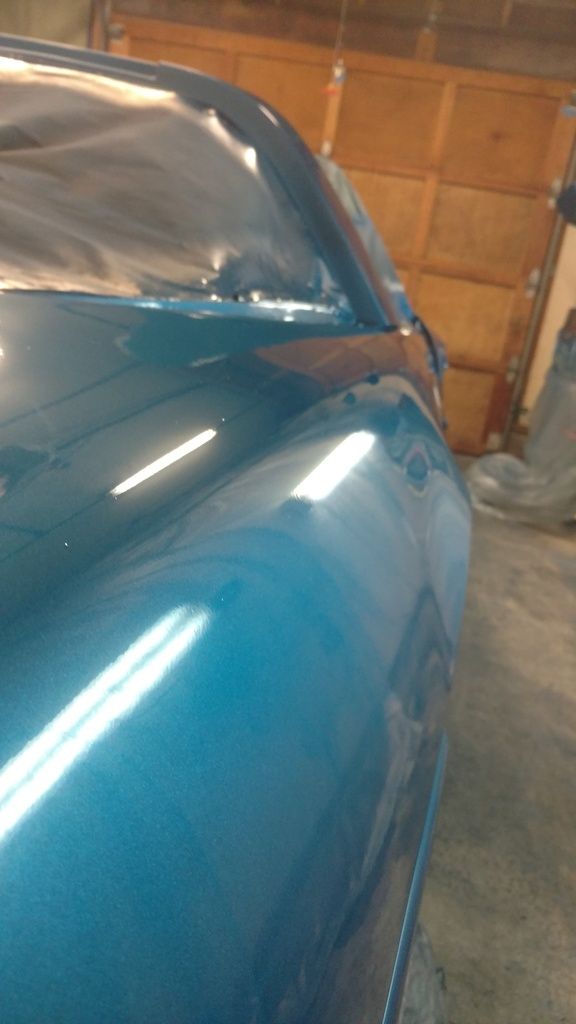
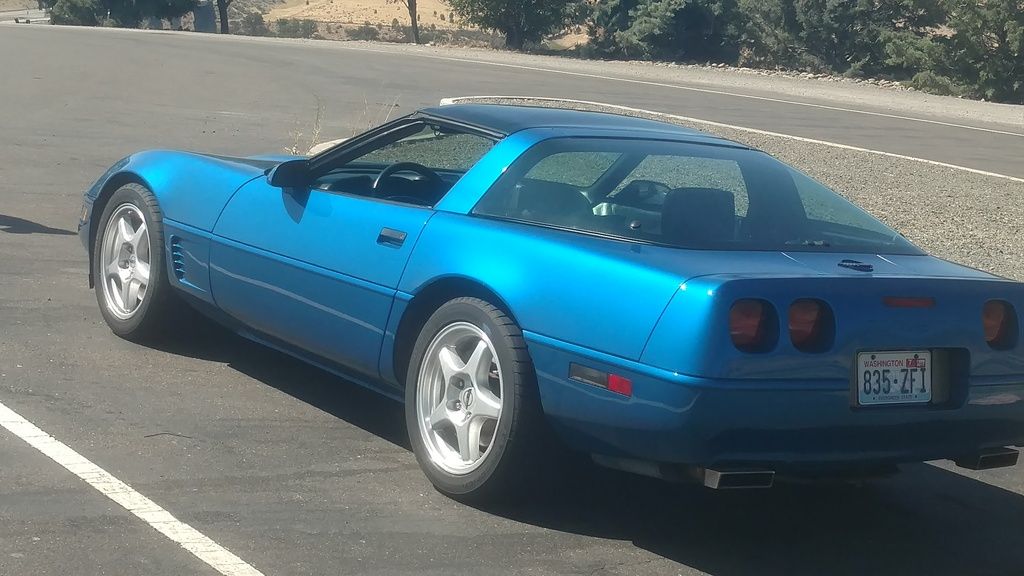
Overall I'm happy with the paint. The body work is laser straight and the gaps are perfect. I was trying to achieve a perfect paint job with a daily driver paint job as a goal. I got a daily driver paint job. With the lessons I learned I'm completely confident that my next spray job will be great. I work with a few guys that have worked in some of the local body shops and they all say it's not bad at all and have seen worse. So for my first time I'm not complaining at all.
So this is the biggest flaw. In case it isn't obvious its the slight color change down the center of the hood. This was caused buy a very slight variation in texture of the non-sanding sealer primer. In hind sight I should have fixed this before spraying the base but I honestly thought it wouldn't be an issue. Lesson learned: Fix any possible issue before spraying the base. Might not have showed on a solid color but this quasar blue has a lot of pearl and metallic in it.

The other issue is I got more fine particles in the clear then I would have liked. One can see it in a couple of the photos. This is because the fumes in the garage were so bad I had to leave between coats of clear and this let in dirt. The last pic will show what I'm talking about, it was taken 5 minutes after spraying. Lesson learned: Make damn sure you have plenty of ventilation, or better yet rent a paint booth. unfortunately neither was an option for me at the time.
Overall I'm happy with the paint. The body work is laser straight and the gaps are perfect. I was trying to achieve a perfect paint job with a daily driver paint job as a goal. I got a daily driver paint job. With the lessons I learned I'm completely confident that my next spray job will be great. I work with a few guys that have worked in some of the local body shops and they all say it's not bad at all and have seen worse. So for my first time I'm not complaining at all.


 03-17-2016, 06:41 PM
#51
Race Director
I am SO GLAD you posted these photos.
I mention often times when people are painting their own stuff that the air flow/filtration is SO CRITICAL...and you LAST photo proves what I comment on.
I HATE to see what happened on the hood. So MANY things have to go right (as you know know) in order to have it all come out right.
DUB
I mention often times when people are painting their own stuff that the air flow/filtration is SO CRITICAL...and you LAST photo proves what I comment on.
I HATE to see what happened on the hood. So MANY things have to go right (as you know know) in order to have it all come out right.
DUB
03-18-2016, 08:41 PM
#52
Safety Car
Looks like it came out pretty good. Bummer on the hood though, but you can always redo it. Primers and base coats seem fine for diy but man spraying clear makes a big fog in a garage. Just shows how good paint booths are at evacuating the air.
03-19-2016, 06:04 PM
#53
Race Director
 AND stop and think that a person was standing and working in that environment.....and more than likely...pushing the limits of the respirator and paint suit to keep them safe from the BAD chemicals in the paint.
DUB
03-21-2016, 03:07 PM
#54
Pro
Thread Starter
And DUB I can't thank you enough for all the provided insight you gave me on this project. I can't wait to apply all the learned lessons from this project on my next paint job. How bout I buy your shop lunch, I'm sure you guys have a favorite pizza joint in town I could call in order with. Let me know.
03-21-2016, 05:36 PM
#55
Race Director
Exactly. Even though I purchased the best in ppe it wasn't enough. I hope people learn from my mistakes in this thread.
And DUB I can't thank you enough for all the provided insight you gave me on this project. I can't wait to apply all the learned lessons from this project on my next paint job. How bout I buy your shop lunch, I'm sure you guys have a favorite pizza joint in town I could call in order with. Let me know.
And DUB I can't thank you enough for all the provided insight you gave me on this project. I can't wait to apply all the learned lessons from this project on my next paint job. How bout I buy your shop lunch, I'm sure you guys have a favorite pizza joint in town I could call in order with. Let me know.
Learning from 'real world hands on experience' is something that just reading form a book...watching a video or someone on a forum helping you out can not show you. Your next job you do will allow you to do it with even more confidence and the 'hiccups' you had ...you wont ever let happen again....which is what every good painter encounters.As for buying me lunch...because it is only me at the shop...I REALLY appreciate the thought...and honestly...with you offering it is good enough for me.
I am here if you need any help now or in the future.
DUB
04-05-2016, 09:00 AM
#56
Heel & Toe


This has been a very interesting thread, thanks syco and DUB! The earlier phase brought back some vivid memories of my days at General Tire (AKA GenCorp) where we molded these panels. I have not-so-fond recollections of doing the bond (destructive) teardowns on the rear-decks (as we called them) and hoods to measure the amount of fiber-pull. And the rear roof inner reinforcements, the roof bows (you guys call them "halo's"); haven't seen those since '96 when I was shown the door after 16 years due to a "reduction in force"
One question: When painting, does anybody wet down their floor? I used to do that on the 4 or 5 cars I painted, trying to keep down the dirt I would kick up dragging around the air hose. But I was painting in an old barn with a hayloft overhead and plastic sheeting lining my "booth"
Thanks again for the great write-up and pictures!
04-05-2016, 05:16 PM
#57
Race Director
This has been a very interesting thread, thanks syco and DUB! The earlier phase brought back some vivid memories of my days at General Tire (AKA GenCorp) where we molded these panels. I have not-so-fond recollections of doing the bond (destructive) teardowns on the rear-decks (as we called them) and hoods to measure the amount of fiber-pull. And the rear roof inner reinforcements, the roof bows (you guys call them "halo's"); haven't seen those since '96 when I was shown the door after 16 years due to a "reduction in force"
One question: When painting, does anybody wet down their floor? I used to do that on the 4 or 5 cars I painted, trying to keep down the dirt I would kick up dragging around the air hose. But I was painting in an old barn with a hayloft overhead and plastic sheeting lining my "booth"
Thanks again for the great write-up and pictures!
Thanks again for the great write-up and pictures!
DUB
08-06-2016, 01:16 PM
#58
Pro
Thread Starter
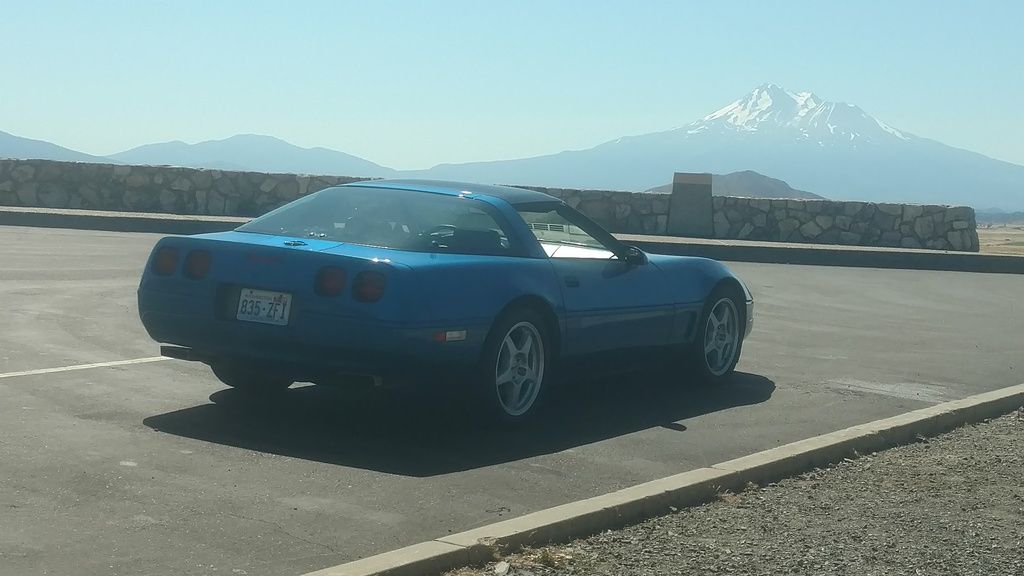
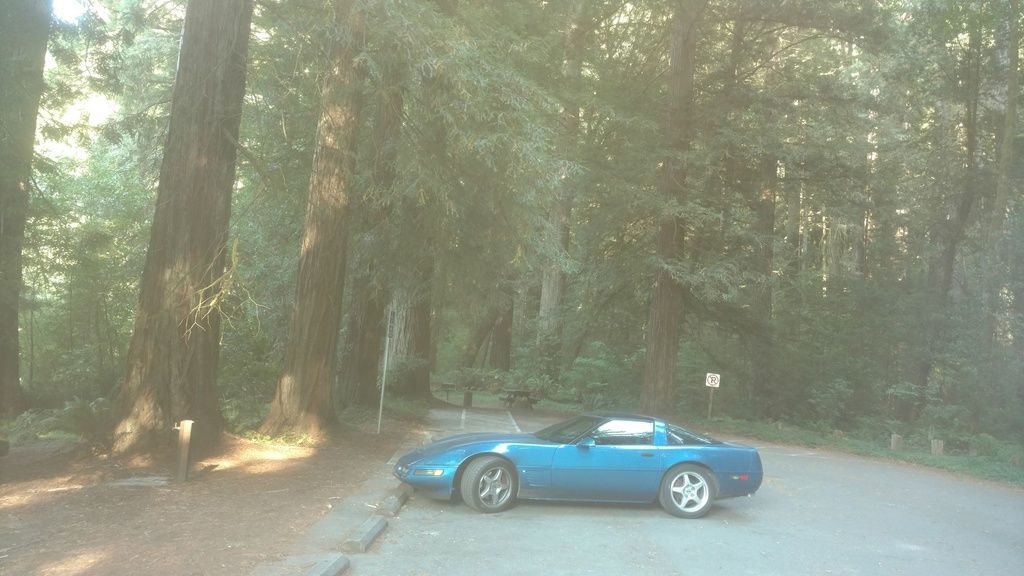
Well I finally finished the car on the 1st and left on a road trip on the 2nd. Went to Reno to check out Hot August Nights and then to the Redwoods and drove up Hwy 101 home. Car did great and happy to be home. Thanks again DUB.


 08-06-2016, 05:11 PM
#59
Race Director
You did a great job....you SHOULD feel proud!!!!
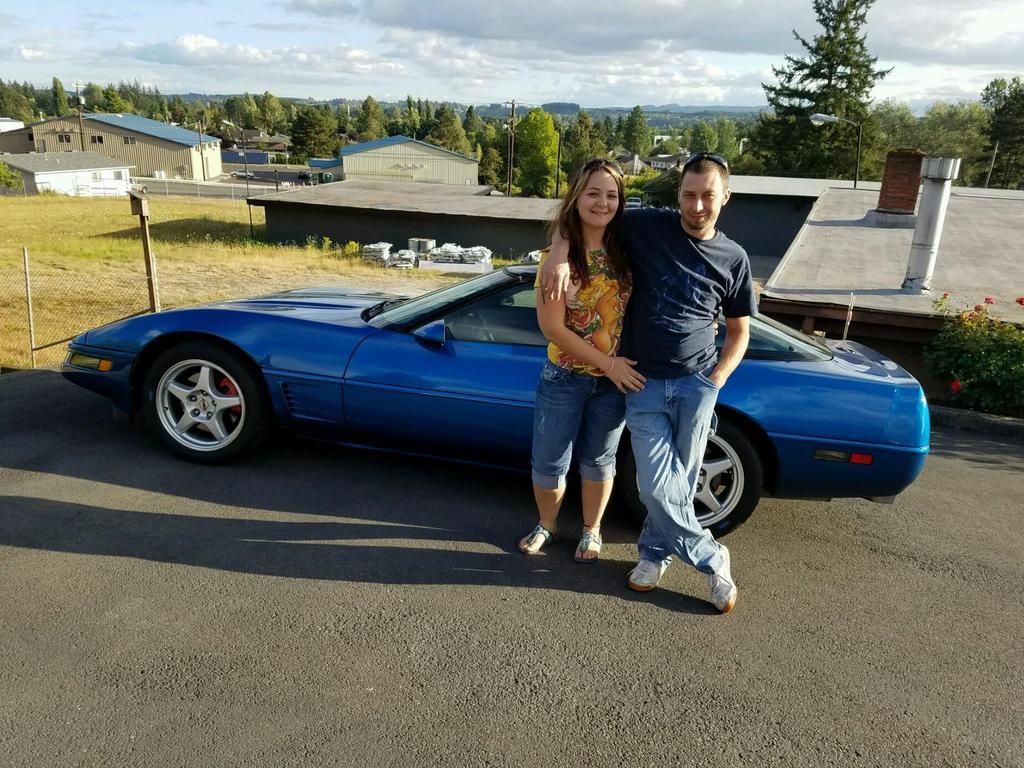
The SECOND photo of the four you posted 'says' it all. ( Not meaning the others are great also....ESPECIALLY the one in the redwoods) The metallics are PERFECT and even. I can not find one blemish or blotch.
I see you took your adorable 'sidekick' with you in photo #4.
Once again..>GREAT JOB!!!
DUB
The SECOND photo of the four you posted 'says' it all. ( Not meaning the others are great also....ESPECIALLY the one in the redwoods) The metallics are PERFECT and even. I can not find one blemish or blotch.
I see you took your adorable 'sidekick' with you in photo #4.
Once again..>GREAT JOB!!!
DUB
Last edited by DUB; 08-06-2016 at 05:11 PM.

