John Lingenfelter's 1973 Corvette drag car
#22
Those clamps are COOL!!! I did not comprehend completely when I saw them, but in the photos, showing how they are used is AMAZING!!! Knowing how to use them is even more impressive!!!
#23
Race Director


Thread Starter

This is section of the firewall area that I cut out due to it was not 'flowing;. And while I am here...I said..."What the heck"

A close up of the cut-out

This is a partial section of what I cut out. Showing (hopefully) why i cut it out and how it protruded towards the transmission area and is not needed.

A front shot hopefully showing it a bit better. This part was sticking out about 3/4" to 1 inch.

The cut out without the piece in place.

The cut out being viewed form the transmission area.
DUB
The following users liked this post:
74_stingray (01-07-2020)
#24
Race Director


Thread Starter

After prepping all o fthe surrounding area so when I use the Vette Panel Adhesive (VPA) to fill in the area I cut out. I applied tape to allow the VPA to stick to something while it cures.

The area with layer of VPA on it

Now...to give the VPA more strength. I applied a 'filleted' piece of fiberglass mat and applied it on the wet VPA BEFORE It cured.

Then I immediately covered the fiberglass mat with some more VPA. making sure I worked it in well and allowed that to cure.
DUB
#25
Race Director


Thread Starter

A hole in the floor board that is much small...but could use the benefit of fiberglass strands in the VPA to give it more strength.

VPA applied over the properly prepped hole

I piece of filleted fiberglass mat applied on the wet VPA.

VPA applied on the mat.

THEN another piece of filleted fiberglass mat applied on that layer of VPA

The final coat of VPA worked well into the fiberglass strands and allow it to cure.
DUB
The following users liked this post:
74_stingray (01-07-2020)
#26
Race Director


Thread Starter

The darker blue/green color is the VPA I used to fill in the other holes. No need for me to show how I applied the fiberglass mat when doing these. You should get the idea by now.

CRITICAL PHOTO HERE!!!!
I purposely did this to show what can happen IF VPA is applied onto a surface that HAS NOT been properly prepped. IF you look ..you can see how the VPA is coming off in chunks or puzzle pieces and how the un-prepped fiberglass floor is unaffected.

Same shot of the last photo..but further away.

THIS is what VPA SHOULD look like when you sand and 'feather' it in.
Last edited by DUB; 08-24-2016 at 05:20 PM.
The following users liked this post:
74_stingray (01-07-2020)
#27
Race Director


Thread Starter

NOW...this area has been prepped so i can now apply 2 layers of mat and resin

I tear the mat in areas to stop any wrinkling or bunching of the mat itself so when I apply the resin..i do not have buckles that will cause for air pockets. This is due to many different angles of the floor pan and being able to do it in one piece of mat.

Showing where I tore the mat to stop a wrinkle or buckle form happening. I hand tore 2 sections of mat to cover where I wanted it to go ...so after I applied the fist one..I then applied the second.

A shot of the area after the two layers were applied and the air worked out.
DUB
The following users liked this post:
74_stingray (01-07-2020)
#28
Melting Slicks


Totally different than I would have imagined. Is there ever a time when you would start with resin and mat or is this your process for hole/crack repairs? Thanks for your time, this is proving to be very educational.
Dick
Dick
The following users liked this post:
69ttop502 (02-14-2020)
#29
Race Director


Thread Starter

In the previous posts...the VPA was used to hold a shattered/cracked panel back into shape and then also make it so it was rigid enough so I can laminate on so it is not flopping/moving around.
DUB
The following users liked this post:
74_stingray (01-07-2020)
#30
Race Director


Thread Starter

After cleaning the fiberglass on the underside and top side. And prepping it so the resin and mat can be applied...this photo shows that. Filling in the opening for the four speed shifter and also the hole where the automatic shifter cable was located due to it was installed for drag racing use.

Using masking tape to create a backing surface so I can apply the mat and resin.

I applied three layers of 1-1/2 ounce mat and resin. Due to being horizontal surface...and the hole not being as large as the heater core opening. I was able to apply these three layers and not distort my backing surface.
DUB
Last edited by DUB; 08-24-2016 at 05:33 PM.
The following 3 users liked this post by DUB:
#32
Race Director


Thread Starter
#33
Race Director


Thread Starter

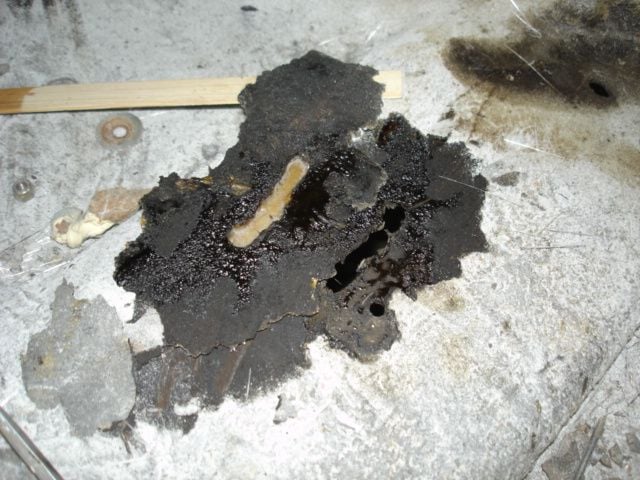
Starting to scrape off the undercoating stuff on the floor boards that GM applied.

After washing down the underside with lacquer thinner to get all the oil and other stuff off the panel....when I lifted this section...there was a covered slot that was put in the floor pan.

This is a crack that I found at the front right seat mount location ...close to the transmission tunnel area.

I stuck a screwdriver in the crack if it was hard to see.
DUB
Last edited by DUB; 08-26-2016 at 06:39 PM.
The following users liked this post:
74_stingray (01-07-2020)
#34
Race Director


Thread Starter

This is the front driver side floor pan area and transmission tunnel area. The light from underneath shows the holes I need to fill and the crack at the front seat mount point.

This is showing the VPA that I used...much like the other side repairs to fill in the area and crack so I can laminate on top of it.
DUB
Last edited by DUB; 08-26-2016 at 06:45 PM.
#35
Race Director


Thread Starter

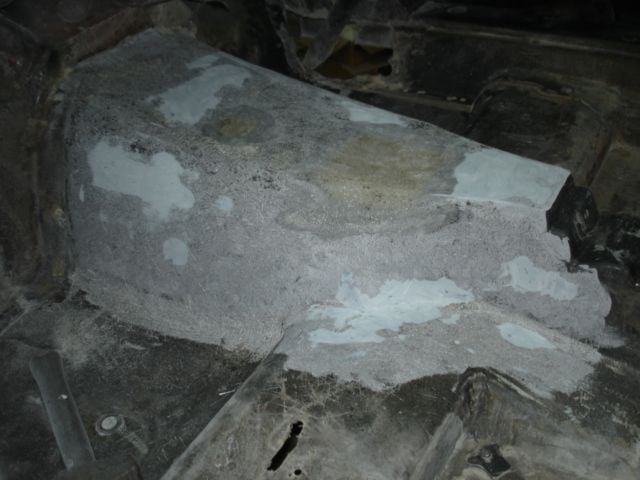
The drivers side view of the transmission tunnel area BEFORE I go and apply my final layer of mat and ONE layer of CLOTH.

Passenger side view prior to final lamination's.

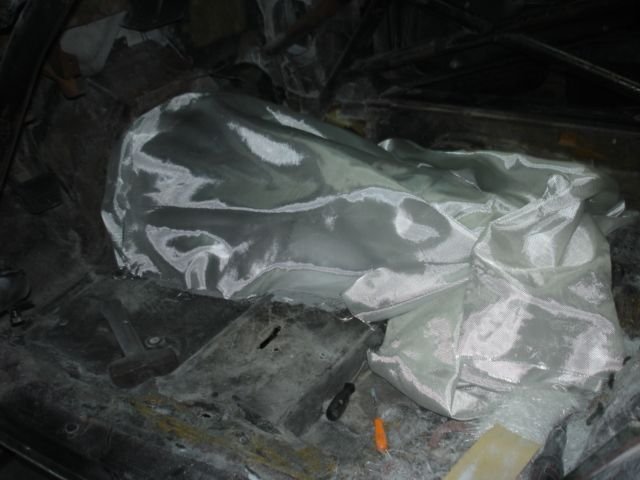
I have draped the fiberglass cloth so I can cut it where I need it so when I go and apply it. It will be very close to what I need. This cloth will go on the one layer of mat I will apply. This layer of cloth will provide very good tear resistance if the car gets damaged. This cloth by design does not like to tear.

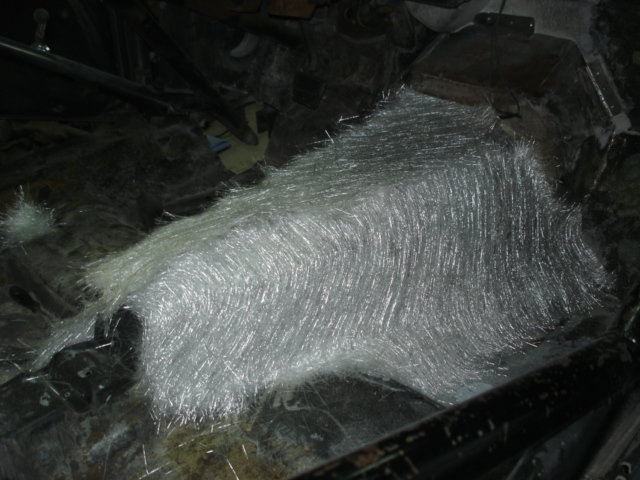
The passenger side view of me getting my mat shaped to what I want. The left side was done also in this same manner

This is showing the very top section of mat. Making this transmission tunnel area complete...it is ready for resin and laminating.
DUB
Last edited by DUB; 08-26-2016 at 06:58 PM.
The following users liked this post:
74_stingray (01-07-2020)
#36
Race Director


Thread Starter


This is the lamination when completed WITH the cloth being the top layer. This should now have greatly increased this areas strength due to the car will more than likely have its front wheels off the ground when launching from the starting line. And it can't hurt to make it a bit stronger.
DUB
The following users liked this post:
74_stingray (01-07-2020)
#37
Melting Slicks


The cloth looks like a relatively fine stranded sheet of material unlike the "checkerboard square" cloth I have seen. If the cloth is so strong, why not use the cloth between the layers of mat for more strength for most repairs? Please bear with me on what may be a foolish question. Thank you for taking the time for this tutorial.
The following users liked this post:
DUB (08-27-2016)
#38
Melting Slicks


DUB..........spoke to you a while back concerning my door adjustment, which turned out good.I enjoyed looking at your progress with this floor, it takes lots of time but is the correct way to apply the material...Ray
The following users liked this post:
DUB (08-27-2016)
#39
Race Director


Thread Starter
The cloth looks like a relatively fine stranded sheet of material unlike the "checkerboard square" cloth I have seen. If the cloth is so strong, why not use the cloth between the layers of mat for more strength for most repairs? Please bear with me on what may be a foolish question. Thank you for taking the time for this tutorial.
The cloth I used is still a 'checker board square' cloth. And it is rather substantial in its fiber structure.
why not use the cloth between the layers of mat for more strength for most repairs?
I DO just that on some repairs...apply the cloth in between the two layers of mat...but not on all of my repairs.
I will often times top coat the last layer of my lamination with the cloth to give it some linear strength...but this is ALSO done in very specific locations and if it is needed at ll. NOT all laminations need this to be done to them due to where the damage is located. ( my opinion)
For example: If a trailer hitch poked a hole in the dead center of your door...I would NOT use the cloth...it is not needed there due to the panel is not flexing in a manner that would cause the mat to fail.
BUT...a crack a the edge of a fender or quarter panel WOULD be an area that I would do it to provide more strength. SO...it all depends.
I have some cloth that I will post a photo of that make what I used look inferior. This cloth is on STEROIDS. AND YES...I use it in specific areas.
Thanks for your question.

DUB
The following 2 users liked this post by DUB:
74_stingray (01-07-2020),
Dave Tracy (08-27-2016)


