When you click on links to various merchants on this site and make a purchase, this can result in this site earning a commission. Affiliate programs and affiliations include, but are not limited to, the eBay Partner Network.
The engine, tranny, suspension, exhaust and brakes are done, and now we tackle the body. I really have my work cut out.
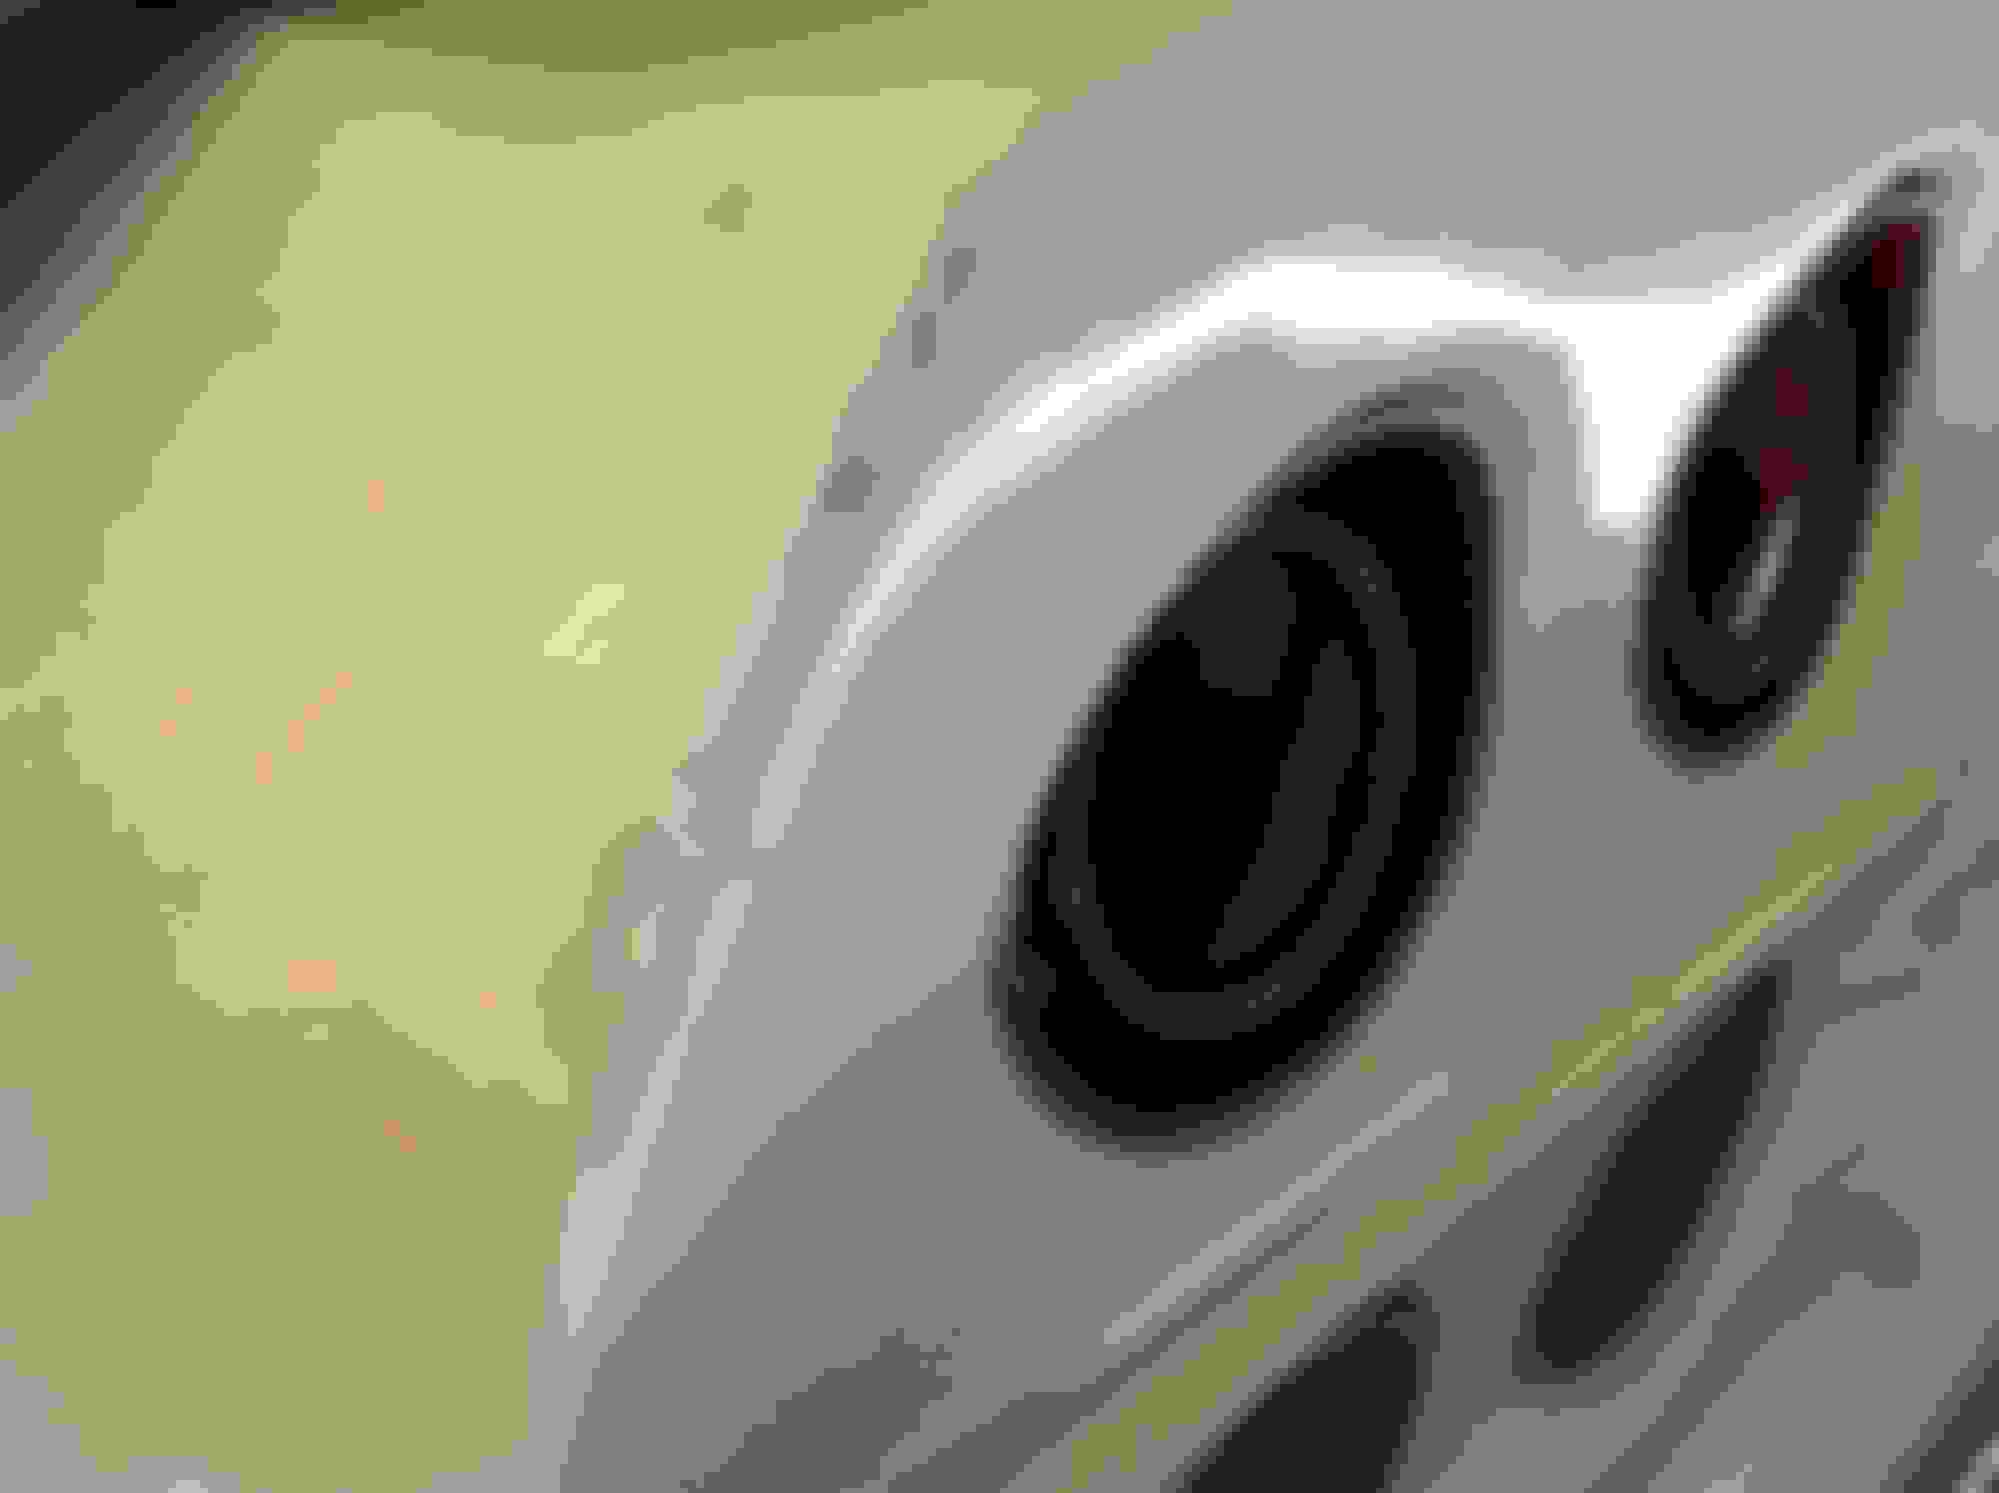
I will have expert help with the glass repair/paint but plan to do most of the sanding/stripping work myself. Here are some pictures of the visible issues, that I can see before removing the paint. To clarify, I am NOT the person that slathered globs of "white out", seriously like hundreds of spots of this unmatched touch up crap.
Based on what you see, would you offer suggestions on how to attack this? I would like to drive her during the body prep (as much as possible). The car is garage kept and "fair weather only" driver. What parts can we tackle while keeping her road worthy?
After reading lots of CF threads about stripping paint, I plan to use razor blades and of course block sand, sand, sand and sand some more.
Please be gentle, I am a newby and ask some uneducated questions, but I am learning as I go. This forum has been beyond essential!
be sure to use your heat gun . a little heat will make the paint come off in strips instead of chips. a chip in the eye will cut badly and take a month to heal. once the body is clean you can see and decide how to fix damage. there is likely much more than you can see .
be sure to use your heat gun . a little heat will make the paint come off in strips instead of chips. a chip in the eye will cut badly and take a month to heal. once the body is clean you can see and decide how to fix damage. there is likely much more than you can see .
Planned to try to heat gun too. Eye protection a must, ask my husband how I know! I suspect some surprises under the paint. Based on irregularities, I suspect major damage on the doors, but we have 2 extra doors to trade out if needed.
those tiny chips go everywhere . old lacquer paint always peeled easy but made a mess. learning the heat gun trick was golden . akes clean up a breeze .
Using a singe edge razor blade will remove the white paint. I personally do not use a heat gun and I can live with the micro chips of paint which I usually collect up and pout in a baby food jar for the customer to have for a keep sake. YES...a heat gun does stop the micro chips of paint but like I wrote..I prefer not to spend the time holding heat gun in order to get long strips of paint to come off. I can have a panel stripped using a razor blade much faster if I don't use a heat gun. And the heat gun is not going to allow you to strip off the red oxide primer anyway. But...do as you feel comfortable doing. Just make sure you drag the razor backwards on your jeans to burnish the blade.
Also keep in mind the razor blade is going to only get you so far due to body contours. So..that is when I chemically strip the paint off. This option is also totally up to you and I know you can find numerous people who swear that they would not do it...but I ahve been doing it for over 30 years and NOT one problem. SERIOUSLY...NOT ONE! It has everything to do with knowing what you are doing with it....and I am no rocket scientist...so...I know you could do it also if you choose to do so. Nothing to be afraid of when using chemical stripper. The only thing is being AWARE of what you are doing.
Also...keep in mind that if you plan on sanding the primer after you get the white paint off...which is up to you....but hand sanding and blocking unique areas on your car...such as your door button area...would take quite a bit of time to do it by hand and not distort the shape of the area.
I do know some people who will use rough steel wool and automotive grade lacquer thinner and scrub off the red oxide primer. I have seen it done and it does take quite a bit of time and effort....and the lacquer thinner will not damage your fiberglass. So...that is another option.
Lastly. I might advise you to take one panel at a time. Such as the lower exhaust filler panel. Strip the white paint off of it and try what ever method you want to get it to bare fiberglass on half of it and see what it takes. That way when you look at your car....you might realize the scope of what is going to have to occur. That lower exhaust filler panel has a lot of complex contours and it will be a good start.
Obviously...if you have any concerns...post them as you very well know.
This is the type of razor blade tool I like to use that aids in keeping hand fatigue down and it can be bent for some of the contours.
I got the heat gun and razor blade out. Some areas are coming off like butter. Then I hit this mess. What the hell! Best approach in these areas? I'm terrified of chemical strippers!
Layers?
DUB, used heat gun, straight razor and sand paper on block (80 grit). Some areas of white paint not giving up, it's REALLY on there. Oddly, some areas of white paint seem to be directly on the glass, while other areas have the burnt red primer under it. Don't want to sand into the glass, or cause more gouges that I have will to fill.
You may run into previous area that have been repaired for whatever reason. These areas will possible cause for a different plan of attack. Trying to tell you what to do is hard.
Often times I may require a lot of sanding and blocking. If you are still trying to use the that gun and you seem to be getting nowhere....then logic would tell you to change up what you have to do.
YES...the small patches of residual paint and red oxide primer need to come off. Or at least that is my professional opinion due to all Corvettes I strip the paint off of have nothing on the body when completed. Leaving ANY of it on the car is just a PROBLEM waiting to possibly show up in the future.
I will write this. I do knwo many people freak out of the thoguth of using a chemical on their Corvette. But that is only because they are not aware of how to SAFELY use it. I do knwo how and would help you if you want to try it...if not...no problem. SO...in those areas that you have of small patches of paint and primer. If I were chemically stripping your car...those ares would be not an issue...because I would have stripped it off.. And when I was done using the chemical and beginning the prep of the fiberglass for the gelcoat. The sanding and blocking and any repairs would go much faster due to I am not having to focus on remaining paint and primer. So.,..there is a method to my madness.
ROUGH steel wool and and automotive grade lacquer thinner can also get that off the panel but it may take a bit. Test it and see in a small spot if it works fast enough for you.
I will not talk about chemical strippers any longer if that is something you just will not do.
ROUGH steel wool and and automotive grade lacquer thinner can also get that off the panel but it may take a bit. Test it and see in a small spot if it works fast enough for you.
I will not talk about chemical strippers any longer if that is something you just will not do.
DUB[/QUOTE]
I started with the headlamps, which was easy-peasy. Was super excited... till.... HAHA.
I am willing to use a stripper/lacquer thinner. I just want to be 100% sure I know WHICH one to use and how to avoid damaging the glass or previous repairs and to avoid adversely affecting paint adhesion. I literally know very little about this process. Have minimal experience with bondo, and block sanding on "metal" cars.
I have worked last 2 days on front fender. FINALLY found a tool that made a difference, thanks DUB. The long handled
scraper helped but then my heat gun died, so will wait to get a new one to continue since it helps A LOT!
So here are my questions. Do I wipe the fender down with laquer thinner, then use filler, then sandable primer? If there is an area I do not use chemical stripper to I still wash with soap and water or is acetone or laquer thinner appropriate prep?
OK...where to start due to you are getting a bit ahead of yourself. So I am going to try to pull back on the reigns a bit.
To start off so I do not get some people ticked off at me...You can use whatever you want on your car. Just because I do not use a product does not mean that it could work. All I know is what has worked for me. SO....with that said. I WOULD NOT use that product you showed a photo of. It could have a purpose in some repairs...but honestly. I would not use it.
This is what I use exclusively about 95% of the time. The remaining 5% is special resins and other adhesives for SMC panels and plastics, urethane, etc.
If you want to use a chemical stripper...and DO NOT fear it...PM me so I can get you my shop phone number so you can call me at your convenience. The reason is..I can tell you a lot more in a few minutes than me typing till my fingers bleed... and try to cover all aspects of it and KNOW that you understand. I would not know if you understood if I wrote it all down.
Originally Posted by c1nicole
So here are my questions. Do I wipe the fender down with laquer thinner, then use filler, then sandable primer? If there is an area I do not use chemical stripper to I still wash with soap and water or is acetone or laquer thinner appropriate prep?
To answer the questions above. We will start with 'wiping' the fender down with lacquer thinner. The answer is NO. You can not take the panel that you posted a photo of and simply just wipe it down. The panel MUST have ALL of the red oxide primer off of it....so...the photo does not show that...so that is why the answer is NO.
BUT...and this is why what is written is so critical to get a correct answer.
YES...IF the panel was scrubbed SPOTLESS....then wiping it down with clean lacquer thinner and then CLEAN acetone is advisable.
I personally/professionally do not use any soap and water on bare fiberglass. I know others have...but I simply do not trust the introduction of a substance that could cause for problems....regardless if it is DAWN or 'whatever'. So..once again..that is up to you.
Once the body is clean and ready for a body filler like the Vette Panel Adhesive/filler. Getting the fiberglass prepped so the VPA will bond well. Apply it...block it down.
Then....prep the body so a gelcoat or what ever type of primer you choose to use and apply it and then it gets sanded down and then it is sealed and ready for paint.
The photo you posted with the little nitch marks in the bonding adhesive of the body seam from the facotry. I would advise that these seams get ground down and filled back in with the VPA and make it so there is NO definitive line still showing where you can see the edge of the fender and top hood surround or what ever panel that has the seam like that. The idea is to remove some of the fiberglass and fill it back in so these seams and make the VPA WIDER than what GM did so they do not show back up after it is painted. Becasue...no primer, gelcoat or anything will keep this down forever...but getting rid of the crisp straight edges will make it so they never show back up. I can go into greater detial if needed about this process.
I will back DUB up on this - DUB turned me on to VPA and I have used it on 2 customers cars - I love it and looks OE -
I agree - the product in the photo - I would not use - I use Rage Ultra of body filler work...
I have ordered the VPA, should arrive today, also ordered the Evercoat Rage (extreme), hope that is ok instead of the ultra. For the fiberglass gouges, just to be clear, do I use the VPA or the Rage extreme?
I know you have reservations on using a paint stripper. I did also but after trying other methods on my 64 coupe, I caved in when I no longer could take the frustration. If you reach this point you may want to consider using a stripper on the recesses and door jambs and other hard spots. I have used a paint stripping product named Citri-Strip that has not hurt the fiberglass. Home Depot has this in 1/2 gal size for $20. I also use it because I don't have to adhere to the one direction application rule. It does not have a strong odor, wife has not complained about any odors coming from the garage. If you do happen to get some on your skin it does NOT chemical burn the skin like other stripping products. Not that you should leave it alone should you get some on you. Take precautions to minimize the mess.
If you live near a Harbor Freight store pick up a box of 1 inch brushes, 9mm Heavy duty gloves (black in color, not the blue) and something for eye protection. Depending on your paints age, and type you may find this product turns to goo. Scrape that off as best you can then repeat. In my current application I am having to use denatured alcohol to help remove this goo. Note, acetone and lacquer thinner do not work well on this goo. The initial cost will be about $60 for the stripper, brushes, gloves and stuff. It was worth it to me as the razor blade even with the heat gun was not up to the task of removing paint from hell, feather fill and bondo. My 2 cents and probably worth less. Best wishes on your project.
I have ordered the VPA, should arrive today, also ordered the Evercoat Rage (extreme), hope that is ok instead of the ultra. For the fiberglass gouges, just to be clear, do I use the VPA or the Rage extreme?
Dealing with this thread and the type of car being repaired...I would use ONLY Vette Panel Adhesive on ALL fiberglass bonding and filling repairs. I do not care if it is a small pin hole...it gets filled in with VPA. The seams get ground down and filled in with the VPA.
So...in my opinion...save your money and do not buy the Rage product.
If I have damaged headlight doors. I fill in with the 'Metal to metal' product from Evercoat. Simply because it is sliver...and I would want any repairs on the headlight housing to be filled in with it so IF it got chipped by a rock...at least the filler would be just like the aluminum housing...and NOT have a blue, yellow or pink body filler on it making it stand out.
Now...you can use what you wish...but there is a reason why I use STRICTLY VPA. And it is due to no other product is like VPA in my opinion. I have tried many and they all have something that I feel is not as good and VPA.
I know you have reservations on using a paint stripper. I did also but after trying other methods on my 64 coupe, I caved in when I no longer could take the frustration.
I broke down today, and used the stripper, in an area that the razor blade was NOT working as smoothly as it has in other areas. I found layers of filler underneath!! UGH. I posted pictures on "Restoration journey begins" thread. I sanded for several hours, but not sure how far to take down the "bondo". The chemical stripper made it very soft. Hoping I didn't cause more harm than good.
Have used the stripper you referred to on many furniture projects. Good product. Today I used Keen aircraft/fiberglass stripper, worked really well till I got to the "bondo", I leave it for about 5 minutes and use a dull razor blade and hold it perpendicular to the surface and scrape of the paint. Worked good. At first it was SO messy, but I developed a system of a small box with a hole cut out the top, I just scrape all the goop into the box as I go and toss it!
Thanks for the encouragement. I read threads on here that talk about stripping paint off a car in 2 days.... what the hell? In my dreams! My father referred to harbor freight as a mans candy store. HE loved going there. I think that is where he did most of his Christmas shopping!
I broke down today, and used the stripper, in an area that the razor blade was NOT working as smoothly as it has in other areas. I found layers of filler underneath!! UGH. I posted pictures on "Restoration journey begins" thread. I sanded for several hours, but not sure how far to take down the "bondo". The chemical stripper made it very soft. Hoping I didn't cause more harm than good.
Take the Bondo all the way off down to the bare glass. Get it all out of there........
 03-01-2017, 10:00 AM