When you click on links to various merchants on this site and make a purchase, this can result in this site earning a commission. Affiliate programs and affiliations include, but are not limited to, the eBay Partner Network.
Hello,
I am a relatively new member to the forum but I have sifted through countless threads to help me complete a full frame off restoration of my 71 LS5. However, the last item to be addressed is the paint. I have begun the process of stripping the body (via the razor blade method so far) and have about 85% of it stripped. I wanted to start this thread so that I would have a place to post pictures and questions as I progress to get some of the professional painter's advice on this forum.
My first question is once I have the paint stripped to a patchy/thin layer of the brown/red primer, what do you recommend to remove the remaining primer? I have read of some people just sanding it the rest of the way and also people using scotch-bright pads with acetone? All help is appreciated.
Nice progress. You'll find that you get lots of great help here. I'd start with the least aggressive method first and avoid the sander. Keep the pictures coming.
Hello,
I am a relatively new member to the forum but I have sifted through countless threads to help me complete a full frame off restoration of my 71 LS5. However, the last item to be addressed is the paint. I have begun the process of stripping the body (via the razor blade method so far) and have about 85% of it stripped. I wanted to start this thread so that I would have a place to post pictures and questions as I progress to get some of the professional painter's advice on this forum.
My first question is once I have the paint stripped to a patchy/thin layer of the brown/red primer, what do you recommend to remove the remaining primer? I have read of some people just sanding it the rest of the way and also people using scotch-bright pads with acetone? All help is appreciated.
Before starting to strip the body
Current stripping progress
Damn, that looked good before you started! Do you know what you're in for? LOL
On a serious note, I think the remainder would easily block off with #180. I'm not a Professional. Good luck.
TWINRAY, though it's hard to tell from the picture, the previous paint job was definately a 20 ft paint job. This picture just so happens to hide several areas where paint was bubbling up and the clear coat was chipping away.
My first question is once I have the paint stripped to a patchy/thin layer of the brown/red primer, what do you recommend to remove the remaining primer? I have read of some people just sanding it the rest of the way and also people using scotch-bright pads with acetone? All help is appreciated.
GET READY.....Your is getting ready to commence.
Acetone will flash off too quickly and is not aggressive enough to do anything to that primer. It will.... but DAMN....I do not want to be there a month later still working on the same panel. IF I were to use NOTHING but red sctoch-brite or ROUGH steel wool with AUTOMOTIVE grade priming lacquer thinner to remove this primer...it will work...but it can take some effort. NEITHER the rough steel wool or red scotch-brite will harm your fiberglass.
Buy you a 5 gallon can of the lacquer thinner...trust me...you will use it. And also a good bunch of BOUNTY paper towels.
Honestly...I would use the Klean-Strip's paint stripper for fiberglass in THIS specific scenario.
And...if you are fearful...'thinking' that you are going to screw something up....well..I have helped numerous member and they have used the chemical and have had no issues....because we would have heard about it by now.
Now..like many others who have called me at my shop. PM me and I can talk with you about how to safely use the chemical stripper becasue that is my primary method to strip paint. If you want this free help...PM me....and this is only becasue i can not type for hours on what you need to do when phone call will cover it in a fraction of the time. OR...follow the directions on the can and then figure out the 'tricks' that you are missing that are not written on the can.
Blocking this primer off is also possible...but that this can be super labor intensive and 'learning' how to correctly block your panels on this car is YOUR choice. I know I could in many areas...but I have been doing this for a long, long time.
DUB
DUB
Thank you for the advice. I was planning to get some of the areas non accessible to the razor blade with chemical stripping. I will order some of the Kleen-Strip Fiberglass stripper and will call you for specific instructions.
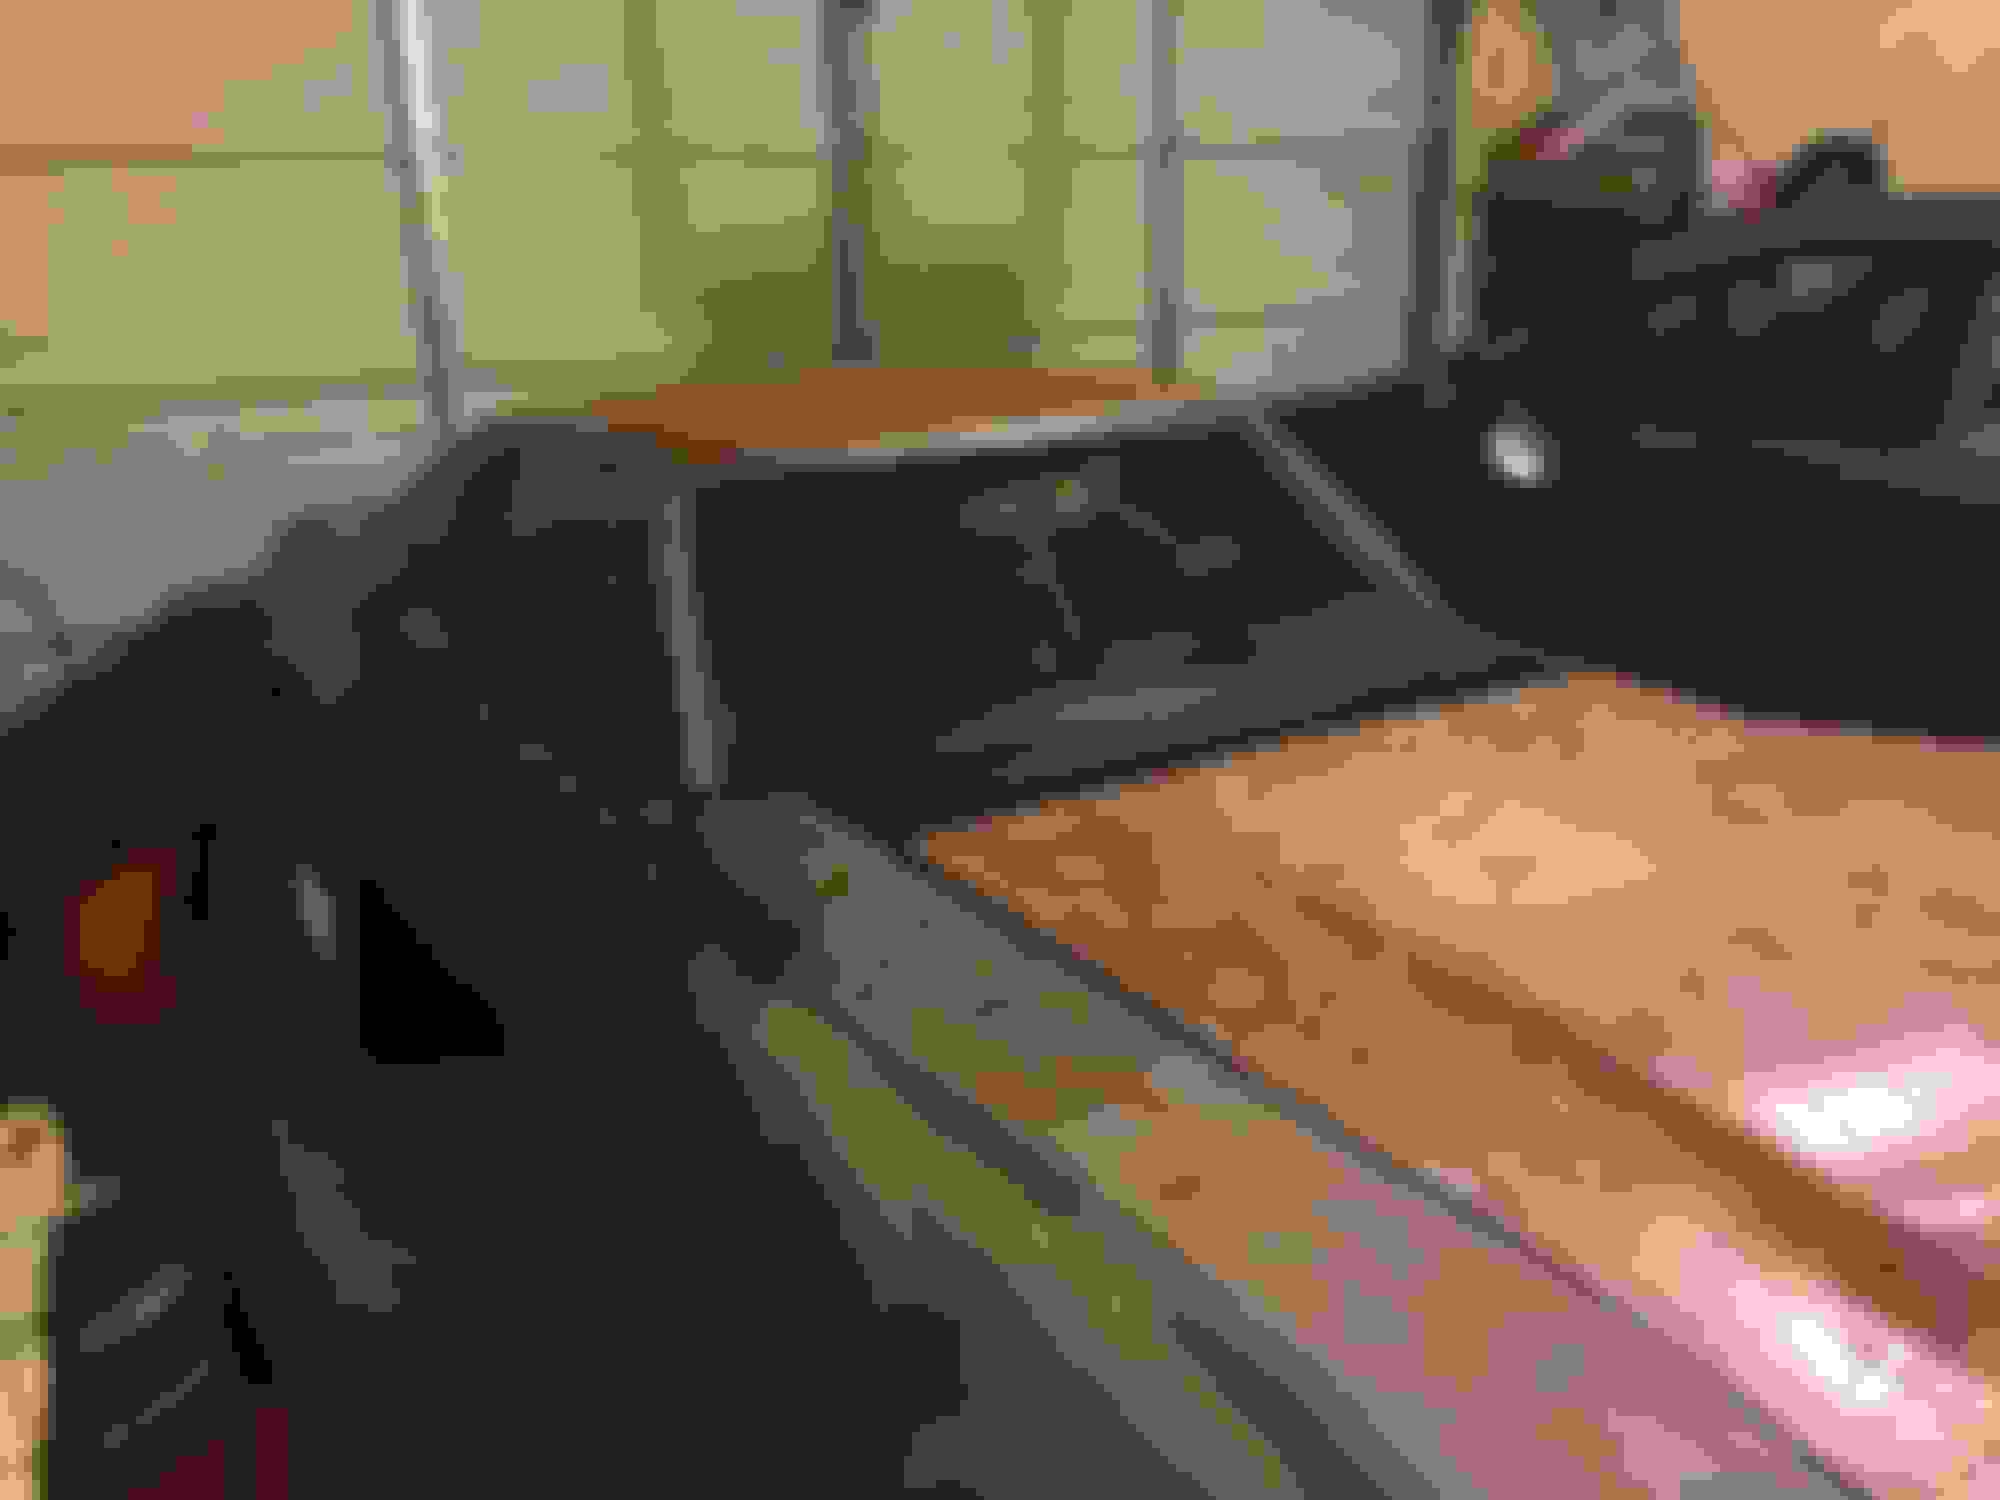
I'm about 2/3 complete stripping off the last of the red oxide primer. While using the razor to remove the paint I had also been thinning out the layer of oxide primer and a result, the majority of the oxide primer has come off fairly easily with just automotive grade lacquer thinner and scotch-brite pads.
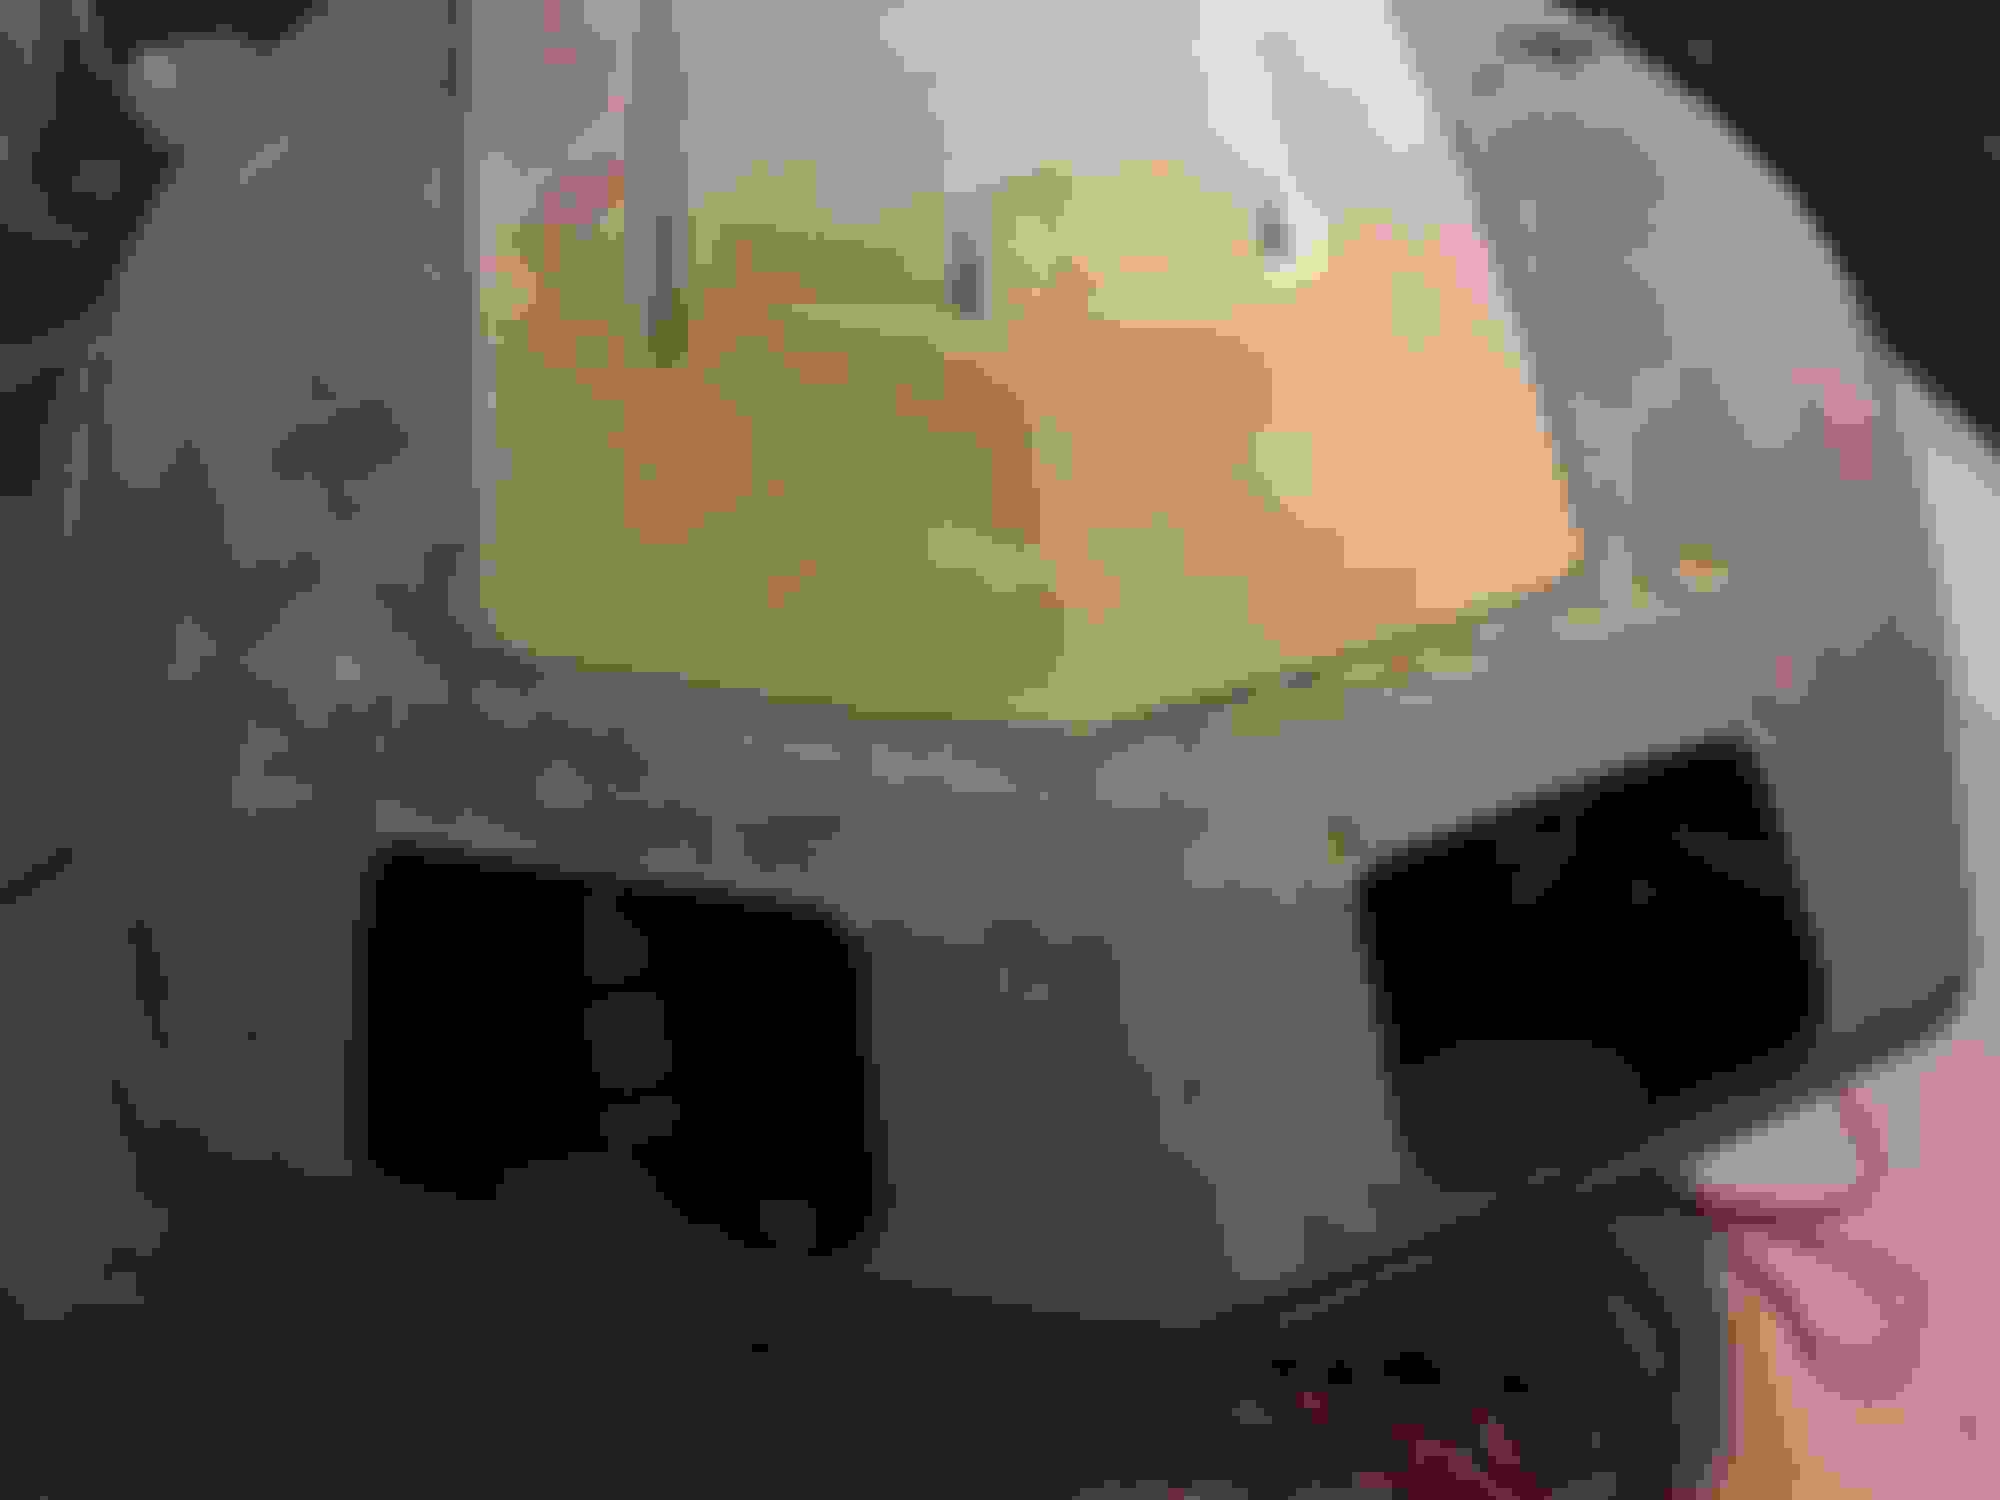
On a different note, the area that I have so far avoided has been the nose where the front support bar is riveted to the body. I previously started to go over the raised areas being pushed up by the rivets with the razor blade and the blade started to pull up fiberglass strands. you can see from the picture that the hole where the rivet is looks to be filled with resin and possibly have fiberglass mat laid over it? The car has been repainted twice but I think both time were more of scuff and shoot type paint jobs.
So my question is, how do you typically deal with this area?
The car is looking good. You are doing a good job in stripping it!
Originally Posted by 7Stingray1
On a different note, the area that I have so far avoided has been the nose where the front support bar is riveted to the body. I previously started to go over the raised areas being pushed up by the rivets with the razor blade and the blade started to pull up fiberglass strands. you can see from the picture that the hole where the rivet is looks to be filled with resin and possibly have fiberglass mat laid over it? The car has been repainted twice but I think both time were more of scuff and shoot type paint jobs. So my question is, how do you typically deal with this area?
Thank you for the help
Honestly...this area of the top hood surround 'raised rivets' can be dealt in a few different ways.
SO...it will depend on how far you want to get into this.
Further investigation may be required....along with YOU deciding on which method to employ.
One way is to grind and beat down the raised bumps and fill them in and let it be that. And that is not stopping the PROBLEM that is causing the bumps.
The other way is removing the beam and correctly repairing the top surface and then addressing the problem in the beam you removed and re-install it.
And there are different methods of repairing the support beam.
SO...kinda need to know which way you want to do this. And you can call me if you want to. I know how I would do this if it were my car...but it is your car.
It's been a little while but I got all of the filler that was around/covering the exterior rivet locations and here is a clear picture of the nose. You can see that some of the rivet locations are low points that have been built up with filler and others that look to be filled with resin possibly? My question is, does this look like someone has previously drilled through the exterior fiberglass to remove the rivets? The rivet heads are still in place under the lip of header bar. Do you recommend that I fix these areas of the exterior fiberglass?
Also I am planning to remove the header bar and replace without the rivets using DUB's procedure.
As per this design of top hood surround. IF the aluminum rivets are removed. Then the fiberglass bonding strip that WAS riveted to the steel support....is no longer secured with the rivets.
Thus...if they did go in and cut off the rivet head...then the metal support beam is only being held to the top hood surround via the remaining aluminum rivets that did not remove....that are still holding the bonding strip to the metal support
Take a grinder and grind down and investigate. It is not like you are not going to have to deal with body work on this panel anyway.
It looks like they are still there.
DUB
Ok so I started to heat up the the panel above the headlight support bar in order to soften up the adhesive to remove the bar. In doing so, the heat also softened the resin in the fiberglass patches that the previous owner used to fix the holes cut into the body over the rivets. I was fairly easily able to "poke out" some of the patches. My question is, there are patches all along the header bar above the rivets that are already flush with the body exterior, should I remove all of the old patches and fix all the holes again? Or am I just creating more work for myself? Because I plan to remove the header bar and bonding stripping I would think that I could create a better patch simply because I would have access to the back side of the panel.
As per our discussion...remove the fiberglass stuff that someone used to try to fix this and then heat teh panel up and try to get the beam to come off.
I am sure you will get this.
All repairs will be addressed when you get his beam out...so do not concern yourself with that a this point.
Alright I have successfully removed the support bar from the nose. I first removed all of the old exterior patches made by the previous owner. Once I did this I was rather concerned with how weak the fiberglass section was and the stress I would put on it trying the separate the bonding strip from under the exterior fiberglass so I decided to take a different route. Because there were already holes drilled in the exterior fiberglass over most of the rivets, I was easily able to remove the rivet heads with a properly sized drill bit. On the remaining rivets with no existing holes in the exterior fiberglass, I carefully ground down the underside of the rivet to allow the support bar to slip off. Once I did this a few quick taps and I had the bar out of the car. I then used a small carbide bit to take away the bonding strip where the remaining rivets where still sandwiched between the exterior fiberglass.
Once I got the old support bar removed I was happy so see that it was in pretty decent shape. I should be able to get it good as new with a bit of sand blasting and paint. That being said, I plan to leave the bonding strip in place and bond the old refinished support bar back into place. This should assist me with getting the headlight alignment correct. What adhesive do you recommend to use here? Should I make the fiberglass repair to the exterior first or glue in the sport bar first or does it matter?
But all I can say is that if your car were in my shop. The fiberglass bonding strip would be removed. Even if I know that I was having to have to bond it back on again. The reason being...IF I had applied serious heat and attempted to get it to come off and did not get very far...I would be concerned about the bond of it in the future.
I am not one who likes to have to go back into a repair and do it again...so that is why I would pull it and bond it back on myself. With my luck...it would delaminate and when the owner went to raise the headlights...the headlight housing would hit the hood surround and chip paint.
As for the bonding adhesive to bond the metal support in...you can use:
This may require you to use a special applicator gun...unless FUSOR has changed the packaging and the tube is a normal caulking tube.
BUT...if you READ what I linked you to...the 127EZ can be applied on PRIMED METAL...which makes as BIG DIFFERENCE. SO...normal epoxy primer is what I would use and I WOULD NOT get the epoxy primer thick by piling on several coats where the adhesive is to be applied. OR..you can run into possible shear action due to the epoxy is too thick....and separates within itself
ALSO...you can call or contact SEM. SEM products can be applied normally on CLEAN ROUGH BARE STEEL. As long as you cover all exposed bare steel, it will not rust....and you might be able to get a loaner applicator gun for it through your local SEM rep.
As for the holes in the top surface....it will depend on if you plan on leaving the bonding strip on or not. Because if you do plan on removing it...that is when I would repair the holes in the top surface.
If you plan on leavign in the bonding strip...make sure you prep the surface where the adhesive will be applied to hold the metal support in.
Well progress has slowed down a little bit lately. I am waiting on materials to arrive to perform the fiberglass repairs on the nose and also reinstall the header support bar.
In the mean time I wanted to start to develop a paint plan. Tentatively the products I am planning on using is VPA for all body filler/body work, SPI Epoxy primer, possibly a 2K primer, PPG BC/CC (Bryar Blue), and SPI Universal clear.
As I have previously mentioned, I am new to painting cars so any and all advice is appreciated. I have read significantly on the application of these products but would like your advice on the exact steps involved on the process.
Of course I need to inform you of my goals for my paint job first. I restored my car so that I could have a reliable, fun car that I could drive on 200+ mile trips. I thoroughly enjoy driving the car and drive it whenever I can justify it, even if it is just to go get groceries. That being said, I am looking to achieve a good lasting paint job that will pass the inspection of anyone passing by. However, I am not trying to achieve a paint job that will pass extreme scrutiny from experienced painters.
As with all things, I am approaching this project as balance between time, money, and quality. Thank you for your suggestions.
Last edited by 7Stingray1; 10-22-2016 at 05:32 PM.
in preparation to bond in the header bar I filled in all the places where I had to dig into the bonding strip to remove the rivets. I used multiple thin layers of VPA to do this. This was my first time using VPA and it went pretty well. But I will note that you have to move FAST once you add in the hardener. I started by trying to get the mixer to look a very very light shade of blue to match the pictures here on the forum but by the time I had it mixed the VPA was already starting to gum up. After that I experimented using less and less hardener until I got a better working time. Also there is a crucial window of time where you can sand off the VPA before it gets rock hard. For me I could start sanding within 10 minutes or less and the VPA sanded nicely. Next up I will be test fitting and bonding in the header bar.
YEP...Now when we talked and I talked to you about the VPA...I guess it is all making sense now. In some cases you can go from mixable VPA to it rocking up in under a minute.
GOOD JOB on the underside of the top hood surround binding strip..VERY NICELY DONE!
Well I had some time to put in a couple of good days of work on the car and I was able to get the header bar installed, the fiberglass work on the holes completed, and the VPA work done.
Here is the header bar once I got it clamped in place. I ended up using SEM 39747 Multi Purpose adhesive. Before I removed the bar I had taken measurement to ensure that the header bar was in the correct location, however, because I was able to reuse the old header bar and bonding strip, I inserted 1/4 bolts through the top of the bonding strip in the old rivet holes to act a dowel pins. This worked very well and allowed me to focus on getting the correct amount of crush on the adhesive. I removed the bolts after a coupe of hours and then left the clamps in place.
I removed any adhesive that had come through the rivet holes, put bevels on all of the holes, and cleaned in preparation for the fiberglass.
This was my first real experience with fiberglass work so before doing anything on the car I ran a couple of tests on some scrap I had laying around. The tests really helped to get the correct amount of hardener to get the drying time I wanted (the first test I used a couple drops less than recommended and the resin was rock hard after 2.5 hours.)
I also cut all of my mat and frayed the edges before starting.
After letting the fiberglass dry for 3 days I ground down the excess fiberglass and put a bevel on the new fiberglass up to the exterior panel in preparation for the VPA.
I then filled in each of the holes with VPA and feathered the edges into the exterior panels. The were still some low spots in the VPA but I figured I would pick those up when I put the skim coat of VPA on.
And here is the finished product. I put the skim coat of VPA on the panel and started the block sanding process. I'm pretty happy with how flat and smooth the panel came out but as you can see from the picture, there were some breakthrough spots where I starting getting down to the original panel. These areas feel flat and I can't feel any low spots, however, the point of the skim coat was to help any "edges" from showing up through the paint so my question is, should I go back and try to add VPA to these areas? Its possible that I add the VPA and then just sand it right back down to the parent glass to get it flat again.
HECK YES....you follow instruction VERY WELL!!!!!!!!!!!!!!
Originally Posted by 7Stingray1
My only question/concern is that in this photo. I can see that you did grind down the resin and mat. But I can also see that deep in the low areas they have not yet been sanded or ground on. Hopefully you did make sure that these dark low areas were ground on so the VPA would stick.
 08-21-2016, 10:44 PM


 is getting ready to commence.