When you click on links to various merchants on this site and make a purchase, this can result in this site earning a commission. Affiliate programs and affiliations include, but are not limited to, the eBay Partner Network.
I bought a new Shifter Cue Ball handle at Carlisle this week. I came home today and installed the new one but now the shifter boot won't stay up??? I must be doing something wrong....Anyone have any words of wisdom?
Depends what was holding the boot to begin with. The stock boot is locked to the ****, but most aftermarket ***** are not. My CoreShifter model has a rubber grommet that is zip tied to the boot.
Say something about this photo
I would also be interested in a solution. My c5 also has the cue ball shift handle and the boot will not stay up. I have tried a zip tie without success; I can't get it tight enough to stay up when shifting to 3rd or 5th.
For the guys with the aftermarket *****, do you still have the lock ring on the top of the boot? If so, you might try removing the ring from the boot and zip tying the boot directly to the stick from the bottom side. Invert the boot, zip tie to the stick, then roll the boot back down over the tie.
You have to remove the top piece of the center console to turn the boot inside out. MGW has good instructions and a video. It's not very tough, it's just push pins and wiring harnesses to unplug:
I bought a new Shifter Cue Ball handle at Carlisle this week. I came home today and installed the new one but now the shifter boot won't stay up??? I must be doing something wrong....Anyone have any words of wisdom?
I'll guess a bit here, but I think if you examine the slots (or grooves) on the stock **** and then on the aftermarket ****, you'll see where the problem lies. I'm talking about the slots that the pins on the chrome boot ring ride in as you pull the boot and ring upward then twist them clockwise. The stock **** has detents in the horizontal part of those slots for the pins to slightly drop down into, whereas the aftermarket **** has a horizontal slot running all the way around the ****, but no detents. Use a dremel tool or something similar to add a pair of slight detents in the horizontal slot, 180 degrees disposed around the aftermarket ****, to approximately duplicate the detent locations in the stock ****. The pins on the chrome boot ring will now drop into those detents and stay in place. I think if you have both ***** in front of you, my description here will make sense. Hope it solves your problem.
I don't understand why people don't post a pic where one would be so helpful, it's difficult to help someone who doesn't want to help themselves.
It takes more than one picture but will post a few. If you want to know how it's removed and attached this is a PDF with 21 pics of my install: http://netwelding.com/Shift_Knob.pdf
Note the groves that hold pins in the chrome ring to the **** are in the OEM **** and in the cue ball **** I added.
Great ****, reduces shift stroke ~12% and makes 1st to 2nd and side control better.
The usual question asked is how to remove the skirt from the **** but the same two pins attached to the chrome ring must be pulled up in the **** grooves (one on either side) and turned clockwise ~90 degrees over the hump to lock it in place. As described in the PDF, in my case (and others have reported the same) it required pliers (using a rag to avoid surface damage) to get it over the hump!
For the guys with the aftermarket *****, do you still have the lock ring on the top of the boot? If so, you might try removing the ring from the boot and zip tying the boot directly to the stick from the bottom side. Invert the boot, zip tie to the stick, then roll the boot back down over the tie.
The cue ball ***** sold have the same two groves in the **** base that hold the chrome ring to the ****. No need to remove it. See my post #10 above.
I'll guess a bit here, but I think if you examine the slots (or grooves) on the stock **** and then on the aftermarket ****, you'll see where the problem lies. I'm talking about the slots that the pins on the chrome boot ring ride in as you pull the boot and ring upward then twist them clockwise. The stock **** has detents in the horizontal part of those slots for the pins to slightly drop down into, whereas the aftermarket **** has a horizontal slot running all the way around the ****, but no detents. Use a dremel tool or something similar to add a pair of slight detents in the horizontal slot, 180 degrees disposed around the aftermarket ****, to approximately duplicate the detent locations in the stock ****. The pins on the chrome boot ring will now drop into those detents and stay in place. I think if you have both ***** in front of you, my description here will make sense. Hope it solves your problem.
Ernie
Not being critical of your word description as you did a good job in words but it needs a picture as I provided in post #10! By the way, my cue ball **** had the detents, there wasno need to make them. It's just that my pins were too large-should have sanded before I installed it!
I'm reminded of a comment a poster mentioned when I was trying to remove my chrome ring before i bought my new **** and had the same problem he did-it's covered in my PDF! He posted he tried for 1/2 hour and was ready to use C4 explosive! I felt the same but went to youtube and saw "how easy it turned 90 degrees" where, following the install words, I was pulling up and turning but could get no more than ~10 degrees! In fact the video was NO Help in defining why, they made it look so easy! For some cars it apparently is!
However the poster that was ready to use C4 just said in his post, "You'll see why you need to pull up first when you get the **** off!!"
Left me with a Catch 22! "You'll know it when you see it but you can't see it until you get the **** off!"
That is one reason I have made ~35 PDF's for the C7 on what appear to be simple DIY's! Made a new one last week about replacing the battery! A few tricks were needed, certainly not as easy as on my C6! Reminded me of my '88 Vette battery replacement where the simple solution was to remove two screws and rotate part of the fender and slide it out! If you knew that method. Talked to two people who actually removed the metal brace and the master cylinder to remove it by lifting it up to get it out! That is why I buy the Service Manuals and use the Forum for answers!
Link please? Go to Post #10 and download the PDF for the shift ****. At the end you'll see a few pages with ~35 other PDF's on other C7 mod with pics on my install of: side skirts, splitter, hood vent, CAGS eliminator, sill plates, radar detector power, battery replacement, window valet, covering chrome grill bar with real CF, removing the GM plastic on car sides, improving the cup holder, low restriction air intake, installing nylon bra, installing catch can and clean air oil separator, fangs to protect side pads. Also includes: jacking up a C7, changing oil: replacing clutch fluid and fixing muffler rust,-and a few more! Just click on the pic and you should download those or put the PDF link provided in your browser.
How much does Chevy get for the service manuals?
About $400 for 4 volumes each about 2 inches thick and 8 1/2 X 11.
It takes more than one picture but will post a few. If you want to know how it's removed and attached this is a PDF with 21 pics of my install: http://netwelding.com/Shift_Knob.pdf
Note the groves that hold pins in the chrome ring to the **** are in the OEM **** and in the cue ball **** I added.
Great ****, reduces shift stroke ~12% and makes 1st to 2nd and side control better.
The usual question asked is how to remove the skirt from the **** but the same two pins attached to the chrome ring must be pulled up in the **** grooves (one on either side) and turned clockwise ~90 degrees over the hump to lock it in place. As described in the PDF, in my case (and others have reported the same) it required pliers (using a rag to avoid surface damage) to get it over the hump!
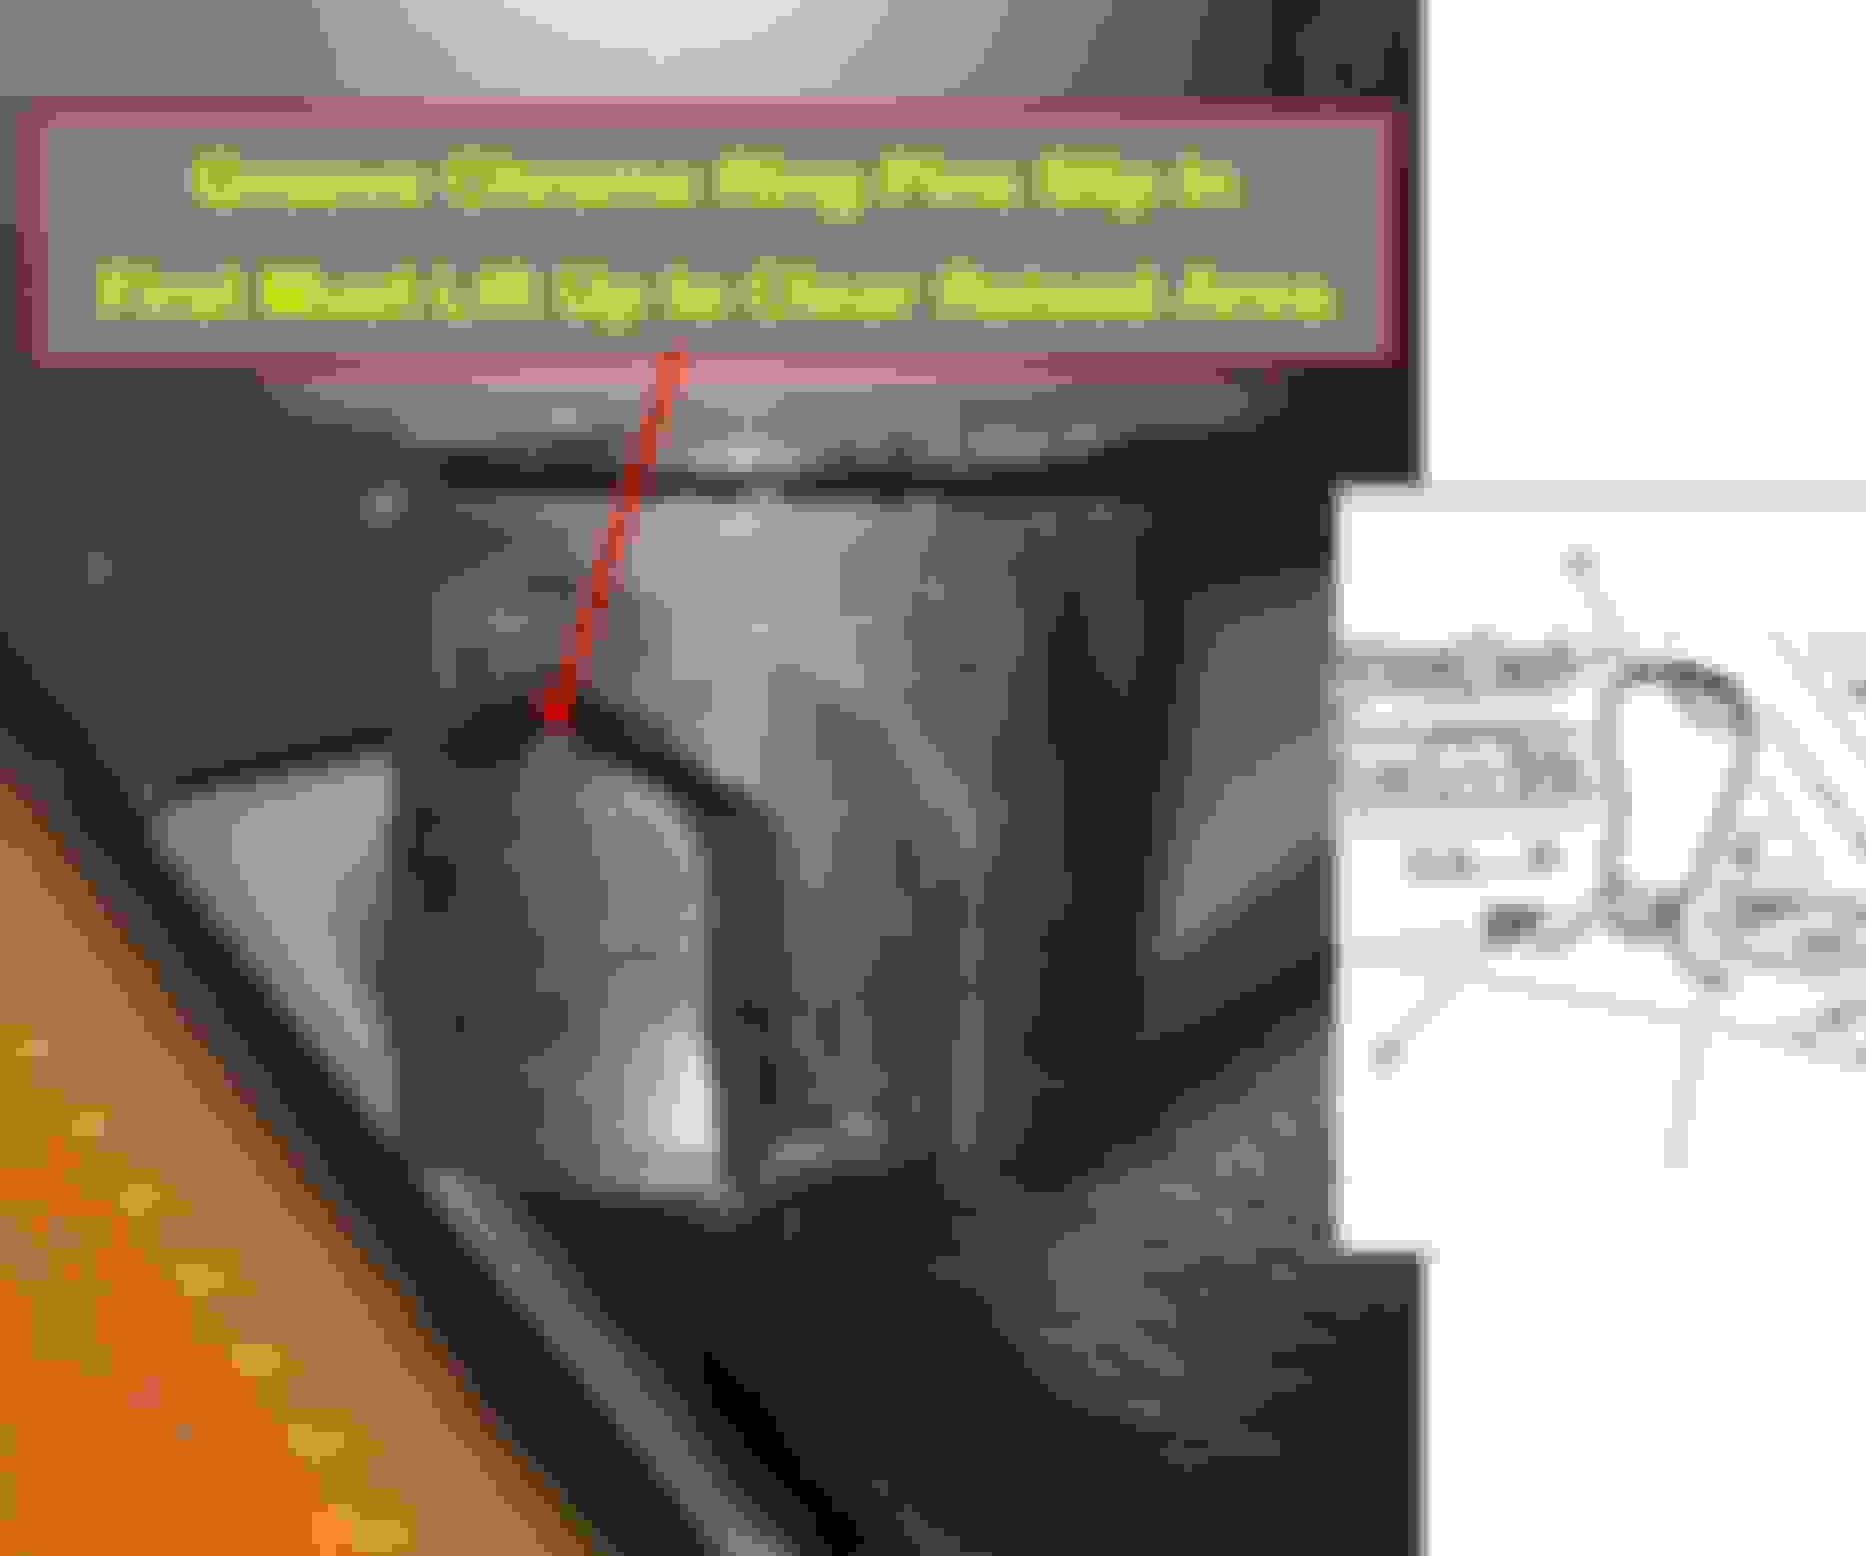
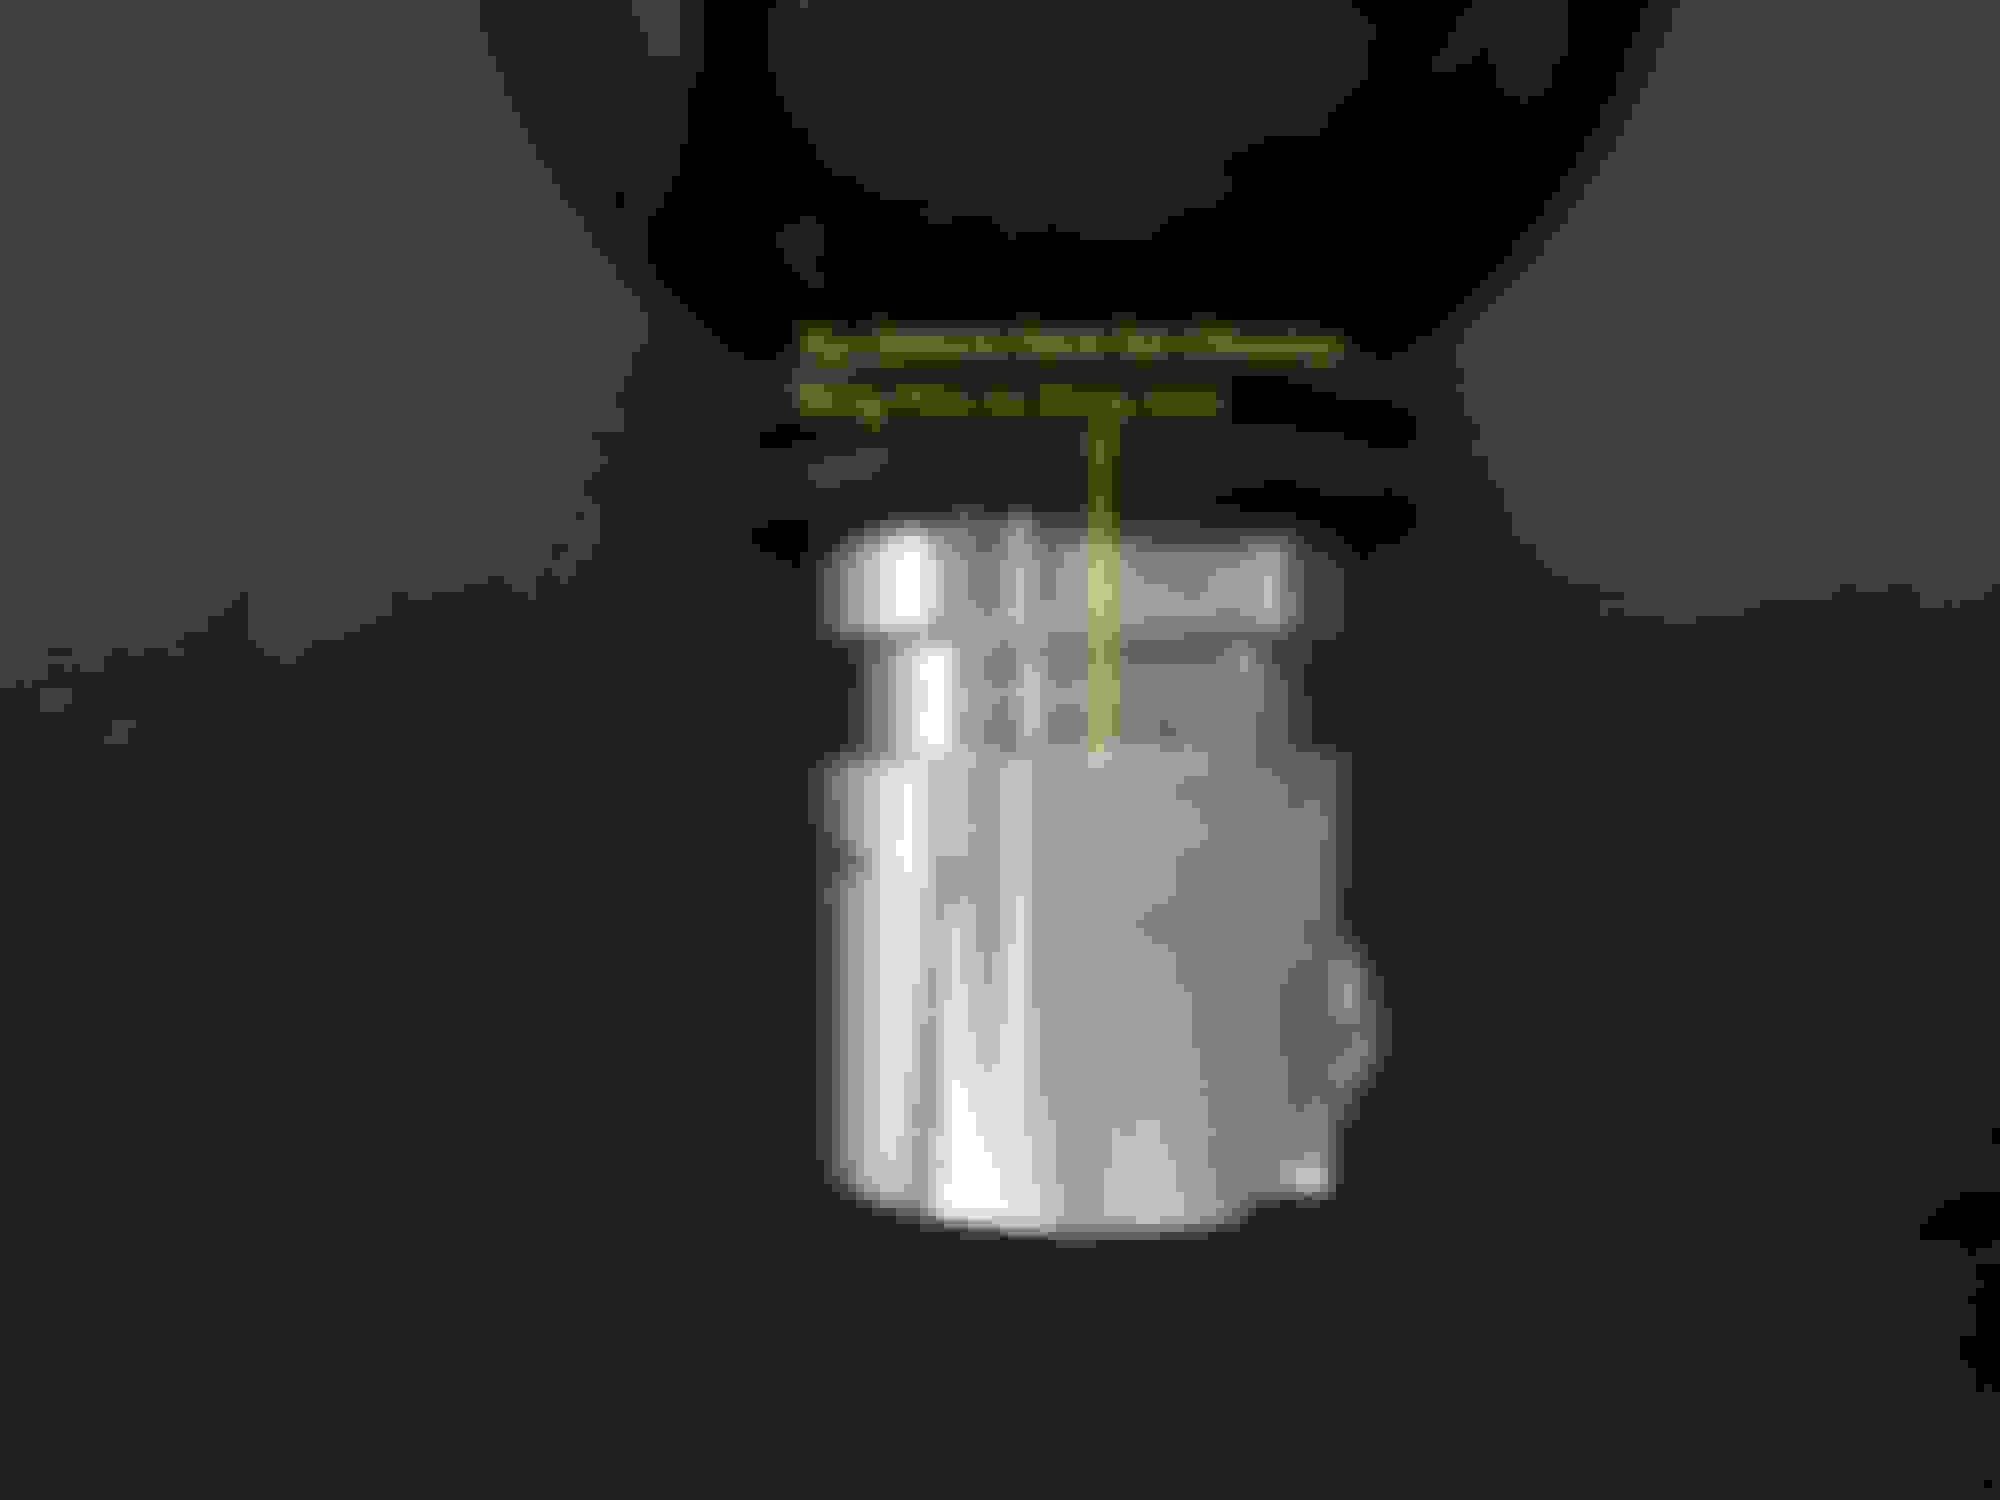
Thanks for the pictures, Jerry -- always appreciate your DIY stuff. Here's an additional picture that shows an example of currently available aftermarket *****. It doesn't have the detent to hold the chrome ring pins in place. Without the detents, the boot and chrome ring can rotate slightly, then drop down from their normal position on the **** (unless the pins fit as tightly as your's apparently did).
Thanks for the pictures, Jerry -- always appreciate your DIY stuff. Here's an additional picture that shows an example of currently available aftermarket *****. It doesn't have the detent to hold the chrome ring pins in place. Without the detents, the boot and chrome ring can rotate slightly, then drop down from their normal position on the **** (unless the pins fit as tightly as your's apparently did).
Definitly need the detent! Surprised it was made without it.
Definitly need the detent! Surprised it was made without it.
Whether detents are needed may depend on the final position of the ****. If the lock ring can rotate far enough, like 90 degrees, then just having a flat would work.. Not having a detent also means the ring is not limited on how far it can rotate...so it all depends on exactly how the **** is oriented.
That's a little more than I want to pay for service manuals.
I guess I'll keep reading your pdfs...
Please produce more of them.
Edit: Oh, and re the link: I was hoping I could get just the updates, since I downloaded everything that was available on June 3.
Funny, a few of us got the manuals for $220 with shipping. We ordered from the first day they were available. All of a sudden and shortly thereafter the price raised to $400. Thought perhaps they were going to discount to distributors or offer an electronic version and for a yearly fee. But nothing happened they just raised the price. They did that for other manuals as well. Must have got a new CEO who earned a big bonus with increased revenue!
I do make some additions from time to time if I find something new. I keep the same link so I can't even tell you which are updated! For example had one on battery issues but just updated to add how to install a battery! Don't plan on any more mods as believe I'll get a GS mid next year! Have to see what mods it will need, already planning to fix the cup holder, install CAGS eliminator and a few others!

 08-28-2016, 06:33 PM


 That is why I buy the Service Manuals and use the Forum for answers!


 Definitly need the detent! Surprised it was made without it.
