When you click on links to various merchants on this site and make a purchase, this can result in this site earning a commission. Affiliate programs and affiliations include, but are not limited to, the eBay Partner Network.
I have gotten a few requests on how I did this so here is my write up for those who are looking to do this. This install was done using high strength commercial grade 3M VHB 4941 double stick tape. This tape is stronger than rivets, so please no opinions on how double stick tape won't hold, because thus stuff is proven to work. There are many YouTube videos out there by 3m showing how strong VHB tape actually is. The install was fairly simple and best of all I didn't have to remove the rear spoiler. First I did a dry fit with winglets and put them across the spoiler, that's when I realized the ends by the brake light will have to be pressed in a bit to make them snug up against the spoiler. The winglets come with tape on them that you will remove later. Next I took off the tape protection and stuck the winglets to the spoiler. Start with the side closest to the quarter panel and work your way in towards the center of the car. A good tip when starting is to keep the winglets on a slight angle away from the the spoiler until you think you are lined up and then position them. When you start to place them the outside will hit the spoiler but the pieces towards the center won't, so keep pressure with one hand near the quarter panel side to keep it in place and then with your other hand push toward the brake light, they have plenty of give and won't be damaged doing this so don't worry. Once you have them placed, mark the holes. Once your holes are marked ( I used a paint marker just because I had one and it was easy to see the markings on my carbon spoiler) remove the winglets. I then drill the spoiler so that I could use the screws that's came with it. This will help secure the spoiler but is not needed. I figured it was easier to drill the screws than it would of been to cut off the heads and glue them to the spoiler. You will only drill the 4 rear holes. You won't drill the side one as it won't reach, I'll show you what I did with the side one in pics later. I drilled holes a bit smaller than the screws and then worked each screw in about a quarter of the way to have the hole ready for the install later. This is an important step to have the holes right when you mount the spoiler later. I then backed the screws out and put them to the side. Once all is drilled you will want to clean the spoiler. I washed it dawn and soap and then clay bar/ nano skin mit( this may be over kill but I have one so I used it. ) Just make sure you clean the spoiler well and remove any wax or sealers. Next was removing the tape from the winglets. This part actually took a while just because I wasn't sure how to remove the tape. The best way was using a putty knife and scraping the bulk of the tape off. It won't all come off so used WD40 and soaked the tape and scraped the rest off. Goo gone should work well, but I didn't have any and didn't feel like running to Home Depot. Make sure you lay the winglets down on an old sheet or towel when removing the tape as it will take some pressure to remove it, and this way you won't scratch the painted finish. Once the tape was removed I cleaned the winglets with soap and water them dried. Then I cleaned them with Isopropyl alcohol. The key to make the tape work well is to have the surface as clean as possible. Next I used 3M adhesive promoter ( comes in little packages) and took one and applied it the winglets. The adhesive promoter needs to dry for about a minute or two. I then applied the VHB tape to the winglets. Just follow the indented lines where the original tape was ( you will see them after you remove the old tape. Next I cleaned the spoiler with alcohol and then applied adhesive promoter. When I dry fitvthe winglets I marked them with painters tape so I wouldn't get the promoter on the part of the spoiler that winglets weren't going to cover. Now it was time to install the winglets. Start from the quarter panel area carefully so you don't apply to much pressure until you have it lined ( this tape sticks quickly) I then put the first screw in the one closest to the quarter panel, then I pushed the winglet flush against the spoiler and screed the screw by the third brake light and then the remaining 2 screws. Repeat same on other side.
Tape used 3M VHB 4941 (designed for plastics and similar materials). The tape size 45mil thickness and the width was 3/4inch. 1/2 will work as well but this is what I bought. I bought the tape on Amazon and they sell it in 5 yard rolls for about $25. You will also need the 3m adhesive promoter not necessary, but I used it as an extra precaution. Amazon sells these in little packets and I got 2, one for the spoiler and one for the winglets, they are about $3 each. Carquest auto parts is the only place I found that carries the adhesive promoter also. I didn't buy it when I bought the tape but later decided too. The tape grabs right away but requires 24 hrs to fully cure and 60 degrees or higher temp to install.
Test fit with GM tape and to mark holes
Marked where the spoiler ends so not to get adhesive promoter on rest of the spoiler. Forgive the fingerprints they are driving me nuts in this picture.
Drilled the screws 1/4 way in and then remove them
Inserted screw in the side hole because it won't be drilled and secured it with a nut. Do this before mounting
Side screw secured with nut. Once again do this before mounting the spoiler.
Thanks it was fairly simple. I think anyone can do it. Just take your time.
I'm speaking from experience, you're a brave man. I installed a wicker bill on my Camaro last year. The first hole takes about 45 mins to drill (measure a couple hundred times). The beauty of the first hole is, there's no turning back, you have committed, the pressure is off so you just concentrate on the end result at that point.
I'm speaking from experience, you're a brave man. I installed a wicker bill on my Camaro last year. The first hole takes about 45 mins to drill (measure a couple hundred times). The beauty of the first hole is, there's no turning back, you have committed, the pressure is off so you just concentrate on the end result at that point.
Yea that sounds like it may of been a tough project. This one was really not that difficult. The winglets have factory tape that allows you to position and reposition the winglets so there was nothing to measure. Once you get them where you want you just mark the holes that are pre made in the winglets and then remove them and drill. 30 minutes and the entire spoiler was drilled. When I went to place them they lined up perfectly.
Yea that sounds like it may of been a tough project. This one was really not that difficult. The winglets have factory tape that allows you to position and reposition the winglets so there was nothing to measure. Once you get them where you want you just mark the holes that are pre made in the winglets and then remove them and drill. 30 minutes and the entire spoiler was drilled. When I went to place them they lined up perfectly.
Yes, it's a bit easier when they fit in place before drilling. I saw your other question earlier about the z06 grill and bumper pull. trust me, don't worry, Corvette team hates clips, it's all bolts (just 2 clips up top for show lol), so it will all line back up perfectly. Look at my pics on my post, once all your screws are out, lay your blankets, pull straight up on the top edge of the bumper right next to the passenger headlight, then repeat on driver side. Remember those tabs next to the headlights are first things to line up and slide in when you reinstall the bumper too (and make sure the guides slide in under the headlights too).
On a side note, did you move to Australia? Your avatar pic is upside down.
I've thought about doing this mid myself with stage 1 or 2, but not sure if I like how the ends line up since they are different shapes. Do you have a picture from the front side of the spoiler looking at the ends?
Yes, it's a bit easier when they fit in place before drilling. I saw your other question earlier about the z06 grill and bumper pull. trust me, don't worry, Corvette team hates clips, it's all bolts (just 2 clips up top for show lol), so it will all line back up perfectly. Look at my pics on my post, once all your screws are out, lay your blankets, pull straight up on the top edge of the bumper right next to the passenger headlight, then repeat on driver side. Remember those tabs next to the headlights are first things to line up and slide in when you reinstall the bumper too (and make sure the guides slide in under the headlights too).
On a side note, did you move to Australia? Your avatar pic is upside down.
Thanks for the tip. I actually have your post saved and will attempt the install next week when I get some time. Not sure why the avatar is upside down? I tried to fix it, but couldn't figure it out. I have enough skill to do my on mods on my car but can't figure out how to flip a pic. LOL
I've thought about doing this mid myself with stage 1 or 2, but not sure if I like how the ends line up since they are different shapes. Do you have a picture from the front side of the spoiler looking at the ends?
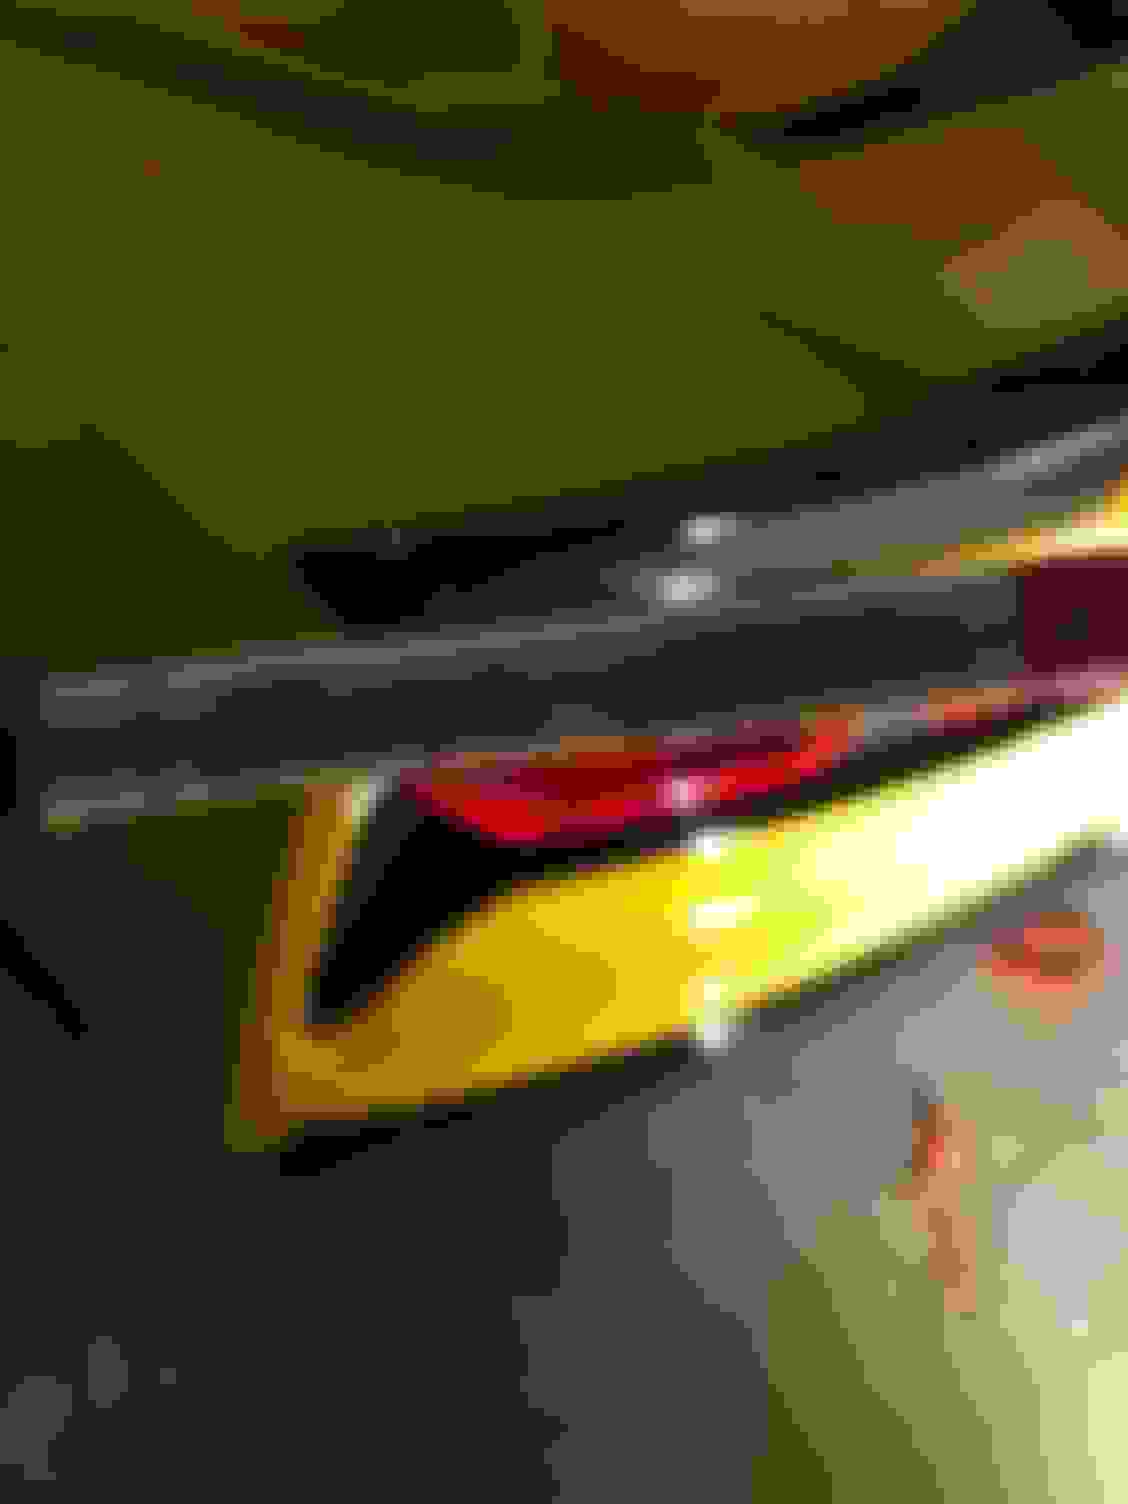
Not in town today, so can't take a pic this is the best I have. Let me know if you want a different angle and I can get a pic tomorrow later in the day. If your going to do the mod I would go with the stage 2 the stage one is only a little higher than your Z51 spoiler. Not sure what look your going for but I personally love the taller spoiler.
Not in town today, so can't take a pic this is the best I have. Let me know if you want a different angle and I can get a pic tomorrow later in the day. If your going to do the mod I would go with the stage 2 the stage one is only a little higher than your Z51 spoiler. Not sure what look your going for but I personally love the taller spoiler.
Not in town today, so can't take a pic this is the best I have. Let me know if you want a different angle and I can get a pic tomorrow later in the day. If your going to do the mod I would go with the stage 2 the stage one is only a little higher than your Z51 spoiler. Not sure what look your going for but I personally love the taller spoiler.
Thanks for posting picture of stage two Wickerbill. I like it also.
You did a great job on this, the pics on that link are what I was asking for, even tho they are pretty dark and can't really see exactly how the fit is on each end. I'm still on the fence of doing this VS going with the ACS ones.

 02-25-2017, 02:53 PM