
CCW Classic wheel restoration
 09-08-2011, 09:06 PM
#1
Racer

Thread Starter


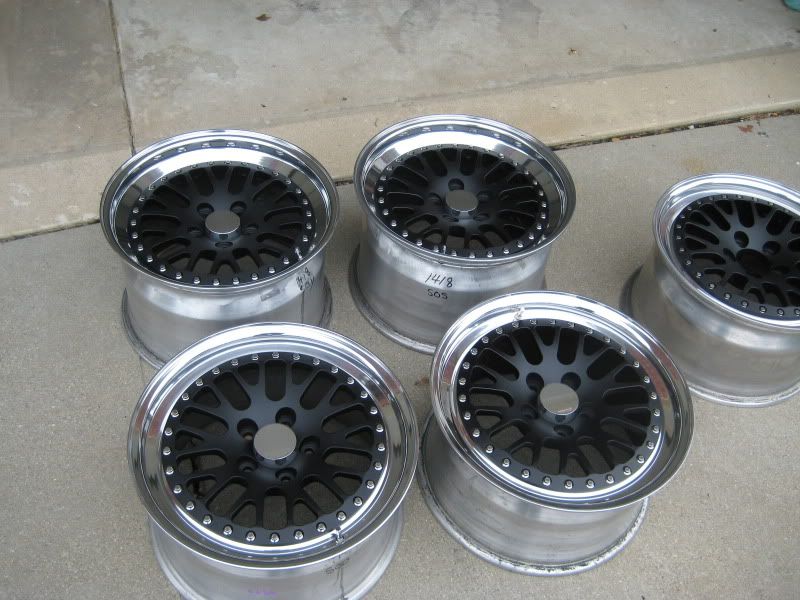
I found a set of CCW classics on columbus racing for a deal, that were in pretty poor condition... They were listed as 18x10 fronts and 18x12s rear, but turns out the guy didnt know how to measure. They were 18x9.5 front and 18x11.5 rear (which is actually better, 11.5s fit without need for spacers or minitubs.)

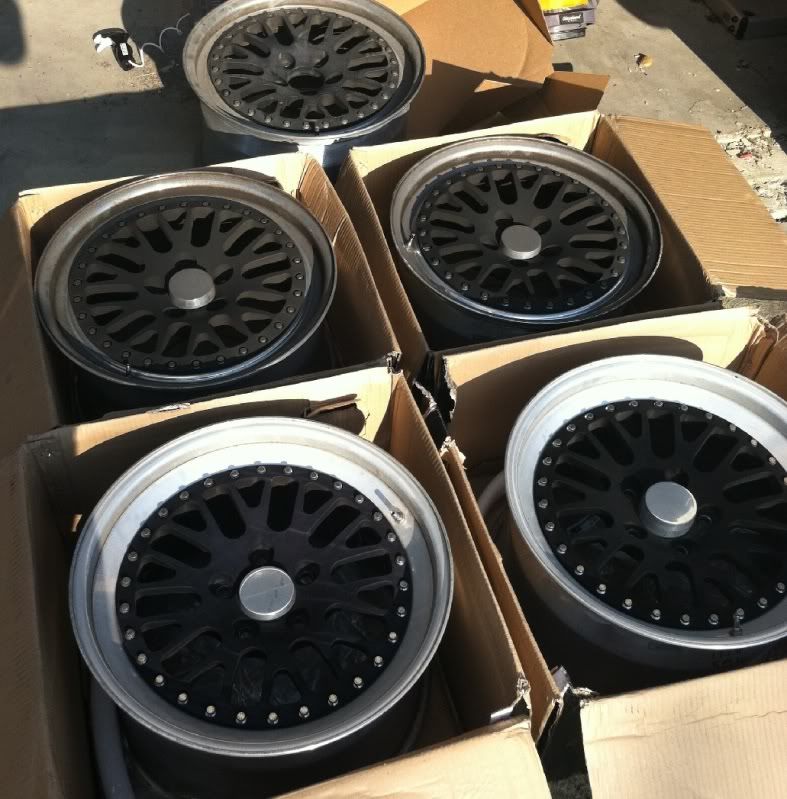
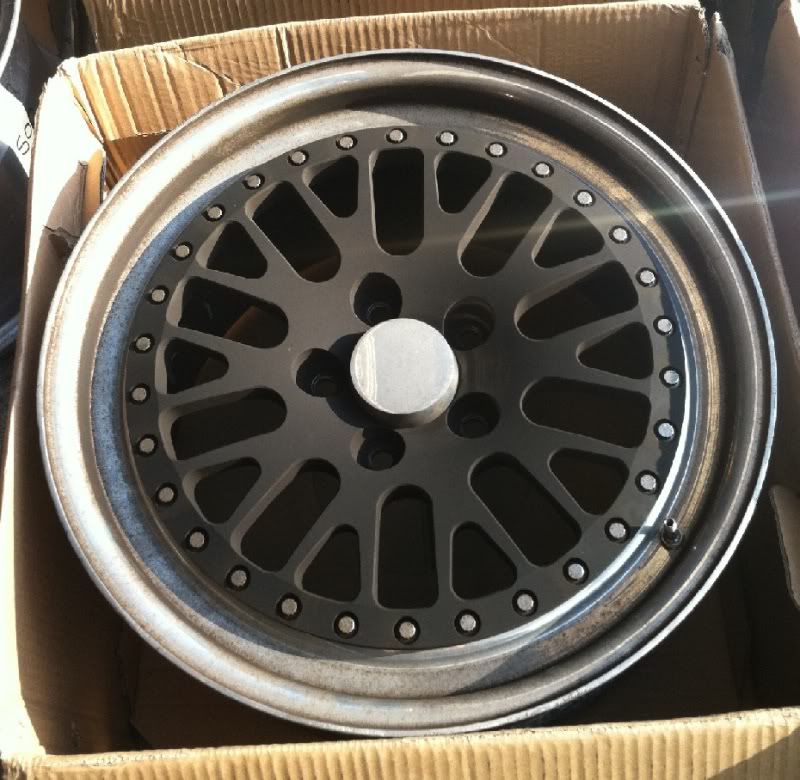
The pitting and oxidation were really really bad, and all of the wheels had minor curb rash, 2 of them pretty serious curb rash. So my first thought was to put a little sandpaper to them, and paint them. But if I was going to paint them, i wanted it done right, and I dont have hte time or money for that right now, so it was going to be elbow grease and still some time.
So here is my "build" thread.
First I started by cleaning the wheels. Just looking to get as much crud, bird **** (yes, bird ****) and brake dust build-up off of the wheels. I used Purple Power, but if you are worried about paint, I would not use this, and leave it to the Purple Power Brake Dust cleaner.
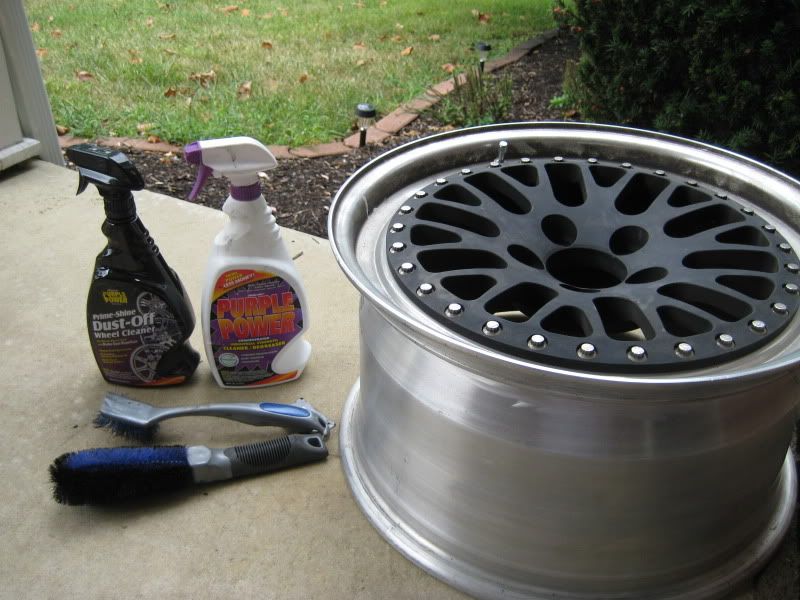
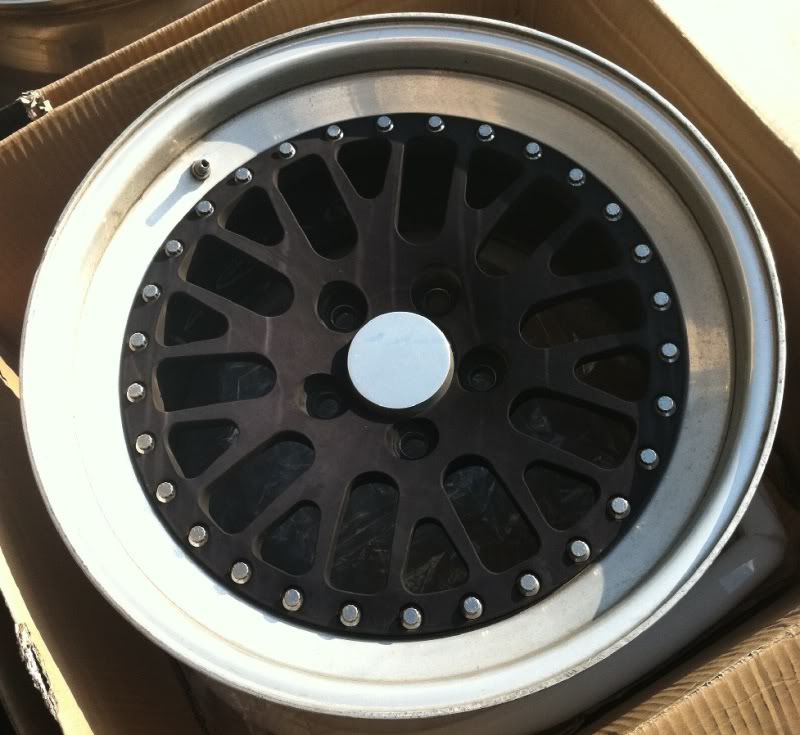
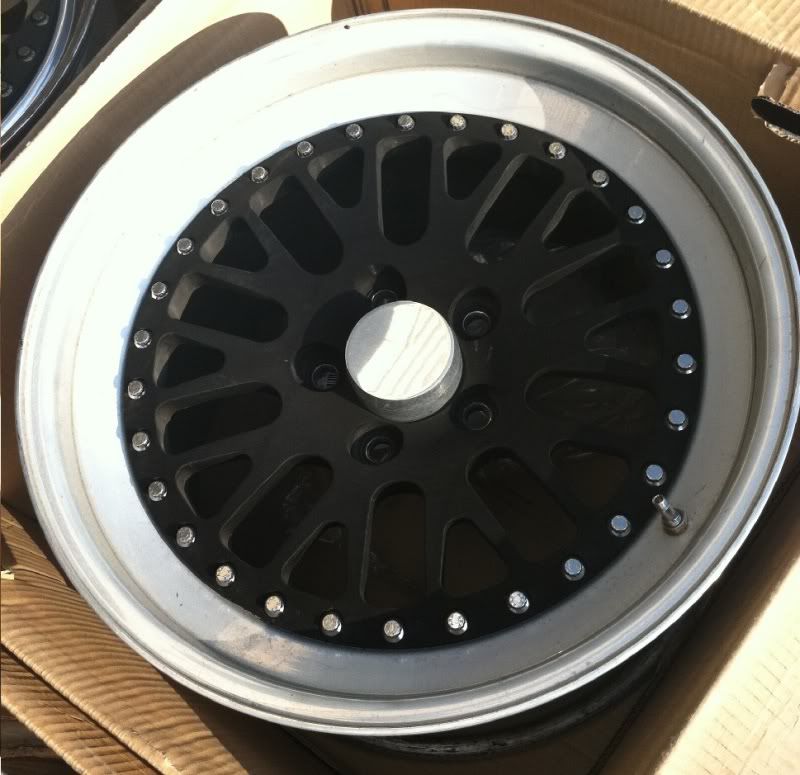
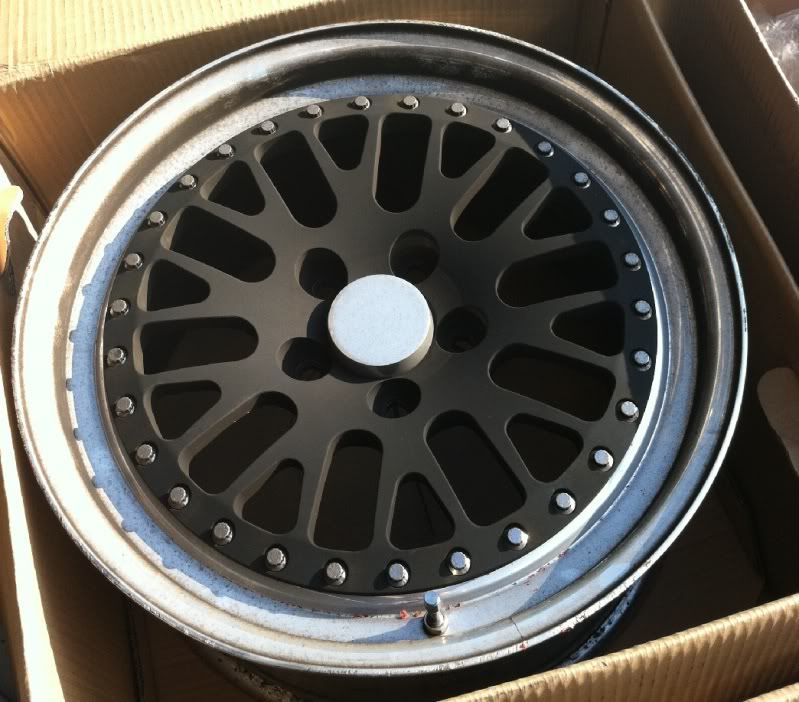
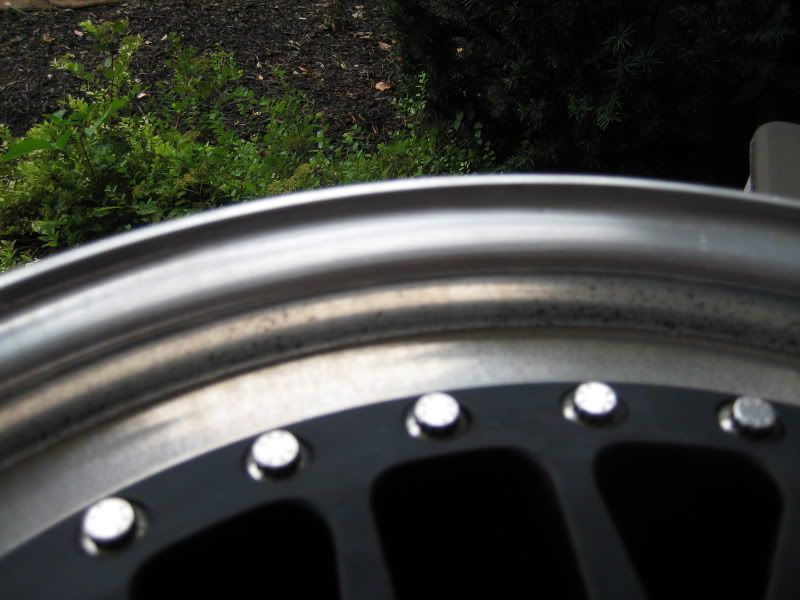
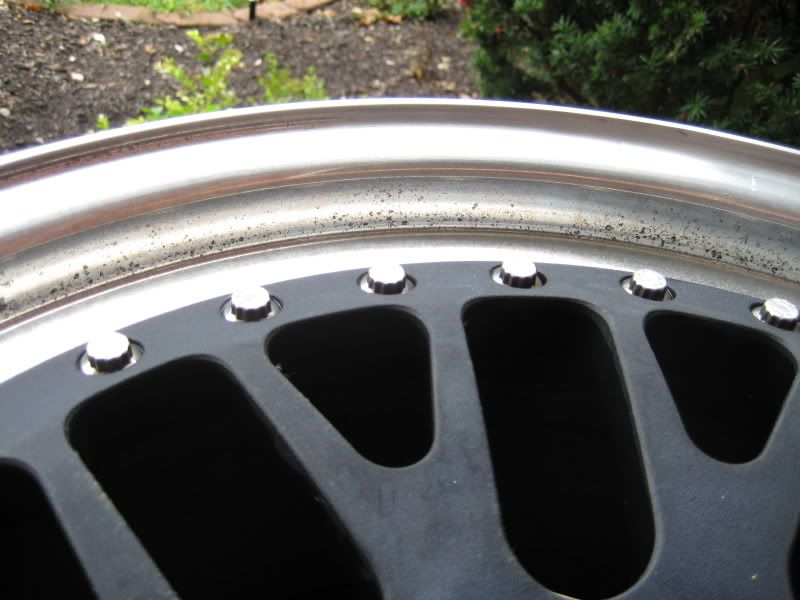
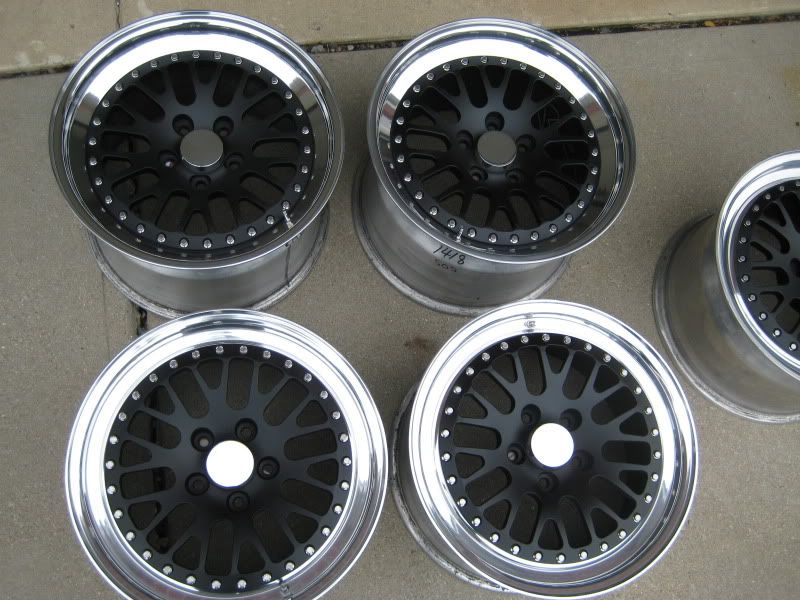
Here are a few shots after the cleaning, now that the dirt is off, you can still see how much oxidation/pitting/baked on crap there still is...
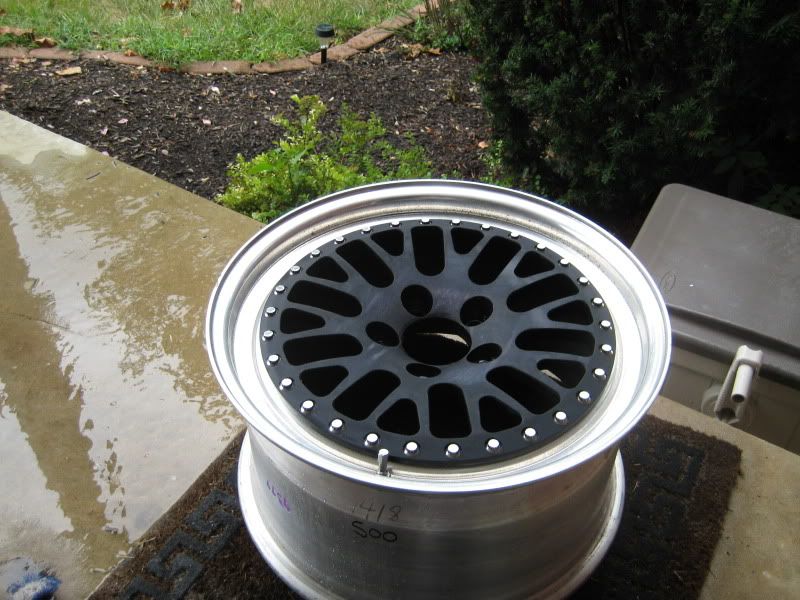
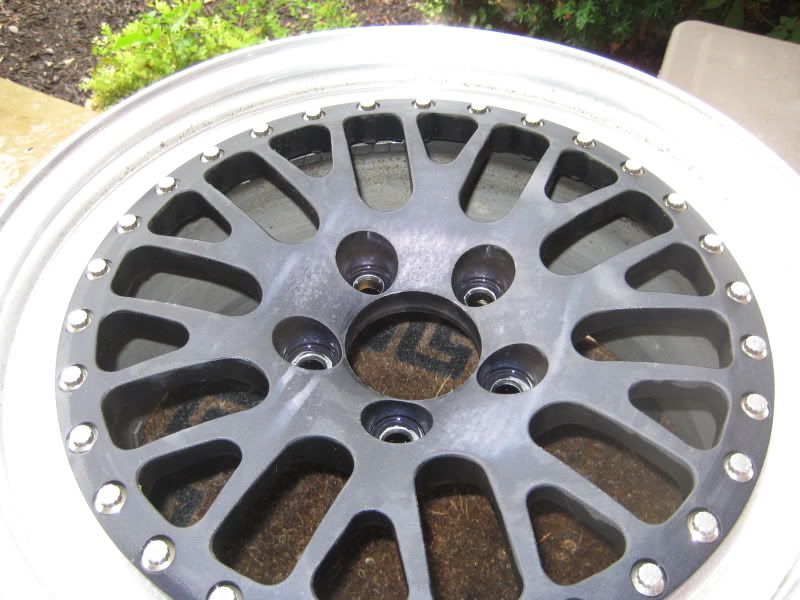
Once that is done, next is to remove the centers. Then I got work taking care of the curb rash. I did this on my 7" sander, started with 40 grit, then 400, then 600. 1000,1500, and 2000 would be done with the rest of the lip.
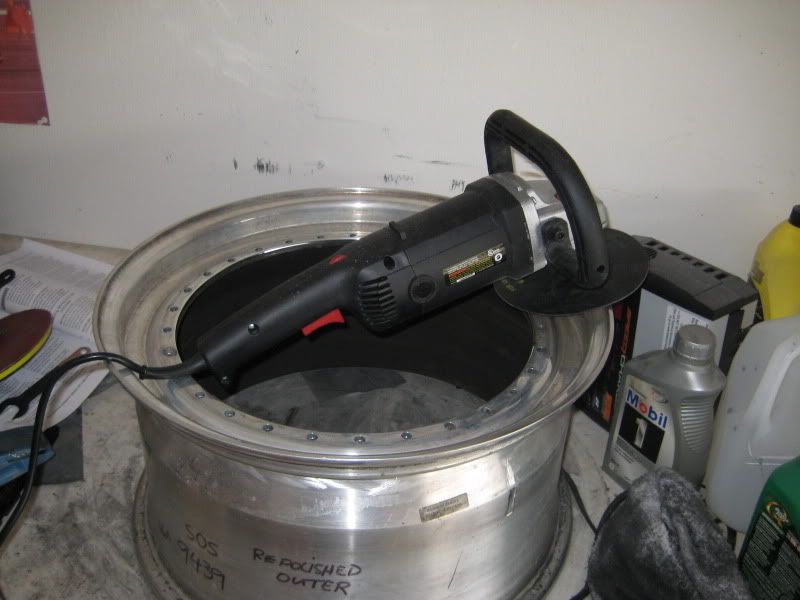
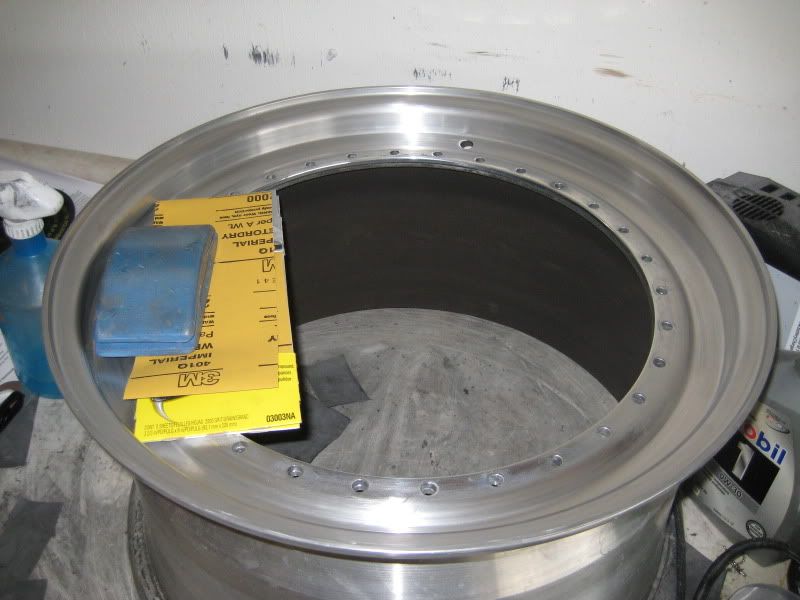
Next is to wetsand the lips. Depending on the condition of the wheel, I would start with either 1000 or 1500 grit sandpaper. Then 2000 grit for the last passes. For the outer edge, i used a palm sander to help keep it flat.
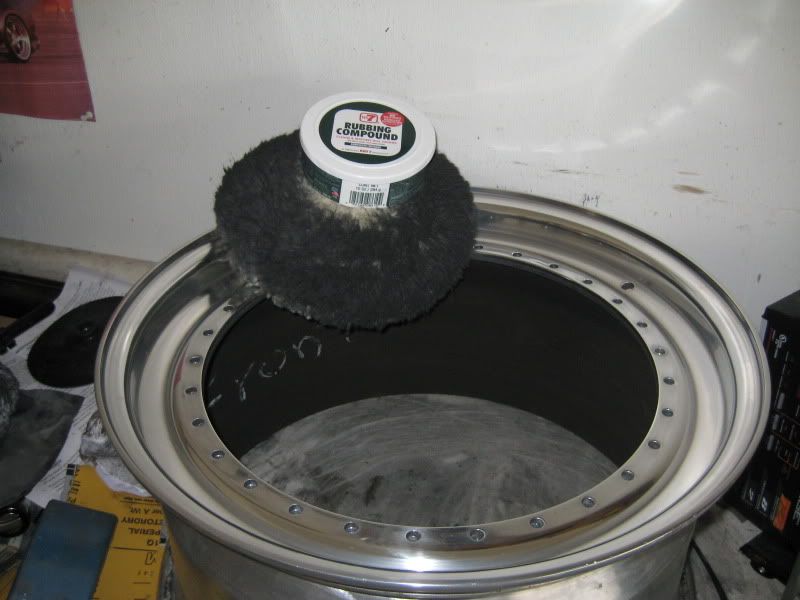
Once that is done, I did the rest airplane aluminum polishing style. I used the 7" wool buff pad (1" fibers). I used No. 7 rubbing compound for this step. The key is to use low speed and take your time. Start with more pressure and work your way to less pressure as it is worked in.
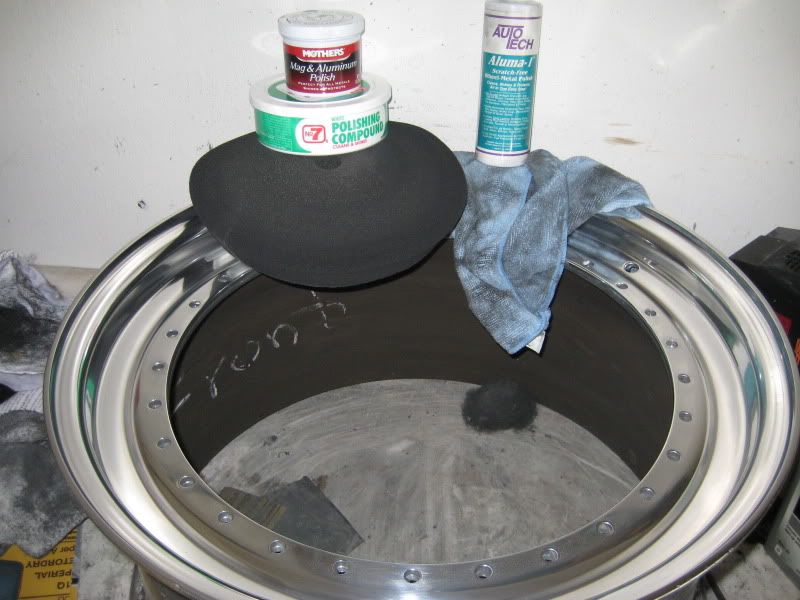
After that, I replaced the wool buff pad with a 7" foam polishing pad. I used No. 7 polishing compound, followed by 2 applications of Mothers Aluminum Wheel Polish, one on the pad, the 2nd by hand. Finally I used Auto Tech Aluma 1 metal polish by hand with a microfiber, this stuff is amazing.
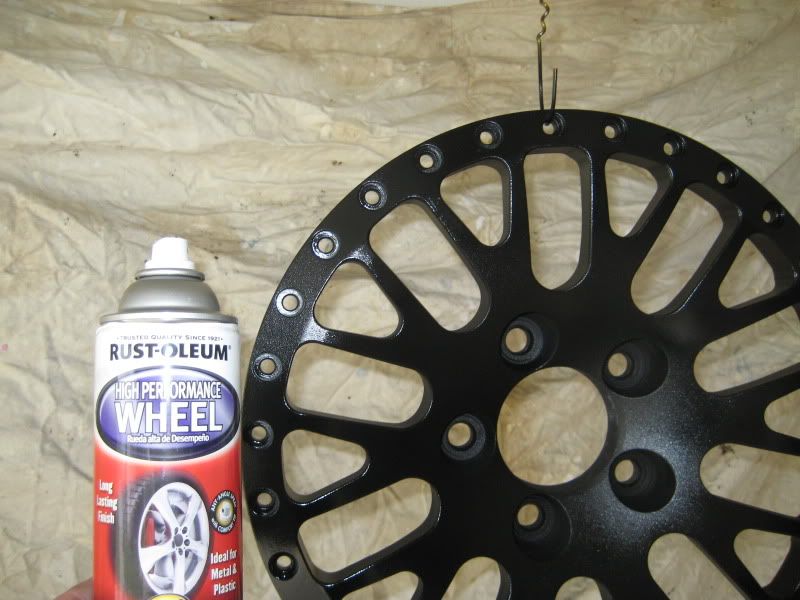
Then it was time to do the centers. I just used some rustoleum spray paint, because like I said, later on (next tire change or two maybe) I may rice it up with a new look. The paint said "matte black" as I was looking for a flat finish, but I would say it turned out more satin than matte.... oh well, still looks pretty good.
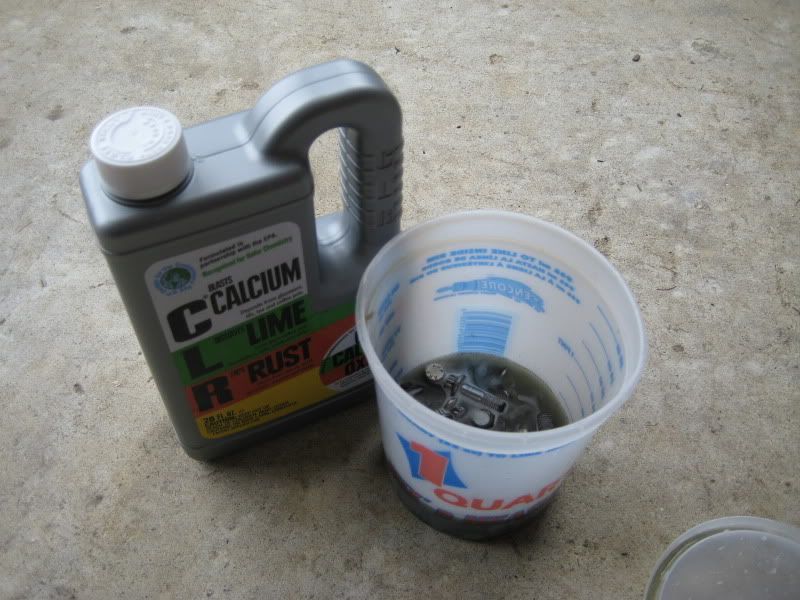
Almost done. I then cleaned up the nuts and bolts by giving them a bath in some CLR.
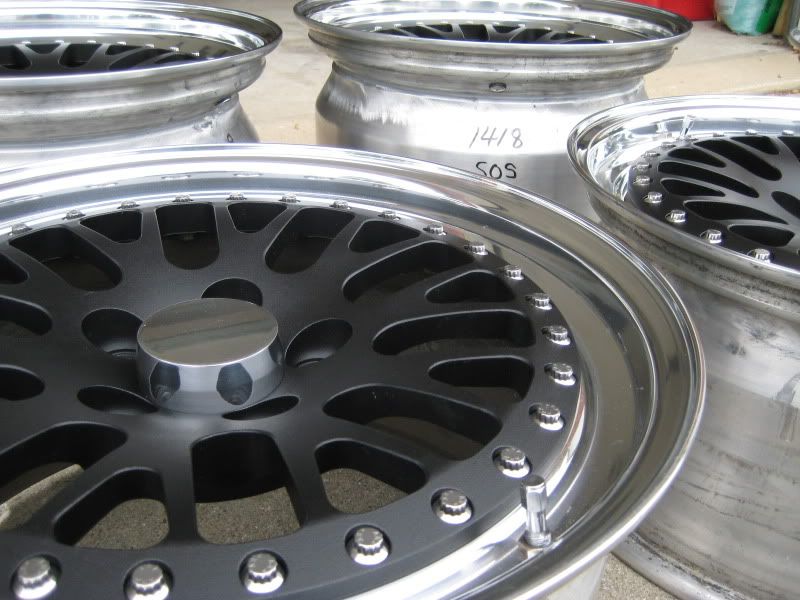
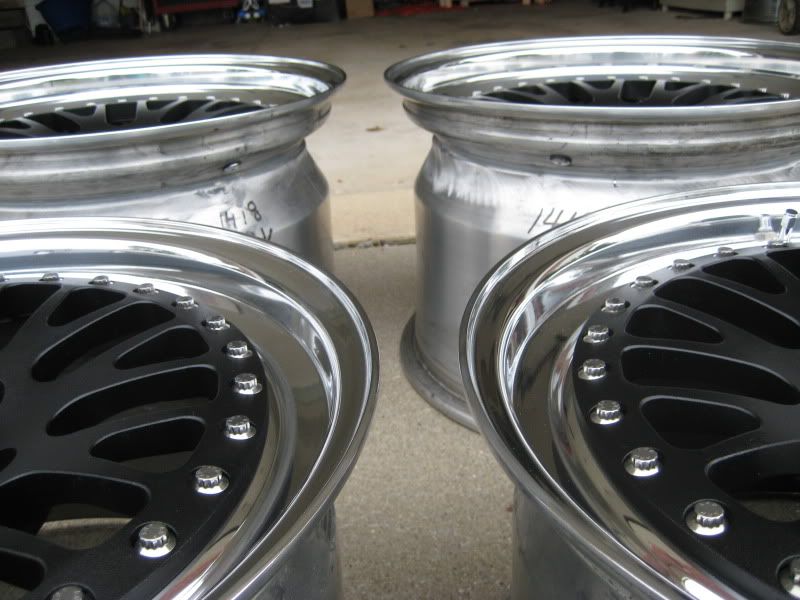
After that, I bolted the centers back up, and here is the finished look...

Still have to figure out tire choice... money is tight so no baller Michelin PS2's for me. I will either keep my Kumho 315s, and get some 265s for hte front. Or get a set of BF Goodrich KDWs (335/30/18 rear, 265/35/18 front)
Thank you for watching, back to Football.
The pitting and oxidation were really really bad, and all of the wheels had minor curb rash, 2 of them pretty serious curb rash. So my first thought was to put a little sandpaper to them, and paint them. But if I was going to paint them, i wanted it done right, and I dont have hte time or money for that right now, so it was going to be elbow grease and still some time.
So here is my "build" thread.
First I started by cleaning the wheels. Just looking to get as much crud, bird **** (yes, bird ****) and brake dust build-up off of the wheels. I used Purple Power, but if you are worried about paint, I would not use this, and leave it to the Purple Power Brake Dust cleaner.
Here are a few shots after the cleaning, now that the dirt is off, you can still see how much oxidation/pitting/baked on crap there still is...
Once that is done, next is to remove the centers. Then I got work taking care of the curb rash. I did this on my 7" sander, started with 40 grit, then 400, then 600. 1000,1500, and 2000 would be done with the rest of the lip.
Next is to wetsand the lips. Depending on the condition of the wheel, I would start with either 1000 or 1500 grit sandpaper. Then 2000 grit for the last passes. For the outer edge, i used a palm sander to help keep it flat.
Once that is done, I did the rest airplane aluminum polishing style. I used the 7" wool buff pad (1" fibers). I used No. 7 rubbing compound for this step. The key is to use low speed and take your time. Start with more pressure and work your way to less pressure as it is worked in.
After that, I replaced the wool buff pad with a 7" foam polishing pad. I used No. 7 polishing compound, followed by 2 applications of Mothers Aluminum Wheel Polish, one on the pad, the 2nd by hand. Finally I used Auto Tech Aluma 1 metal polish by hand with a microfiber, this stuff is amazing.
Then it was time to do the centers. I just used some rustoleum spray paint, because like I said, later on (next tire change or two maybe) I may rice it up with a new look. The paint said "matte black" as I was looking for a flat finish, but I would say it turned out more satin than matte.... oh well, still looks pretty good.
Almost done. I then cleaned up the nuts and bolts by giving them a bath in some CLR.
After that, I bolted the centers back up, and here is the finished look...
Still have to figure out tire choice... money is tight so no baller Michelin PS2's for me. I will either keep my Kumho 315s, and get some 265s for hte front. Or get a set of BF Goodrich KDWs (335/30/18 rear, 265/35/18 front)
Thank you for watching, back to Football.


 09-11-2011, 09:43 AM
#3
Team Owner


 09-15-2011, 08:34 PM
#5
Team Owner
Member Since: Sep 2002
Location: Bonita Springs, Florida
Posts: 21,886
Received 3,054 Likes
on
2,030 Posts

Great job. The rims look like new.
04-01-2012, 01:23 PM
#6
Racer
Thread Starter
Figured I would keep everyone updated on this...
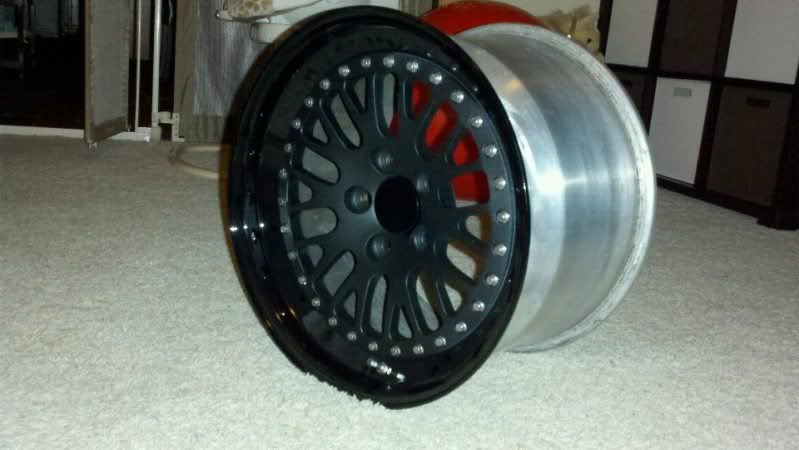
I decided I didnt like hte idea of having to re-polish the wheels every few months to keep them nice, so I decided to paint/powdercoat them... after a long time of many different options... I settled on gloss black paint (matching GM black) for hte lips and caps, and keep the flat black centers... I went with paint for 2 reasons. 1, if/when I get a chip on hte wheel, I can spot repair the paint chip, with powdercoat, that is not an option. And 2, I know in a few years I will want to put a different finish on the lips for a fresh look and paint makes that much easier to accomplish.
I will say that it was tough on me to scuff up the polished finish after all that work, haha.
 04-01-2012, 01:32 PM
#8
Racer
Thread Starter
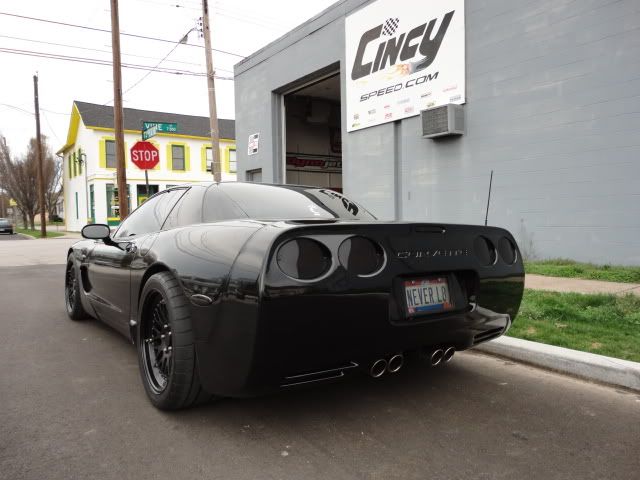
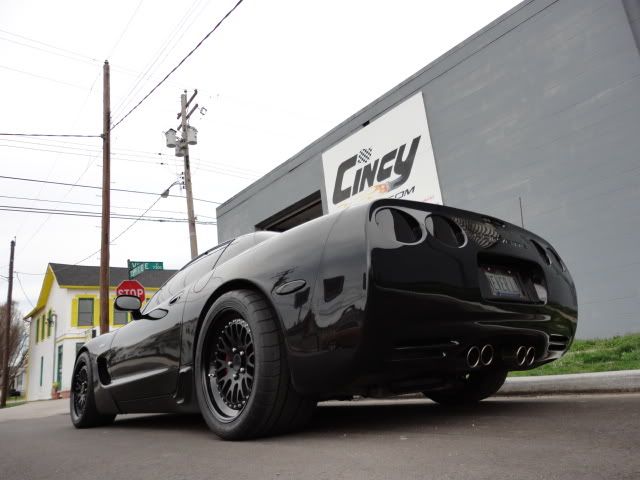
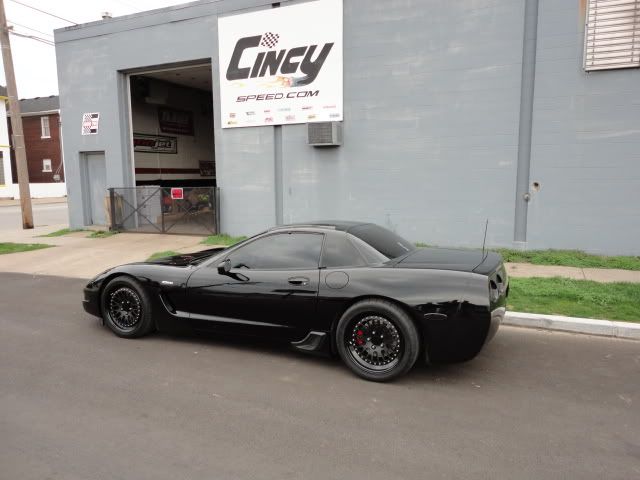
and some quality shots in higher resolution
http://farm8.staticflickr.com/7271/7...f80ec3b9_o.jpg
http://farm8.staticflickr.com/7042/6...35b27242_o.jpg
http://farm8.staticflickr.com/7125/7...bfe344f3_o.jpg
http://farm8.staticflickr.com/7271/7...f80ec3b9_o.jpg
http://farm8.staticflickr.com/7042/6...35b27242_o.jpg
http://farm8.staticflickr.com/7125/7...bfe344f3_o.jpg


