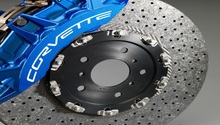
C6 C7 Corvette: How to Replace Brake Line
A strong car needs a stronger braking system. Here's how to change the brake lines on your Corvette.
This article applies to the C6 Corvette (2005-2013) and C7 Corvette (2014-current).
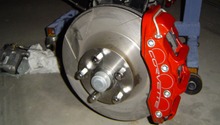
Brake fluid is a special type of oil with specific properties. It can withstand cold temperatures without thickening and very high temperatures without boiling. Corvette brakes can get very hot — even hotter due to the pulsing action of today’s anti-lock braking systems. If the brake fluid in your car comes to a boil, the brake pedal will behave in a “spongy” manner, and stopping the car can become difficult. Learn how to replace the brake lines, both body brake and body to wheel, below.

Materials Needed
- Metric and inch box wrenches
- Metric socket set
- Large-blade flat screwdriver
- Bubble brake line flaring tool set
- Pan or bottle to collect brake fluid
- Removable thread lock
What to Know Before You Begin
The current standard for recent Corvettes is DOT-4, as set by the Department of Transportation (DOT). As the DOT number has increased, so has the boiling point of the fluid typically. DOT-4 ($4-12 a bottle) has a dry boiling point of 446 degrees F (230 degrees C), with a wet boiling point of 311 degrees F (155 degrees C). A wet boiling point is defined as the fluid containing up to 3.7 percent water by volume. Water incursion into brake fluid is a bad thing; the more water that works its way into it, the lower the boiling point it can handle. This is why it’s recommended you keep the cap on the master cylinder reservoir as much as possible. Before replacing any brake fluid, check with your owner’s manual to make sure you're using the proper type.
Pro Tip
Don't spill any brake fluid on a painted surface, as it will remove paint. Also, dispose of any discarded brake fluid correctly. Check with your local municipality to see if and when it can be brought to a reclamation center.
Body brake lines are inflexible and connect each wheel’s brake caliper to the proportional valve that sends the required additional hydraulic pressure to the front brakes then the rear brakes. This proportional valve is connected to the master cylinder, the reservoir of brake fluid, located under the hood on the driver side near the bulkhead/fire wall. Brake lines are typically made from double-wall steel tubing with a rust-resistant alloy finish, which over time can have issues with rust. Stainless steel replacement brake lines are available, but expect to pay almost three times more for it than the same length in double-wall steel.
Simple flared fittings, such as the brass plumbing connections for copper tubing used on ice machines and dishwashers, should never be used for any automotive connection—only steel fittings for double-inverted or ISO bubble flare tube ends are allowed. And while the typical brake line is 3/16-inch in diameter, the fittings are all metric. Recent Corvettes only use ISO bubble flare tube ends, but note that fittings such as the M10x1.0 fittings connecting to the calipers are available for either double-inverted, or ISO bubble flare tube ends. If you need to purchase such fittings, be sure you get them specifically for ISO bubble flare ends.
Replacing Body Brake Lines
Body brake lines already cut to length, bent into the proper configuration and, with the proper fittings attached, can be purchased from specialty auto supply stores. With the car jacked up, replacement body brake lines can be run from the proportional valve to the wheel wells, front and back.
Great care must be taken bending the steel tubing, best accomplished by repeating a close-together series of small bends. A plumber’s spring tube bender ($3-4) can also help prevent destructive kinks here. Sometimes, the original brake lines are left in place, which can cause some confusion during later repairs. In addition, although splicing a body brake line is highly discouraged, some have found it much easier to position the front-to-back body brake lines if they’re first cut in half, then spliced back together at the end of the job.
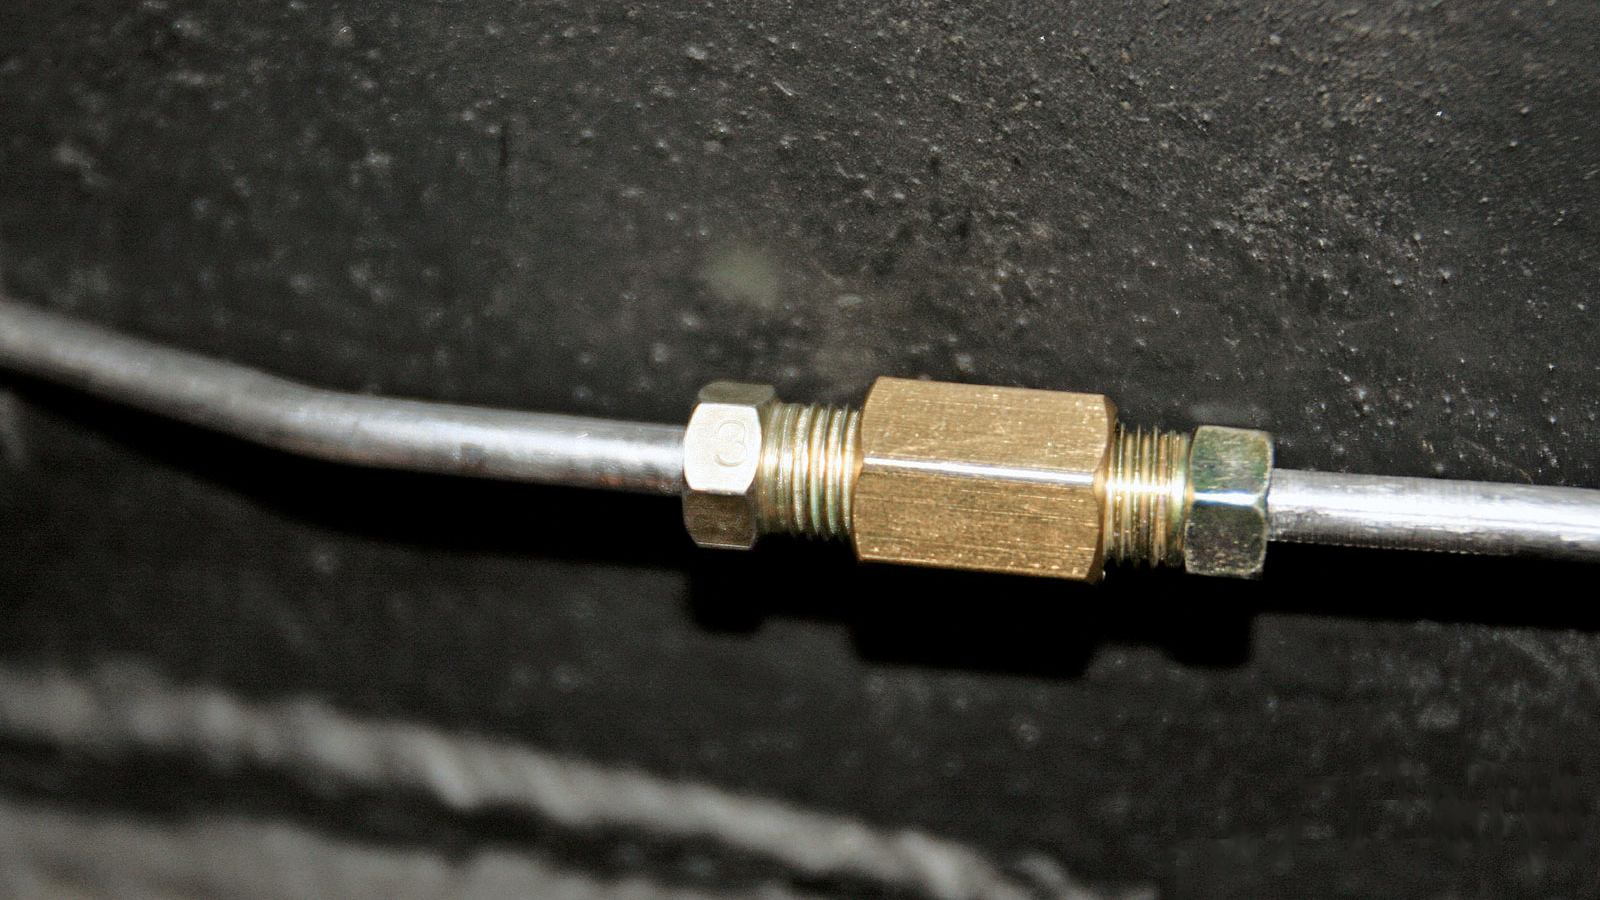
Brake lines can also be purchased in bulk, coiled up in 20-foot sections. Using them, or splicing two body brake lines back together, will require the use of a bubble brake line flaring tool set ($20-125).
Replacing Body to Wheel Brake Lines
Brake lines going from the stationary body line to the brakes have to be flexible. These lines can be purchased ready-made for the front, back or all four wheels. Lines reinforced with a woven stainless steel exterior casing may be better at deflecting stone damage, especially from gravel surfaces. And while the walls of these lines might expand less than non-wire wrapped lines during stopping, the only benefit the driver might notice is a more responsive brake pedal, not improved stopping power.
Replacement pre-cut and stainless-wrapped body-to-brake lines with the proper connections attached can be purchased from many auto parts vendors (around $160 for a set of four).

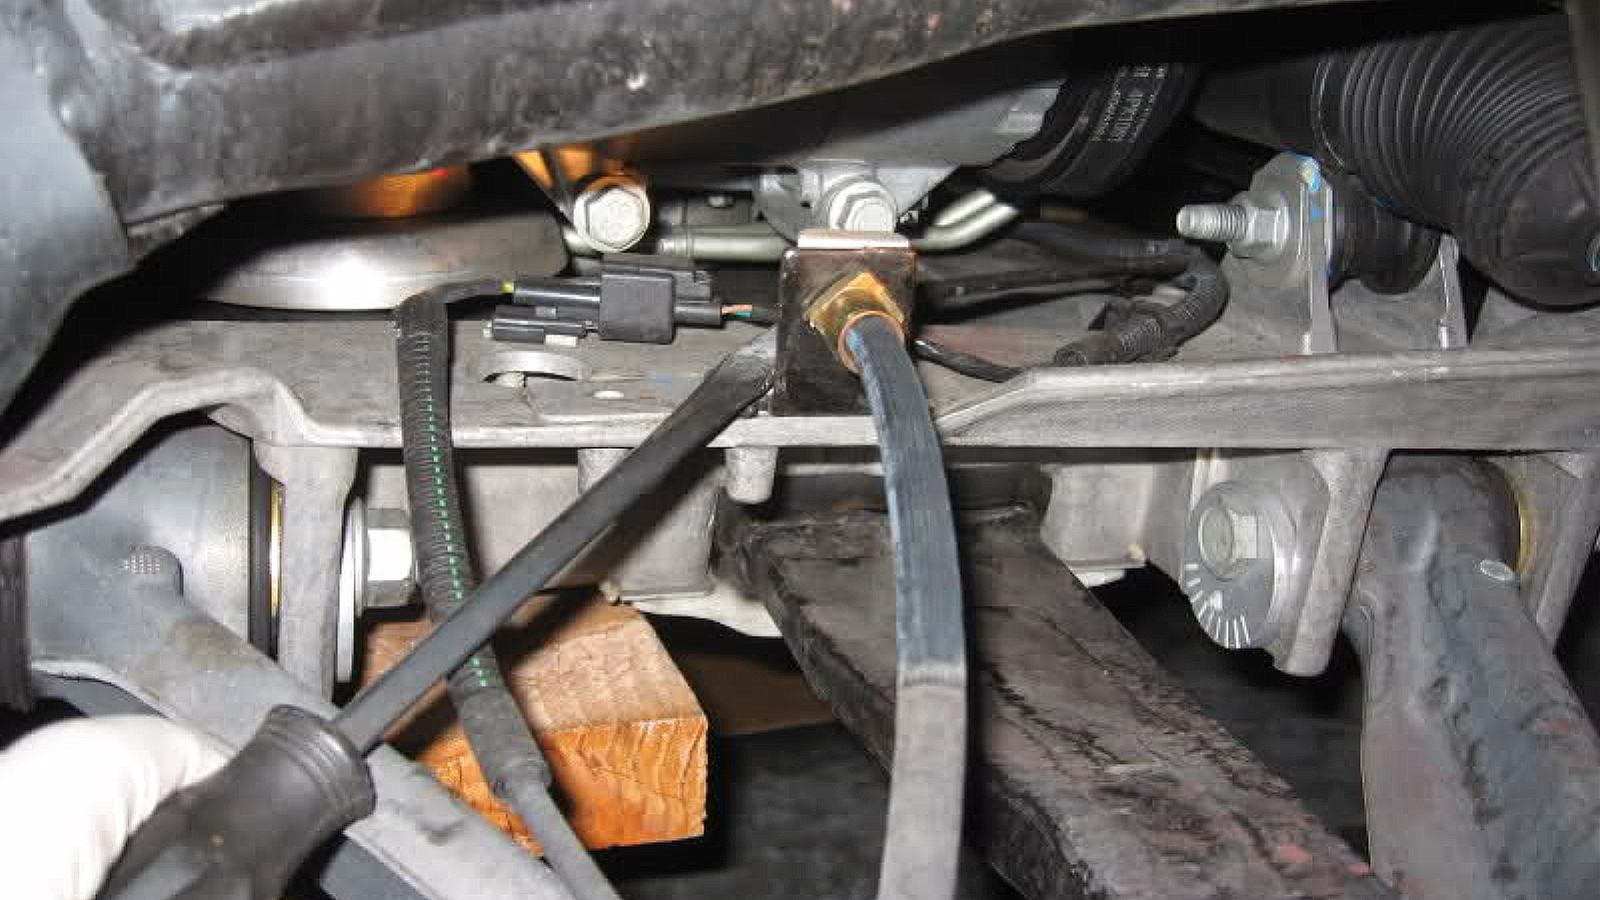
Step 1 – Remove the front caliper banjo bolt
Raise the car, remove the wheels and release the parking brake. Remove the front brake banjo bolt (circled in Figure 3). Brake fluid will leak out, so have a pan to catch it.

Save the 21mm (head size) banjo bolt as well as the two (top and bottom) copper “crush” washers that go with it.

Step 2 – Remove the hard front brake line retaining clip
Remove the hard front brake line retaining clip. Use a flat blade screw driver to push up on the retaining clip. This will take some effort.
The clip is now shown to be half-way off.

The clip can be reused, and often will fit better than any replacement included with the brake lines.
Step 3 – Disconnect the front body brake line to front brake line connector
Pull the assembly toward you to get both box wrenches on your side of the mounting tab. Use 5/8” box wrench on the outer (closer to you) flex brake line nut. Hold this nut still. Use a 13mm box wrench on the inner (further from you) brake hard line bolt. This threaded connection is screwed into the outer nut with its threads facing toward you. Unscrew this threaded connection.
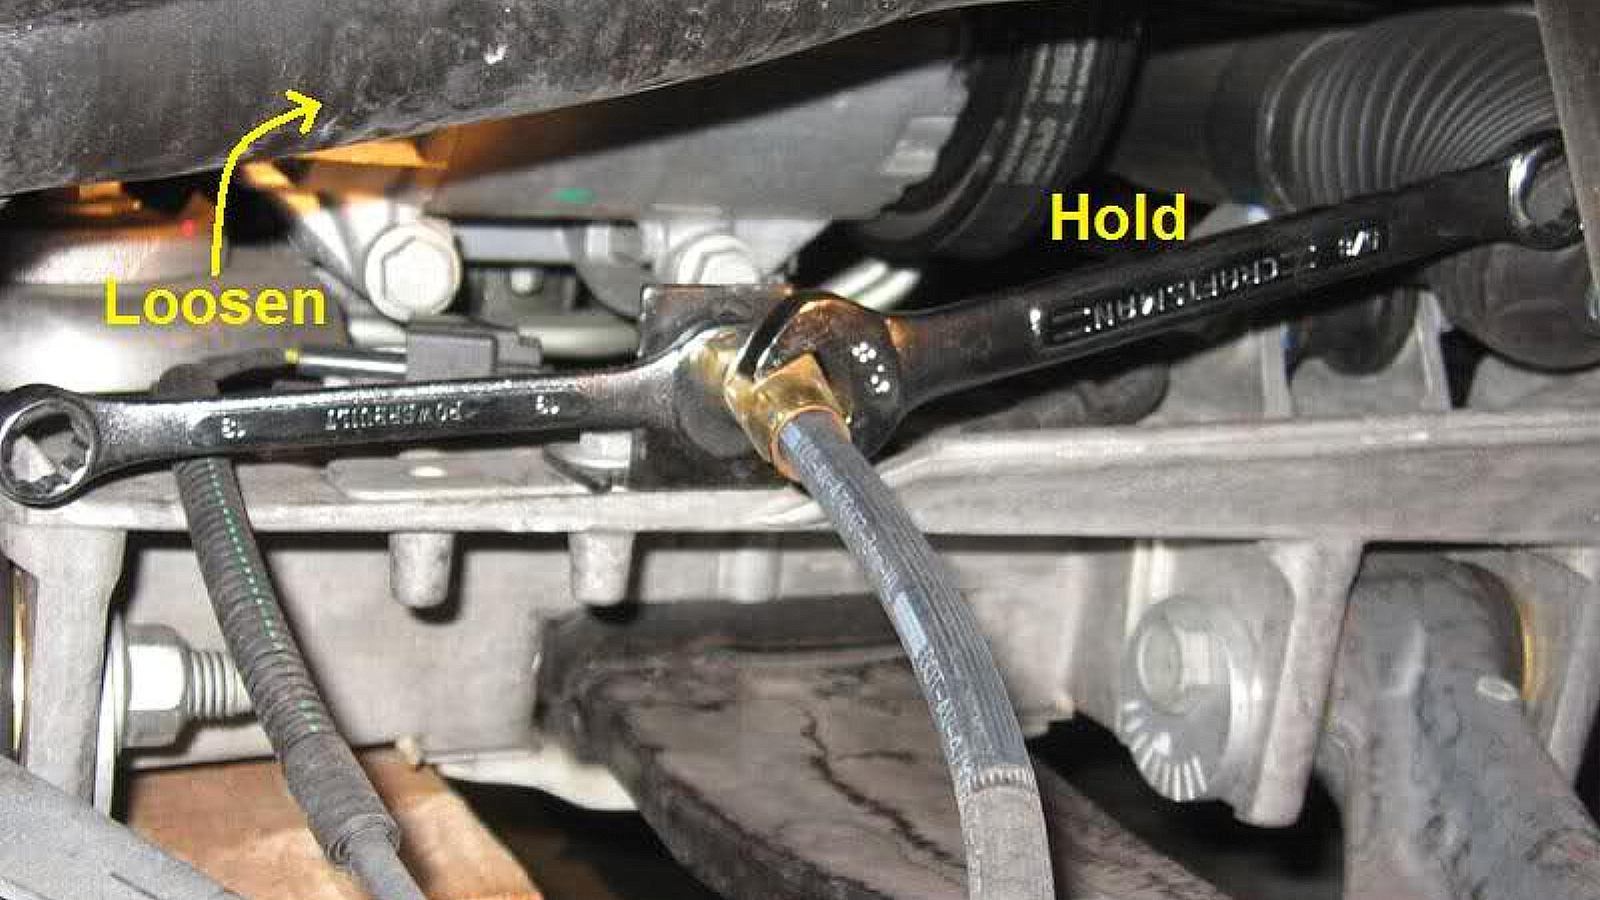
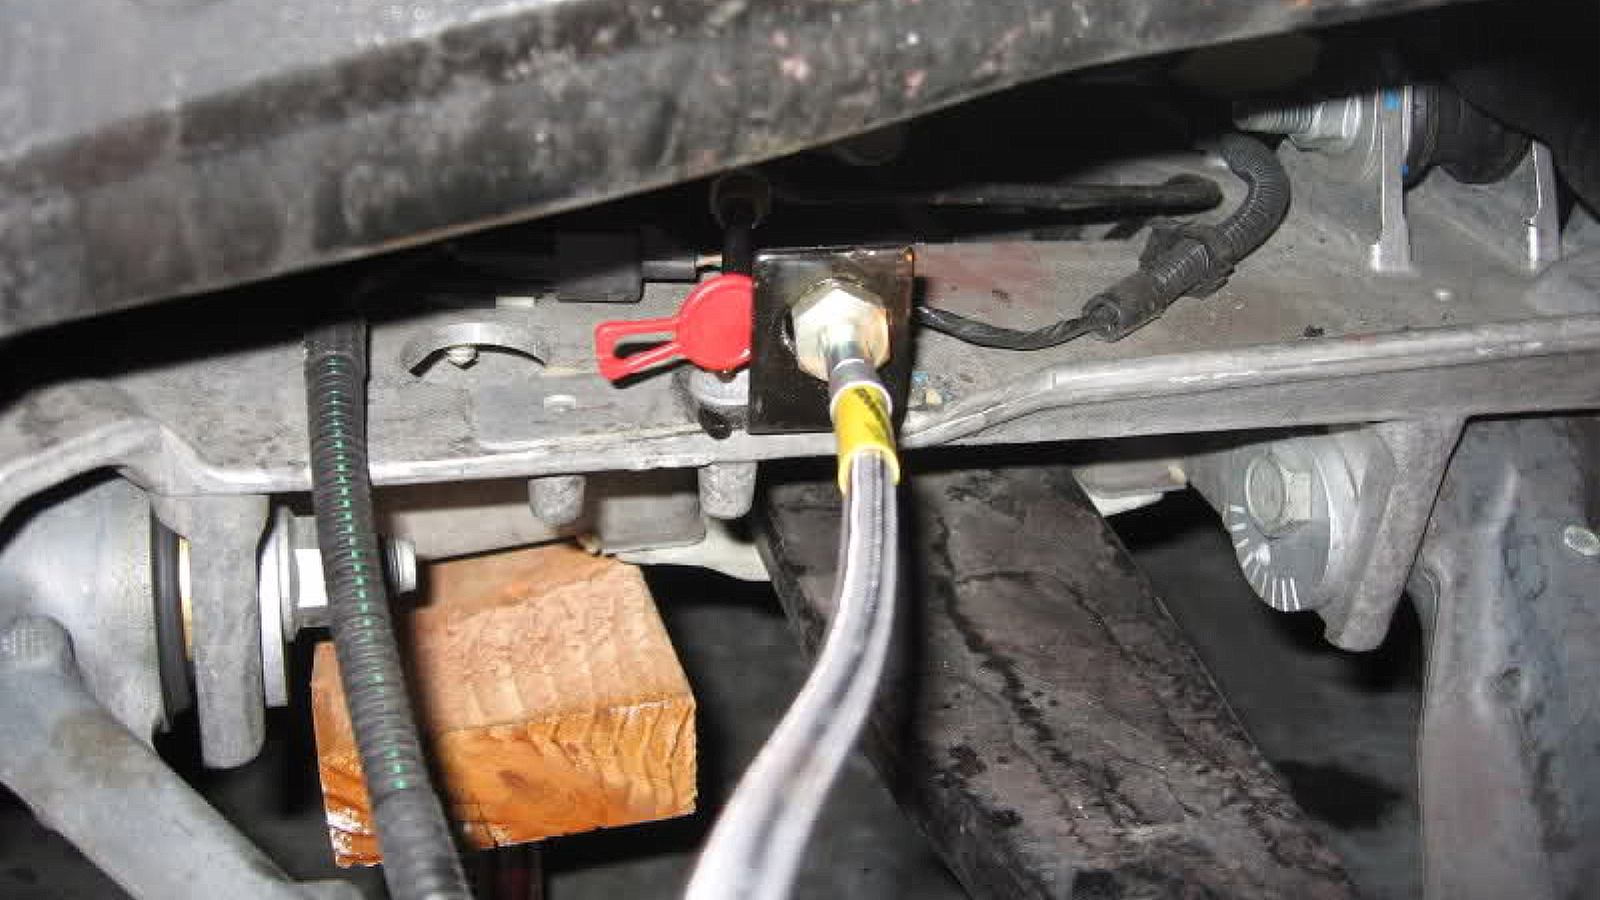
Insert the stopper (shown in red, Figure 8) that came with your new brake lines over the hard line opening. Note: this can slow, but not stop, brake fluid from leaking. The opening on the flange may have to be enlarged with a round file. Attach the hard brake line to the new brake line. Again, the outer nut is stationary. Torque the inner nut to 13 lb-ft (18 Nm) to eliminate leaking.
The procedure and torque values for the rear brake line to body brake line connections are identical.

Step 4 – Finishing up
Flush and bleed the brakes per GM guidelines. Check and correct any leaks. Lower the car.
Related Discussions and Video
- How to Use a Bubble Brake Line Flare - Youtube.com
- How to Replace Front and Rear Flexible Brake Lines - CorvetteForum.com
- Stainless Brake Lines - CorvetteForum.com
- Replacing the Body Brake Lines - CorvetteForum.com
- Differences in DOT-4 Brake Fluids - CorvetteForum.com