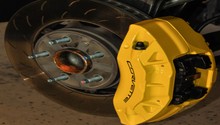
C6 C7 Corvette: How to Replace Rear Brake Calipers
A big engine requires big brakes. Make sure your brake system is on point by replacing the calipers when it is time to do so.
This article applies to the Corvette C6 (2005-2013), and C7 (2014-current).
Whether you're replacing the calipers or just replacing the brake pads, knowing how to remove them can save you trips to the mechanic. The purpose of the calipers is to apply pressure to the brake pads, so they push against the rotor and allow you to slow down. Calipers that aren't functioning properly can lead to odd braking conditions or a dragging pad, which is unsafe. Learn how to replace the rear brake calipers, so you are always safe on the road.

Materials Needed
- Brake hose fitting gasket (two per caliper)
- Jack
- Jack stand
- Tire iron
- Socket set
- Penetrating oil (PB-Blaster)
- Thread locker
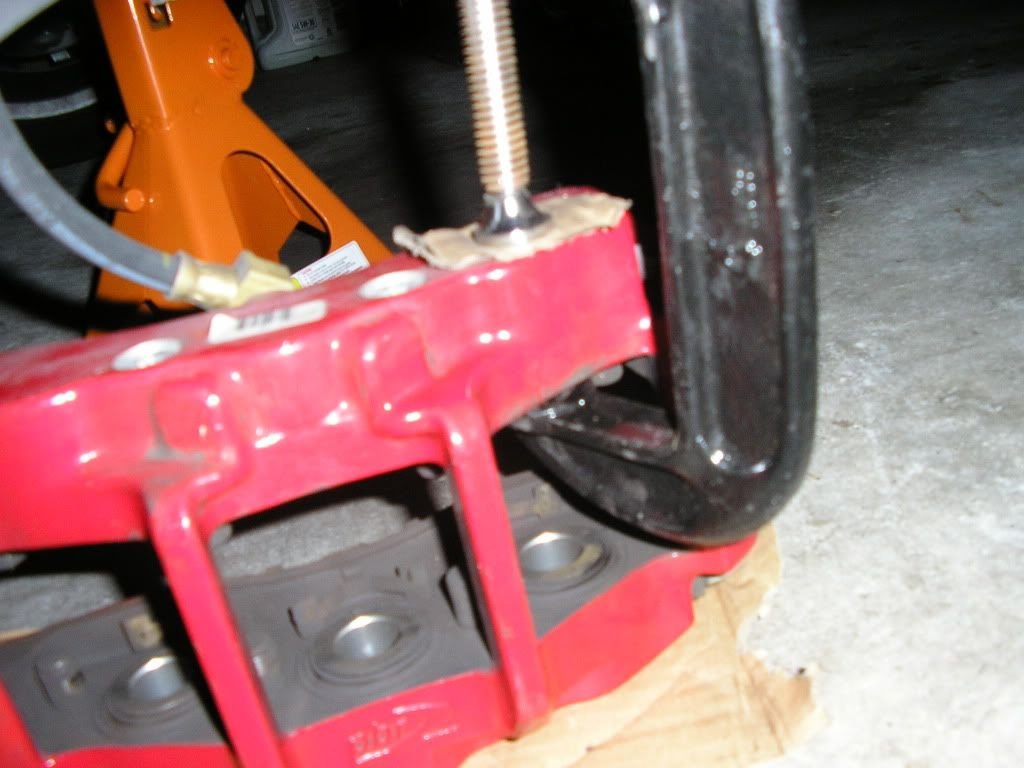
- C-clamp
Step 1 – Remove front wheel
Removing the rear wheel is the first step. Remember, never work under a vehicle that isn't supported by a jack stand.
- Park on flat level ground.
- Set the parking brake.
- Block the front wheels.
- Using your tire iron, break loose the lug nuts.
- Jack up the car, so the tire is off the ground.
- Remove the lug nuts.
- Remove the wheel.
- Position jack stand under the lower control arm, and then lower the car onto the jack stand.
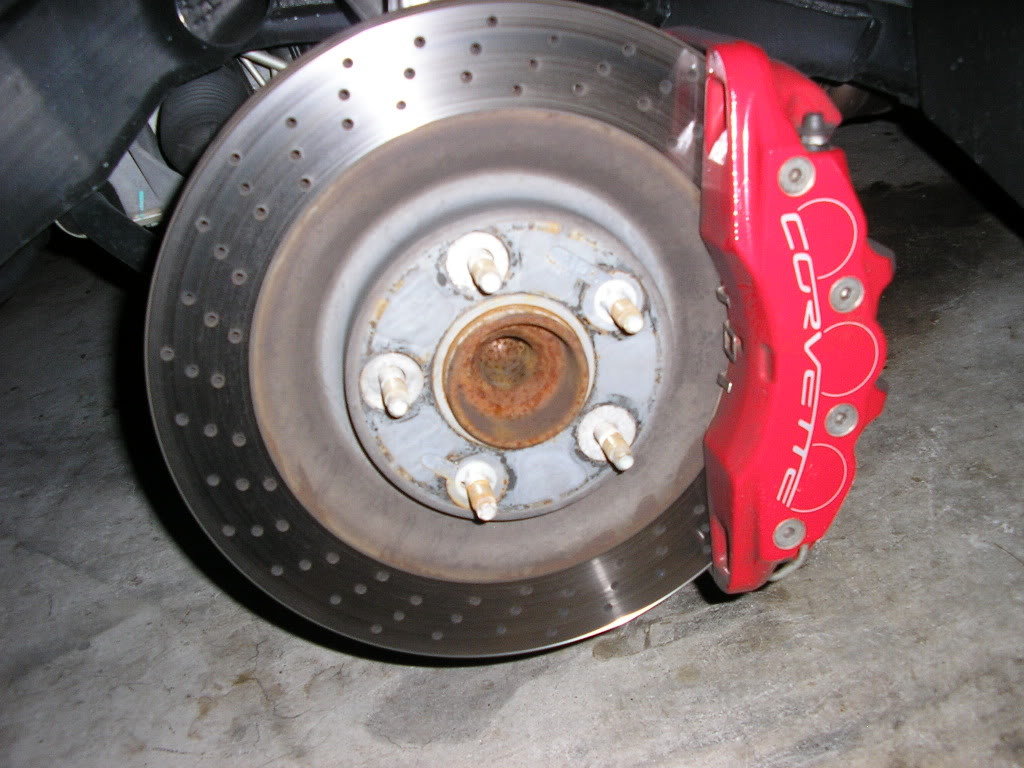
Figure 1. Wheel removed.
(Related Article: How to Jack Up Your Vette - CorvetteForum.com)
Step 2 – Remove brake line (optional)
You only need to do this step if you're replacing the caliper. If you are only removing the caliper to swap brake pads, you can leave the brake line attached. However, if you leave it attached, you need to take special care not to stretch or pinch the brake line. Use a small bucket or something similar to keep slack in the brake line while working.
With the wheel off, you'll now be able to remove the calipers. Use the PB-Blaster or something similar because the bolts will be on pretty tight.
- Check your brake fluid level. If it's above the midway point (between the low and full lines), you'll need to siphon some out until it's below that point. Otherwise, when you go to disconnect the brake lines, fluid will come out until it hits that point. You will need to be careful that the brake fluid doesn't get on the paint. It's extremely corrosive and will eat through it with ease.
- Remove the bolt labeled 1 in Figure 2. If you didn't lower the fluid amount to the midway point, then the brake fluid will pour out now.
- If you plan to reuse it to prevent any contamination, use a plug or something similar to plug the brake line and the caliper inlet port.
- Discard the gaskets labeled 2. You'll need to replace these with new ones during install.

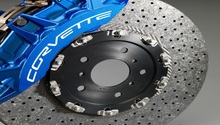
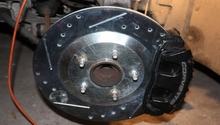
Step 3 – Remove the caliper
If you didn't remove the brake line, take care not to hit or pinch it while removing the caliper bolts.
- If you are only removing the caliper, remove the two bolts on the caliper. One will be on the top and the other on the bottom. If you are removing the entire caliper assembly, remove the caliper assembly bolt. (Figure 3)
- You can now pull off the calipers. You may need to use a pry bar to get the leverage.
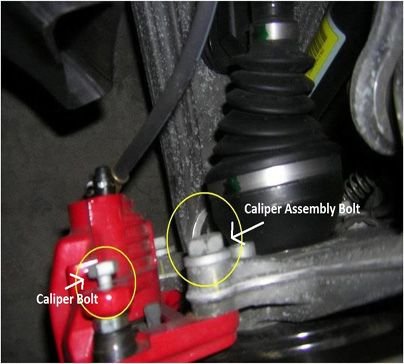
Figure 3. Caliper bolt and caliper assembly bolt. 
Figure 4. Caliper removal diagram. 
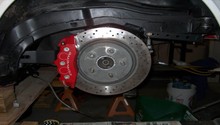
Figure 5. Caliper removed and supported to prevent stressing the brake line.
Step 4 – Brake pad removal (optional)
If you are removing the calipers to replace the pads, you'll want to replace them now. This step is only required if you are re-installing the old caliper.
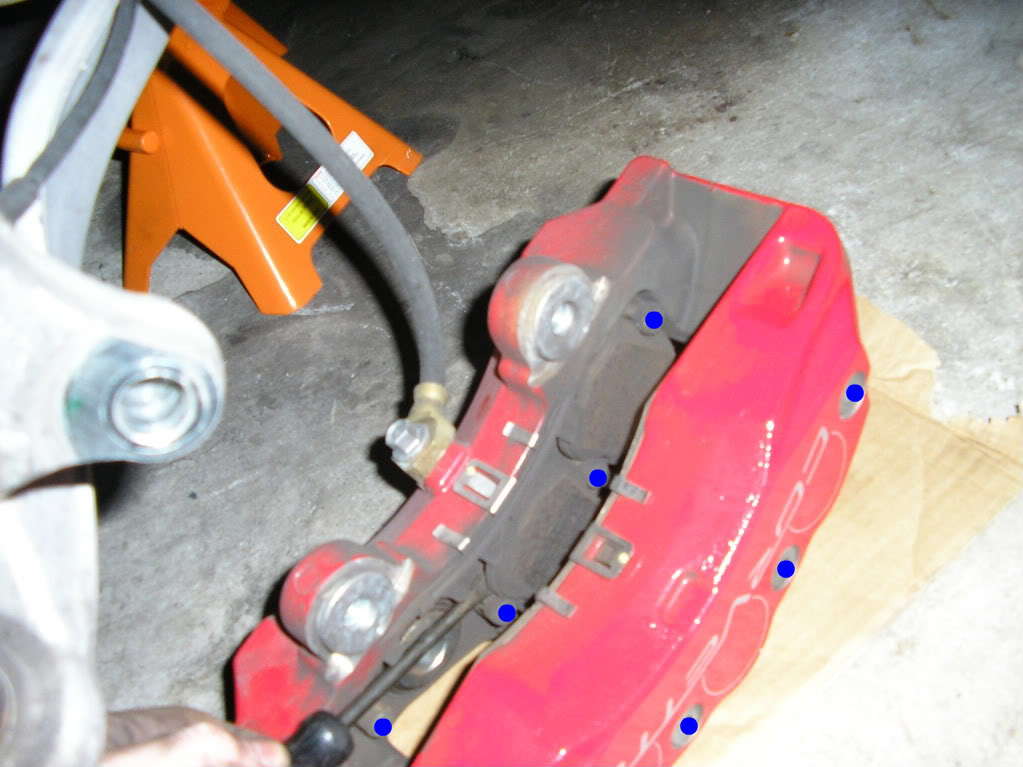
- Pry out all 4 mini brake pads out of the caliper.
- If you are installing once piece pads (with the exception of a CarboTech), remove the alignment pins marked by the blue dots in Figure 6. Note the image is for a front caliper, the rear caliper will only have three alignment pins per side.
Step 5 – Install new brake pads (optional)
If you removed the calipers in the previous step or your new calipers didn't come with pads installed, you'll need to do this step.
- Compress the pistons, so the caliper will easily fit the rotor, but only compress as far as needed to prevent any potential damage. If the brake line is disconnected from the caliper, this will push all the brake fluid out of the inlet hole. If the line is connected, it'll push the fluid back into the system and you'll want to remove the fluid reservoir cap.
- The new brake pads will clip into place.
Step 6 – Install caliper
- Clean caliper threading holes and bolts.
- Apply a thread locker (such as Loctite Blue) to the bottom 2/3 of the caliper bolts, which is on the opposite end of the head.
- Slide the caliper back onto the rotor. You may need to carefully compress the pads onto the pistons some more to allow clearance.
- Torque caliper bolts to 23 lb-ft. Torque calipers assembly bolts to 125 lb-ft.
- Re-install the brake line. There should be a gasket on both sides of the brake line fitting. Torque to 30 lb-ft.
Step 7 – Finishing up
You'll now need to bleed the brakes. If you don't have a power bleeder, get an assistant to help you with this, so you can prevent damaging the brake booster. If it is not within the fill range, you will need to top off the brake fluid reservoir. If you replaced the brake pads, you'll need to follow the manufacturer's instructions to properly seat them.
(Related Article: How to Bleed Your Brake System - CorvetteForum.com)
Related Discussion and Article
- Changing Brake Pads On Stock Calipers and Removing Rotors - CorvetteForum.com
- How to Replace Front Brake Calipers - CorvetteForum.com