C6 Corvette: How to Install Shocks
Worn out shocks do not allow body and suspension movements to be controlled and dampened properly. As a wear and tear part, shocks should be budgeted for replacement during the ownership of your Corvette.
This article applies to the C6 Corvette (2005-2013).
Shocks help dampen your ride, which allow you to ride more smoothly on the streets and hug the corners better on the track. Like anything else, shocks wear out over time and will need to be replaced. Going through a dealer or a mechanic can cost a fortune with the up charge of working on a Corvette; however, with the proper tools you can do it for the cost of parts in a couple hours.

Materials Needed
- 13mm and 17mm deep socket
- Shallow 13mm socket or open ended wrench
- 15/16" or 24mm socket x2
- Pipe strap wrench
- Socket extensions
- Tire iron
- Jack and jack stand
- Wheel chocks
- Torque wrench
- Lisle shock removal tools (optional)
Step 1 – Remove the wheel
You'll need to repeat this step for each wheel you're replacing a shock, so do one wheel at at time.
- Park on a flat level ground.
- Set the parking brake.
- Block the wheels on the opposite end of the car.
- Using your tire iron, loosen the lug nuts, but don't remove them.
- Using the factory jack, raise the car from the lift point, which is located near the wheel.
- Position your jack stand under the lower control arm. Make sure you aren't covering the lower shock bolt with it.
- With the wheel off the ground, remove the lug nuts and then remove the wheel.
(Related Article: How to Jack Up Your Vette - CorvetteForum.com)
Step 2 – Front shock removal
The front shocks are a lot more tricky to remove than the rear shocks. Depending on what tools you have, it'll take a lot more tedious work.
- Remove the 13mm bolts on each side of the lower control arm that is holding the shock in place. You'll need to use a deep socket to reach the nut on the bottom, and then a normal socket (or open ended wrench) for bolt head on top. (Figure 2)
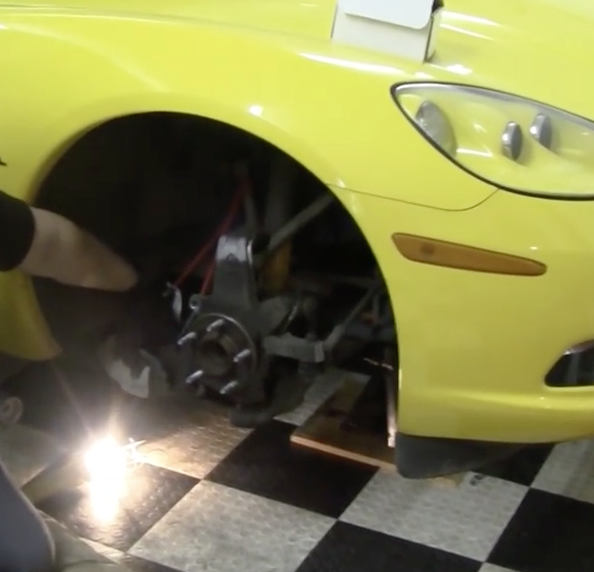
- For the top bolt you have two options. You can get minimal access through the fender well (Figure 3) or you can get a little bit better access through the engine bay (Figure 4).
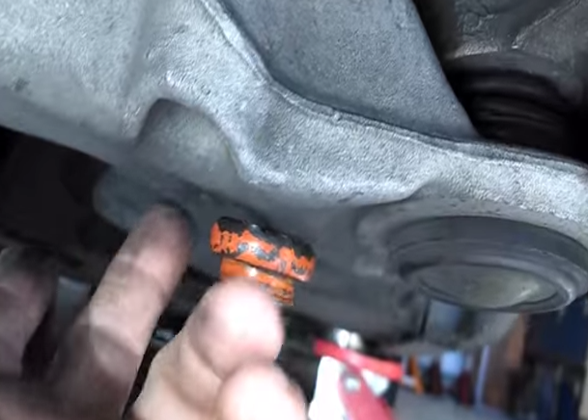
Figure 2. Lower shock bolt location. 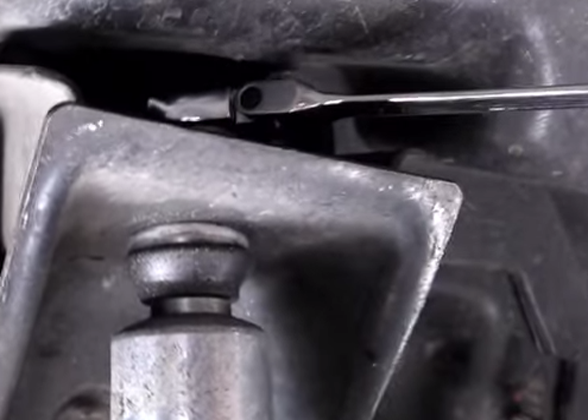
Figure 3. Access through fender well. 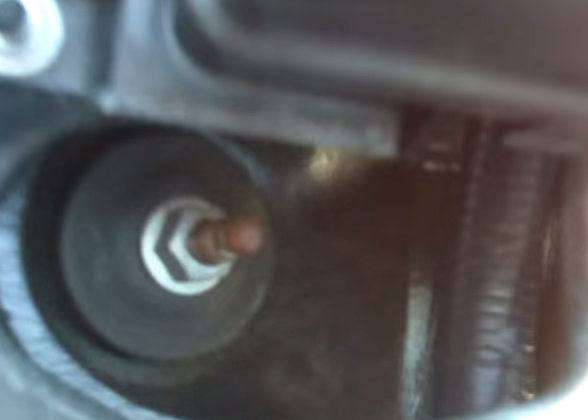
Figure 4. Access through engine bay.
If you have one of the Lisle shock removal tools, going through the engine bay will be the easiest for you since the tool holds both the outer nut and the inner stem. If you don't have the tool, then work through the wheel well. You can use a pipe strap wrench around the body of the shock to keep it from spinning, while you use an open ended wrench to remove the top nut. Depending on what shocks you currently have, the top nut will vary in size between 13-17mm.
To get the shock out of the wheel well you have two options.
Option 1
The first option is to remove the upper control arm. You can do this by removing the four bolts that hold it in place. Keep track of how many shims were behind each bolt, so you can re-install in correctly. Getting the shims incorrectly will result in getting another alignment. Although, going this route also has the potential to result in an alignment even if you get the shims correct.
Option 2
The second option is to do it using zip-ties.
- You'll need to get a handful of long zip-ties and start by placing one around the collar at the top of the shock.

Figure 6. Zip-tie around shock collar. - Then, run a zip-tie on both sides (through the one you put at the top) and down through the lower bolt hole on the shock.
- Once you have the side zip-ties in place, jack up the car from the lower control arm to compress the suspension.
- Once the suspension is fully compressed, tighten the zip-ties on the sides as much as you can.
- With the zip-ties tightened, lower the control arm again and you'll now have enough room to wiggle the shock out.
Featured Video: Corvette C5/C6 Front Shock Removal
Pro Tip
If you are removing the upper shock bolt through the engine bay, lay a towel or something soft across the fender to prevent scratching while leaning on it.
Step 3 – Front shock install
Installing the front shock will be the reverse of removing it.
- Install the lower bolts loosely before doing the top bolt, so you have so wiggle room. You may need to raise the lower control arm some to get the lower bolt holes to line up.
- Just remember, if you removed the upper control arm be sure to get the shims back in correctly and torque the bolts to 38 lb-ft.
- If you went with the zip-tie method and your new shock didn't come compressed, use the zip-tie method on it before installing to get it in a whole lot easier.
- Torque the shock bolts to 22 lb-ft.
Step 4 – Rear shock removal
The rear shock removal is a lot easier because all the bolts are relatively accessible. Be warned, the lower bolt is torqued to 107 lb-ft, so if you don't have an impact wrench, you'll need to put some effort into it.
- Remove the lower 24mm bolt. You'll need a socket to hold it on one side and another socket (or open ended wrench) on the other. (Figure 7)
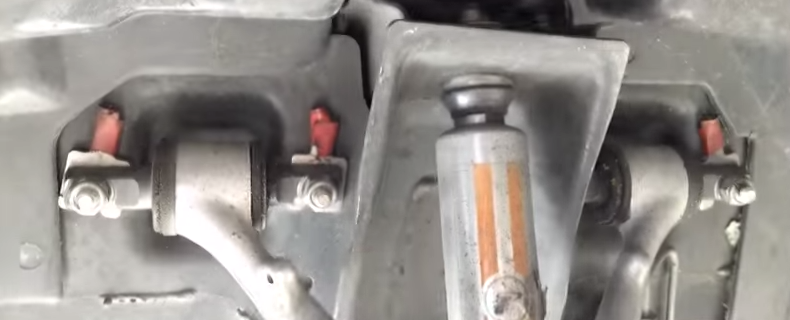
- Remove the two 13mm upper bolts. (Figure 8)
- Push up on the shock to compress it. Then, bring the bottom towards the front of the car to get it around the lower control arm.
- Once the bottom is past the lower control arm, you can wiggle it out carefully.
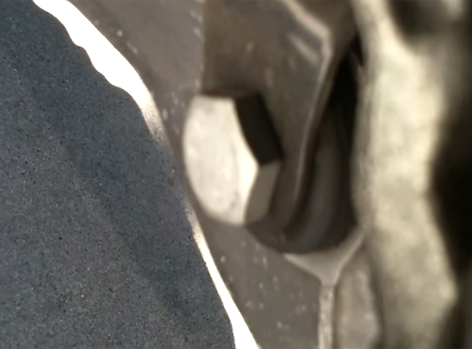
Figure 7. Lower shock bolt. 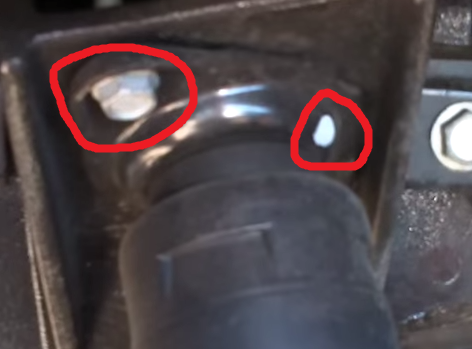
Figure 8. Upper shock bolts (circled in red).
Featured Video: Corvette C5/C6 Rear Shock Removal
Step 5 – Install rear shocks
If your new shocks didn't come with a upper mounting plate (the piece the two 13mm bolts went through), you'll need to remove it from the old shock and reuse it. Majority of new shocks won't come with one, so don't fret if yours didn't.
- Like the upper shock nut on the front, the size will be dependent on the type of shocks you have.
- If you don't have the Lisle shock removal tool, you'll need to put your pipe strap wrench onto the shock body to keep it from spinning.
- Then, you can proceed to remove the nut on the top with the Lisle tool, a deep socket, or an open ended wrench. (Figure 9)
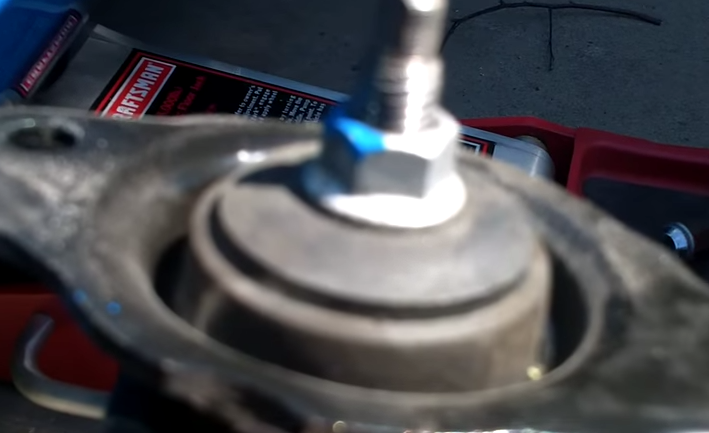
Figure 9. Upper shock nut that holds the mounting plate in place. - All shock manufacturers will install the plate onto the new shock slightly differently, so refer to the instructions that came with it. However, it'll be something like put a washer on the shock stud, then a bushing, then the plate, another bushing, another washer, and finally the nut again. You'll need to torque this nut to 22 lb-ft.
With the mounting plate in place, you can go ahead and position your new shock. If it didn't come compressed, use the zip-tie method to get it in easier. Once the shock is in, get the lower bolt in place and loosely tightened. Then, you'll need to release the tension on the shock and guide it into the upper hole and align the mounting plate. You'll need to torque the upper bolts to 22 ft-lb. and the lower bolt to 107 ft-lb.
Step 6 – Test drive
Once you finish the install, go for a short test drive and listen for any odd sounds that would indicate a loose bolt. If all seems well, recheck the torque on all the bolts around 3000 miles later.
Related Discussions
- Shock Installation Instructions Needed - CorvetteForum.com
- Bilstein Shock Install/Removal Via Zip-Tie - CorvetteForum.com
- How to Install Coilovers - CorvetteForum.com