C6 Corvette: How to Replace Convertible Top
Want to change your C6 Corvette convertible top? Here is some advice on choosing the right way to do it.
This article applies to the C6 Corvette (2005-2013).
There is an old adage that goes, "to do anything right, there are three words to remember: good, fast, cheap. Pick two." This definitely applies to changing the convertible top on your Corvette. If you want it done to look good and be done fast, it won't be cheap. Conversely, if you want it to be fast and cheap, it won't be good. This article will concentrate on the good, cheap approach that won't be fast.
There are many reasons why you may want to change your convertible top. It might need repair. You may want your convertible roof to be a different color. A number of Corvette owners, realizing that the lighter top shows more dirt and smudging, opt for a black top. Once you've decided to change the top, you have to determine if you want to do it yourself or have it professionally installed. The top itself will cost between $200 and $1,500 depending on whether it's new or used, the fabric type, and customer support. Labor charges run all over the place. Some people have found installers charging $200 to $350, while others got quoted as much as $650.
If you are going to install the top by yourself, plan on spending, depending on your skill level, up to six hours doing it. Even though many convertible top manufacturers recommend professional installation, if you're good at taking things apart and putting them back together, a DIY job might be for you. Read more to discover what you will need.

Materials Needed
- Torx wrench
Step 1 – Remove the old top
- Release the top latch at the top of the windshield.
- Raise the roof until it appears as such in Figure 1.
- Carefully pull out the rubber molding on the quarter panels.
- Retract the top completely, but leave the top lid open.
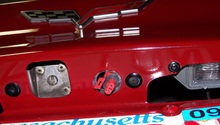
- Remove the Torx screws holding the front of the top to its frame (Figure 2).
- Bring the roof back up to the first position and continue to disconnect the top from its frame, then remove the molding.
- Pull the front end of the top off of the front of its frame.
- Separate the rear window defroster connectors.
- Pull the tension cable out of the top and save it for the new top.
- Carefully work the top off of the frame, disconnecting the Torx screws and removing rubber molding holding the top onto the frame.
Pro Tip
The power roof may drop down back to a closed position while you work. Simply raise it back to position #1.

Figure 1. Roof raised. 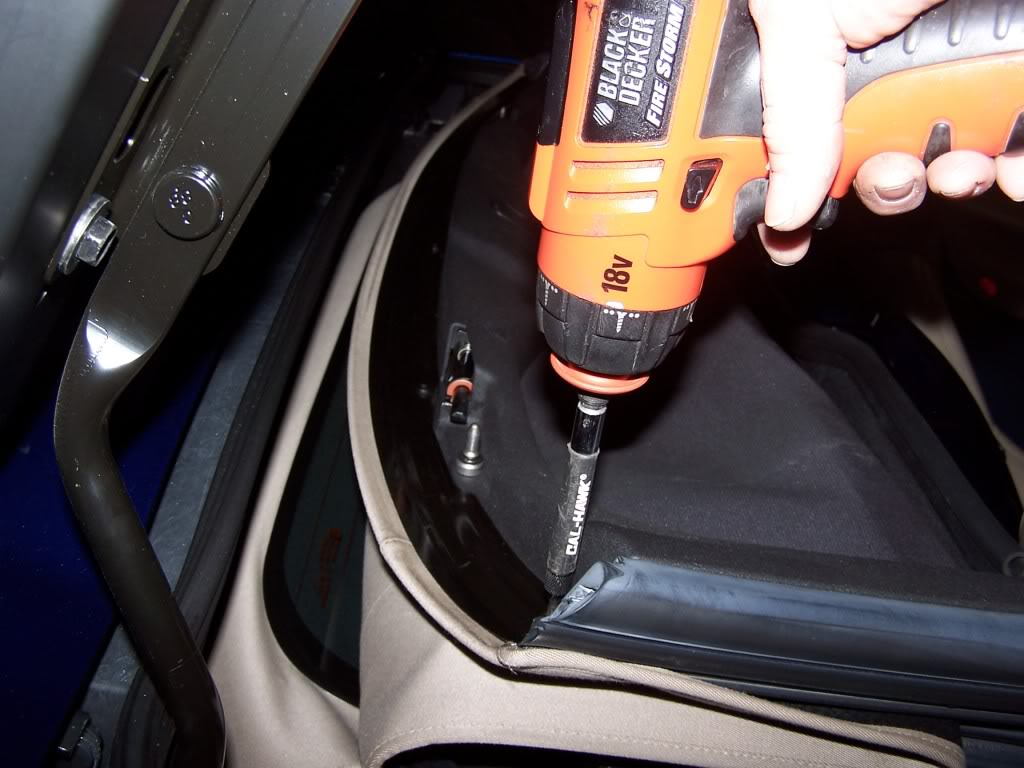
Figure 2. Removing Torx screws.
Step 2 – Install the new top
- Once the old top is completely off of the frame, you can begin installing the new one (Figure 3).
- Slide the new top onto bows #2, #3, and #4 of the top frame.
- Slide the rear of the new top into the bottom of bow #5. It will feel loose until you push the rubber seal back in.
- Pull the door portion of the top to the vertical seals, and push on the top to lock them in.
- Replace the vertical metal seal retainers with three Torx screws each.
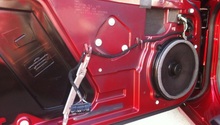
- Slide the tension cable through the new top and place it back in its nest. You may want to put a small piece of tape over it until you reattach the front metal retainers (Figure 4).
- Replace all rubber moldings and all metal retaining strips.
Pro Tips
- Make notes on a pad of paper as to what screws and moldings you have removed and where they go. It makes installation of the new top easier.
- Before you re-install the metal strips, make sure that the new top flaps are firmly folded under.
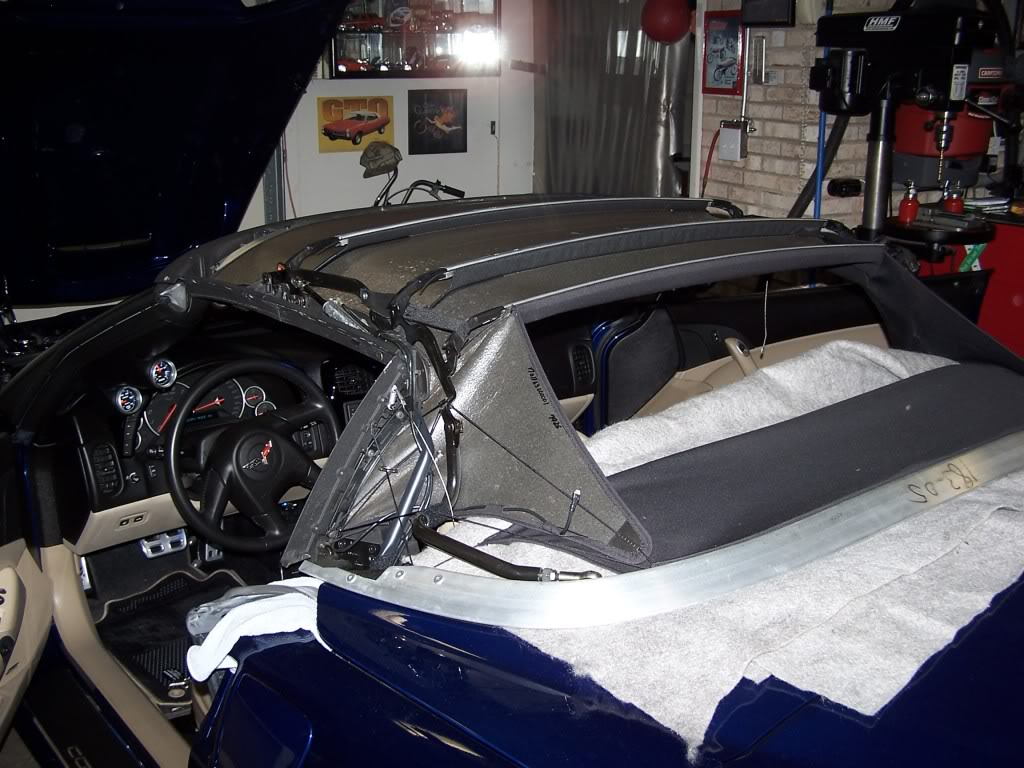
Figure 3. Install the new top. 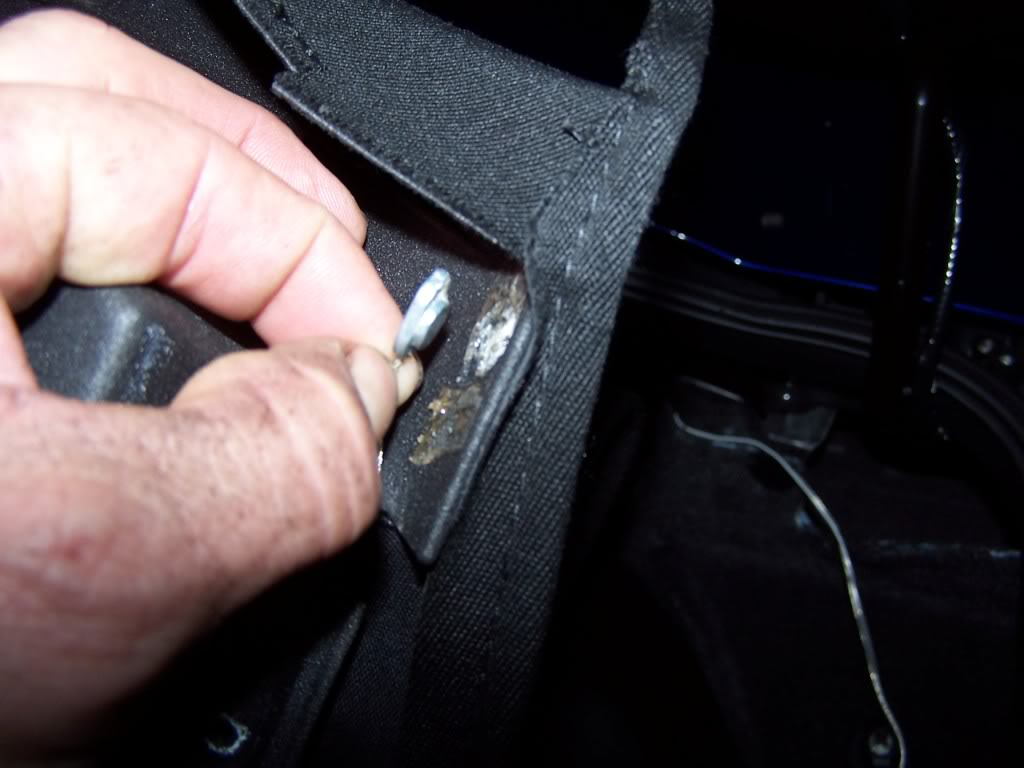
Figure 4. Metal retainer.
Related Discussions
- Convertible Top Install - CorvetteForum.com
- Installation with Pictures - CorvetteForum.com