Corvette: How to Install Radar Detector
Radar detectors can tell you when to toe speed-limit laws and when you can get away with a bit more. Installation is fairly simple and doesn't take much time. Here is how to install a radar detector.
This article applies to the C5 Corvette (1997-2004), C6 Corvette (2005-2013) and C7 Corvette (2014-current).
Installing a radar detector can help you limit or outright eliminate future run-ins with 5.0 (and we are not talking Mustangs, here). You can buy radar detectors that run on batteries or on a 12v adapter, but detectors you hard-wire tend to have twice as much of a range. Most people mount their detector near their rearview mirror or on the dashboard, and most detectors come with a mount you attach with suction cups. You can install some types of detectors near the license plate, but these tend to be laser detectors and not radar detectors. Keep in mind that using a radar detector in some states and cities is illegal.

Materials Needed
- Pliers
- Crimp-on connectors (optional)
- Screwdriver
- Electrical tape
Step 1 – Position and attach the mount
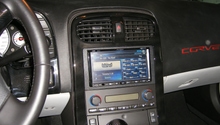
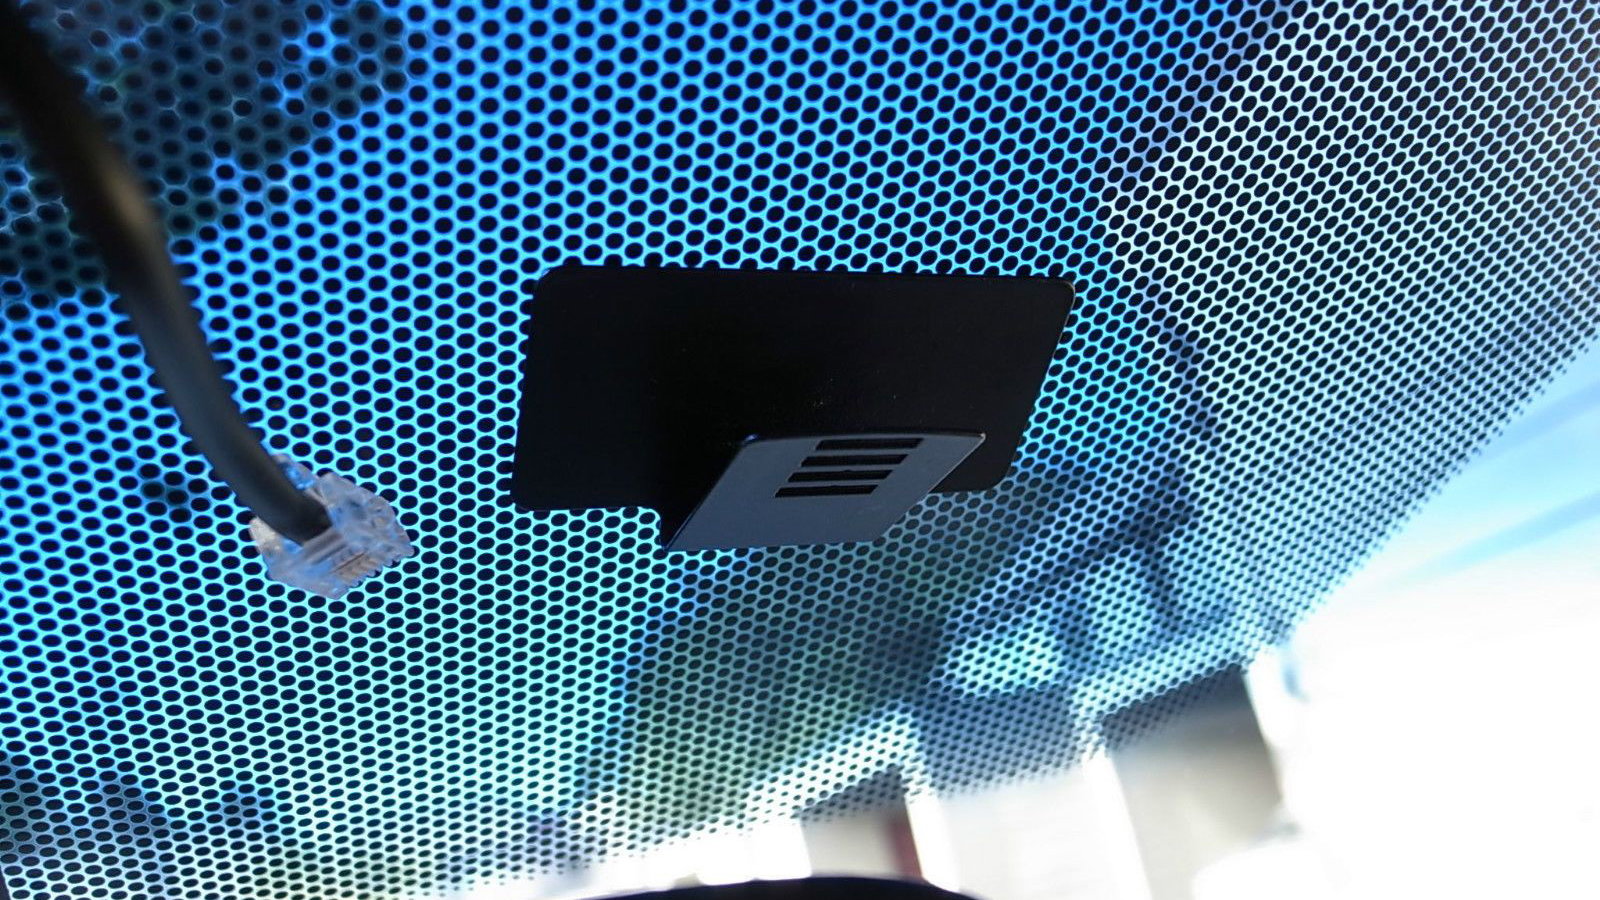
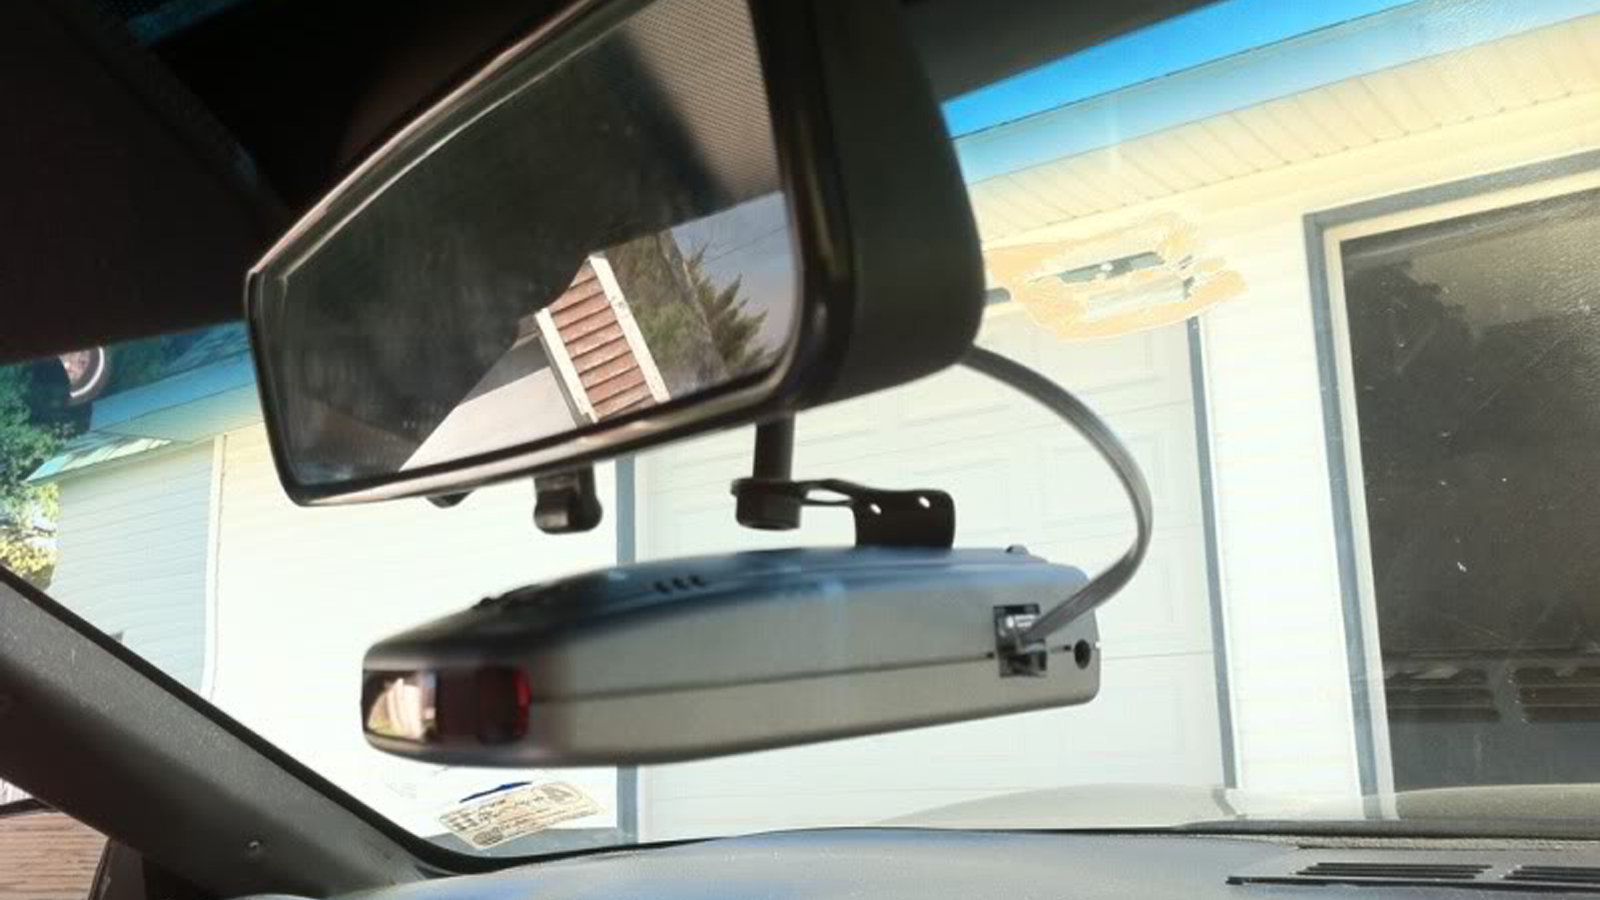
Place the mount where you want it and attach it with the provided suction cups. If you want to see the radar detector, consider mounting it on your dashboard. If you want it out of the way, consider mounting it near your rear-view mirror, such as in the tinted area of the windshield.
Step 2 – Position detector in mount
Insert the detector into its mount, but do not plug it in. Instead, drape the plug around the detector so you know where the plug must reach once you've finished hard wiring the detector. The power adapter should be on the side of the plug that you will route to the power source.
Step 3 – Route the plug to the power source
Run the wire under the top molding by removing the screws inside the left and right visor mounts and pushing the wire in under the molding. Run it over to the passenger-side pillar. You can simply pull off the “A” pillar molding. Start at the top and work your way down, pulling at the lip of the molding as you go. Run the wire down the “A” pillar, behind the plastic trim of the right front foot well wall, and into the fuse box area near the toe panel. Put the trim back in place and make sure it is on tight. Remember not to connect the wire to the detector.

Step 4 – Remove the toe board panel
The toe board panel is located on the passenger side of your car. To remove the panel, lift up on the two latches that are on top of the panel. Set the panel aside.

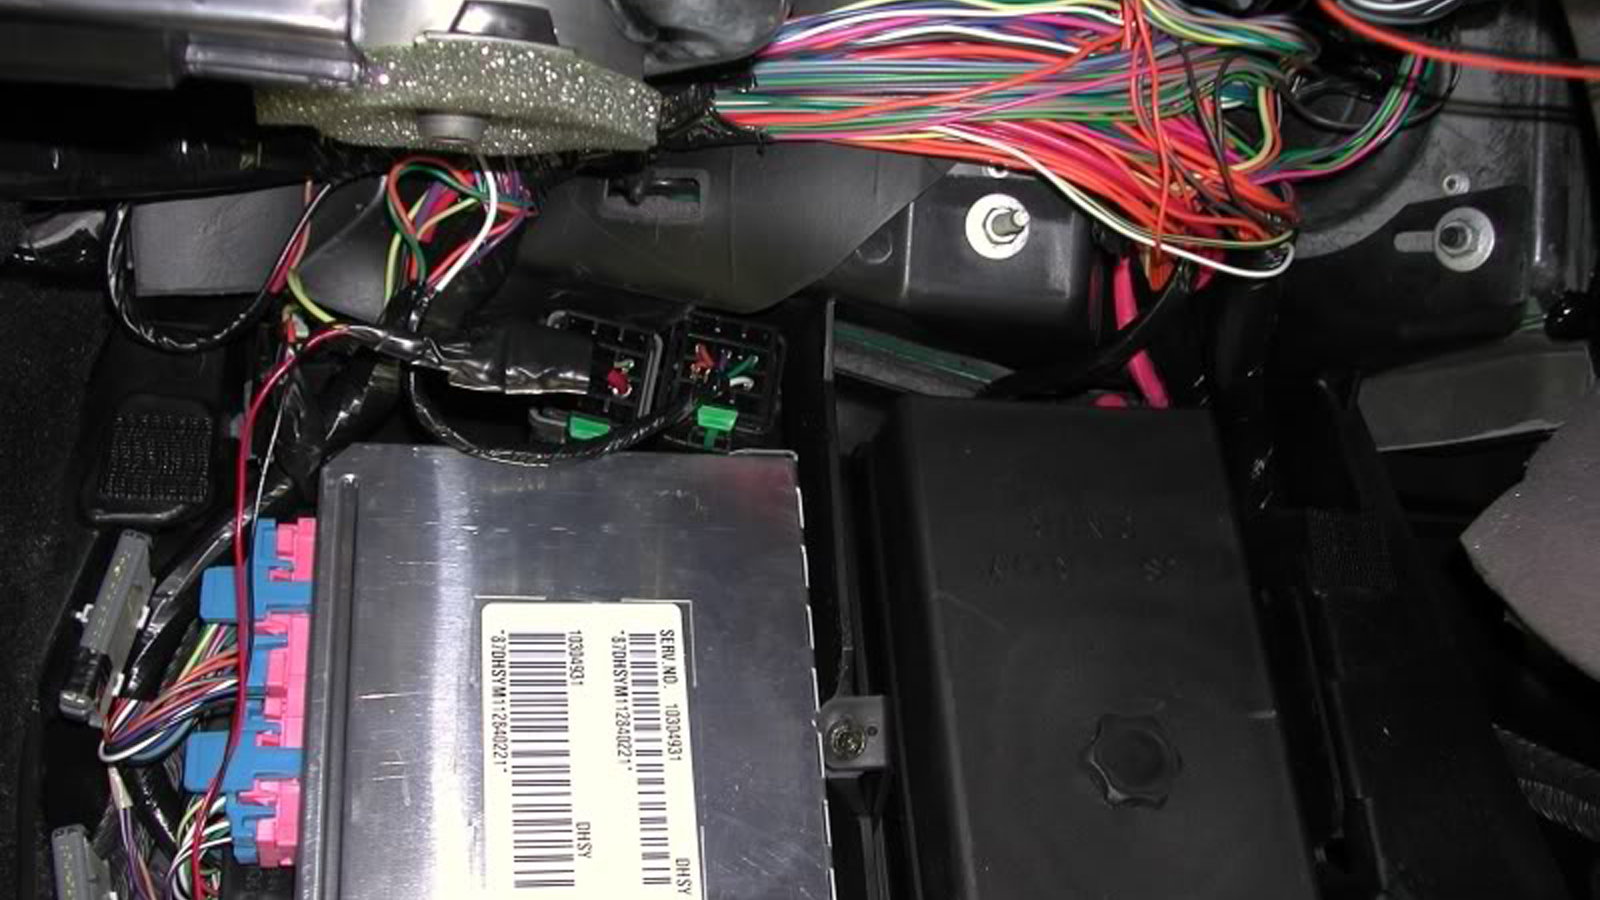
Step 5 – Locate the accessory power plug
The accessory power plug usually is located near the top-left portion of the compartment and next to the body control module. The body control module is a shiny, black box. The accessory power plug is likely on top of the box and likely has black tape covering the ends of several wires. There is usually an orange wire, a yellow wire, and a black wire. Disconnect the power plug from its harness by pulling forward on its plastic locking tab.
Step 6 – Uncover the harness wires
Unwrap the electrical tape from around the three wires. The black wire is your ground wire. The orange wire connects to the battery. The yellow wire connects to your ignition and is live only when the car is on. In most cars, this is the wire you'll use to connect to and power your radar detector. Before starting, check your owner's manual to make sure this applies to your vehicle.
Step 7 – Hard-wire the detector
Connect the radar detector's power adapter to the harness. Connect the black wire from the harness to the ground wire on your detector. This is usually a black wire, but look at your manual to be sure. Connect the yellow wire from the harness to the second wire on the detector. The color of this wire varies, so look at your manual to know which wire to use. Assuming the wire is red, connect it to the yellow wire in the harness by crimping the two wires together. The yellow wire should have a crimp-on type of connector. Connect the red wire to the yellow wire using this crimp-on connector. To connect, gently crimp until you hear it click. Be careful not to crimp too hard, because you may cut the wire. Re-wrap with electrical tape when you're done.

Pro Tip
If you want to use additional crimp-on connectors, you can buy them at most auto parts stores. You also can bypass the crimp-on connector, strip the insulation off of the red wire, and connect it using wire nuts or solder.
Step 8 – Reconnect harness to power plug
Plug the harness back into the power plug, and put it back inside the compartment. Make sure all of the wires are neatly in place and that they won't be crimped or compromised once you put the toe board panel back on.
Step 9 – Put the toe board panel back in place
Lift the latches up, slide panel in place, and then let the latches go. They should then lock the toe board panel in place.
Step 10 – Connect the radar detector to power source
Plug in your radar detector and then turn on your car. The detector should turn on as well.

Pro Tip
Some models of detector come with a cigarette lighter power supply. If yours does, then when you travel or know you won't be driving your car, you can disconnect your detector from the hard wire, and then use it in a different vehicle by powering it via the cigarette lighter power supply.
Related Discussions, Sites and Videos
- C6 ZO6 Discussion - Radar Detector Install - CorvetteForum.com
- Corvette Stingray C7 General Discussions - Radar Installations - Corvette7.com
- Installing the Valentine-One Radar/Laser Detector - FrankHunt.com
- C6 Corvette General Discussion - Radar Detector Antenna Behind Bumper - CorvetteForum.com
- C6 Corvette General Discussion - Custom Installation, Remote Radar Detector - CorvetteForum.com
- Radar Detector - Whistler CR85 Unboxing and Hard Wire Install - YouTube.com
- How to Direct Wire a Radar Detector - YouTube.com