Corvette: How to Replace Battery
Don't get stranded on the side of the road. Changing a Corvette battery is easy and only takes a few minutes.
This article applies to the Corvette C5 (1997-2004), C6 (2005-2013), and C7 (2014-2020).
Batteries rarely die in the comfort of your own driveway, or better yet, in the parking lot of your favorite mechanic. Changing your battery is an easy thing you can do to ensure many more miles of carefree driving in your Vette. The most difficult part of this task is lifting the old battery out and carrying the new one to install. The battery is heavy, but the actual replacement and installation is easy enough for a complete novice to do. Continue reading to learn how to complete this simple task in your own garage in just a matter of minutes.

Material Needed
- Ratchet with extension
For C5 and C6 Models
Step 1 – Access the engine compartment
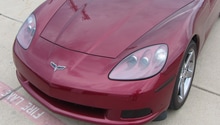
Popping the hood and accessing the battery isn't as straightforward as it seems if you are stranded with a dead battery. If you are being proactive and changing your battery before it dies, then yes, simply pop your hood. If you are stuck with a dead battery, you've probably figured out already that you can't open your door to get in and release your hood. And if you happen to be stuck inside your car, you are really desperate at this point. If you are inside your car, on the floor between the driver's door and the seat is a latch that you pull up, and the door will open.
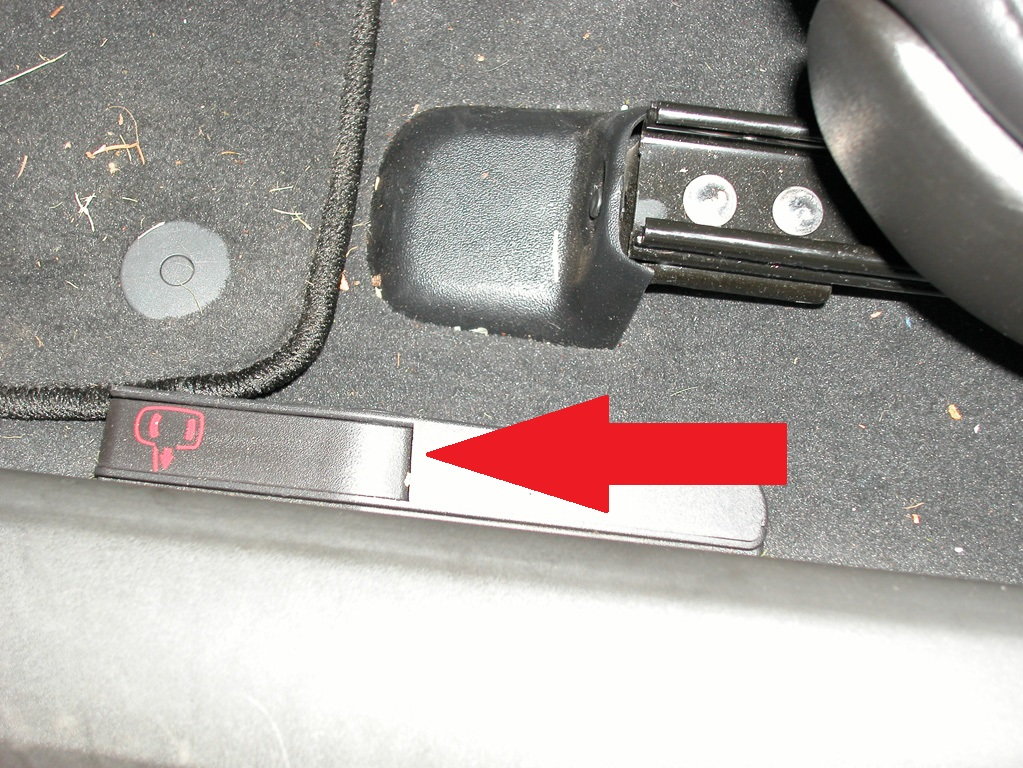
If you are outside of your car, use your key to open the trunk (hatch) manually. On the inside left, you'll see a cord attached to a plastic tab. Pull this tab toward the rear of the car and it will open the driver's door for you. Once inside, pull the hood release lever to pop open the hood.
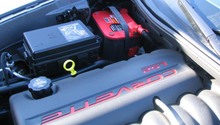
Step 2 – Locate the battery
Your battery will be close to the windshield on the passenger side. Pay very close attention to the size and shape of the battery and especially the orientation of the battery terminal posts. Look for the cabin filter access door, which is right next to the battery. If you get a battery that is too tall, you will block access to this door, and changing or checking the cabin filter won't be so easy.
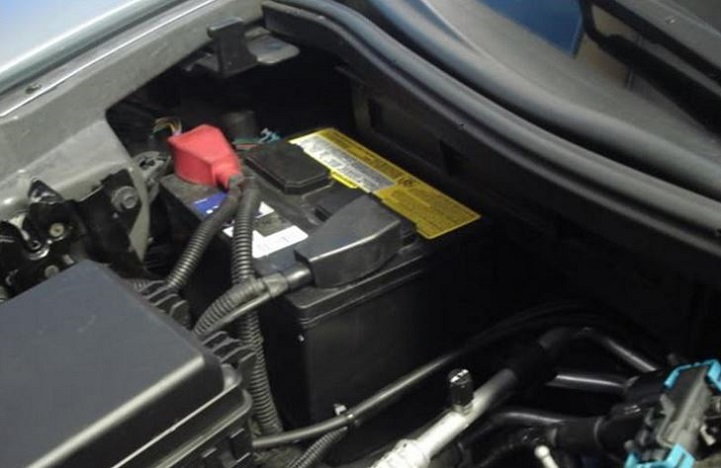
Pro Tip
Take note of which side the positive and negative terminal posts are on.
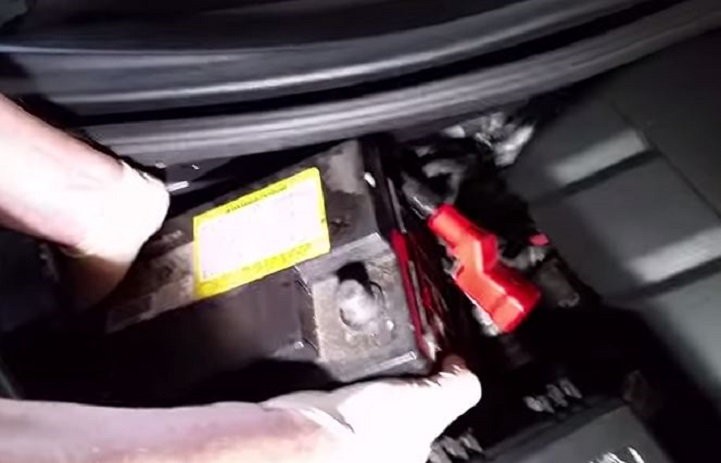
Step 3 – Disconnect the battery
Lift the rubber boot off the negative (black) terminal post. Loosen up the nut, but don't remove it all the way out. You can then pop the connector off the battery post and push it aside. Repeat for the positive (red) terminal post. Always remove the negative post first before you remove the positive. At the bottom of the battery is the battery tray that the battery sits on. There is a block-style clamp that secures the battery to the tray so that it doesn't slide around while you are driving your car. You'll have to loosen the bolt holding the clamp in place in order to lift the battery up and out of the car.
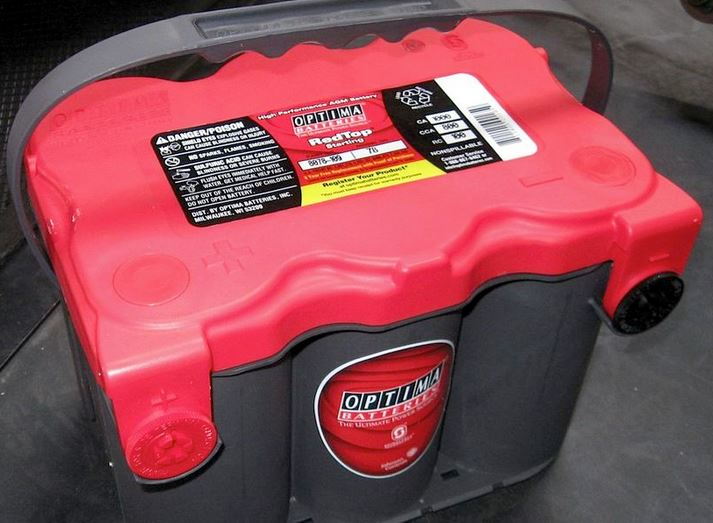
Step 4 – Install replacement battery
It is really important to note which side of the car the terminal posts were on with the old battery. Corvette made some changes with the battery through the life of the C6. For the model years 2005, 2008, and 2009, they used a different tray than they used in the 2006 and 2007 models. This is important in regard to the size of the battery you can install. Remember that the access door to the cabin filter will be blocked if you use too tall a battery. Even more important is to note that in 2005, the C6 Corvette used a "normal" post with its batteries; that is, the positive post is on the passenger side of the battery. Locate the number on the battery, and make sure you purchase a similar-sized one.
From 2006 and on, they used a reverse post, that is, the positive post is on the driver's side of the battery. Replacement batteries will be noted with an "R" in their name to designate that it is a reverse-post battery. It is vitally important to make sure you know which side is your positive and negative battery post. Having said that, most of the Corvette models had the battery in the same location.
Warning
Reversing the polarity of battery, that is, hooking the positive terminal to the negative post and vice versa, can do any one or more of the following to your car:
- There is a fusible link from the starter to the alternator that will melt.
- Your amp/radio/speakers may blow. Re-wiring and soldering will be necessary if you are lucky enough to not have destroyed the equipment.
- MANY fuses in the engine bay will blow, most likely the radio, amp and HVAC fuses.
- At best, your alternator will be spared, but at worst it will be ruined along with the solenoid.
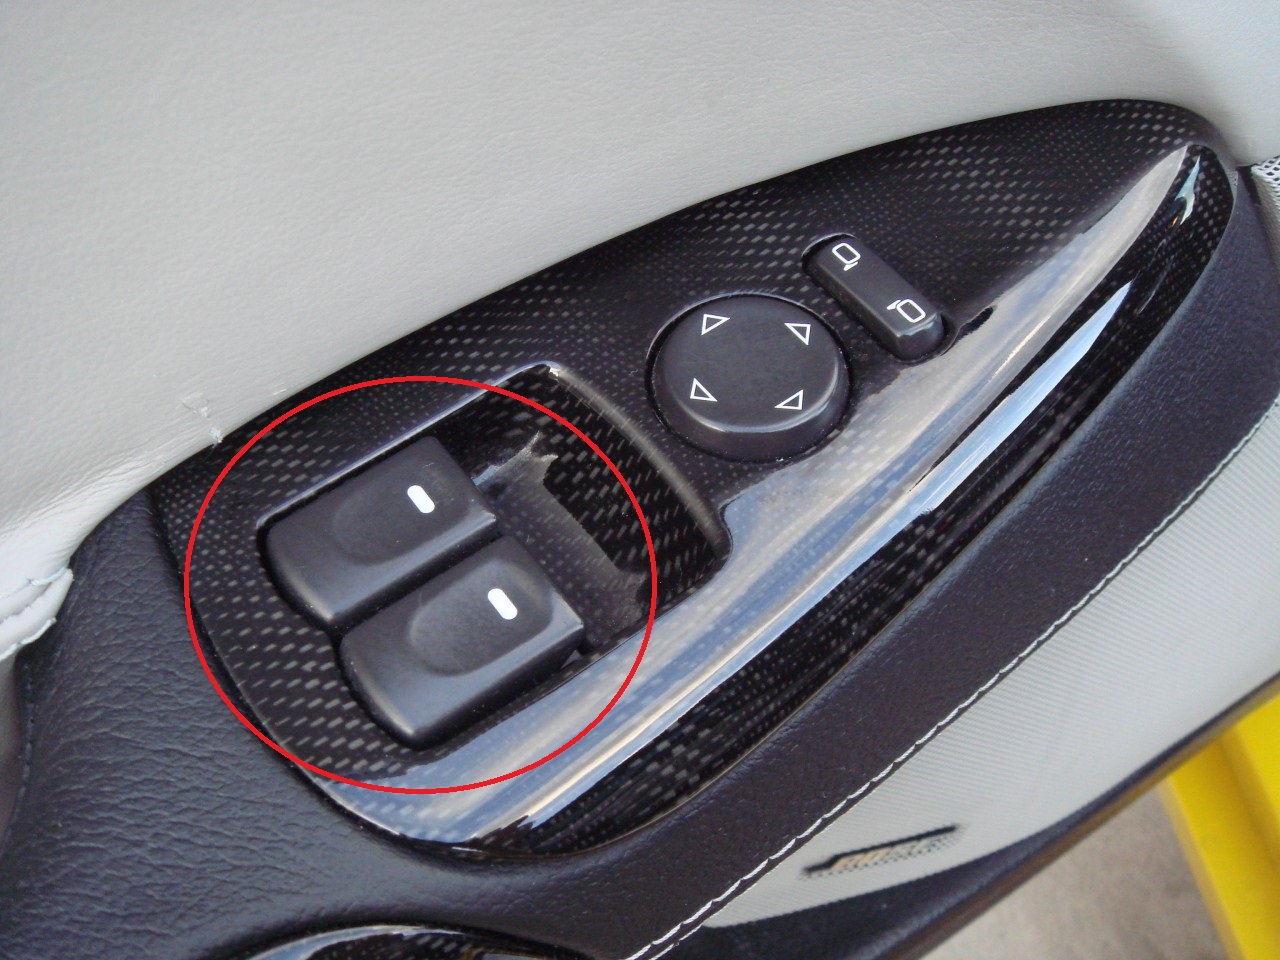
Step 5 – Reset your window so it operates properly
After you replace the battery, you will need to index your windows. This is the "Power Index-Up" feature that you will find in your owner's manual. Your radio presets and other items ought to be fine, although you might have an issue with your TPMS. If you do have a problem with your TPMS, drive the vehicle for a few minutes, and it should correct itself.
To re-index your windows, do the following:
- Close the door and raise the window with the switch.
- Continue holding the switch in the up position for three additional seconds after the window is raised completely, then release the switch.
- Pull the switch up again for an additional three seconds and then release.
- Repeat this for the other side.
Featured Video: How to Replace a Battery on a C6 Corvette
Pro Tips
- If your Vette is more of a garage queen than a daily driver, a high quality battery tender will save you from having to remove, jump, or charge your battery.
- If you are stuck on the side of the road, the odds are you won't have an extra battery. Whether you have a jumper cable in the car or you borrow one from a passing car, connect the red side to the positive from your Corvette to the helping car, and the black one to the negative. Then, after you wait a minute or so, try starting the car. If it doesn't start, you may need to wait a little longer to let it charge a bit more.
For C7 Corvettes
The C7 is a little bit different than it's predecessors. Fortunately, it's no more complicated. At the end of the day, a battery is a battery.
Here is the break down on how to access your C7's battery:
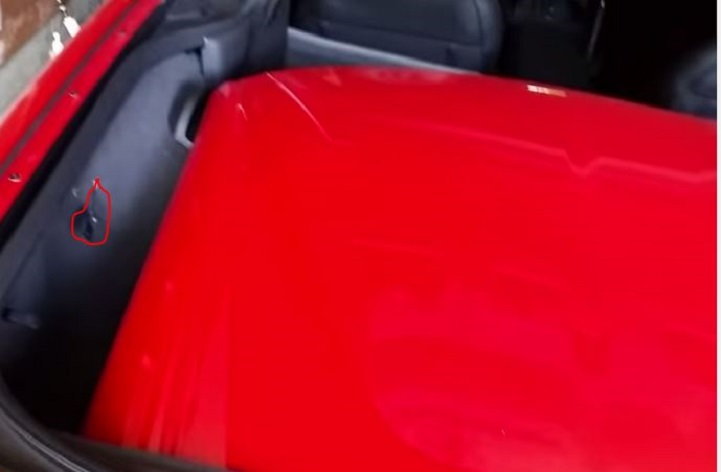
- Open the hatch.
- Pull up the false floor/carpet on the passenger-rear side.
- Remove the protective composite cover.
- Using your 12mm socket, undo and negative and positive terminals, be careful not to let them touch!
- Your your wrench on the two fasteners on the battery tie down securing the battery.
- With the tie down removed, the battery should be free to remove.
-
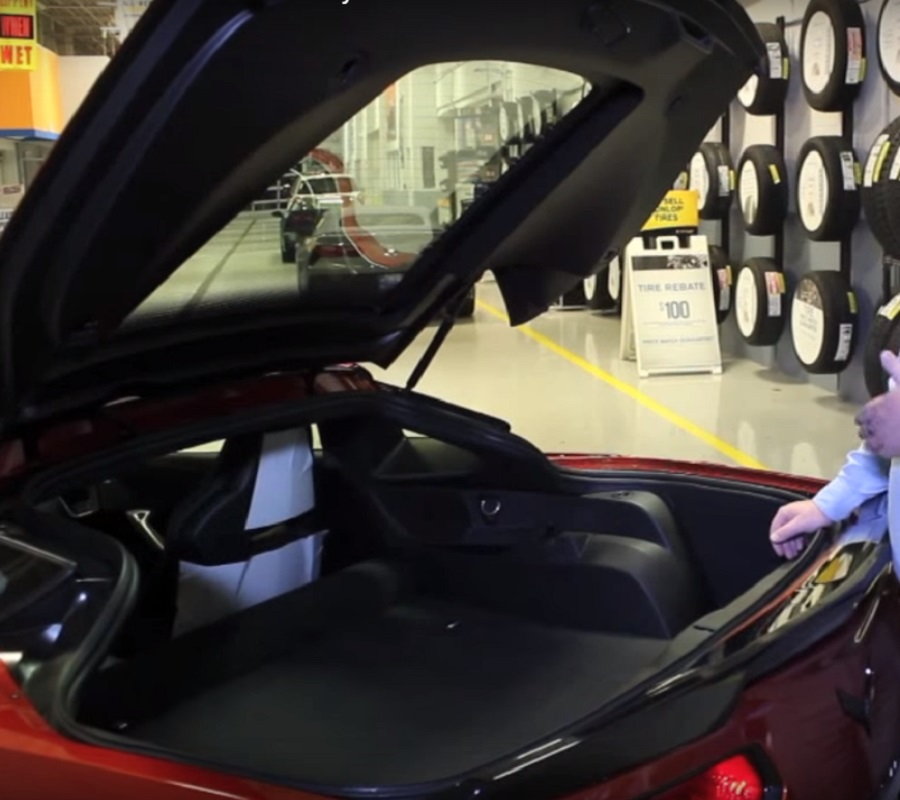
Figure 7. Open the hatch. -

Figure 8. Pull up the false floor. -

Figure 9. Remove the protective cover. -

Figure 10. Unhook the negative terminal. -
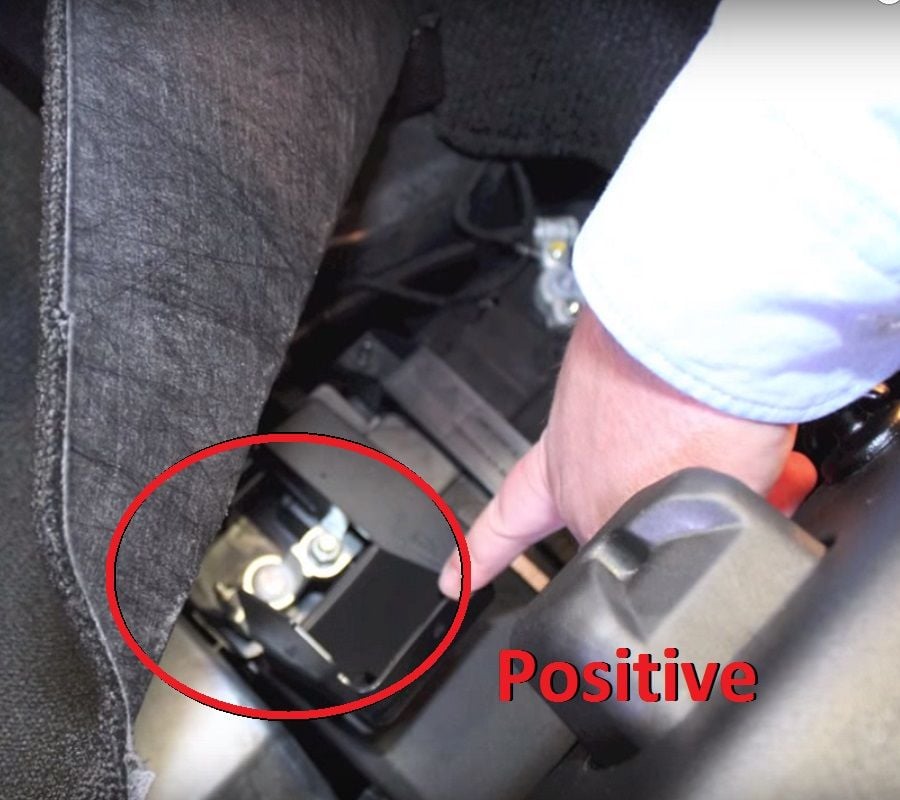
Figure 11. Unhook the positive terminal. -
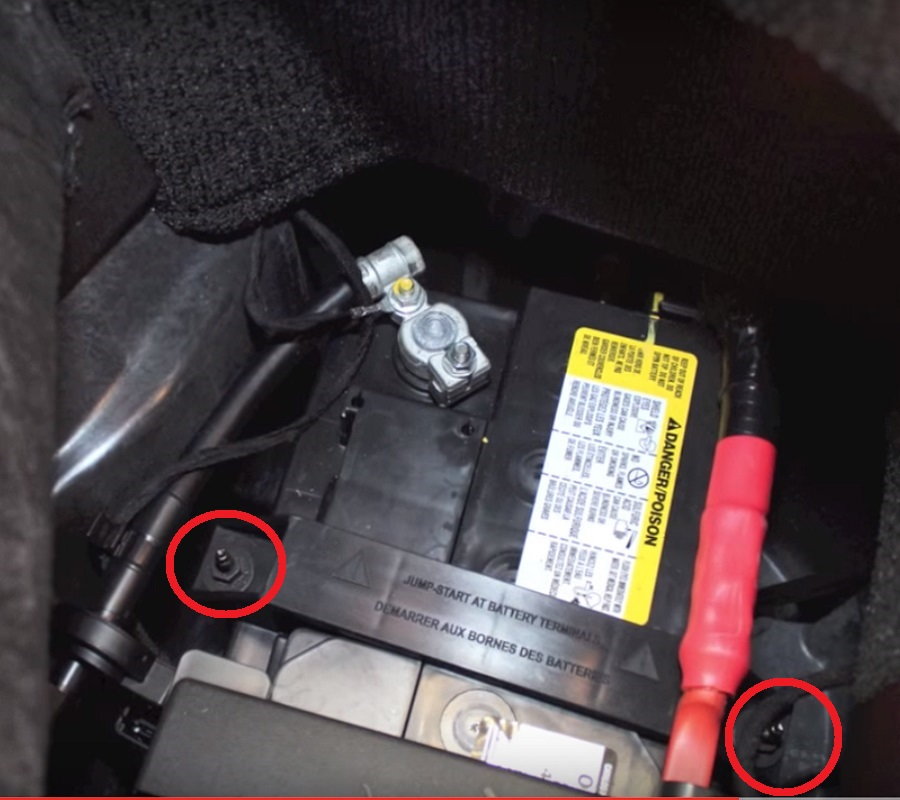
Figure 12. Remove the battery tie down.
Related Video: 2014-2015 C7 Corvette Battery Access
Related Discussions
- C6 Battery Replacement - CorvetteForum.com
- Battery Connected Backwards on C6: Where to Start? - CorvetteForum.com
- Odyssee Battery Install C6 Coupe - CorvetteForum.com
- My Battery Died (How Embarassing!) - CorvetteForum.com
- Which Battery? - CorvetteForum.com
- Power Window Initialize - CorvetteForum.com