When you click on links to various merchants on this site and make a purchase, this can result in this site earning a commission. Affiliate programs and affiliations include, but are not limited to, the eBay Partner Network.
I've tried 4 different elm's and although they're cheap I'm done tossing money at this thing. I'm just looking for confirmation that they actually work
Well, I stand by my recommendation on page 1 of this thread.
Well, I stand by my recommendation on page 1 of this thread.
hmmm. That way the 1st one I tried but only connects 10% of the time after 10+ attempts. The one I got was red though .... Ill have to Look into what one I actually got.
hmmm. That way the 1st one I tried but only connects 10% of the time after 10+ attempts. The one I got was red though .... Ill have to Look into what one I actually got.
That is the OBDLink MX Wi-Fi. My OBDLink MX Bluetooth connects 100% of the time.
Can someone who has used the OS2X module, tell me how they wired up the SWC wires?
EDIT: I found the GR w/WH wire and the Yellow (battery) on the PAC harness. I re-read the 1st post and it says to wire the gr/wh wire to KEY 1, but then the yellow to GND lead. Shouldn't the yellow be hooked to ACC +12v?
Last edited by TheSenator; 11-02-2016 at 10:03 PM.
Can someone who has used the OS2X module, tell me how they wired up the SWC wires?
EDIT: I found the GR w/WH wire and the Yellow (battery) on the PAC harness. I re-read the 1st post and it says to wire the gr/wh wire to KEY 1, but then the yellow to GND lead. Shouldn't the yellow be hooked to ACC +12v?
You might be confusing PAC side vs. connector side of the two cut PAC harness wires.
Originally Posted by bjmsam
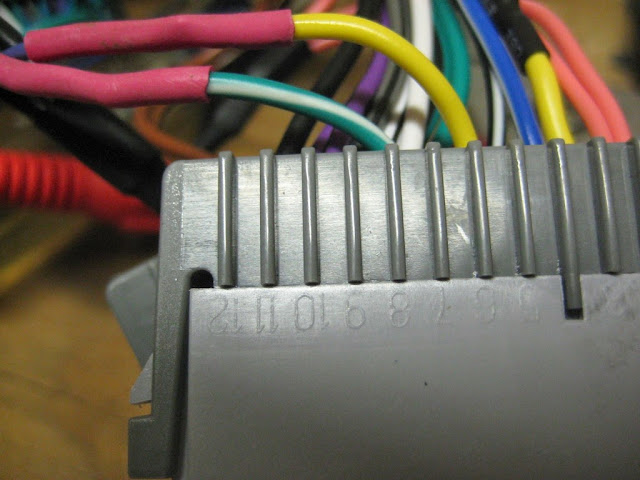
The PAC has two types of steering wheel control (SWC) connections; a mini phono jack and a single blue/yellow wire. It also has a 10-position switch that determines SWC signal compatibility with mainstream HUs. This HU has two wires labeled KEY1 and KEY2 and according to the documentation works with only resistive signals like the Corvette's (see Volume 1 of the shop service manual for schematic). I tried the single wire, and I cut off the phono jack and tried the red and white wires, and I tried all ten switch settings, but nothing worked and I couldn't make sense of the PAC SWC signals with my multimeter. I solved it by cutting the yellow and green/white wires from the PAC that correspond to the purple (6) and dark blue (7) wires from the car and connecting them to the KEY1 and GND leads from the HU. The HU immediately recognized the buttons and made it easy to map them to the desired functions (my 1-6 button now controls mute).
Originally Posted by bjmsam
The PAC harness brings its power in on the yellow wire and loops it back out on pin 6 to power the car SWC (purple wire on the car side of the connector). I believe yellow is constant power rather than switched, so I didn't care for that approach anyway (why energize the car SWC resistor tree when the ignition is off?). Cut that loop and connect the outbound yellow wire on pin 6 to the KEY1 wire. The SWC circuit becomes:
HU KEY1 <--> connector side PAC yellow pin 6 <--> car SWC purple pin 6 (+)
HU GND <--> connector side PAC green/white pin 7 <--> car SWC dark blue pin 7 (-)
Last edited by bjmsam; 11-03-2016 at 04:56 AM.
Reason: typo
Thanks!!! You are correct, I was backwards. After the drive from NOLA to Houston yesterday, my brain was apparently not functioning properly. The last quote was exactly what I was missing.
Sidenote - the new 2GB RAM and 32GB Flash Joying unit is FAST. Very Fast. I got everything else wired in and was able to play around a bit with the unit. UI is good enough, and I can't wait to pair my MX I had from my truck.
Bookmarked for my installation attempt this weekend
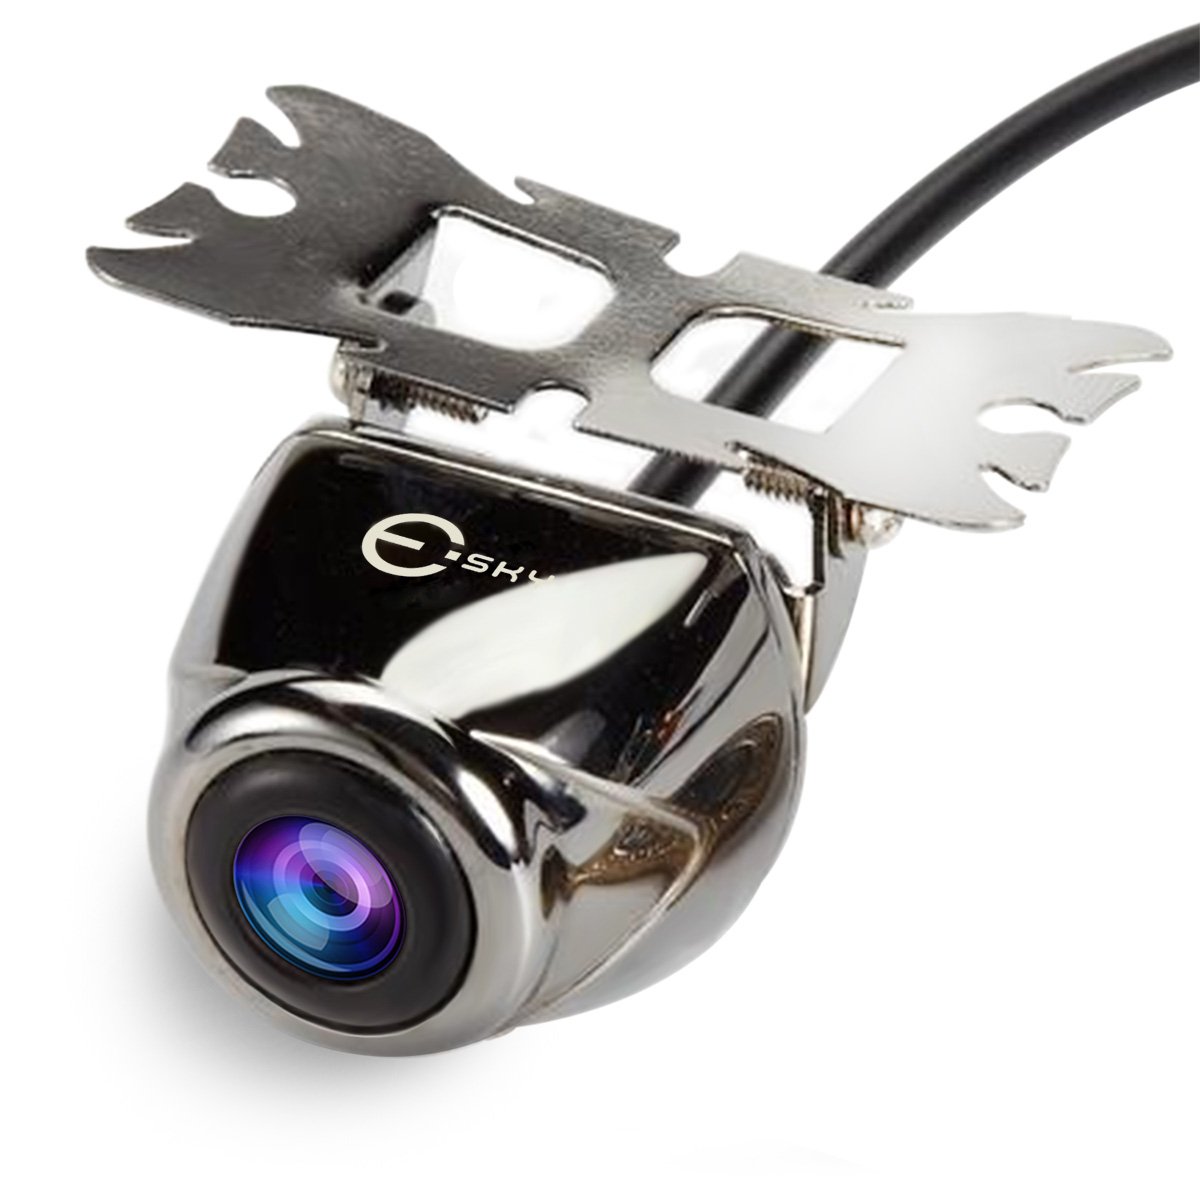
and with a backup camera
I've never installed a car stereo in my life. I've researched how to do this and bought all the items needed (PAC module, ground loop isolators, Double din installation kit. I imagine this 3 hour job will take me at least 8.
Thanks!!! You are correct, I was backwards. After the drive from NOLA to Houston yesterday, my brain was apparently not functioning properly. The last quote was exactly what I was missing.
Sidenote - the new 2GB RAM and 32GB Flash Joying unit is FAST. Very Fast. I got everything else wired in and was able to play around a bit with the unit. UI is good enough, and I can't wait to pair my MX I had from my truck.
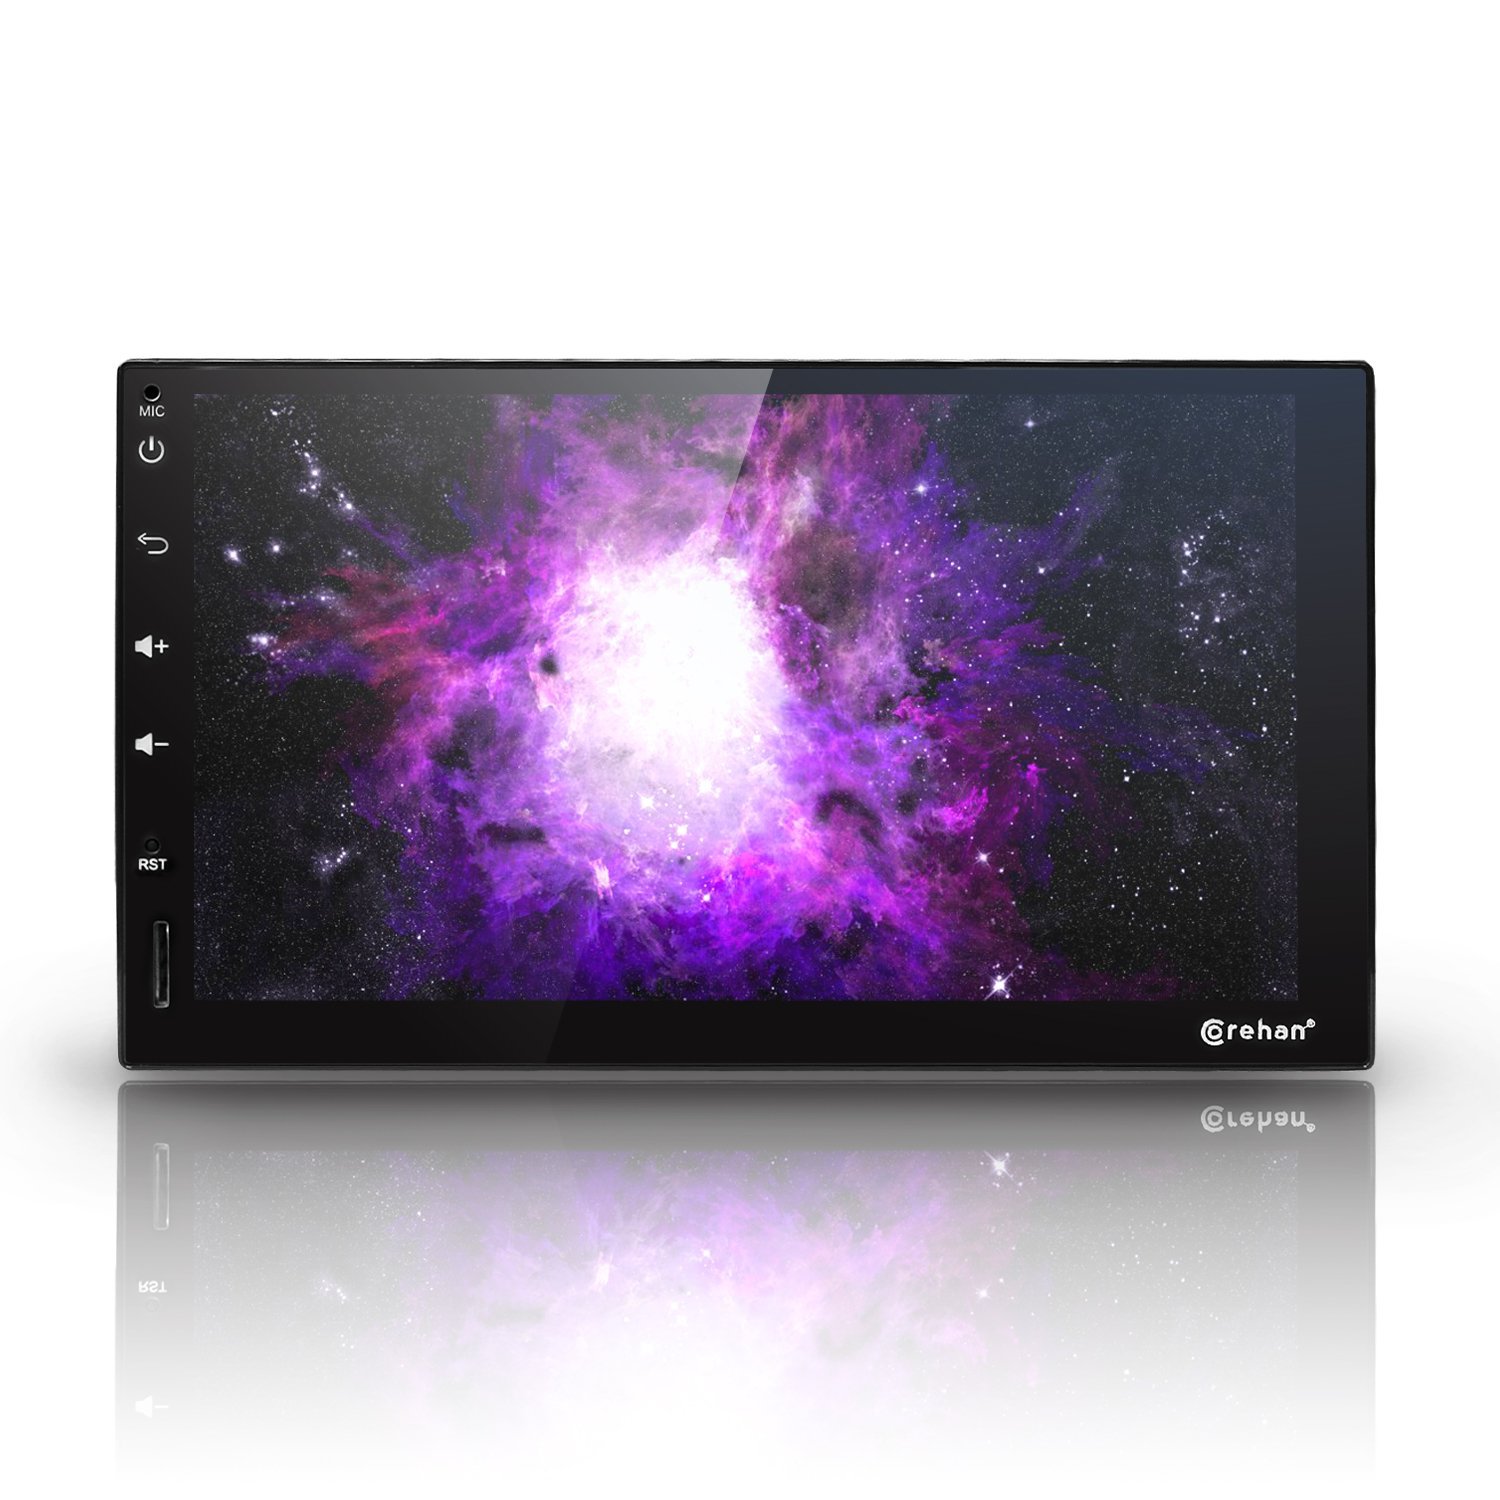
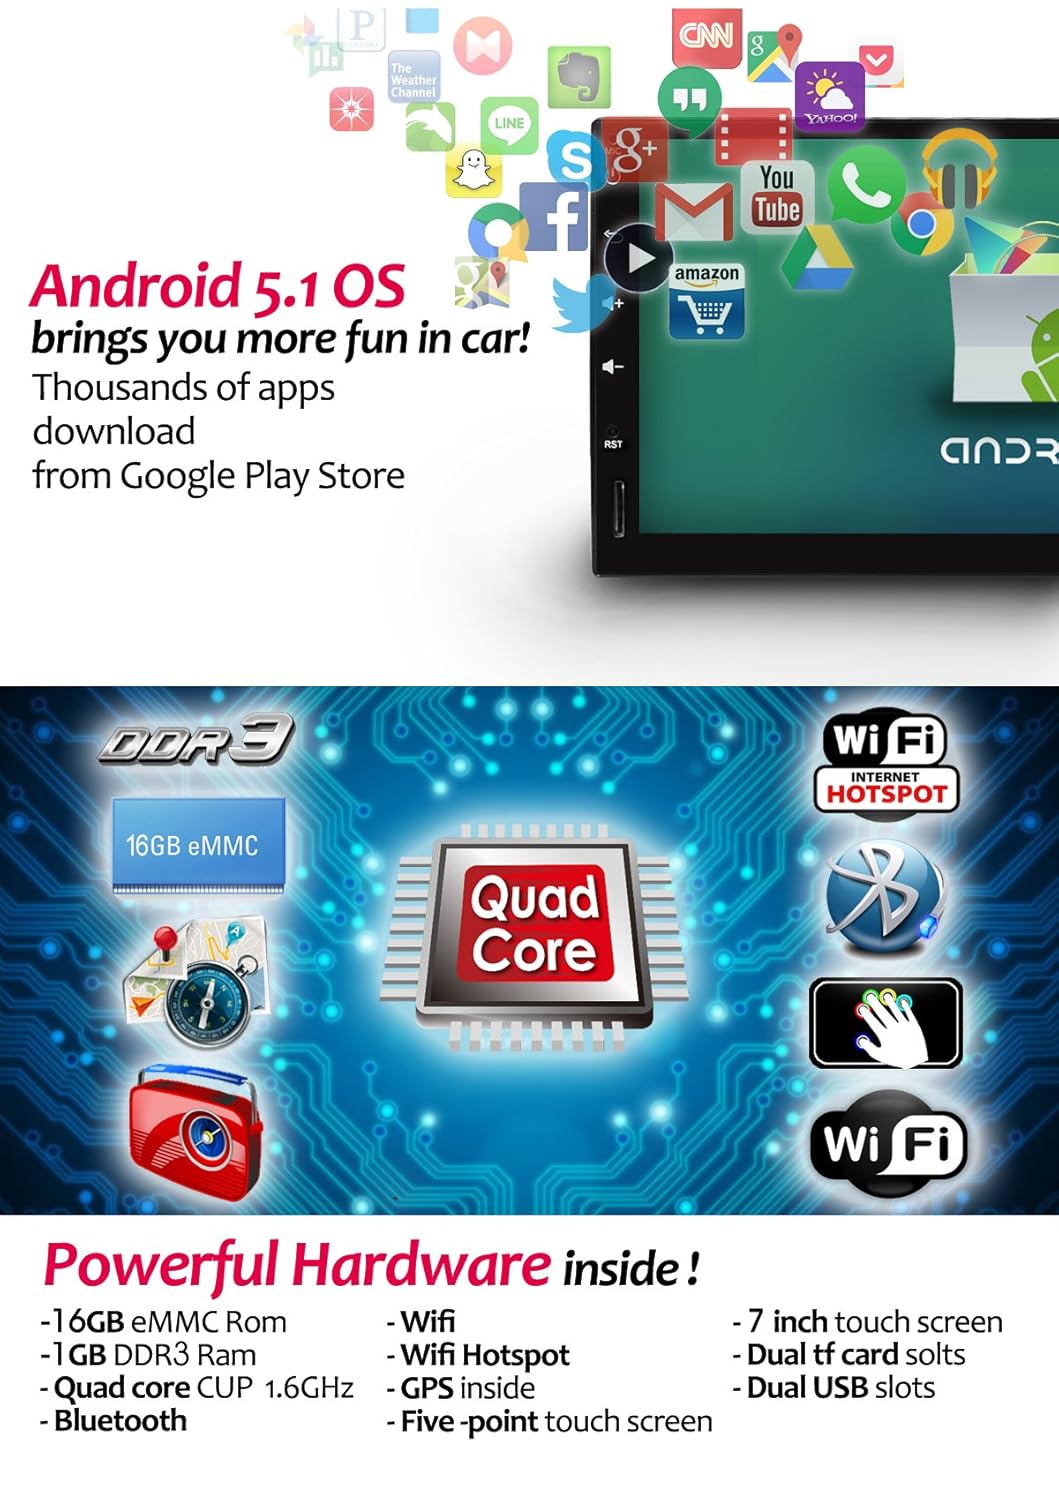
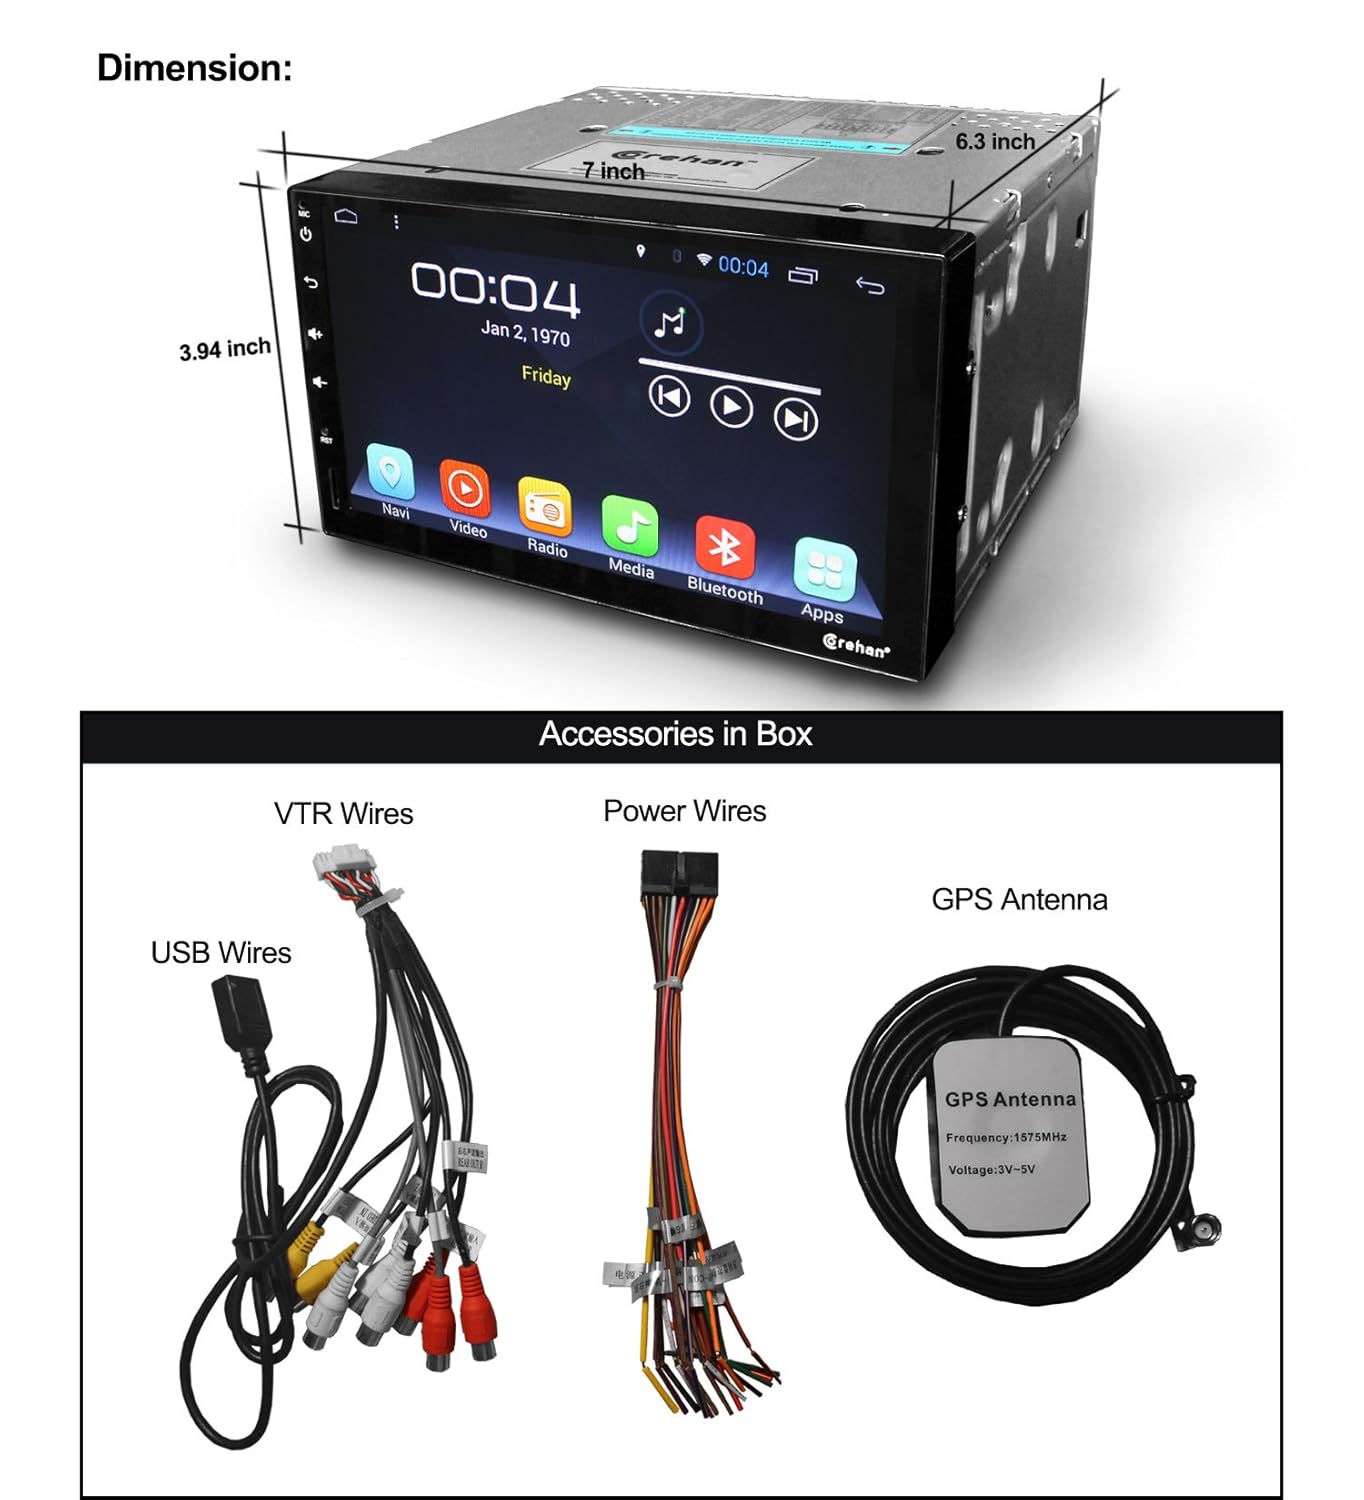
Shoot. I just ordered a cheap-o 1GB unit from Corehan. ($197.00) I wonder if it is worth it to return and get this other one instead.
Bookmarked for my installation attempt this weekend
I've never installed a car stereo in my life. I've researched how to do this and bought all the items needed (PAC module, ground loop isolators, Double din installation kit. I imagine this 3 hour job will take me at least 8.
Pretty excited to update the stereo on my C6..
Not that hard. Don't be a fool like me and cut off you PAC adapter rca jacks. Still do not know what I was tinkling there.
Last edited by Naldinator; 11-07-2016 at 08:53 PM.
Spent about ten hours doing the entire job. Never installed an aftermarket radio before. Love having Waze, Spotify, and the beck up camera. The unit came with a usb on a long cord, wasn't sure what I was going to do with that. That's the only thing I think I could have done a little better if I had the proper tools.
Spent about ten hours doing the entire job. Never installed an aftermarket radio before. Love having Waze, Spotify, and the beck up camera. The unit came with a usb on a long cord, wasn't sure what I was going to do with that. That's the only thing I think I could have done a little better if I had the proper tools.
Looks great! I took one USB and ran it into the sender console and ran the other one into the glovebox.
Those are among the questions answered in more detail earlier in this thread for the model I installed in 2014 as well as newer models installed by other members of the forum, but to summarize briefly:
Originally Posted by Minkster
-Can you use an adaptor to connect to the OEM GPS antenna?
yes
Originally Posted by Minkster
-Where do you download or acquire updated maps for the SD card?
depends on the nav app that you choose
Originally Posted by Minkster
-How much area does the SD card maps cover, do they have POI's etc?
iGo and Sygic are among the options that have offline maps and POIs with worldwide coverage
Originally Posted by Minkster
-Can this be used without having a smart phone or data plan?
yes
Originally Posted by Minkster
-Can it display directions on the HUD, and/or voice commands?
no HUD directions, voice commands depends on the nav app that you choose
Originally Posted by Minkster
-Bluetooth for a cellphone, and can you use the vehicles OEM mic?
yes bluetooth, I have seen posts on use of the OEM mic in other threads, but I use the HU's mic
Originally Posted by Minkster
-Sound quality?
mine is wired to the OEM amp and speakers and sounds at least as good as the OEM HU (and offers far more options for equalization and other acoustic customization)
I remain so pleased with the Android head unit that I installed in my C6Z nearly three years ago that I just bought another one, this time for my 2009 Toyota Rav4 Sport V6. These are improving all the time... this one (C1067106A3 from "BonRoad") has double the CPU cores, twice the RAM and ROM, higher resolution, custom form factor and plug-and-play installation (took less than 30 minutes total), all for only $287. Impressive!
Last edited by bjmsam; 02-18-2017 at 08:32 AM.
Reason: Wow, it has been not two years, but three!
I remain so pleased with the Android head unit that I installed in my C6Z nearly two years ago that I just bought another one, this time for my 2009 Toyota Rav4 Sport V6. These are improving all the time... this one has double the CPU cores, twice the RAM and ROM, higher resolution, custom form factor and plug-and-play installation (took less than 30 minutes total), all for only $287. Impressive!
Is it instant-on yet or still a ~30 second boot time?
Is it instant-on yet or still a ~30 second boot time?
Android still must boot, which happens a bit faster on this unit (closer to 20 seconds). As with the older unit in my C6Z, only the backup camera is available immediately (presumably because the OS is bypassed for that function). It's particularly annoying in this case because the Rav4 cuts power long enough to force a reboot when switching from ACC to START to ON. I am preparing to add a capacitor and diode to keep it running for a few seconds when power is cut; perhaps a similar approach could be employed to anticipate the need to boot when entering the vehicle (e.g.- tie in to the dome light circuit)...

 03-25-2015, 01:53 PM