When you click on links to various merchants on this site and make a purchase, this can result in this site earning a commission. Affiliate programs and affiliations include, but are not limited to, the eBay Partner Network.
This shouldn't be as hard as I am making it, but I can't find a good way to route the cooling hoses for my C4. Its 90% track day/ Auto-X, but is still driven on street.
I tried going up into the a-armed and down to the front of the car that way, worked great, till i went to close the hood and the prop rod hit. Ok easy fix, take that off till I can figure something else out. Then when I went to turn on the lights, the lights moved and would go up. Realized that empty area i ran the ducts into was clearance for the headlights to flip.
I have seen people go down and below to the front air dam, but every way I look at it, it seems like it would rub the tires.
Does anyone have pictures to show exactly where each hose is going? And my mounting plates are the Quantum ones, so they are on the forward side of the rotor if that changes things.
What year car do you have? The early ones had a deeper front air dam and made it easier to run ducts. It has been 20 years since I ran my 1986 but this is how I routed the ducts. I wanted to run the ducts from the air dam back. I chose 3 inch ducts and ran them along the bottom of the front fascia to the point they came to the wheel wells, then I ran them up through the control arms and routed them to the back of the rotor. If you look on your car you should be able to find a path from the air dam back. You don't so much as go into the wheel well as beside it.
I held the ducts to the bottom of the front fascia by using wire ties that were fastened in adhesive backed wire tie mounts. To pick up the air supply I used a 3 inch hole saw and drilled holes in the air dam just outside the spot the front skid plates stick down. The hoses were able to pretty much go straight back to the point I routed them around the steering rack and into the control arms.
If you have a 91 or newer car the air dam isn't as deep so you will need a kit like Eckler's (I think) sells to connect the hoses.
I ran mine as Bill described from the dam to the wheel well, but from there I routed the duct toward the engine compartment to come up between the radiator fans and the front of the engine. From there, cut the fiberglass wheel well to enlarge the opening at the upper control arm, route the tubing along the control arm, then connect to your Quantum duct.
You will need to provide slack in the tubing at the control arm to allow for the wheels to pivot as they steer.
Mine was complicated by the fact that I have kept my AC system, and I could not fit 3 inch duct tube through the engine bay. So, within the engine bay I ran 2 inch, then used 2x3 reducers on both ends, to retain as much length of 3 inch tube as possible.
Yes - the 2 inch is a restriction and theoretically reduced the capacity, but the capacity loss is a function of length and I minimized that aspect of it. My plan has been to add fans to the duct to overcome the restriction, but in 2 years that has not been necessary. I have never had a temp related floss of brake performance. In fact, I sometimes observe a cloud of brake dust blown from the front wheels, as I brake on track, so I think mine are very well ventilated.
I was initially concerned that the tubing might interfere with the cooling of the engine, but coolant temps remain normal.
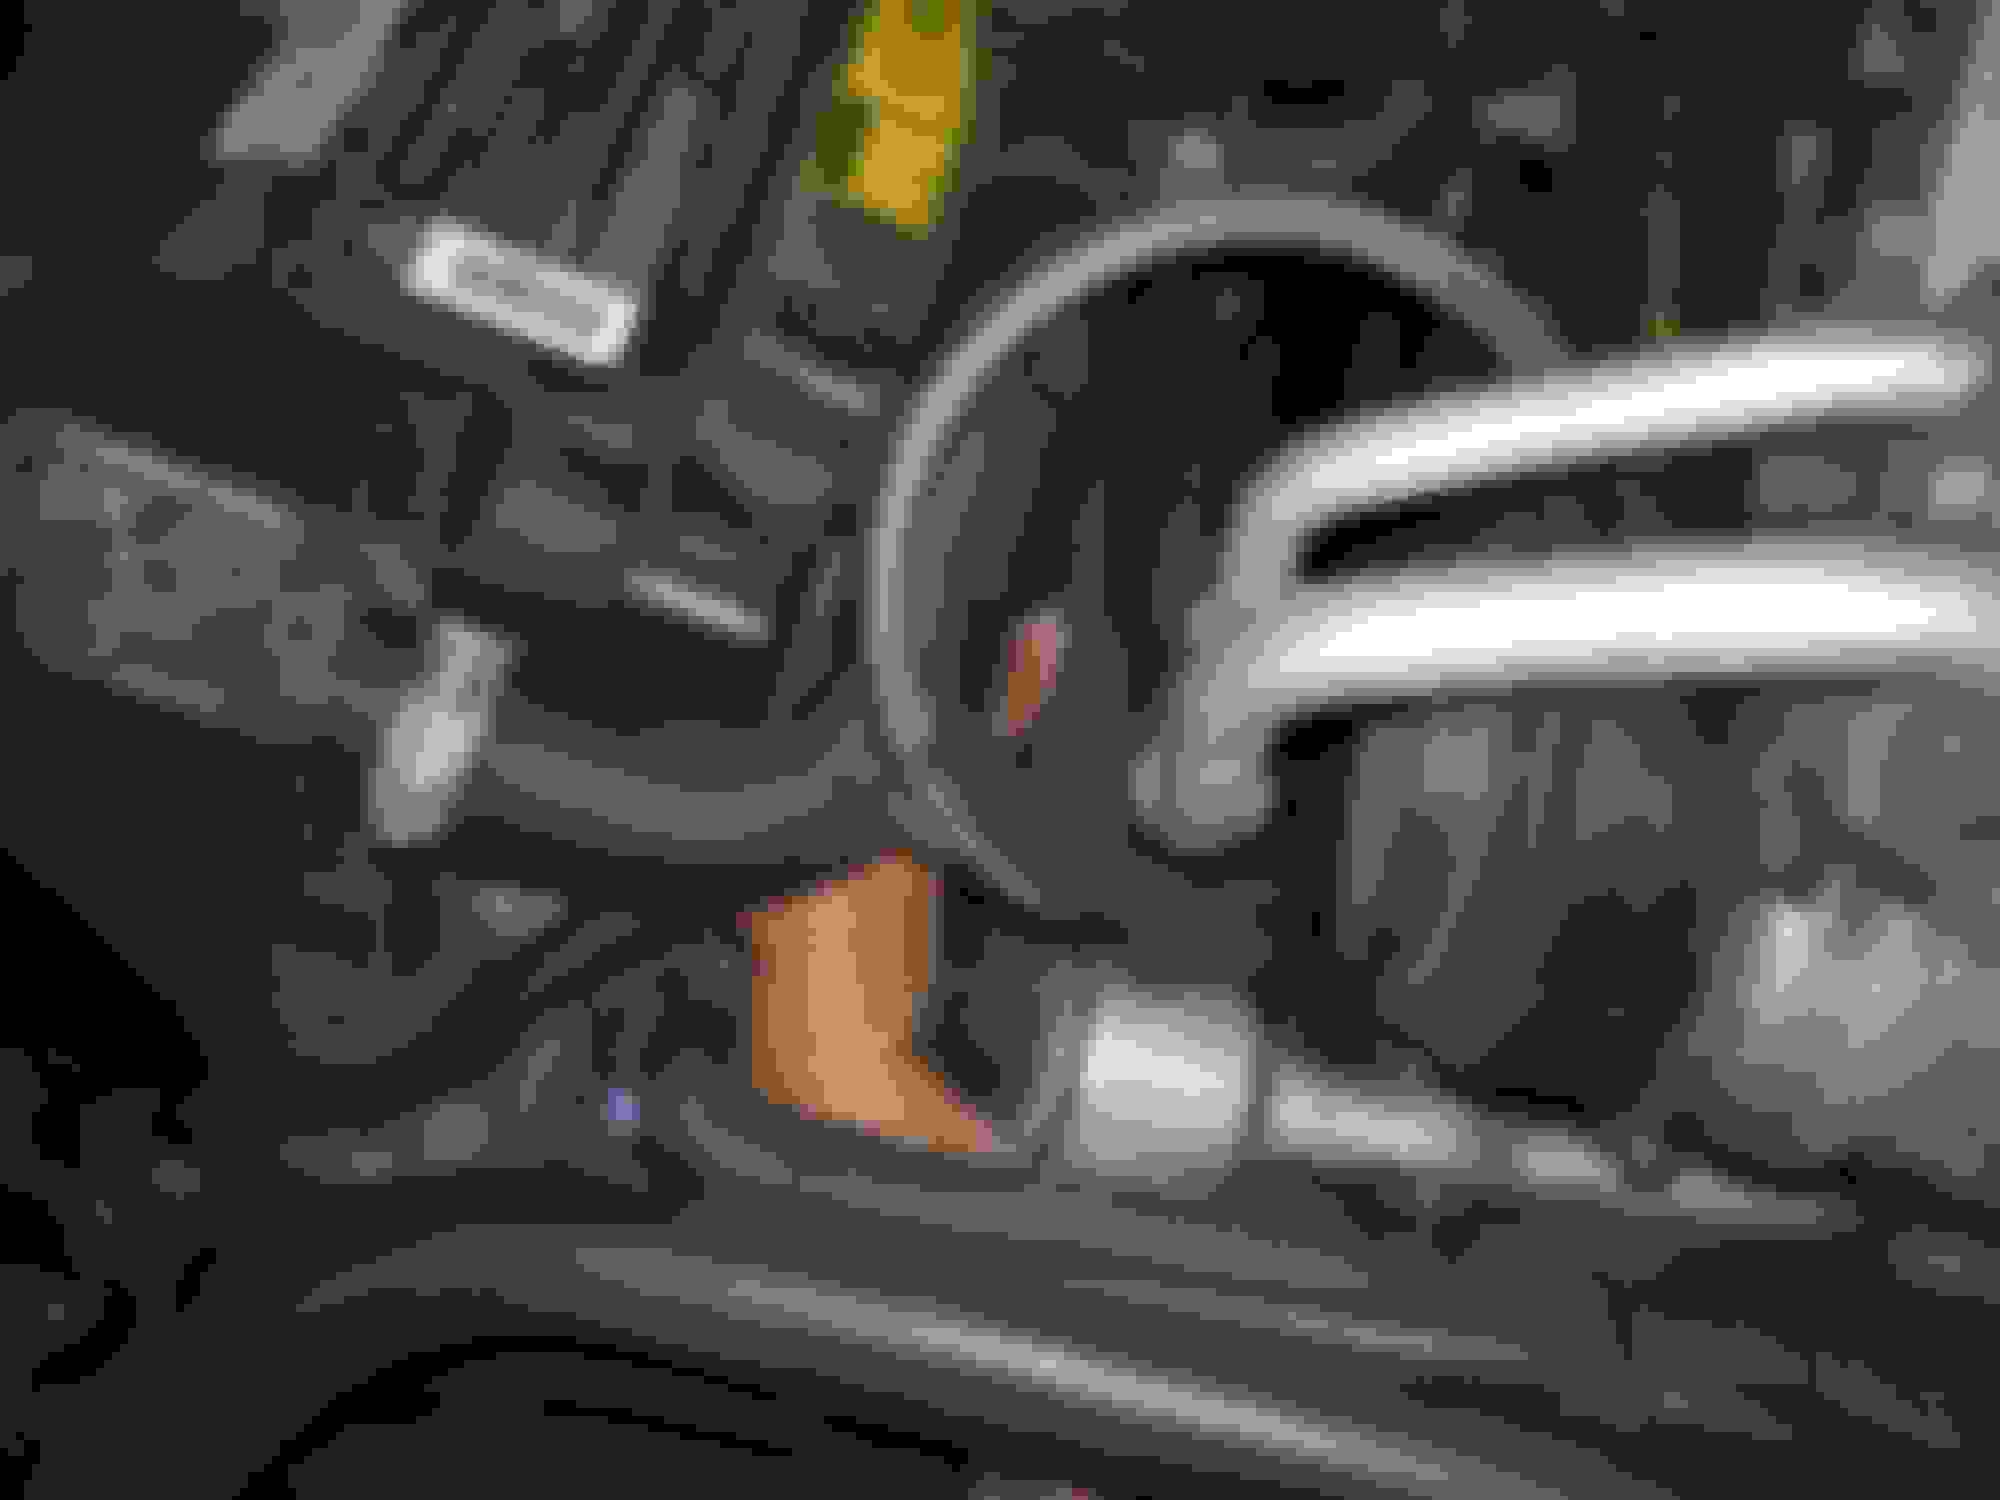
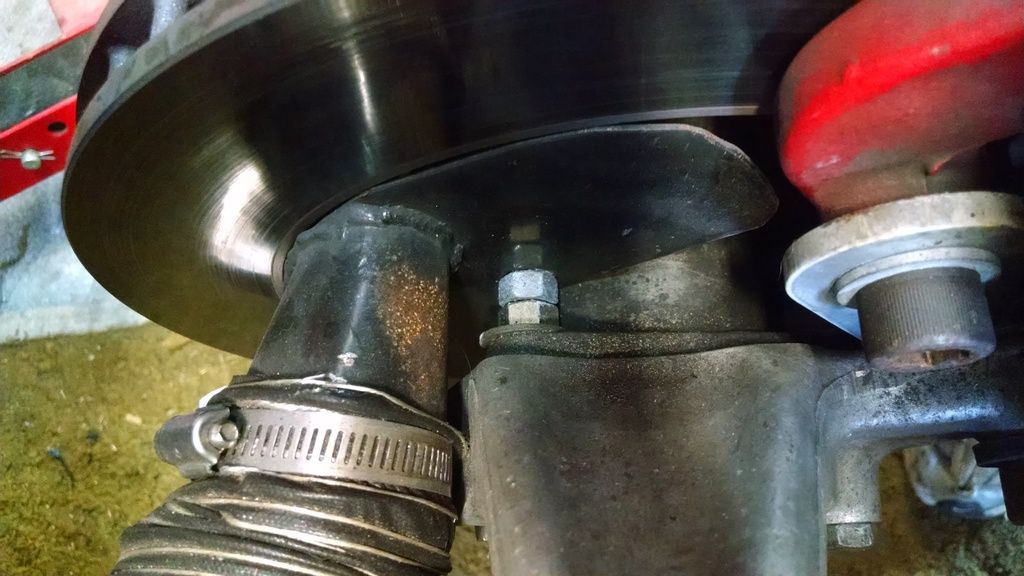
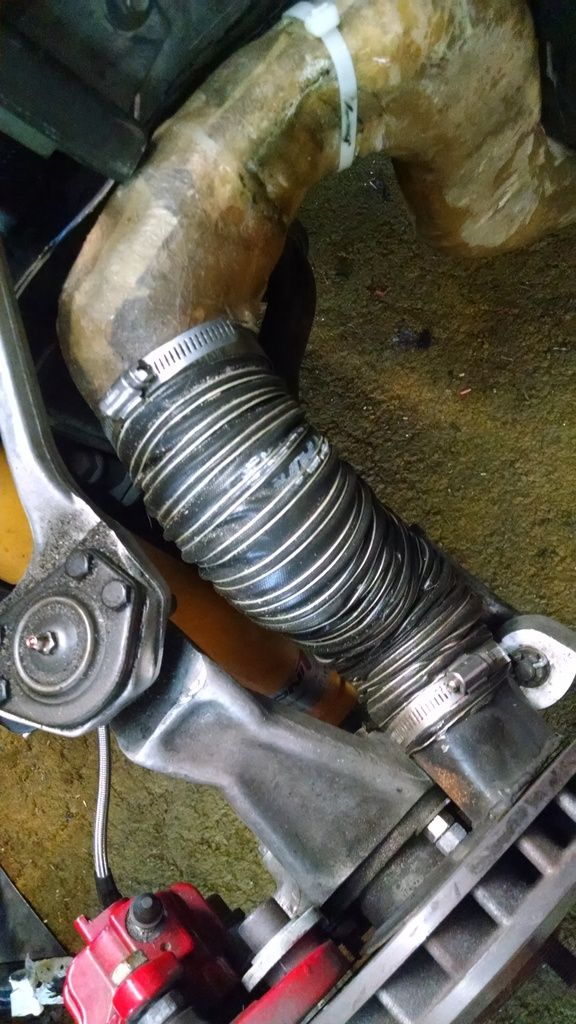
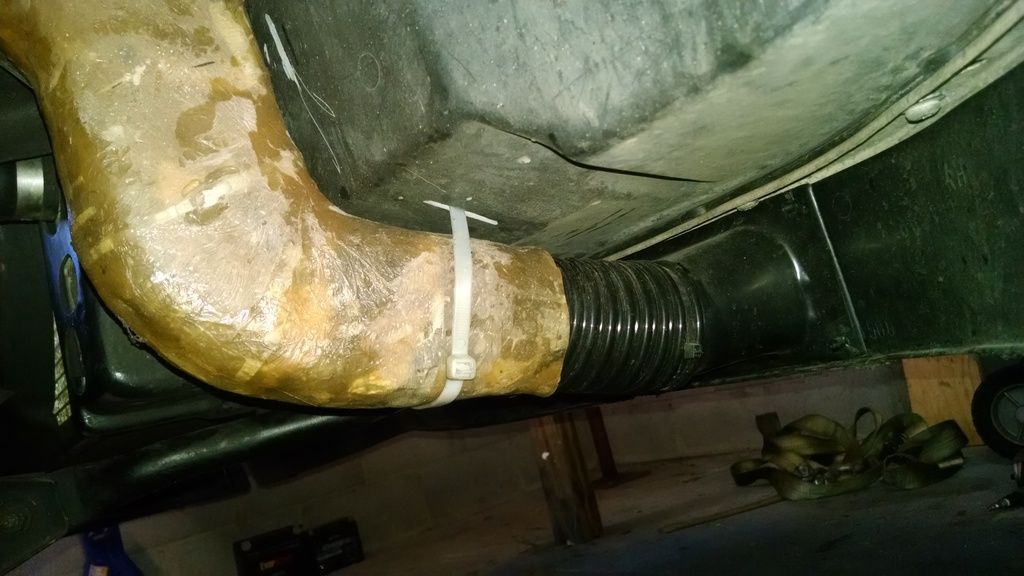
Photos:
Passenger side
Connect to inlet at dam. Inlet from Quantum is about 2x4 in front and accepts 3 inch dia tube.
Into the engine bay.
Driver side
Two inch size is handy here
Come from engine bay to control arm thru the wheel well. Completely clears tires with no rub.
Same problem I had. Driver side is easy, passenger is hard with all the ac lines. My solution limits my turning capability. It is only an issue while parking and doing very slow turning around. No issue making say a right hand turn at a stop light or something. I basically figured it out to where I can turn the wheel 1 and 1/4 turns without the tire hitting the duct. I used to remove them after each track day but now I drive on the track more than street. These are very functional though. I was toasting hawk blues but after the duct only on super high speed to hard brake zones (turn 10 road atlanta).
I used that green Styrofoam from Michael's for fake plants and shaped out what I wanted then covered in masking tape, then tinfoil, then Pam cooking sprat. Then fiberglassed it, cut off the mold, then another layer. I could have made it look prettier but I don't care too much. Little time consuming but cheap and effective. It has lasted for about two years also. Every once in a while I'll connect with my wheel and skim a bit of fiberglass off but it is still in good shape. I still have my "molds" in case I have to remake them.
What year car do you have? The early ones had a deeper front air dam and made it easier to run ducts. It has been 20 years since I ran my 1986 but this is how I routed the ducts. I wanted to run the ducts from the air dam back. I chose 3 inch ducts and ran them along the bottom of the front fascia to the point they came to the wheel wells, then I ran them up through the control arms and routed them to the back of the rotor. If you look on your car you should be able to find a path from the air dam back. You don't so much as go into the wheel well as beside it.
I held the ducts to the bottom of the front fascia by using wire ties that were fastened in adhesive backed wire tie mounts. To pick up the air supply I used a 3 inch hole saw and drilled holes in the air dam just outside the spot the front skid plates stick down. The hoses were able to pretty much go straight back to the point I routed them around the steering rack and into the control arms.
If you have a 91 or newer car the air dam isn't as deep so you will need a kit like Eckler's (I think) sells to connect the hoses.
Bill
Ah maybe thats the issue, car is a 94. I have the Quantum mounts.
I had just gotten a new front air dam, so was trying to avoid putting a big hole in it, so used a scoop from under the front bumper to force air up and into the hoses.
and thanks everyone for the replies, this helps a lot.
Richard, I was thinking about making a remote brake temp monitor. Take a couple cheap harbor freight heat temp guns apart so i could push a button to check temps from inside the car. Maybe i just need to get one so I know how hot I am running in general before going to that kind of work.
Get the brake temp paint. It will be easier! It will show the max temp.
If you really want to do that head over to corner carvers - there was an OLD thread about monitoring tire temps with remote sensors for data logging. probably could use that as a starting point.
Get the brake temp paint. It will be easier! It will show the max temp.
If you really want to do that head over to corner carvers - there was an OLD thread about monitoring tire temps with remote sensors for data logging. probably could use that as a starting point.
Wow I didn't know they had the brake temp paint, thats fantastic! But at $80 a bottle, and not getting live readings thats a bit harder. Would be great on track to know "im running about X right now"
and put the sensors in the wheel wheels and the readout/buttons in the dash, push the buttons get the temp. But I already see the problem, these only go up to 525 deg, so not nearly high enough for what would be needed on rotors.
It's a really good idea to know where you are before you spend a lot of time on the brake ducts.
I use the temp strips on the calipers and the rotor hub. I use the paint for the rotor vanes. You have to get the paint as far down the vanes as possible.
You also have to keep in mind that your braking technique will have a huge effect on the brake temps. That's why some people have huge brake issues at track days and others never have an issue. It's very difficult to admit you don't know how to use the brake pedal.

 06-12-2015, 05:11 PM


 id you make that duct from a fiberglass mold ?


