When you click on links to various merchants on this site and make a purchase, this can result in this site earning a commission. Affiliate programs and affiliations include, but are not limited to, the eBay Partner Network.
It's usually nice during the week and nasty on the weekends but lately the trend has changed so I've been taking advantage of the 70 degree days. Have been leveling/gapping around the headlights and stopped to get the hood fit and the inner fenders bonded on Saturday. Should be the last bonding work needed. The driver side front corner was dead on and the passenger side just needed to be lifted just over a 1/16". Now doing the leveling/gapping around the hood as well. Seeing the light at the end of the tunnel for filler!!!
Last edited by slalomfiend; 12-22-2017 at 10:33 AM.
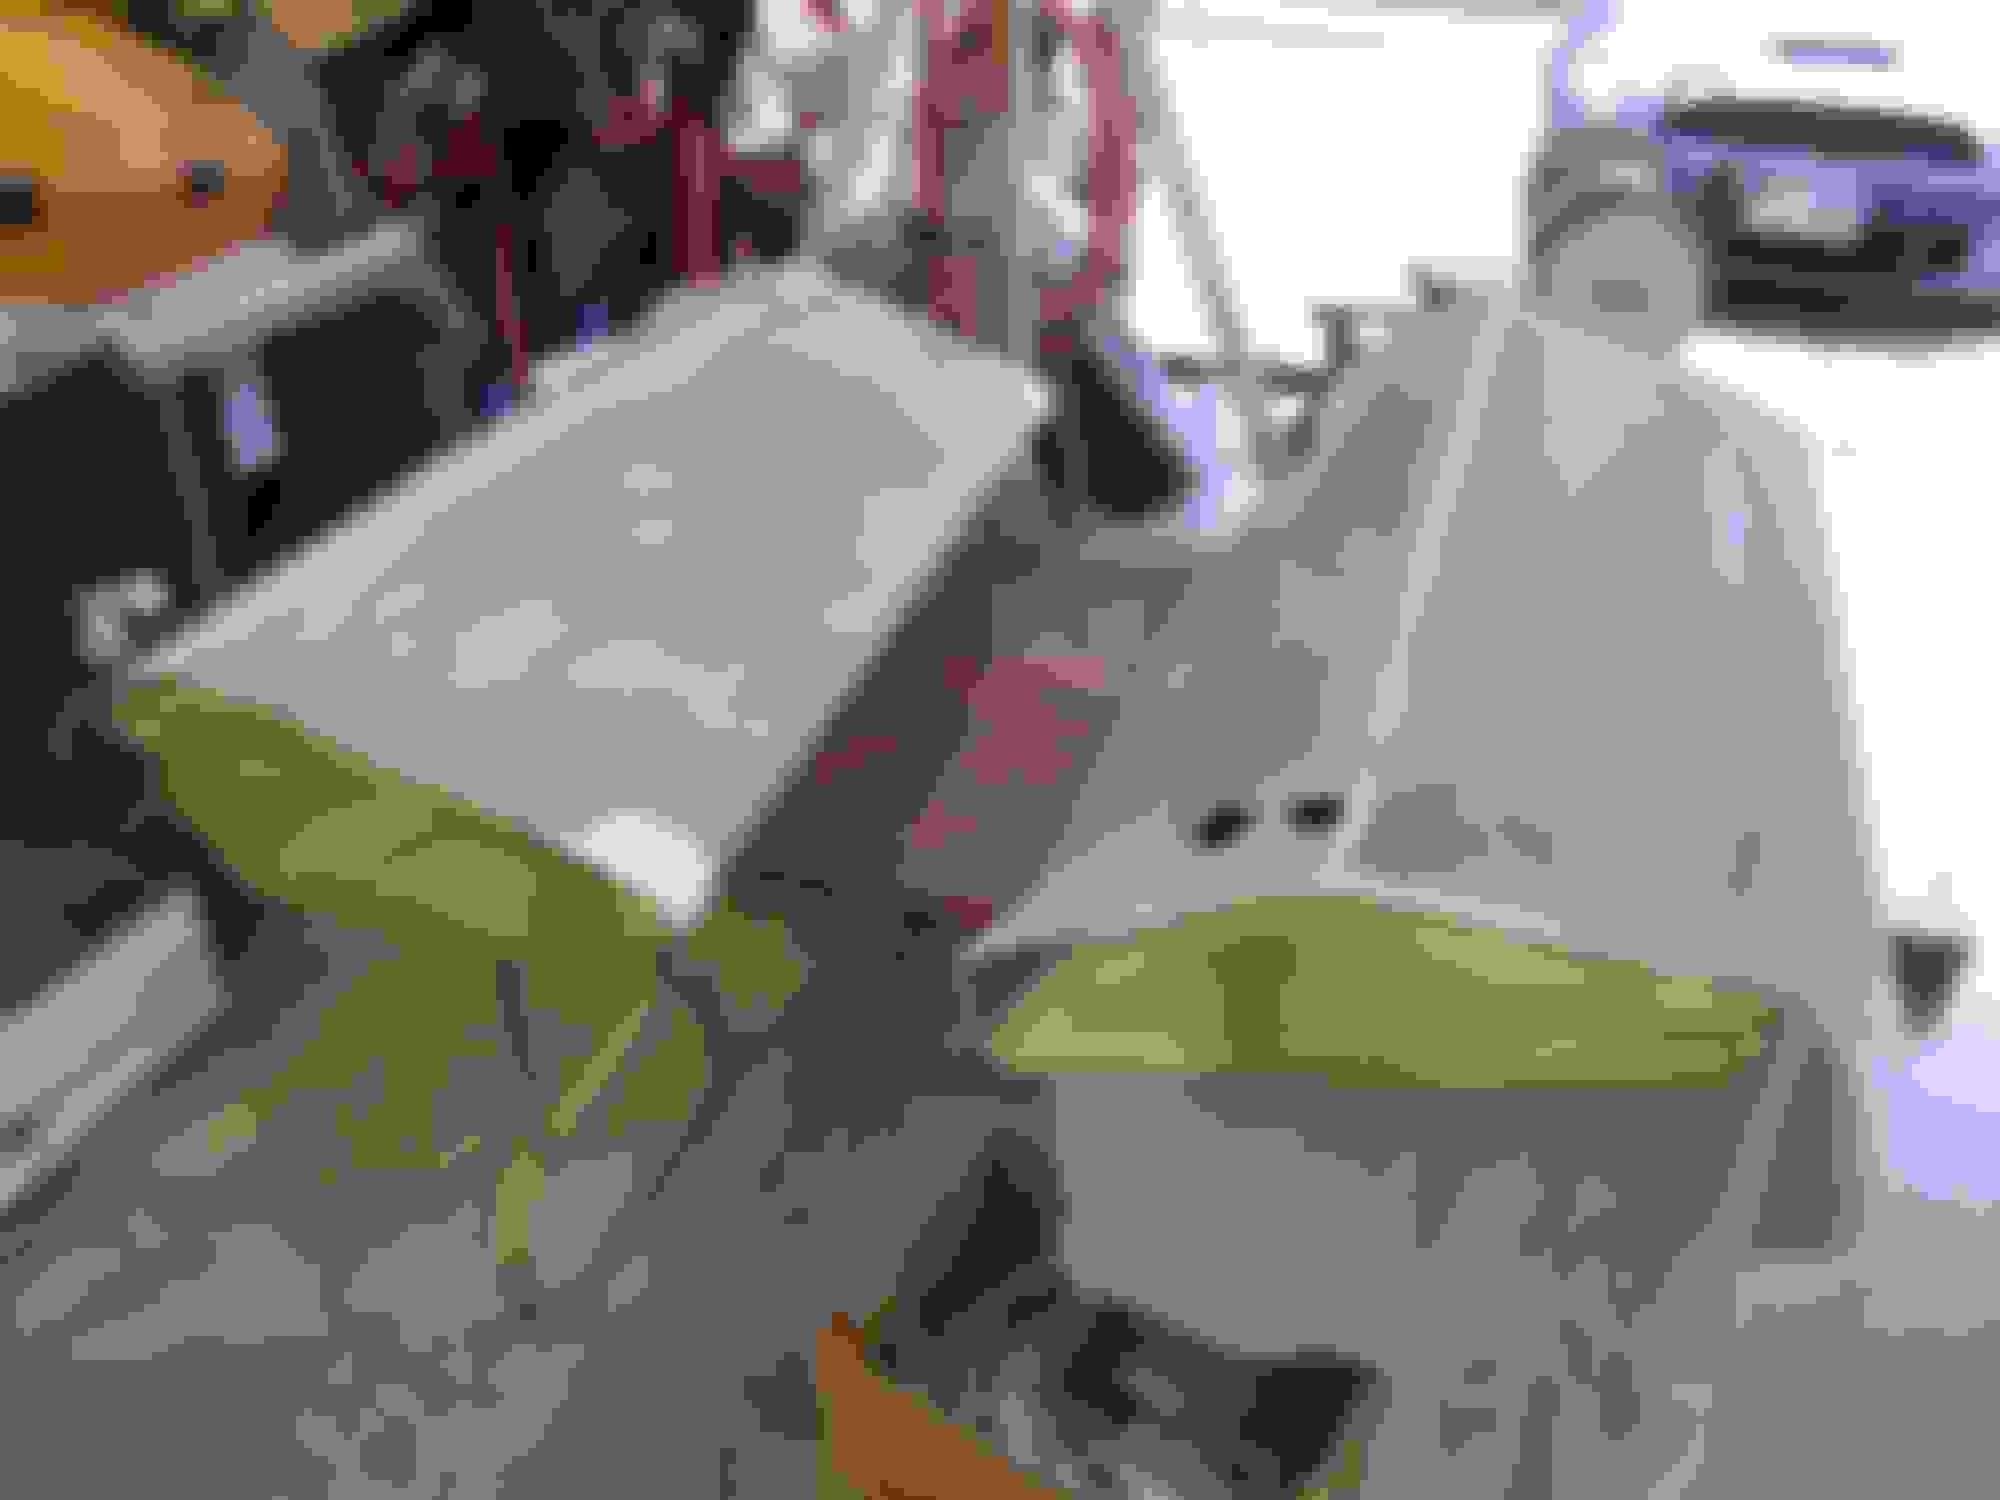
Took a quick break from the sanding to prep my bumpers for rechroming. One of the fronts was missing a weld nut and both the rears had broken bolts that I tried drilling out to no avail. Here's the front - ground it smooth, added a patch fill piece and welded a new nut to the back side.
The rears were a different story, no way to get at the back side so just cut off the flat portion that had the old weld nut. Then I separated off the old nut/broken bolt, welded on the new nut and then re-welded back into place.
I also disassembled my vent window frames and deck lid latches so they can get chromed as well.
Last edited by slalomfiend; 12-22-2017 at 10:35 AM.
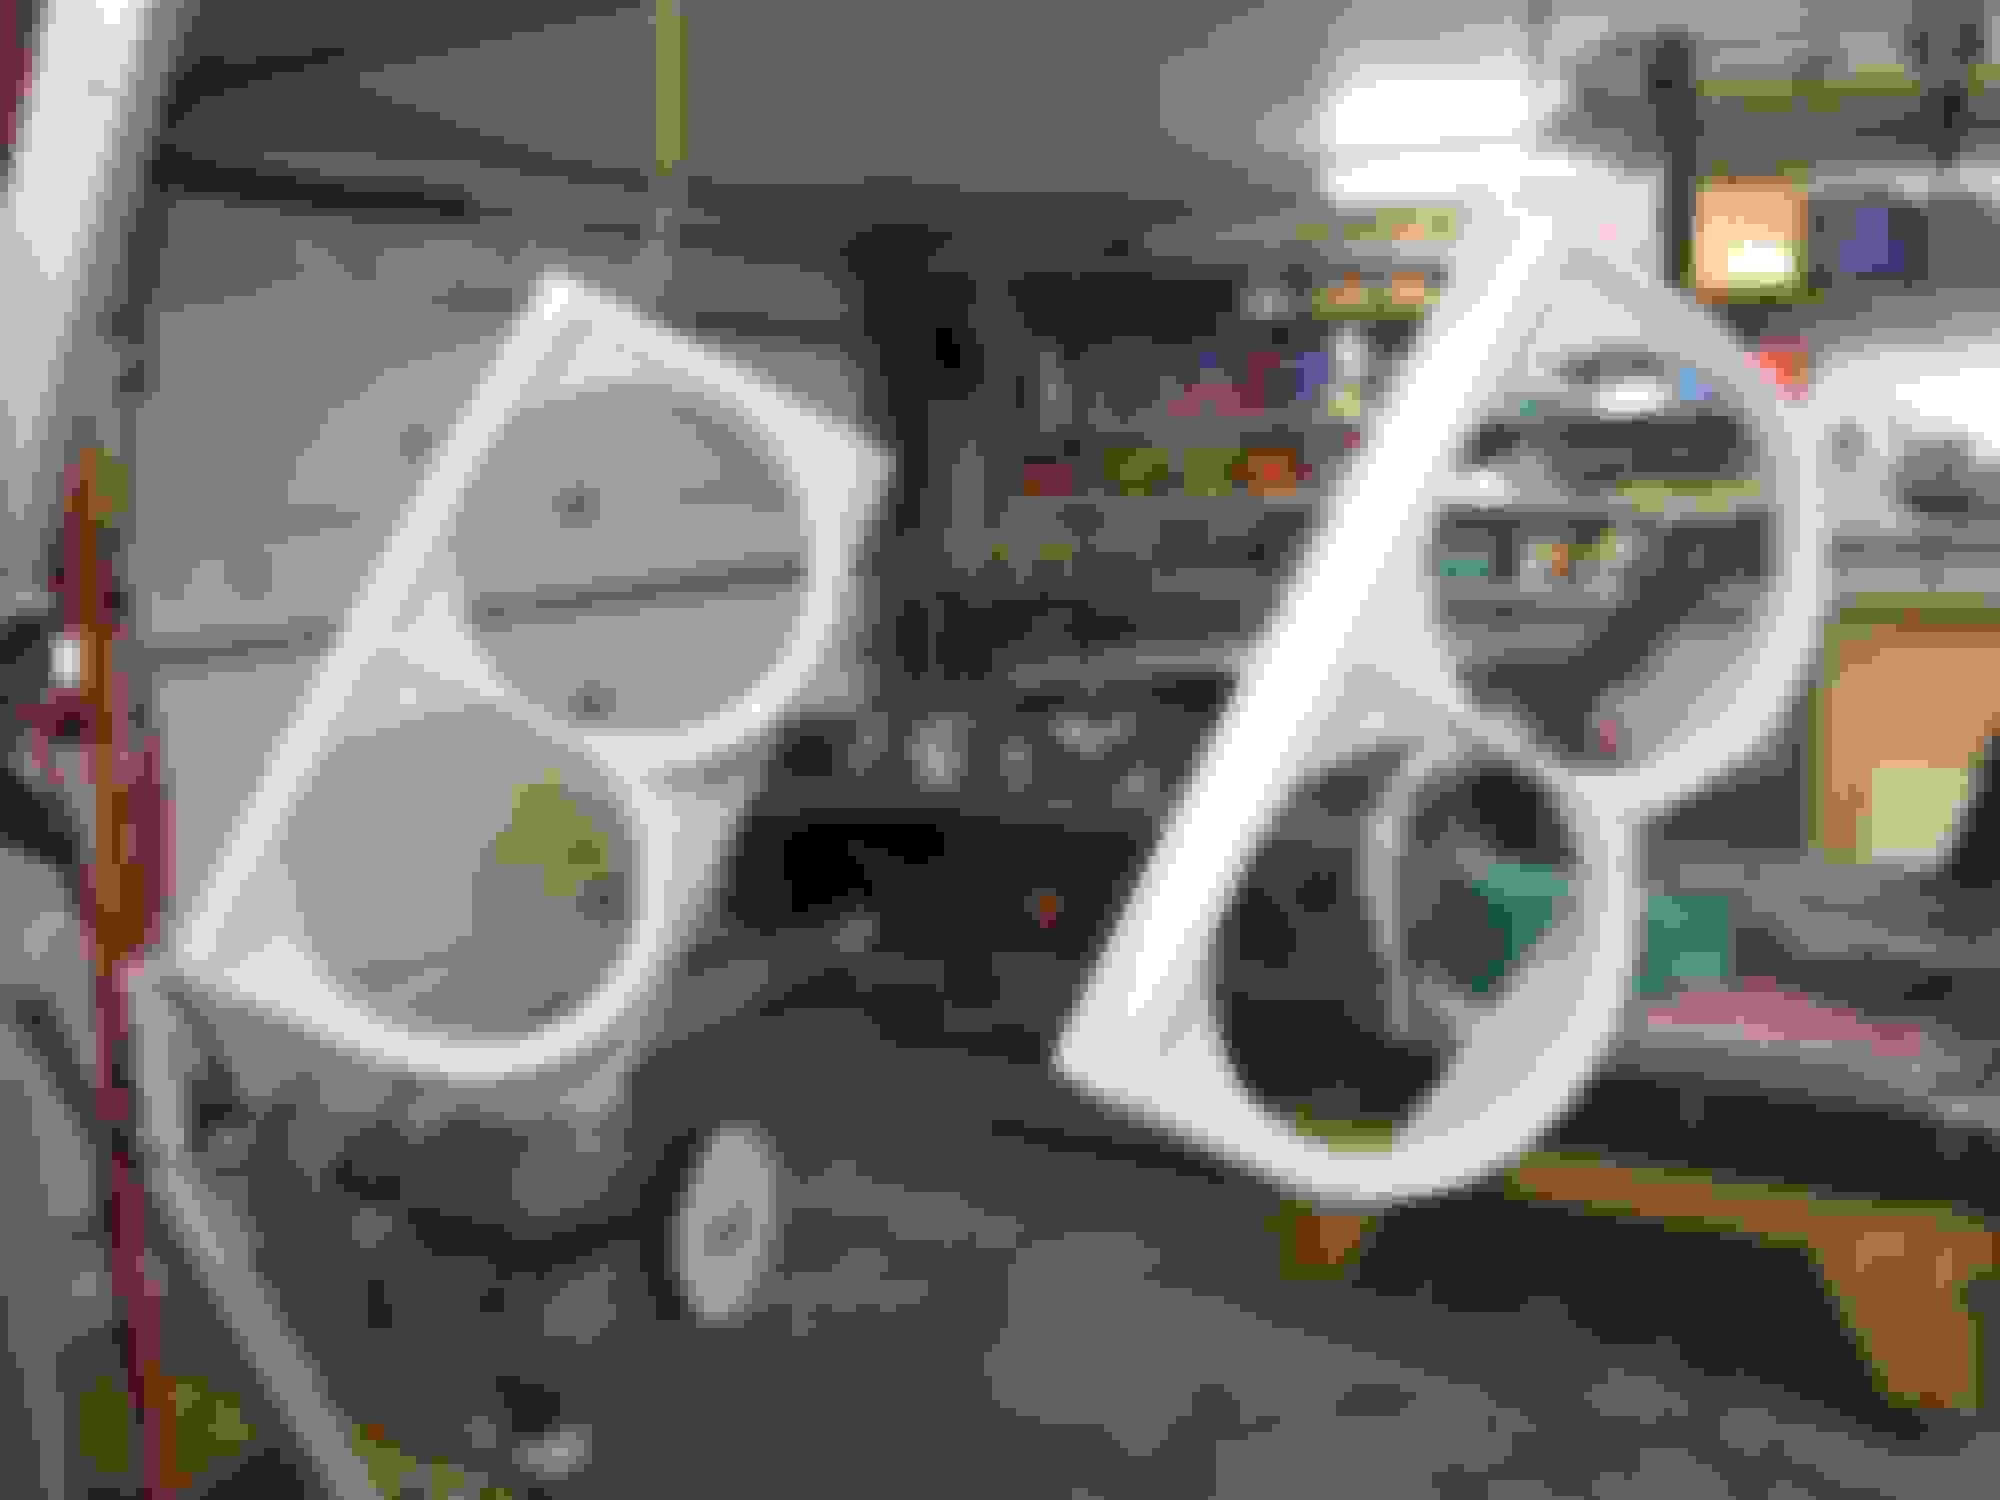
I took the guts out of the driver door in order to do the glass repairs quite a while back so I had yet to disassemble to pass door - getting the top SS trim strip off took WAY more time than I planned. Each of those tiny screws was rusted tight and you just can't get at them very well. Had to tap on them to get them to budge, then just wiggle back and forth to get the rust on the backside threads to work off. Took at least 15 minutes per screw. They'll have coating on them when I put the new ones back in for sure! Now my hands are sore...
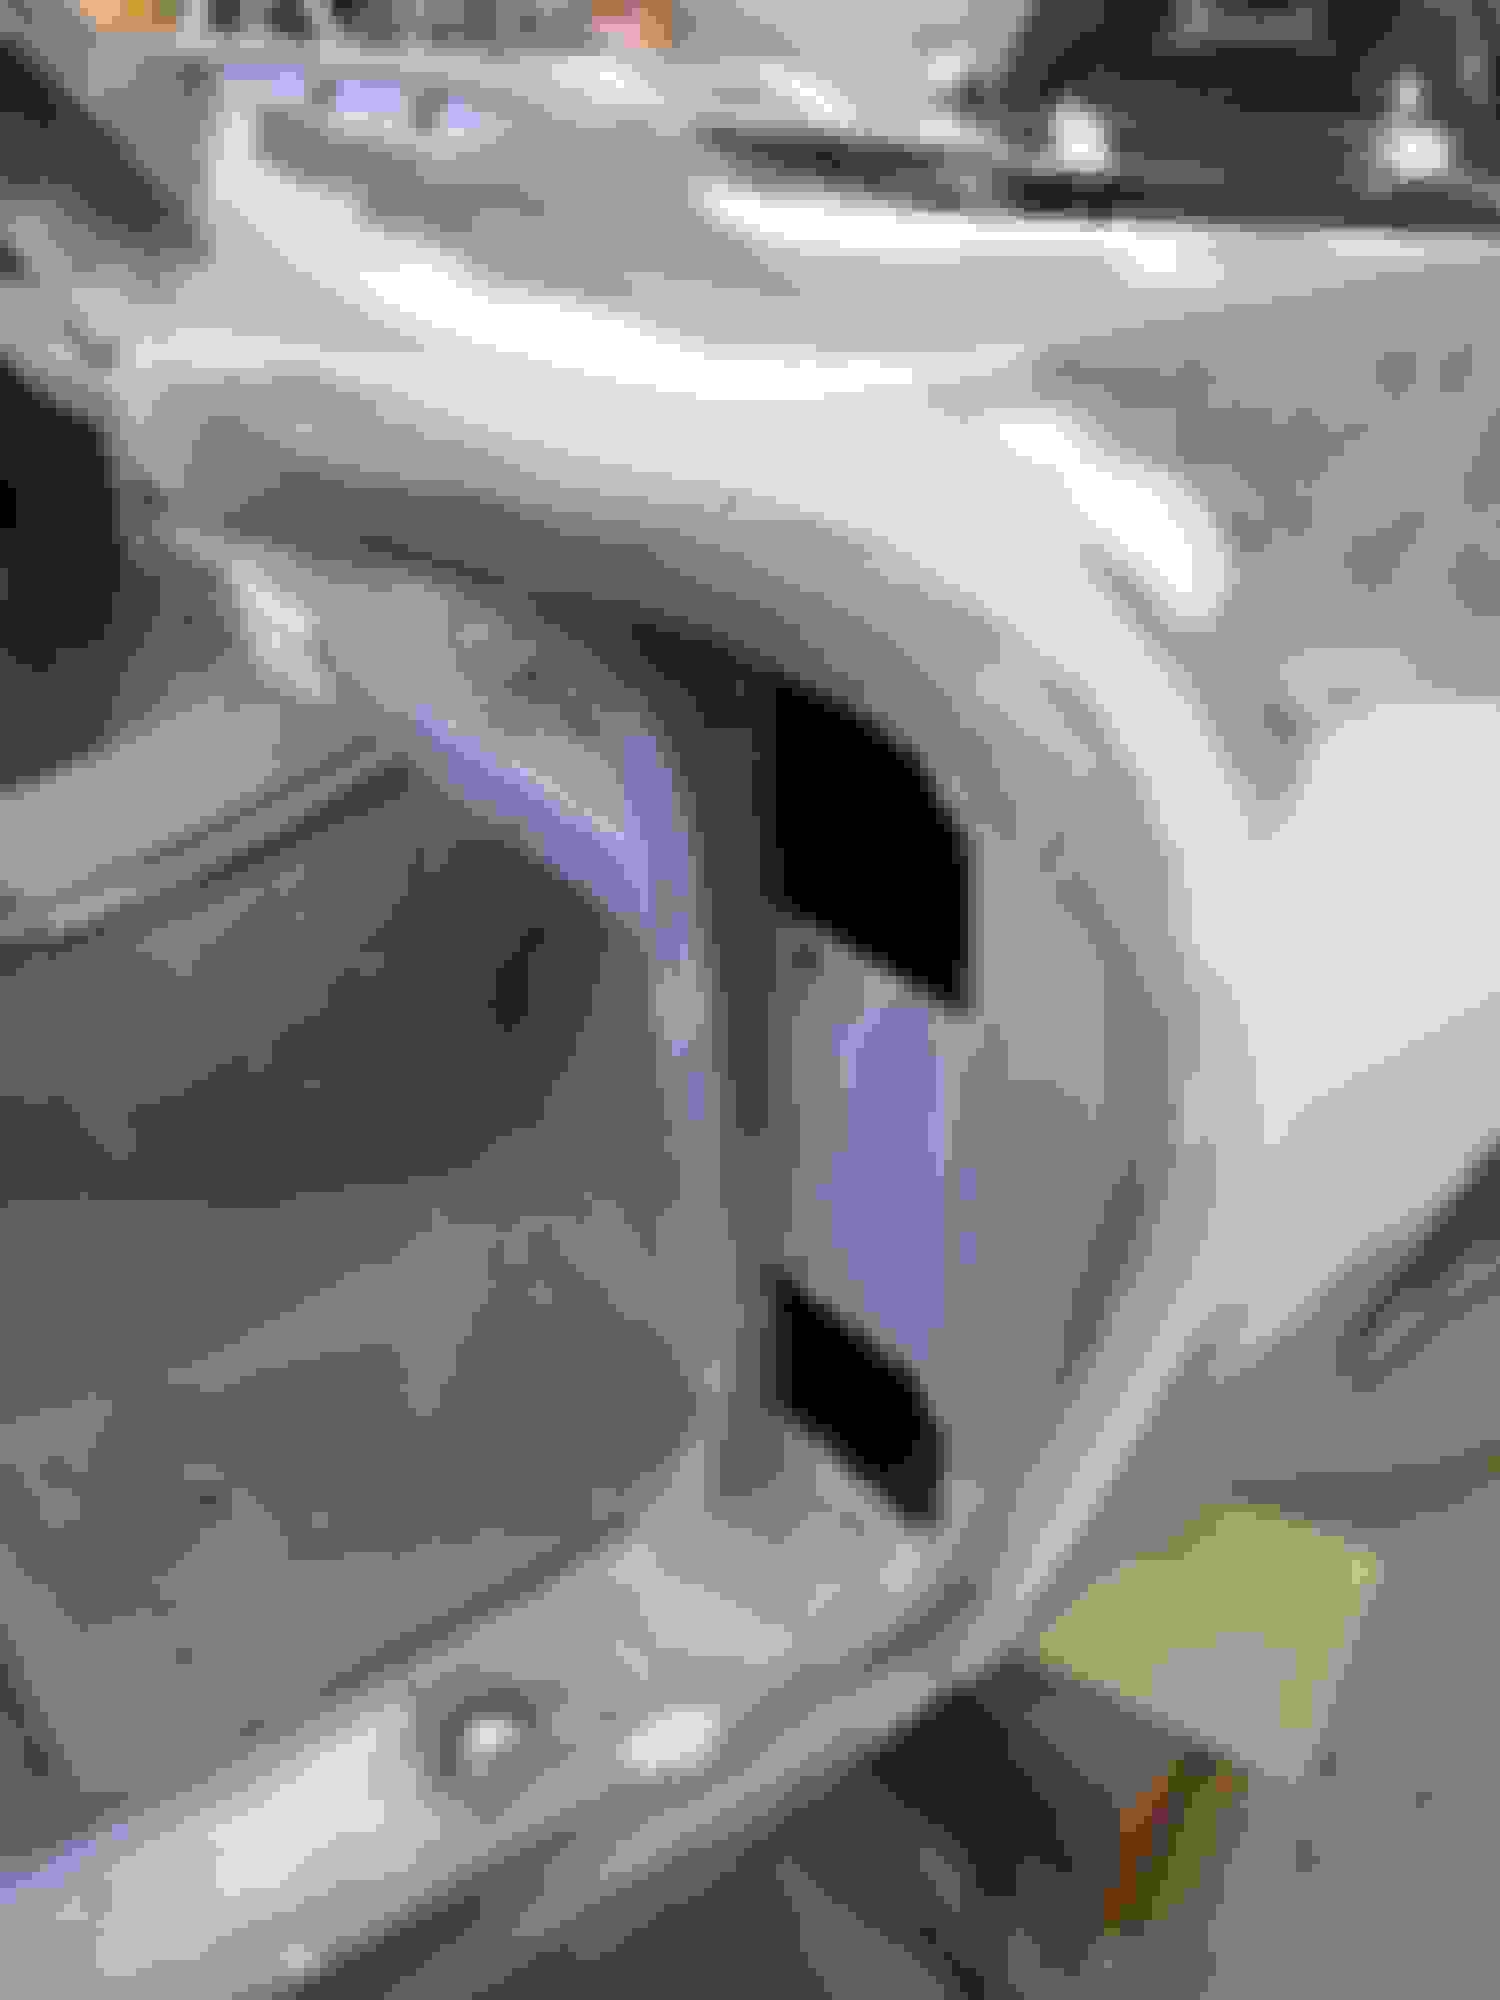
Also got the backup light area finished so the filler work is done all the way up to the A pillars!!
Last edited by slalomfiend; 12-22-2017 at 10:38 AM.
I'm working my way forward from the back, double checking everything and fine tuning the gaps and surfaces. Got the front door gaps at the A pillars finished last night.
Last edited by slalomfiend; 12-22-2017 at 10:39 AM.
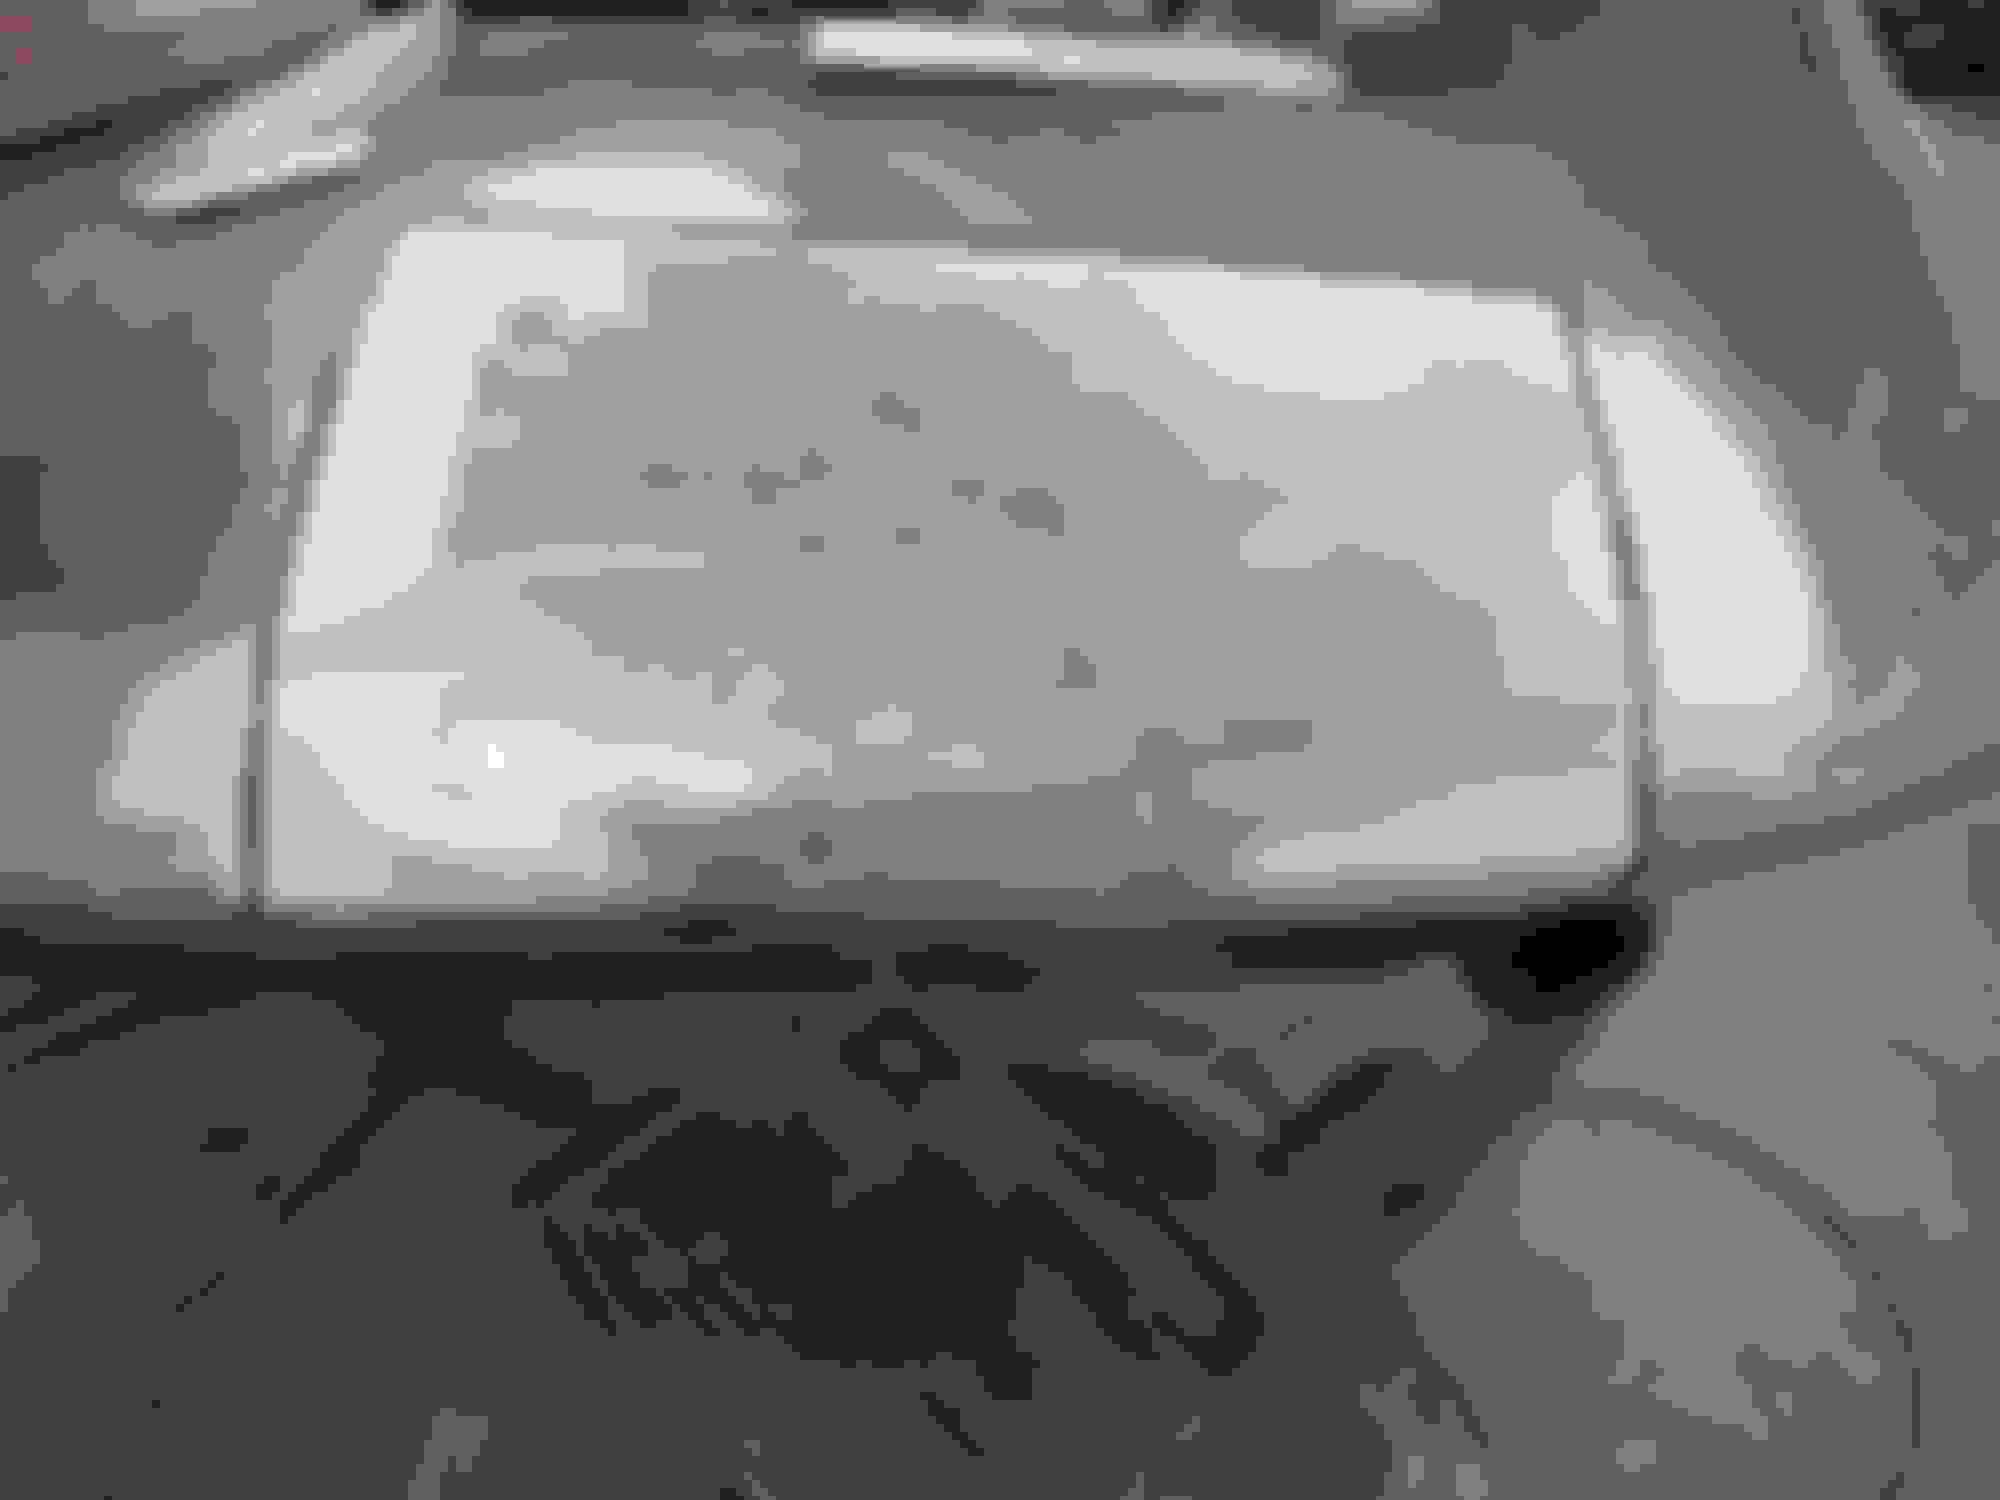
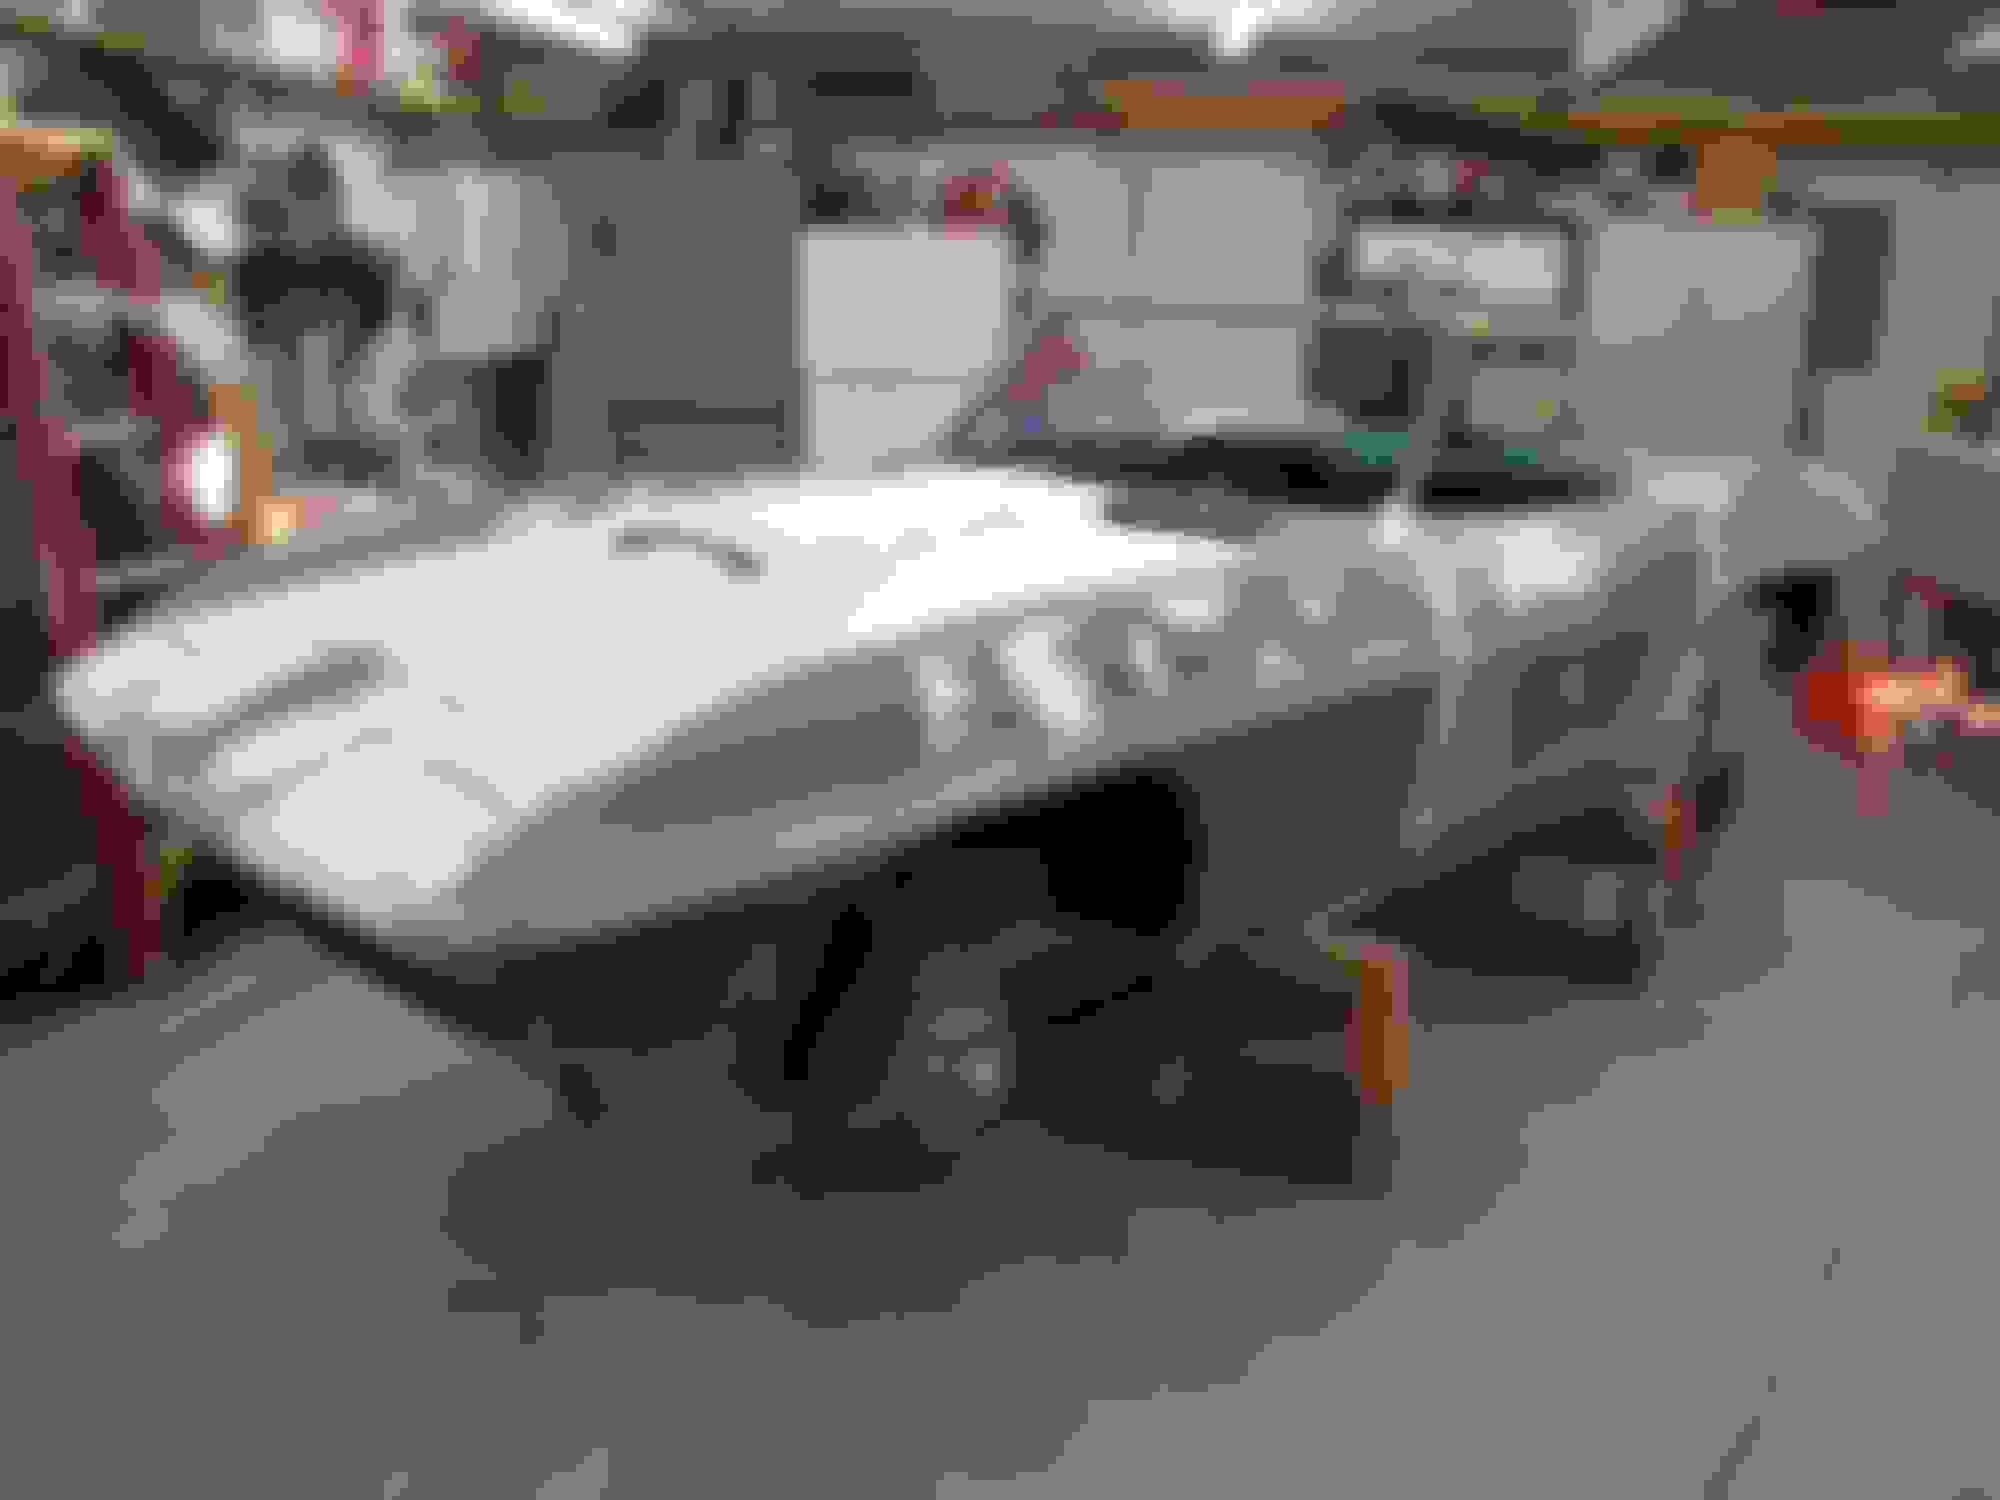
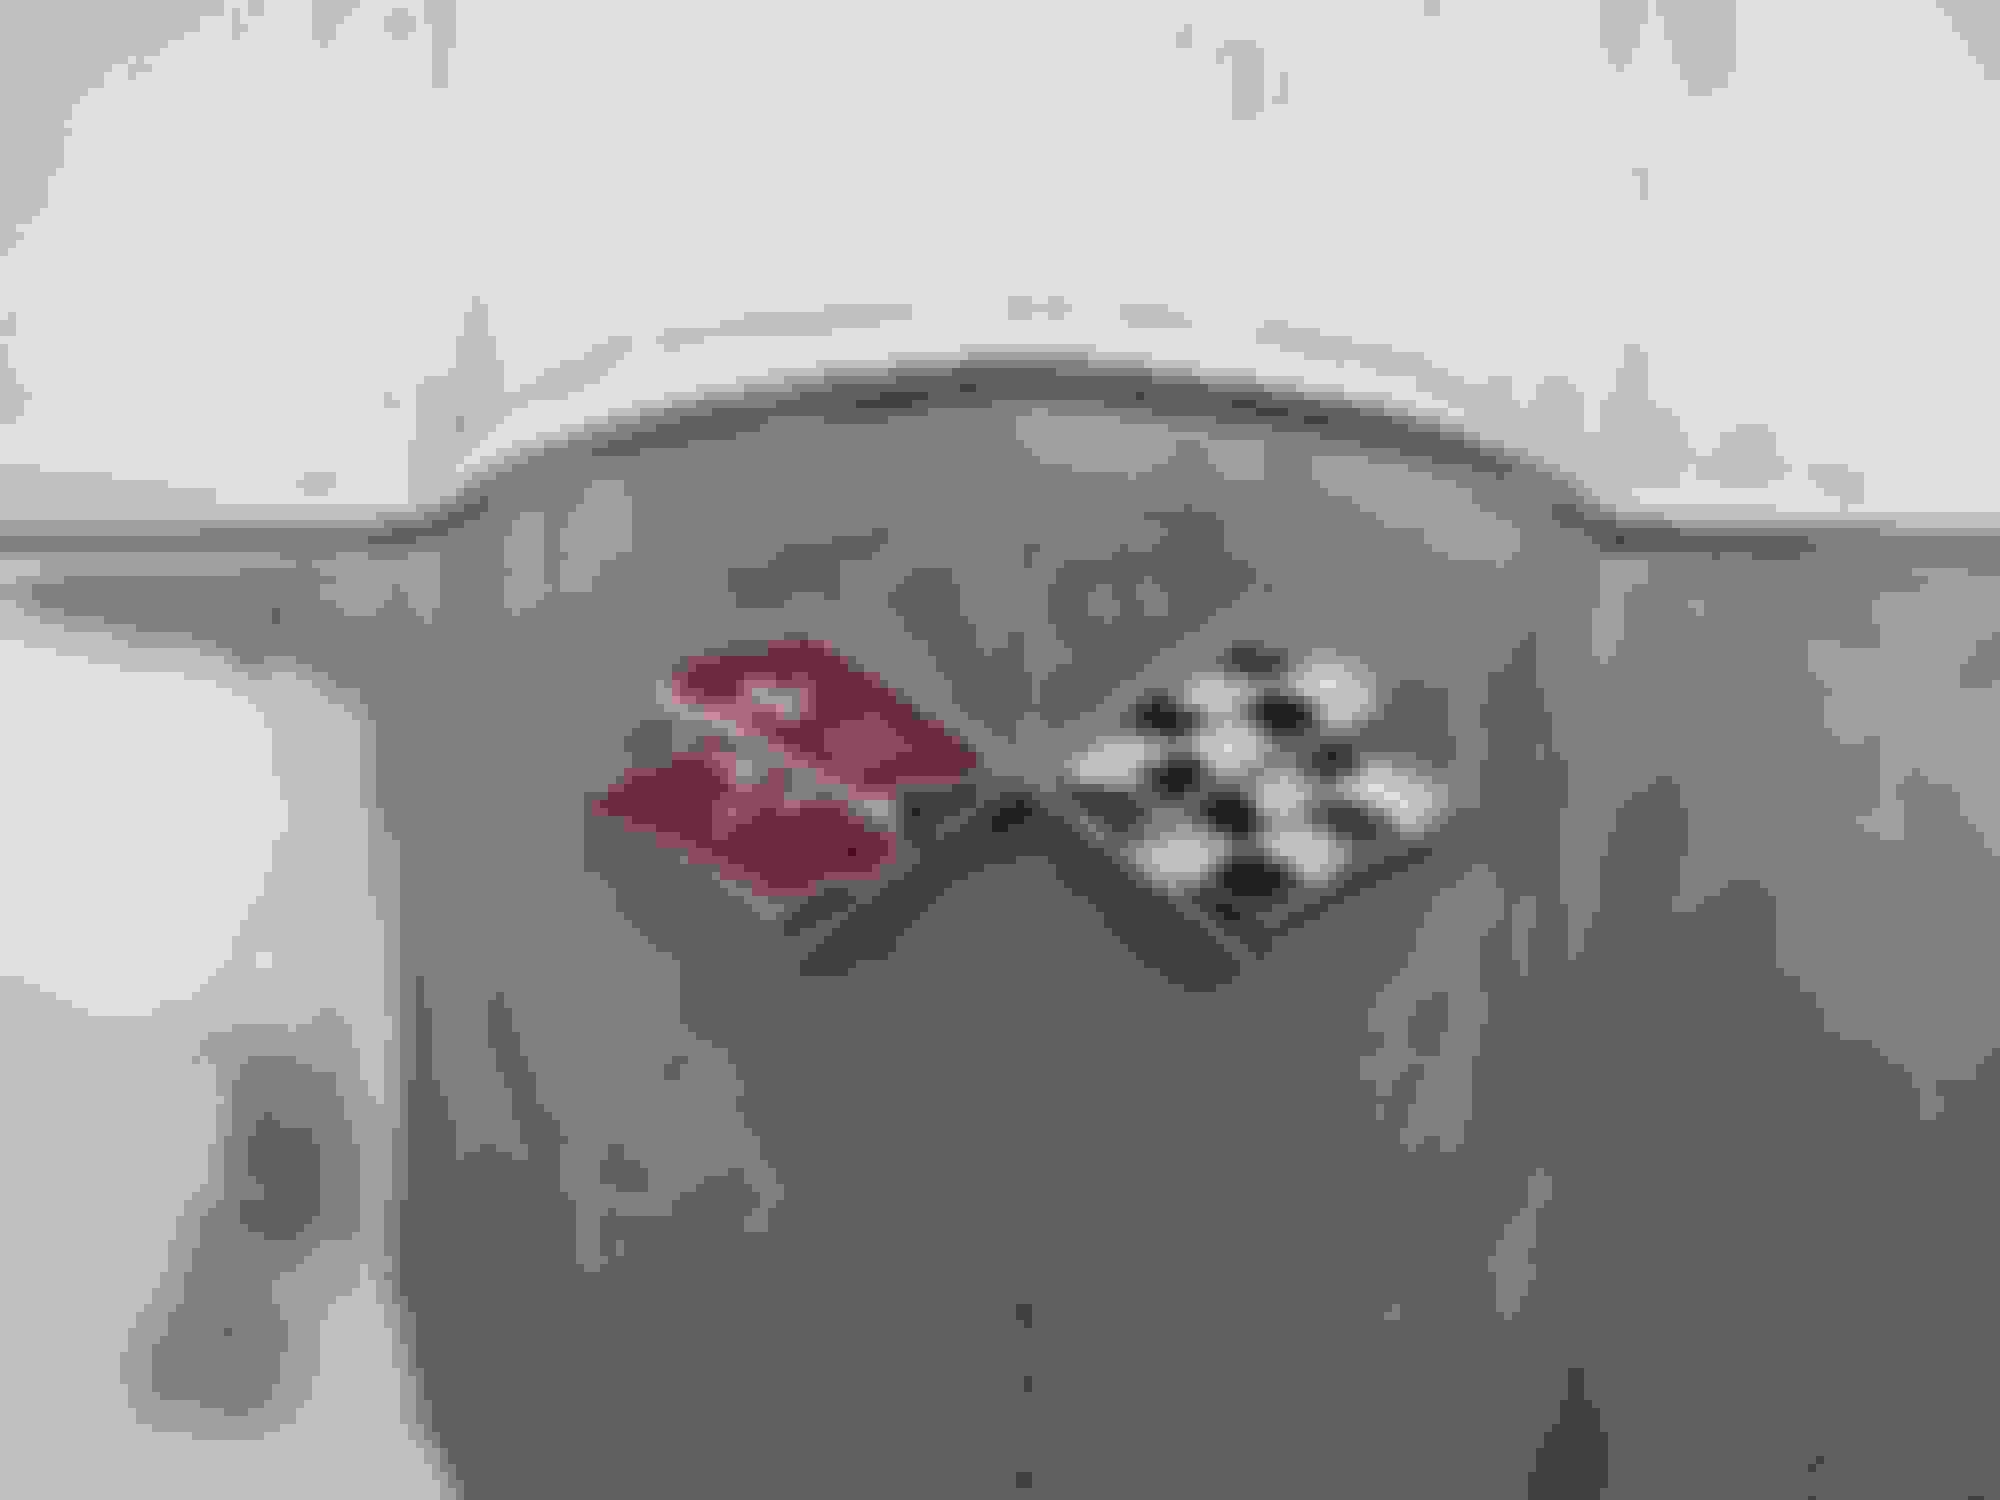
Finally 99% done with the bodywork filler and sanding!! Still have to do the front door jambs when I take the doors off but all else is now complete. Now working on softening the edges and body peak lines. Trial fit on the hood insert and nose emblem looks great!! I'll get the hood, doors, headlights and deck lid off and finish the edge work then prep for sanding primer at the next warm day (which might be a while).
Last edited by slalomfiend; 12-22-2017 at 10:42 AM.
Yup. Looking better as the days go by. I know what you mean about the temperature. I have not go to my shop in 3 weeks but it's nice seeing yours progressing.
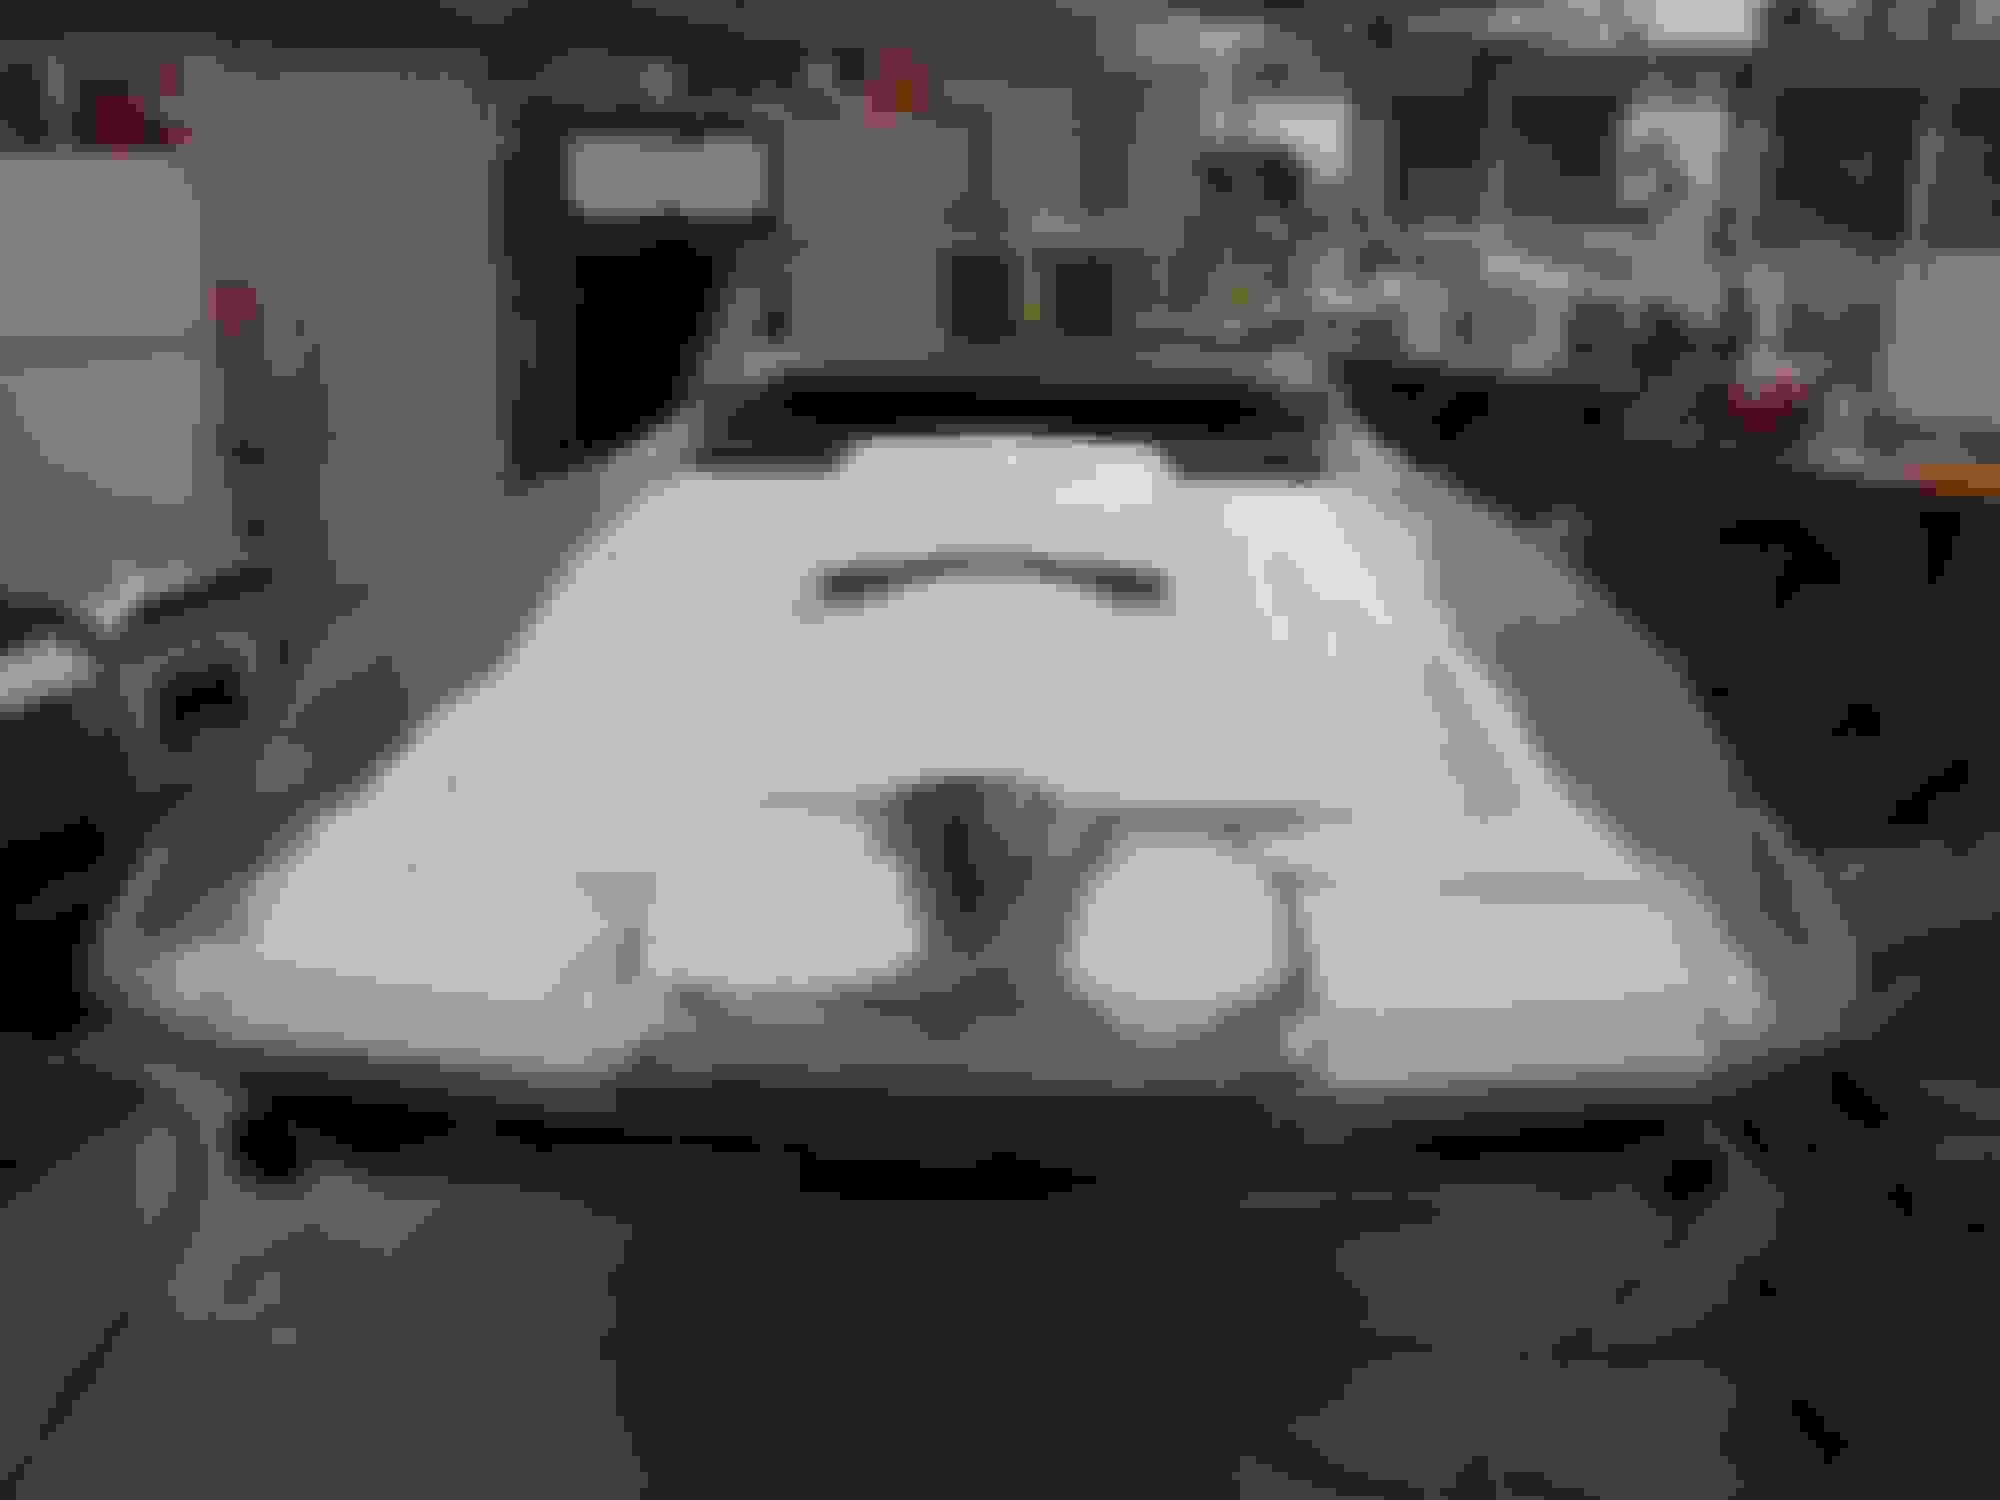
Got the hood, headlights, doors and deck lid off last week before a business trip to CA. Last night I sanded the A pillar lips, finished removing the old carpet glue from the rear and cleaned off all the firewall insulation fuzz.
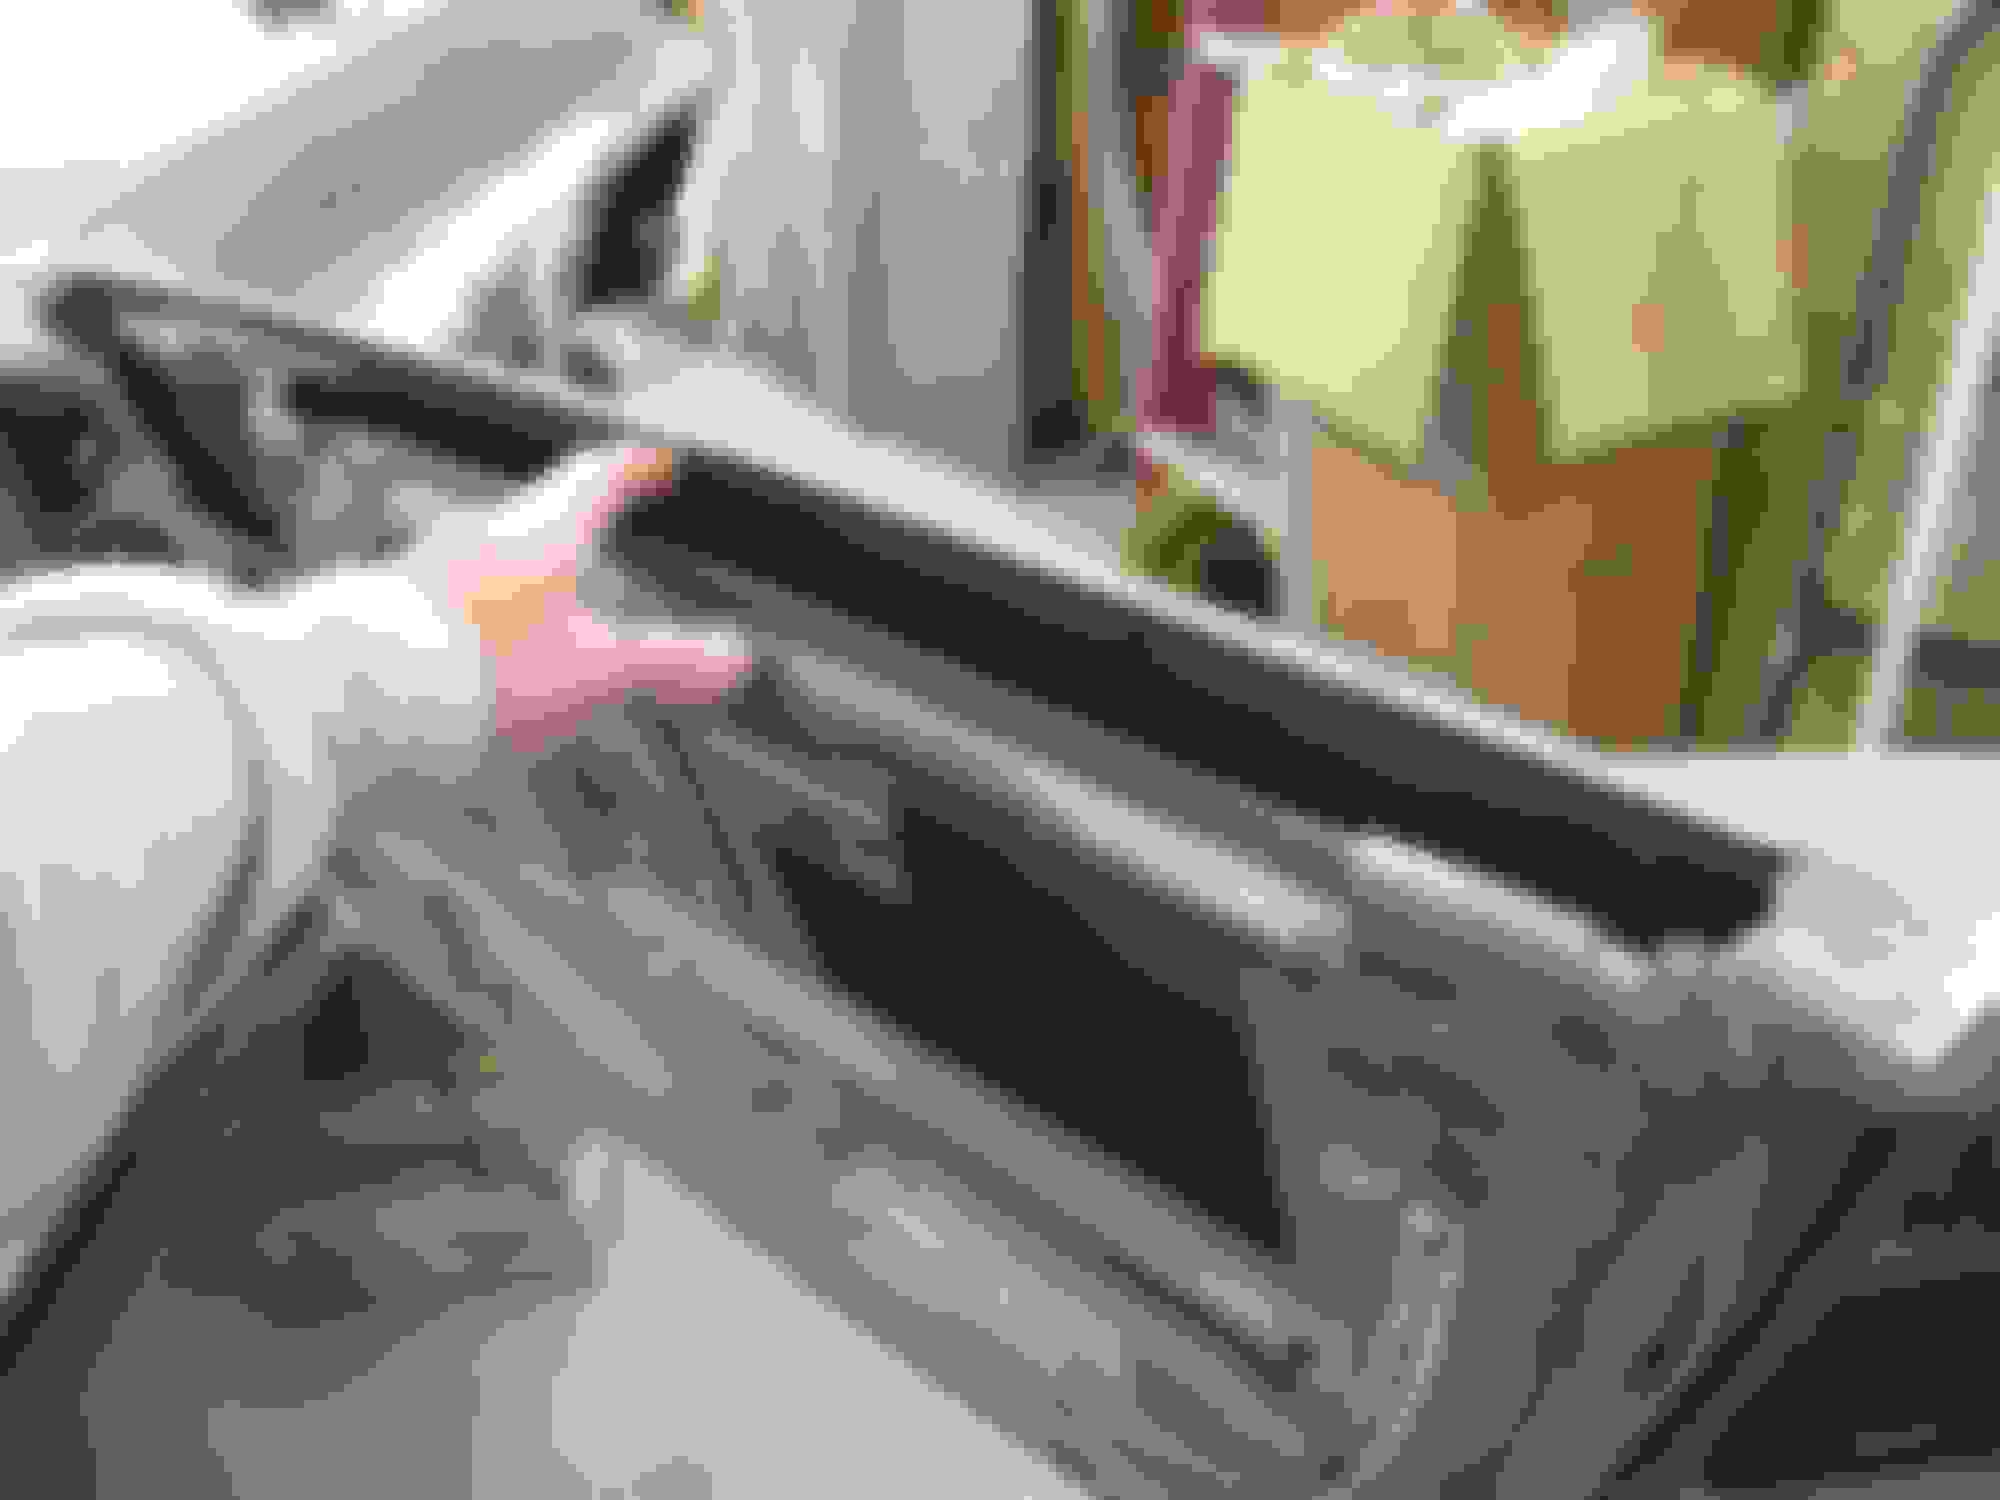
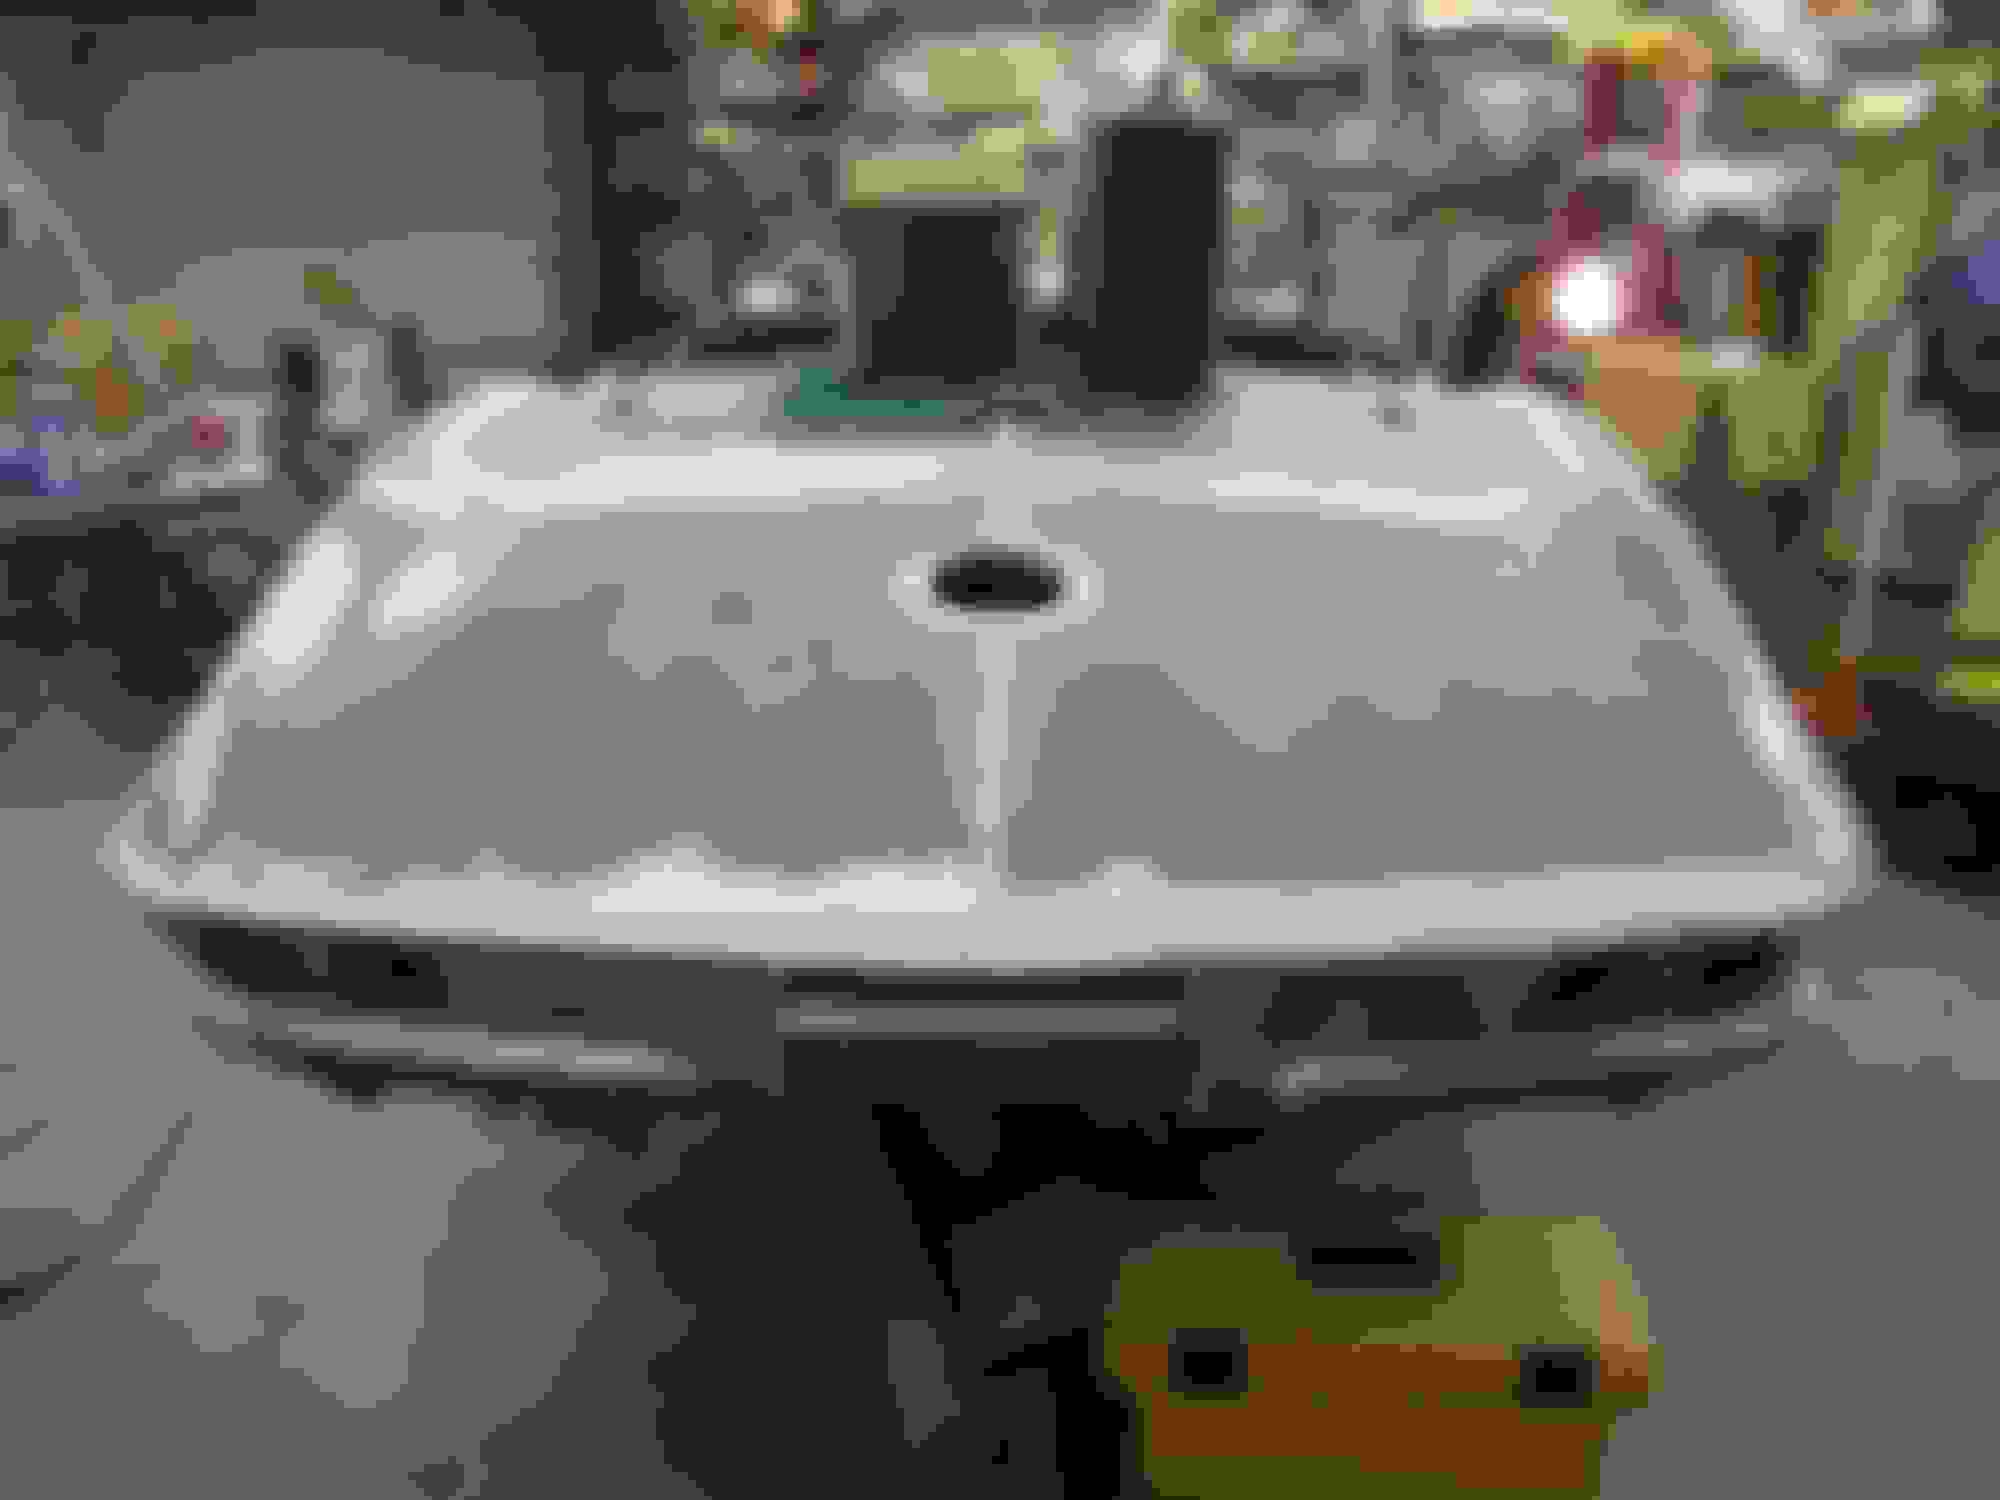
As you can see from the pics, the rear storage compartments (and the interior rear quarter covers) were painted a slightly darker color than the car. I assume this was Lynndale blue to more closely match the Teal interior. I'm planning on spraying these areas with the Teal interior stain that I will use on the E brake cover and dash.
Last edited by slalomfiend; 12-22-2017 at 10:45 AM.
Great progress report. I'm still buried in snow and ice so the Vette is hibernating. Presently 11" ice dams causing 7 water leaks into the house. I've made a folder just of your success and will refer to it often if and when the temps allow.
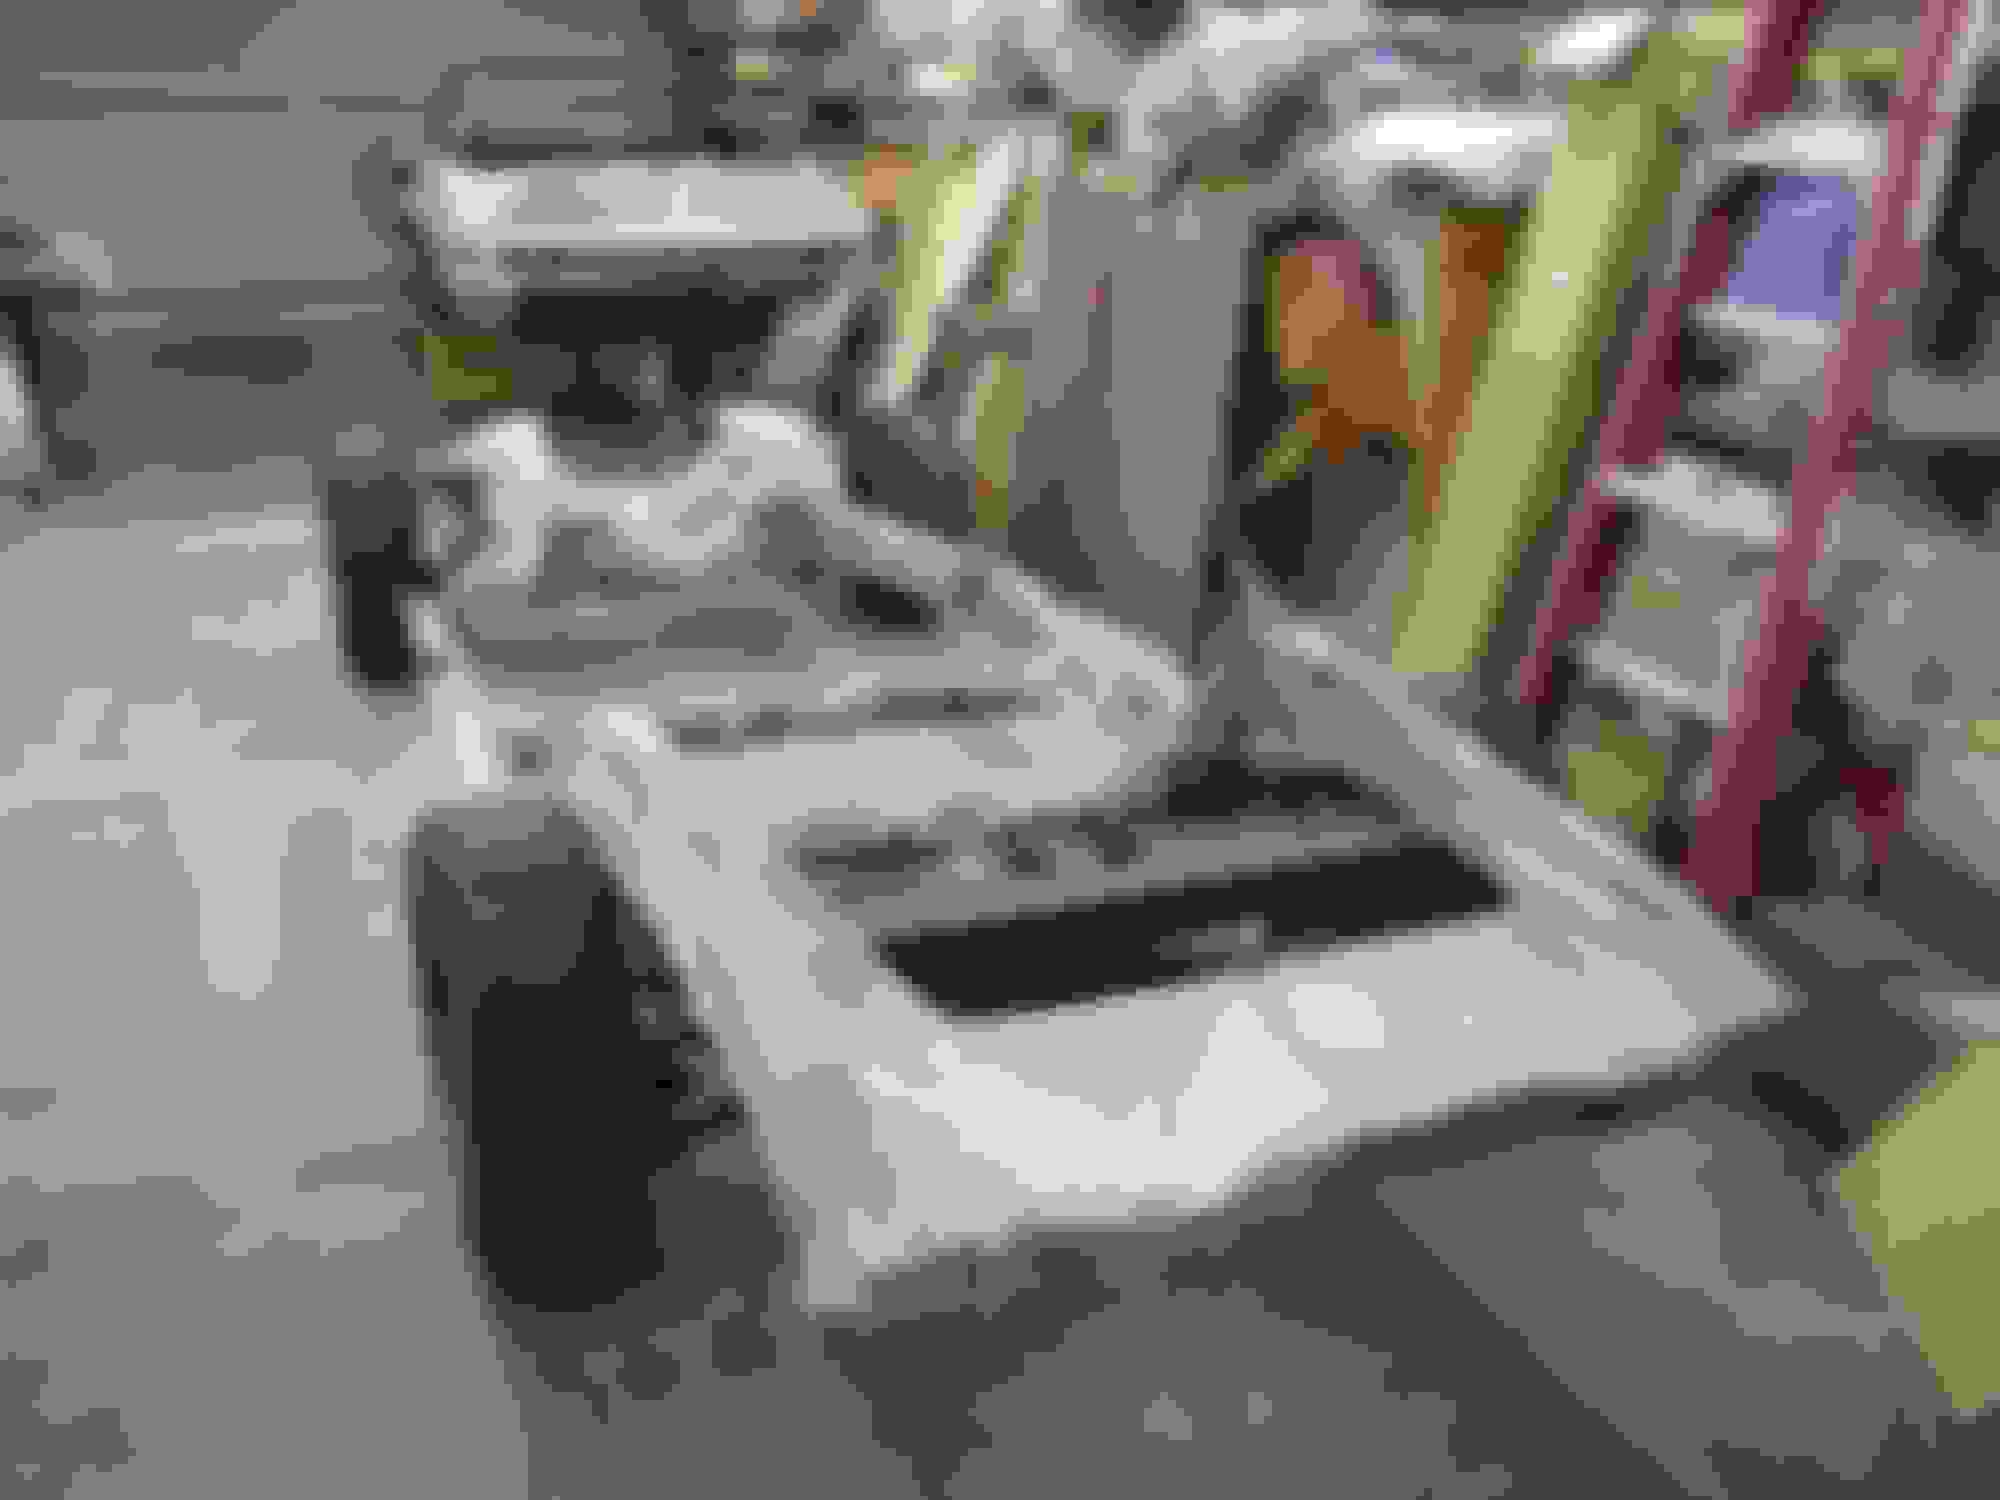
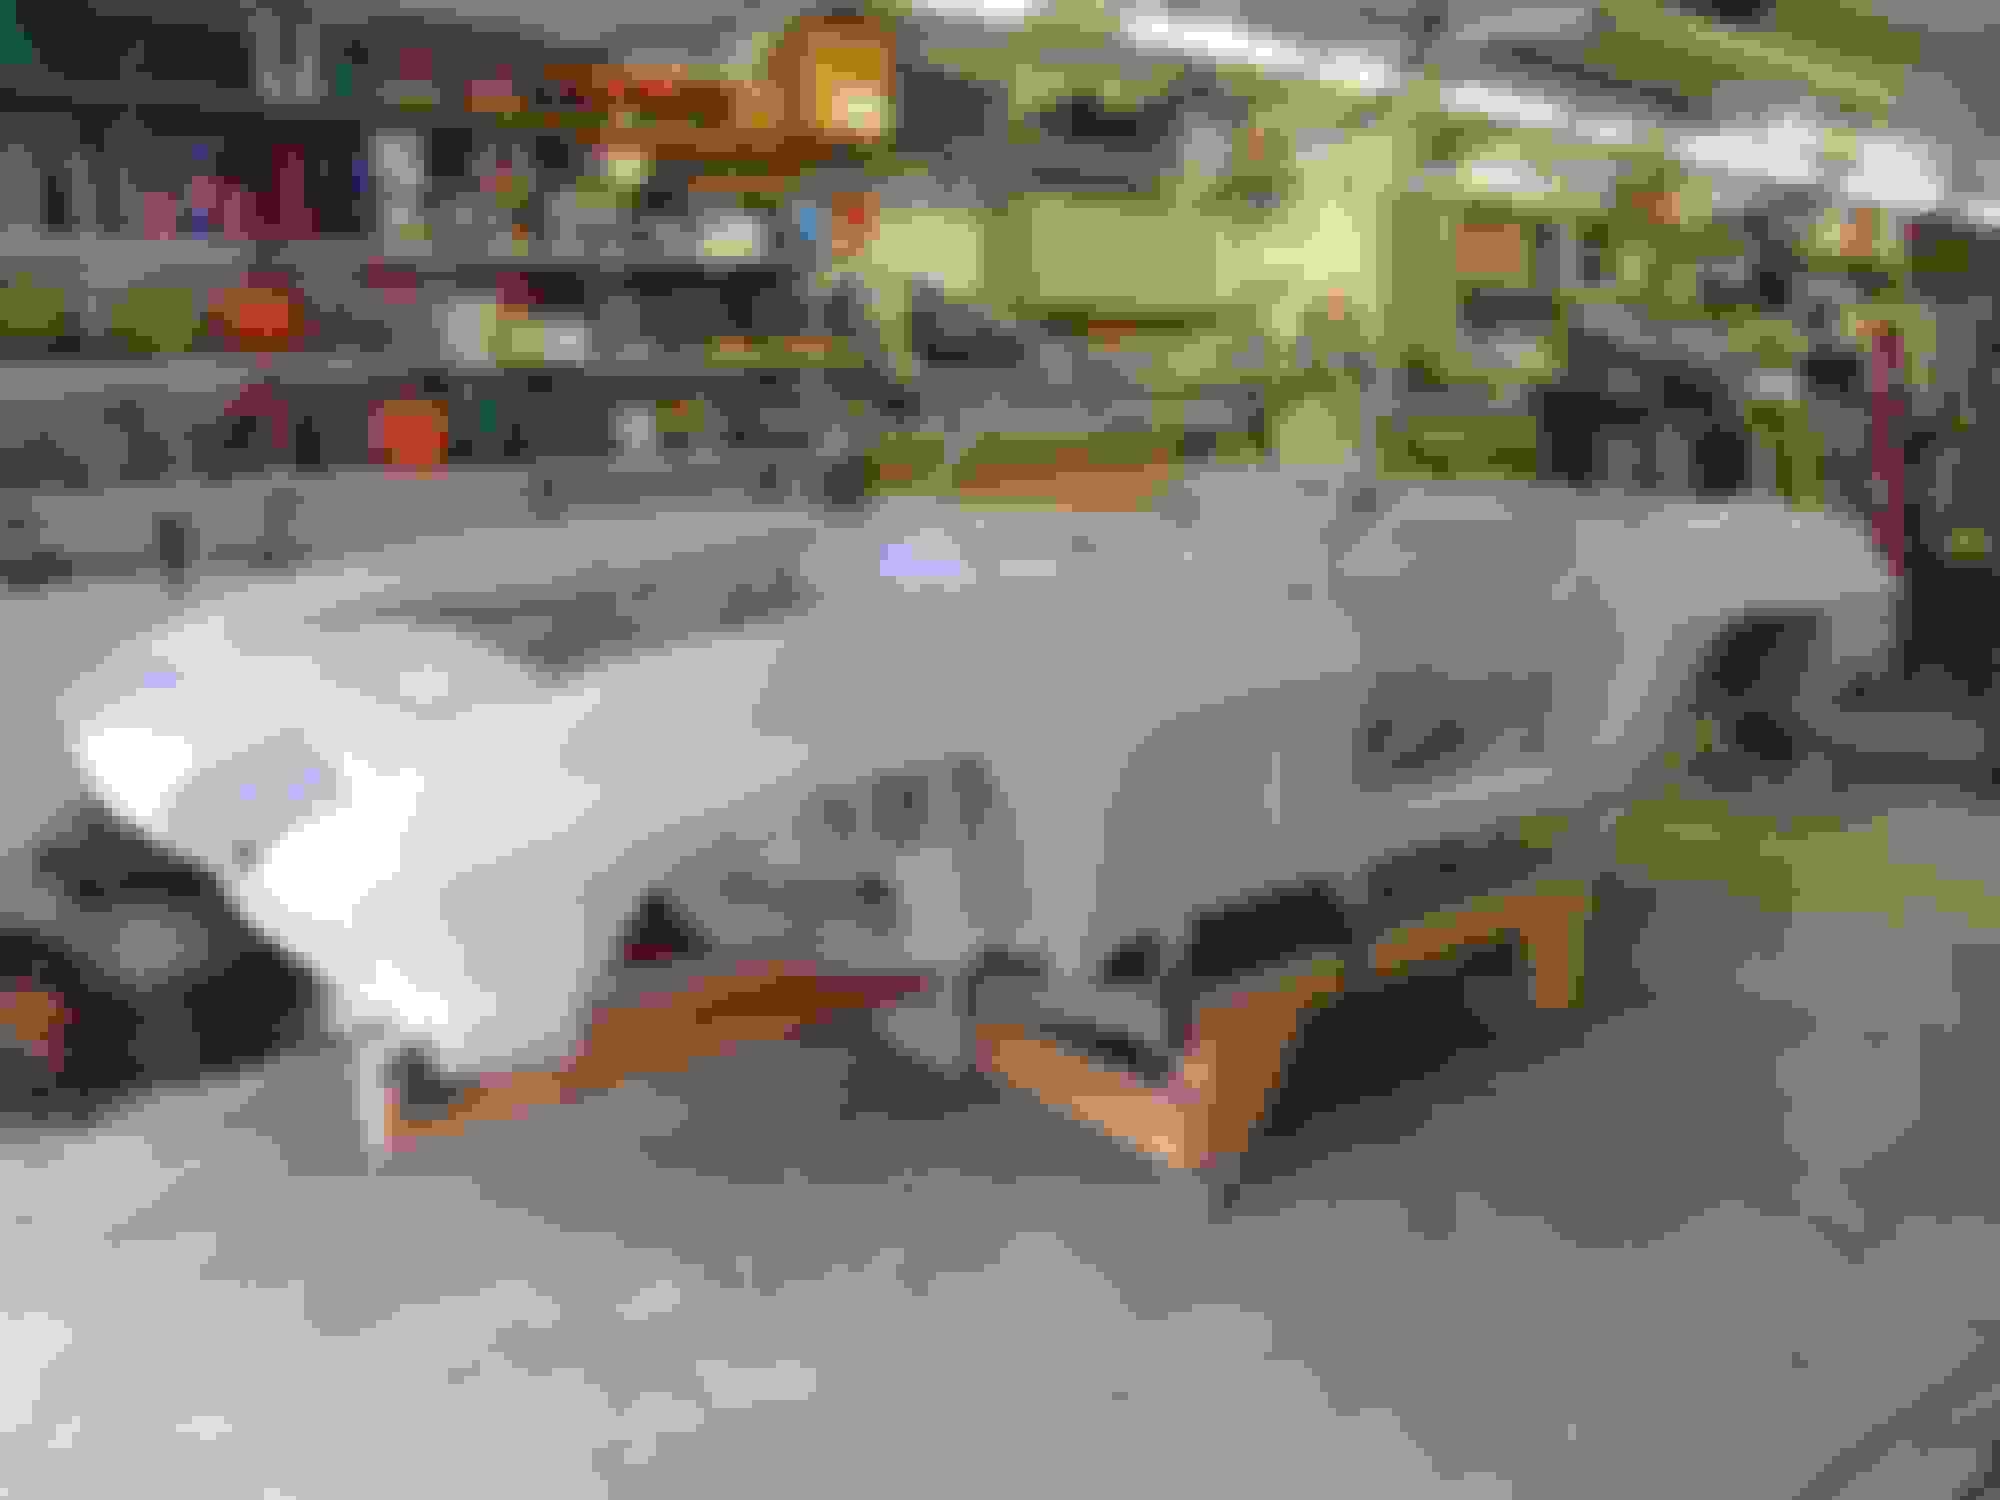
We got the body off the frame and onto the cart on Friday eve. Didn't get to spray primer this weekend but got everything except the body all cleaned and masked. Now just waiting for a break in the rain to spray. I took all the plastic off the frame (helped keep it clean!!) and if the rain persists, I'll get the engine/trans and fuel tank/lines installed.
Last edited by slalomfiend; 12-22-2017 at 10:48 AM.
Was 80 degrees and sunny when I got home so started cleaning and shooting. When I stopped at dusk, I realized I didn't stop for dinner - didn't care though, everything came out really nice. I got everything primed except the body...supposed to be 80 again tomorrow so we'll see.
Last edited by slalomfiend; 12-22-2017 at 10:50 AM.
Nice to hear from you! I've been lost in sanding world lately but finally got it all decked down and sprayed the last coat of sanding primer yesterday. I can now see the end of the sanding tunnel, WAHOO! I did go to the Pate Swap Meet this past weekend and scored an original '67 backup light assembly for $30 - made my day for sure!
Haven't wanted to bore you with all the sanding pics but got the first pass of sanding primer blocked down and needed to do an additional coat to get it all really level and smooth. It's all now sanding down super nice with 400. Should get it all ready to paint in a couple weeks.
Last edited by slalomfiend; 12-22-2017 at 10:54 AM.


 02-09-2015, 10:37 AM