The Revivification of a 63 Split Window
 12-30-2014, 04:15 PM
#21
Team Owner


It'll be nice to see some that dash cluster and parking brake get put to good use. Like a lot of other stuff I have laying around they were just gathering dust. The 1963 80lb vs 60lb gauge thing got really ugly. Here is what I got back when I raised the issue concerning my coupe:
https://www.corvetteforum.com/forums...ure-gauge.html
https://www.corvetteforum.com/forums...ure-gauge.html


 01-17-2015, 08:25 AM
#23
Team Owner
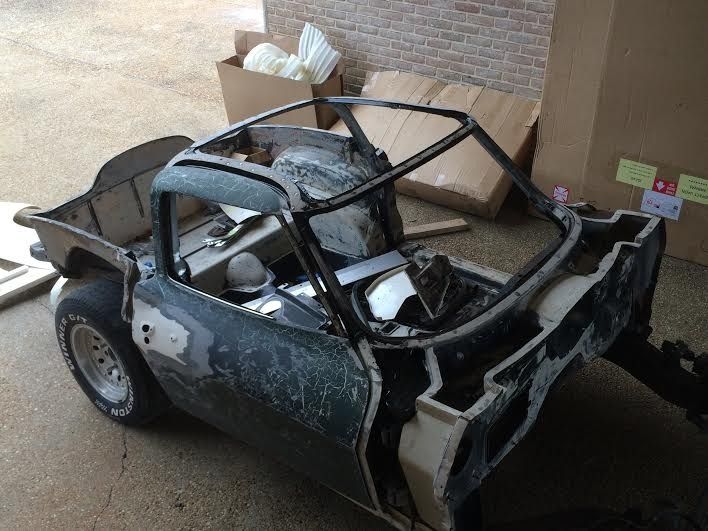
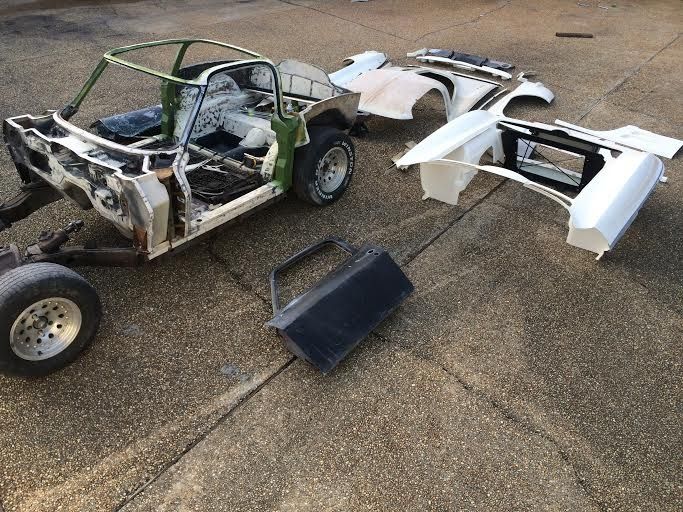
I'm just amazed at people that take on these monumental restorations....a labor of love for sure. I assume that's an early '63 as I think I see the underseat "toolbox" depressions...
01-17-2015, 10:04 AM
#24
Safety Car

Thread Starter

It's a late car, so I'm not sure why it has the deep tubs. I've heard of some other late cars having them as well, but I really don't know much about them.
01-29-2015, 05:39 PM
#25
Safety Car
Thread Starter
6 hours
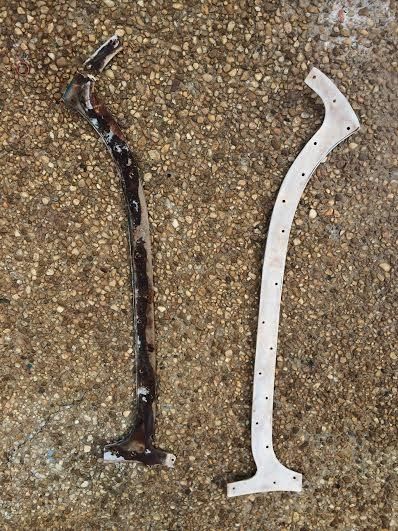
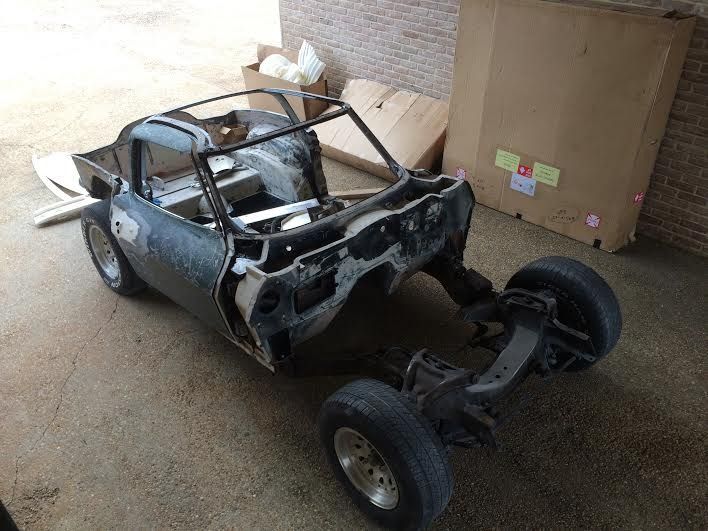
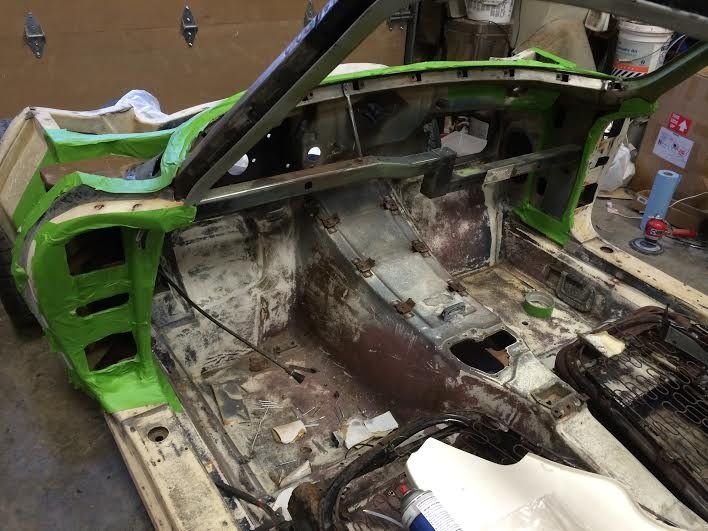
I picked the car up this morning from the body shop. The drip rails have been replaced and the other necessary metal repairs to the birdcage are complete. I also had them lightly soda blast the cage to remove as much rust as possible.
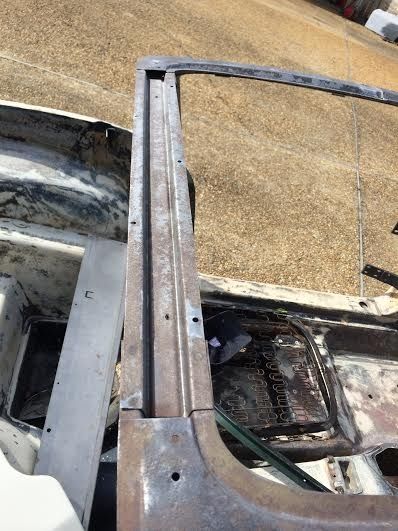
I brushed the top portion of the birdcage with SPI epoxy primer after using wax and grease remover. I also poured the epoxy inside of the cage where i could. I'm not going to bother spraying the cage with the crappy rattle can zinc oxide. I'll apply it to the visible areas, but not those that will be covered.
Next I cleaned the bonding strips.
And finally I applied 3m Panel Bond to the birdcage then riveted the bonding strips in place. I know they used some sort of seam sealer type product under the bonding strips at the factory, but I am going for maximum adhesion.

I picked the car up this morning from the body shop. The drip rails have been replaced and the other necessary metal repairs to the birdcage are complete. I also had them lightly soda blast the cage to remove as much rust as possible.


I brushed the top portion of the birdcage with SPI epoxy primer after using wax and grease remover. I also poured the epoxy inside of the cage where i could. I'm not going to bother spraying the cage with the crappy rattle can zinc oxide. I'll apply it to the visible areas, but not those that will be covered.


Next I cleaned the bonding strips.

And finally I applied 3m Panel Bond to the birdcage then riveted the bonding strips in place. I know they used some sort of seam sealer type product under the bonding strips at the factory, but I am going for maximum adhesion.


 02-24-2015, 07:43 PM
#27
Safety Car
Thread Starter
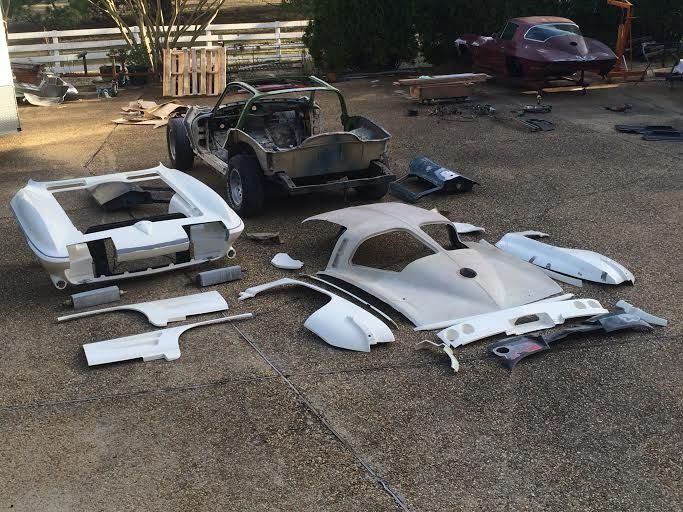
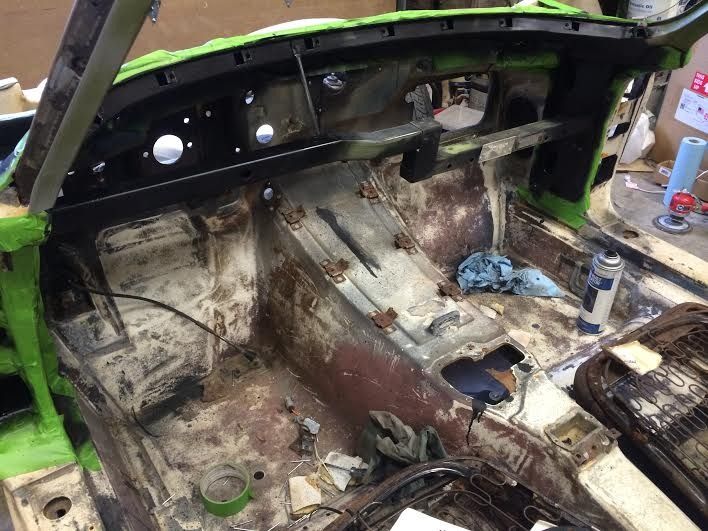
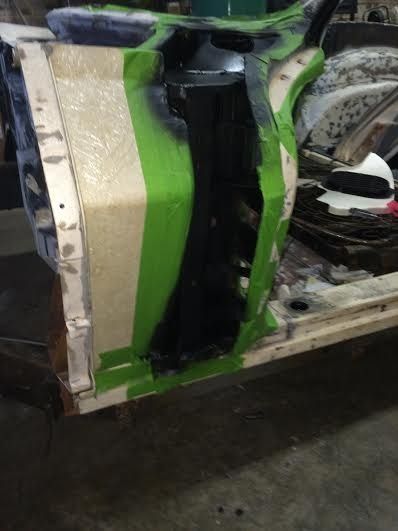
Since I am overwhelmed with work currently, I am going to let a pro handle bonding all the panels in place for this particular car.
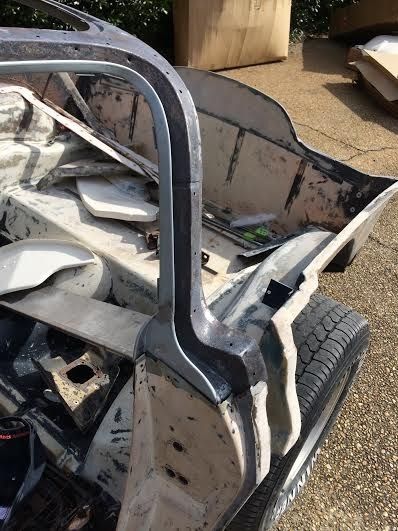
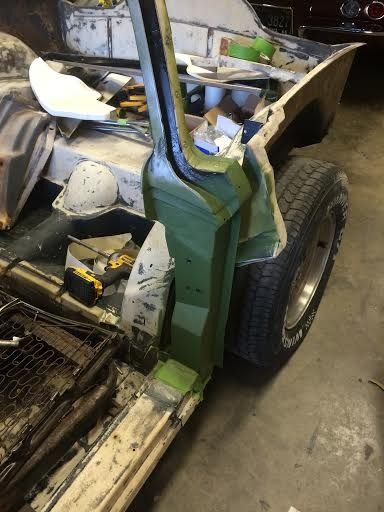
These pictures did not turn out very clear, but I sprayed the green zinc oxide paint on the birdcage today and it looks really nice.
.


These pictures did not turn out very clear, but I sprayed the green zinc oxide paint on the birdcage today and it looks really nice.

.

Last edited by 65silververt; 02-24-2015 at 07:45 PM.
 02-24-2015, 09:31 PM
#29
Race Director


 I am too! Attention to detail and thoroughness are truly incredible.
02-25-2015, 04:07 PM
I am too! Attention to detail and thoroughness are truly incredible.
02-25-2015, 04:07 PM
#30
Safety Car
Thread Starter
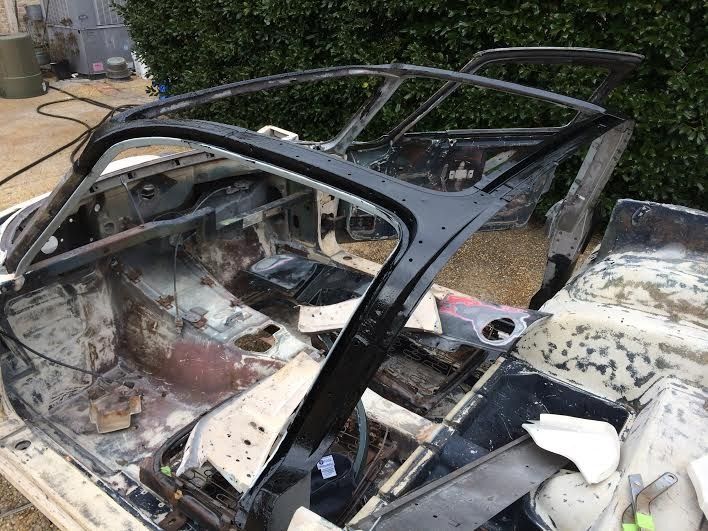
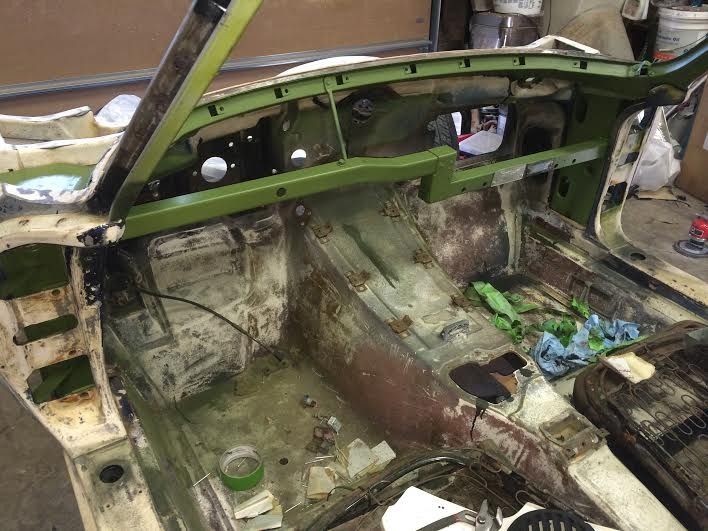
+4 Hours spent prepping and painting the rest of the birdcage.
After sanding I applied a rust encapsulator primer. I also used Eastwoods internal frame coating to spray and coat the inside sections of the upper birdcage.
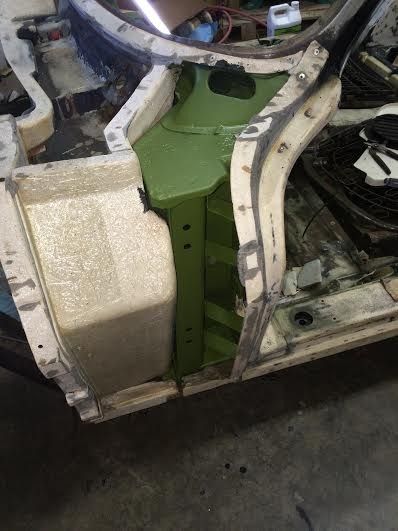

After sanding I applied a rust encapsulator primer. I also used Eastwoods internal frame coating to spray and coat the inside sections of the upper birdcage.


 02-25-2015, 11:52 PM
#31
Burning Brakes


Looking forward to more updates.
65-StingRay
02-26-2015, 08:38 AM
#32
Safety Car
Thread Starter
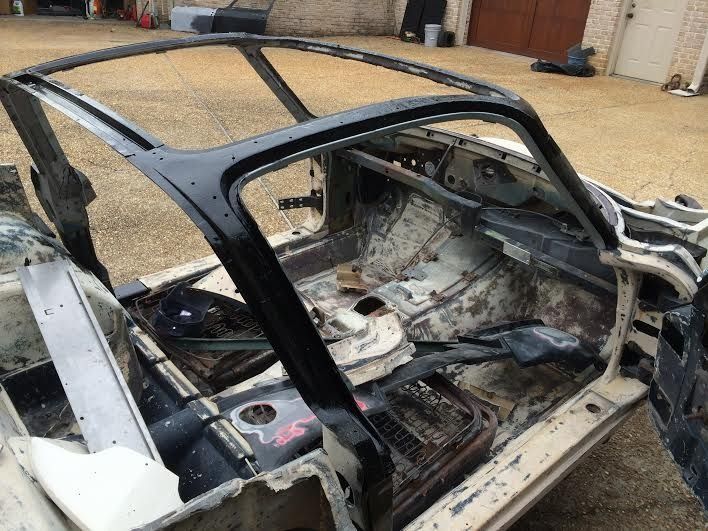
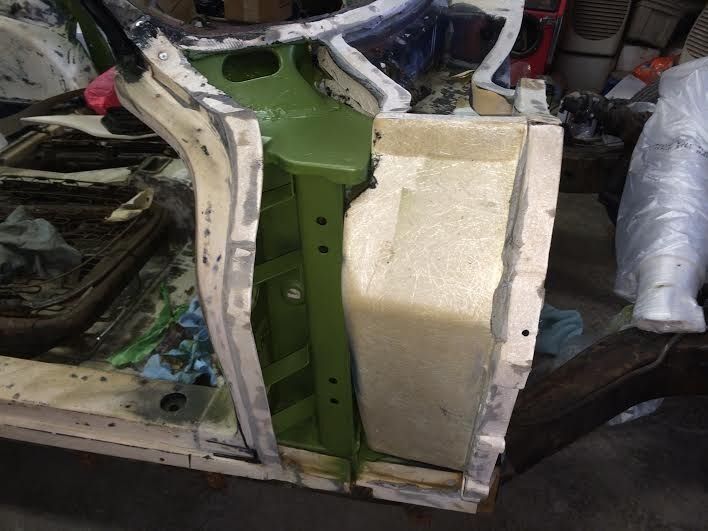
I'm surprised somebody hasn't pointed out that i painted the support rods and the clips green.
 I'm not going to mess with the window trim clips, but I do plan to remove and paint the support rods and bolts the correct color black at a later date.
02-26-2015, 10:12 AM
I'm not going to mess with the window trim clips, but I do plan to remove and paint the support rods and bolts the correct color black at a later date.
02-26-2015, 10:12 AM
#33

Truly an amazing restoration. I would think that you would feel incredibly proud of what you can do.
Looking at something like this makes me feel less talented, more incompetent, stupider (ya that's a word) and like a missed a page out of a car restoration book when I was growing up.
Looking at something like this makes me feel less talented, more incompetent, stupider (ya that's a word) and like a missed a page out of a car restoration book when I was growing up.
02-26-2015, 10:37 AM
#34


Amazing build! Another brought back from dead! 
 02-26-2015, 07:03 PM
#36
Le Mans Master


 02-28-2015, 08:41 AM
#38
Melting Slicks

02-28-2015, 12:11 PM
#39
Safety Car
Thread Starter
Thanks! They are from Vintage Wheel Works. These wheels will also help show off the WilWood Front Disc Brake Conversion. I did not order the vintage Good Year tires...those probably cost $1500.00 and I wouldn't even know where to begin looking for them.
http://www.vintagewheelworks.com/pro...heels/v45/15x4
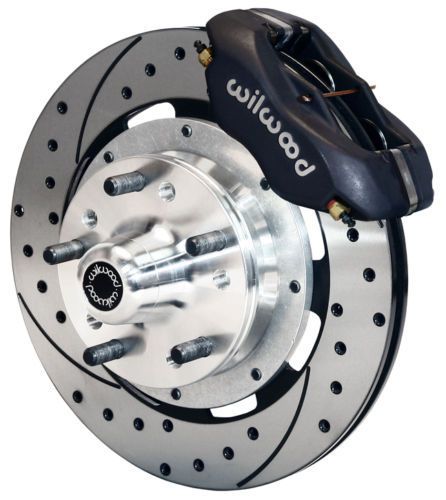
http://www.vintagewheelworks.com/pro...heels/v45/15x4

Last edited by 65silververt; 02-28-2015 at 12:14 PM.
