When you click on links to various merchants on this site and make a purchase, this can result in this site earning a commission. Affiliate programs and affiliations include, but are not limited to, the eBay Partner Network.
I am still alive , just been busy with spring clean up stuff around the house. I have still been making some time for the car though. I will hopefully have a lot to talk about soon.
I redesigned my upper rear shock mounts and for the most part they are done. I just need to send them out for anodizing and then I can show and talk about them.
Because of the rear shock changes, I changed the type of shock that I am using. I will be able to show you that.
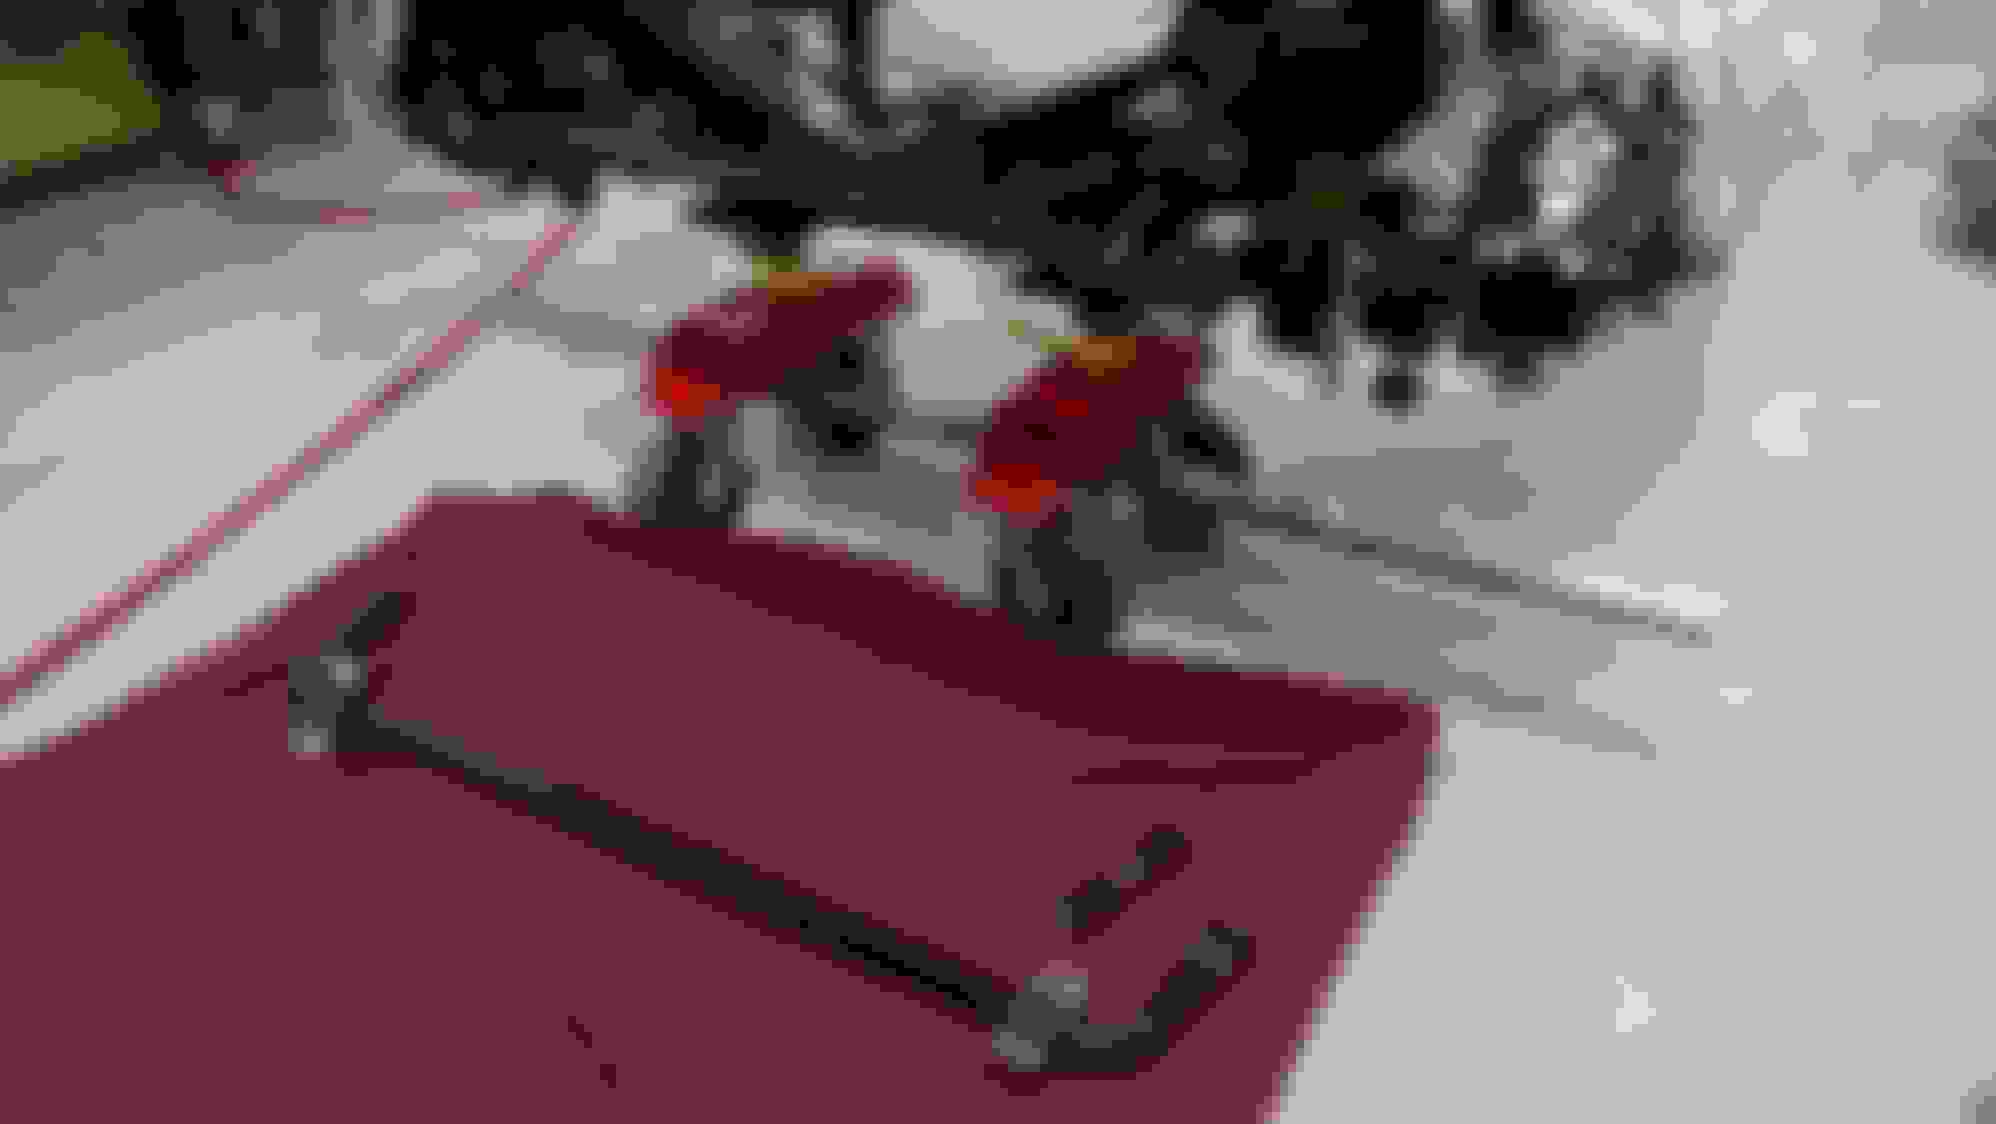
And currently I am working on new rear lower shock mounts. Below is a teaser. I am turning those two large pieces of 4140 steel into my new lower mounts also pictured in the drawing.
It has been a while. Getting personal time in the machine shop has been hard. All the machines are busy with paying jobs. So I have not been able to make the rear suspension parts that I still need. On top of that I have been pretty busy with outdoor work.
I have been planning this project in my head going in three phases. Phase #1 is the chassis and still in process, phase #2 is the engine, and phase #3 would be the body and interior. So I decided to get started with phase #2 with any extra time I find when I am at home since I am not making any new progress with the chassis.
I actually bought this engine almost two years ago. It's a 4 bolt main 396. The block number is 3855962 with a date code of D 24 5. It wasn't an IF serial number block but an IE. An IF would have been a original 1965 corvette engine. The IE was the same engine but was used in an Impala or chevelle or similar. The heads are 3919840 castings with date codes of A 27 9 and A 21 9. These are 109 cc chamber heads with 2.19 intake and 1.88 exhaust valves. When I bought the engine I was told that it had been rebuilt and not yet started. At the time I really didn't care, I was buying it for the block and heads and was going to go through it anyway.
I have torn it down. Everything was clean and fresh inside. New valves and seals in the heads. New hydraulic lifters and push rods. Used ?? Cam. Used .030 over pistons with stock rods and crank. The crank has been ground .030 under on the mains and .040 under on the rods.
O.K., I am taking the block in to have it hot tanked and checked for cracks first. I am going to have to ask my engine builder about the crank. Yes engine builder. I am having the bottom end done by a professional, I will do the rest. I was going to use these heads but now I am going with aluminum heads. I will be selling the 840's if anyone is interested, PM me. I will be going with new pistons, roller cam, roller lifters and rockers
I will let you know what I find with the block. Hopefully all good news.
I am curious, why scrap the heads? The advantage of aluminum heads in a big block is not nearly as big as in a small block. Big Block heads really flow some air one of the reasons they were so strong back in the day. Aluminum is much lighter of course.
Your crankshaft at .030 and .040 does not concern me at all for strength but it will have less future rebuilds available and limit the type engine bearings you will have access to.
I am not an engine expert by far so I have to rely on what I read and what my engine builder tells me. I did have every intention of using these heads when i bought the engine but then decided that I wanted to opt for the aluminum for weight. After reading more I came to the conclusion that the older rectangle heads are better for high horse power, high revving engines and that oval ports would be better for lower rpm horse power and torque. I also found in a couple of articles where new oval port aluminum heads flow better than older rectangle port heads. My engine builder also suggested aluminum heads because they will not hold as much heat. This would help some with spark knock while running premium pump fuel.
Anyway, the heads I had are now gone. Gave someone a good deal on them.
The crank is currently being measured up and checked for cracks. The verdict is still out on it. My engine builder agreed that as long as it measures up and is crack free we can probably still use it.
I'm running aluminum heads now and I love them. Lighter, cool quicker and flow great. I'm not going back to steel. There's merit in what you said about rec. heads vs. oval port. Most issues from the 60's have been long surpassed by today's technology. High Hp rec. ports have their place at high rpms but oval port make loads of power by today's standards. Rec. heads are poor at low rpm where street driver's need the torque.
I think if you can afford it the aluminum heads are the way to go. No regrets here.
65-StingRay
Wayne
Last edited by 65-StingRay; 05-18-2016 at 11:49 PM.
Well, I'm back, I think. All out door projects are done for the year. I still have a little fall clean up to do, but otherwise, I am ready to get back to work on the car.
There has been some news over the summer that I can get you caught up on. So here we go.
Good news, my crank came back good. No cracks and everything polished up. So it is ready to be used.
First we removed all the freeze plugs and all the threaded plugs used to block off machining holes. It was pretty evident that the threaded plugs had never been removed because of the gunk build up inside. Remember, this engine had just been rebuilt before I bought it.
We had the block acid dipped to clean it out and then had it Magnafluxed. At this point everything was looking really good until we noticed that the number three cylinder had a crack in it and had been sleeved. We then pressure checked the cooling jackets looking for leaks around the sleeve and yep, it leaked. We sent it to a specialty machine shop and had the sleeve replaced. (no way was I trying that, let the experts do it) Got it back from them and everything looked good and checked out.
So now cylinder size. They measured small for .030" over cylinders but were appropriate for the used pistons that I pulled out of it during tear down. But the big issue was that they were not round. REALLY!
Now another update for later is the pistons. There are very few options for 396 pistons. 427, 454, 502, etc. there are tons of options, but 396 not so much. I ended up ordering custom pistons which will make sense with the final cylinder size.
We decided to see if all the cylinders would clean up with just honing and see what size we end up with. They did and the size is 4.130". This is in between .030" over and .040" over which would be 4.124" and 4.134". This saves a little material for future rebuilds if needed. (hopefully never)
And that is where we are with the block. Pistons have been ordered and are due any time now. When they arrive we can bore the sleeved cylinder and finish hone everything to size for the pistons.
Oh ya, the cylinder head decks are also not flat and will need to be cleaned up. Not much, just a little.
Here we have the cooling jacket sealed and have it pressurized checking for leaks around the sleeve.
Here you can see that there are bubbles coming from between the sleeve and block.
I picked up these cylinder heads a couple of months ago from Edelbrock. These are oval port heads with 110cc chambers, 2.19" intake valves and 1.88" exhaust valves. They are set up for a hydraulic roller cam. And these are another reason for the need for the custom pistons.
it's great to see you're back. Sorry to read about the block issues. How long was the wait for custom pistons?
Custom pistons take 3-4 weeks. Mine should be done in about a week now.
On a side note, I mentioned that the cylinder head decks were being cleaned up. We thought it would just be a couple thousands. It ended up being .009". My engine builder thinks that with the condition it was in before, it would have never sealed with a gasket. Its a good block, but it needed its love too. The previous owners didn't give it.
Got these today. New connecting rods made by Scat. Standard length (6.135"), made for floating piston pins, 7/16" ARP bolts, and the cap and rod are doweled.
Notice the hollow dowels that the bolts pass through.
Last January I had mentioned that I did not like the rear sway bar I had because it hung out on the outside of the frame rails. Hanging out there takes up space that could be used for tire. I had bought the old sway bars new as heavier versions of stock replacements and before I had a really good handle on what I was doing with this car. I have now bought new front and rear sway bars from Ride Tech.
I had already installed the old version on the front last winter so I removed it and installed the new one. The front was easy. The new bar used the same mounting holes as the old one. The Ride Tech design eliminates the long bolts with all the rubber bushings to attach it to the control arms and instead uses solid rods with ball end joints. The front sway bar is a 1-1/8" diameter straight bar with custom arms at the end.
The rear sway bar uses different mounting than stock and holes needed to be drilled. But it is a good design and was easy to do. The rear sway bar is 1" in diameter and also used custom arms at the end and solid rods with ball end joint to attach to the trailing arms. It is also shorter so the arms are on the inside of the frame rails and will not take up valuable space needed for tires.
I will have to do a little extra work to attach the ball ends to the front lower control arms and the rear trailing arms. The Ride Tech sway bars are designed to be used with their suspension. The front will be the easiest. I will make a bracket or block and mount the ball end to the control arm using the same mounting point that the stock bolt and bushings would have used. The rear I need to get a little more of the suspension put together first before I decide. I may want to modify the trailing arm although it also has a provision for the stock style sway bar connection. I may also want to get the chassis on the ground with wheels, tires, and drive train to see how everything sits before I make the final call.
Here is the front. The new sway bar is installed and the old is on the floor.
Close up of the new front front bar. Here I will mount the rod ends to the lower control arm.
This picture of the rear I showed you last year. I didn't like how the sway bar hung out on the outside of the frame rails.
This is the new rear sway bar installed. Holes were drilled in the rear cross member and new mounting brackets were installed.
Close up new rear. The rod ends will need to attach to the trailing arm.
Sam, I just re-read all 293 posts from the beginning of this great build, because this is the 1st time I noticed these awesome adjustable frame dolly thingys
Did you make them or buy somewhere? I gotta have them for my shop. Bill
Ok, ignore my question Sam. My good buddy Google figured it out for me ... UniDolly 4800. Easy to knock-off for the home shop, but not really very expensive to buy either. Bill
Ok, ignore my question Sam. My good buddy Google figured it out for me ... UniDolly 4800. Easy to knock-off for the home shop, but not really very expensive to buy either. Bill
Yep, that is them. I bought mine about 6 years ago and they have been very handy. A couple things. All the casters swivel 360 degrees. This can be very nice or a pain in the butt. When moving a car by yourself, which ever end you are at, the other end will have a mind of its own. The other is that there are no brakes on the casters and these casters have really nice bearings. So if there is any slope in the floor or you're trying to work on the car, it wants to move around.
I think I only paid about $200 for mine back then. I see now that they are about twice that. Today I might look at building something. It would really depend on the cost of the casters. THOSE THINGS ARE EXPENSIVE!
Sam, thanks for the advise on using them. You might consider a pair (or 2) of these handy-dandy wheel lock pins for yours. Or you could make something up to prevent the swivel.
I have about 8' of 1" x 8tpi NC threaded rod so I think I will make some as soon as I find 6" swivel wheels on sale. I agree with you I would have trouble swallowing north of $800 for 2 pair if I can make them in a couple hours for the cost of wheels on sale.
One question remaining ... where the threaded rod goes thru the 4x4? tube, is there a matching female threaded stem inside the tube, or just a plain hole thru both sides and the wingnut just sits against the top hole? I can see the cross-bar bracket is off-set from center so the threaded rod can lower thru the tube to the ground if needed. Cheers, Bill
Well there you go. I might have to look at those.
To answer your question, it is just a hole through the 4x4 square tube. There is a round tube welded in the holes going through the square tubing. And then like you said, the threaded rod just slides though with the big wing nut holding the height.
Last April I had started machining a new bracket for my rear lower shock mounts. I bought two pieces of 4140 that were 3.25" in diameter and 6" long. Roughly $50 worth. After a lot of machine time I have managed to turn about $40 worth of that into worthless chips. I am not done yet, but I am getting close. Below are pictures and details of the progress so far.
I started the process on the lathe by machining the shaft portion of the brackets. That shaft will go through the spindle support bracket and be used to mount the strut rod.
Next I went to the mill and started to square up the bracket portion from the round material that was left.
Here both parts are in the process of being squared up. You can also see the drawing that I am working from under the parts. (my design and my drawing )
Here both parts have been squared up and two holes have been bored through the side. The large hole is for the shoulder bolt that will be used to mount the shock. The smaller hole is a relief hole. There will be a radius there in the final profile. Notice the piece of 4140 sitting there. That is the same size stock I started with. It gives you some idea of how much material was removed.
Here more material is being removed before I profile the shape. Both parts currently look like the part on the left. Next I will set them up in a CNC mill to machine the final profile and radii.
Hopefully I have the finished parts in a week or two. I really need these to make any progress on the rear suspension.
Look what showed up the day before Thanksgiving. These are a thing of beauty. (2nd to my wife anyway ) From Diamond Engineering these are machined to fit a 4.130" bore and yield a 10:1 compression with my Edelbrock heads. We have everything we need to assemble the bottom end now except the main, rod, and cam bearings. My engine guy is ordering those and we should be on our way soon.
FYI, I know you all want to know. Custom pistons with pins, rings, and shipping roughly $176.50 each. Ouch, but will be worth it.
 04-06-2016, 07:31 PM

 , just been busy with spring clean up stuff around the house. I have still been making some time for the car though. I will hopefully have a lot to talk about soon.


 )
)