When you click on links to various merchants on this site and make a purchase, this can result in this site earning a commission. Affiliate programs and affiliations include, but are not limited to, the eBay Partner Network.
Remember how I said that the frame looked so clean that I was not sure it was the original? Well I was able to find what is left of the stamp and could just make out enough numbers to convince me that it was.
I only have one picture of this. It was taken when I was almost done. I had to use all the normal tools. Ball and tie rod forks, big hammer, floor jack, coil spring compressor, had to heat some things up with the torch, etc, etc, etc. I was able to get everything off without having to actually cut anything apart.
Most everything off except the rear differential.
The differential cushions were fun. Used my press to push the rubber out of the center and then I was able to tap the two sleeve halves out with a hammer and chisel. Those were definitely original.
Got everything off the frame. I ground down a couple of weld spots that I found on the bottom. I wondered if someone had welded something on there for side pipes or something.
I also took the parts below to the powder coater. Not pictured is the differential case. It also went to the powder coater.
The frame, cross members, battery tray, and differential mounting bracket are being done in satin black. Everything else is being done in gloss black.
Sam - You're making great progress. I know you already said you're swapping in the Bigblock but from the pics, it looks like you have some good parts to sell off the old engine. I suspect someone swapped the original AFB for a WCFB carb but the exhaust manifolds look to be the 2.5 versions and someone added the big dampener that has the fins which is sought after compared to the stock thin 250/300 horse dampener. Keep the pics coming.
Mike T - Prescott AZ
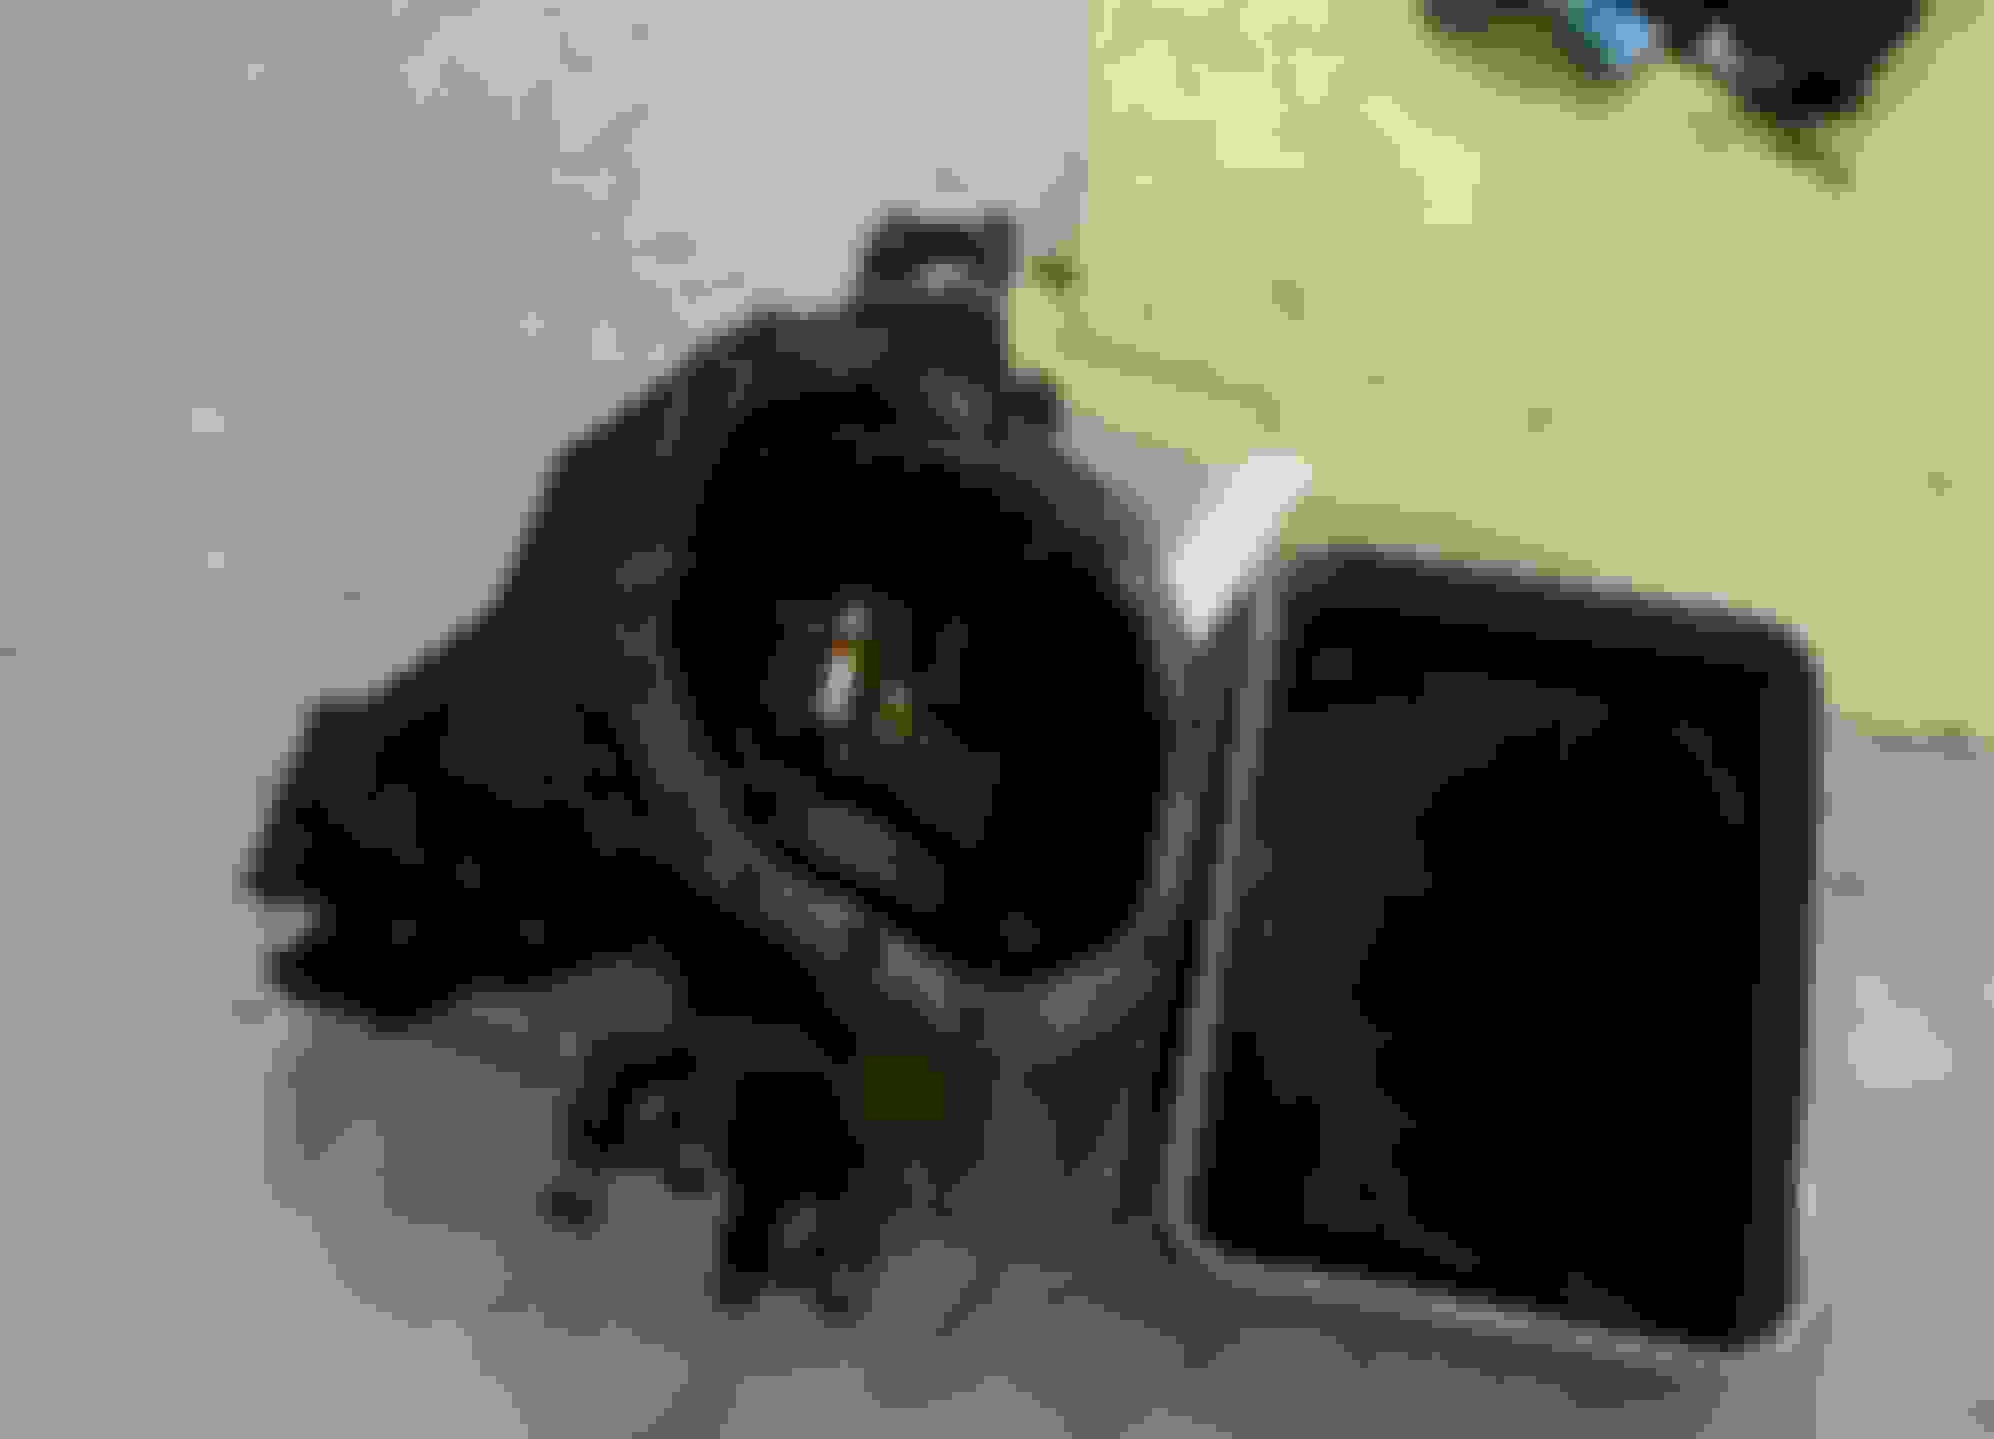
I have this little bench top parts washer. It only holds like two or three gallons. I have had it for years but,------- I have also not used it in years. I dug it out and found that the plastic on the pump had gotten brittle and broke. I guess I will go shopping. I think I could use a little larger one. Hey honey.
Broken pump housing and spigot laying on the floor.
Sam - You're making great progress. I know you already said you're swapping in the Bigblock but from the pics, it looks like you have some good parts to sell off the old engine. I suspect someone swapped the original AFB for a WCFB carb but the exhaust manifolds look to be the 2.5 versions and someone added the big dampener that has the fins which is sought after compared to the stock thin 250/300 horse dampener. Keep the pics coming.
Mike T - Prescott AZ
Thanks Mike, a lot of this work was done a month or so ago. I am just trying to get caught up to date in the thread.
I haven't decided about old parts yet. The 327 is the original and I did want to see if it could be fixed. Supposedly the internals are all new or redone. The carb that was on it is a Rochester 4 jet. I would have to look up the casting numbers for the manifolds to verify those.
I ordered some 2" offset trailing arms from Van Steel. These will give me a couple more inches of clearance in the rear for a little wider tire.
This will be one of those things that I have never done but am going to attempt to assemble them myself. I know that you need to get the end play right and I have seen some fixtures here on the forum for setting that. I am pretty sure that I can build one for this job.
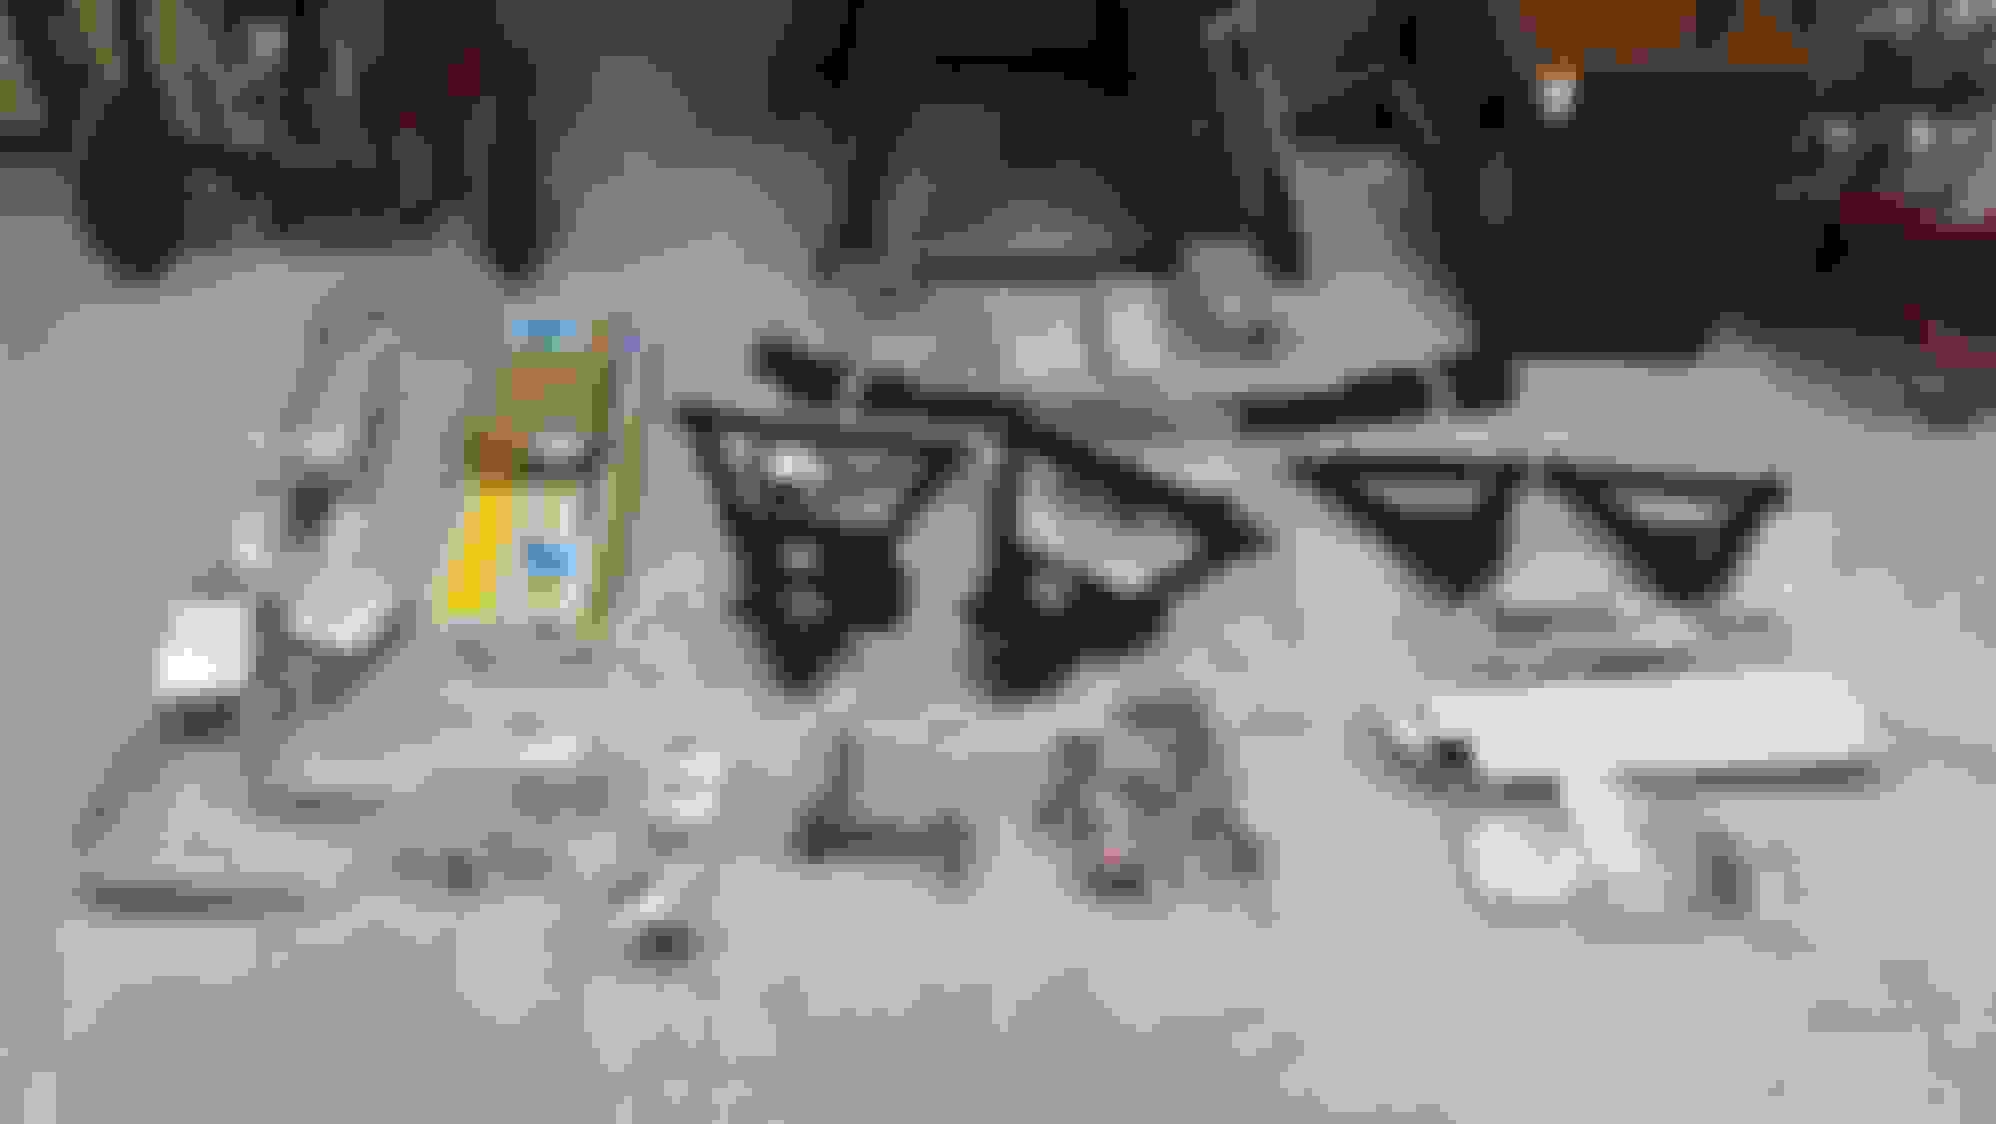
I also received my suspension kit pictured below. New A arms, fiberglass springs, front and rear sway bars, Bilstein shocks, etc. The front suspension uses a fiberglass monospring (Say goodbye to the coils). It has all the tie rod ends and stuff, but I may not need or use those because I am looking at a rack and pinion steering system for the car.
I disassembled both of the original trailing arms. A lot of the parking brake mechanism was new and will be reused. The spindle support, backing shield, and caliper bracket went to the powder coater. I will get a rebuild kit and re-assemble everything into the new offset trailing arms.
New pads and springs, but the adjuster, retaining pins, and retaining springs are in pretty bad shape. I will buy a new hardware kit.
You don't want to powder-coat the inside diameter of the bushing holes in the diff crossmember, or you'll never get the new bushings pressed in - just clean them up and mask them. Powder coating is a lot thicker than paint
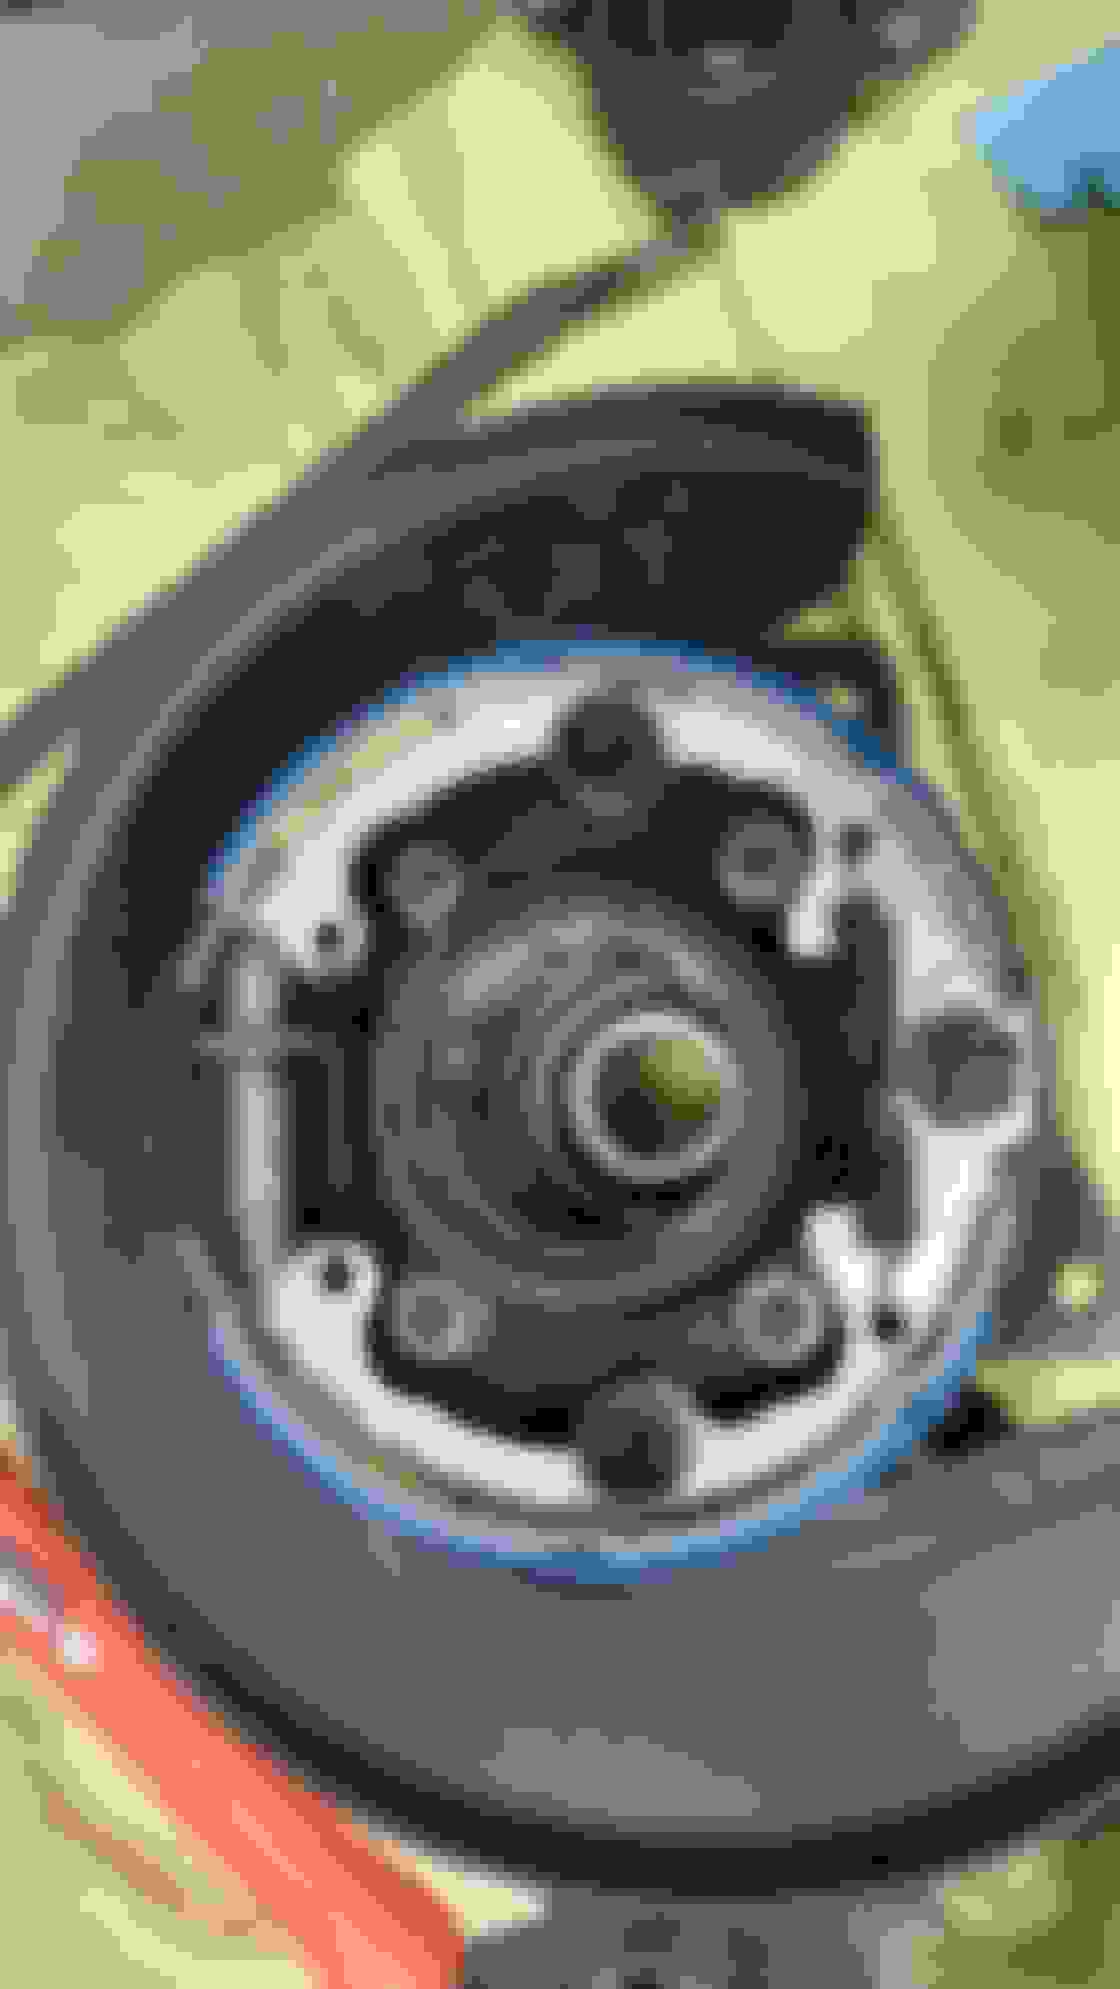
I also tore down the rear differential. Wow, that smelled bad. I think that was the original 50 year old fluid. The gears looks fine but because it was a power glide car they were the 3.08 gear ratio. Since I am 98% sure I am going with a Tremec 5 speed I am going to change them. The 5 speed has a .64 over drive so I think I am going to go with 3.73 gears. That will give me quick launches, fast acceleration, and still let me cruise the expressway at about 2500 rpms.
This is another thing that I have never done, but I am going to give it a try. I have a friend with a machine shop so if I need to surface grind some shims, I can.
The case and cover also went to the powder coater.
You don't want to powder-coat the inside diameter of the bushing holes in the diff crossmember, or you'll never get the new bushings pressed in - just clean them up and mask them. Powder coating is a lot thicker than paint
Thanks, I had already thought about that. I told the powder coating guy to just go ahead and sand blast it and coat it. I figured that if the new cushions would not go in then I would clean the powder coating out with a drum sander.
Well, I ended up picking this model. I got it at TSC (Tractor Supply Company). There is one local to me. They had another model that was also a 20 gallon that was just on legs for $90. Looked like the same one that Harbor Freight had for $100. I really like this model because it was on wheels. I will be able to move it around easily if it is in the way. I am running out of open wall space to set something like this up against permanently. It also has a shelf that you can set just cleaned parts on to drain. Everything drains into the pan underneath it. And a second shelf for storage. This makes the whole thing more stable than the ones that are just on four legs and in my opinion, worth the extra $40.
I also picked up two 5 gallon cans of the PSC 1000 parts cleaner. Everyone says that that is the stuff to use so I figured that I would give it a try.
As I mentioned earlier, the original 327 is a little messed up and since I am a hot rodder, lets do something a little more fun.
A while back I picked up a 1965 396. It is not an IF block which would be an original corvette 396, but it is an IE block which is the same motor used in other model cars that year. I bought this from a gentlemen in North Carolina that had it rebuilt close to the 425hp specs for one of his projects and then decided to go another way. I will have to remove the heads and oil pan to make sure everything looks clean and go from there. I may have someone go through it again for my peace of mind and I am thinking of having it dyno'd and tuned before I put it in the chassis.
Other plans are:
Keeping it Glen Green
The exterior will look pretty stock except for after market wheels and big block hood
Tremec 5 or 6 speed trans with hydraulic clutch
The interior will be Saddle in color
Classic looking but electronic gauges
Will probably find a way to fit modern touch screen radio and speaker sysem inside.
Performance suspension system
FYI, this was also a power glide car
1965 395/425hp
IE engine code
Date code
Block part number
Welcome Sam, and I'm with you all the way!
Everybody here knows that I'm a smallblock guy, but I won't criticize you for doing a big block, and although I'd prefer starting with an aluminum 4 1/8" bore smallblock from Dart, World or another manufacturer, I hate to see you using such a bad weight:torque (ie: power) engine. If you feel compelled to run a porcupine head, then I'd suggest using a big block with a 4.56" bore, and de-stroke it. I hope to see a dynorun showing about 1.5 HP/cu-inch on your normally aspirated engine.
In any event, good luck and I'll be watching.
Bore size is more important than stroke, considering equal displacement because the bigger the bore, the more the valves can be unshrouded by relieving the decks.
Last edited by 65tripleblack; 01-10-2015 at 04:14 PM.
 01-08-2015, 03:34 PM