When you click on links to various merchants on this site and make a purchase, this can result in this site earning a commission. Affiliate programs and affiliations include, but are not limited to, the eBay Partner Network.
"Project creep" is alive and well. Sorry to see this set back but better to find these issues in the garage than on the road.
It's starting to look like when this car gets out the garage there will be nothing left to do but sort it out and enjoy it.
I admire you staying on course, dealing with the unexpected, and sharing.
Yea, its a pain in the ***, but as we all know, its either pay now or pay later with these old cars. I'd much rather expose the weak links now, and get them sorted out than find them on the side of the road. On the plus side, I got an email back from the owner of American Racing Headers, he's going to let me test fit a set of their C3 headers at no risk. If they fit, and I like them, I keep them. If they dont fit, full refund. I ran these on all of my C5s and the quality was top notch. I like their C3 design because they come with mid pipes that go all the way back to the frame pass-through. This makes it much easier to splice into an exhaust system using V-bands. They also come standard with O2 bungs when/if I decide to go Holley Sniper in the future.
My 1964 Convertible 327/365 Daytona Blue is the Best
Originally Posted by ChattanoogaJSB
What a prize! I dig it. Your little girl is going to be wild about it bet. Something like mine. It's crazy how similar our
cars and life status is in many ways.
Hahaha. Taking a beer brake to decide how best to disconnect the drive shaft. No room to get the diff side as she sits. I can get a wrench on the top of the bracket....thinking I pull that bolt, allow the front of the diff to sag slightly, support with a bottle jack. That should give me enough room to get a wrench on the driveshaft. Open to suggestions.....
You should have (barely) enough room to get a wrench on one of the bolts of each u-joint where it connects to the diff . . . then you'll need to rotate the driveshaft 90 degrees to get to the other side . . . you'll have to lock the transmission in gear each time to prevent the driveshaft from spinning. I've done this recently on my car - best from the driver;s side. It's tight - but should work!
Yes, the wife is from Texas, went to UT. I'm from Boston and don't claim a college...although I did attend one, at least on paper. I adopted Texas and she adopted the Patriots. We own a house on Lake Travis that I very much look forward to moving in to once my stint with the US Navy is up in 2023. We'll be in Austin over Veterans Day weekend for anyone that wants to meet up and gorge ourselves on beer and BBQ!
So when the time comes to put this thing back together, should I be using stock rubber, or derlin differential crossmember bushings? I already have the reinforced pinion bracket with rubber bushings. Additionally, is the crossmember reinforcing kit worth installing?
So when the time comes to put this thing back together, should I be using stock rubber, or derlin differential crossmember bushings? I already have the reinforced pinion bracket with rubber bushings. Additionally, is the crossmember reinforcing kit worth installing?
IMO, go with rubber for comfort. The wide crossmember offers considerable leverage to hold the pumpkin alignment, even with rubber.
Skip the poly, and go with aluminum pucks if you plan racing (but know the NVH goes up exponentially, as you feel every gear tooth and posi clutch engage and release).
Makes sense....this is no track car, so rubber's probably the way to go.
Since I'm at a stand still until I can find a core and get it shipped to Gary for rebuild, I pressed on with the seat brackets. I got everything properly aligned, and the holes drilled so that I can bring them over to my buddy's garage tomorrow and have him weld the retaining nuts over the holes. Then I'll be able to bolt the brackets to the floor, and start working on seat placement on the brackets.
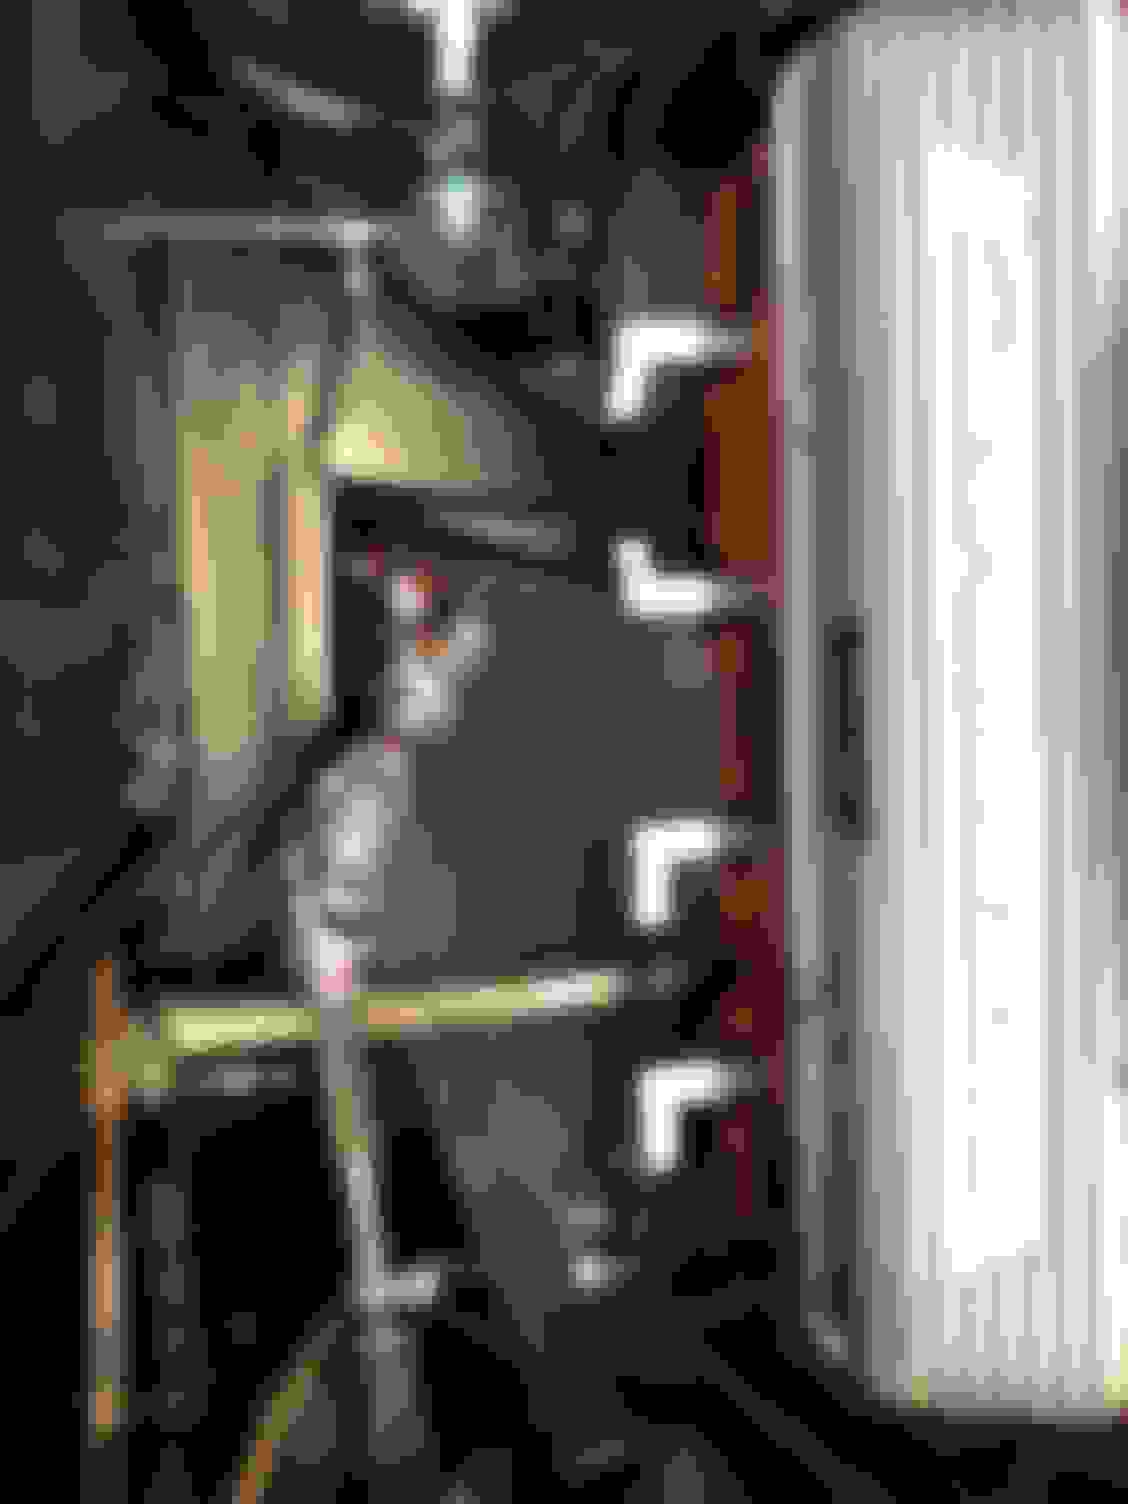
Not super exciting, but progress none the less....got the crusty original manifolds pulled. Those along with the hardware will be bagged and tagged and join my ever growing pile of original parts. Just for my own education, can someone explain how the flapper do-dad in the passenger side manifold worked, and what the lines going up to the intake and carb do are for?
In looking at the available space, I'm still not convinced that long tubes are going to fit in here due to the steering linkage from the R&P on the drivers side and the bracket holding the rack in place on the passenger side, but I guess we'll find out. My fall back plan is the shorty headers that Stainless works makes.
The last little bit of clean up before the headers arrive is to build two new battery cables, and reroute some of the wiring going to the starter. I dont like how they cross over what would be the collector area. Slightly longer battery cables will allow me to keep the whole harness along the firewall, then come directly forward from the back of the starter as opposed to going across that open space. That will make it easier to install the pipes without damaging the wires, and prevent them from touching any collector or mid pipes.
The flapper do-dad and tube are for cold start. The flapper is connected to a bimetal spring that closes the flapper when cold and opens when it is heated this causes exhaust gasses to pass thru the heat riser port in the head to the intake manifold to heat the plenum for better vaporization of the fuel/air charge.
The tube connected to the manifold is part of the choke system. A rubber tube is connected to this tube and runs up to the air filter. It delivers filtered air up through a tube in the exhaust manifold. A chrome line attaches to the top port and connects to the choke. This is what pulls off the choke. With your modifications you probably don’t need this.
 08-02-2019, 07:04 AM

 Sorry to see this set back but better to find these issues in the garage than on the road.