When you click on links to various merchants on this site and make a purchase, this can result in this site earning a commission. Affiliate programs and affiliations include, but are not limited to, the eBay Partner Network.
Sander,
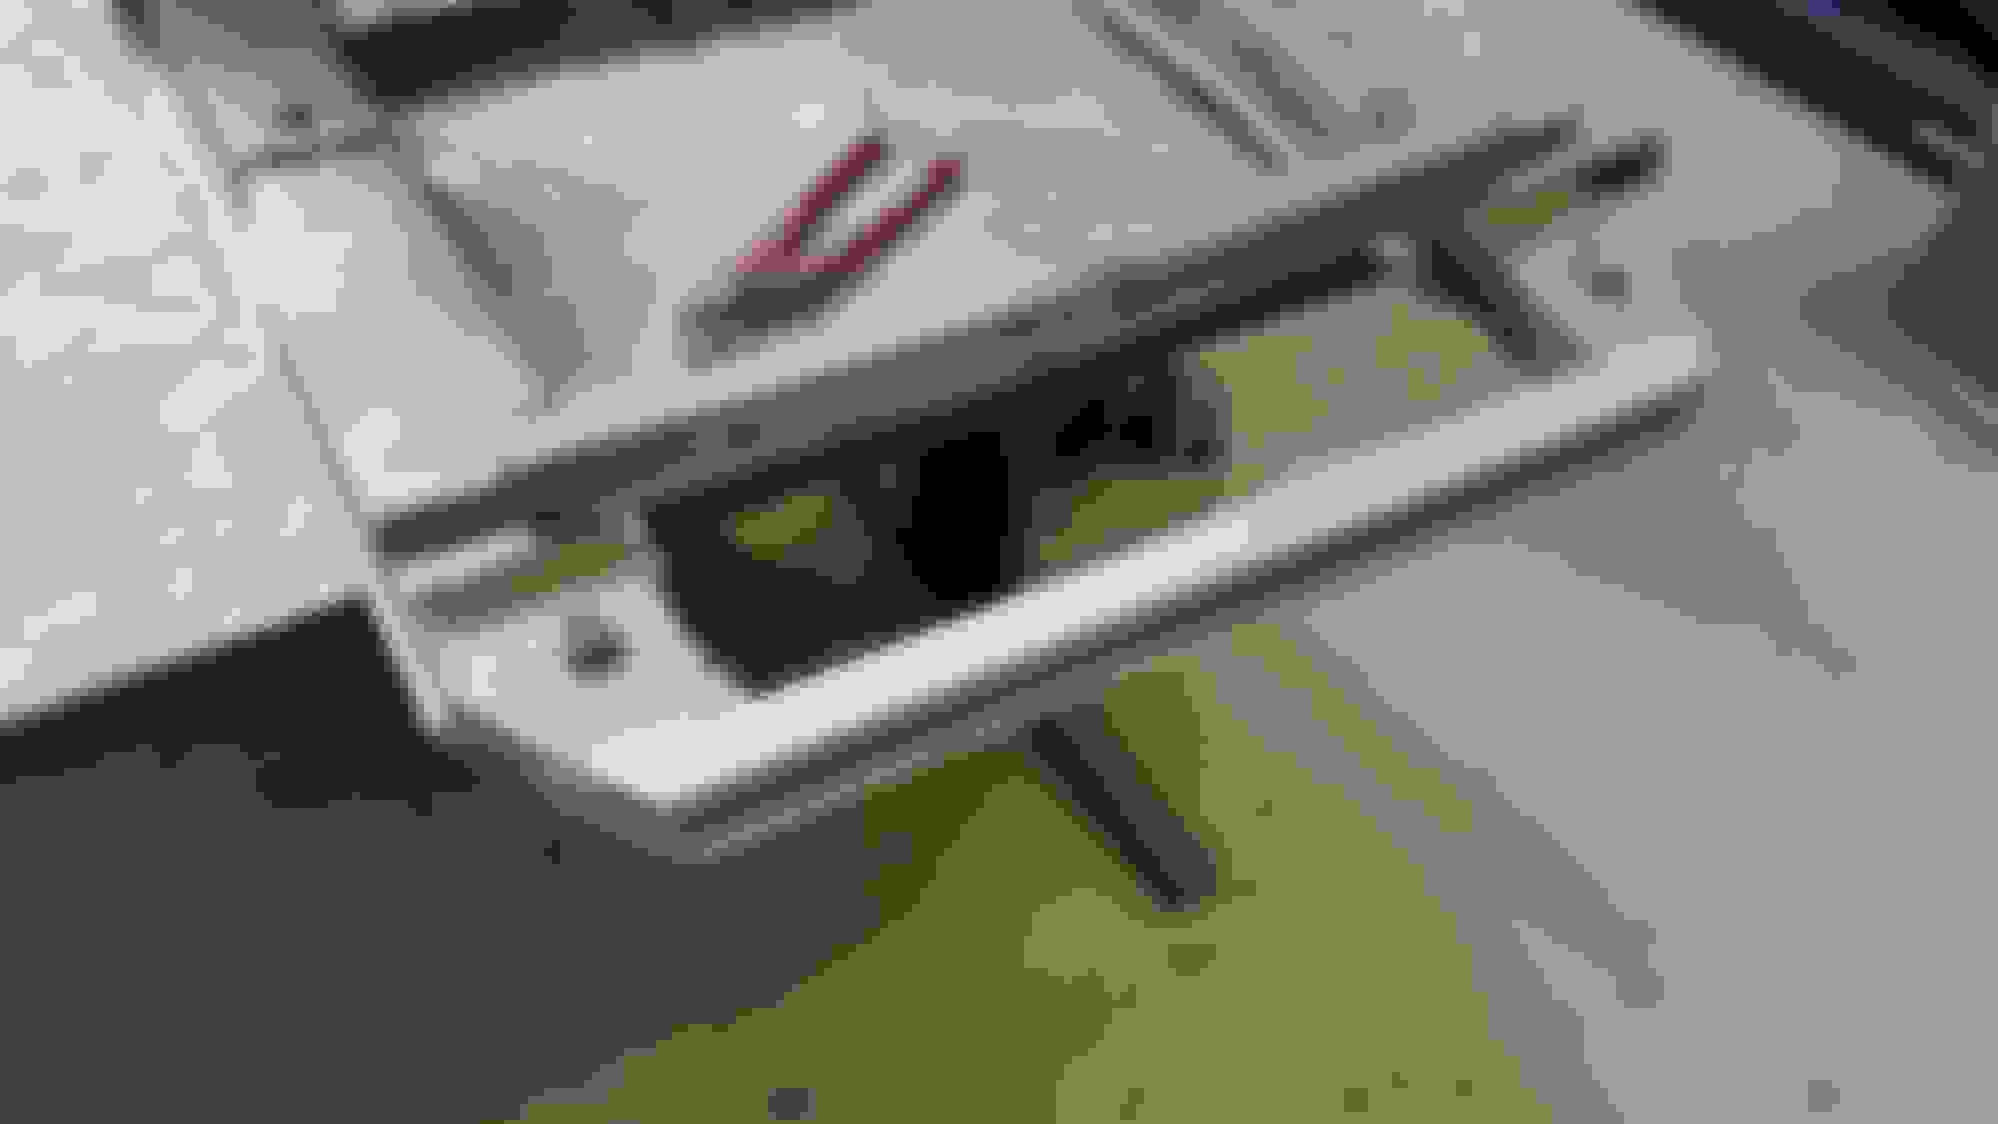
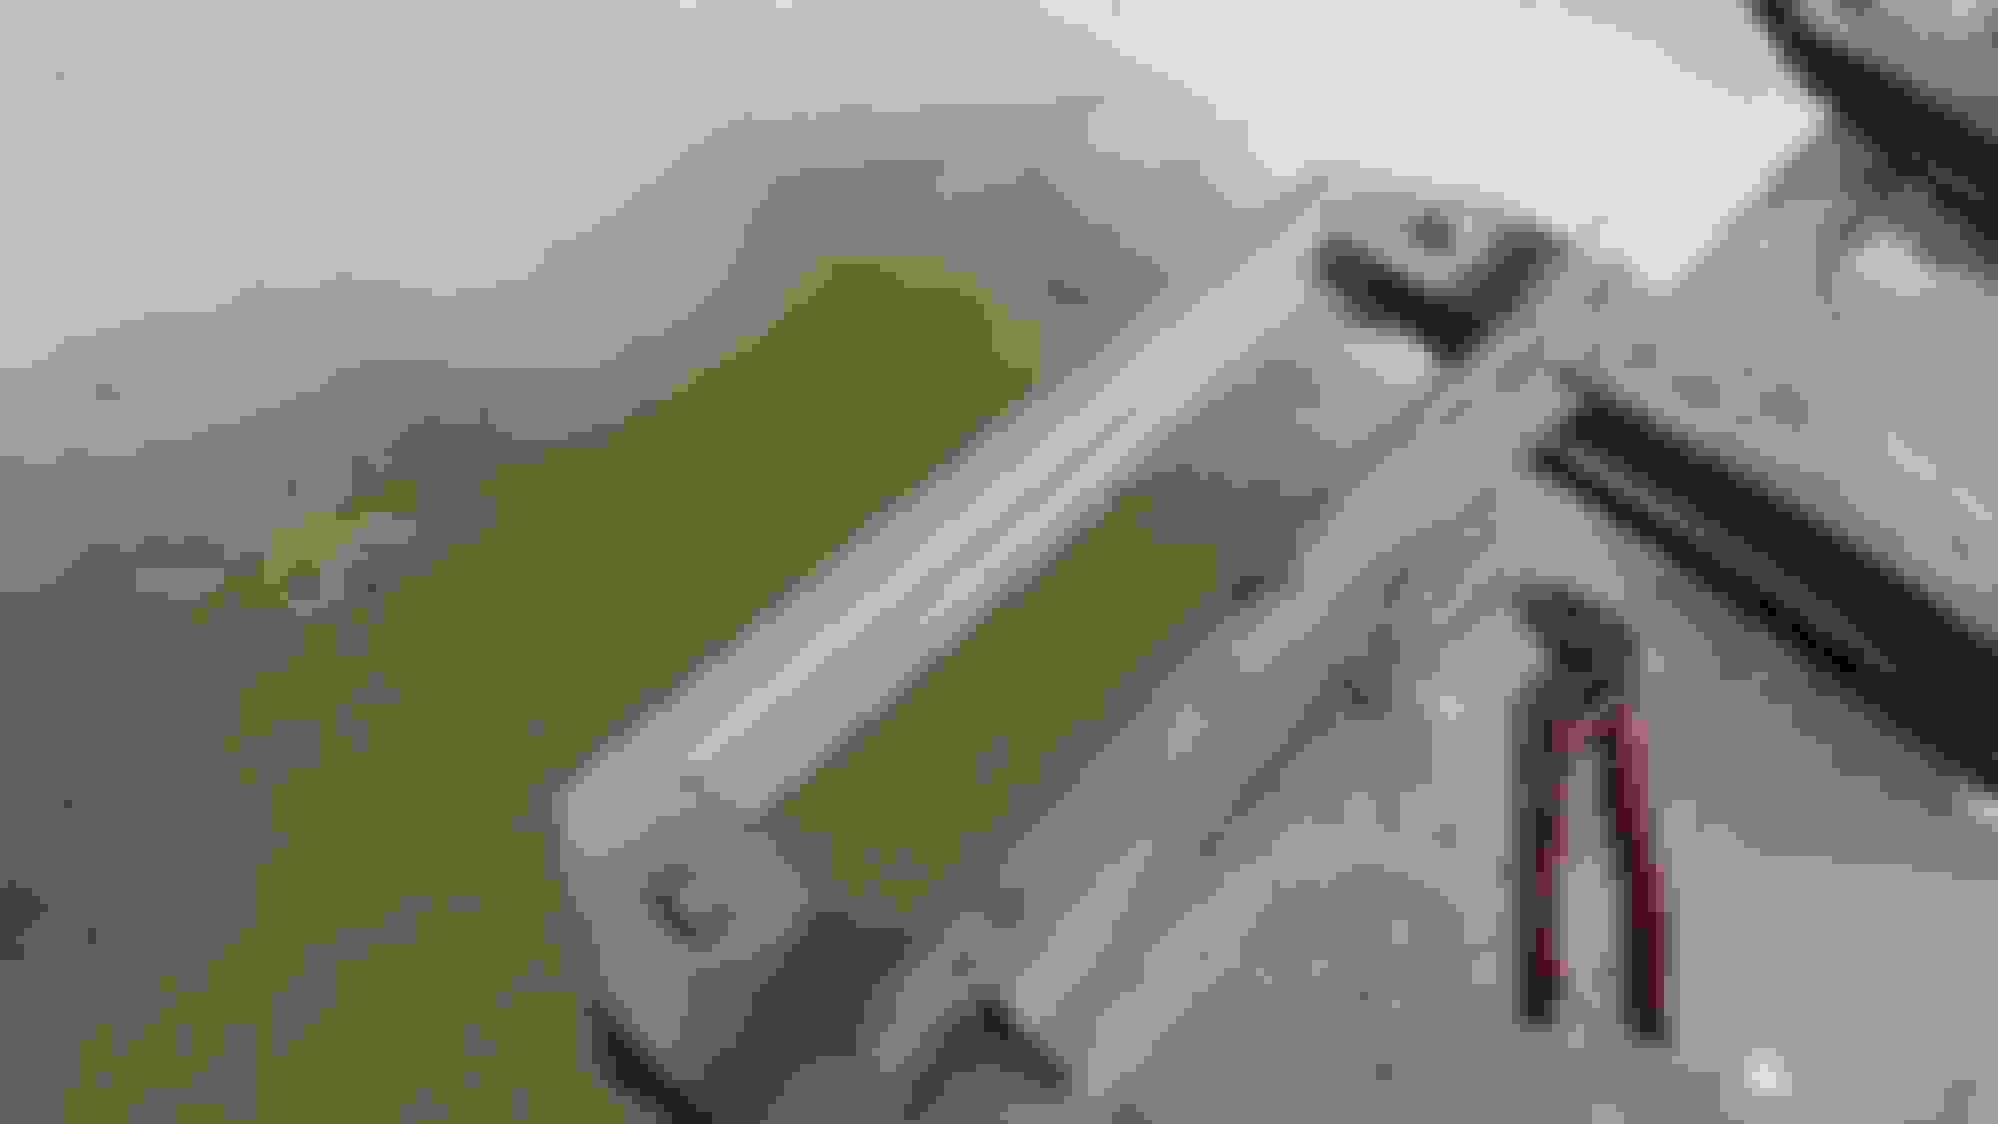
Those slots are pretty common, it is where the seat cushion hooks over the frame. I am not sure if the factory did it that way, but most of them I have seen looked just like yours.
Maybe JohnZ can chime in with his comment.
Jim
Sander,
Those slots are pretty common, it is where the seat cushion hooks over the frame. I am not sure if the factory did it that way, but most of them I have seen looked just like yours.
Maybe JohnZ can chime in with his comment.
Jim
looks like it was done by a acetylene torch by Bubba
is this only with the early c1's ? the 58 and 60 i had did not have these slots
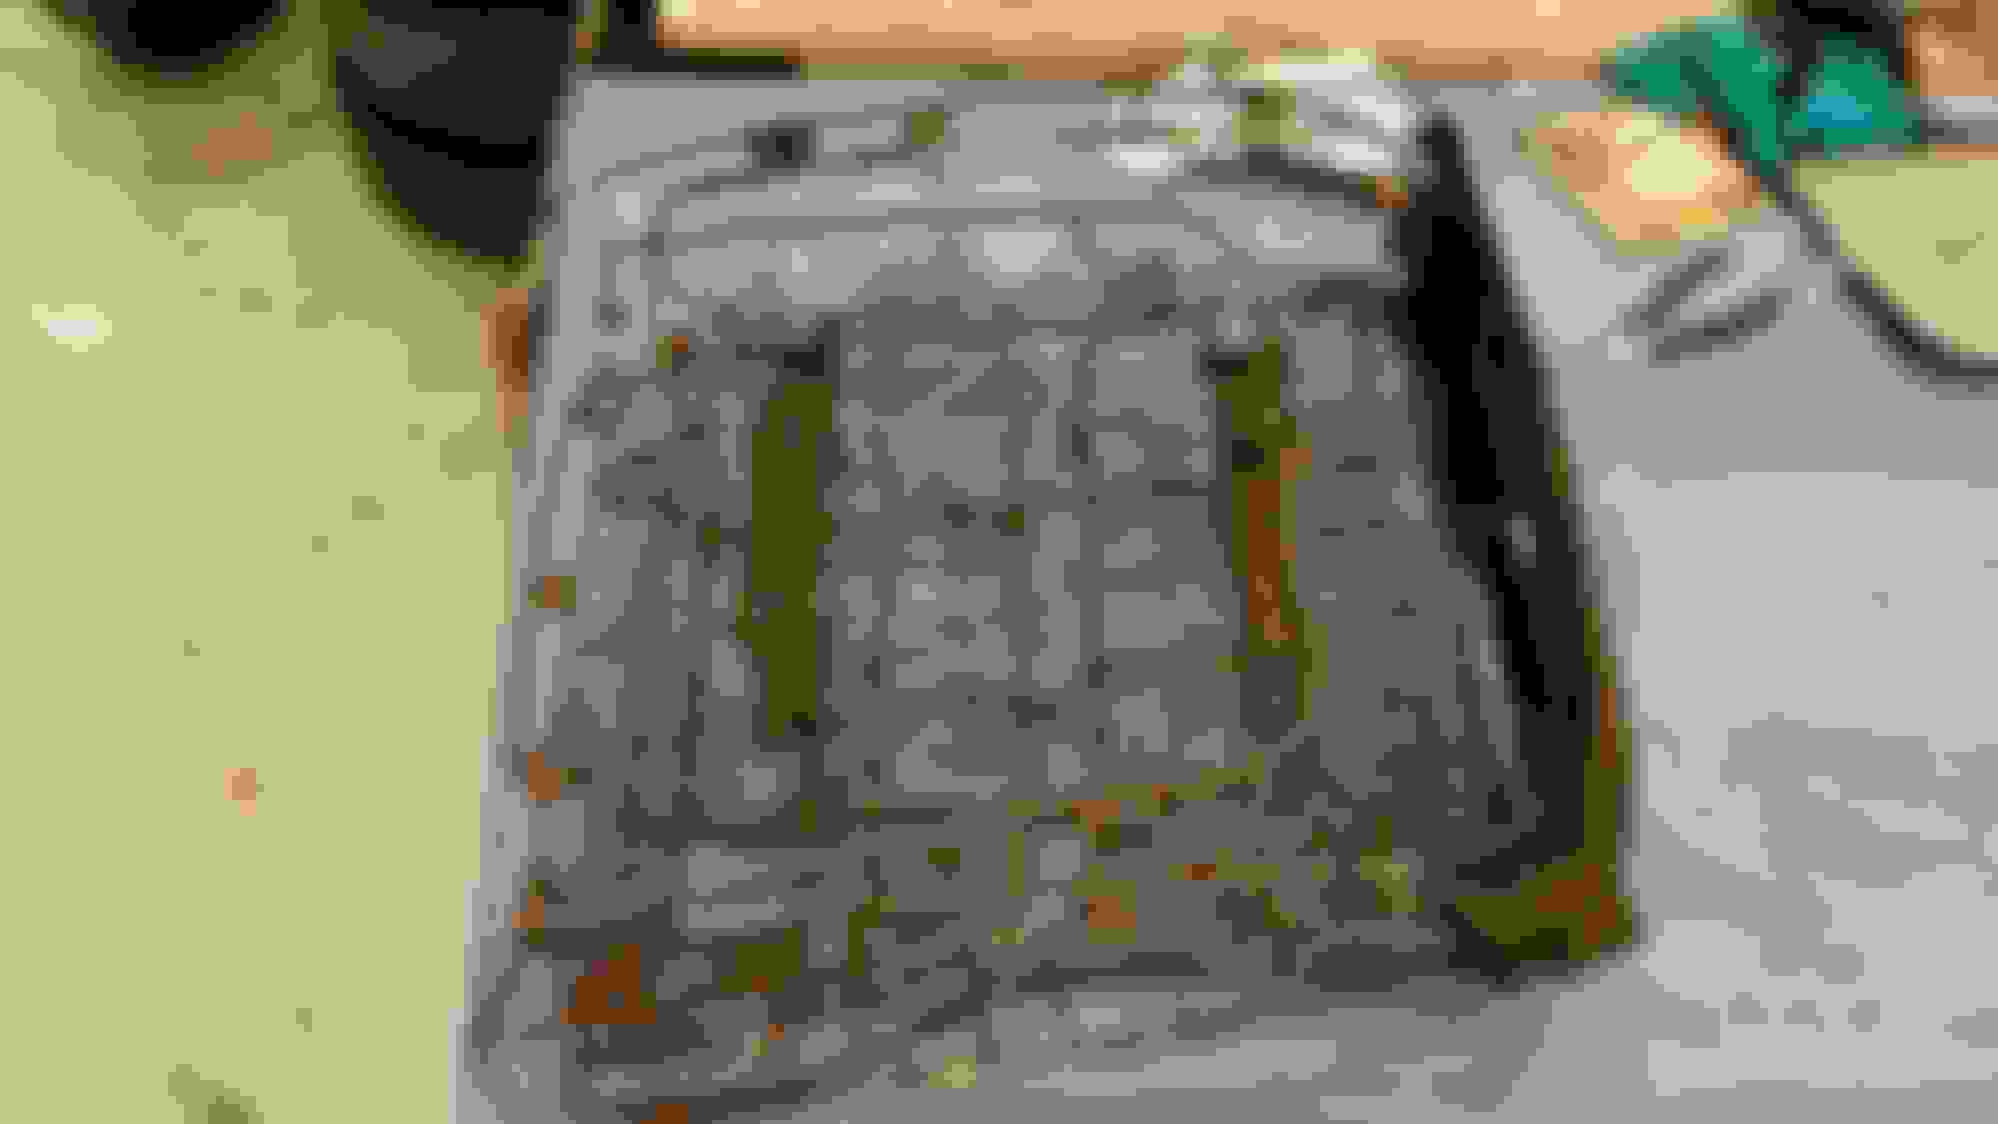
I finally figured out how to view these pics. Thanks for posting them first off. If you don't mind a few questions. Did you make a repair piece for the hood rather than just laminating new material to the hole? It appears you held a patch in place with the Clecos. How do you color the fiberglass to match the existing material? Great work and very interesting!
I finally figured out how to view these pics. Thanks for posting them first off. If you don't mind a few questions. Did you make a repair piece for the hood rather than just laminating new material to the hole? It appears you held a patch in place with the Clecos. How do you color the fiberglass to match the existing material? Great work and very interesting!
Hi Robert
the hole is Laminated with new material i first enlarged the hole with rounded edges as i marked off in this picture
then milled out the surrounding edge with an router for enough overlap
(where i did not took a picture off before i started with fiberglass)
the Clecos are holding a piece of sheetmetal shaped to the hood curve (taped up with regular packing tape that prevent the fiberglass from sticking)
i dye the resin with Paint pigment i had can's of 1 Gallon ea. and dyed the can at once. used a large bucket and mixed it in with White, then add a tiny bit of Yellow to match it to the original panel color.
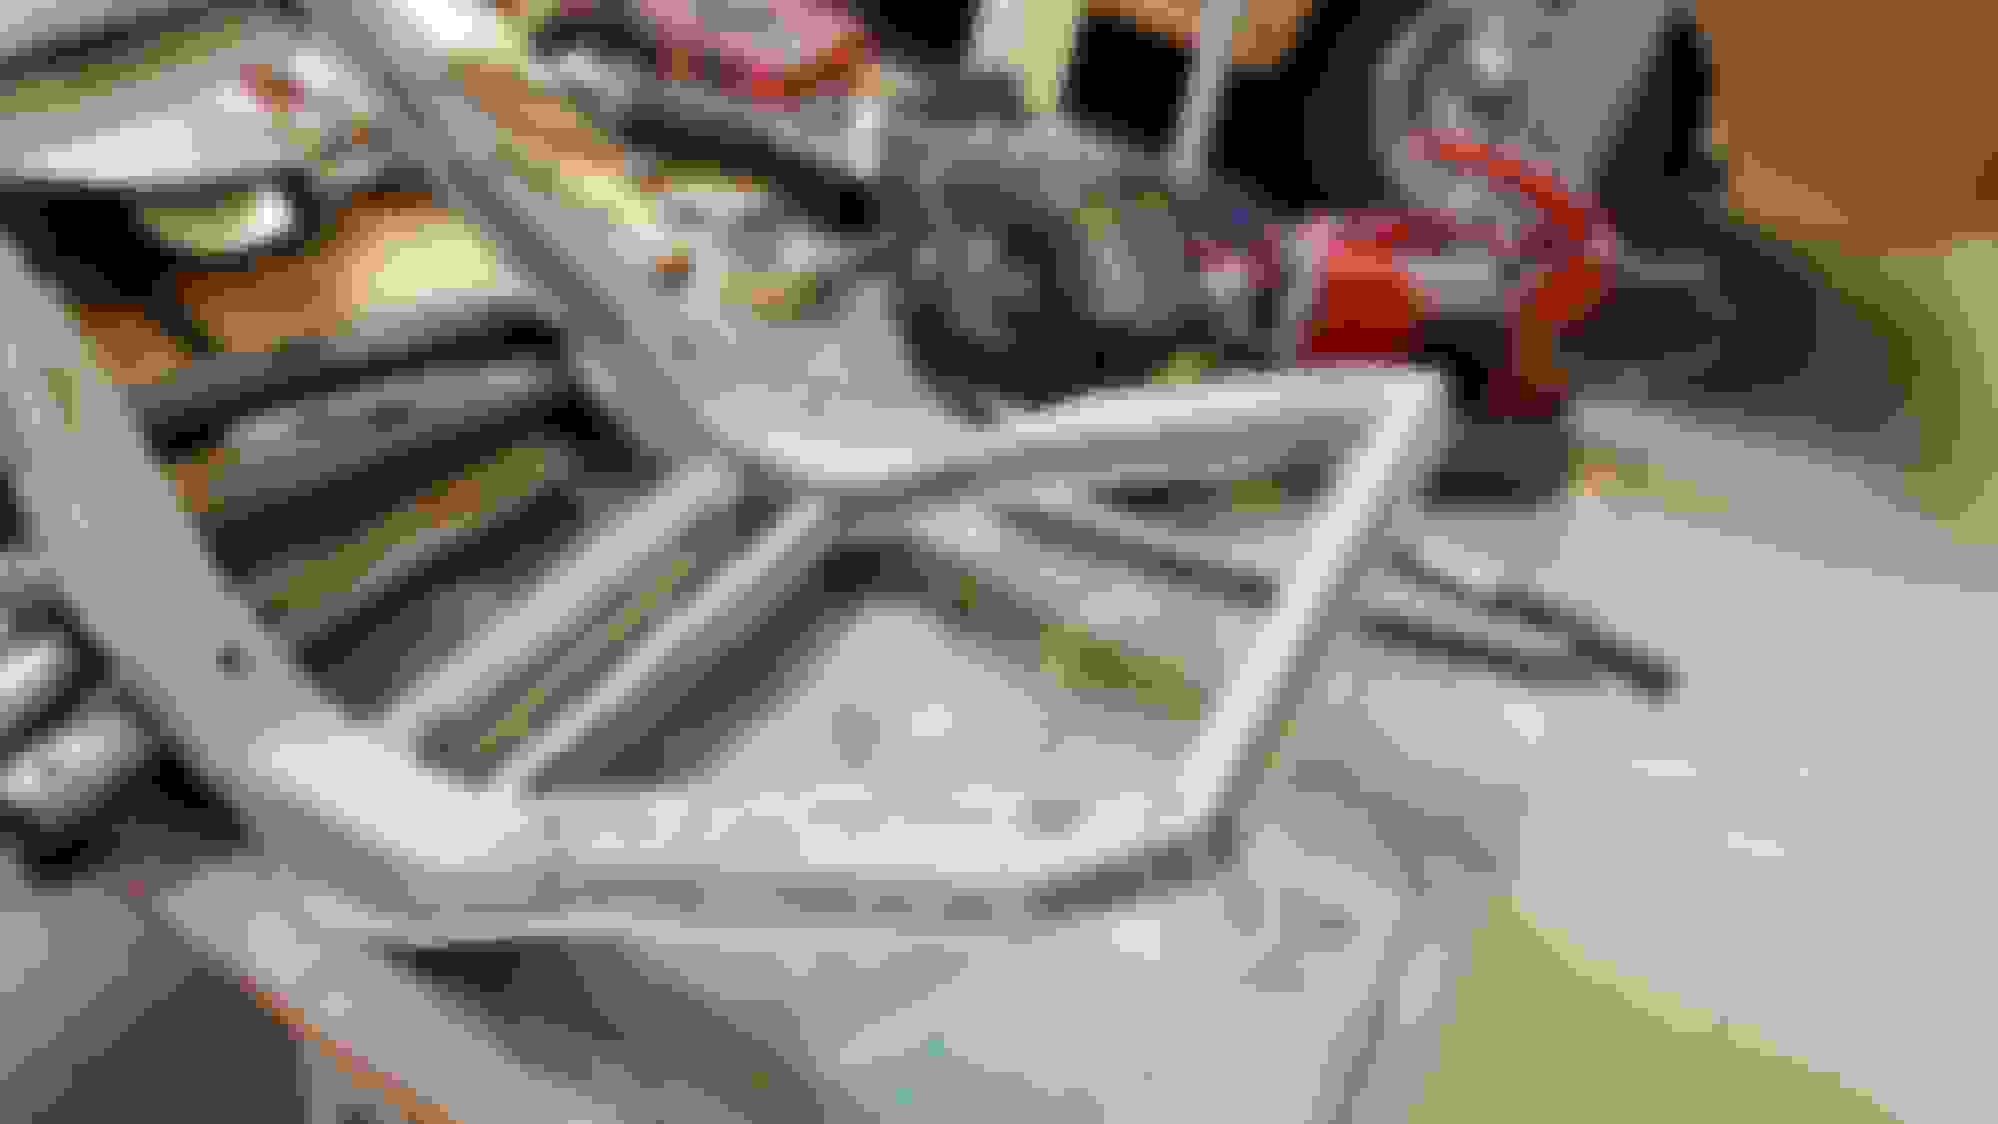
I see in the pics that you put tension on the leaf springs with the redound straps and it looks like blocks of wood under the upper arms to put tension on the coils. Did you do this to "break in" new springs so ride height would be correct sooner? Chip
I see in the pics that you put tension on the leaf springs with the redound straps and it looks like blocks of wood under the upper arms to put tension on the coils. Did you do this to "break in" new springs so ride height would be correct sooner? Chip
the wood blocks are just for ride height and to prevent the rubber bumper stops to be destroyed
Last edited by corvettesander; 04-24-2017 at 12:25 PM.
this weekend i have been working on the clock cleaned the inner movement and switch contacts but found out one of the coils defective, i still had a parts clock from a 58-62 clock , and luckily the lower coil plate is the same. the clock works now but once on the 10 wound ups it starts to chatter so it needs a little more attention.
also worked a bit on the body to make the headlight chrome rings
fit,
the surface of the edge is not straight so made 2 guide rings for fiberglass work
 04-22-2017, 02:53 PM


 before i started with fiberglass)


 so it needs a little more attention.