When you click on links to various merchants on this site and make a purchase, this can result in this site earning a commission. Affiliate programs and affiliations include, but are not limited to, the eBay Partner Network.
Since members are regularly having clutch/transmission issues and asking for information on transmission removal and replacement, I thought I would record my efforts at doing this and possibly it will provide others with some useful tips and a go by. Also quite possibly a few - don't do this hints - also . This is my first effort with pulling a tranny on a lift - before I did this on my back with the car on jack stands.
I know there are a lot of guys here that this is just so much ho-hum stuff - seen this, done this many times. But I thought it might help some of the newer members and possibly anyone attempting to do this on a lift for the first time.
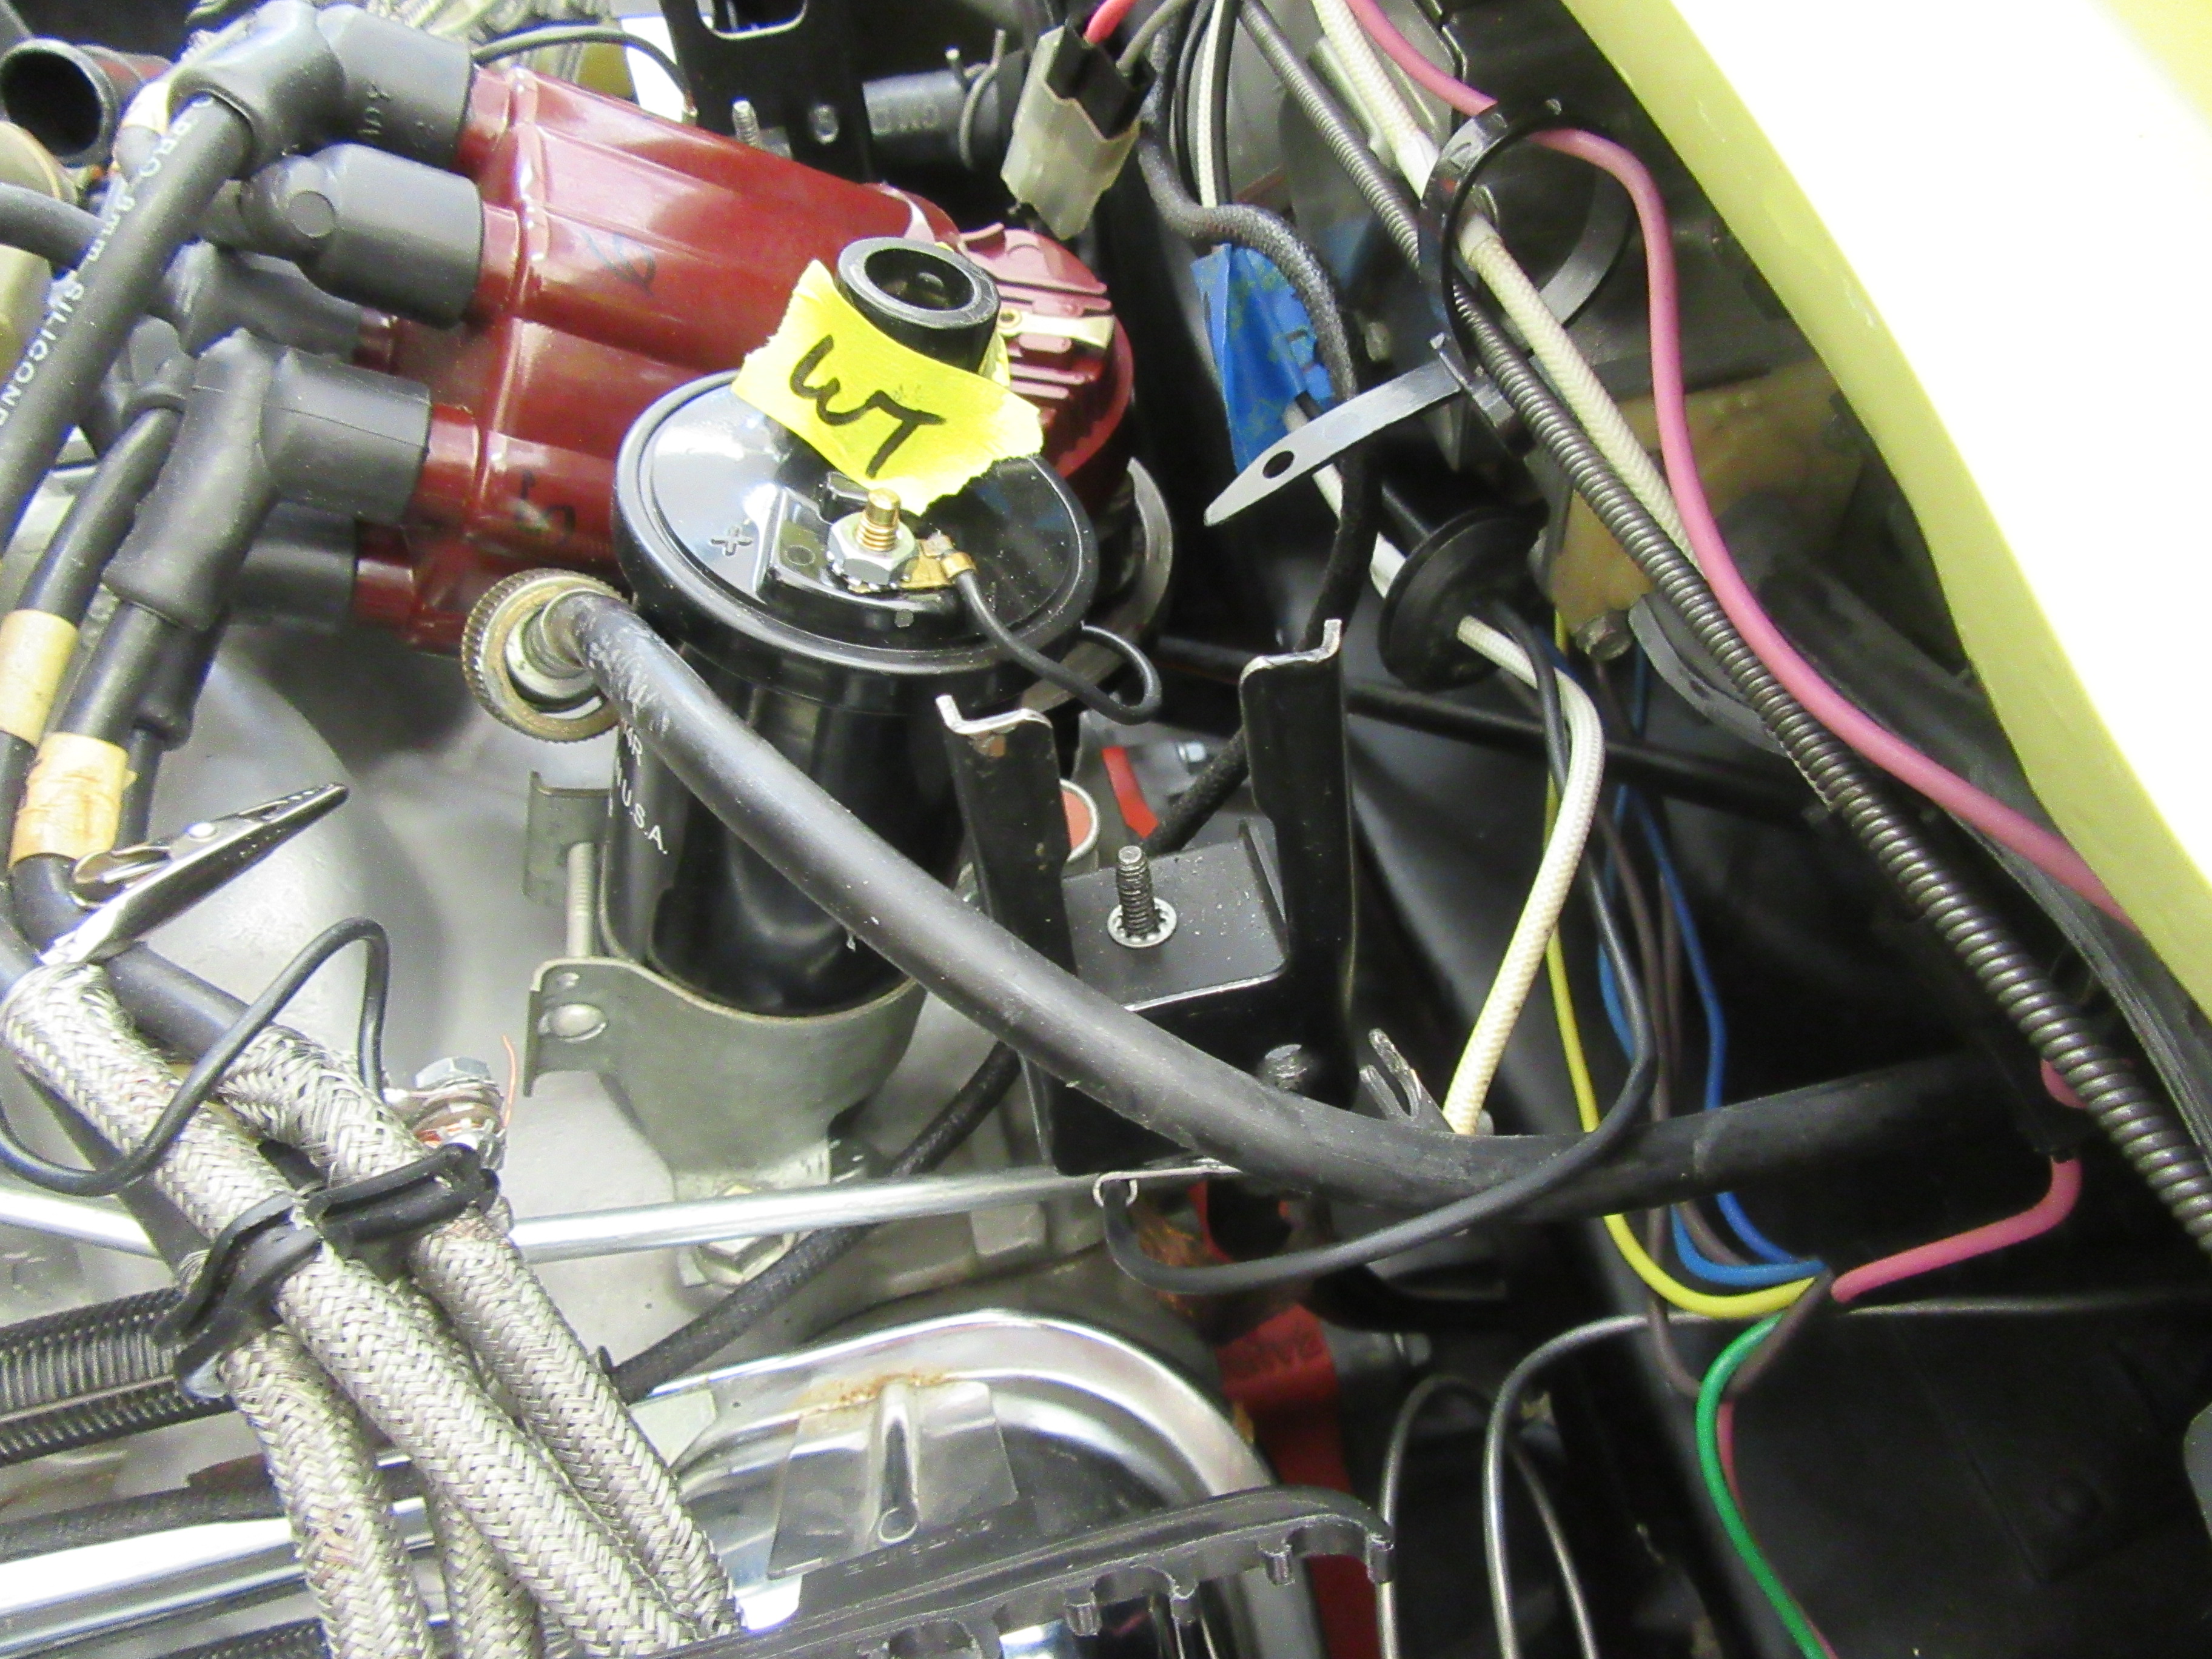
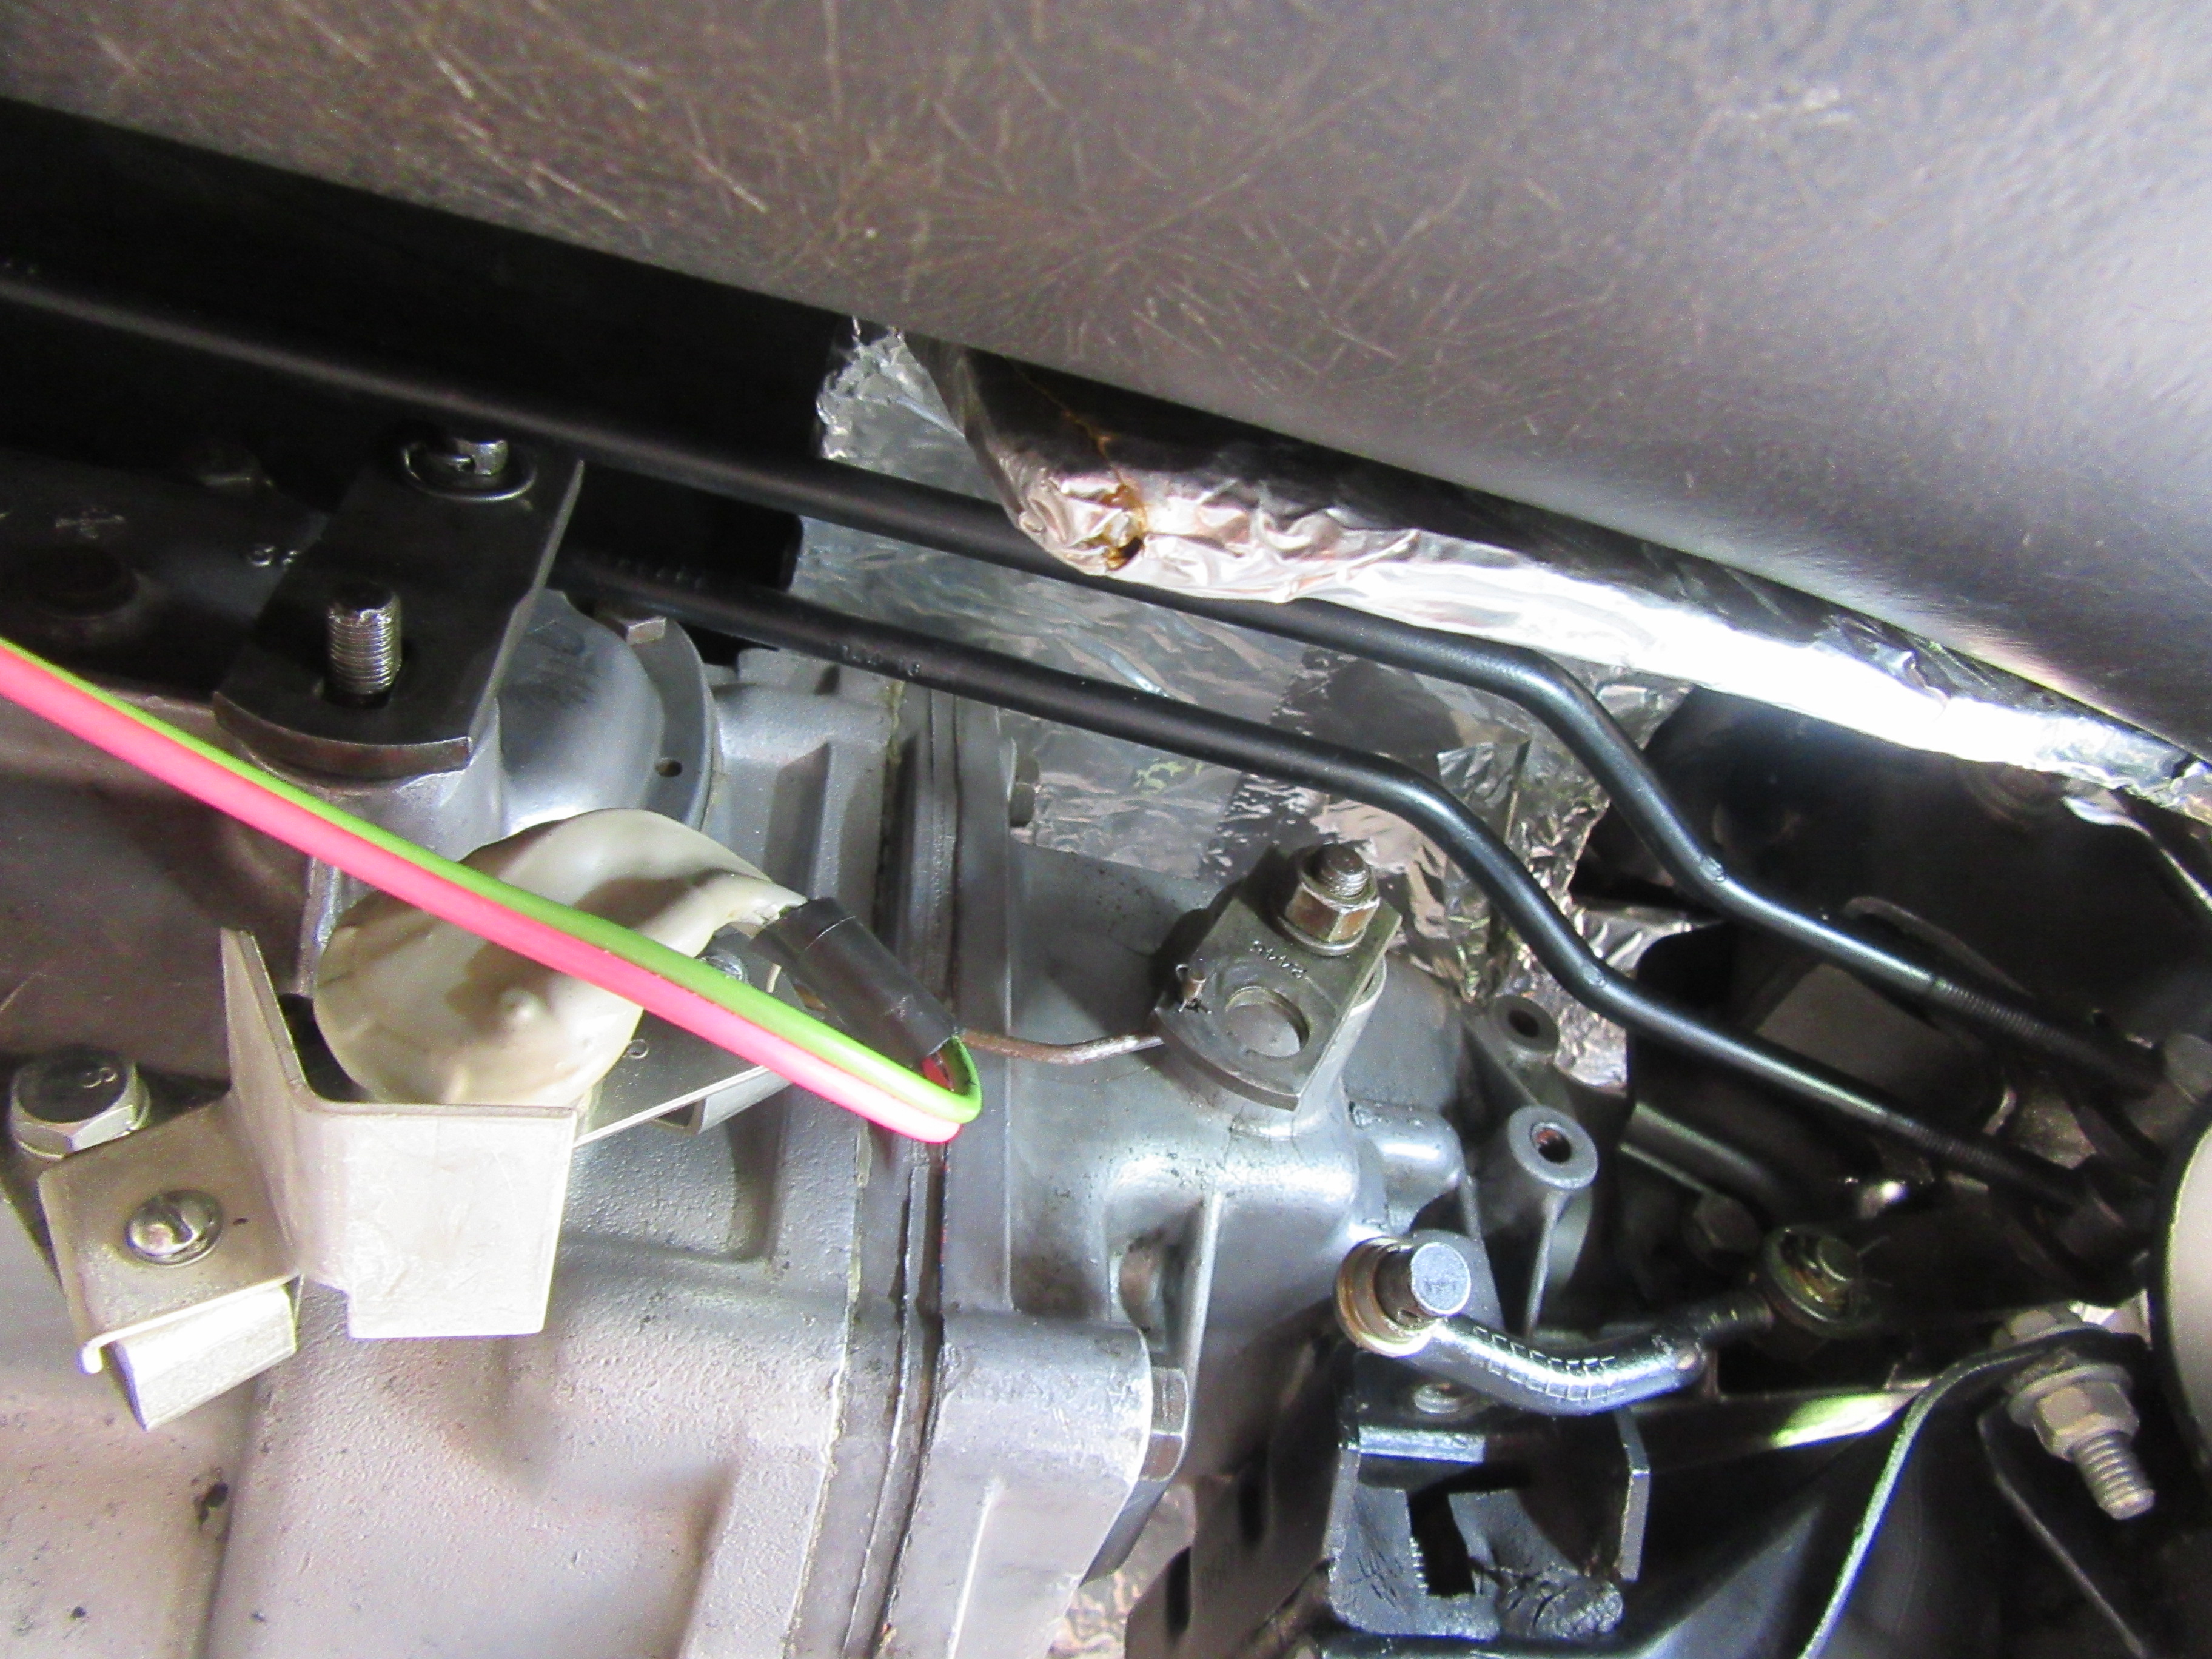
First I removed the shielding (BB car) on the distributor and also removed the distributor cap but left it loose on the car. One thing I've done is gather the BB shielding eyelets together and bolted them to a piece of wire hooked to an alligator clip. It makes it much easier to get the shielding off the car. I also removed the tach drive from the back of the distributor but I plan to leave the distributor mounted with the cap off. I'm counting on not having to lower the back of the engine so much that it hits the firewall.
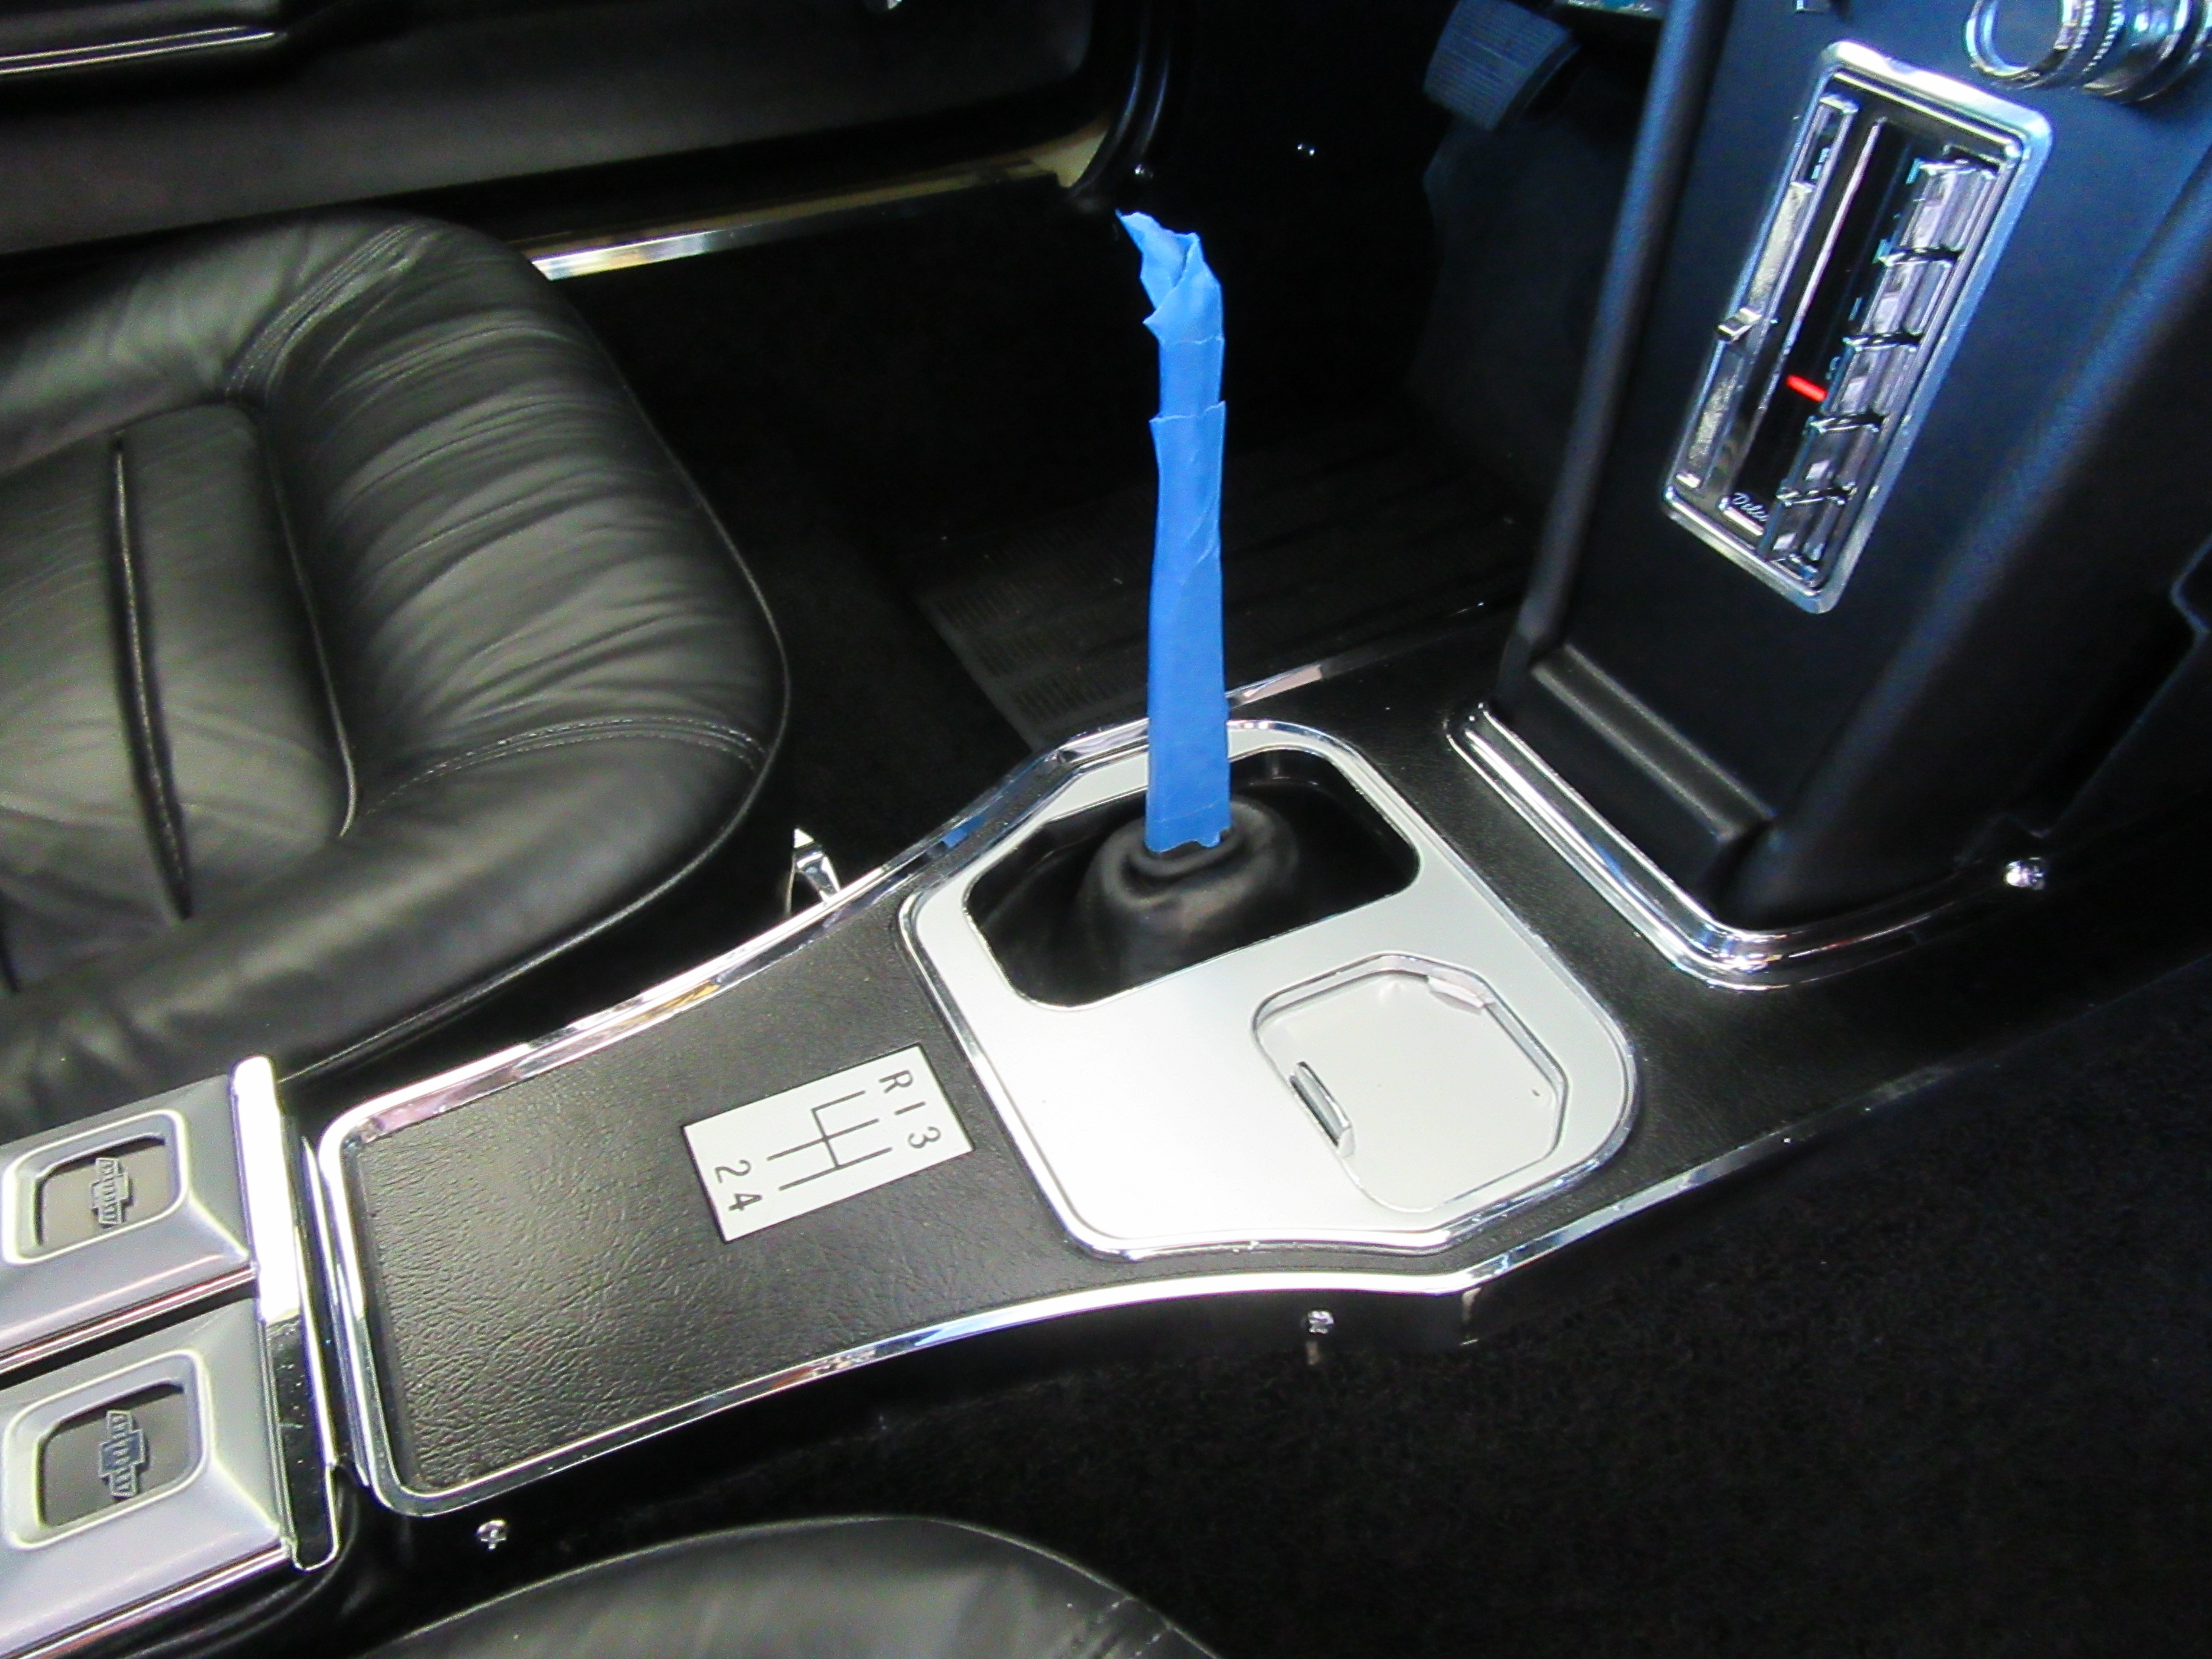
While I was here I also loosened the two top bell housing bolts slightly since they are easier to get at from on top. I pulled the shifter **** off (Hurst unit) and taped the chrome to avoid scuffs when I pull it out from below.
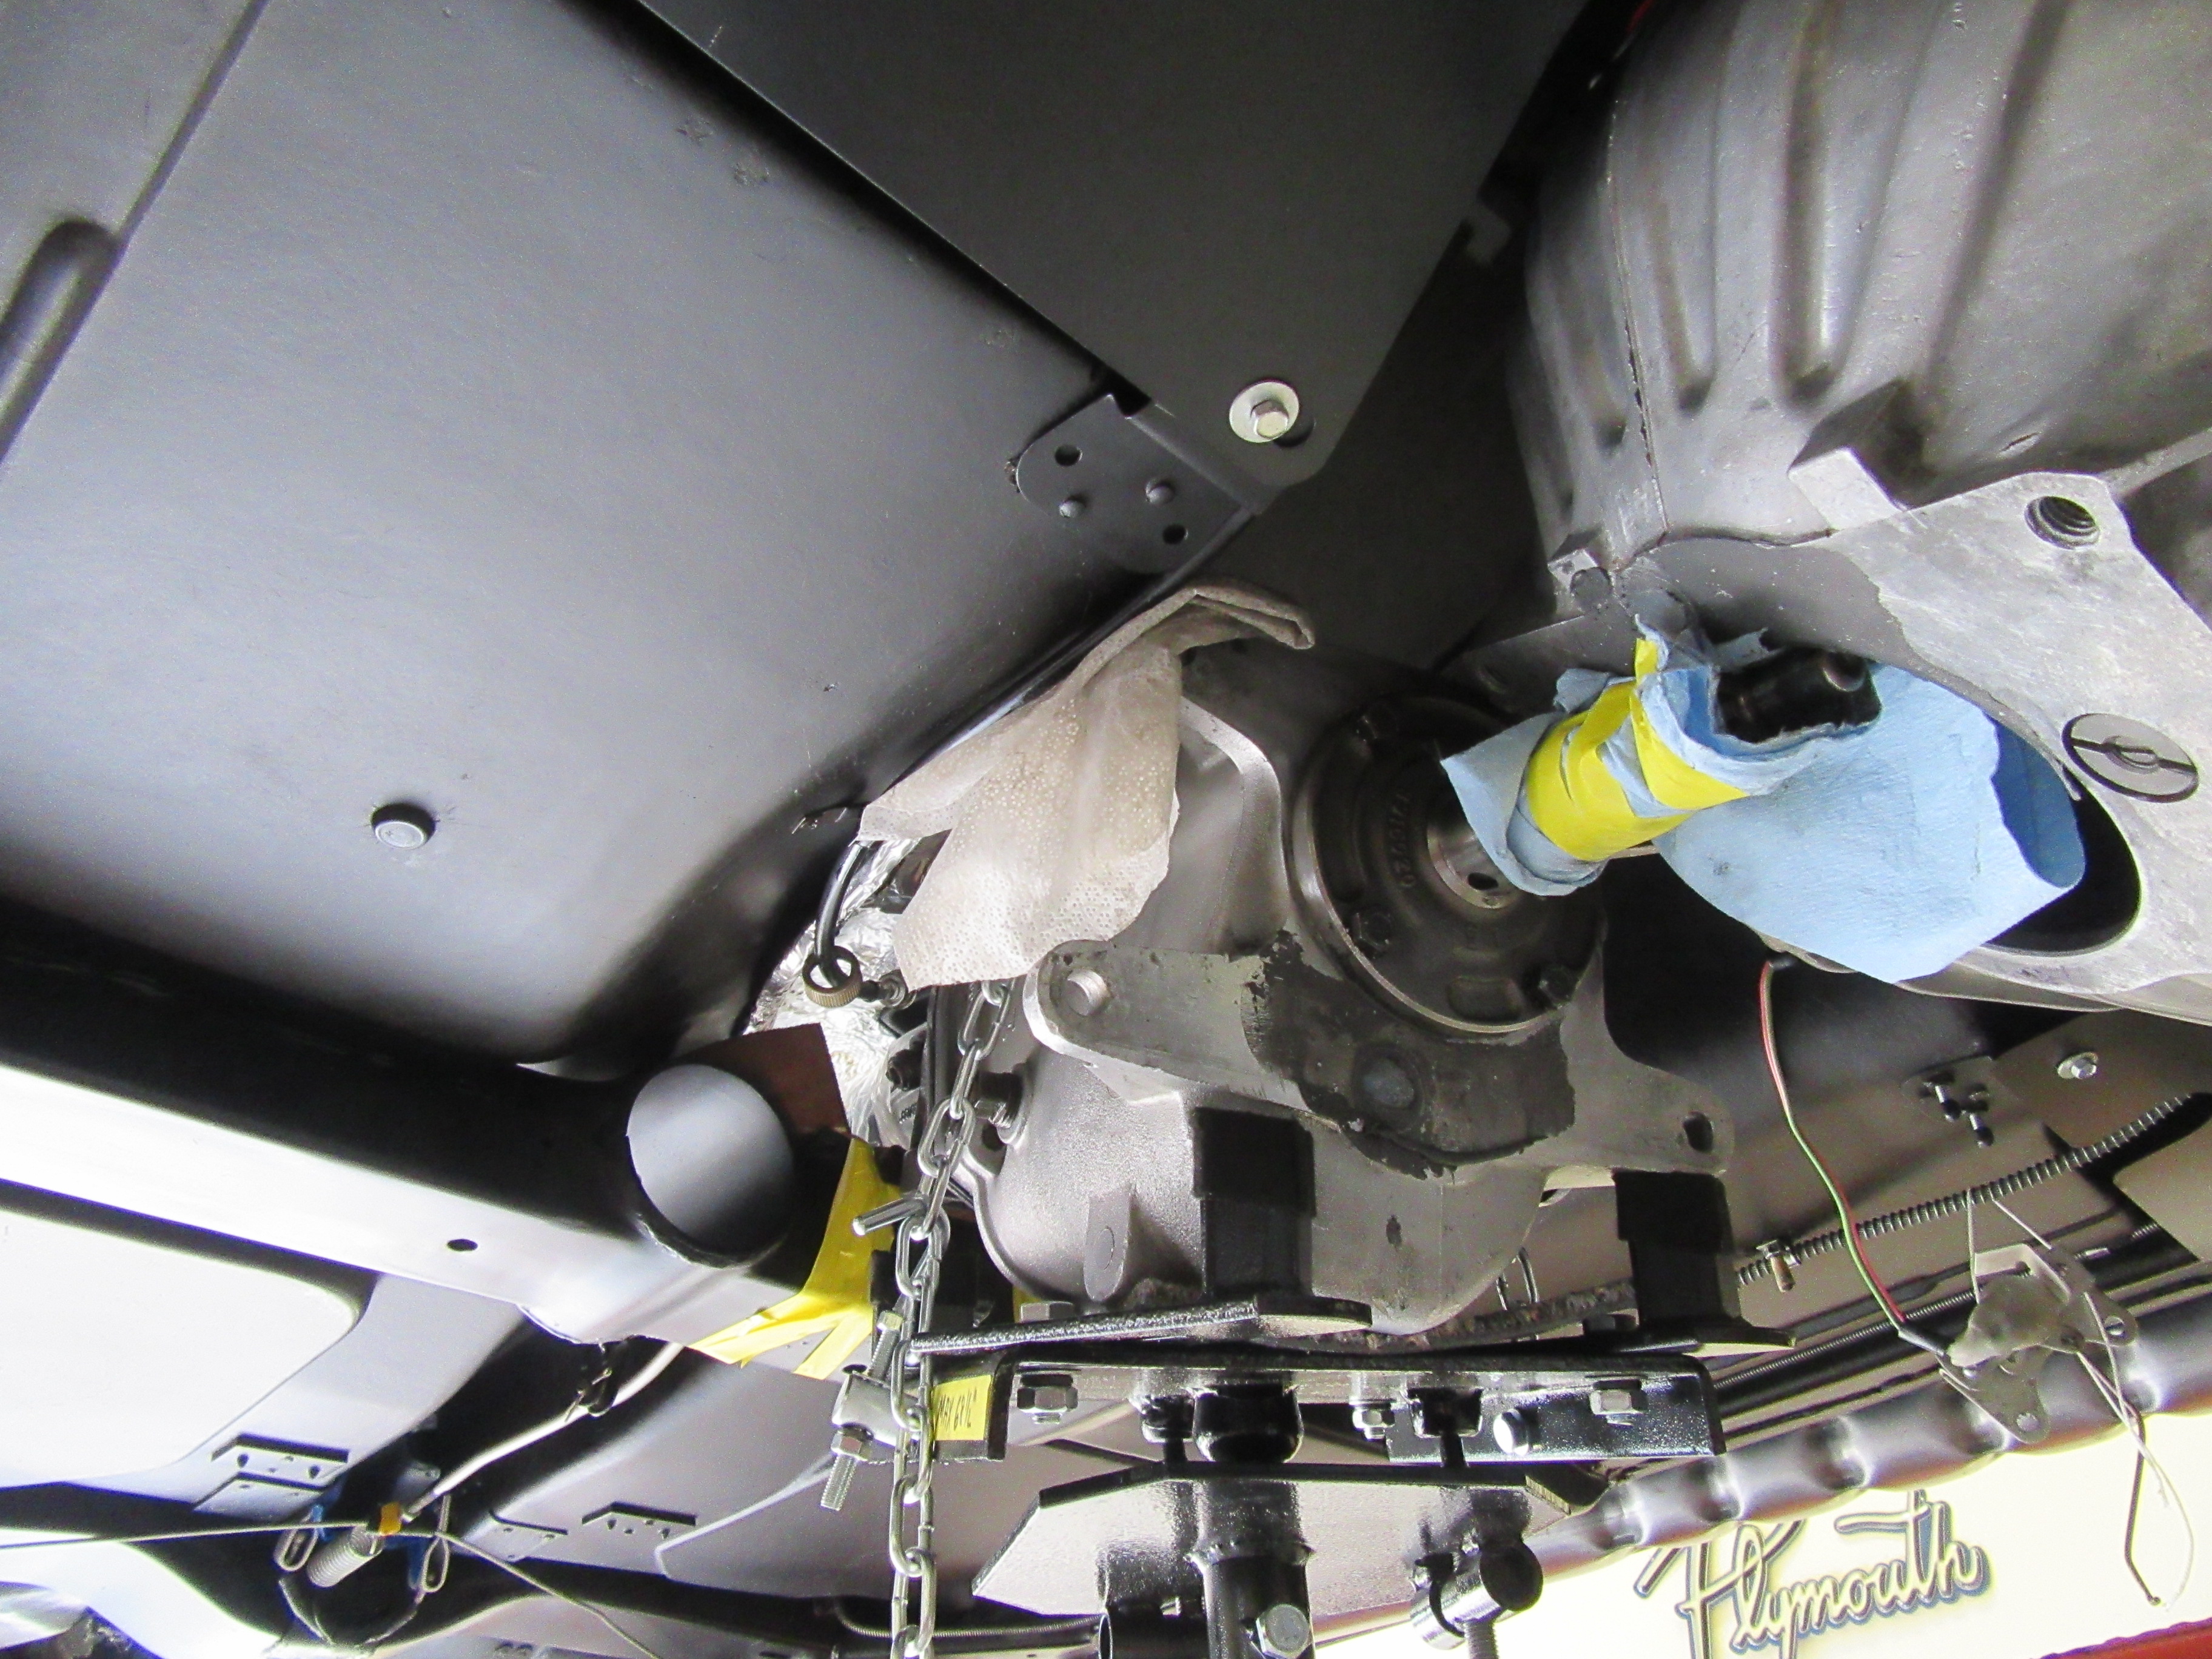
I raised the car and started below with removing the parking brake pin from the lever and moving everything out of the way to clear a path to remove the drive shaft. Next was removing the drive shaft. The front u-bolts removal is straight forward. The rear ones are a little more difficult. Basically the car needs to be rolled back and forth to gain access to the nuts with a combination wrench. Then push the yoke into the transmission to free up the shaft and pull it forward and out of the differential yoke to remove it. Mark which end went where since once out you can't tell unless you remember which end the balance weigths are on.
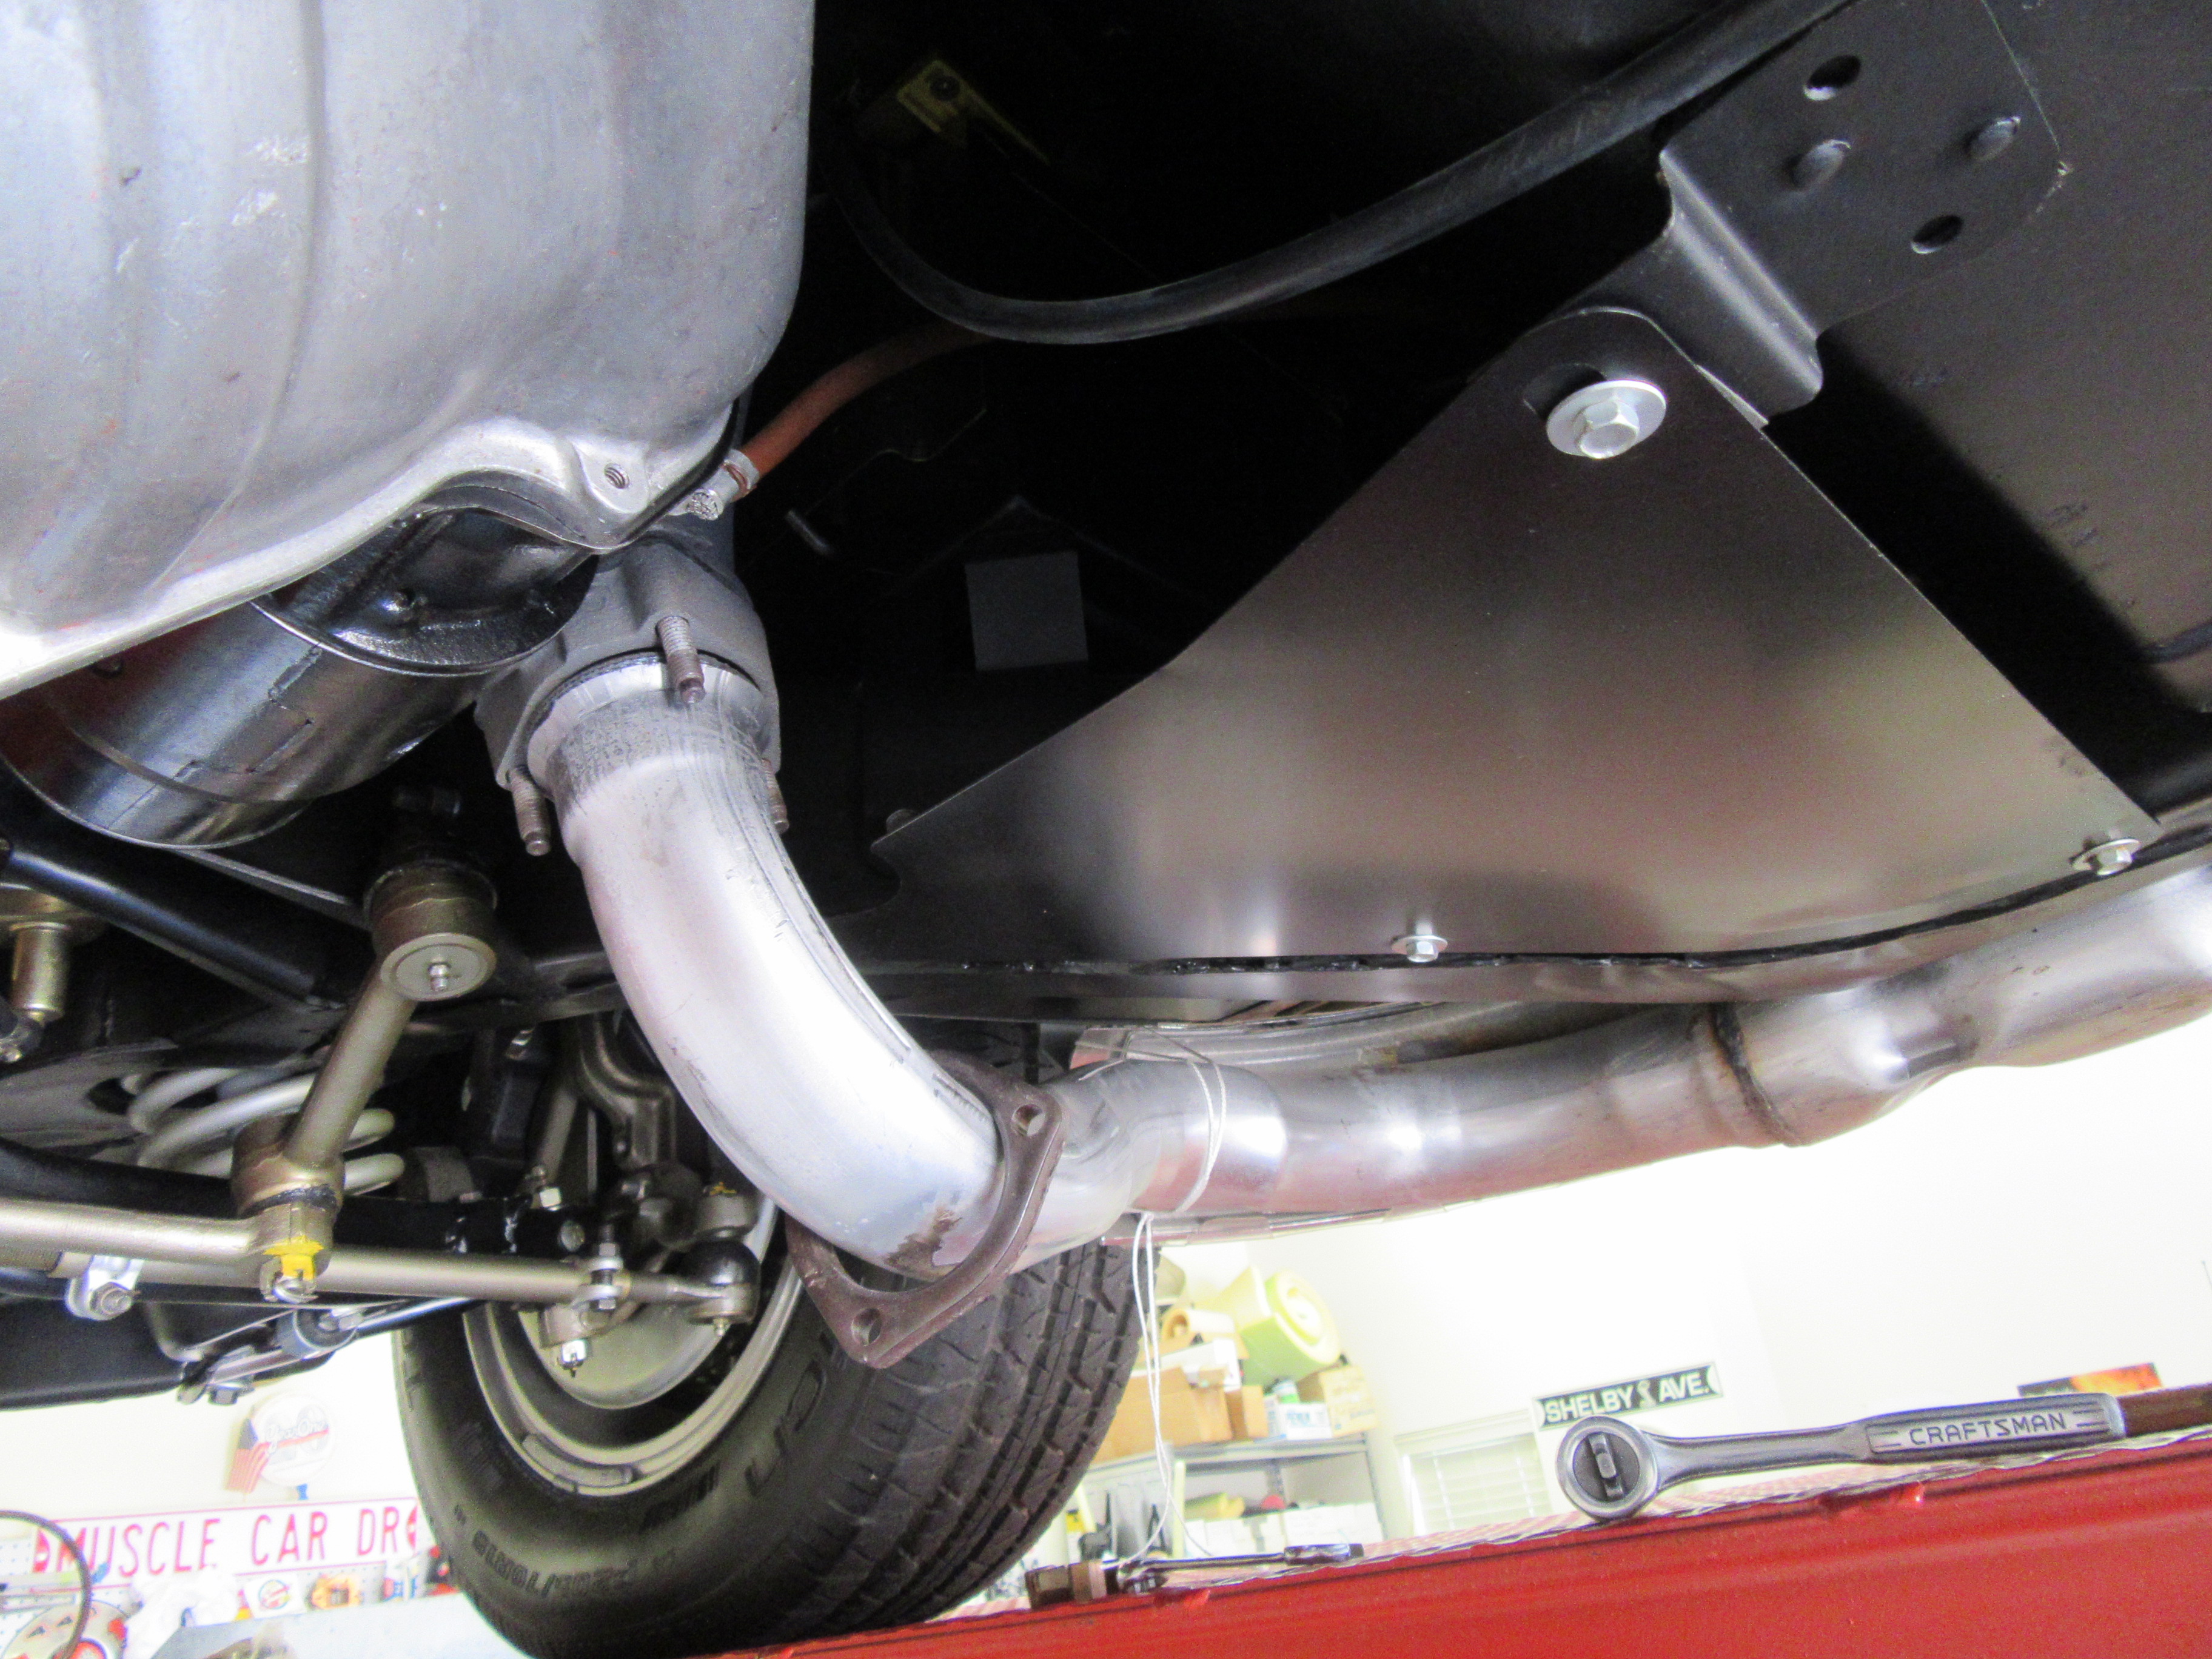
My car has sidepipes which don't have to be removed but they do need to be unbolted from the manifolds so the engine can be raised and lowered without binding on them. I temporarily tied string around the pipes and the shields to hold them up out of the way.
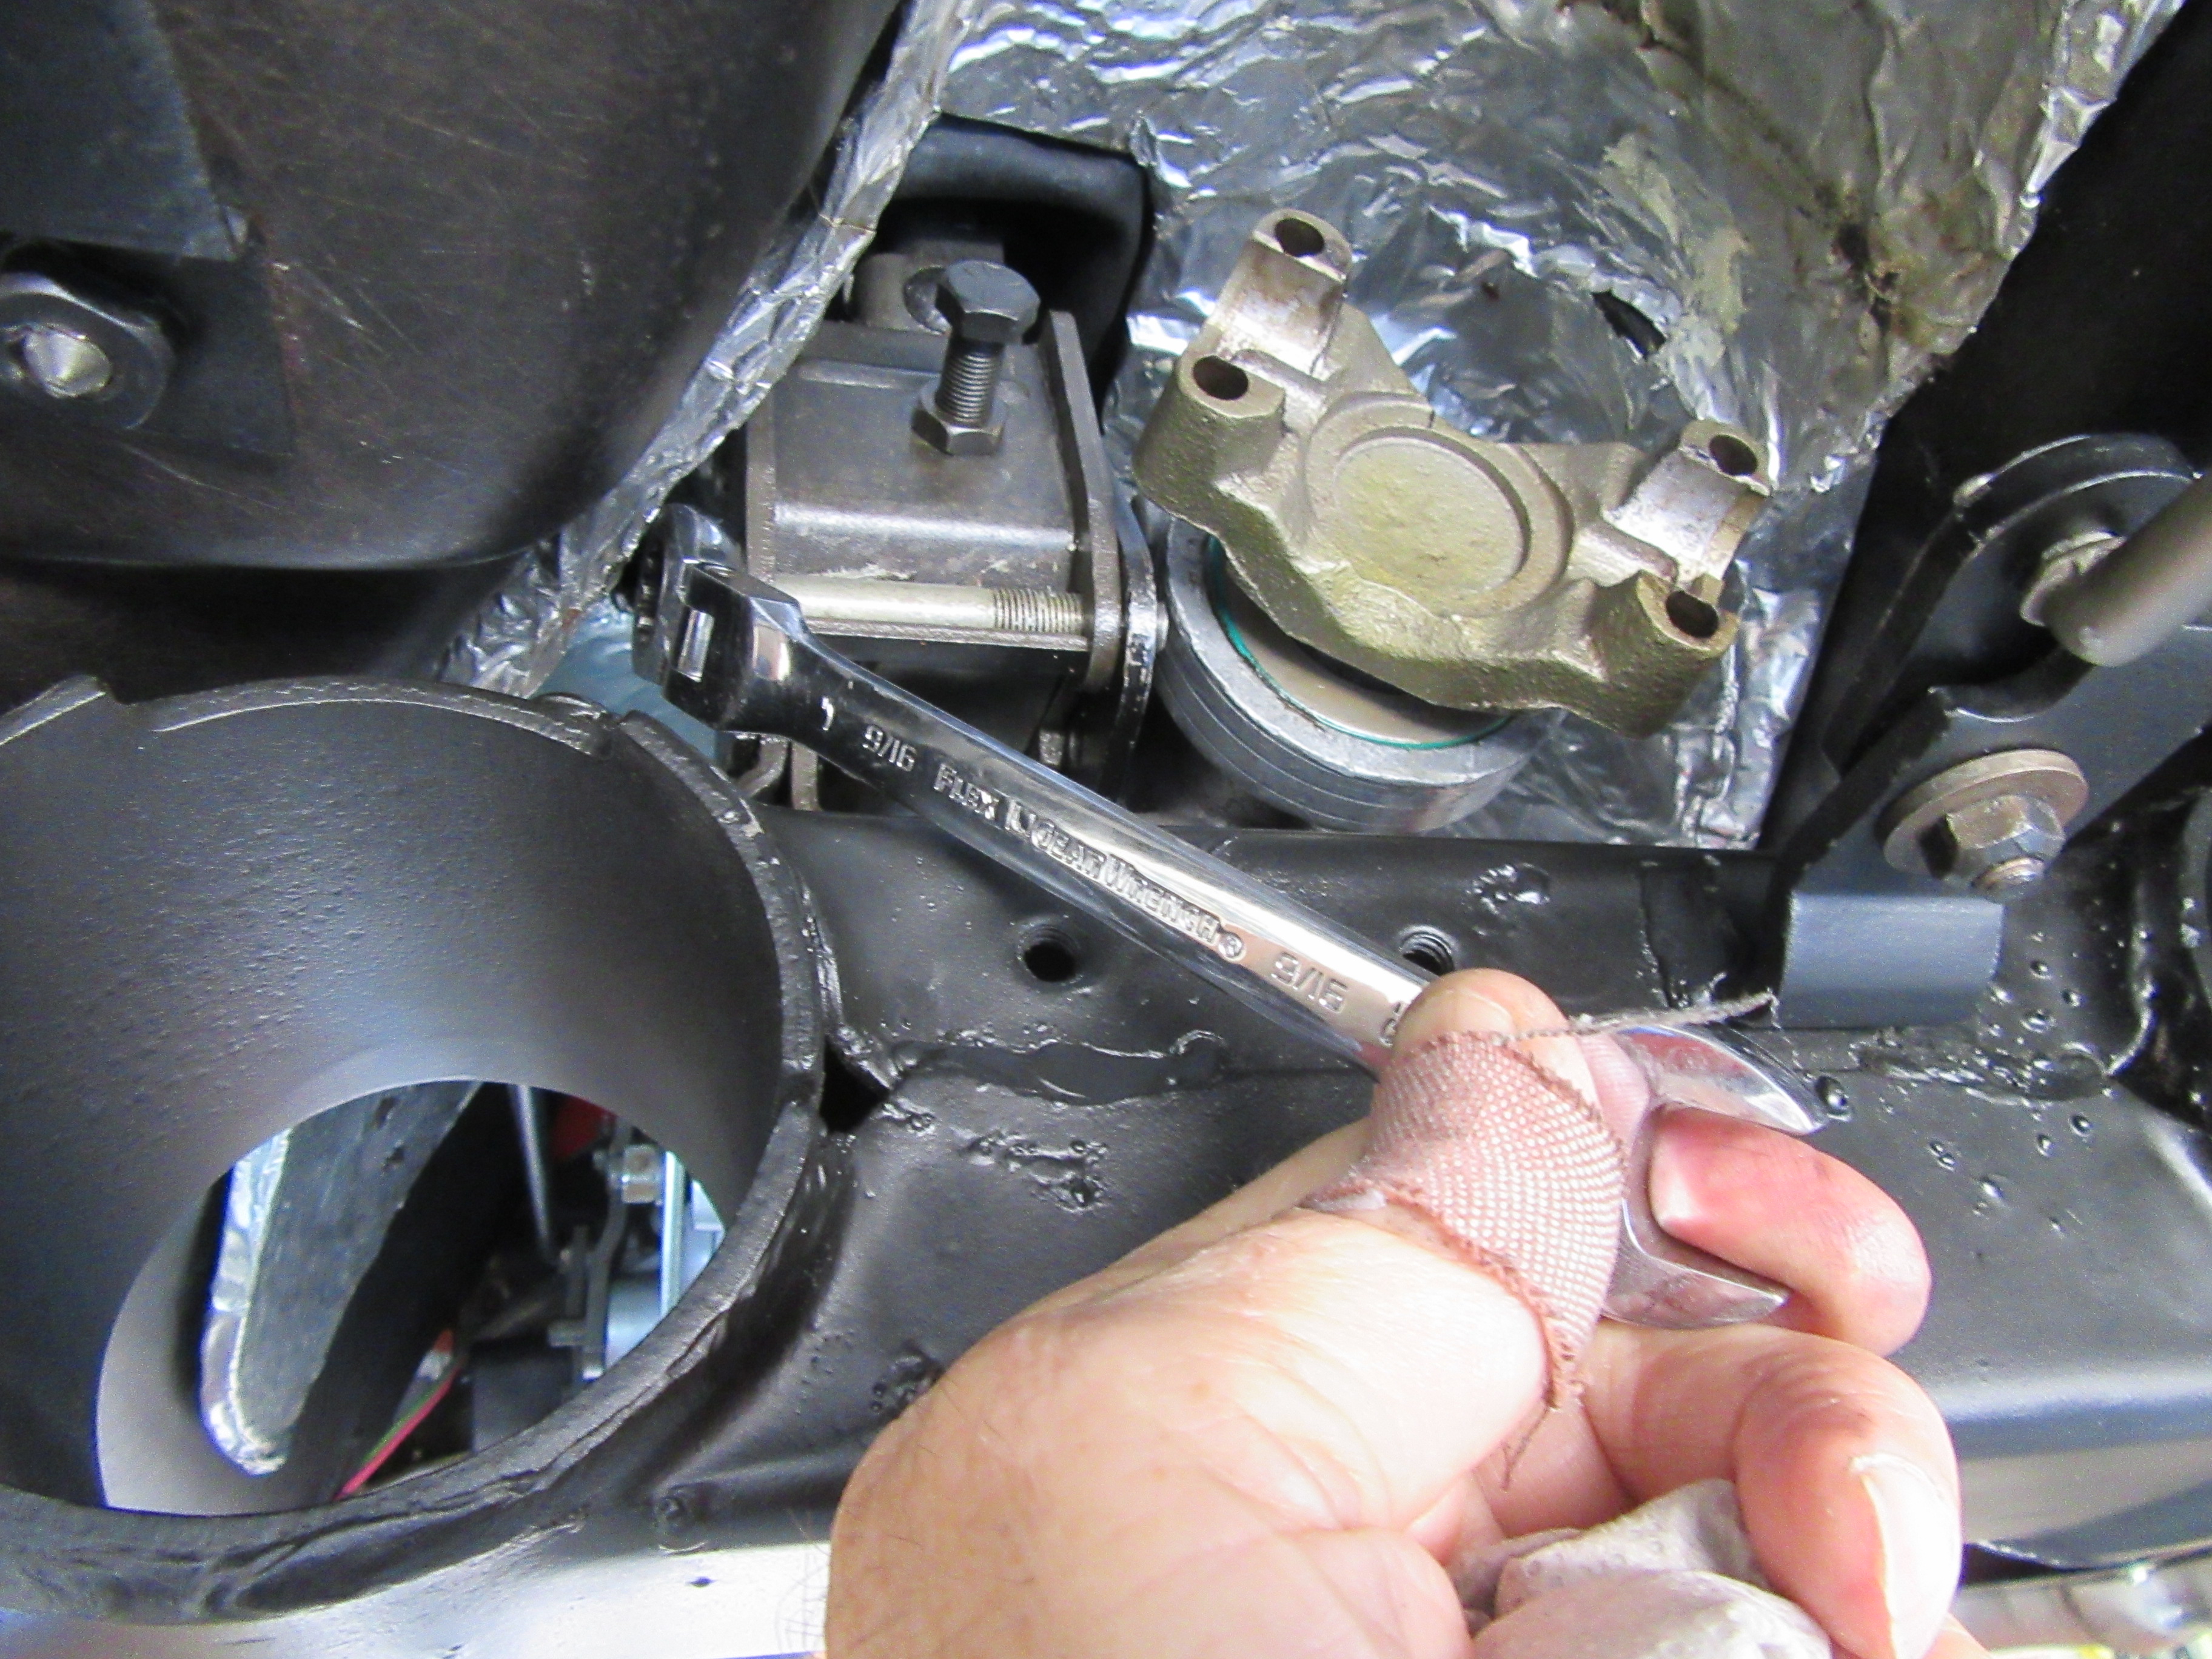
Next I removed the shift arms from the transmission and let the rods hang down and removed the back up light switch and tied it up out of the way. The clutch rod to the fork was also removed to get it out of the way. The speedo cable was unfastened from the transmission.
Now the fun part - removing the shifter. If you have small hands it will help. I read a tip on here some months ago about unbolting the transmission mount and pushing the tranny to the passenger side to get more room to in-screw the two shifter bolts. Sounded like a good idea so removed the transmission mount bolts and tried this. However, even taking the weight off of the mount I could only get the tail housing to move over about 1/8 inch. I probably could have tried to strap it to something and crank it over but decided to just work on the bolts as is since I've been down this road before. A ratchet wrench works well on the back bolt.
By dropping the shift rods I was able to get pretty fair access to the main body bolt from the front with a stubby combo wrench. The bolts only unfasten - no room to actually withdraw them - they come out with the shifter.
Then I dropped the shifter out from the bottom and unbolt the transmission to shifter mount plate and remove it.
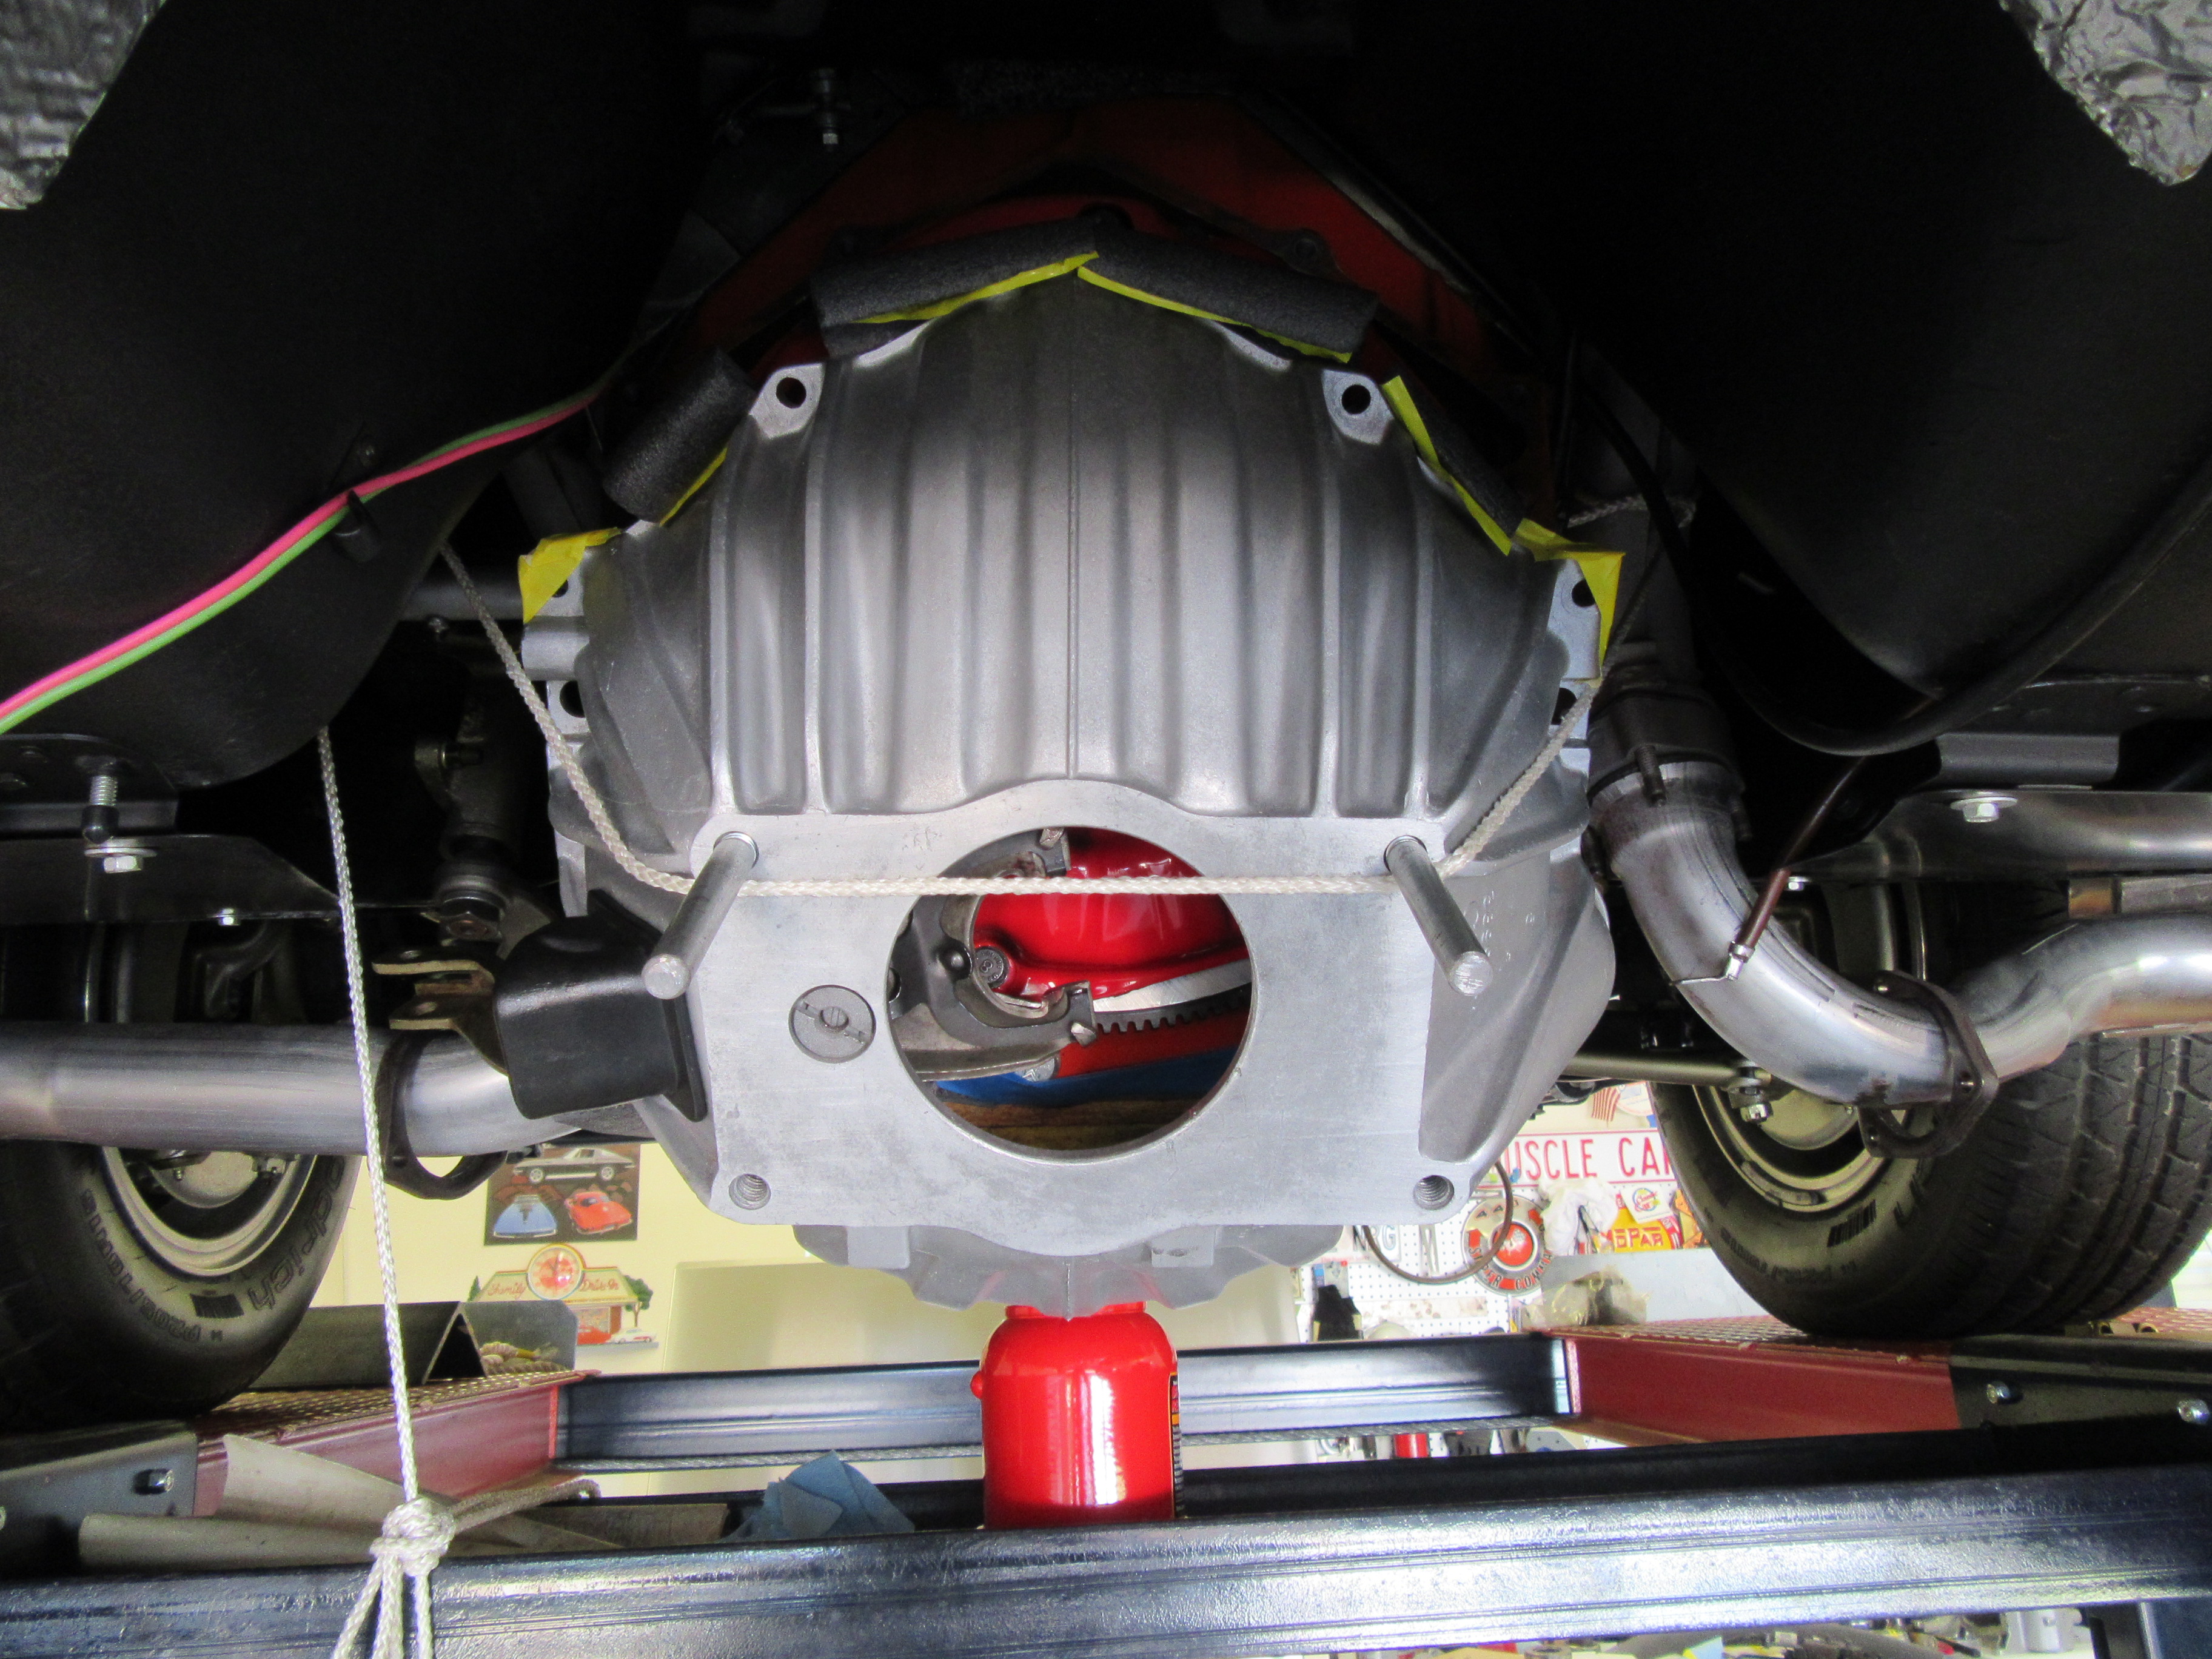
The starter was disconnected from the wiring and removed along with the stamped flywheel cover.
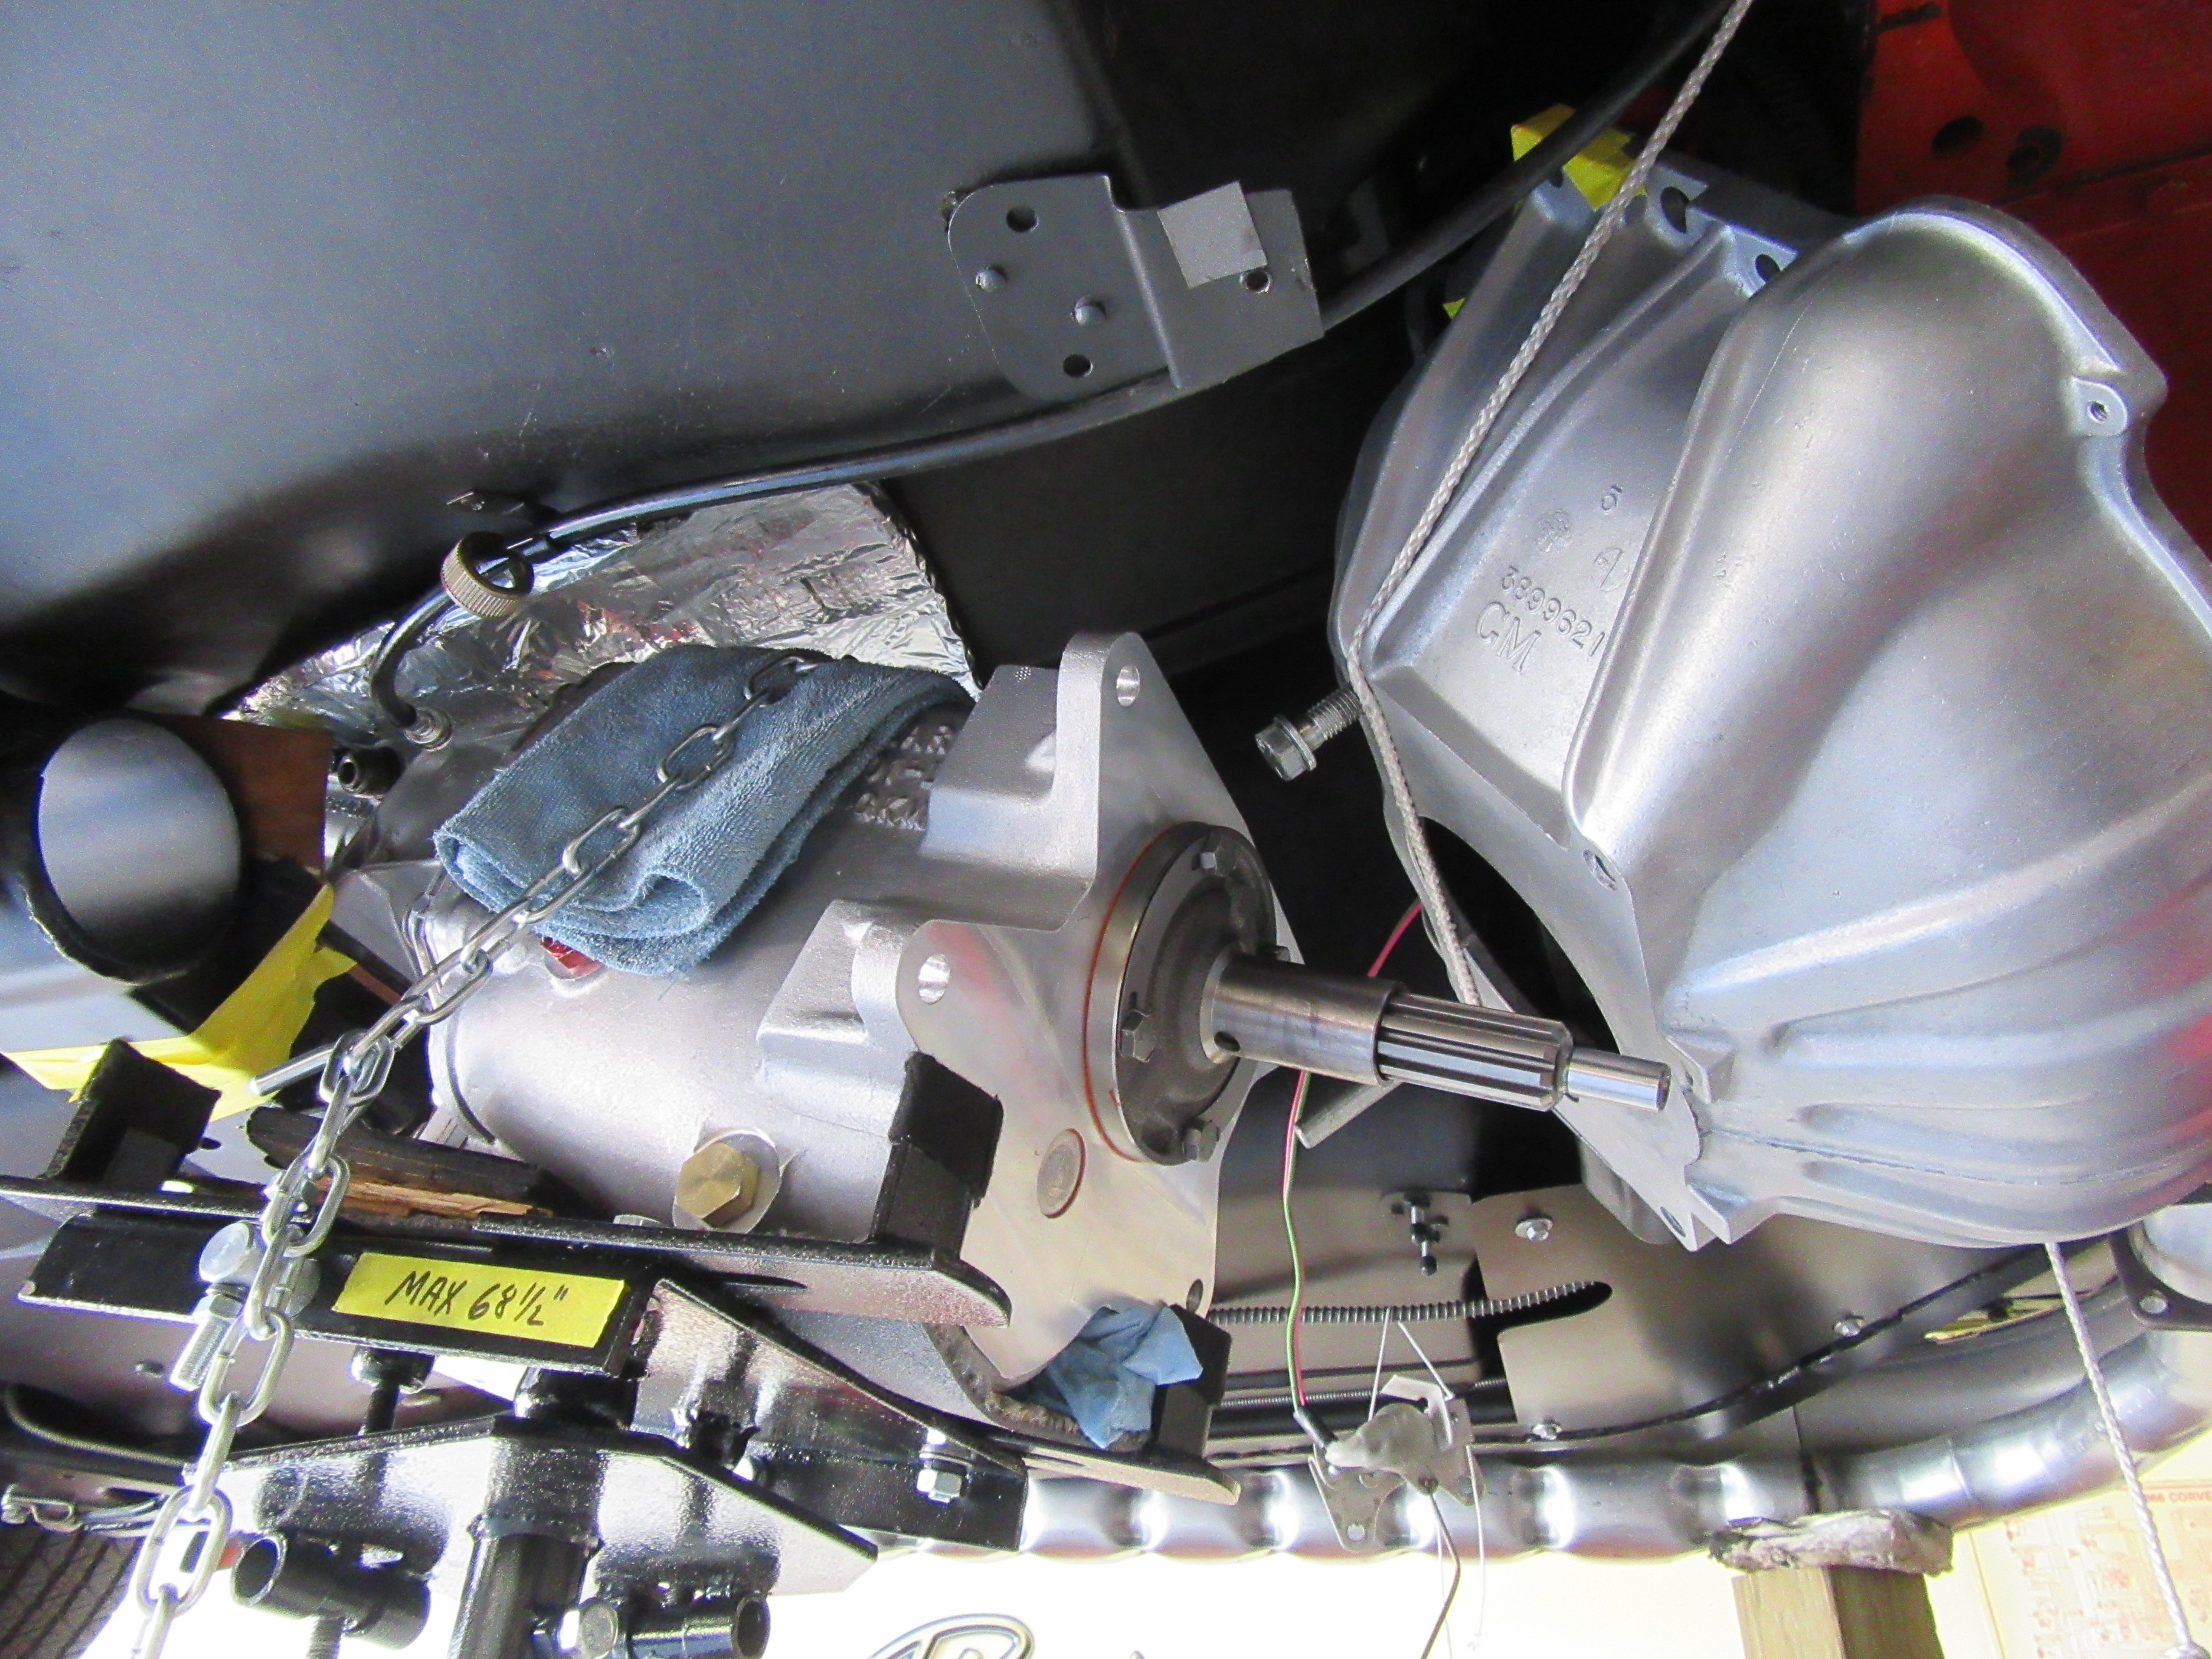
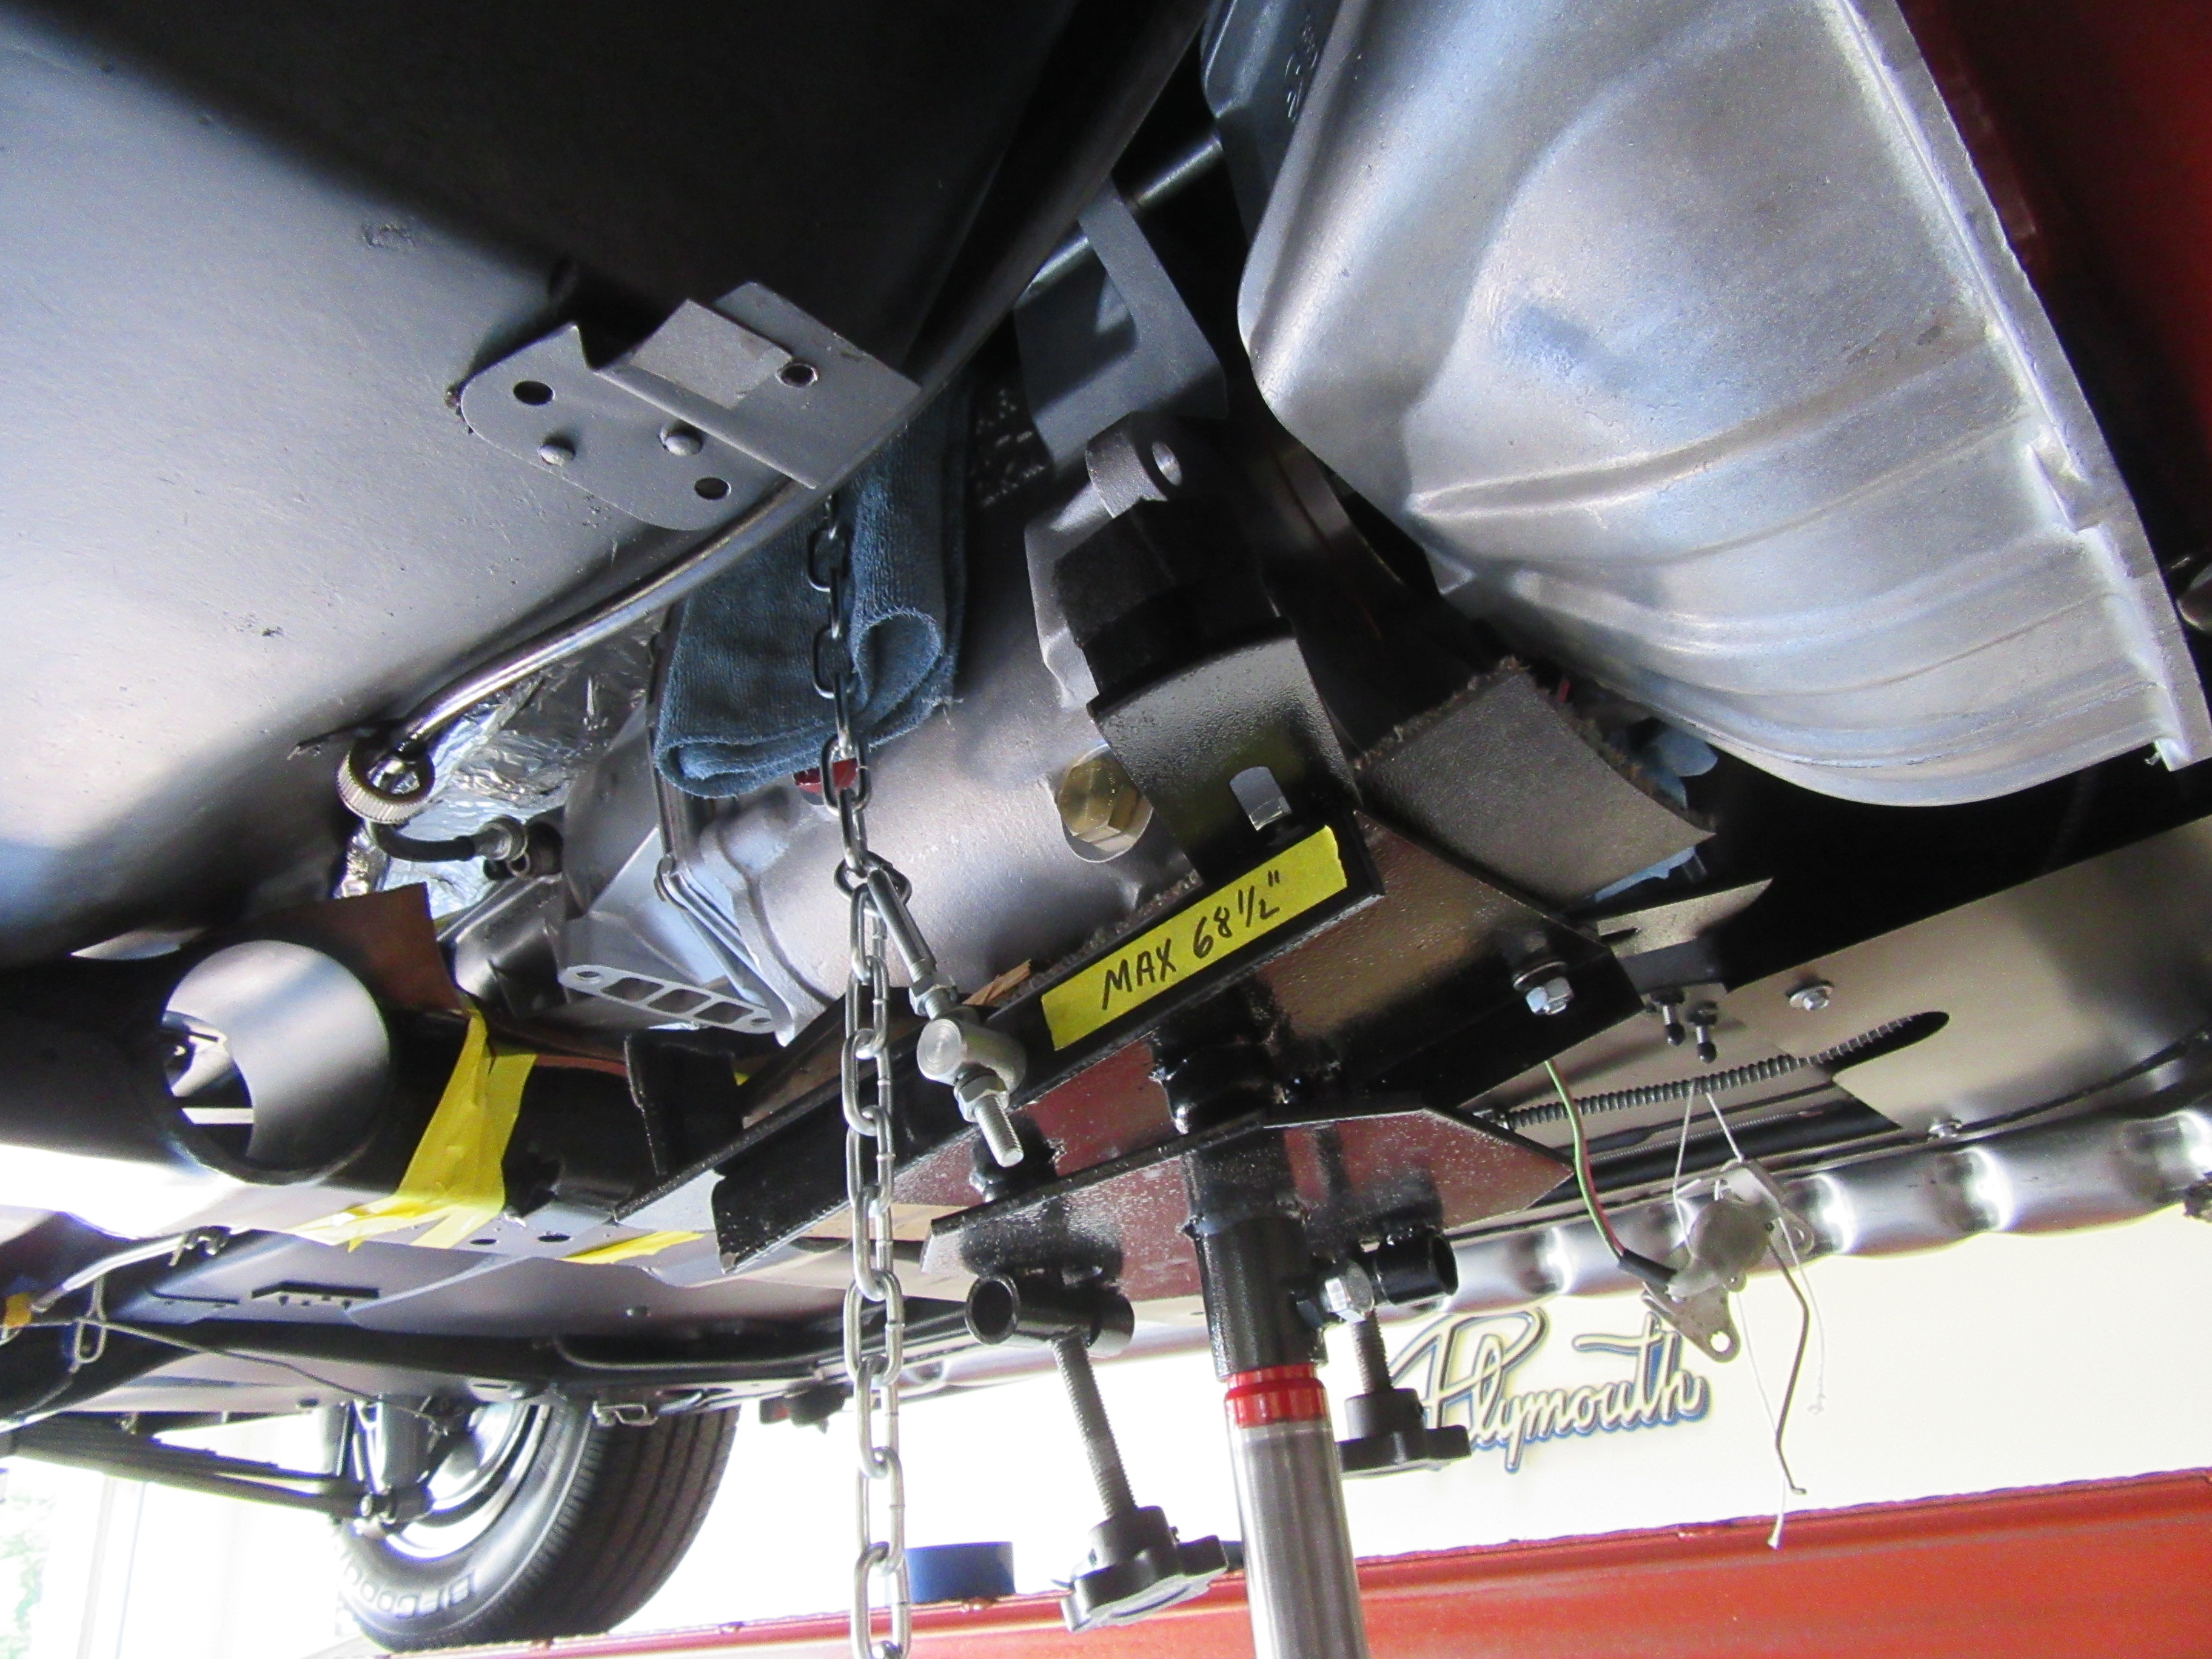
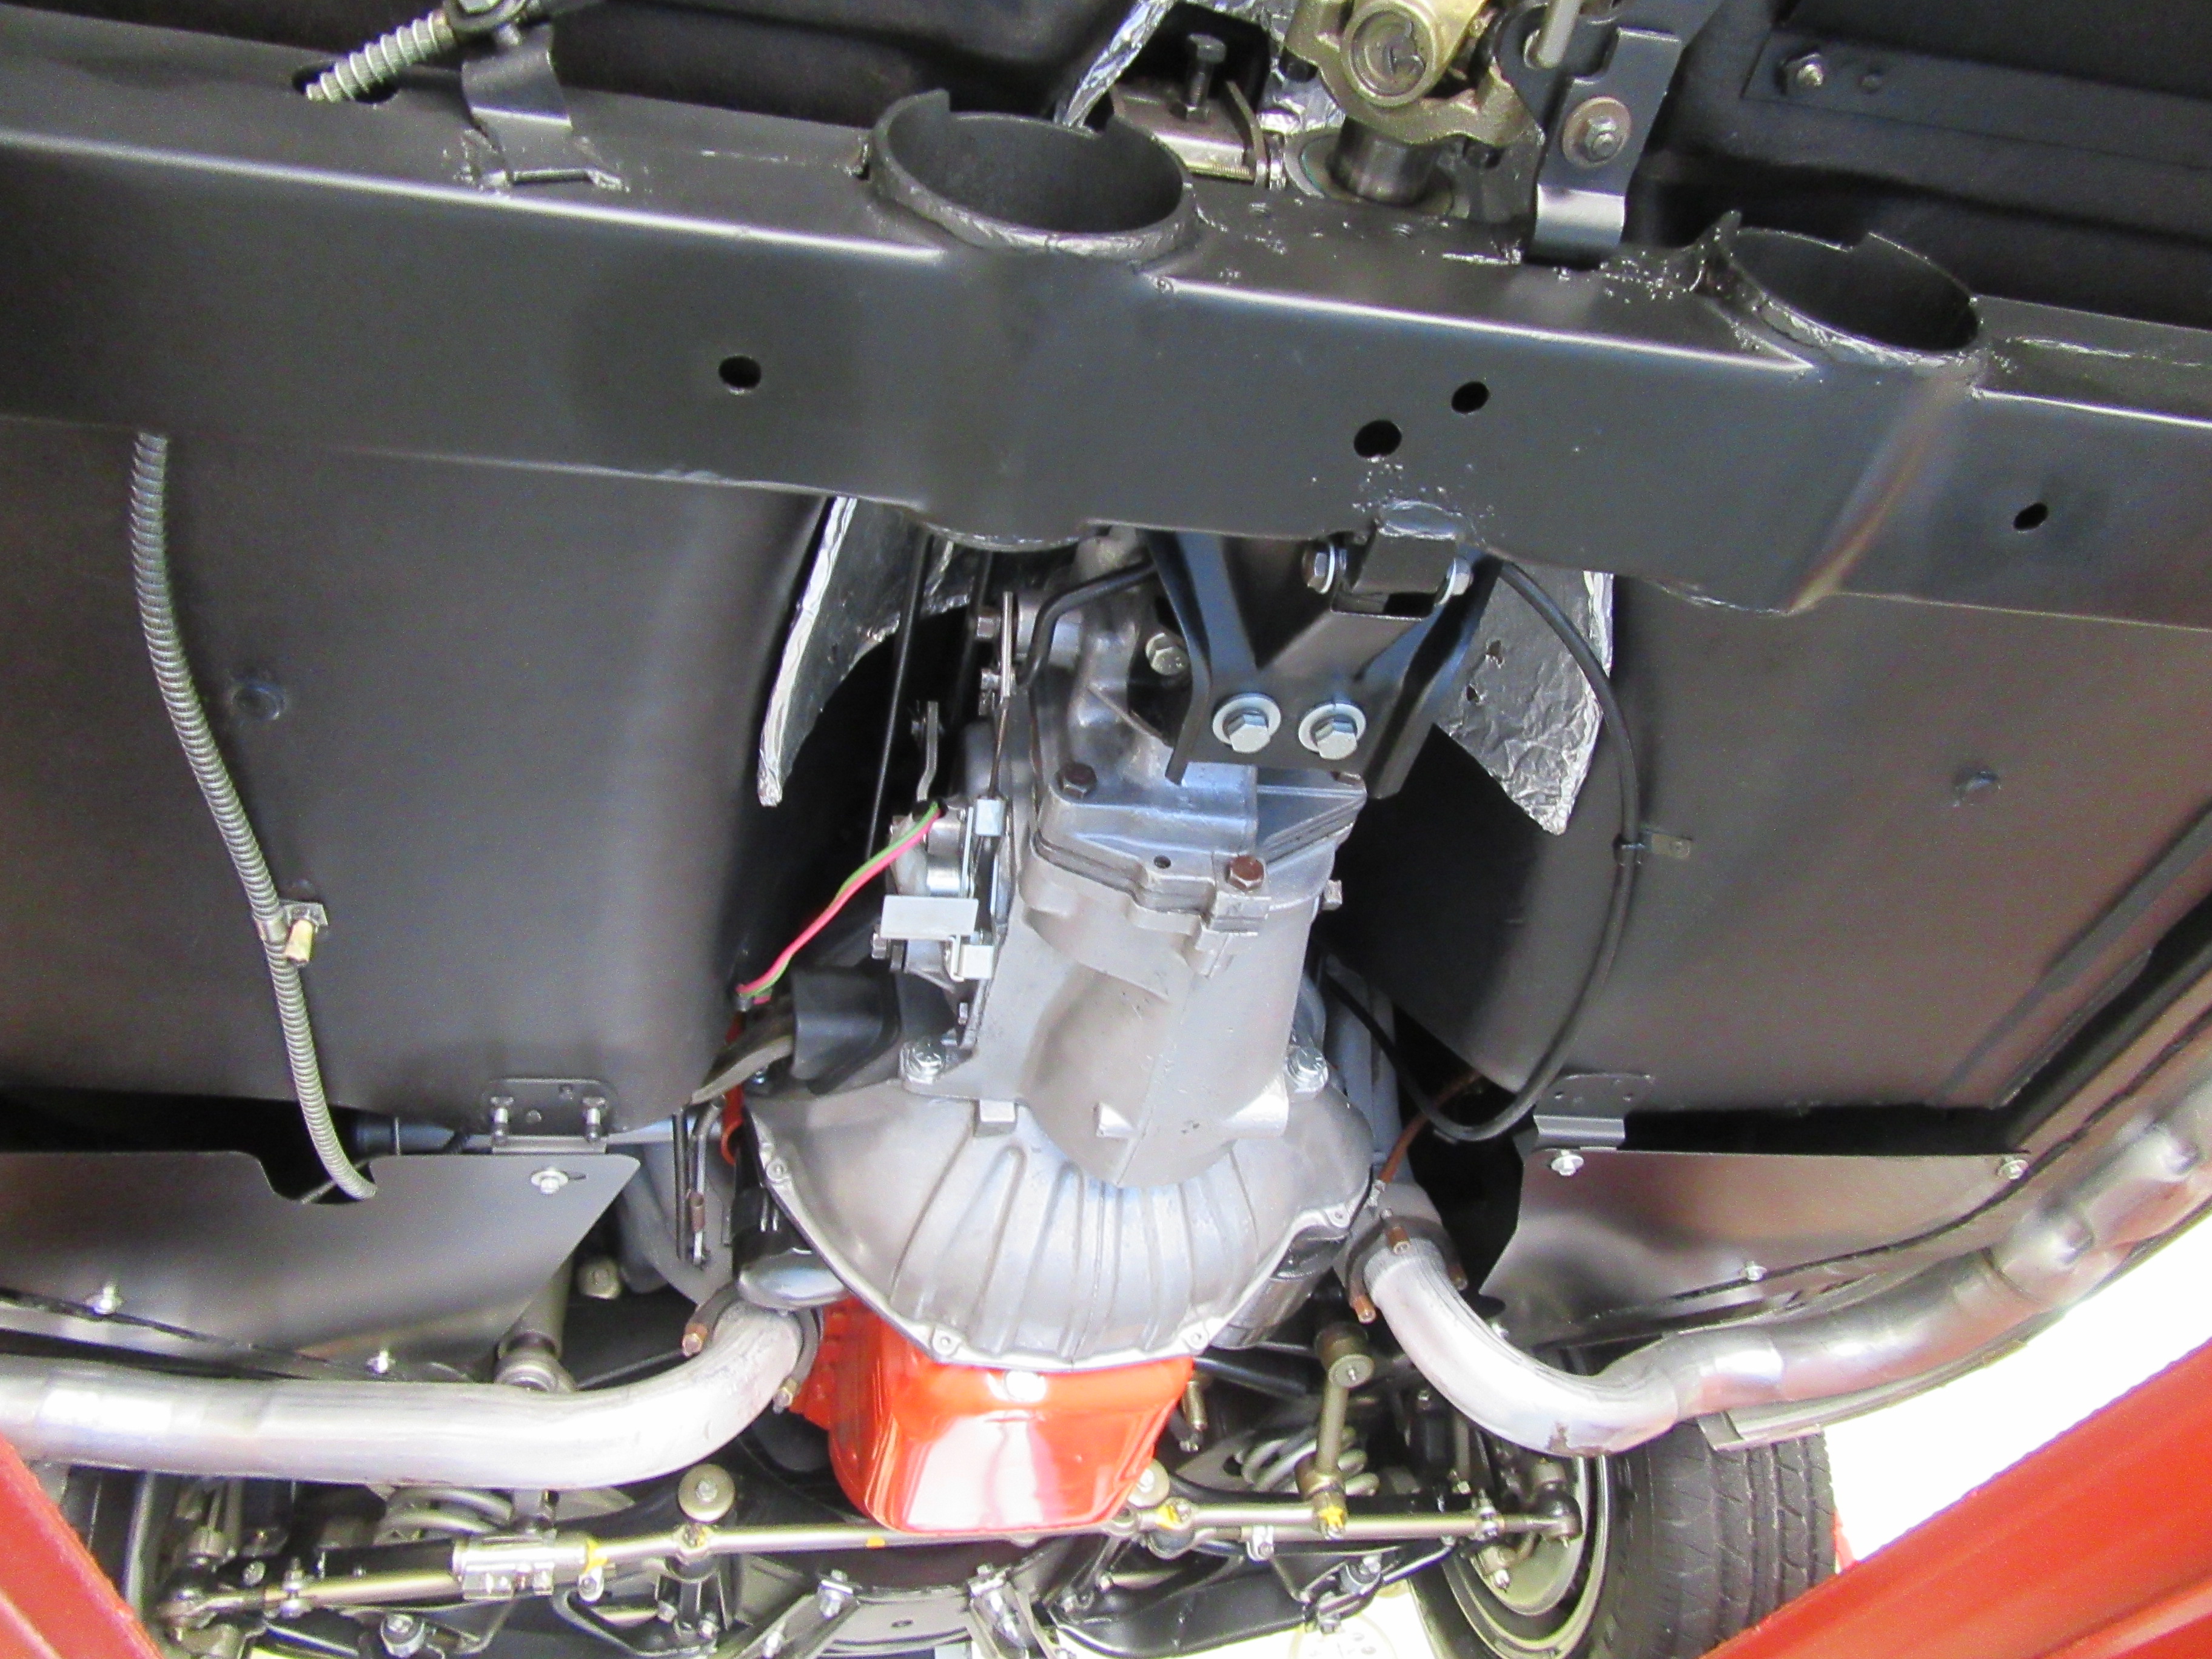
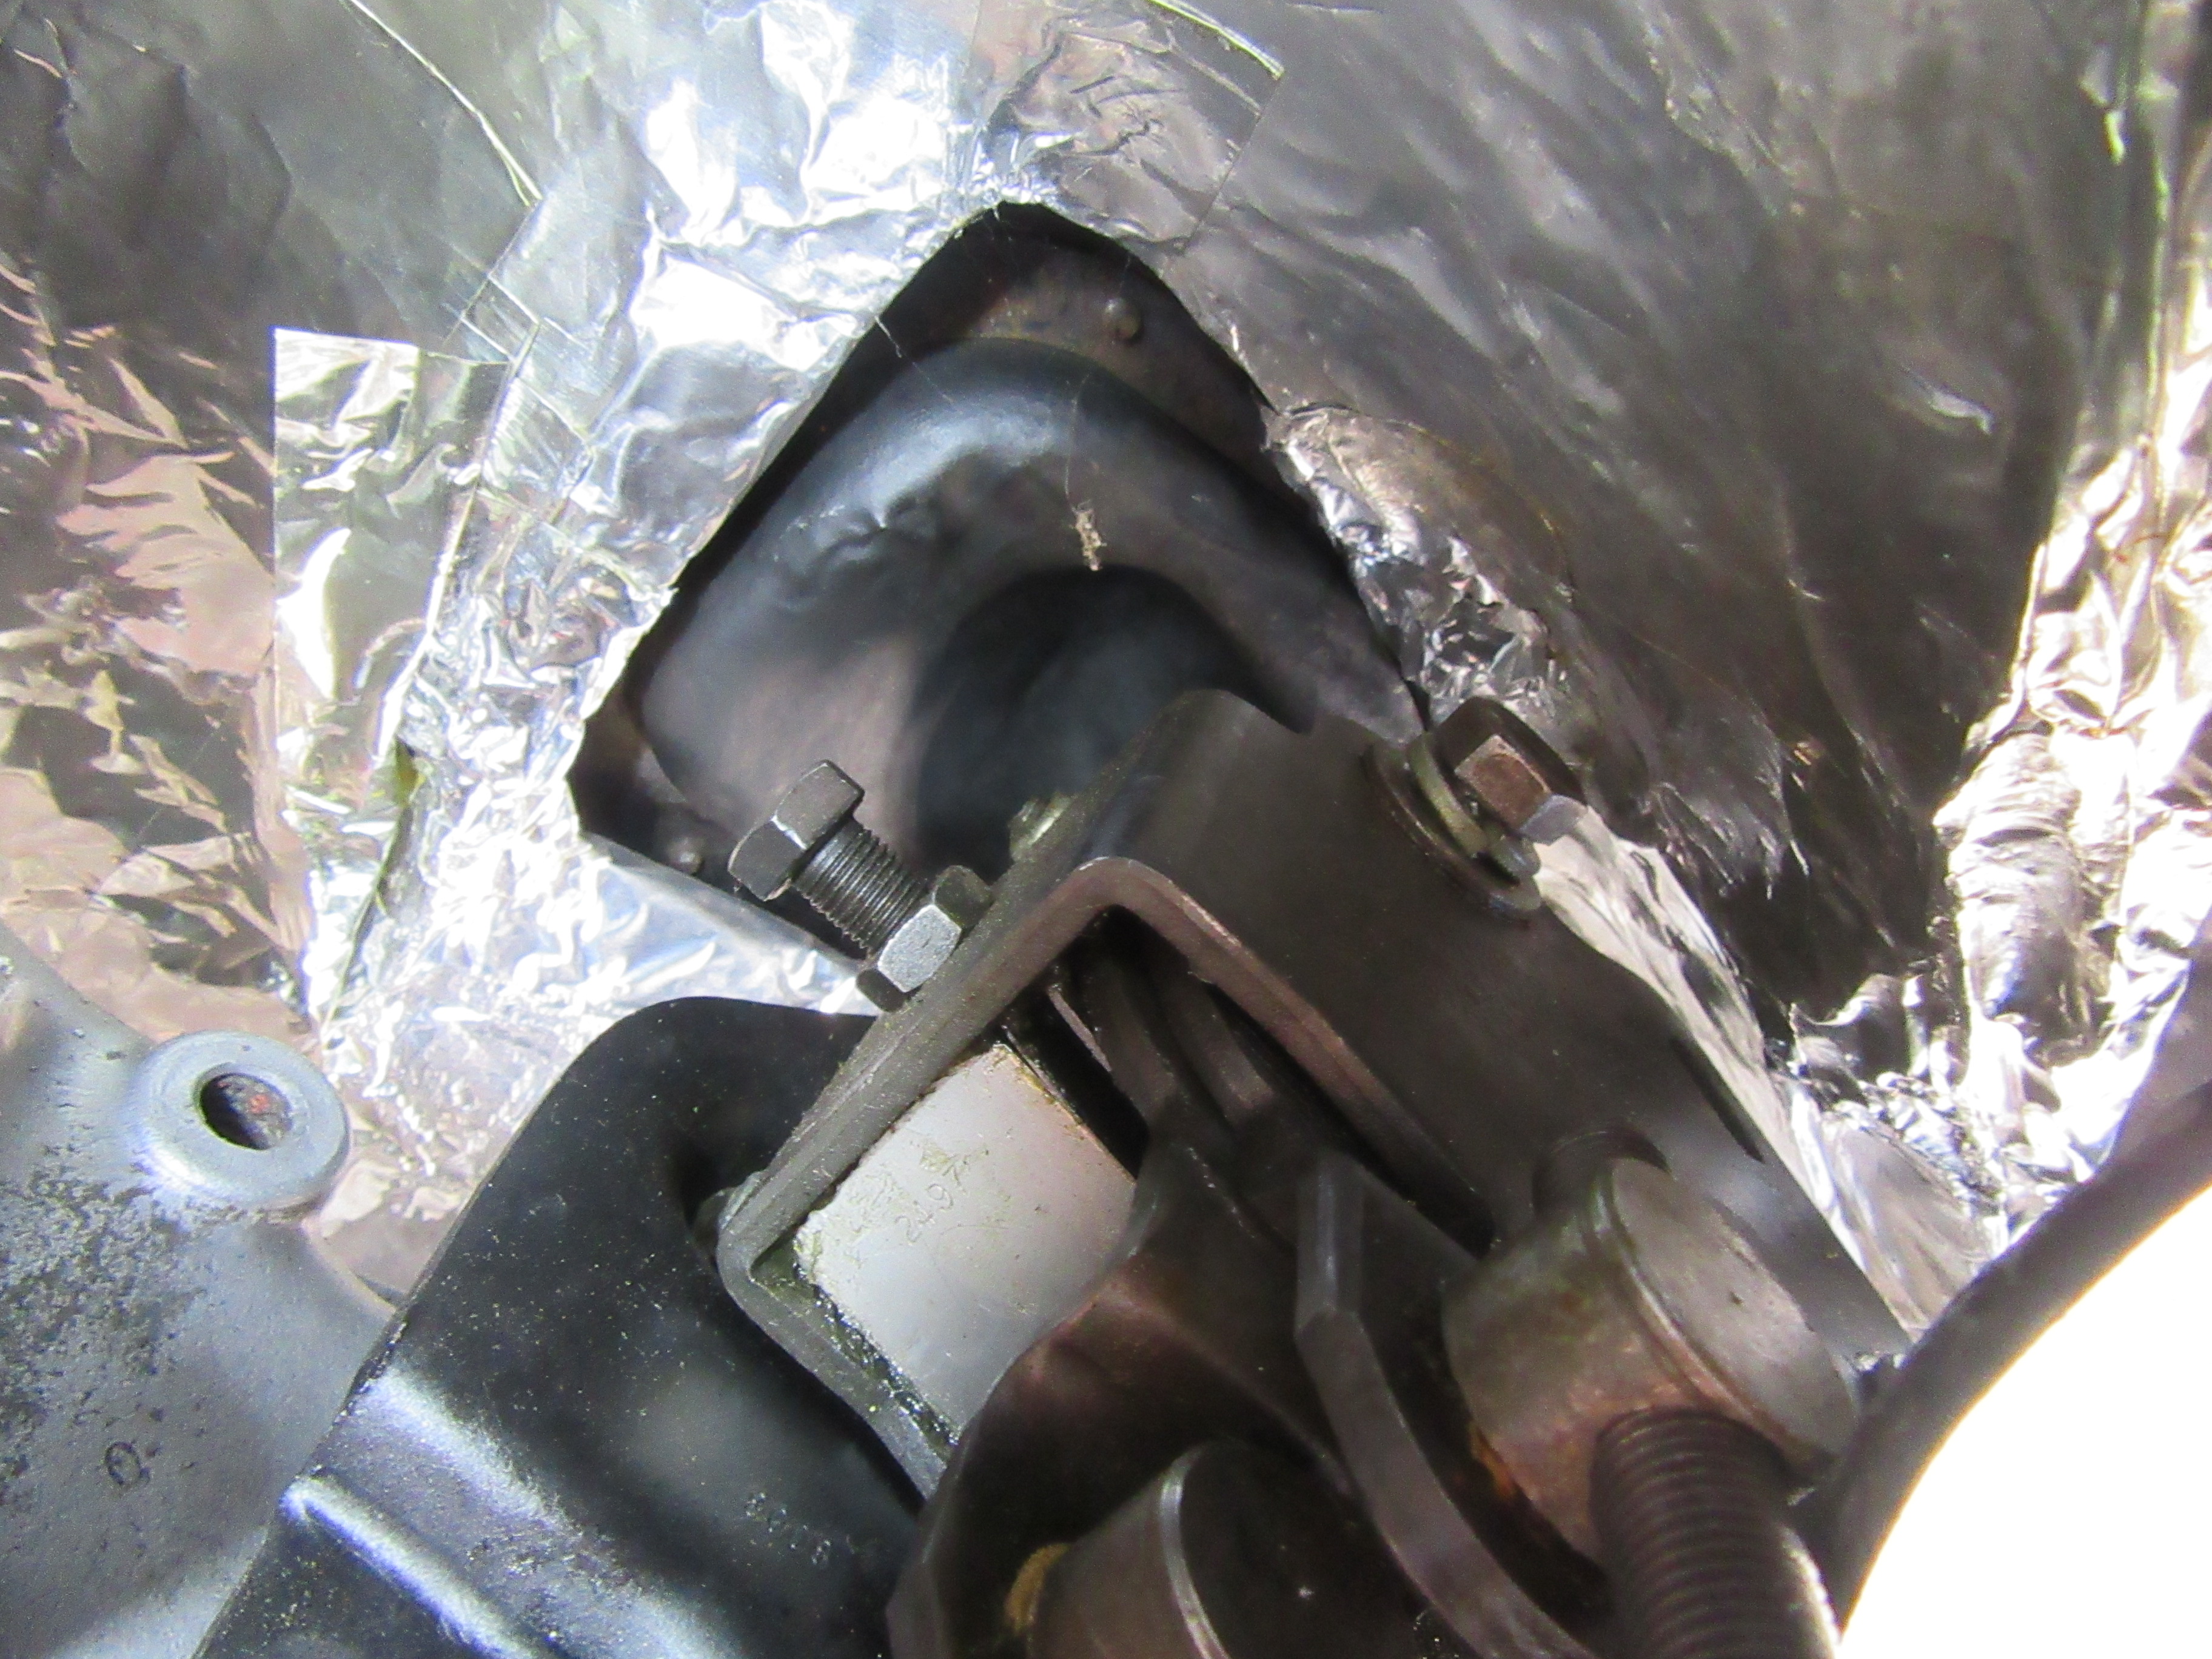
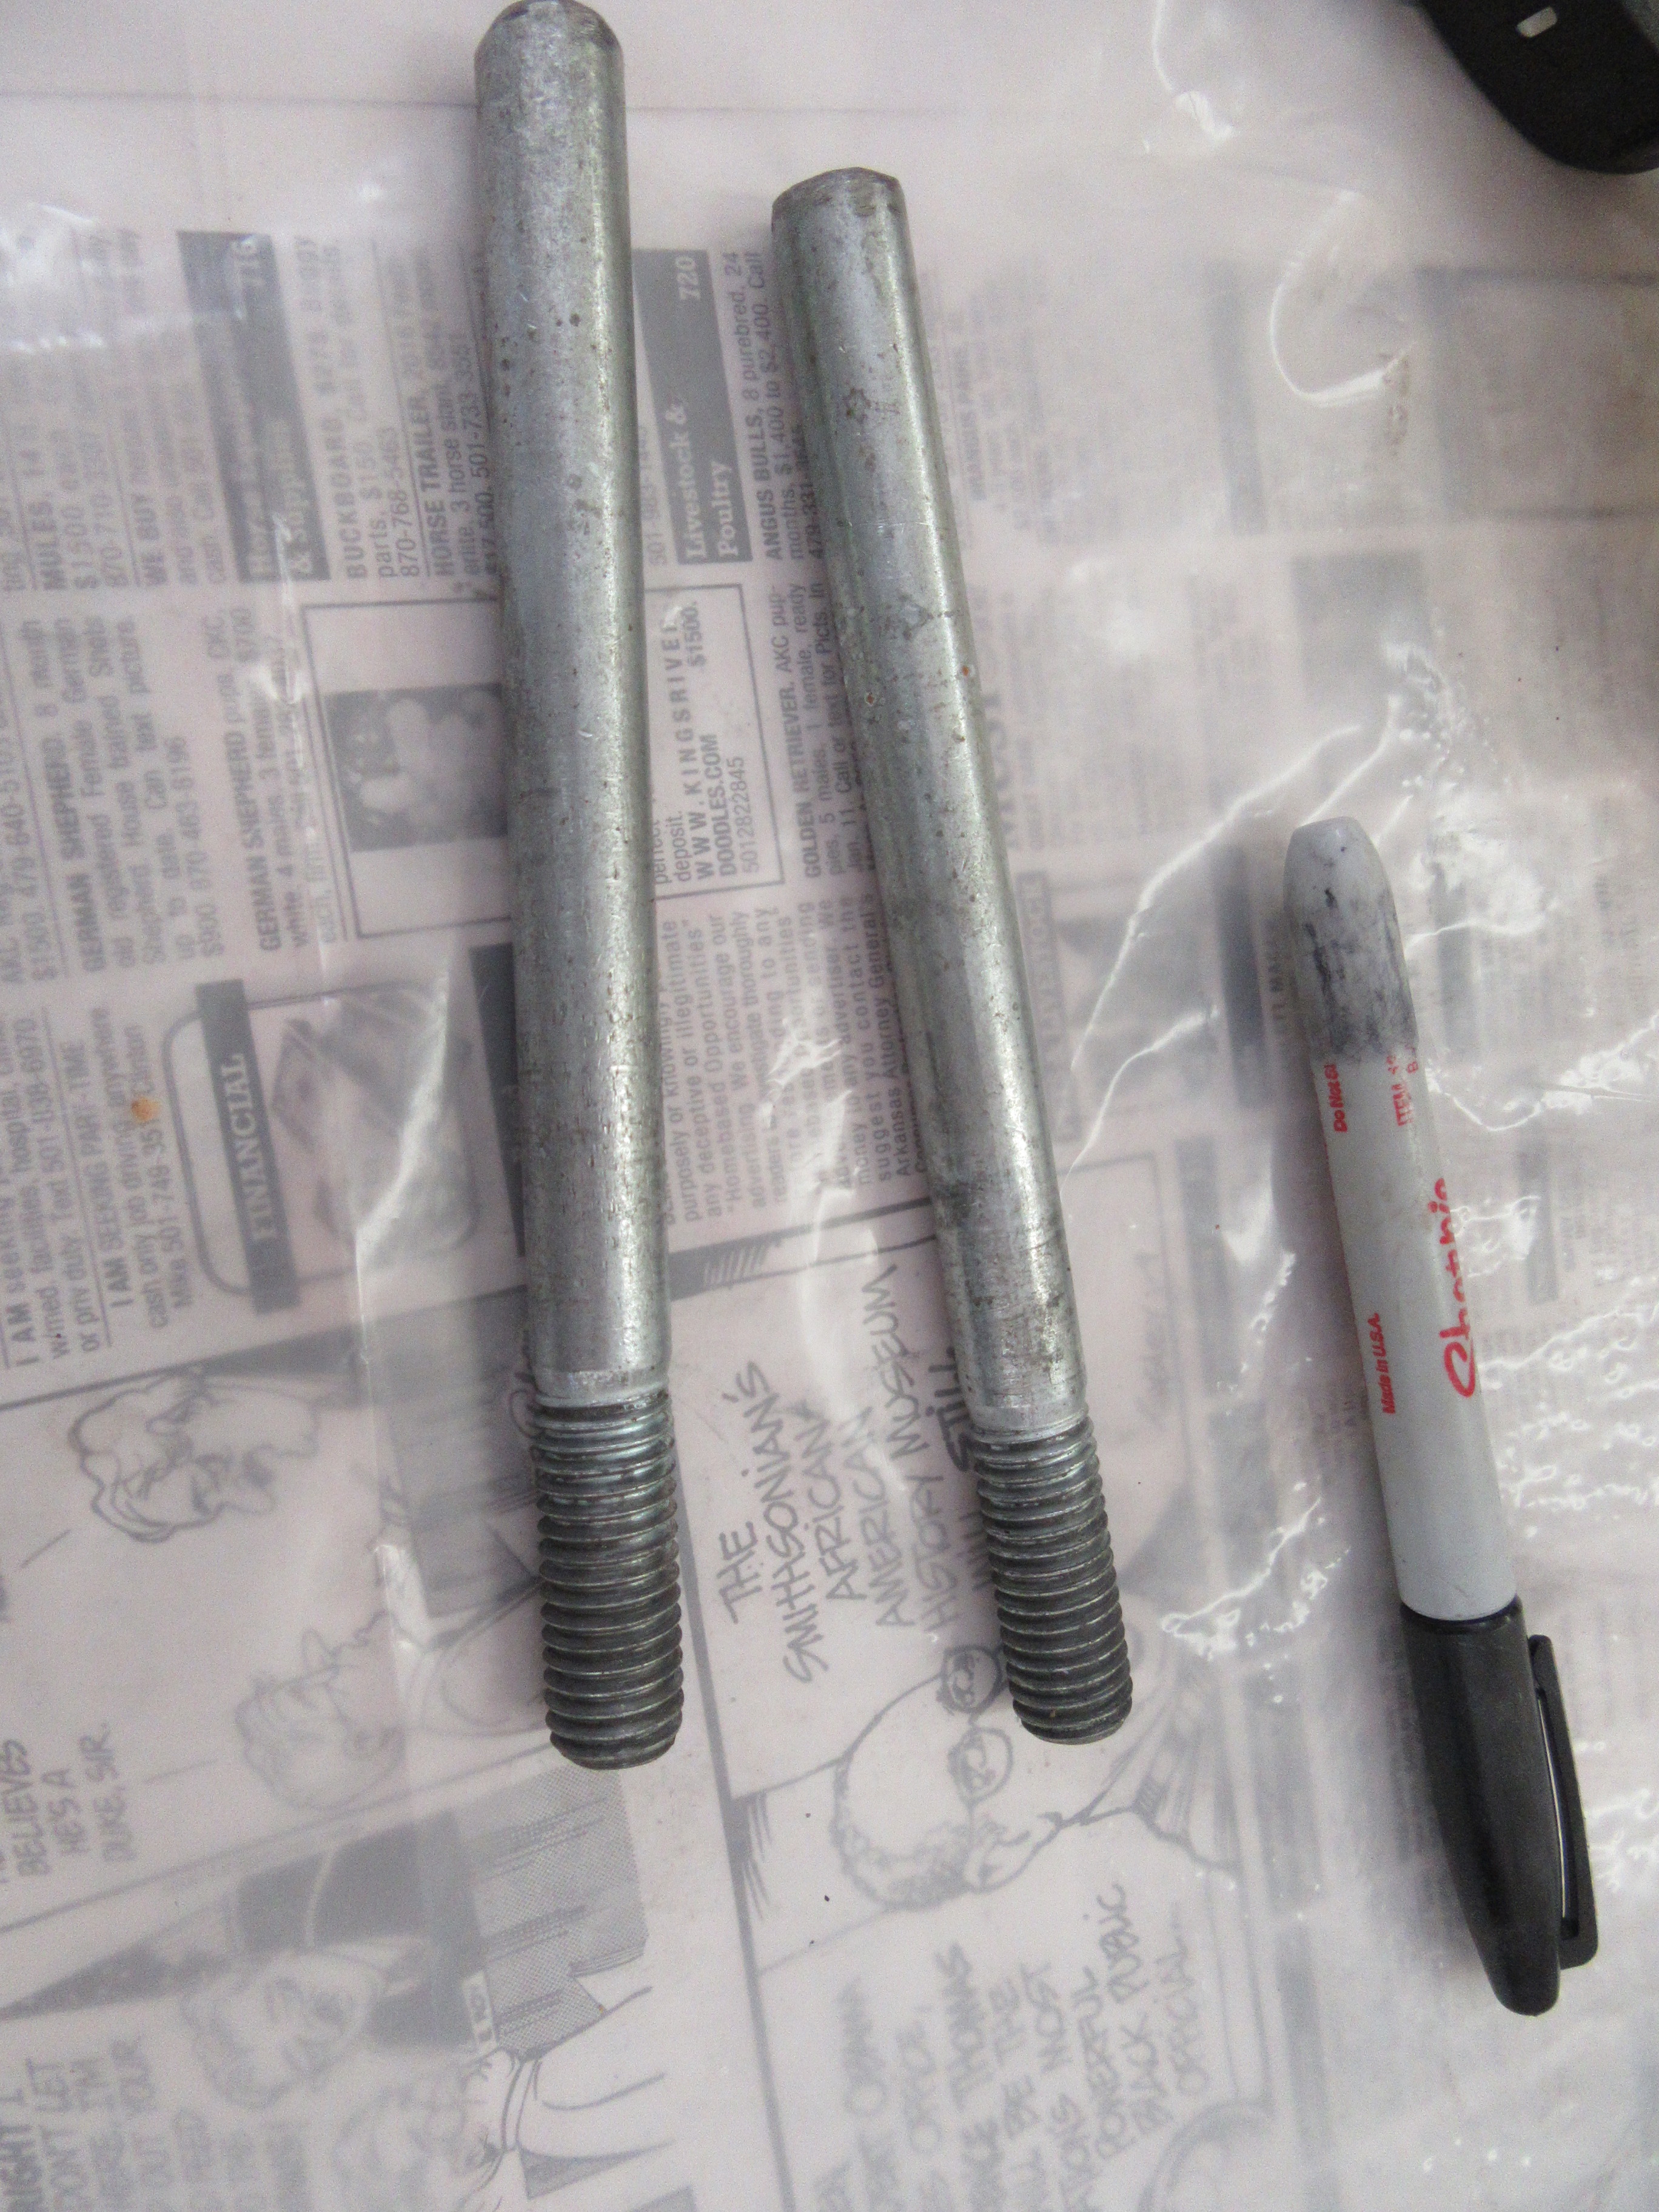
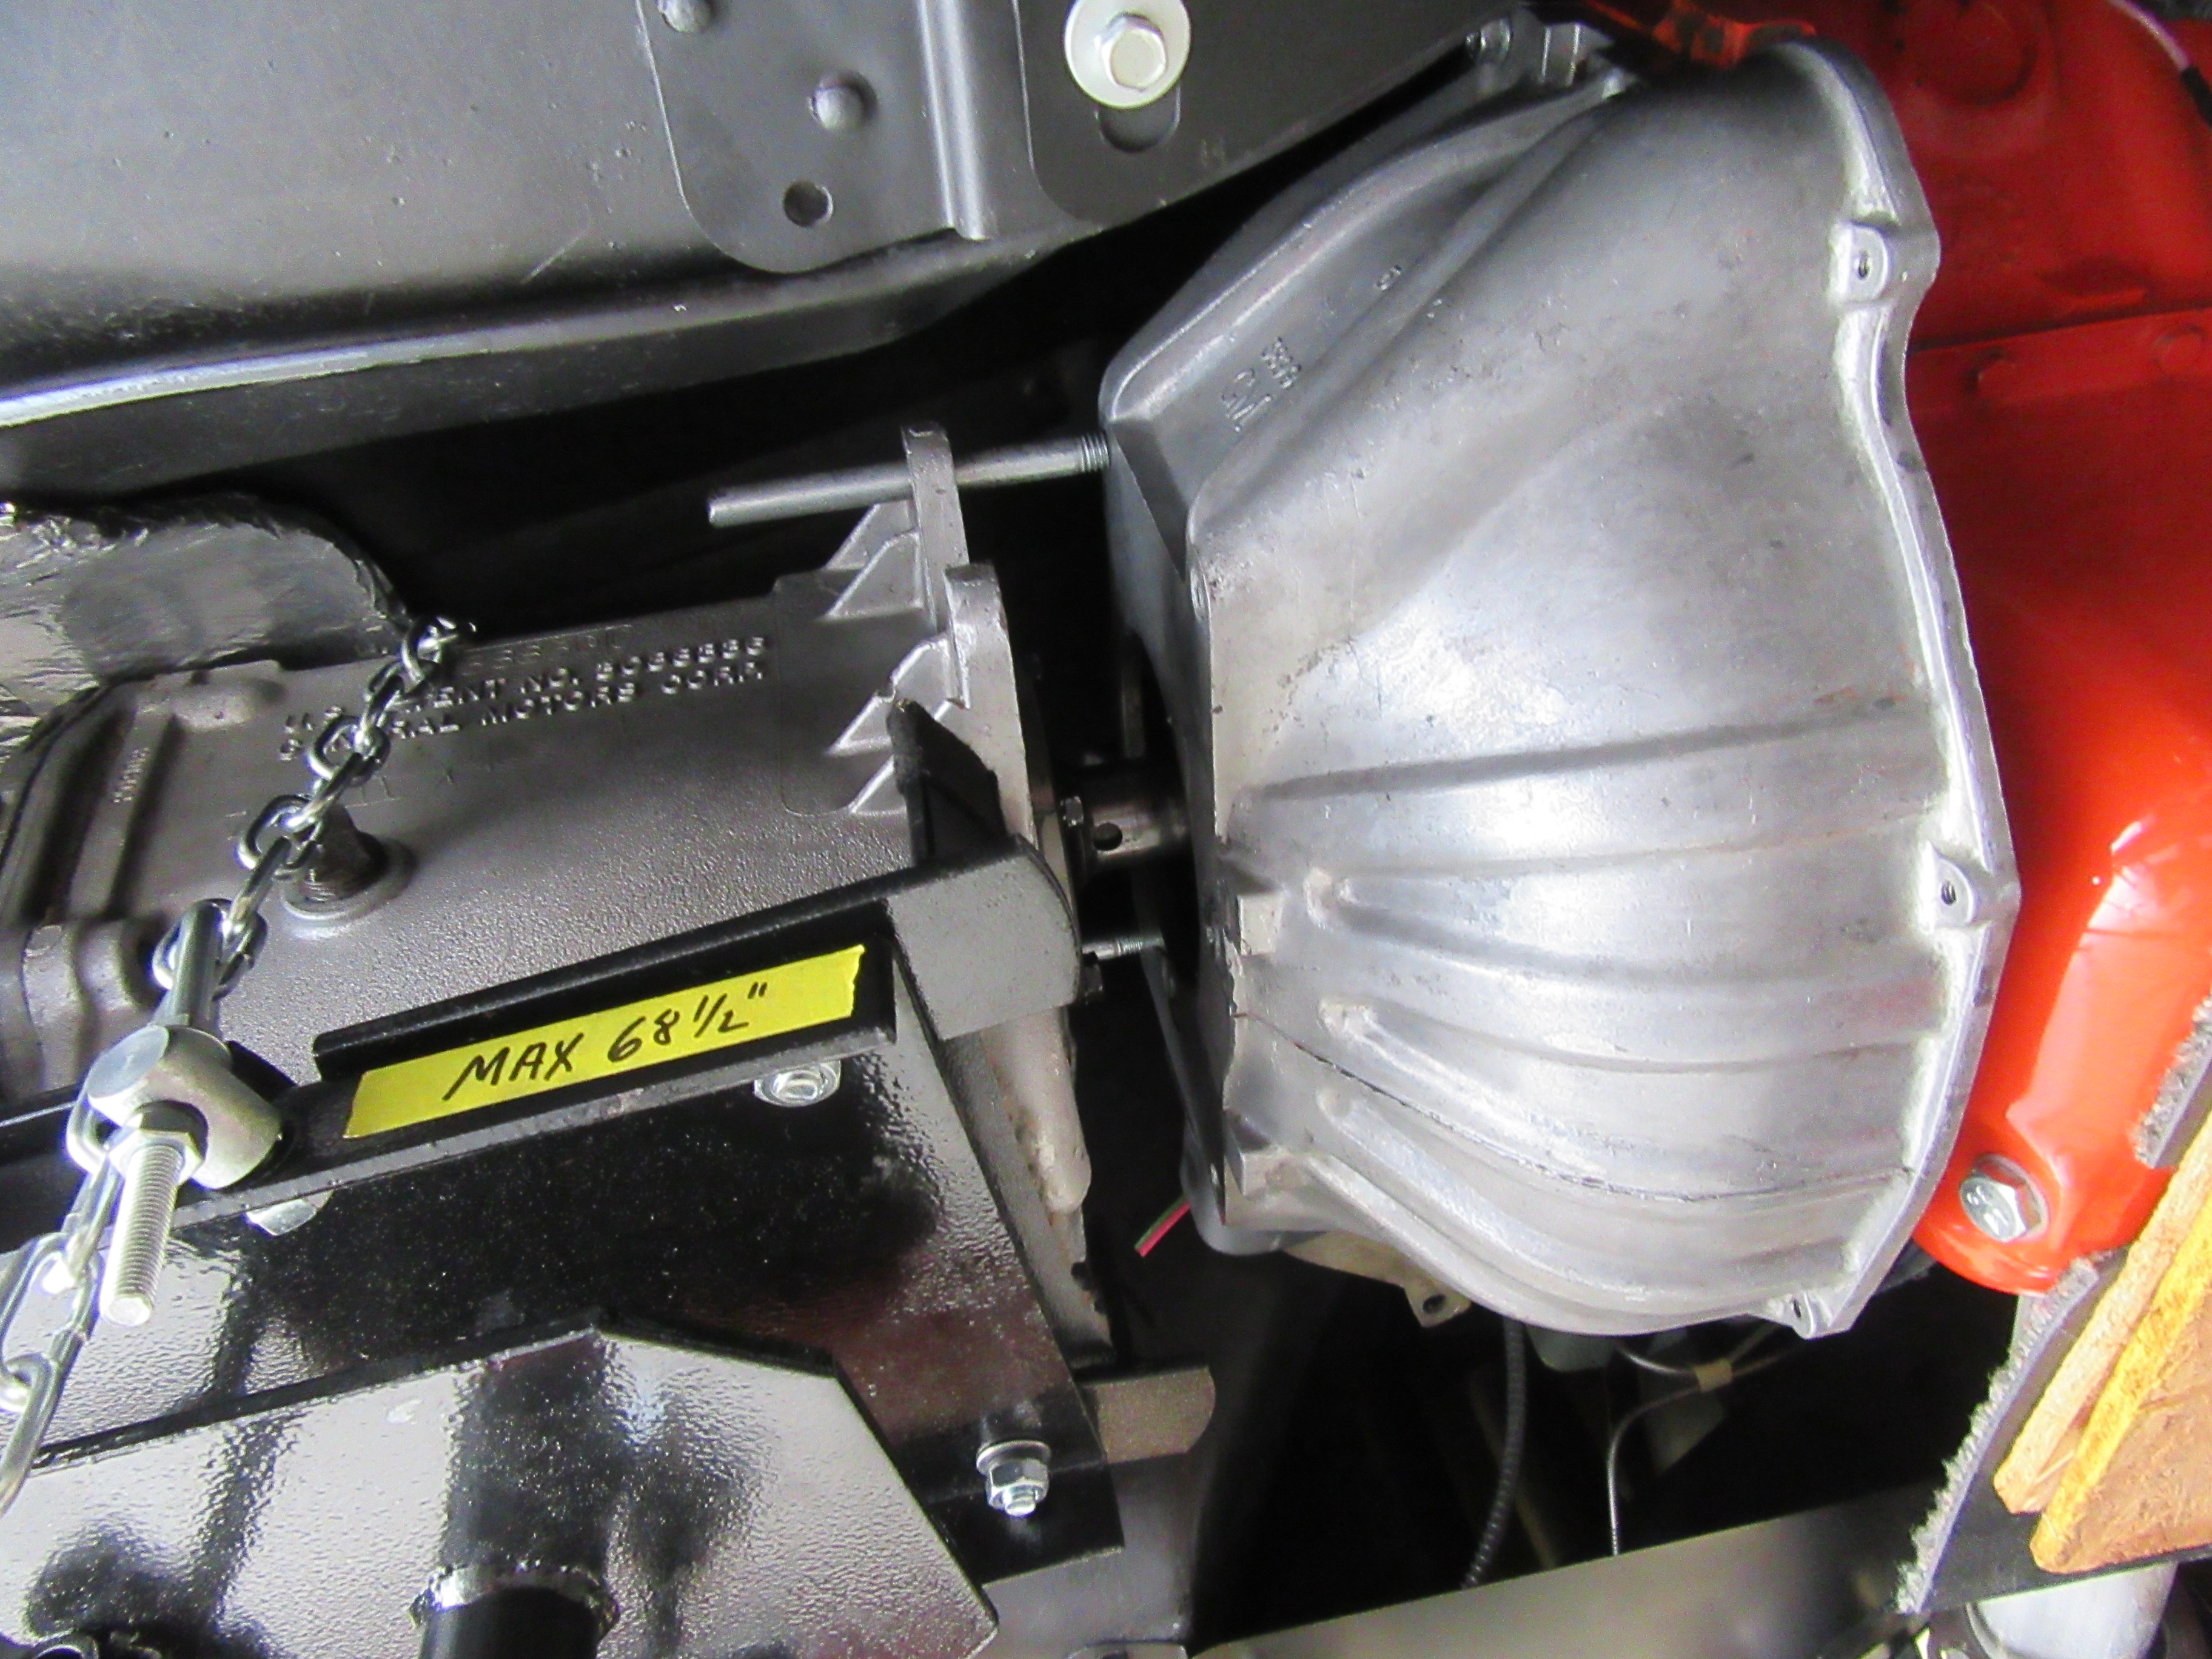
Next I cracked just slightly loose the remainder of the bell housing bolts and the 4 transmission mount bolts. These are my dowels I made years ago which will go in the two top transmission mount bolt locations to support the transmission as it's moved back.
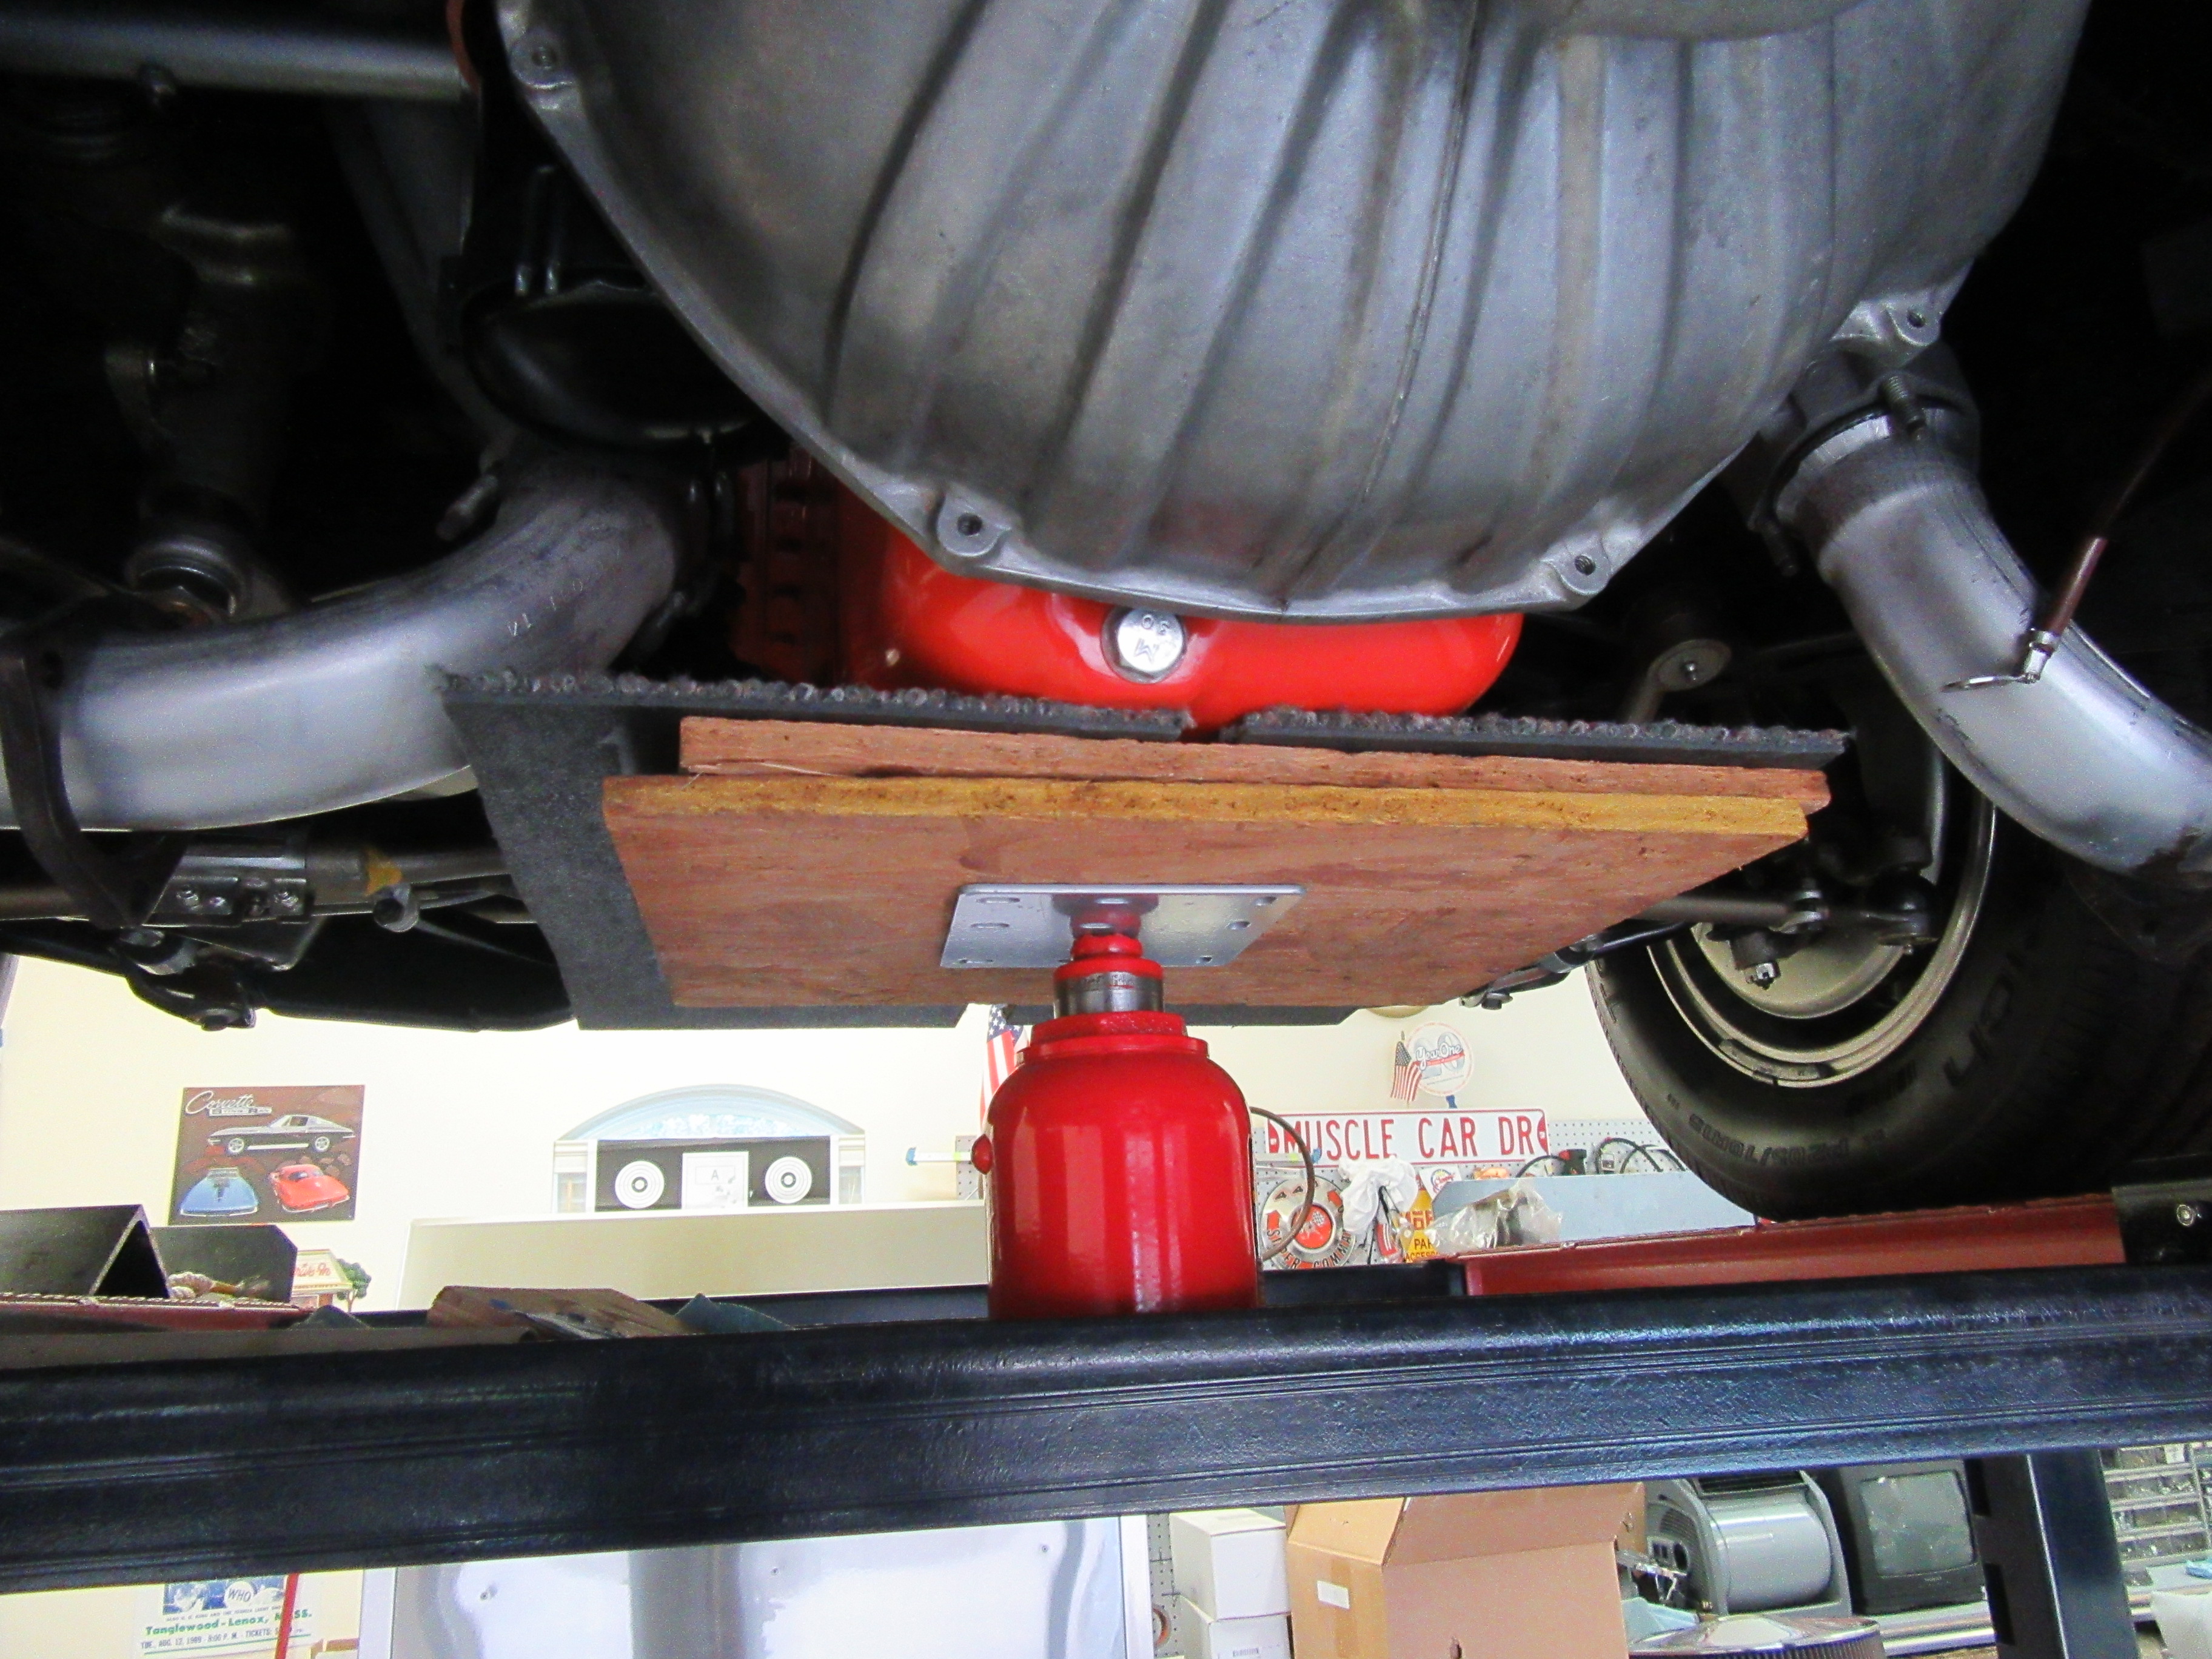
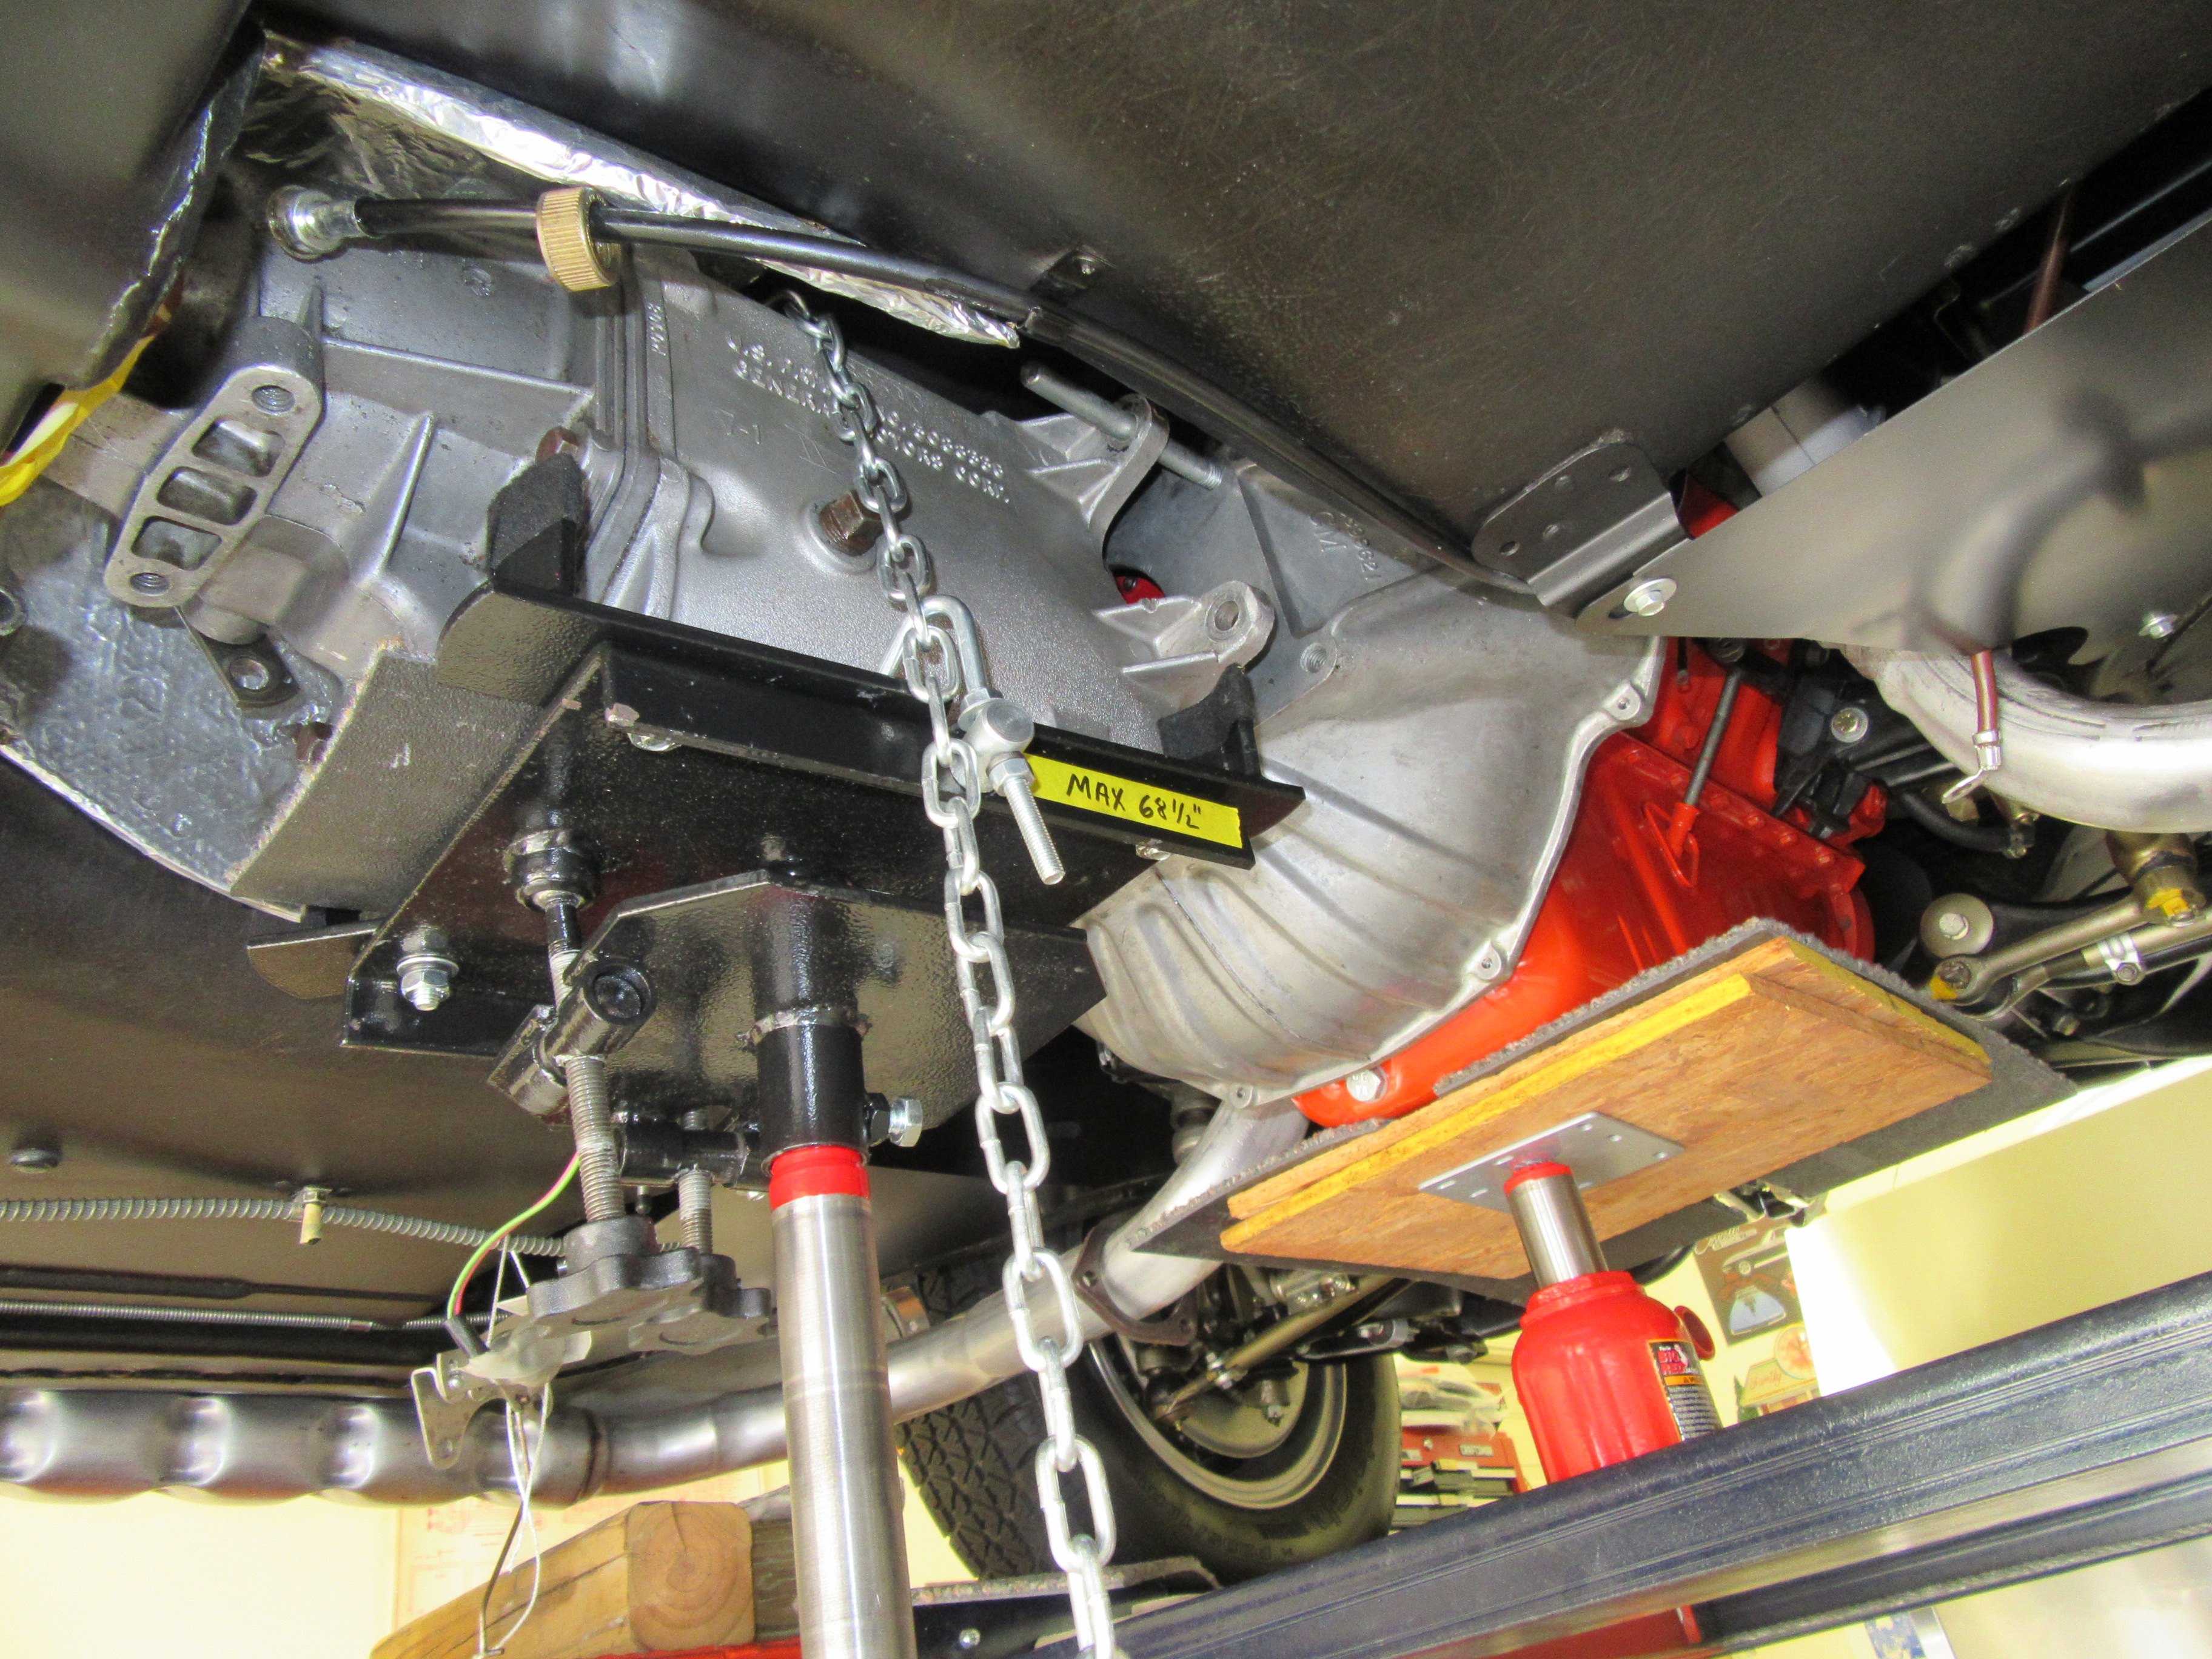
Unfortunately this is where I ran into my first problem with pulling the transmission on a lift. My jack bridge positions my 40+ year old bottle jack to close to the oil pan to be used to support the engine and also jack it up and down. In the past I've used several sections of plywood and a piece of rubber backed carpet tile under the oil pan, with a jack supporting it. I've seen the wood cradle that fits under the pan and bears on the pan rails to support the engine - but as long as I've used enough plywood and something like the carpet tile for a cushion, I've never so much as scratched the paint on an oil pan in 3 previous efforts. So, I've had to order a small 4-ton Torin low profile, dual ram bottle jack to give me a couple more inches to work with under the pan and it will arrive later this week (thanks Amazon Prime).
Be nice to work on a car with such a clean under carriage. I took mine out 20 some years ago, and afraid of what it looks like now. Nice information and photos.
Aaannd - I'm back. I got a low profile jack to work under the engine and I guess if getting the transmission out is a measure of success then so be it - but it was much less elegant than I hoped.
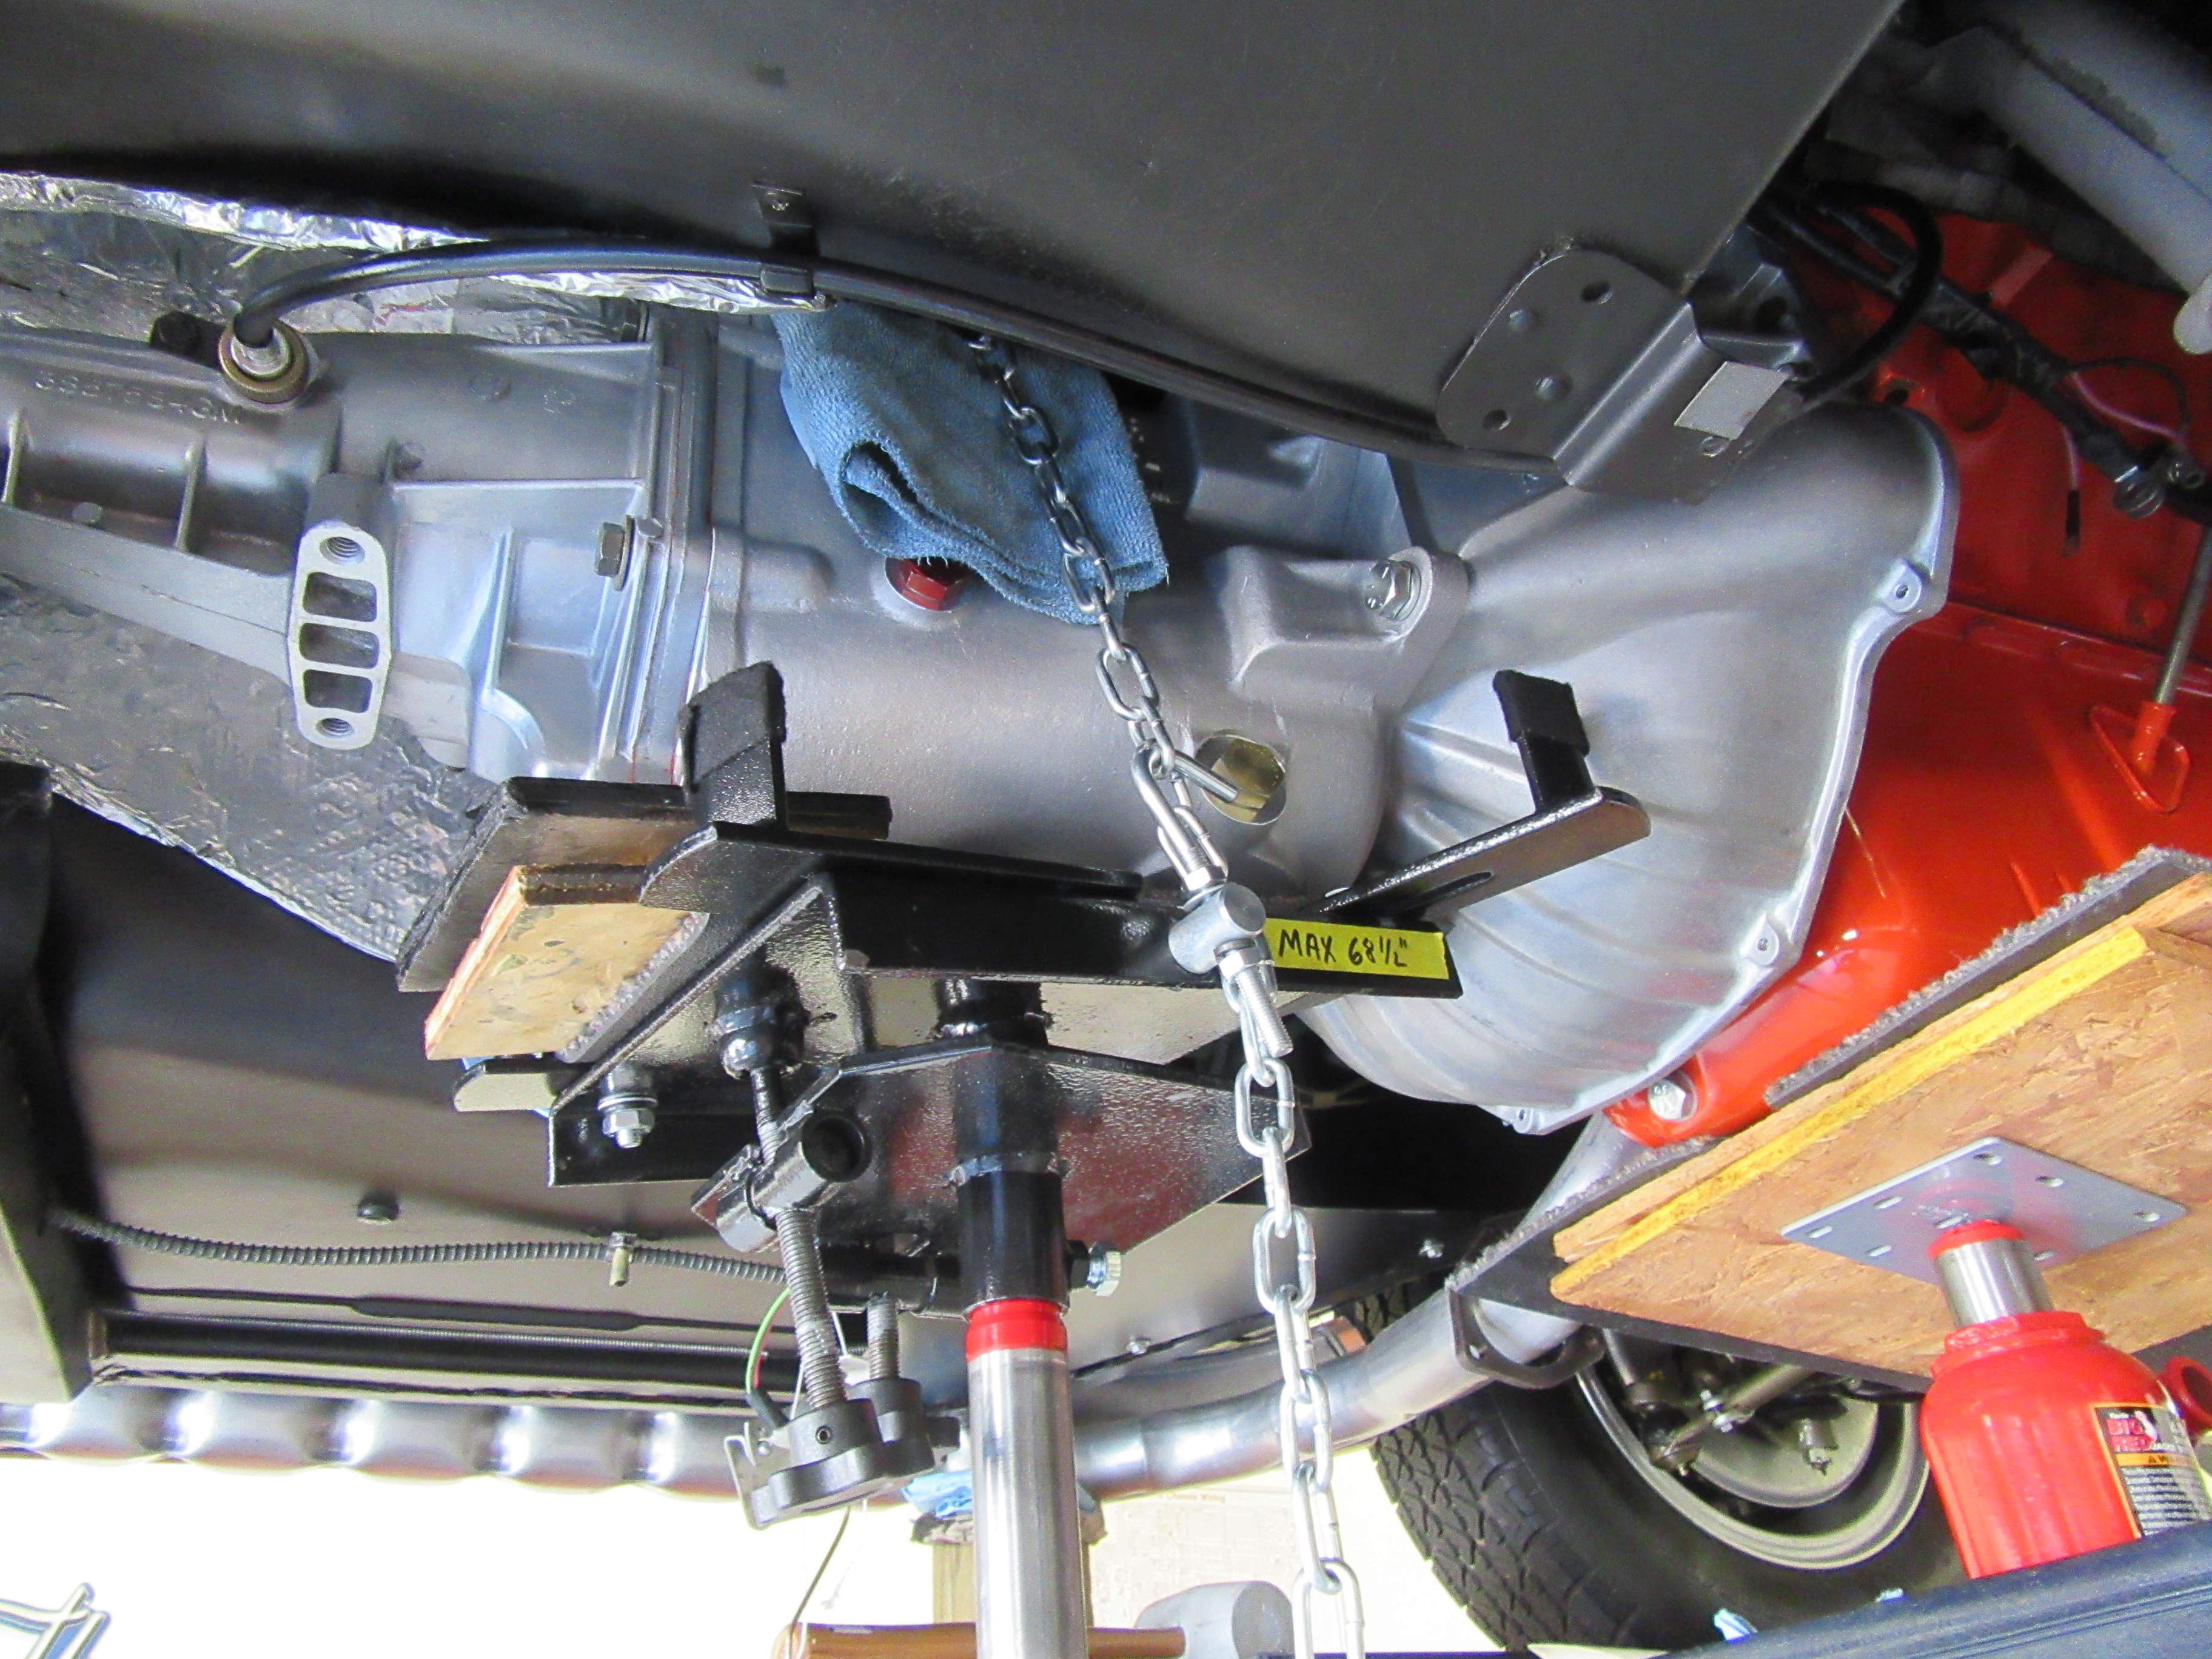
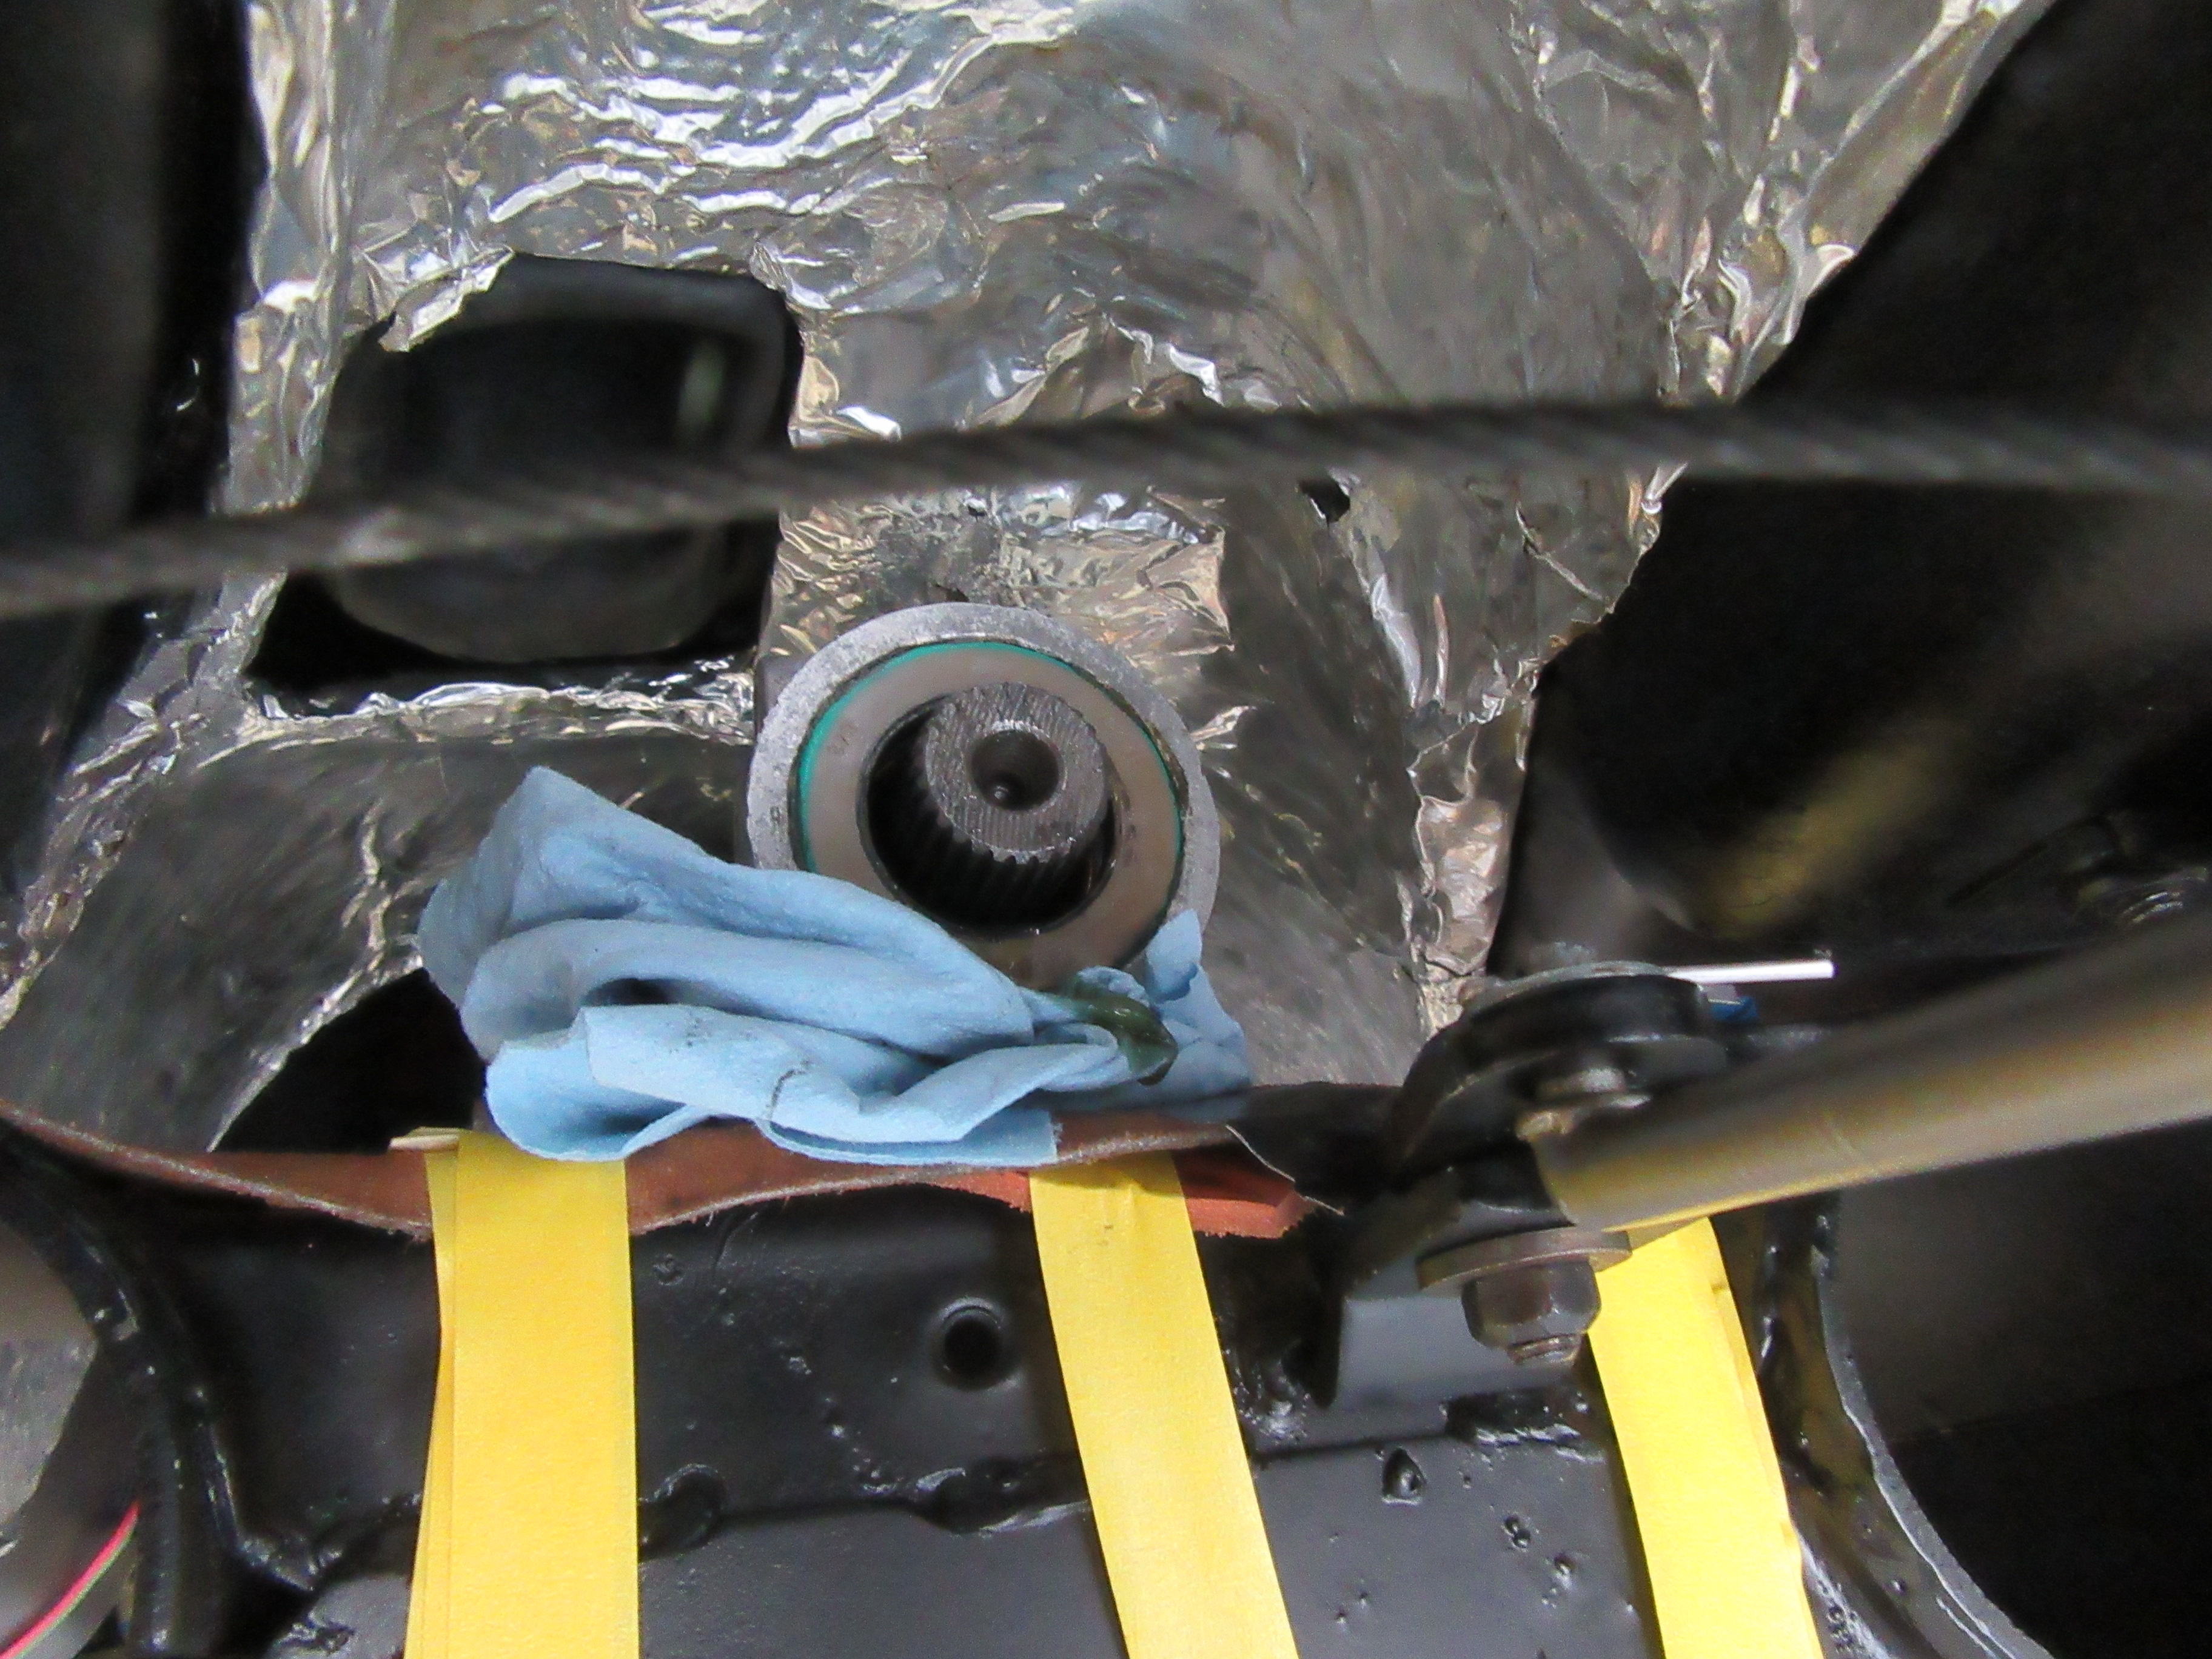
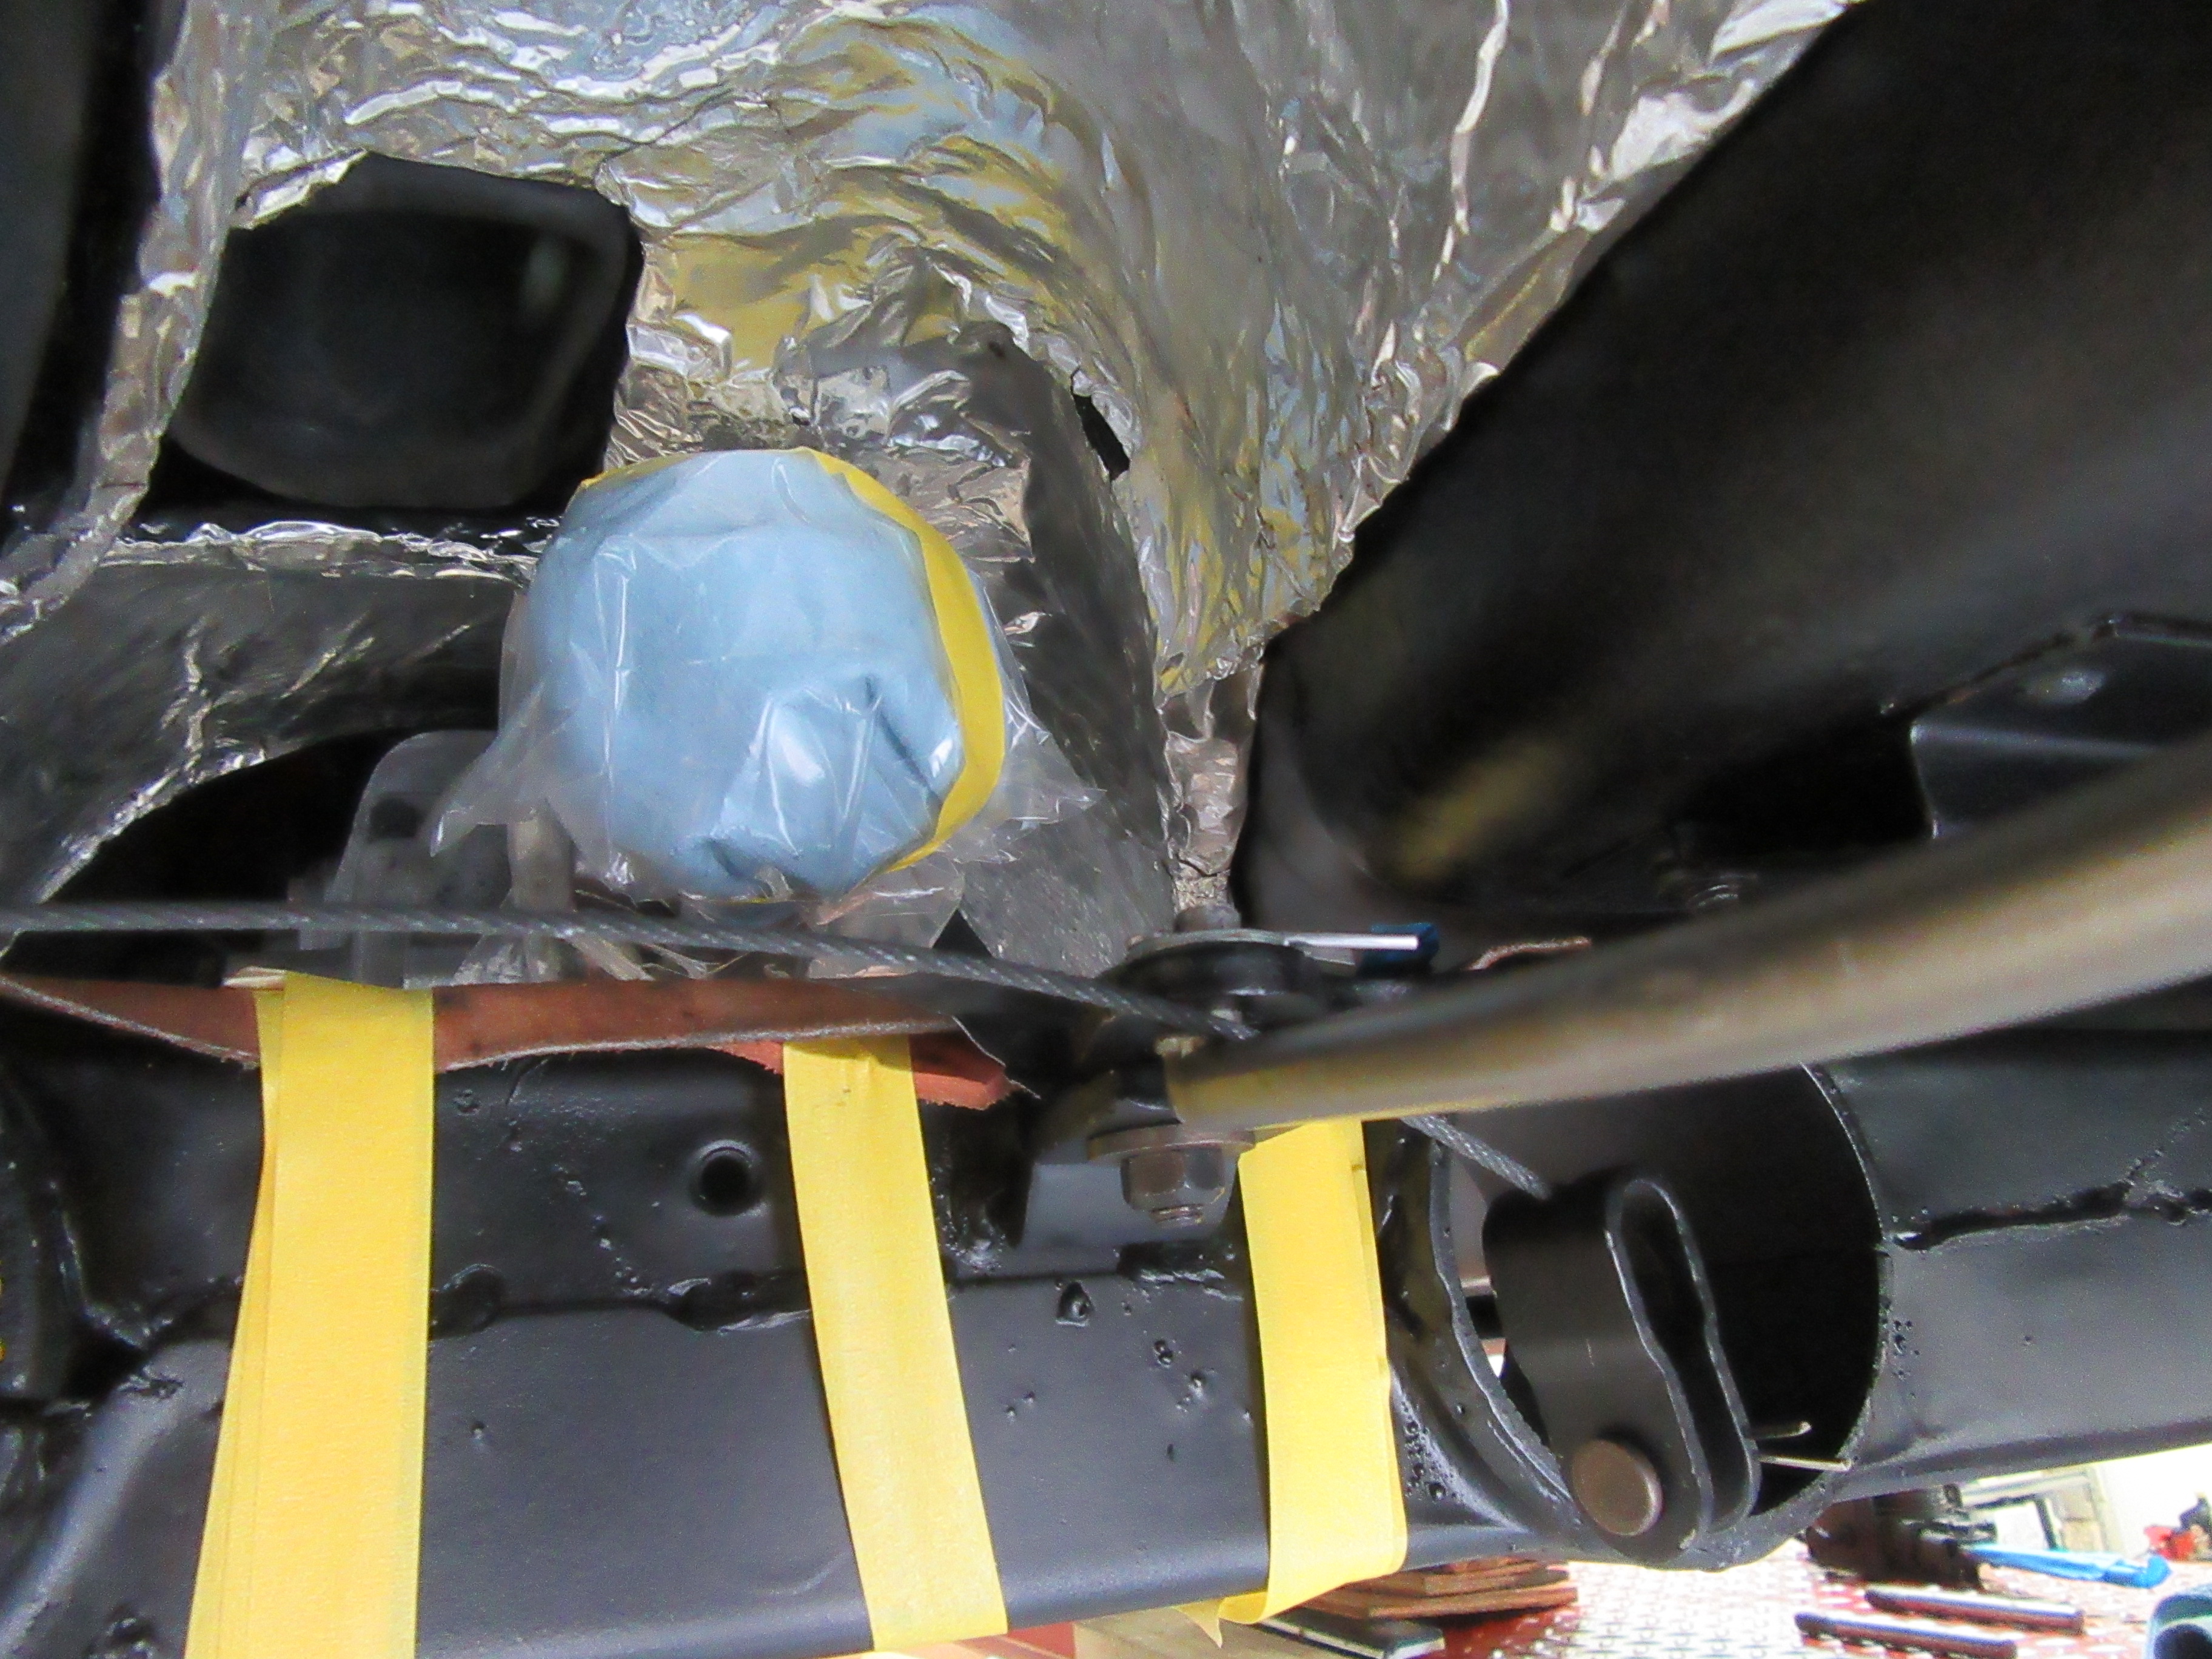
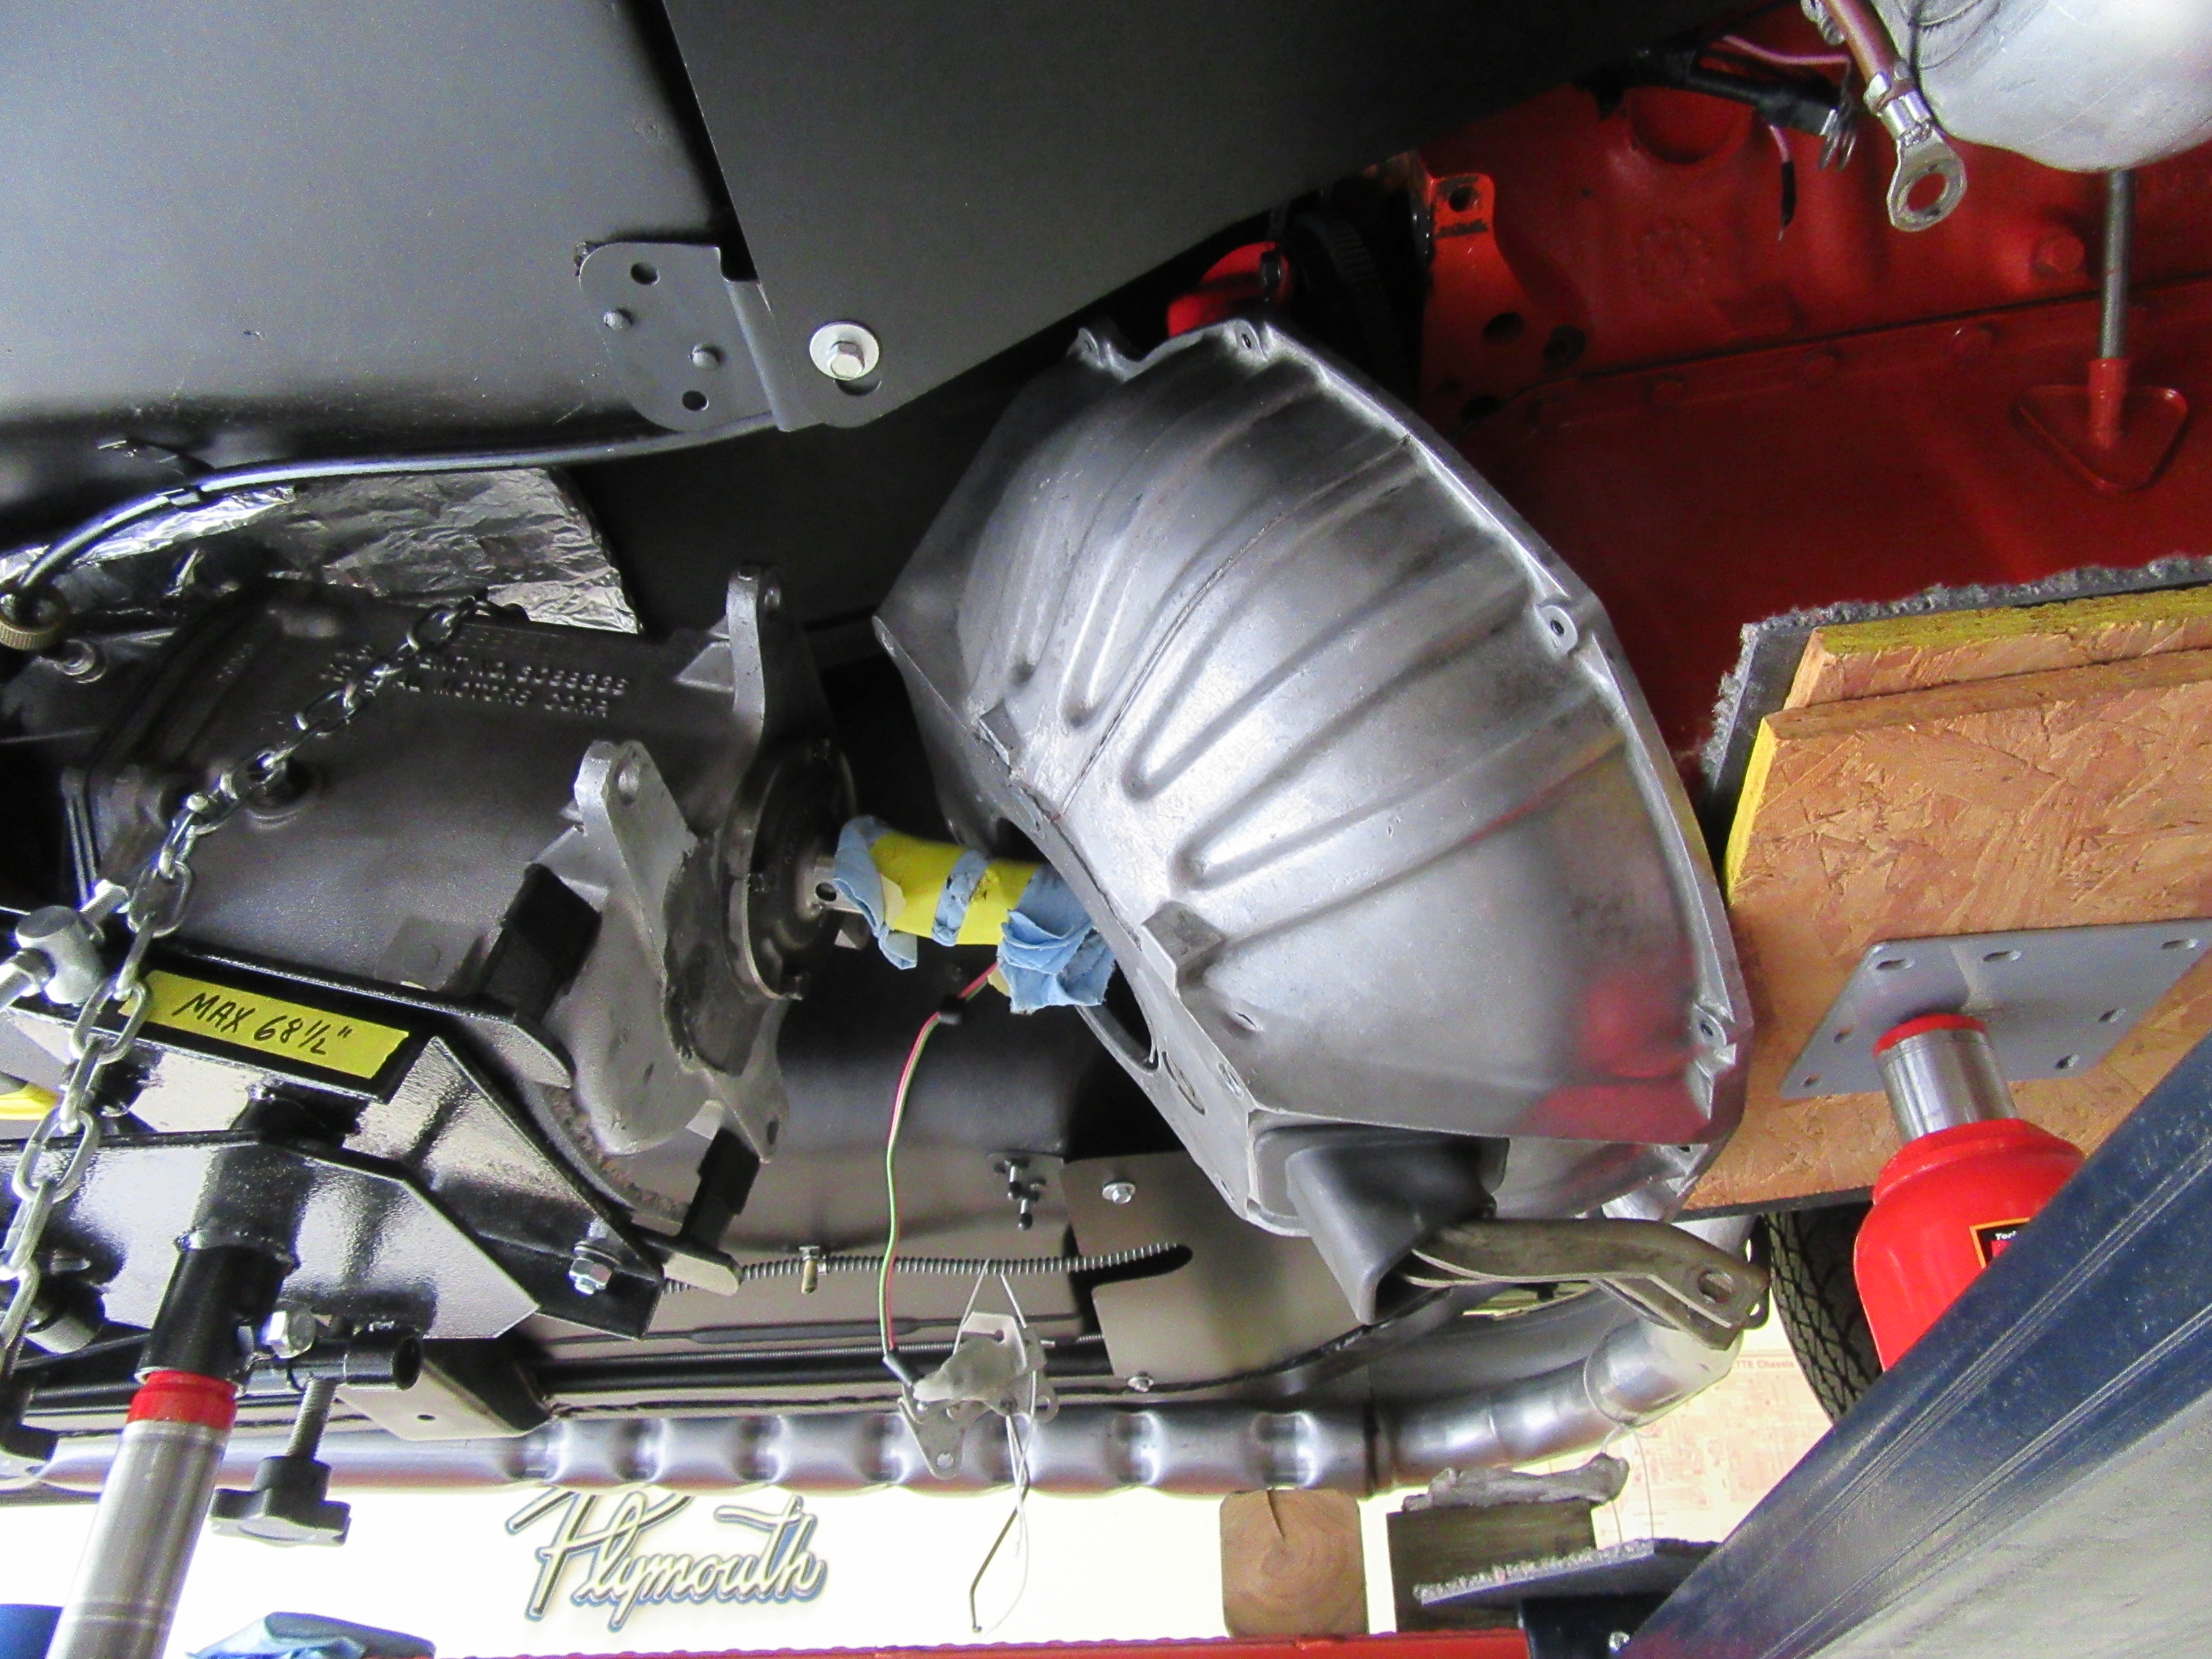
I removed the yoke and stuck a paper towel inside a plastic bag over the end of the output to contain any lube leaking out. But since the transmission will be nose down for the most part this isn't a big issue. I've always covered the crossmember with a piece of heavy old leather from my holster making days to protect the paint.
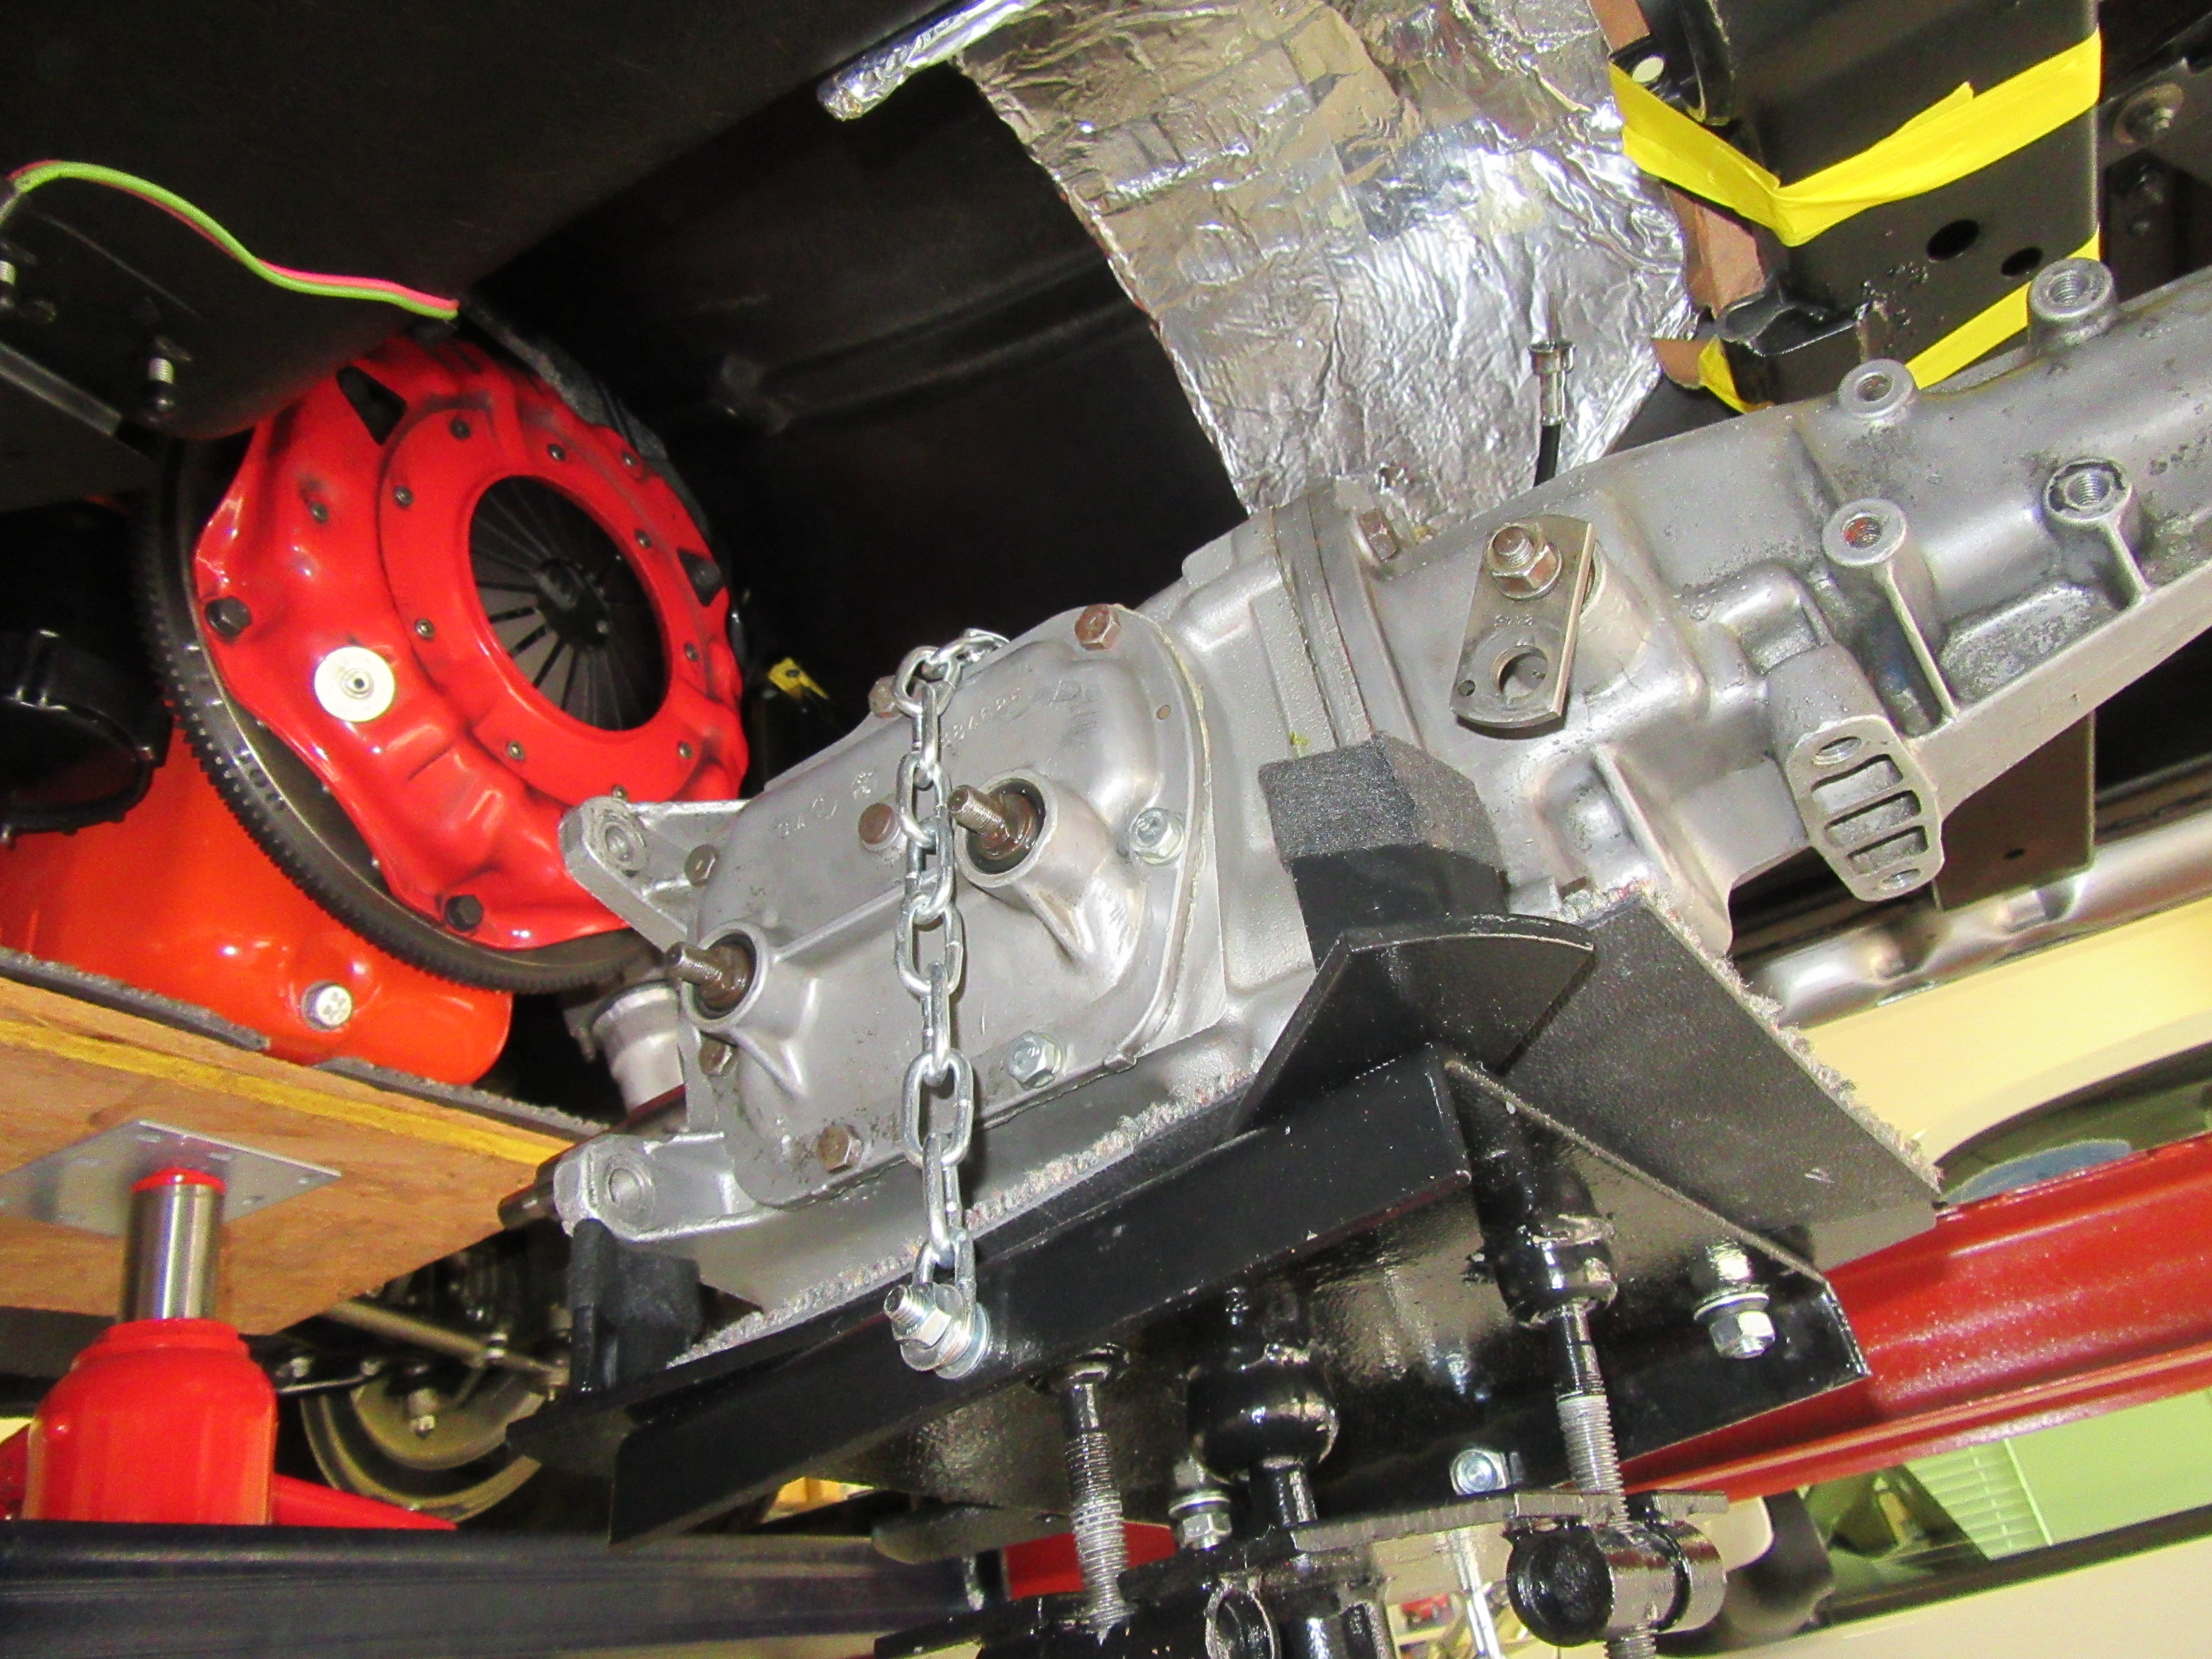
Dowels are screwed into the upper transmission mount holes after removing the bolts. These old dowels have worked well for me when pulling the transmission on my back but they seemed to long this time so I will cut them down a little before starting back.
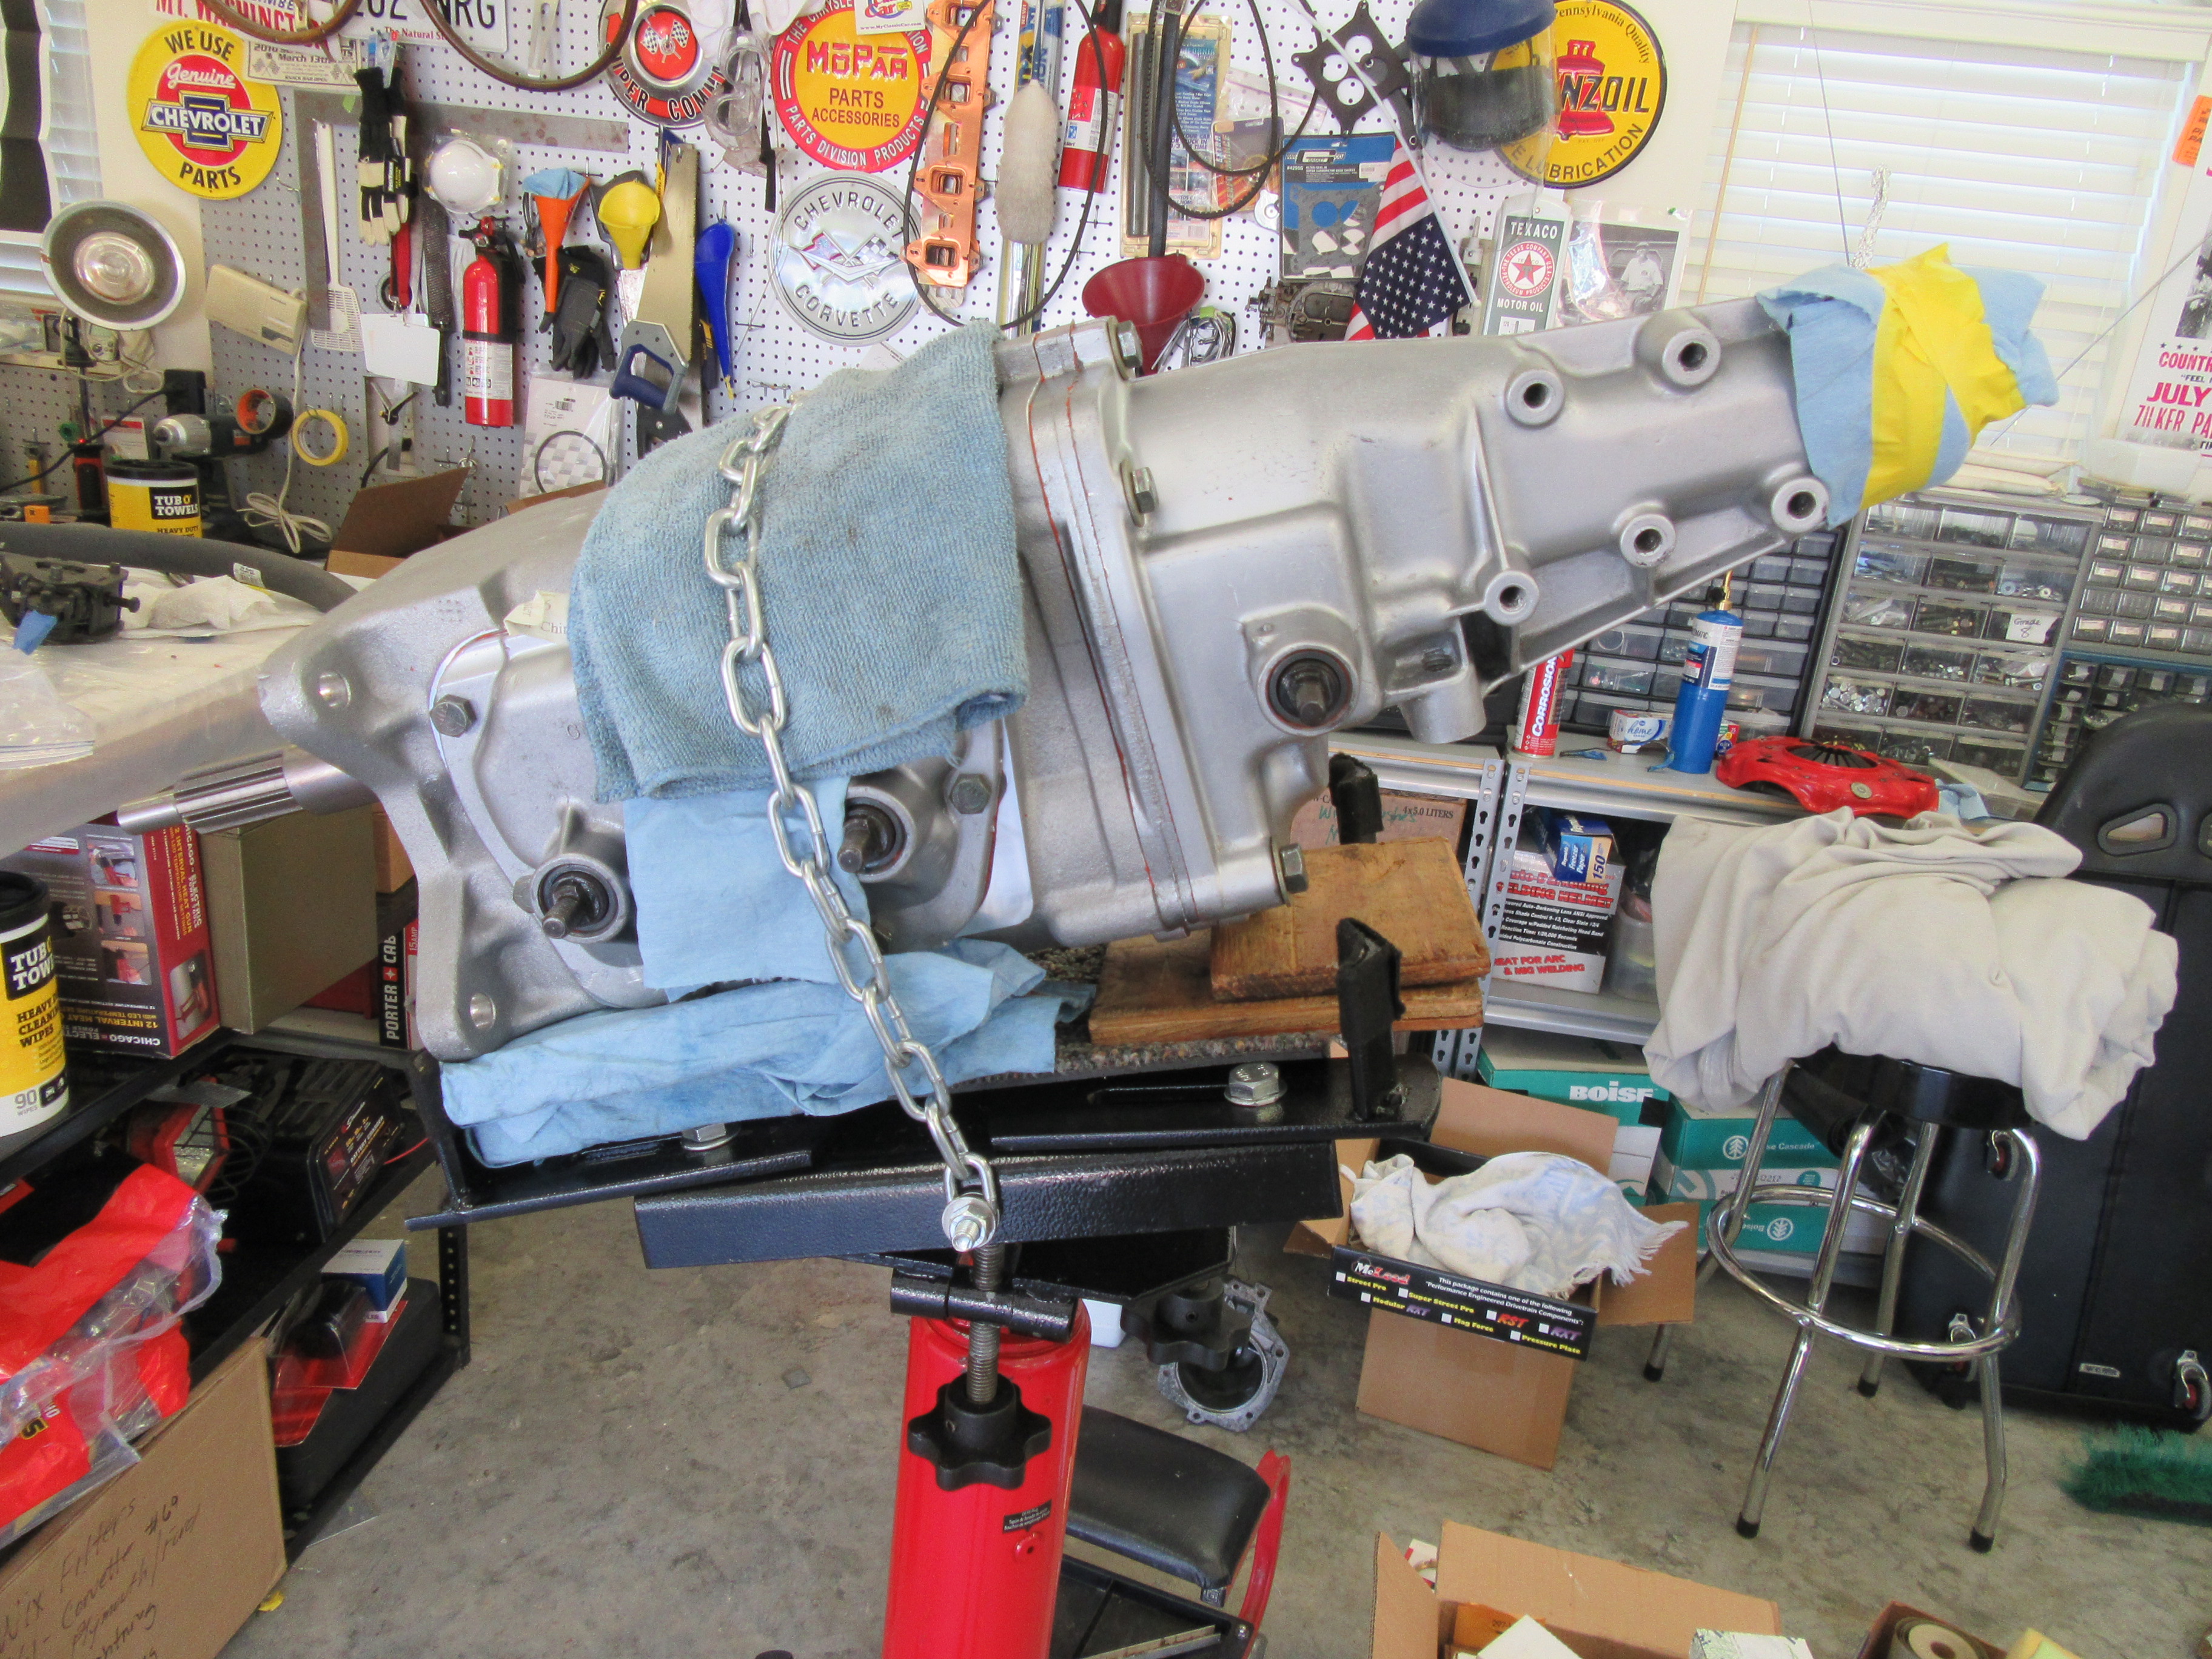
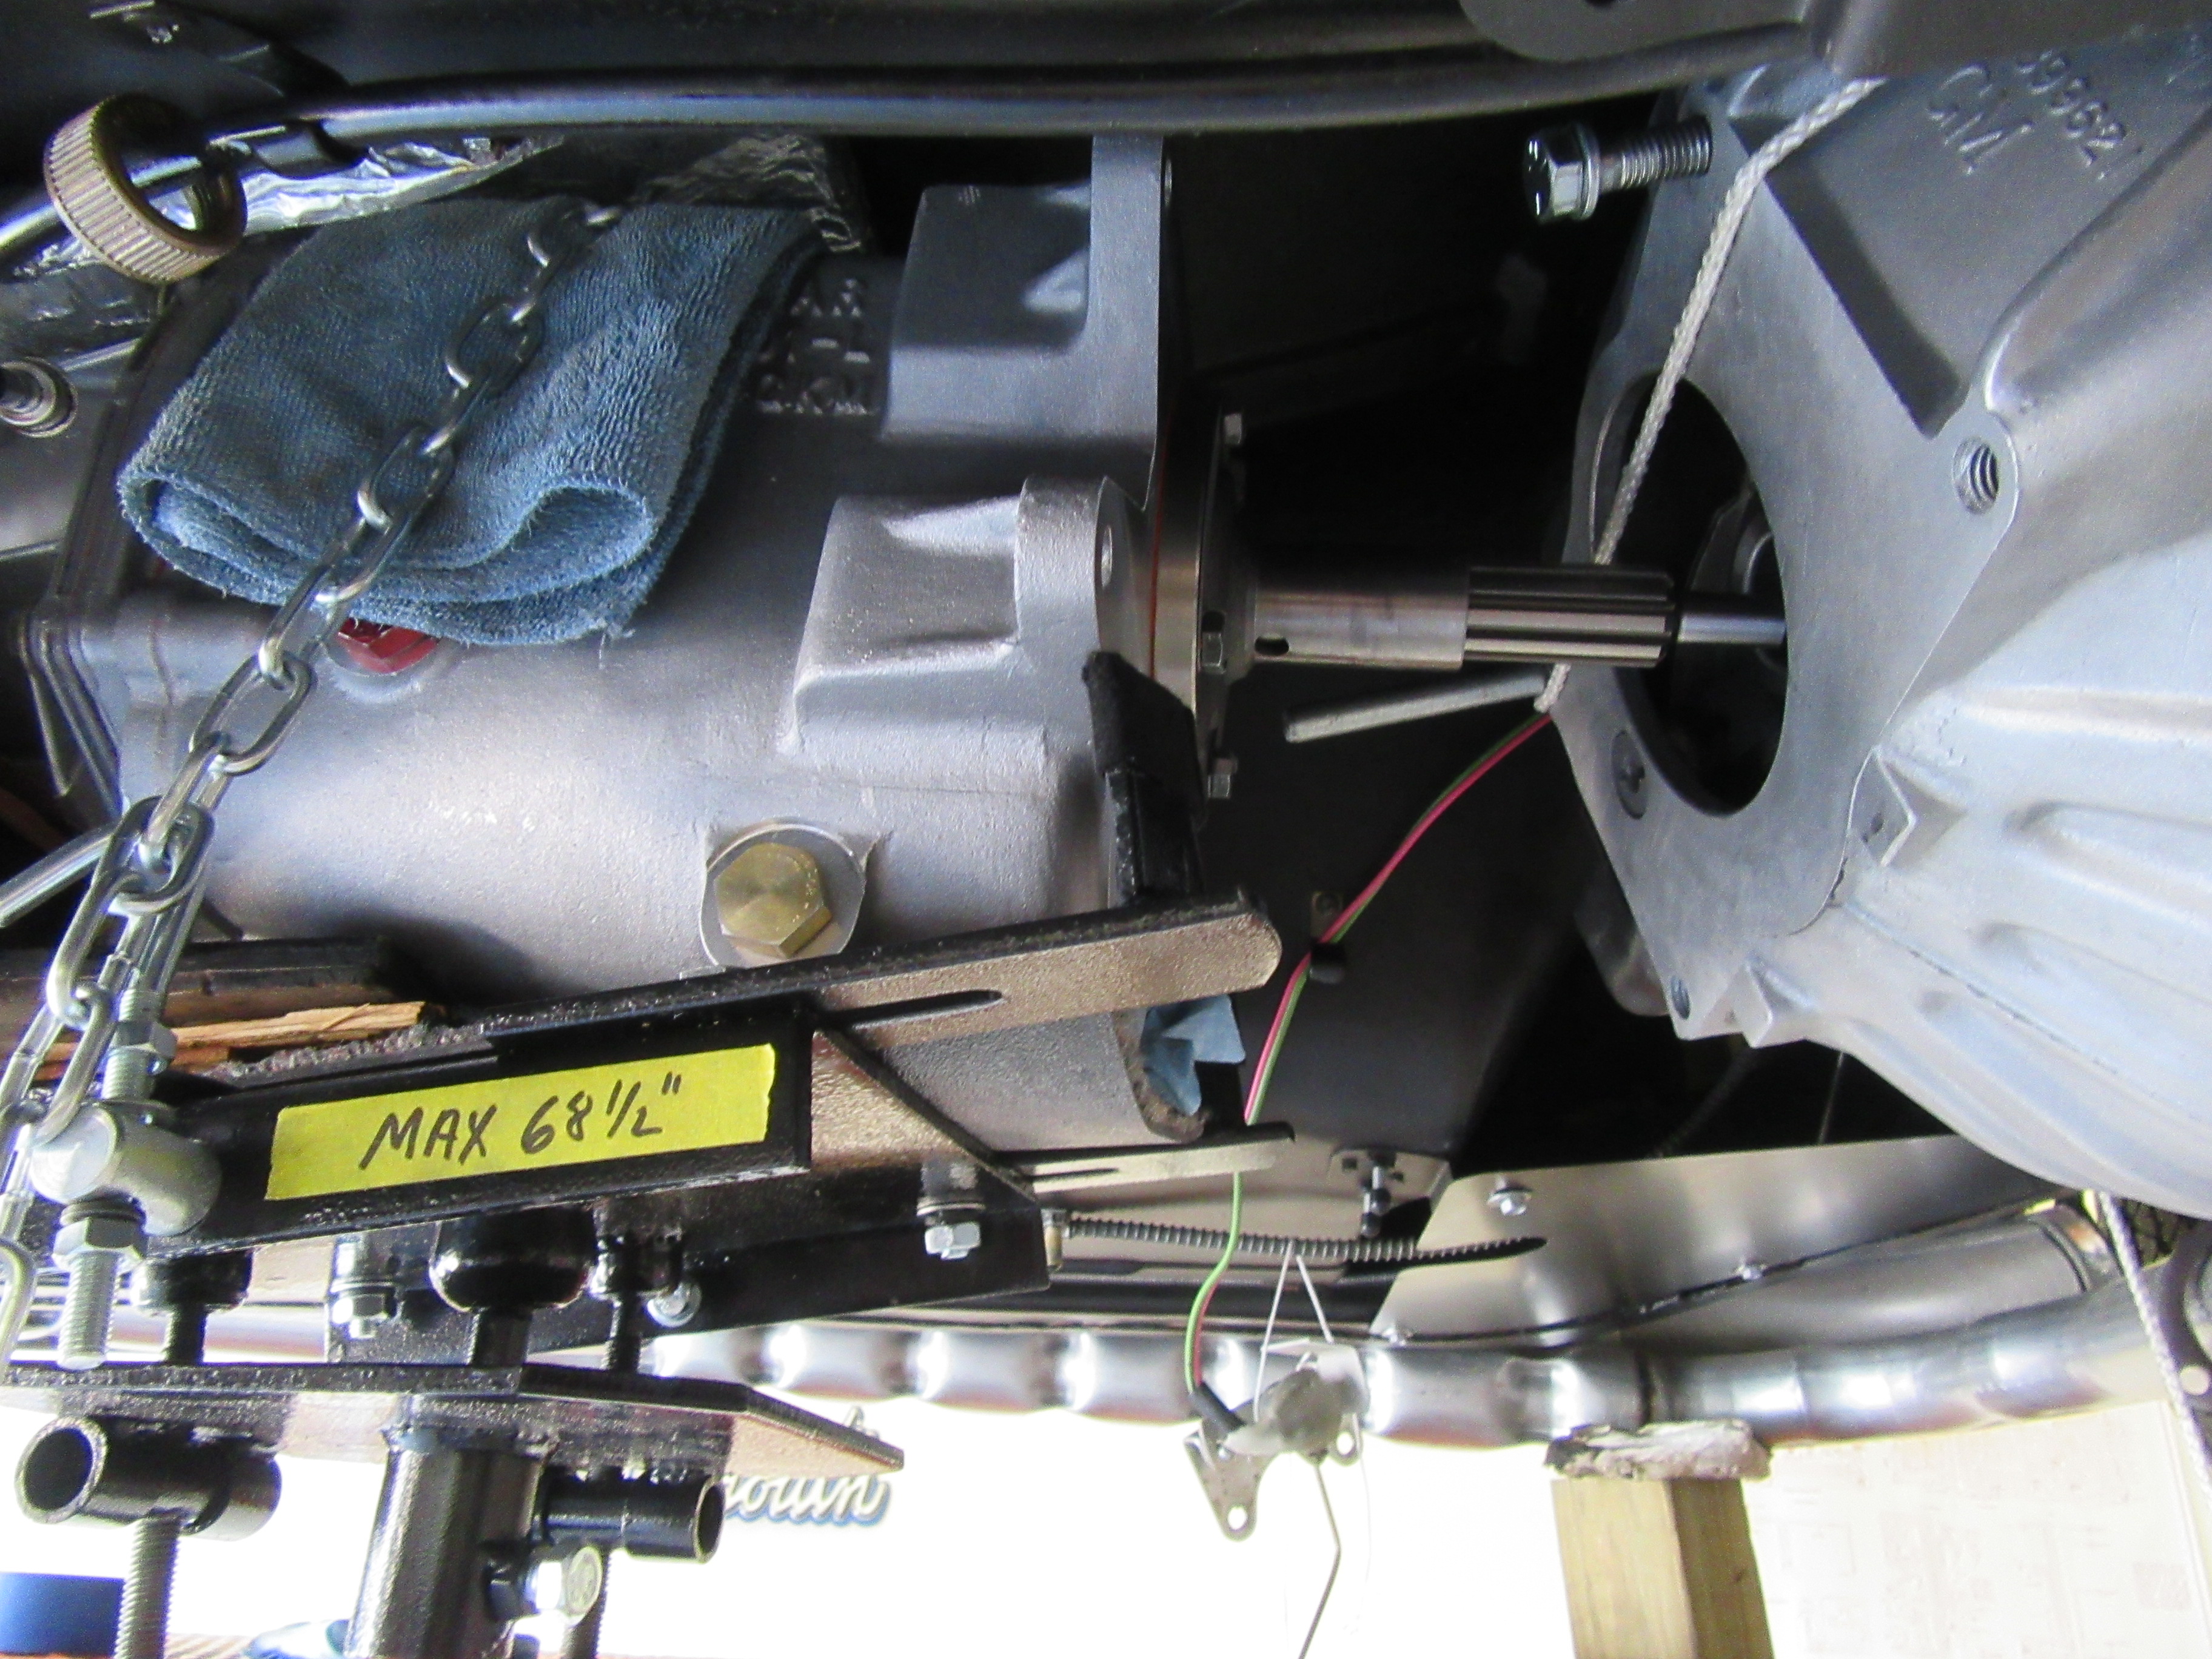
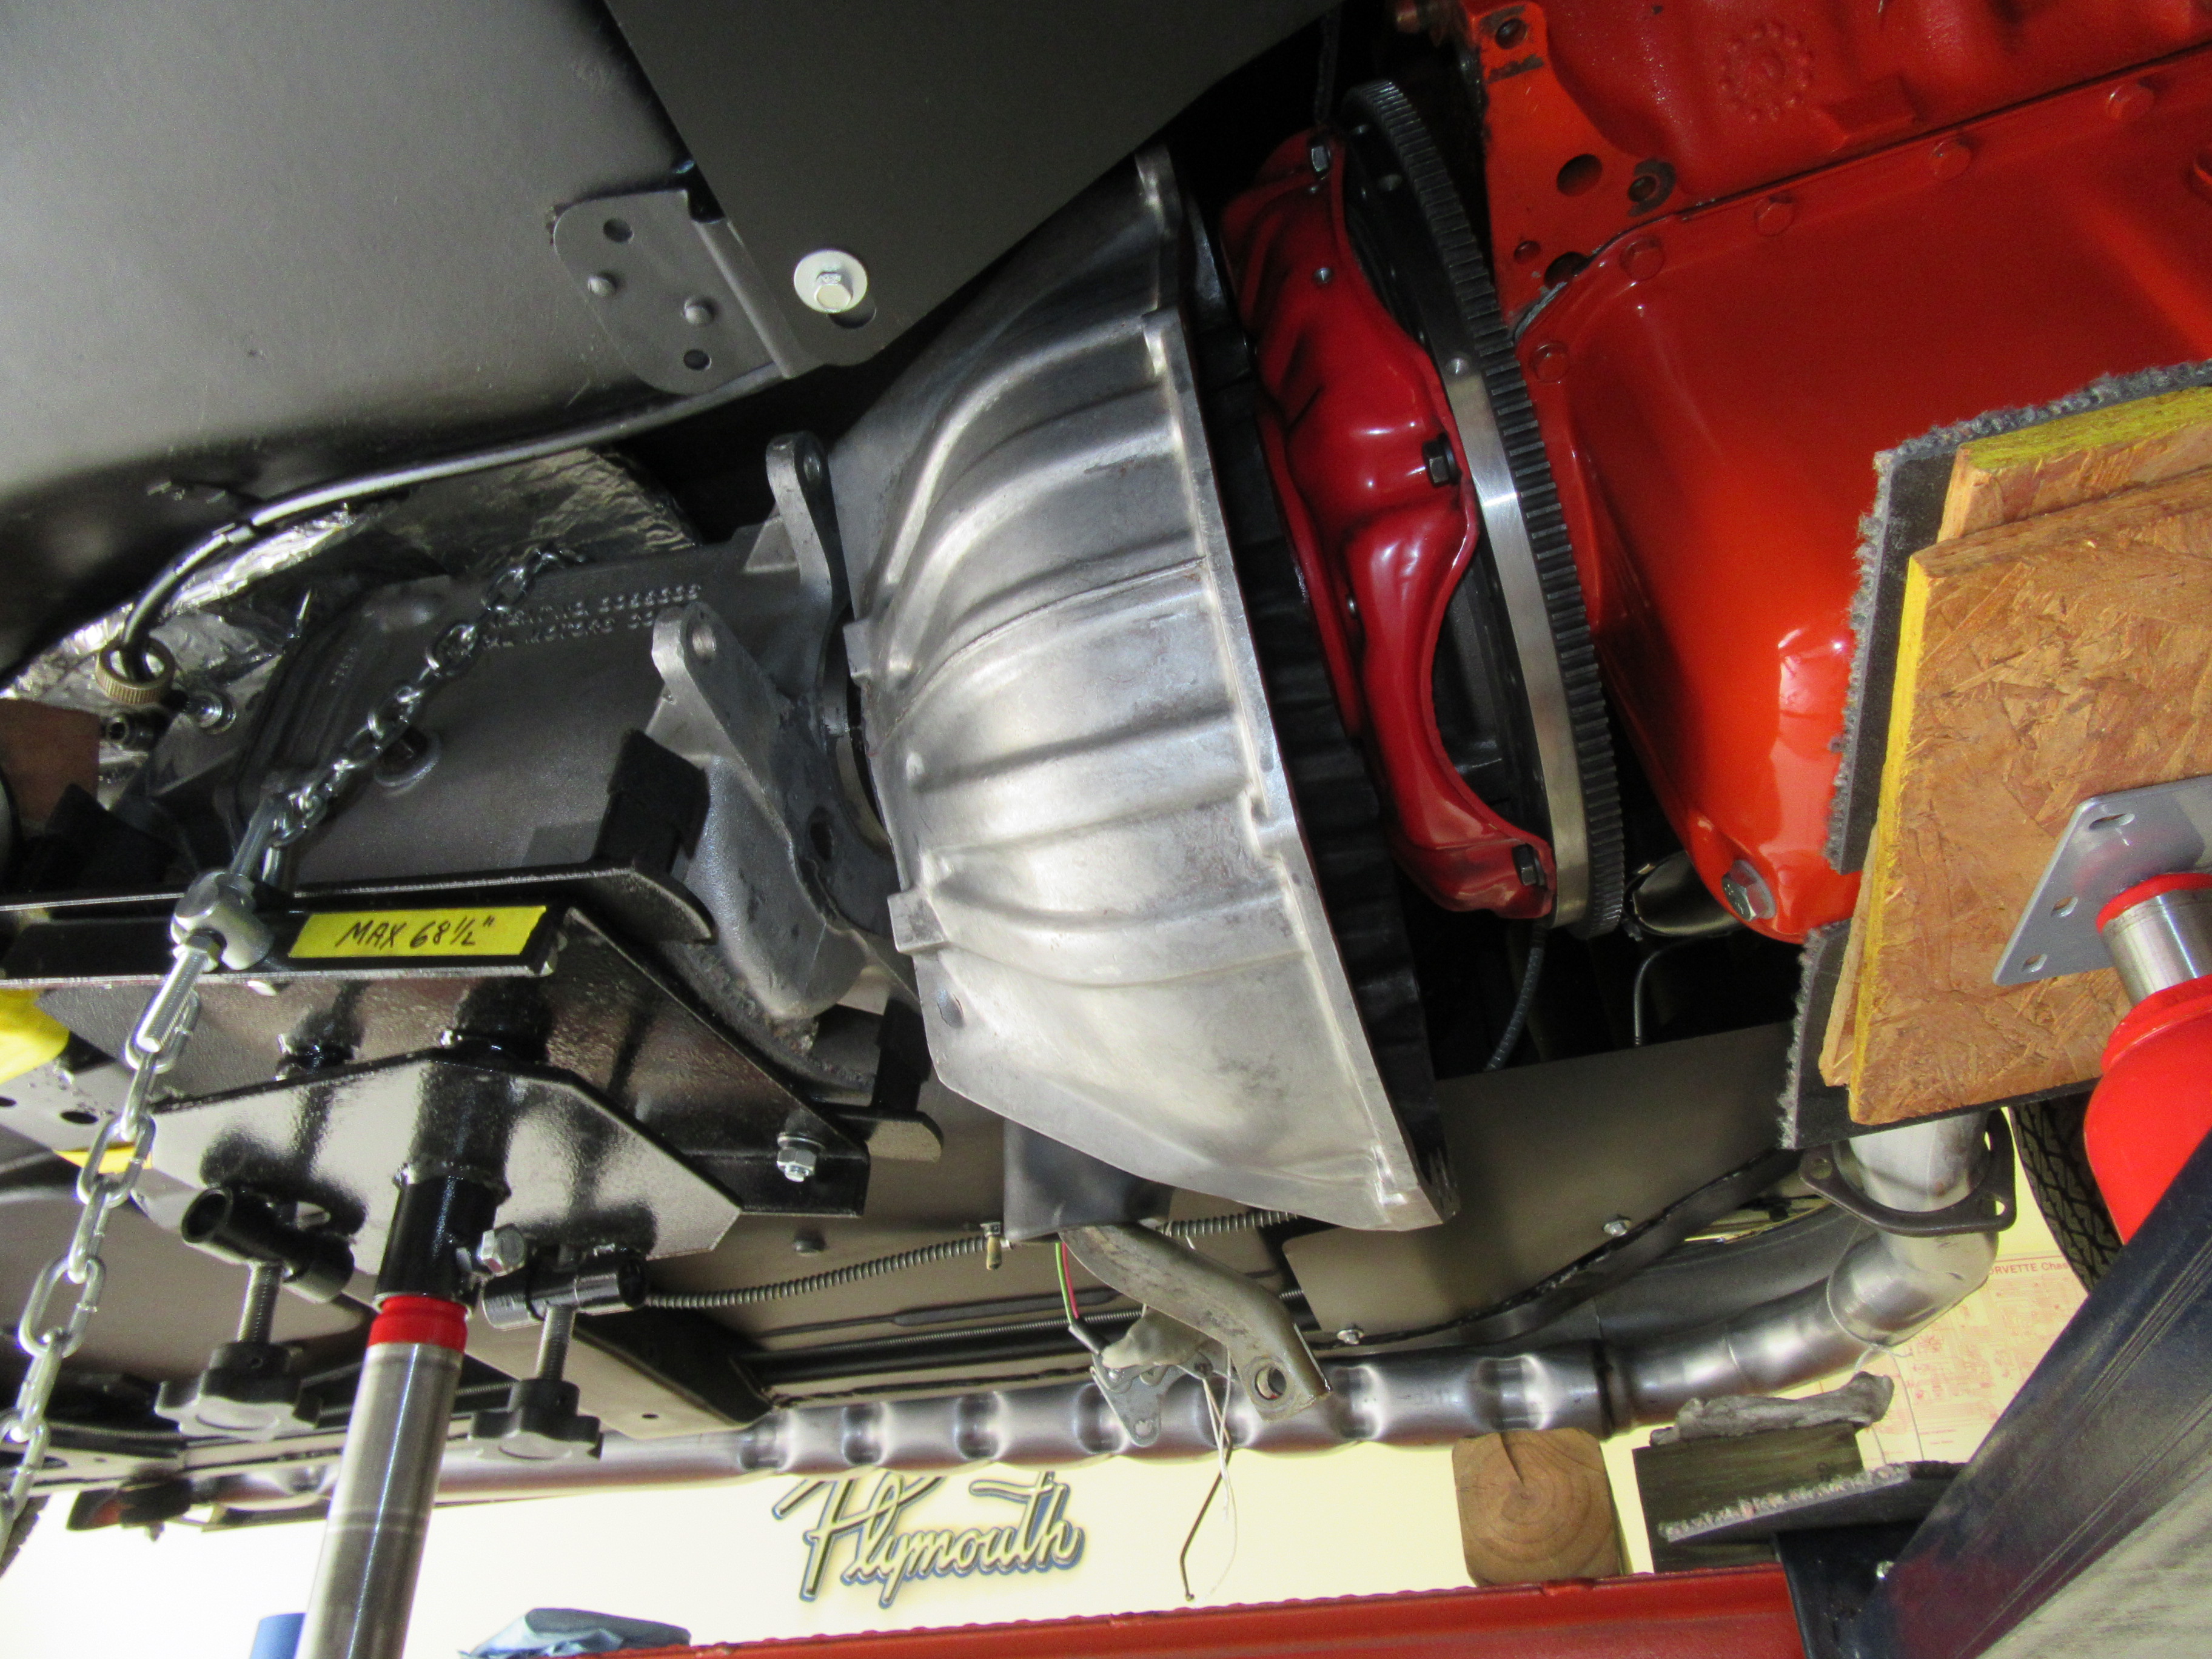
The last time I installed the transmission I smeared a bit of RTV around the countershaft area to prevent any leaks. OK - it was a little more than a bit. It worked well - too well, as I had a heck of a time breaking it loose from the bell housing. It took a lot of wiggling and juggling the jacks up and down before it finally came loose. It works well to control any leaks from that area but too much can be an issue.
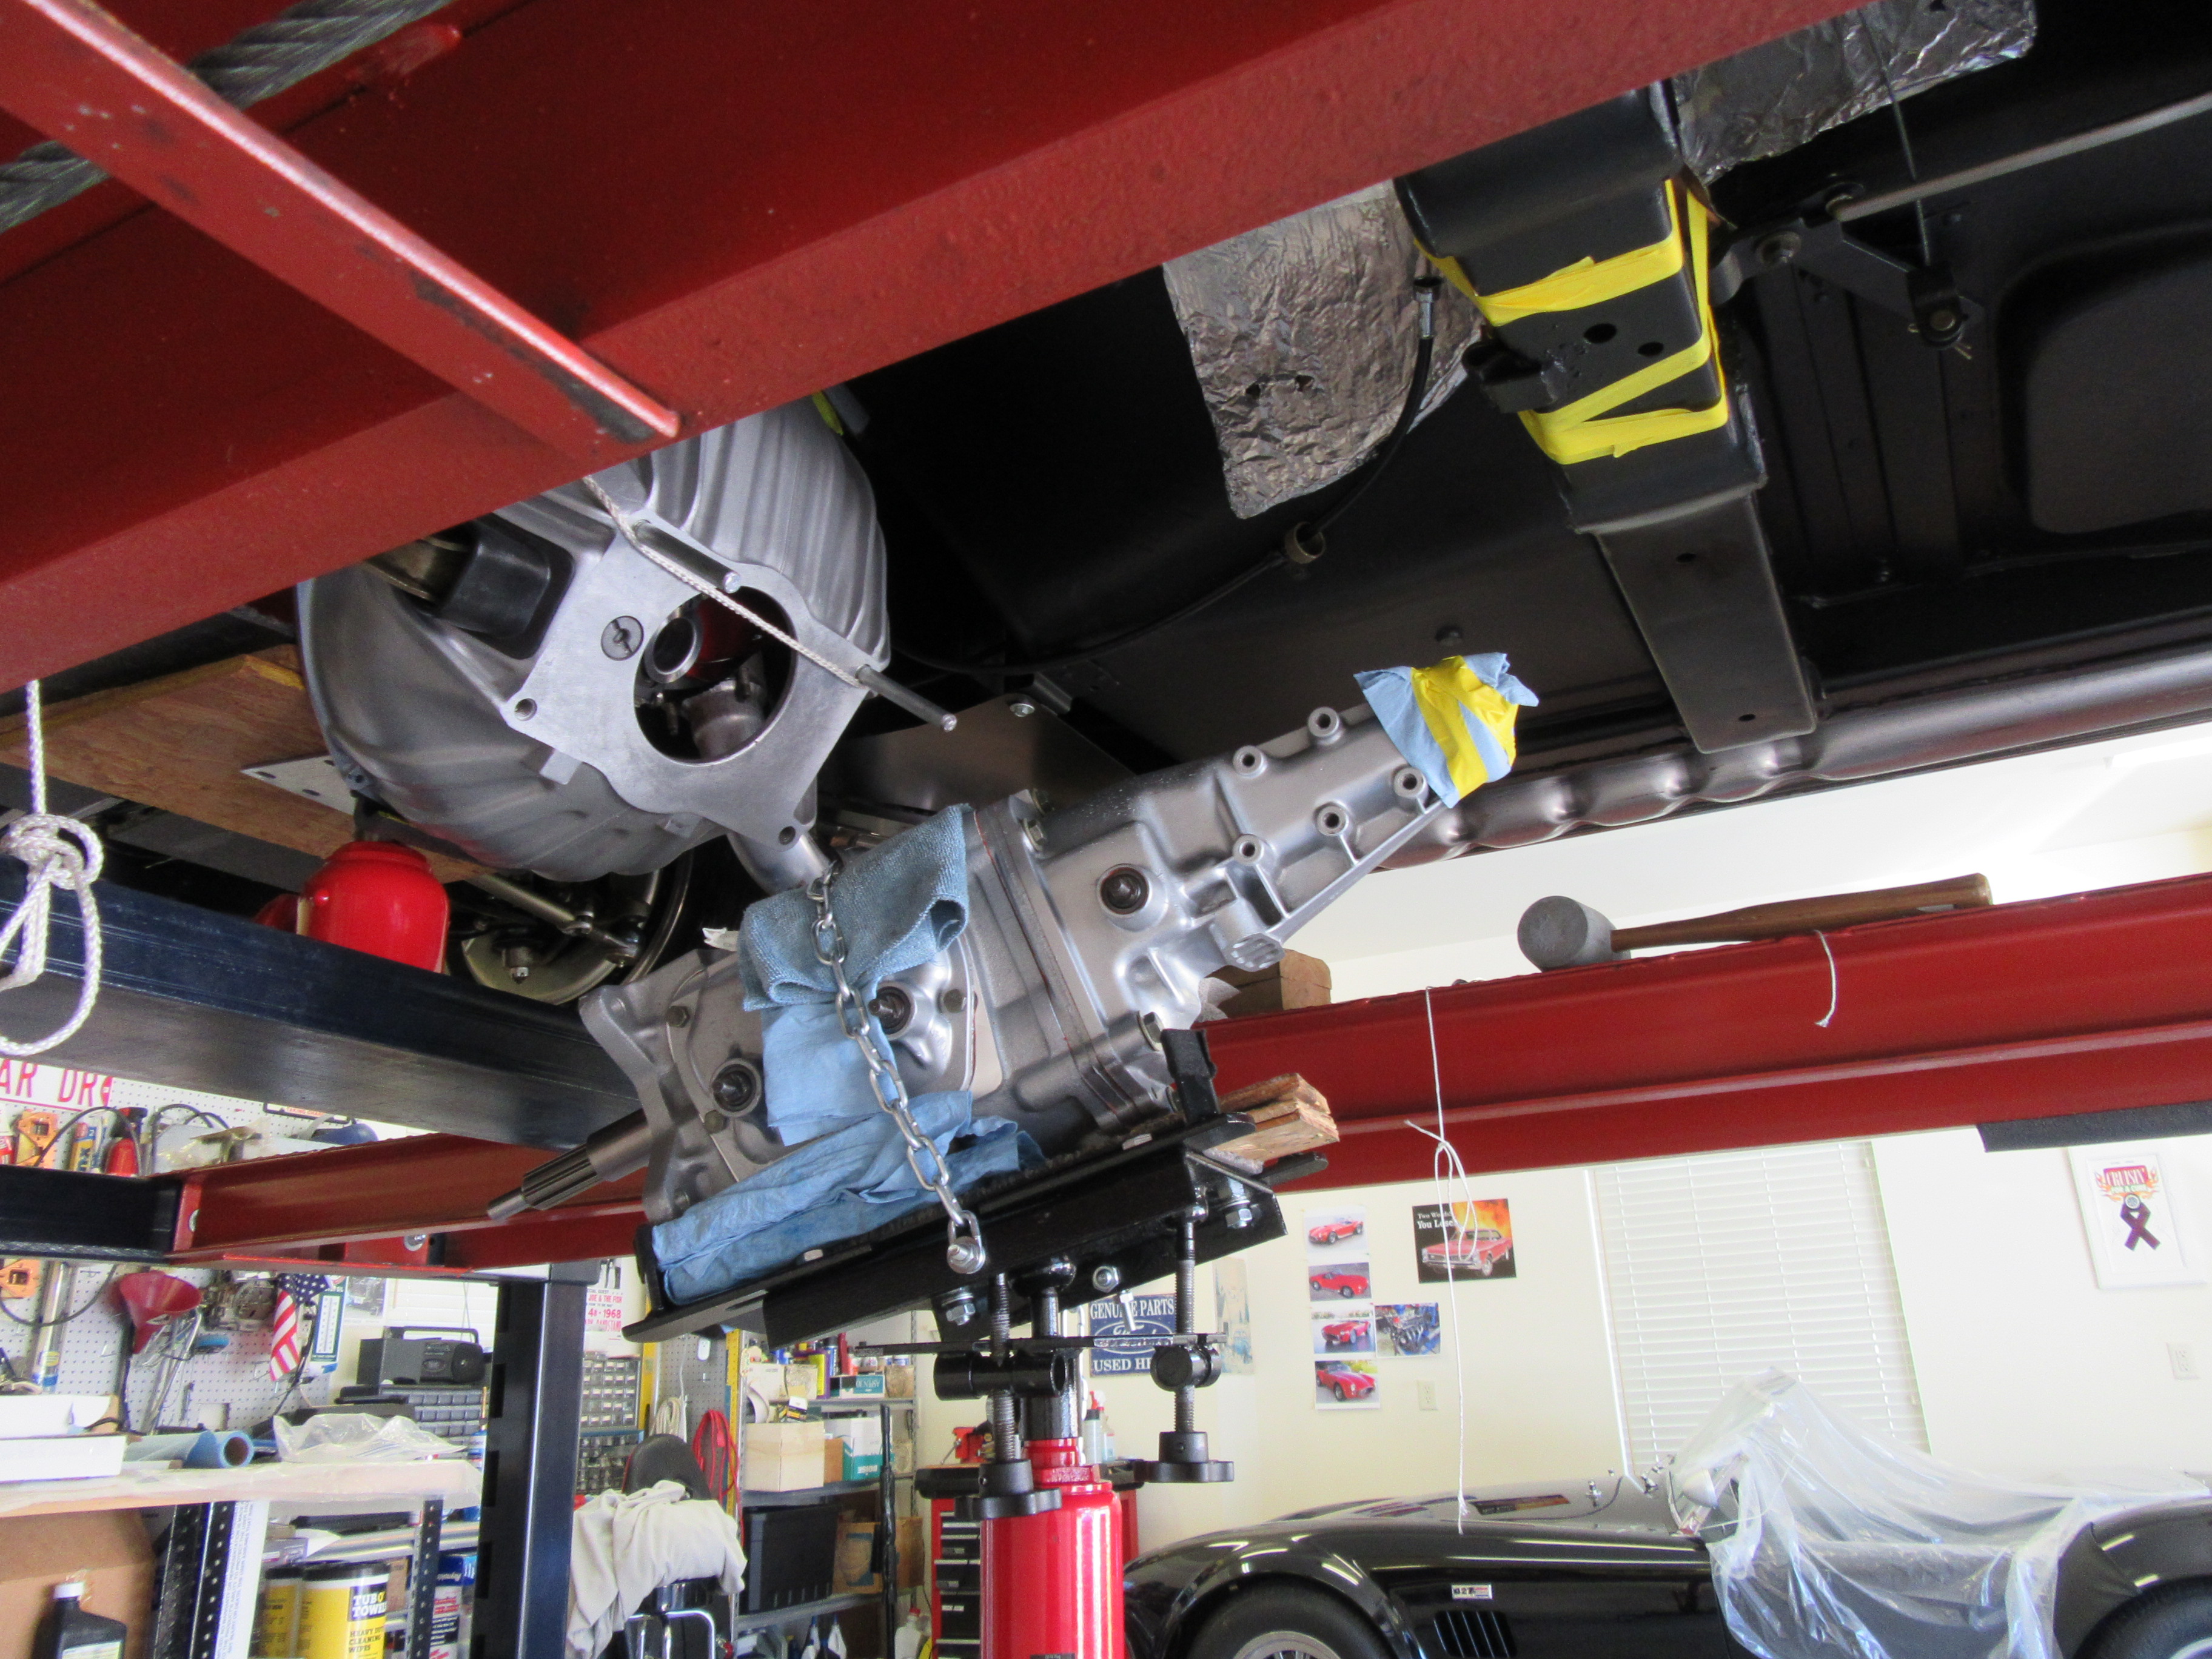
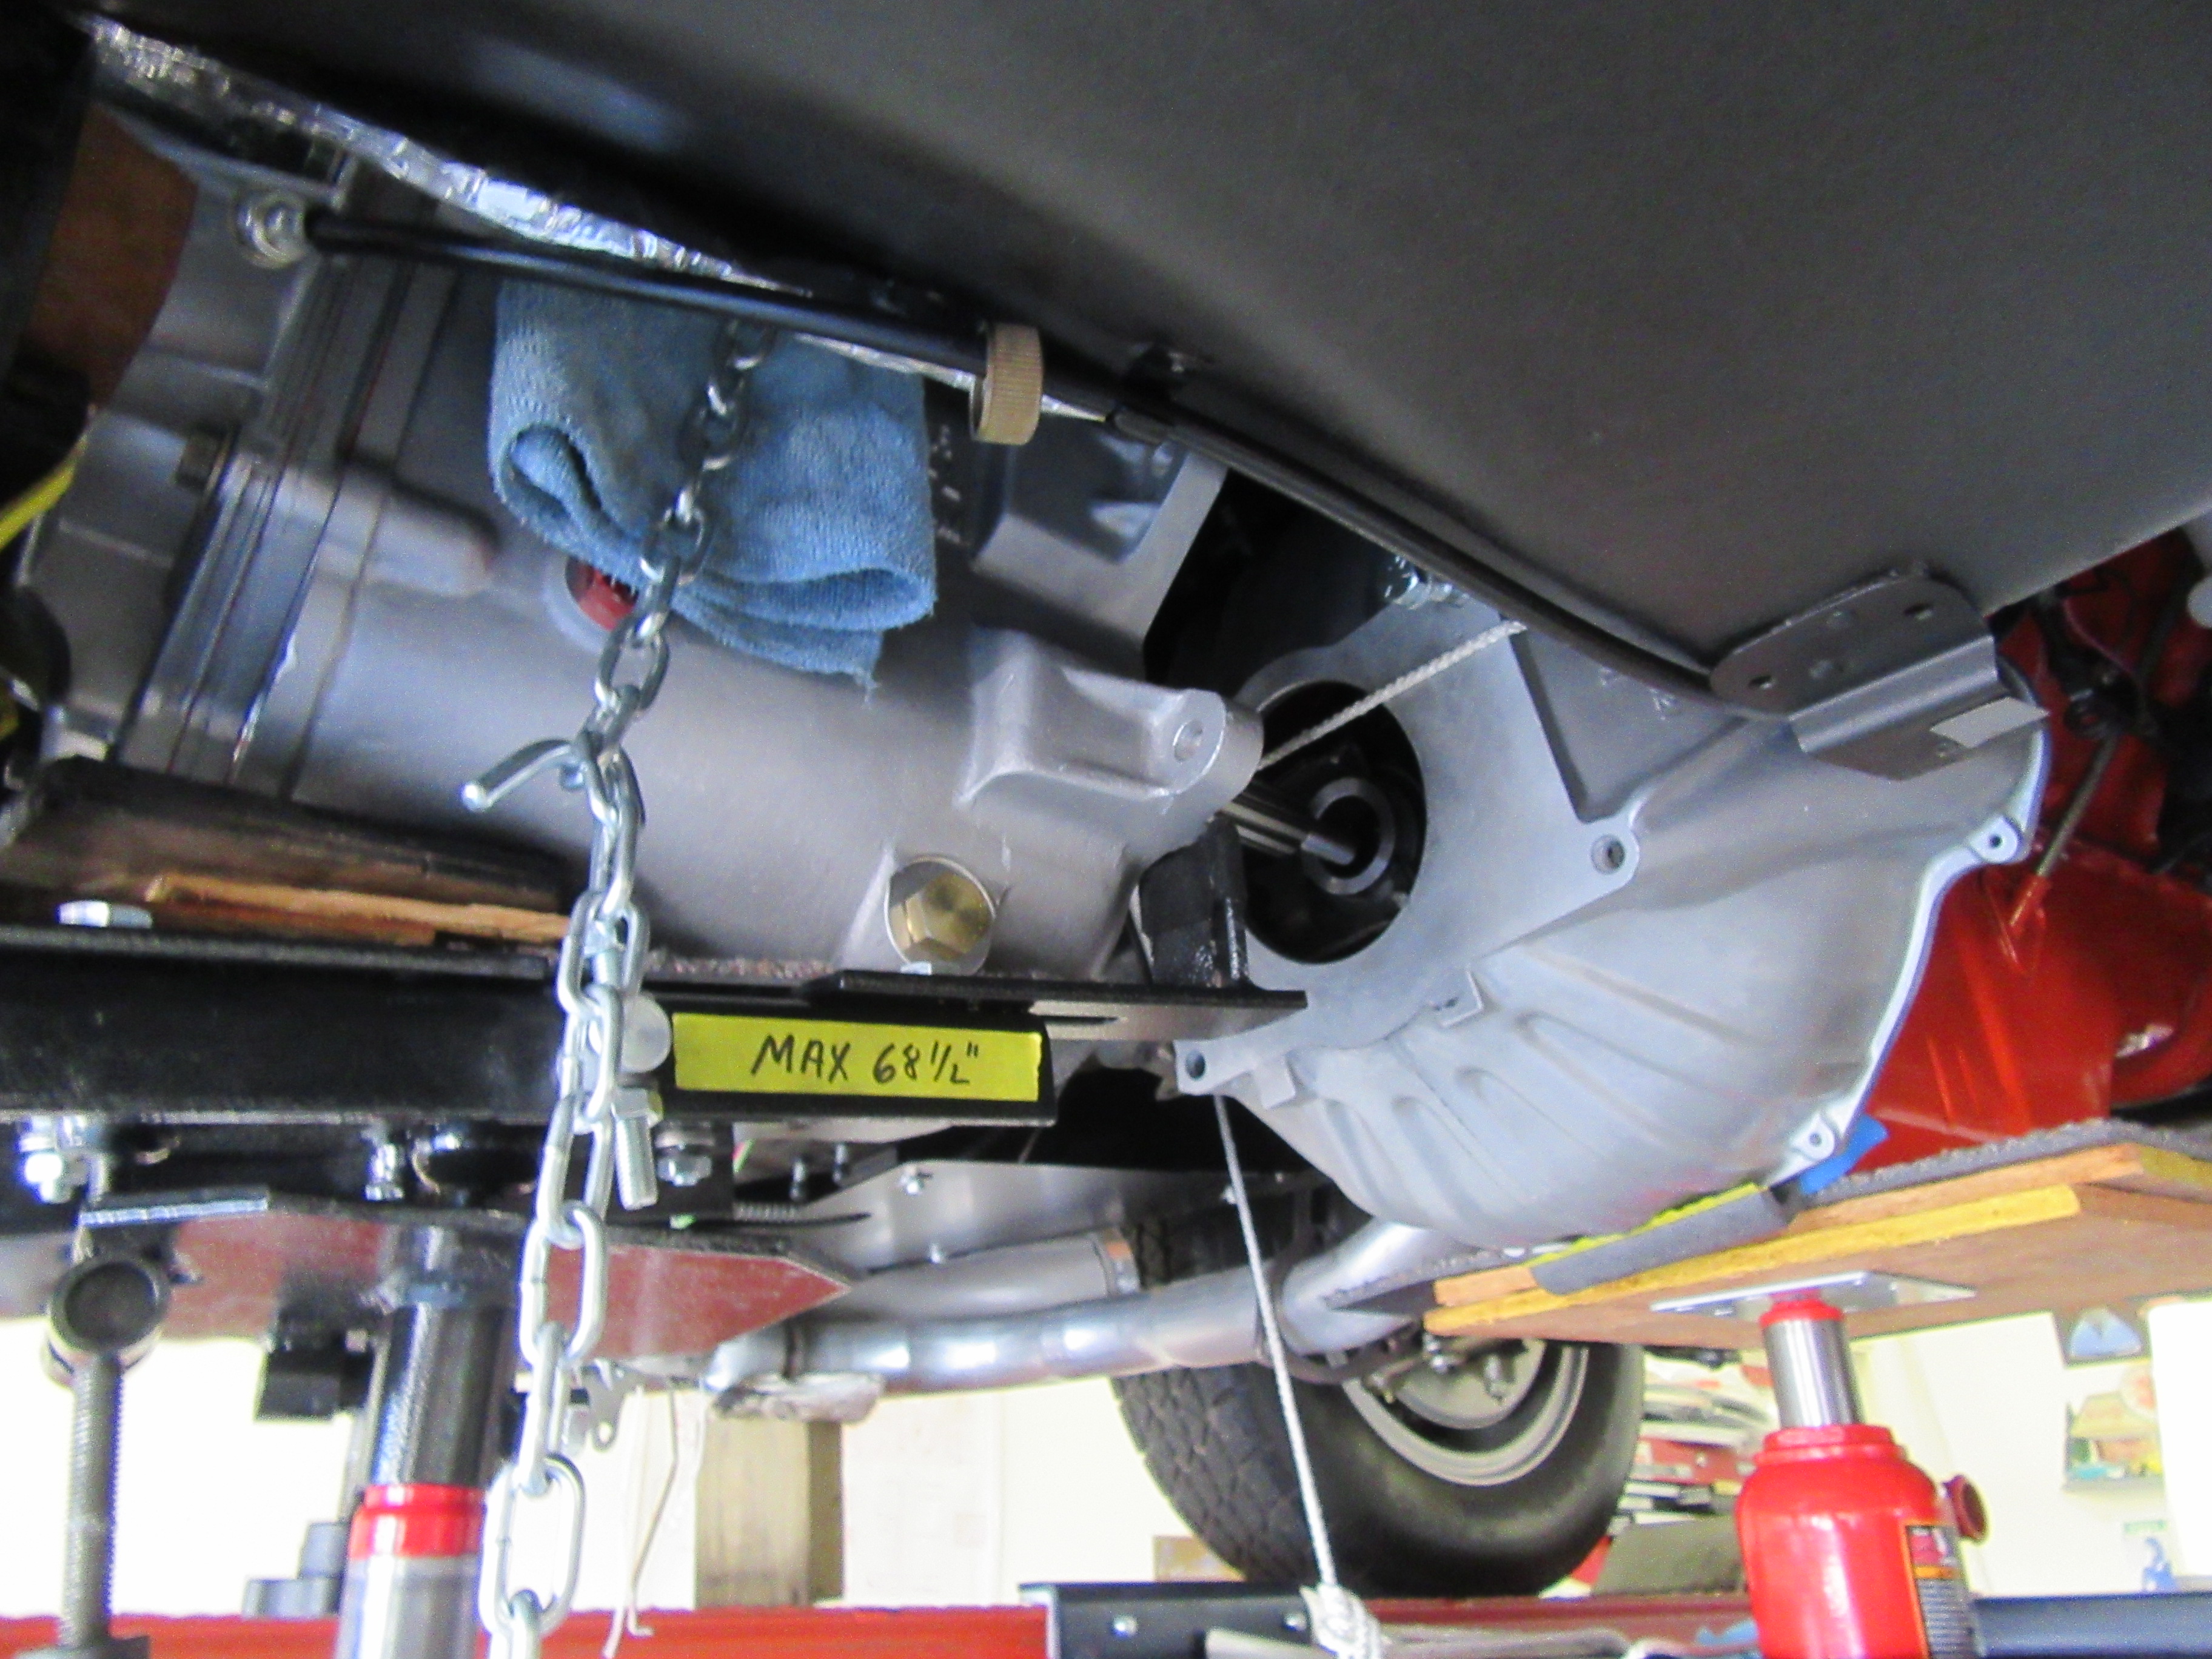
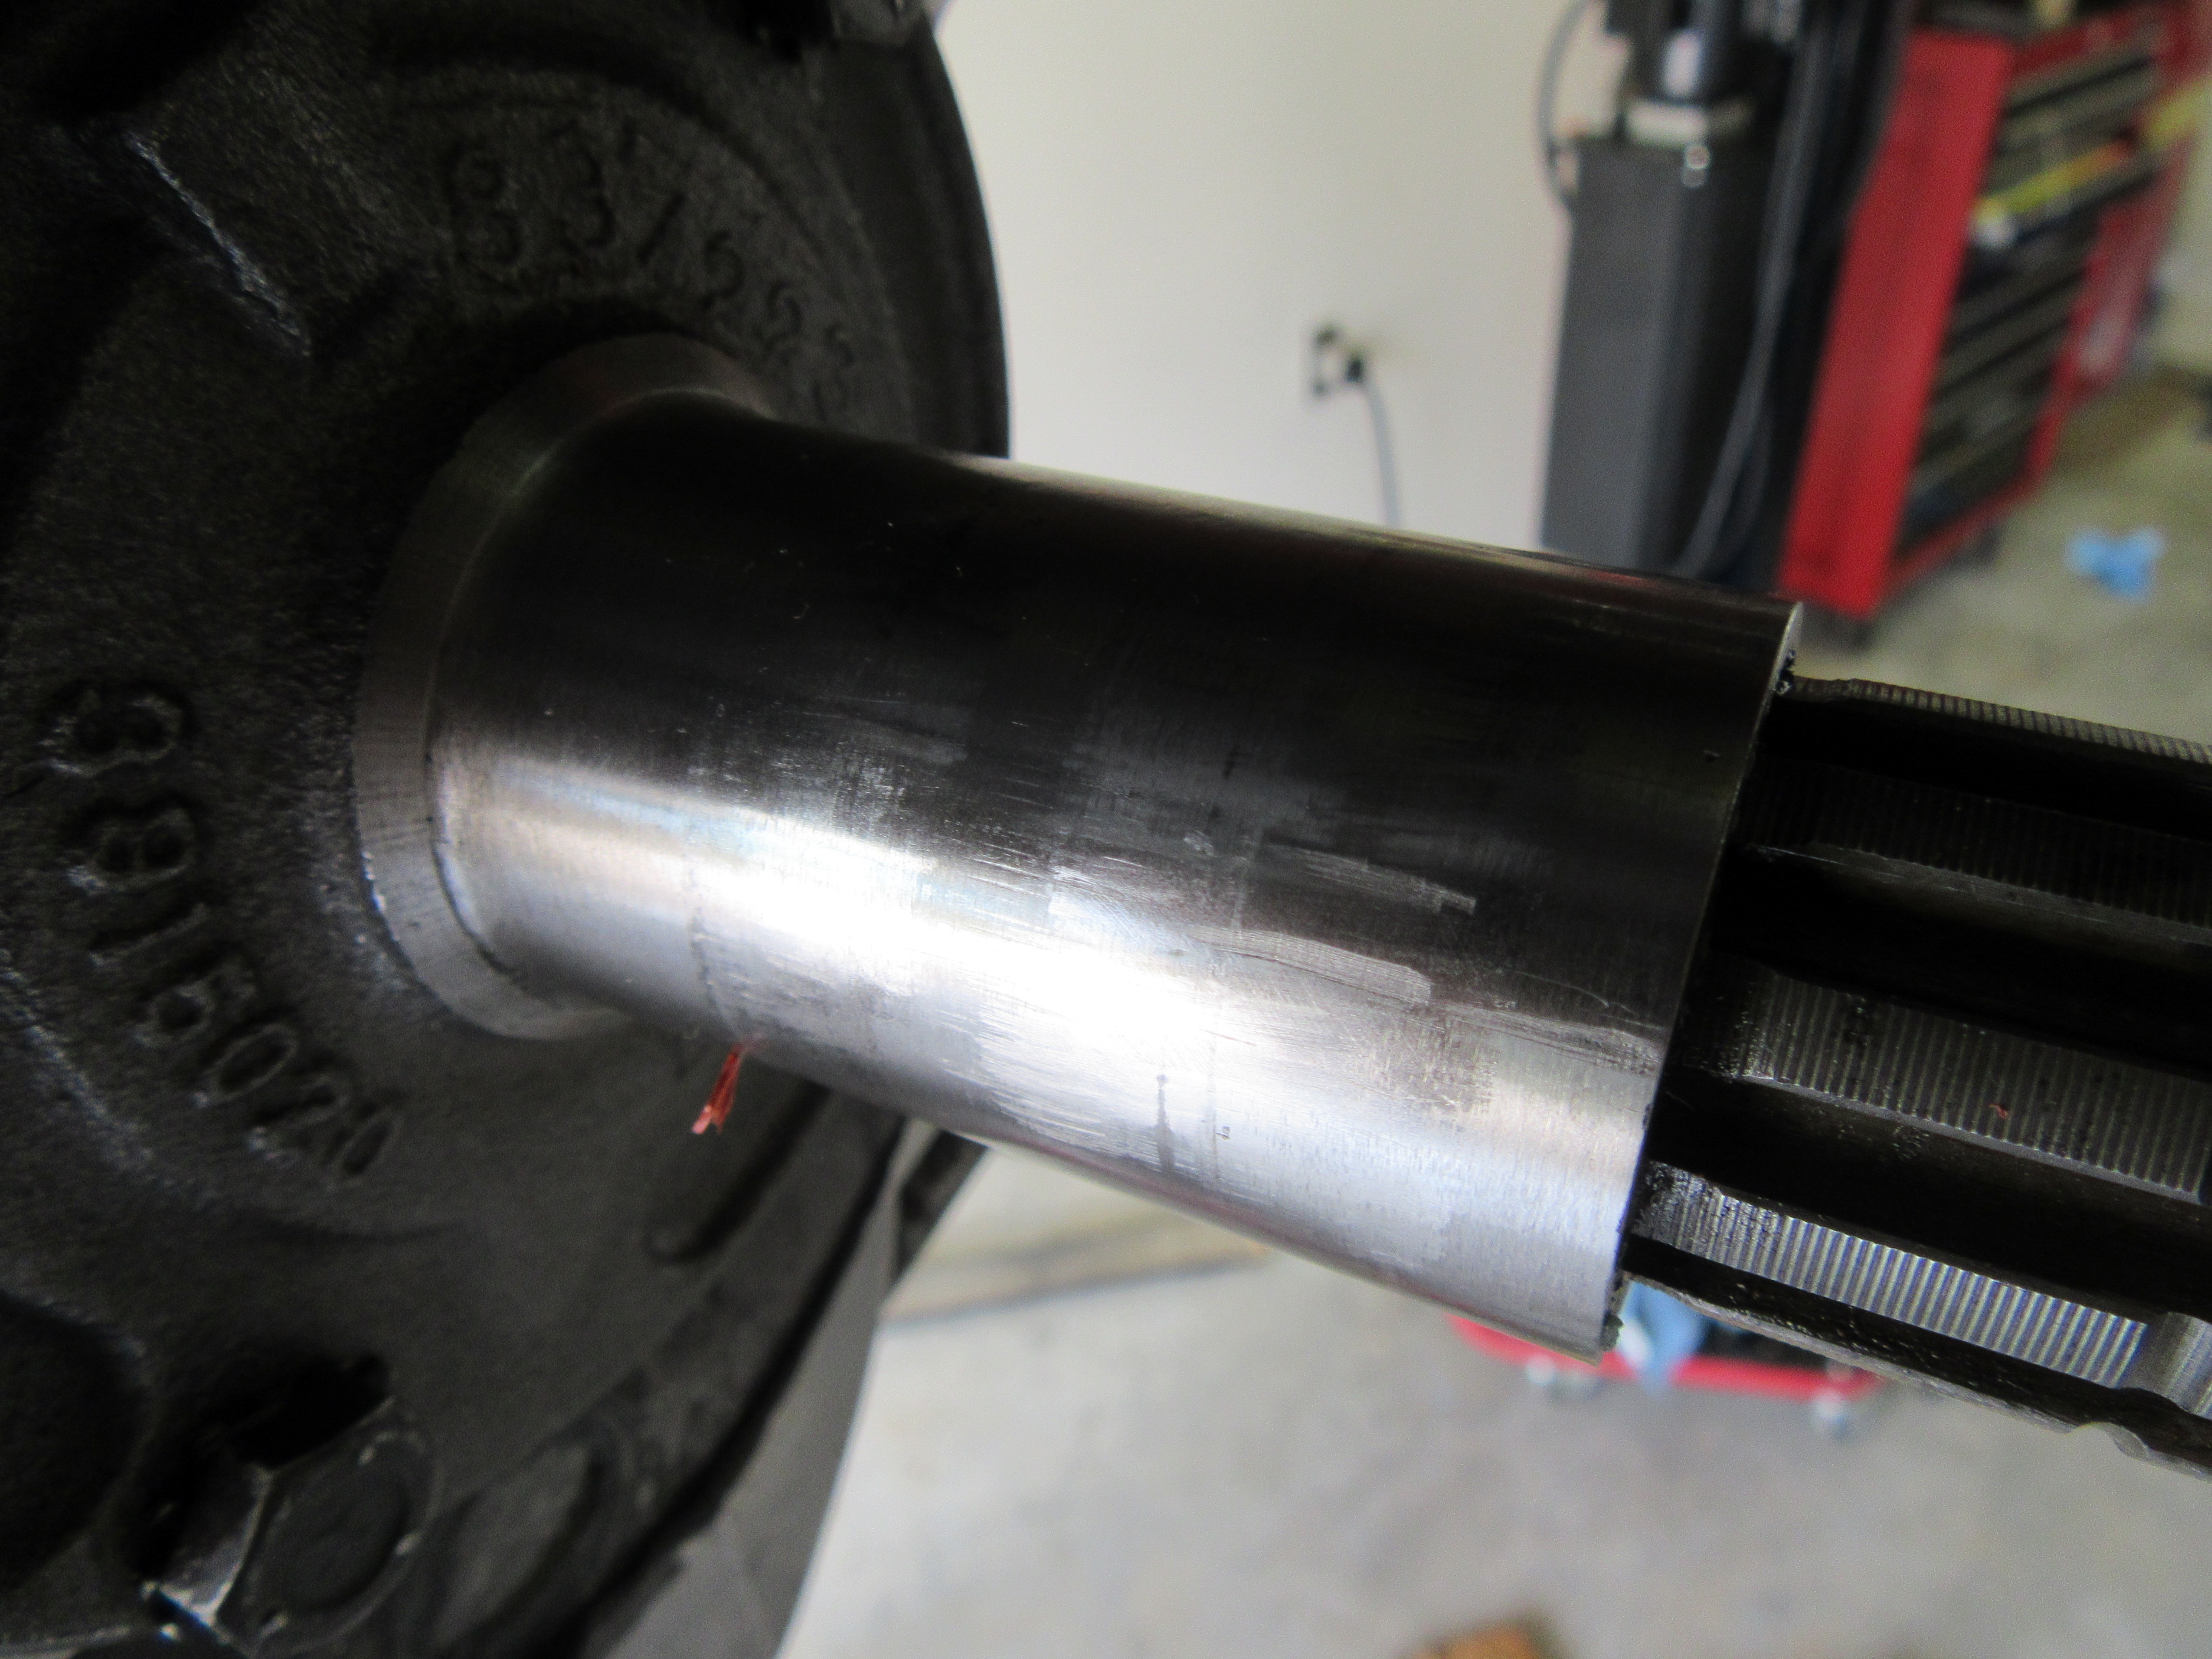
With the transmission pushed back I found that I was at somewhat of a mechanical disadvantage in getting it shoved as far back as I would like due to the transmission jack and working with the lift at mid-height because my jack only has a 68 inch max working height. Usually I didn't have much trouble laying on my back and shoving the thing back and over the crossmember as far as it would go. So I decided to go ahead and unbolt the bellhousing and see if it would come off.
Well, it did, but only with a lot of maneuvering. Instead of lowering the back of the engine I had to raise it up. And I had to tilt the transmission down in front as much as possible and off to the right side and I rotated the nose towards the right. By rotating the bellhousing around I was eventually able to find a position that allowed the input to come out and to remove the housing.
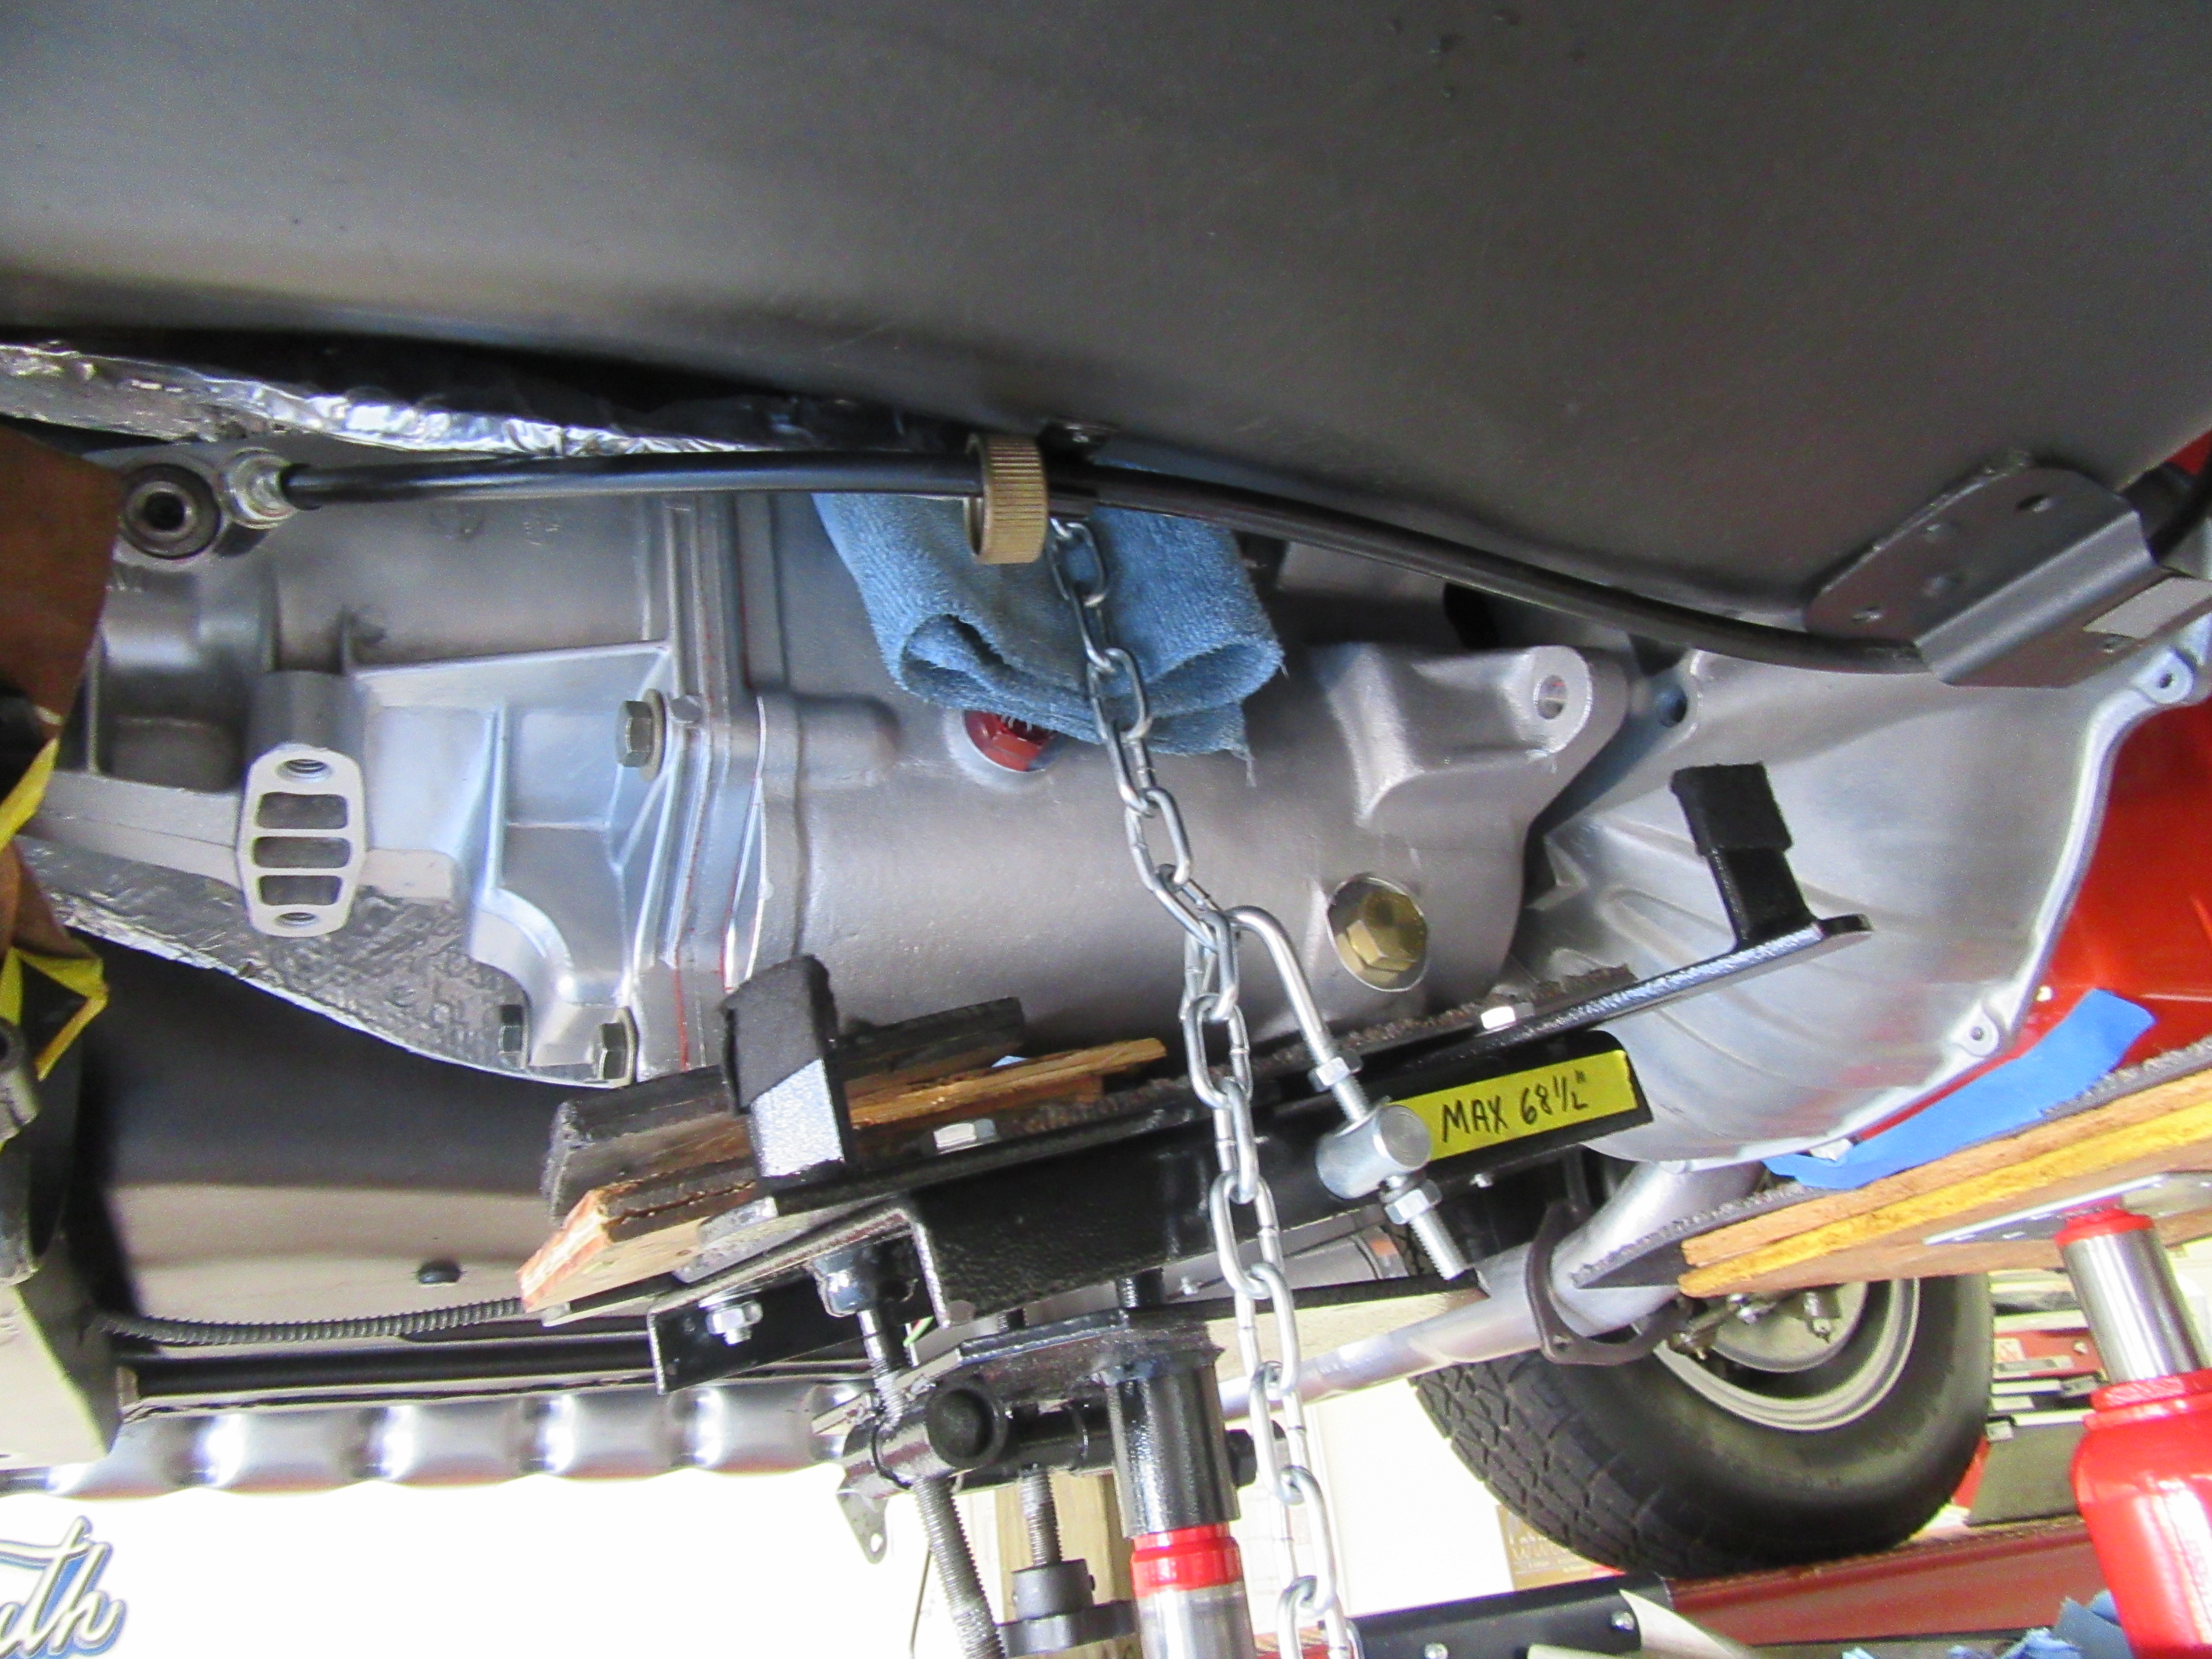
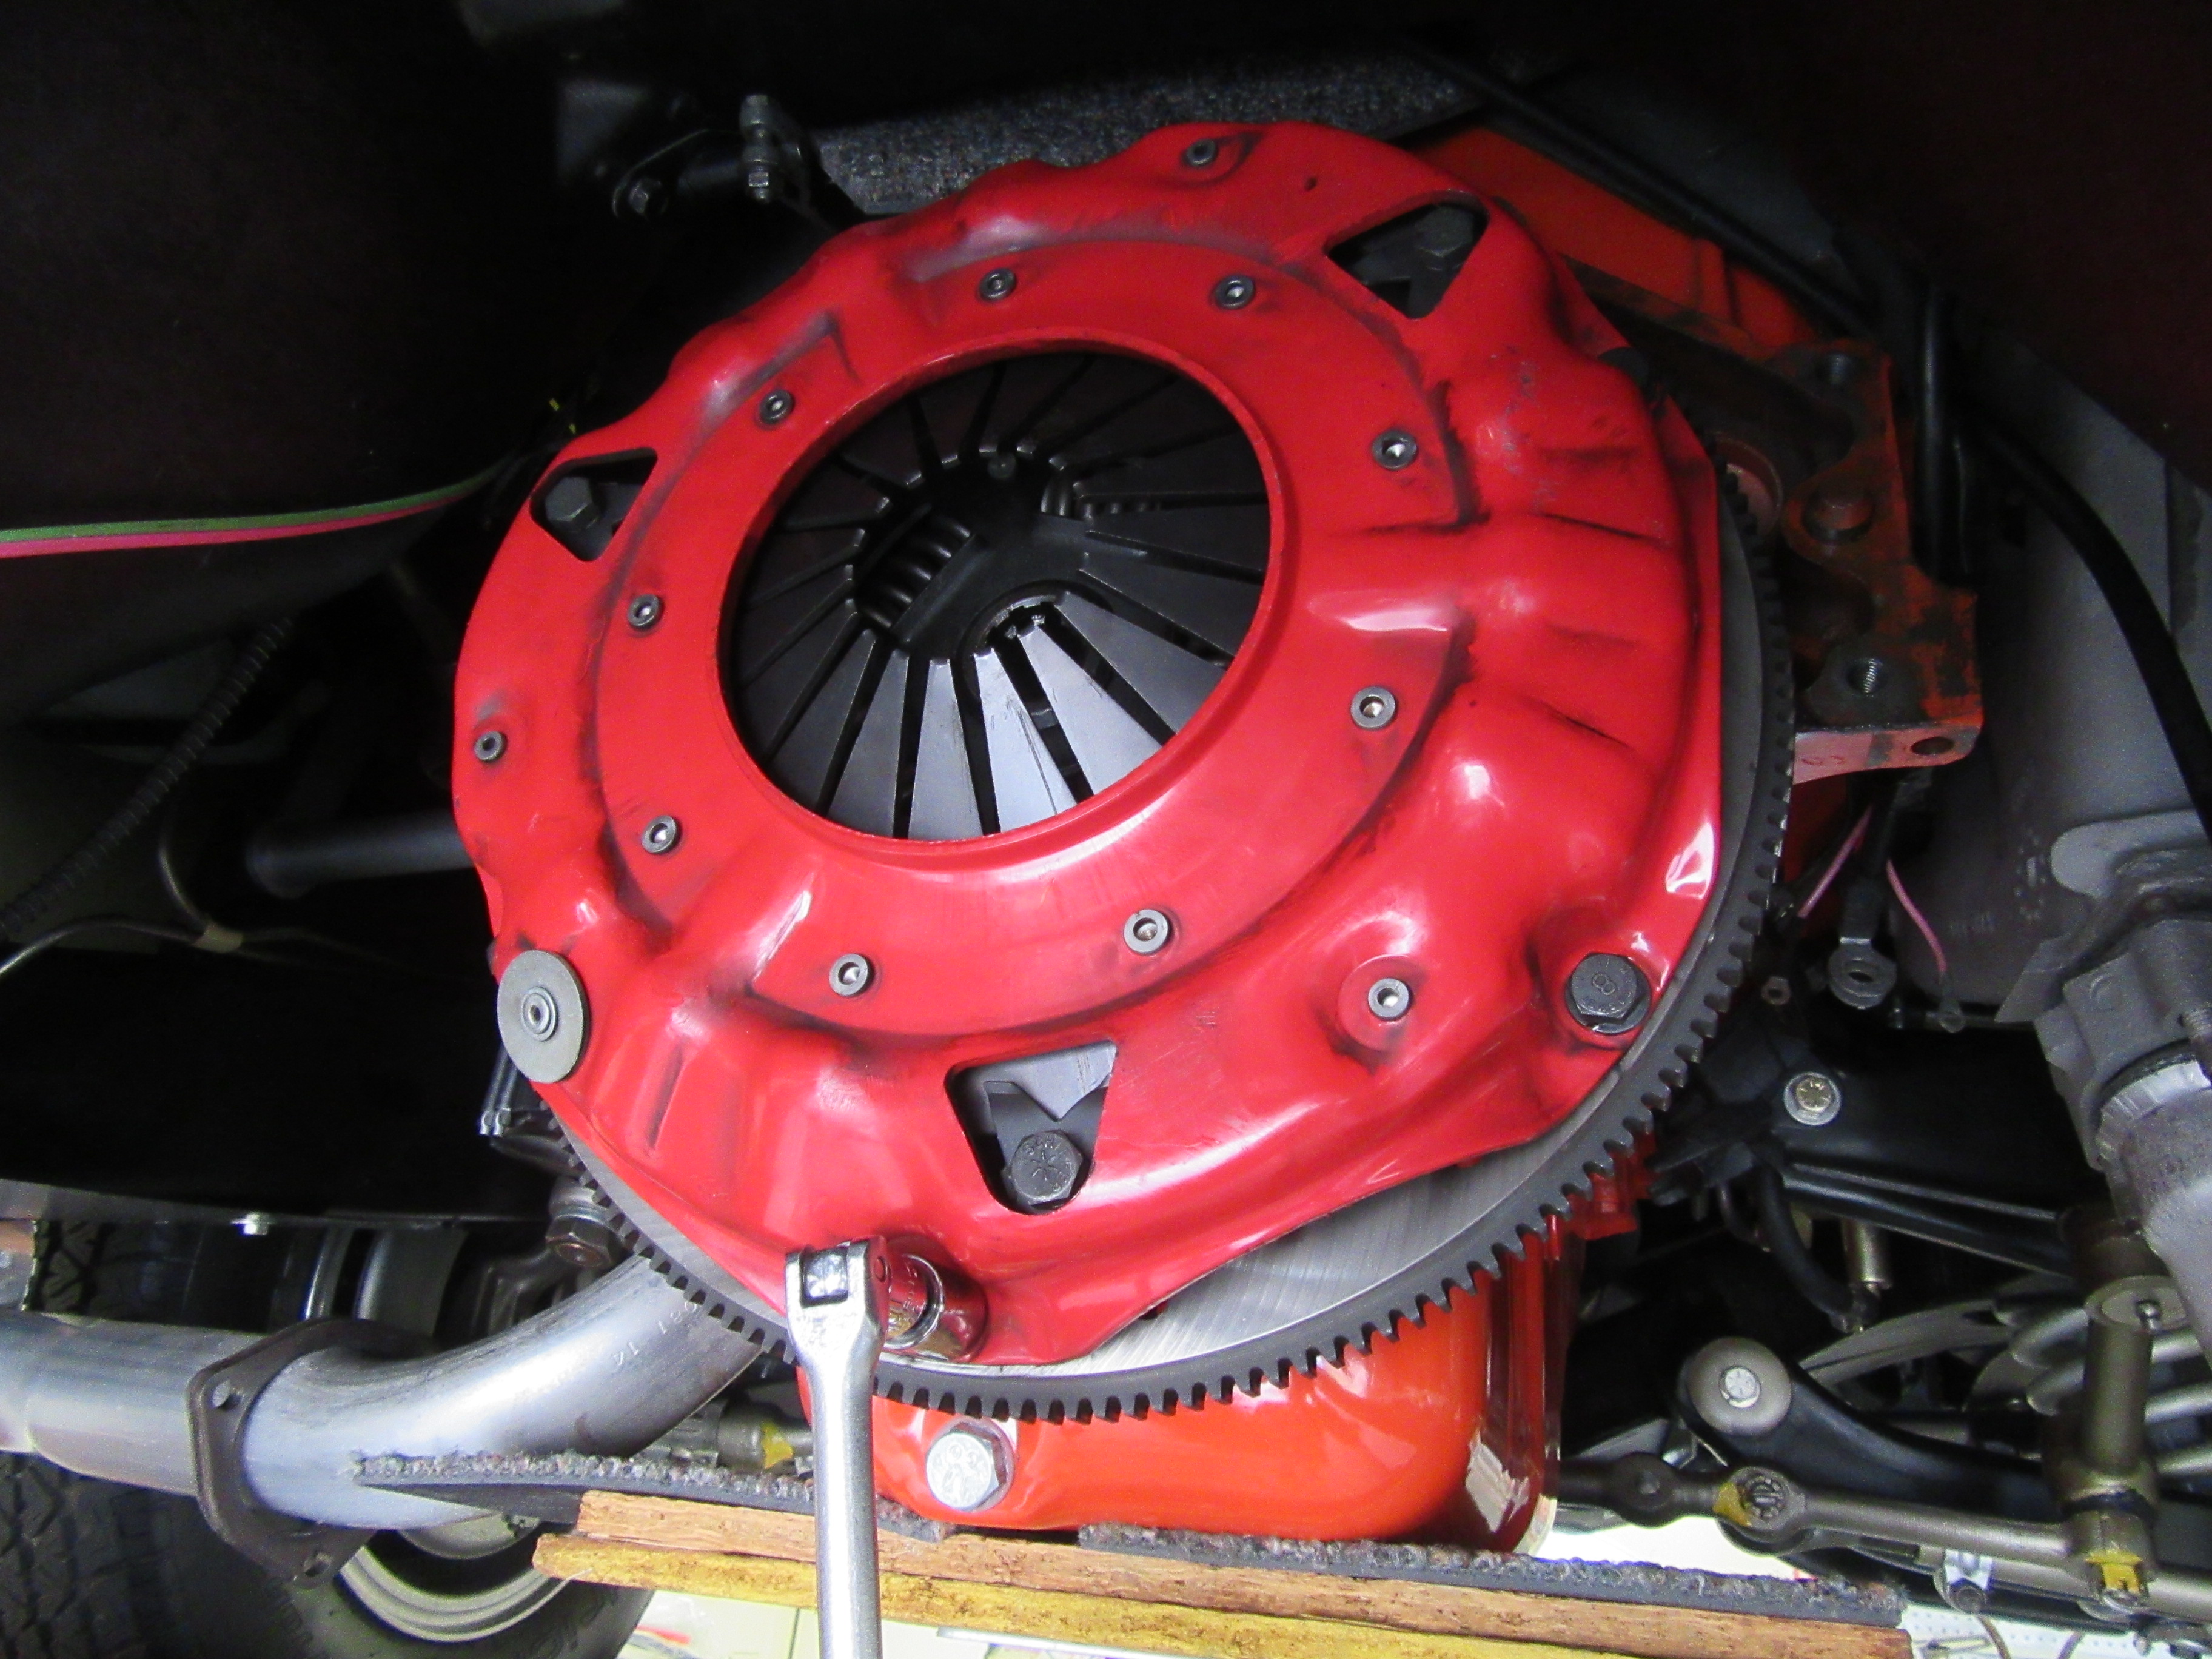
Then I lowered the transmission out and removed the clutch - loosening the bolts a half turn at a time to prevent damaging the pressure plate springs.
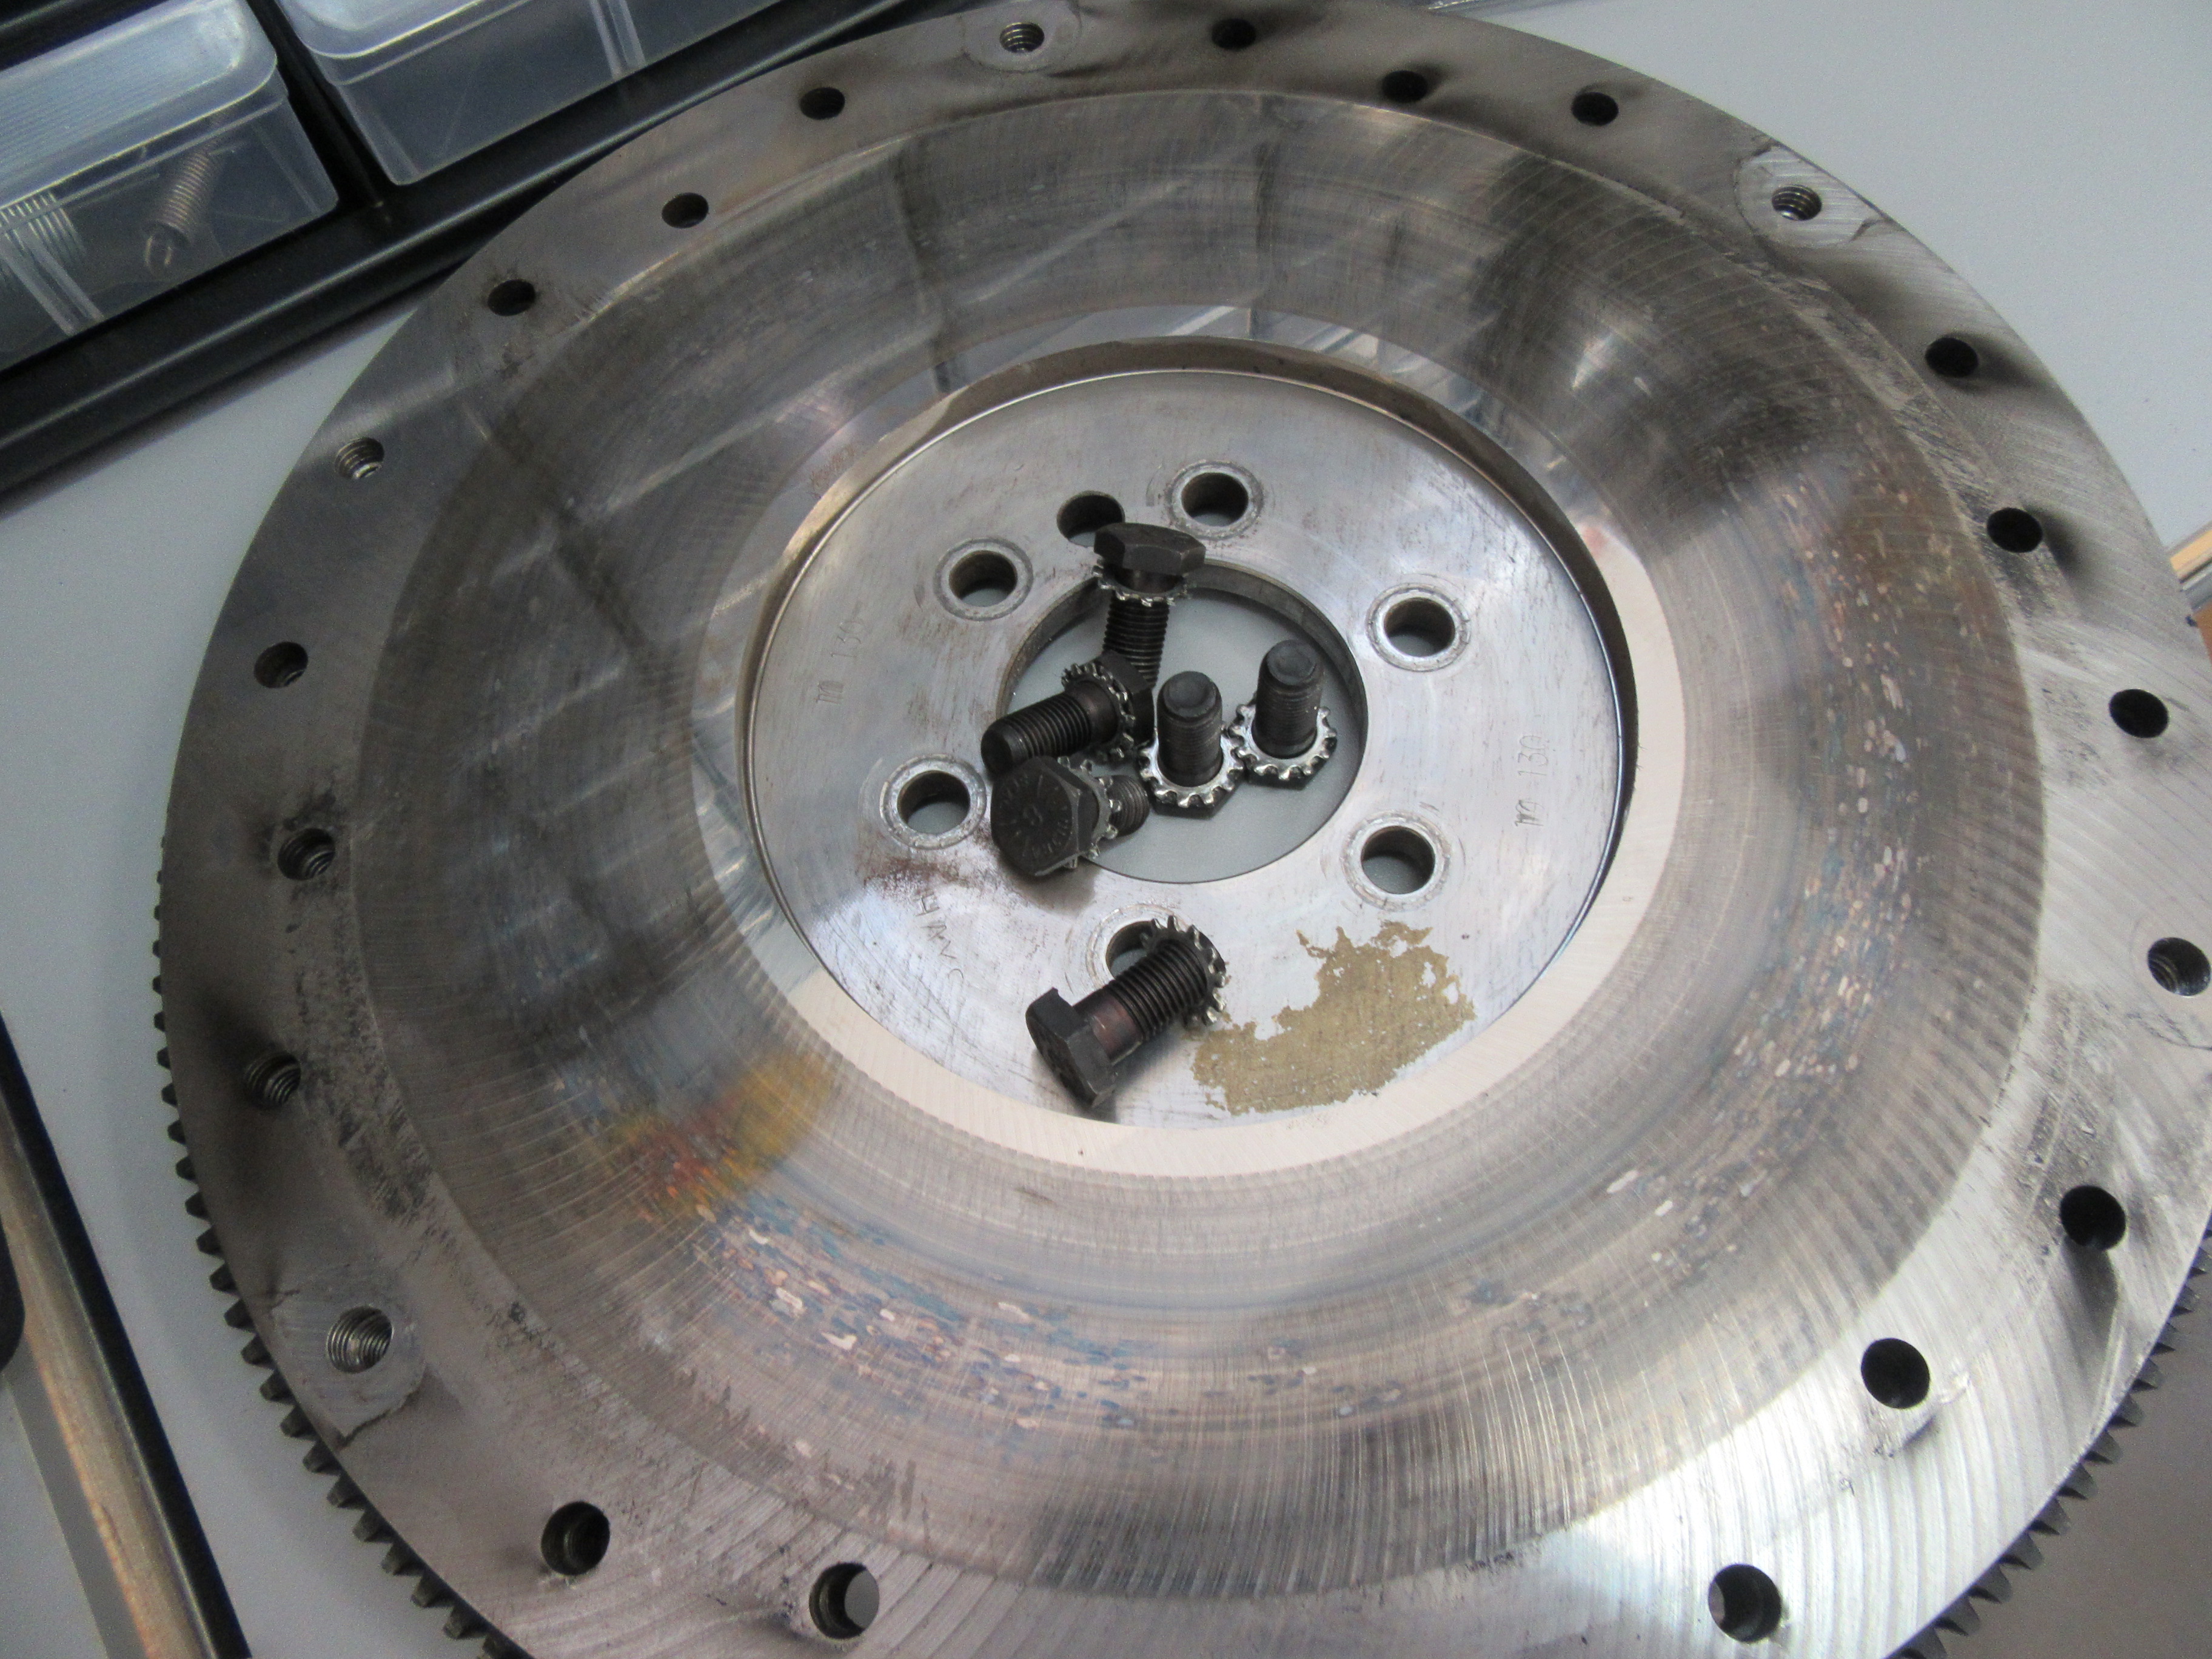
Pulled the flywheel which I'll replace with an aluminum one. But I plan to re-use the clutch since it has only a few miles on it.
You can see the RTV on the transmission front - didn't leak but obviously used too much.
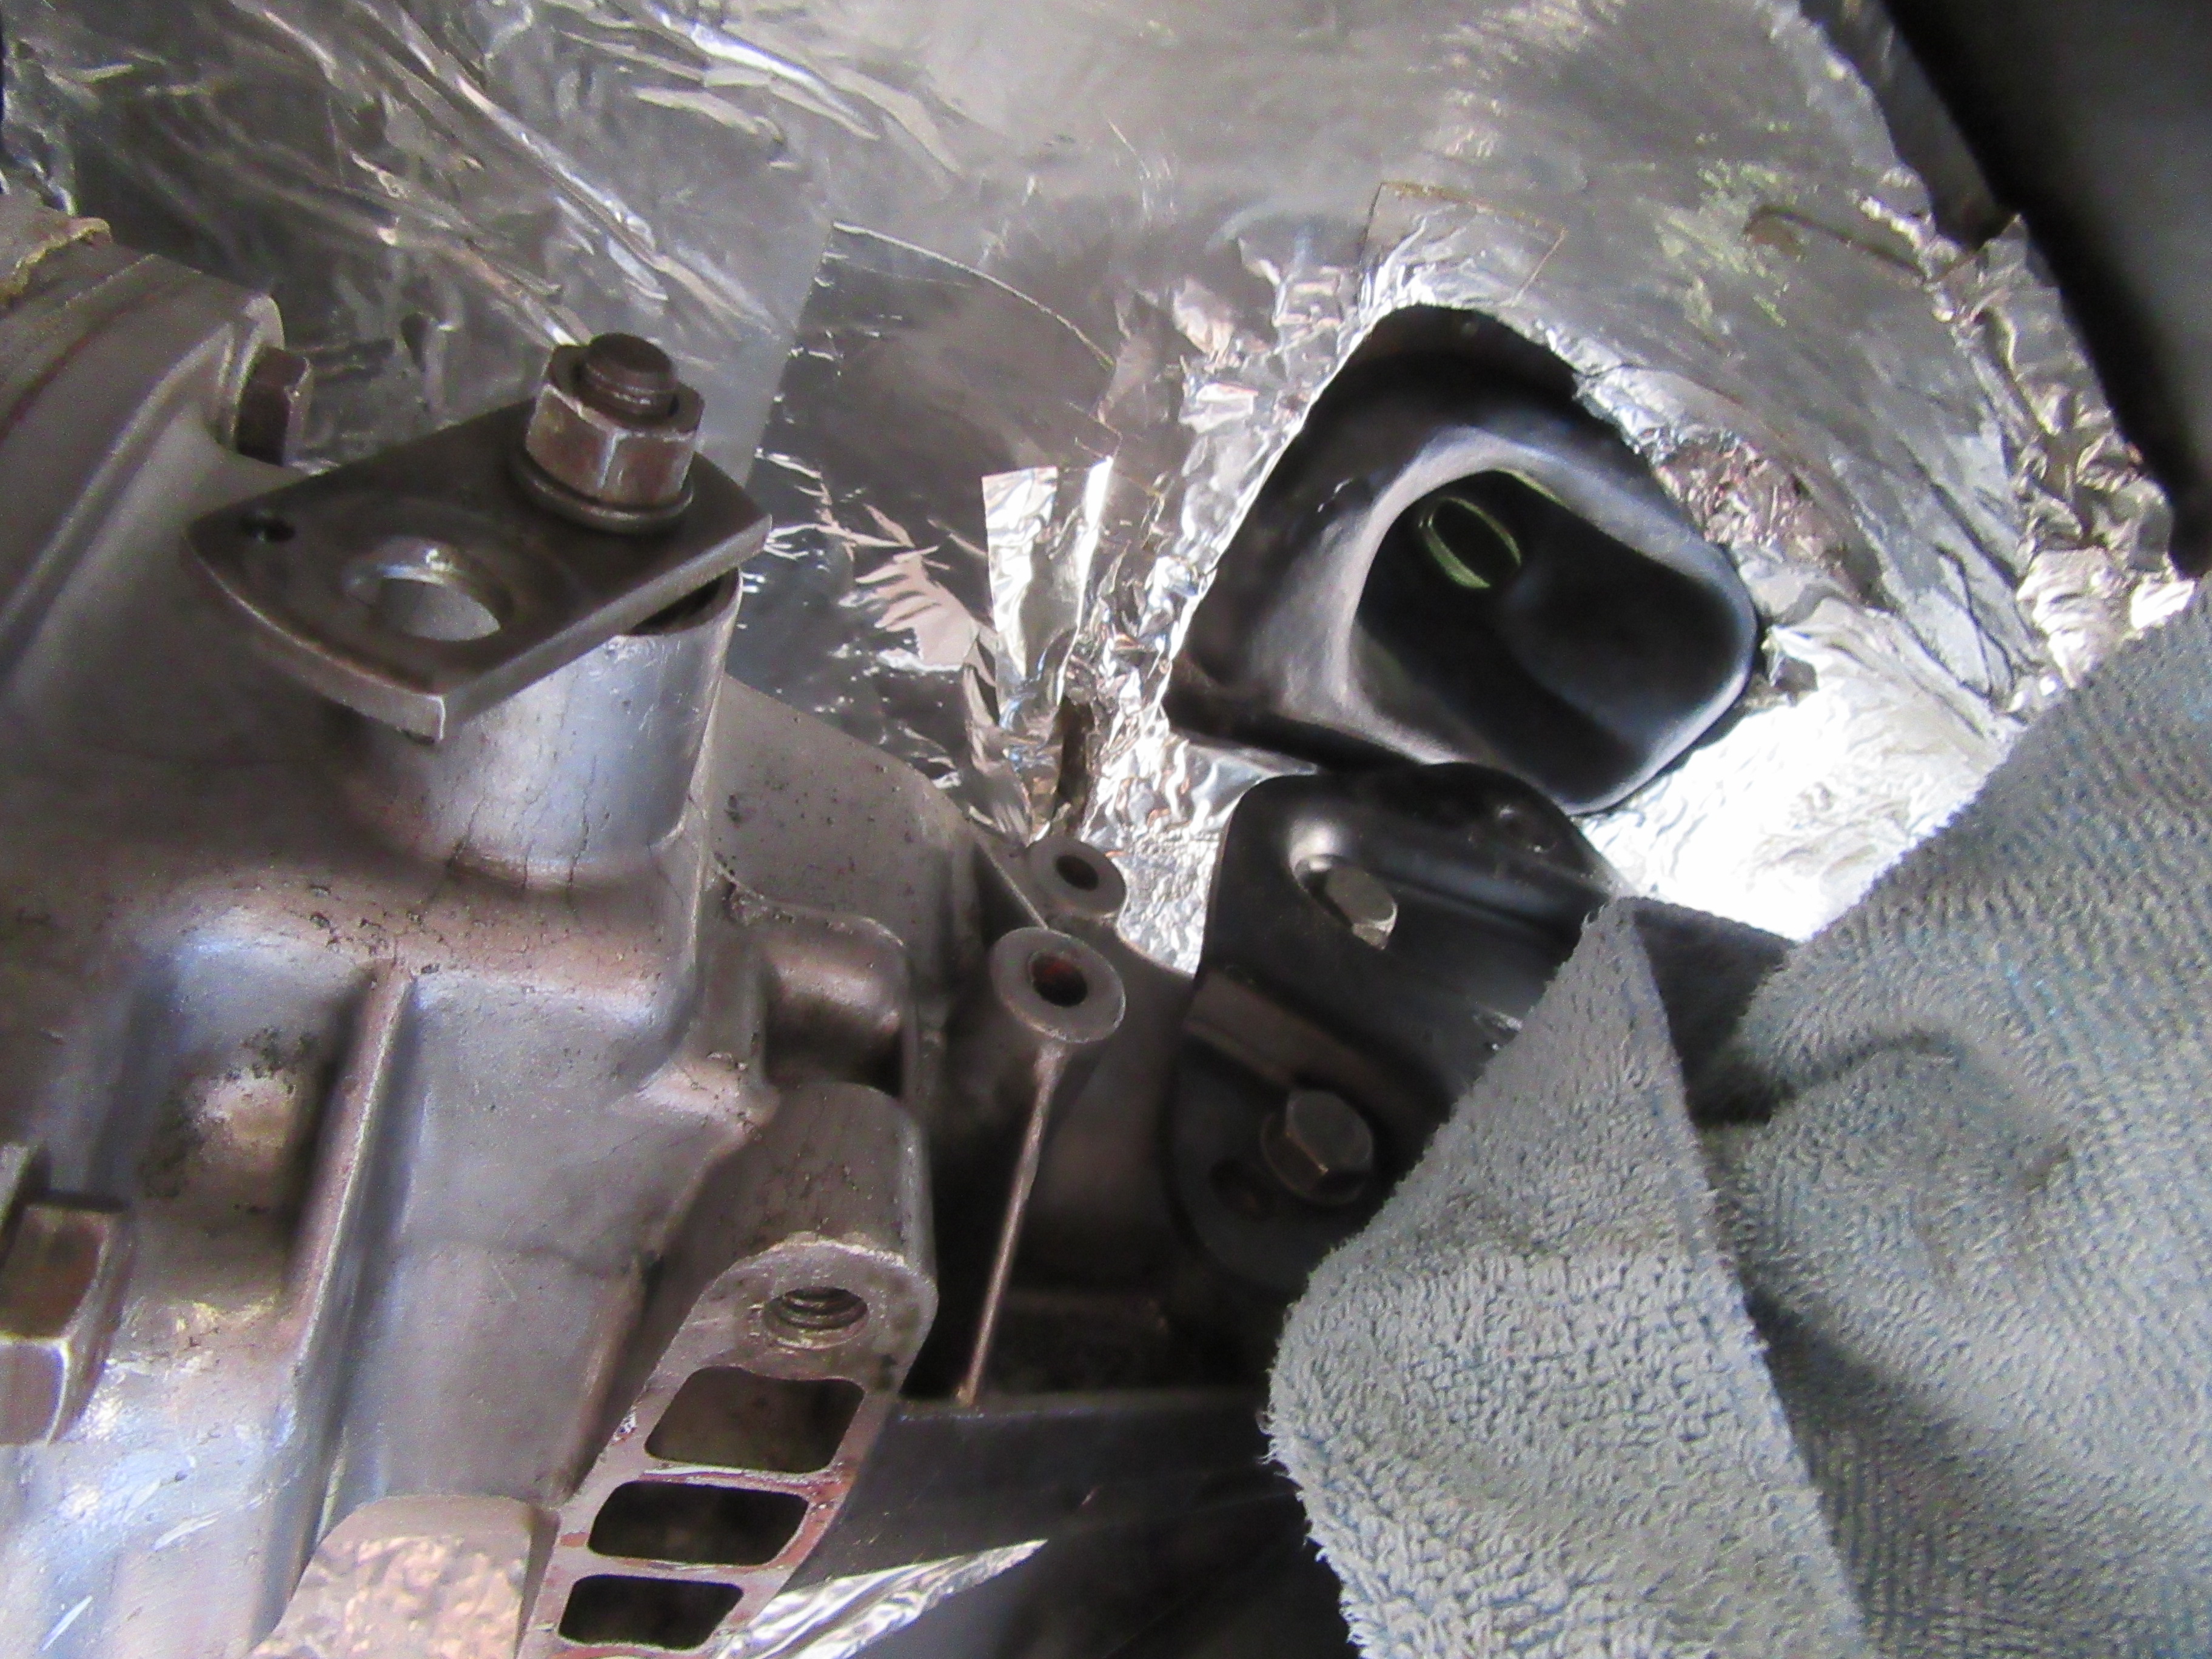
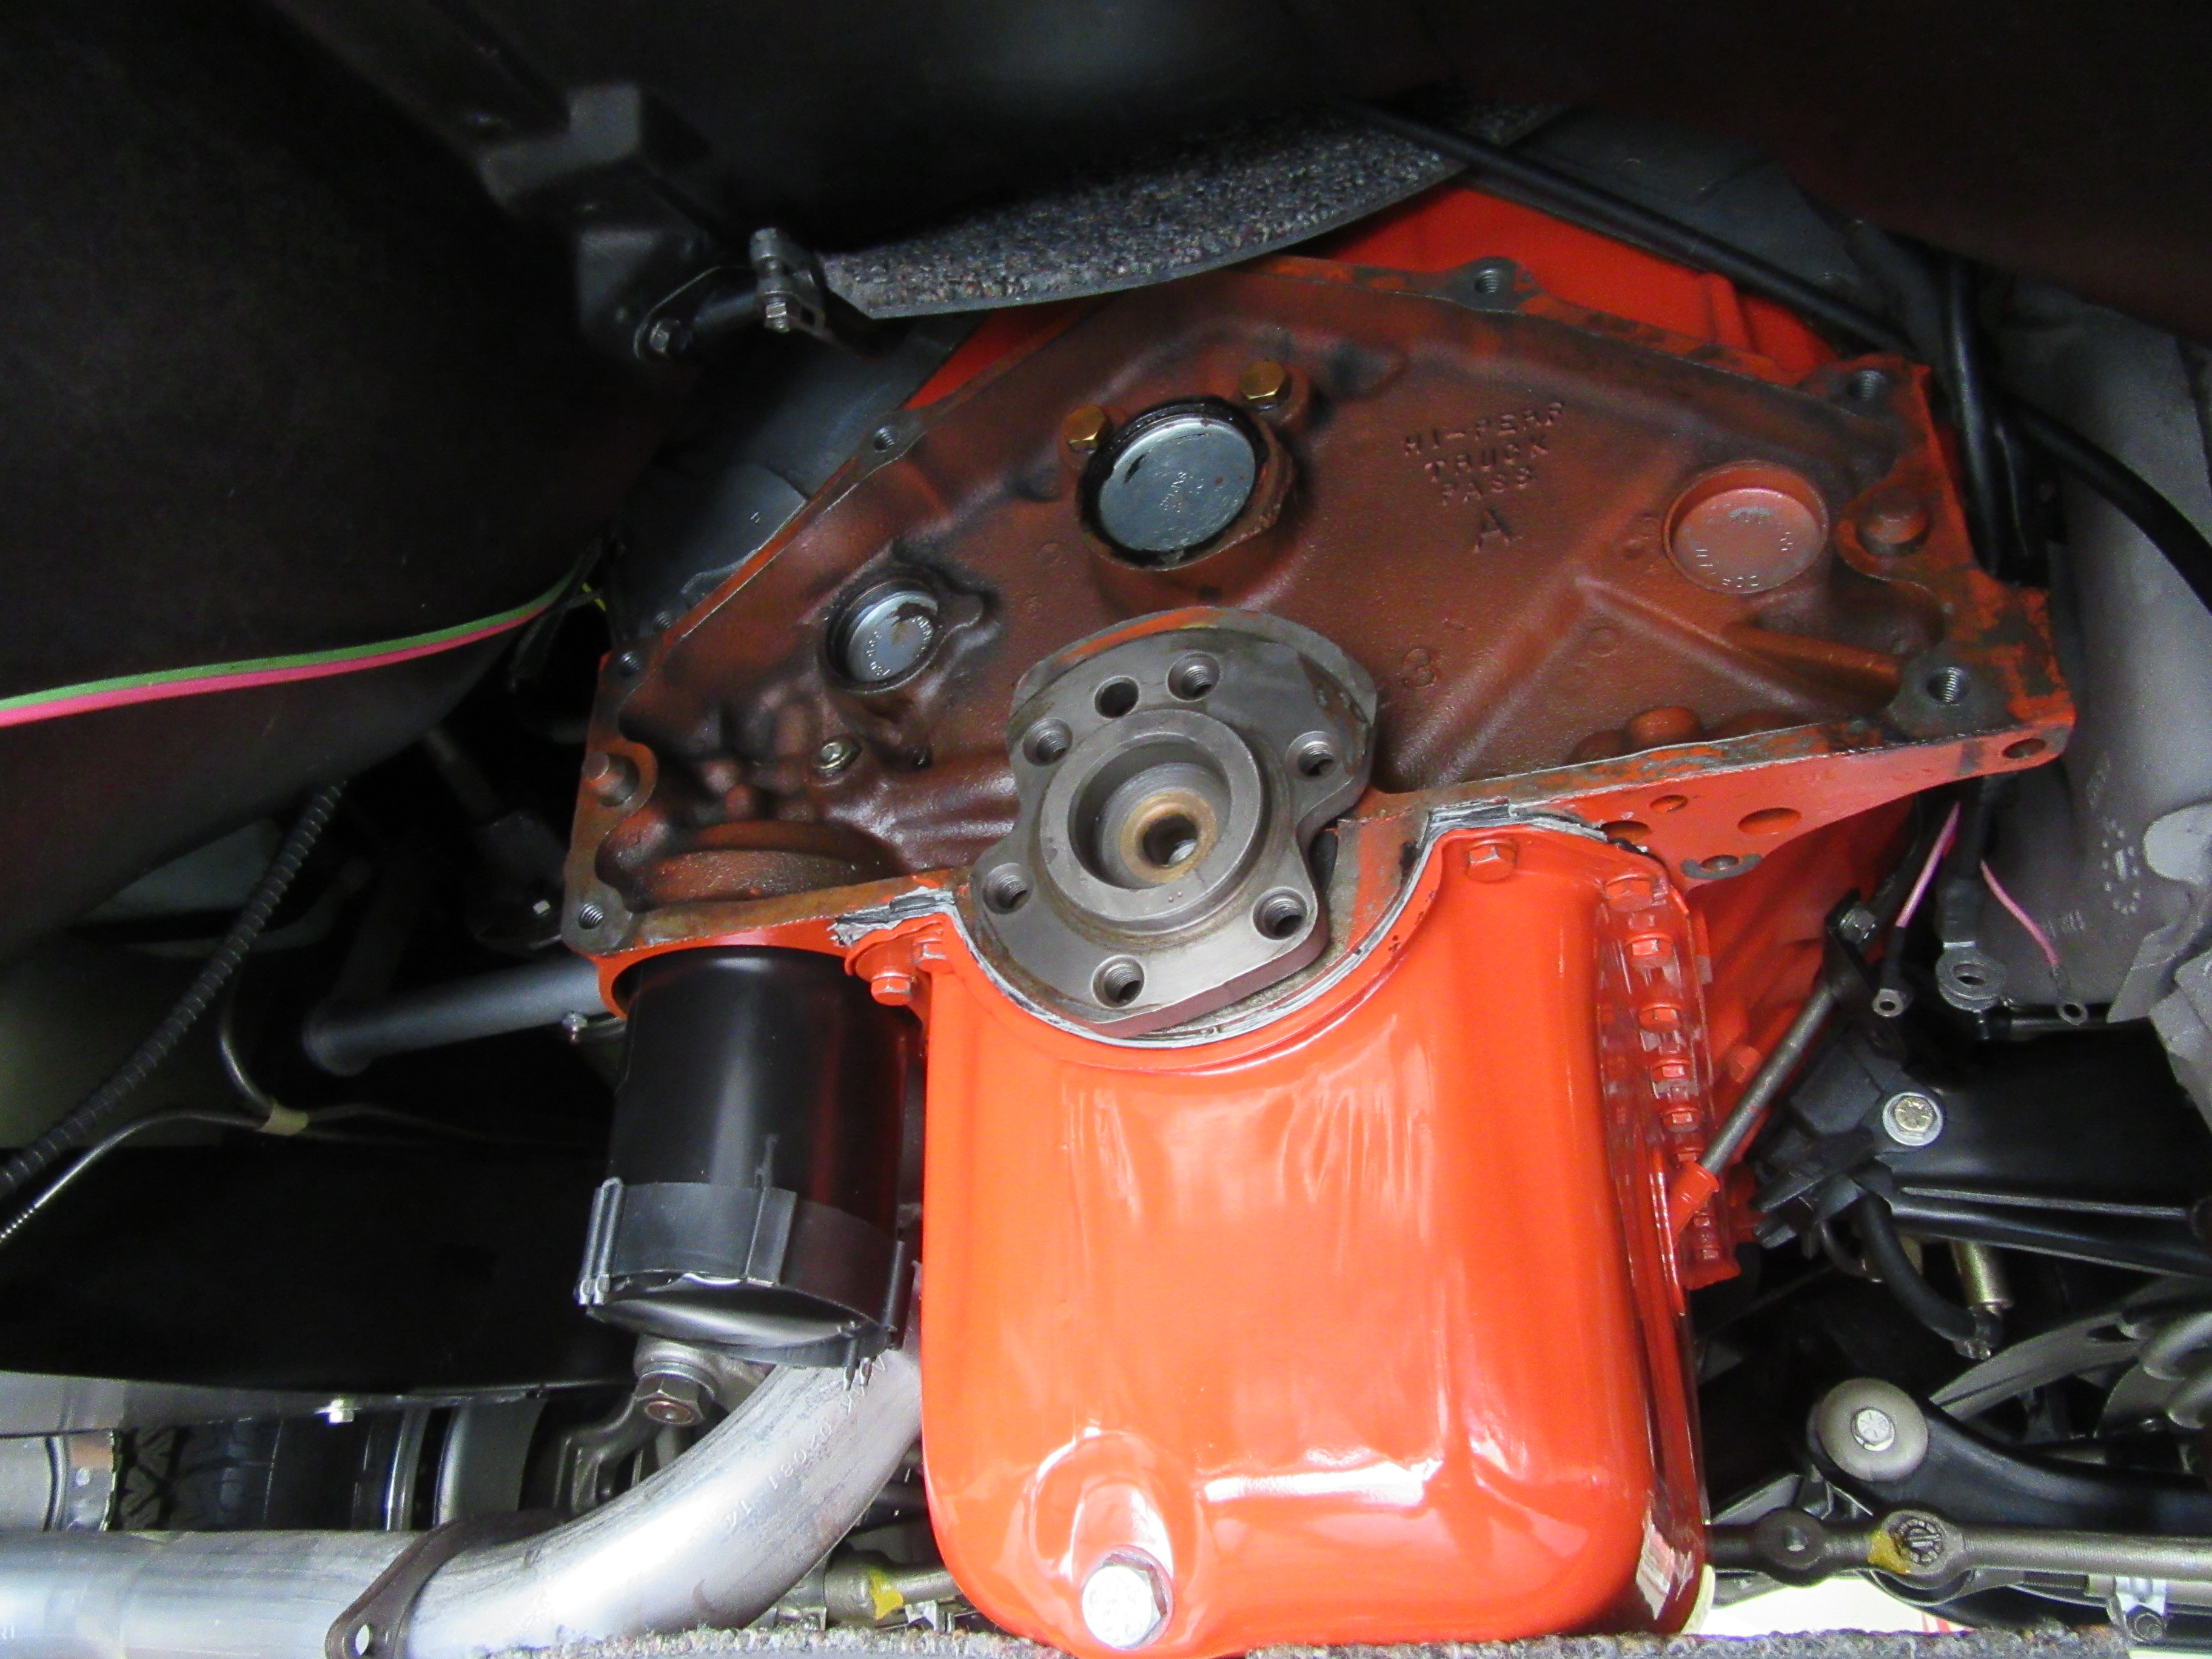
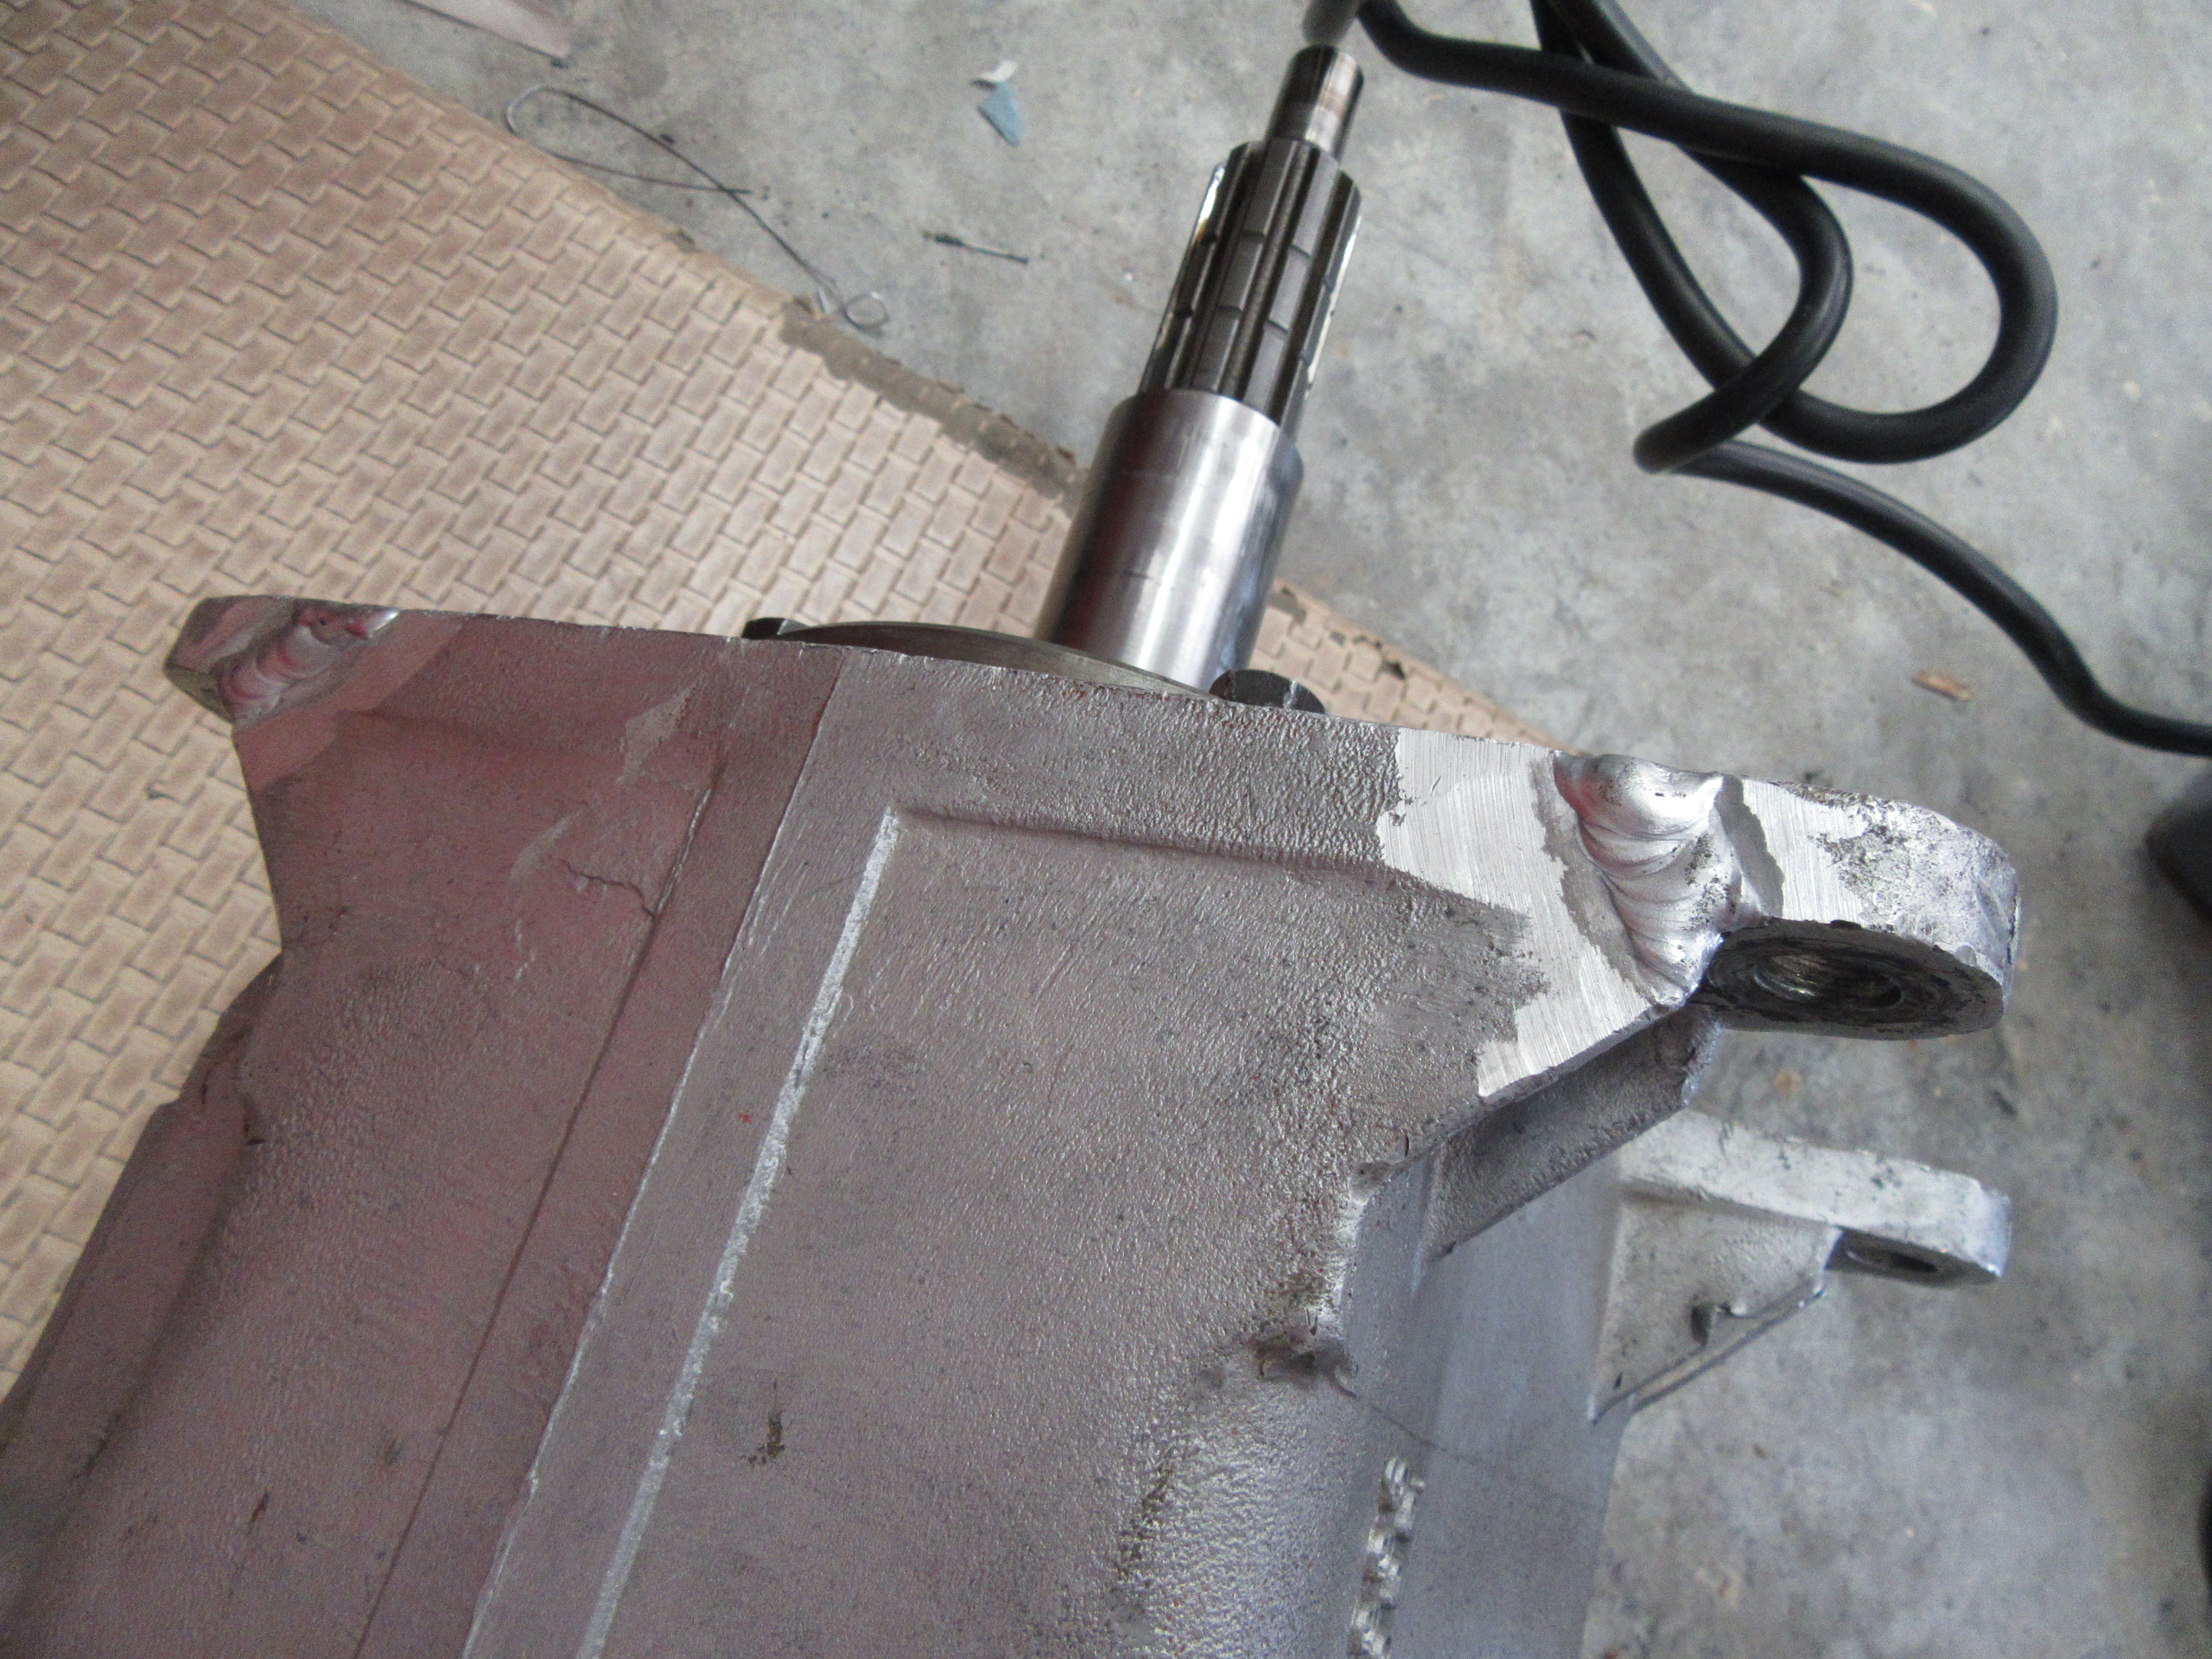
Back of the engine looks pretty dry. The front bearing retainer is a lot more scuffed up than I expected since it only has a few thousand miles on it - so I'll replace it.
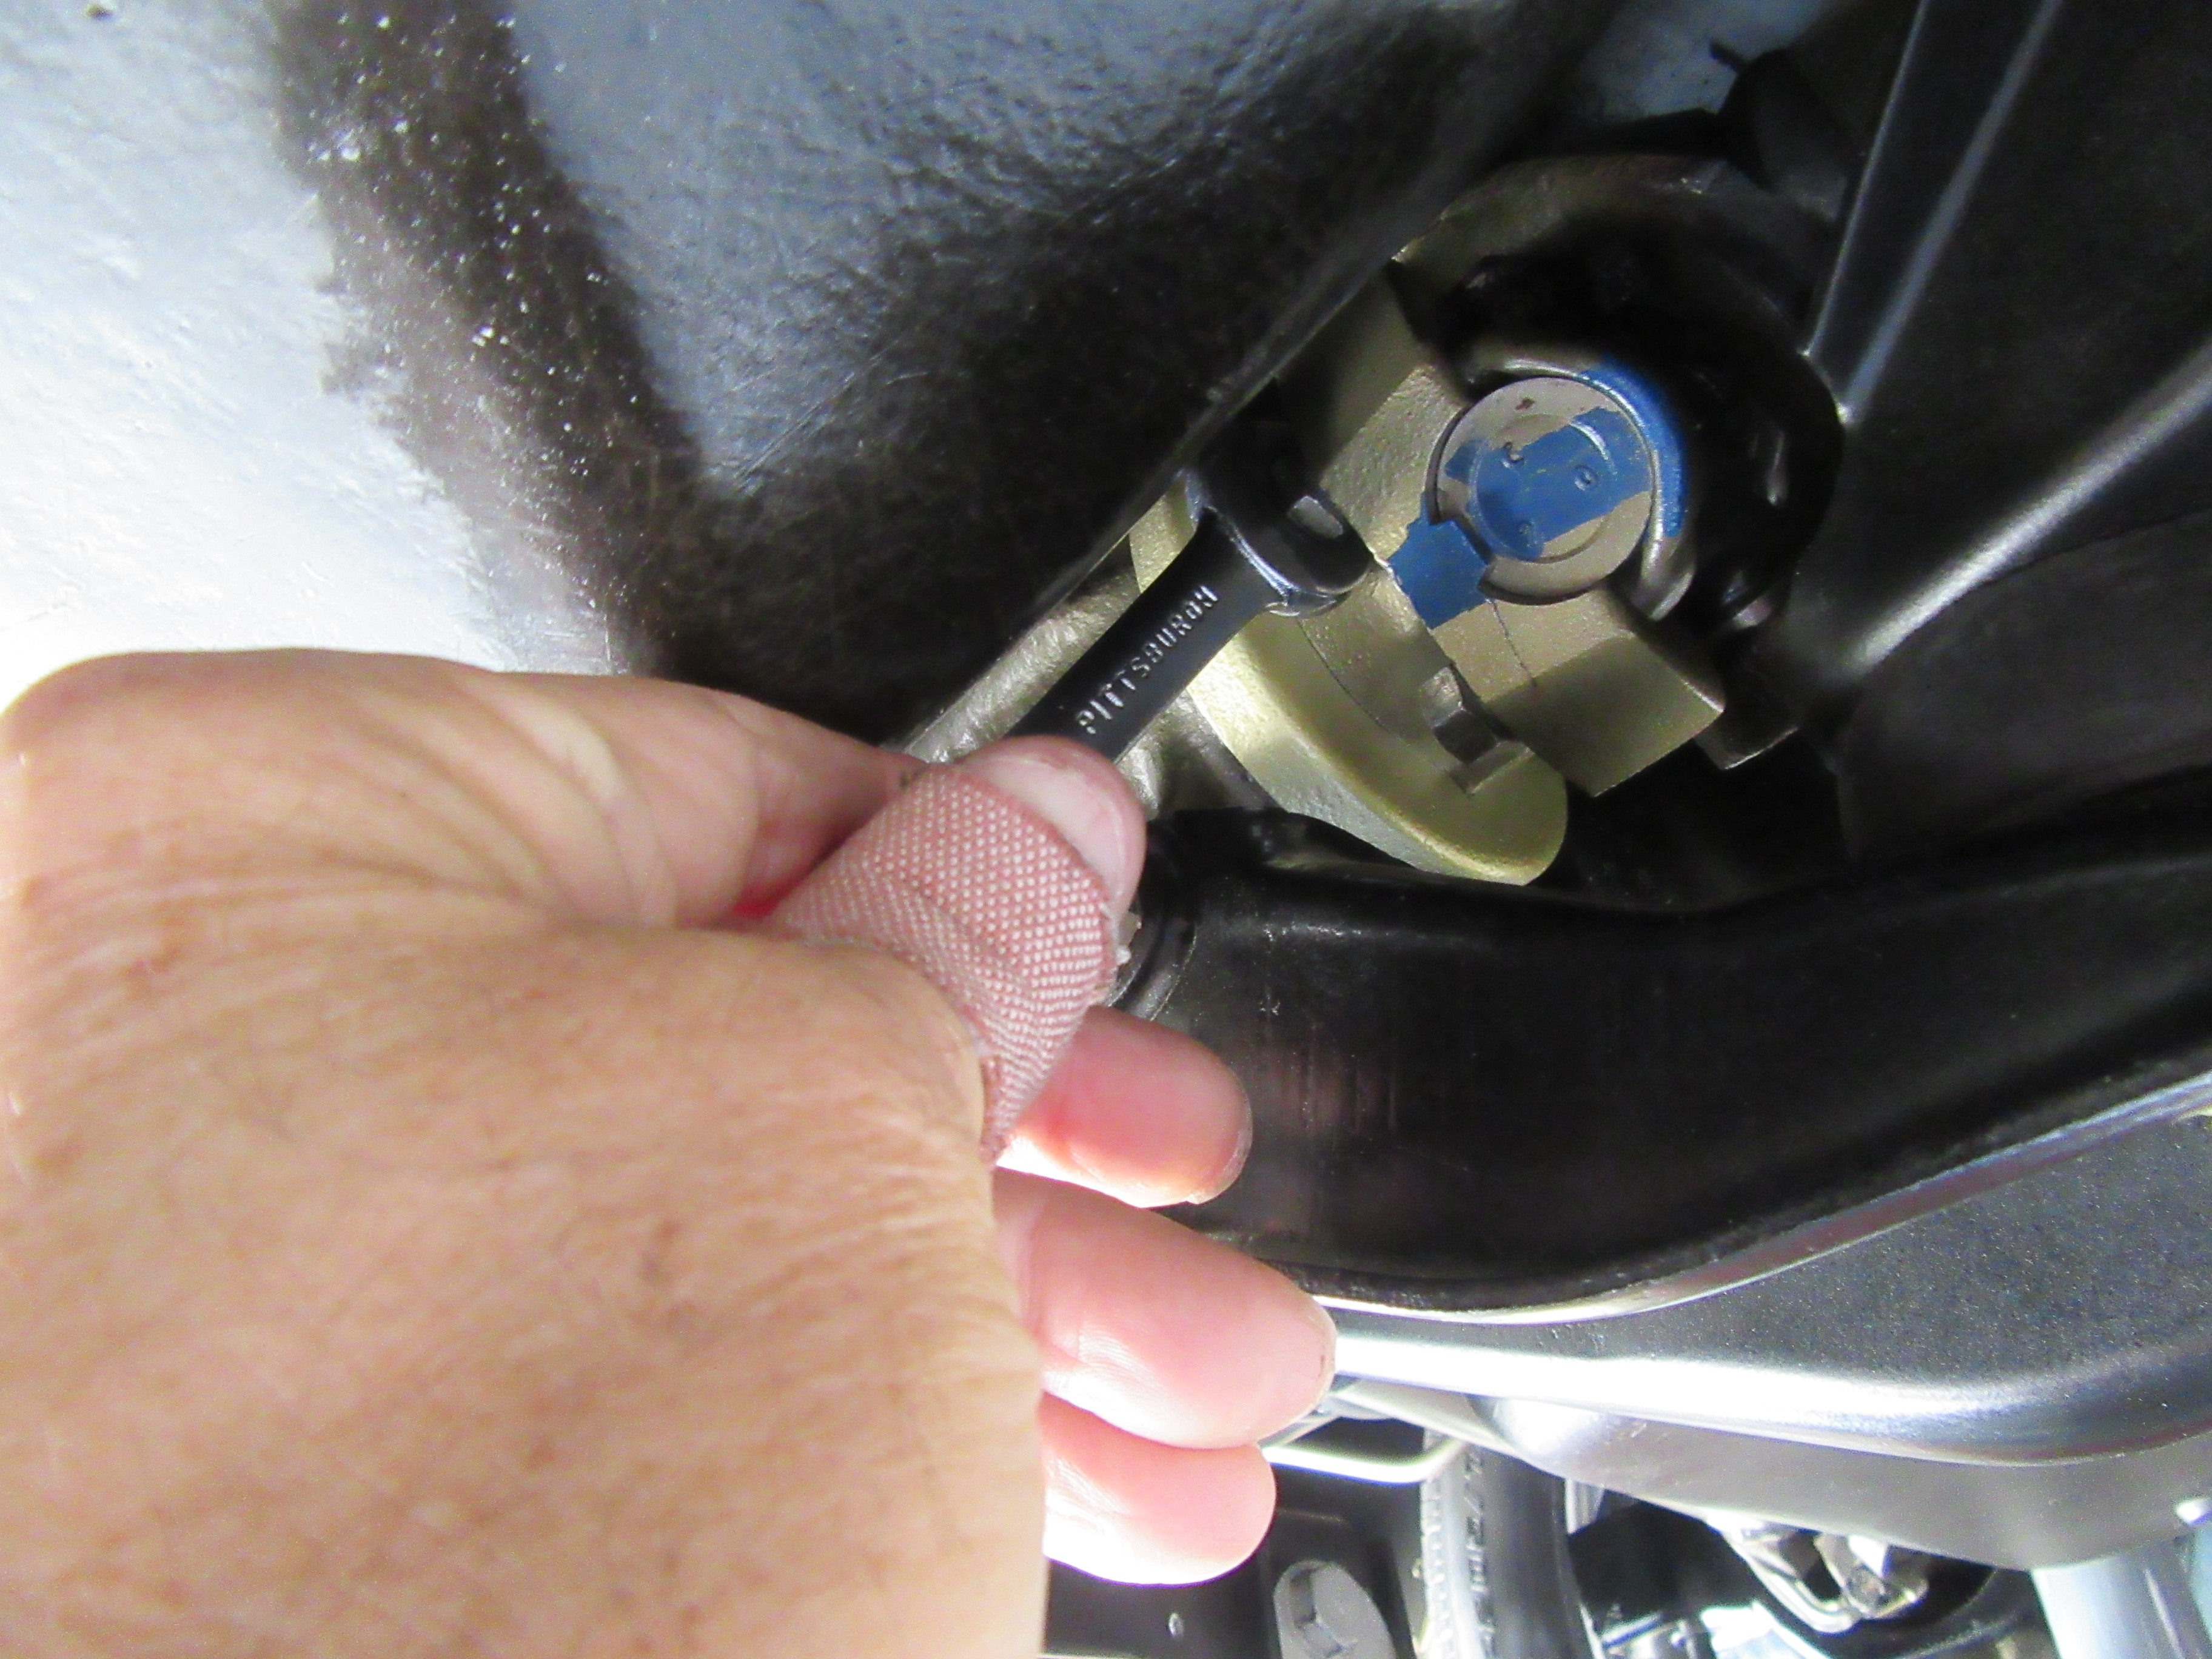
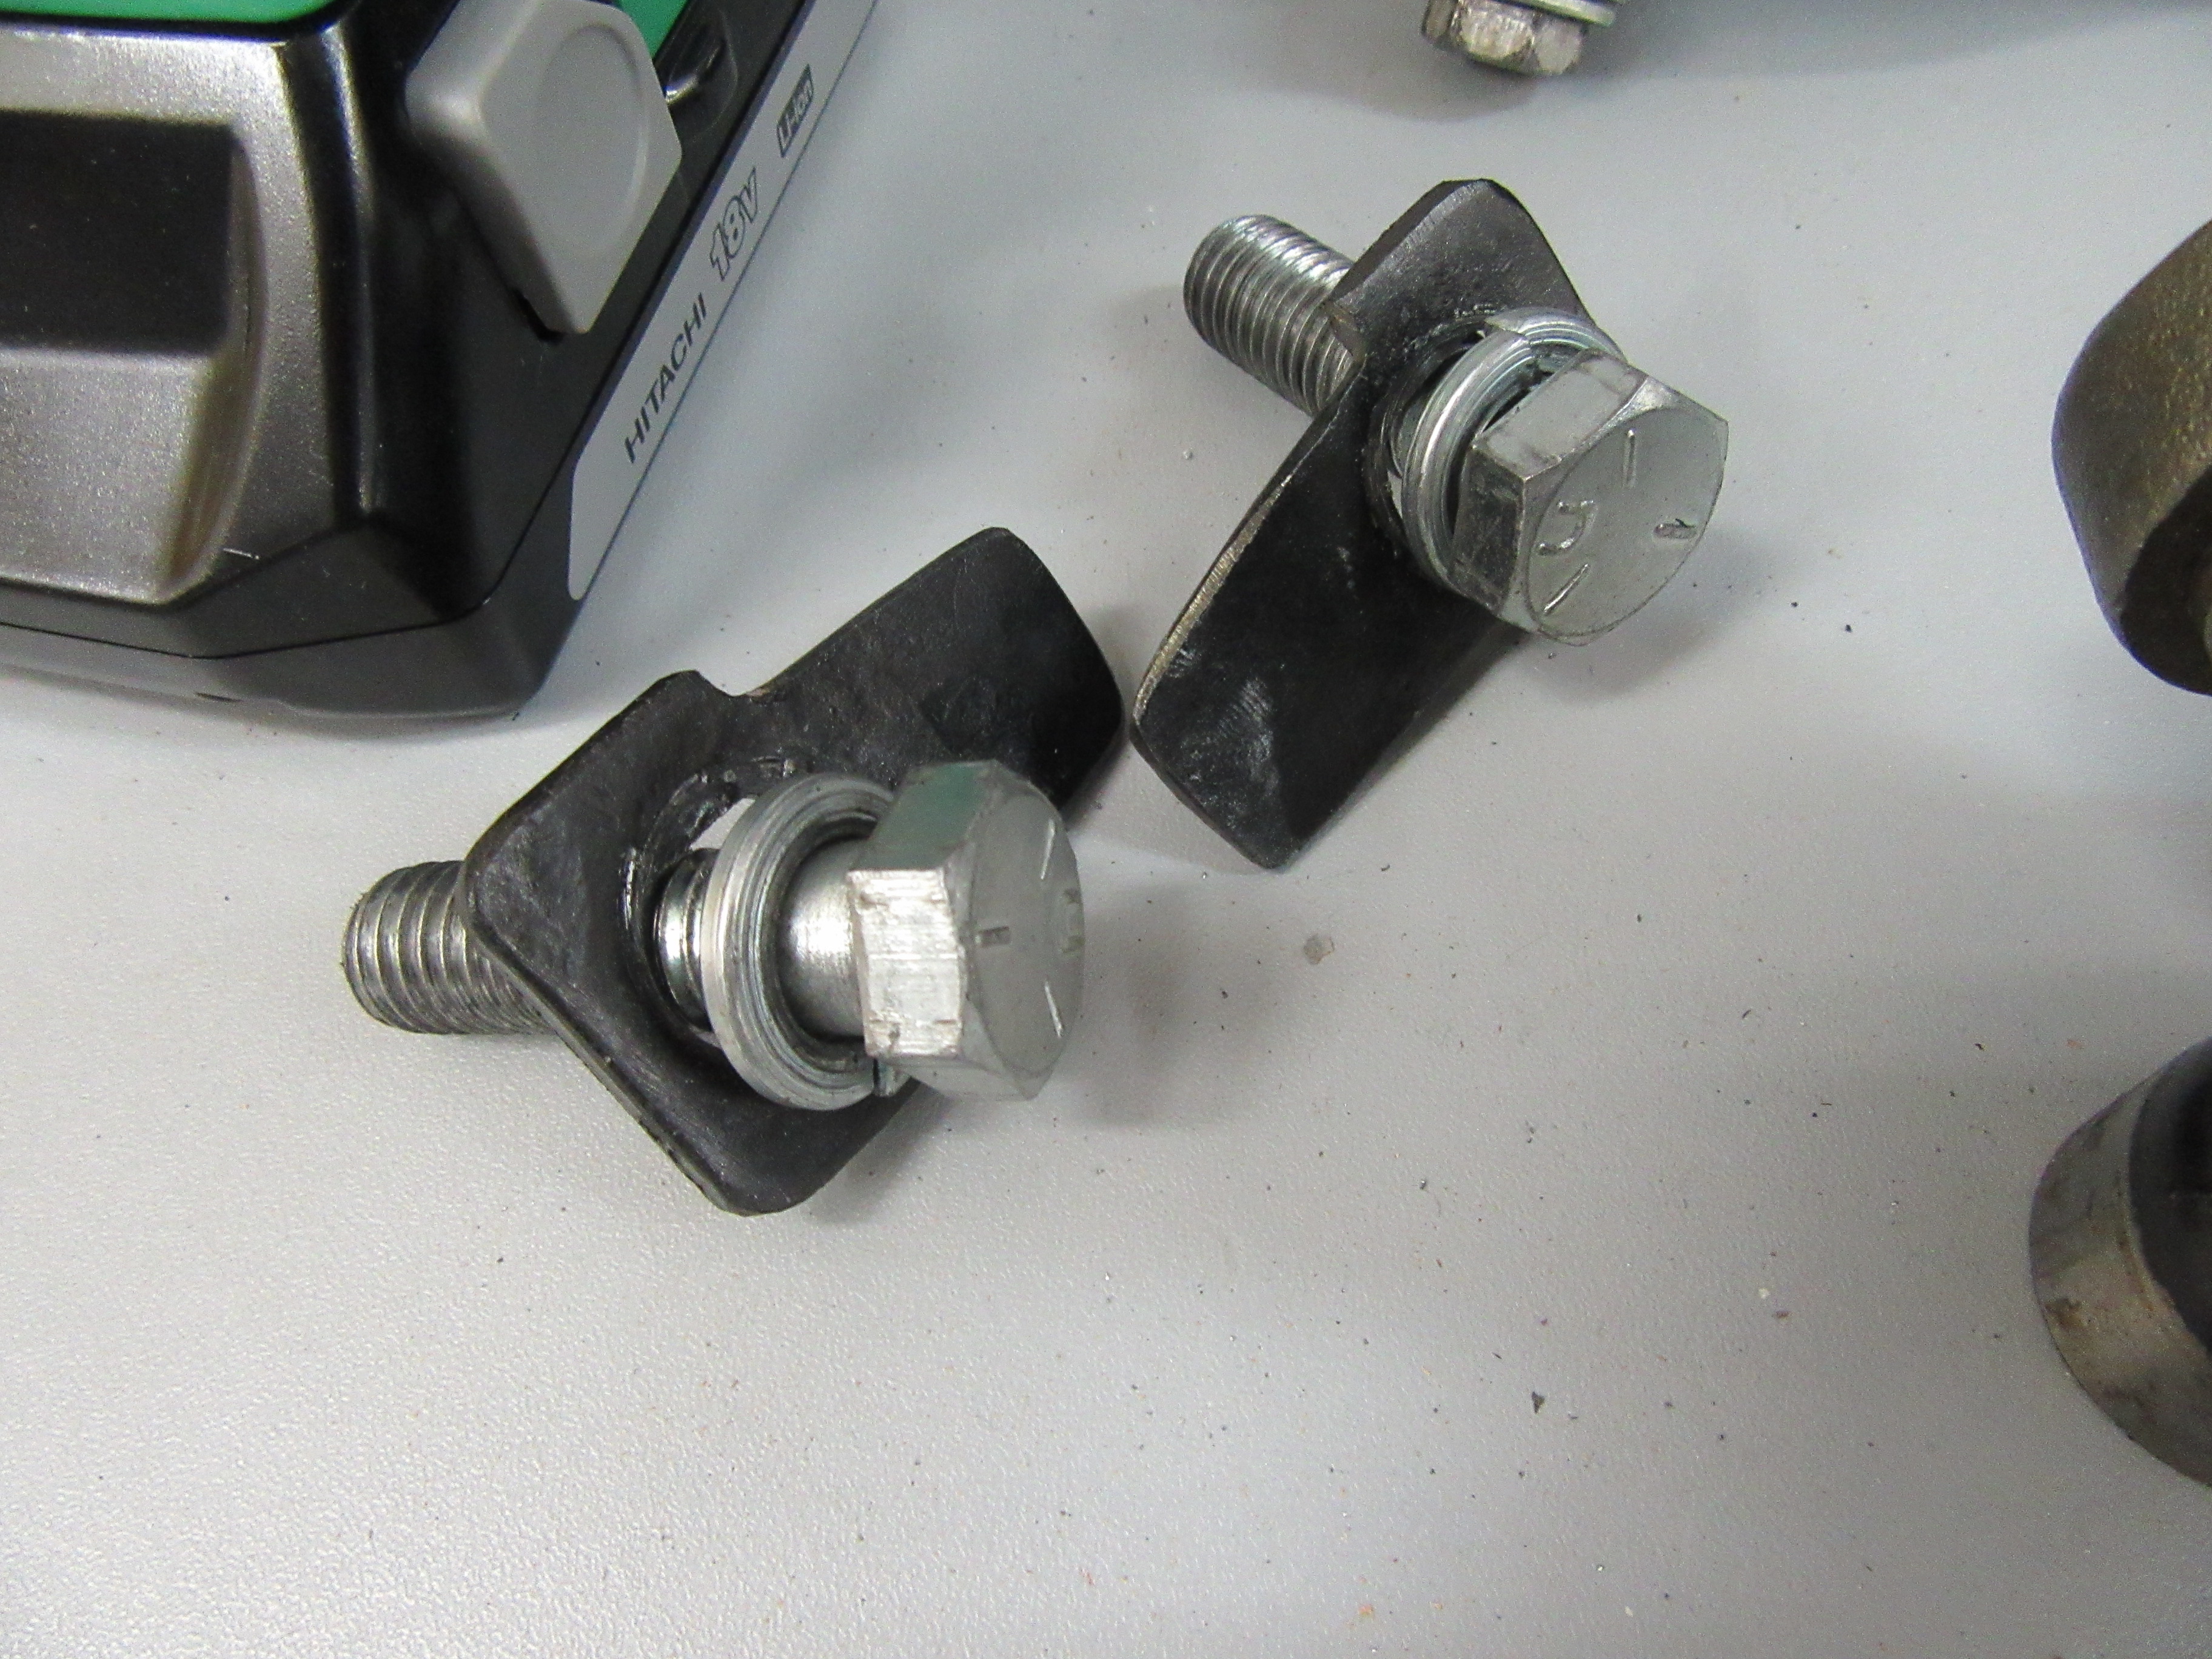
Here's what happens when bolts are used to try to pull a transmission into the clutch/bellhousing. I found years ago that both upper ears on my transmission were cracked and I had them welded up at the time. I also fabricated these washer to use on the upper transmission ears to spread the force just in case.
If anyone is interested in a 30 lb flywheel I have one - but would hate to ship it.
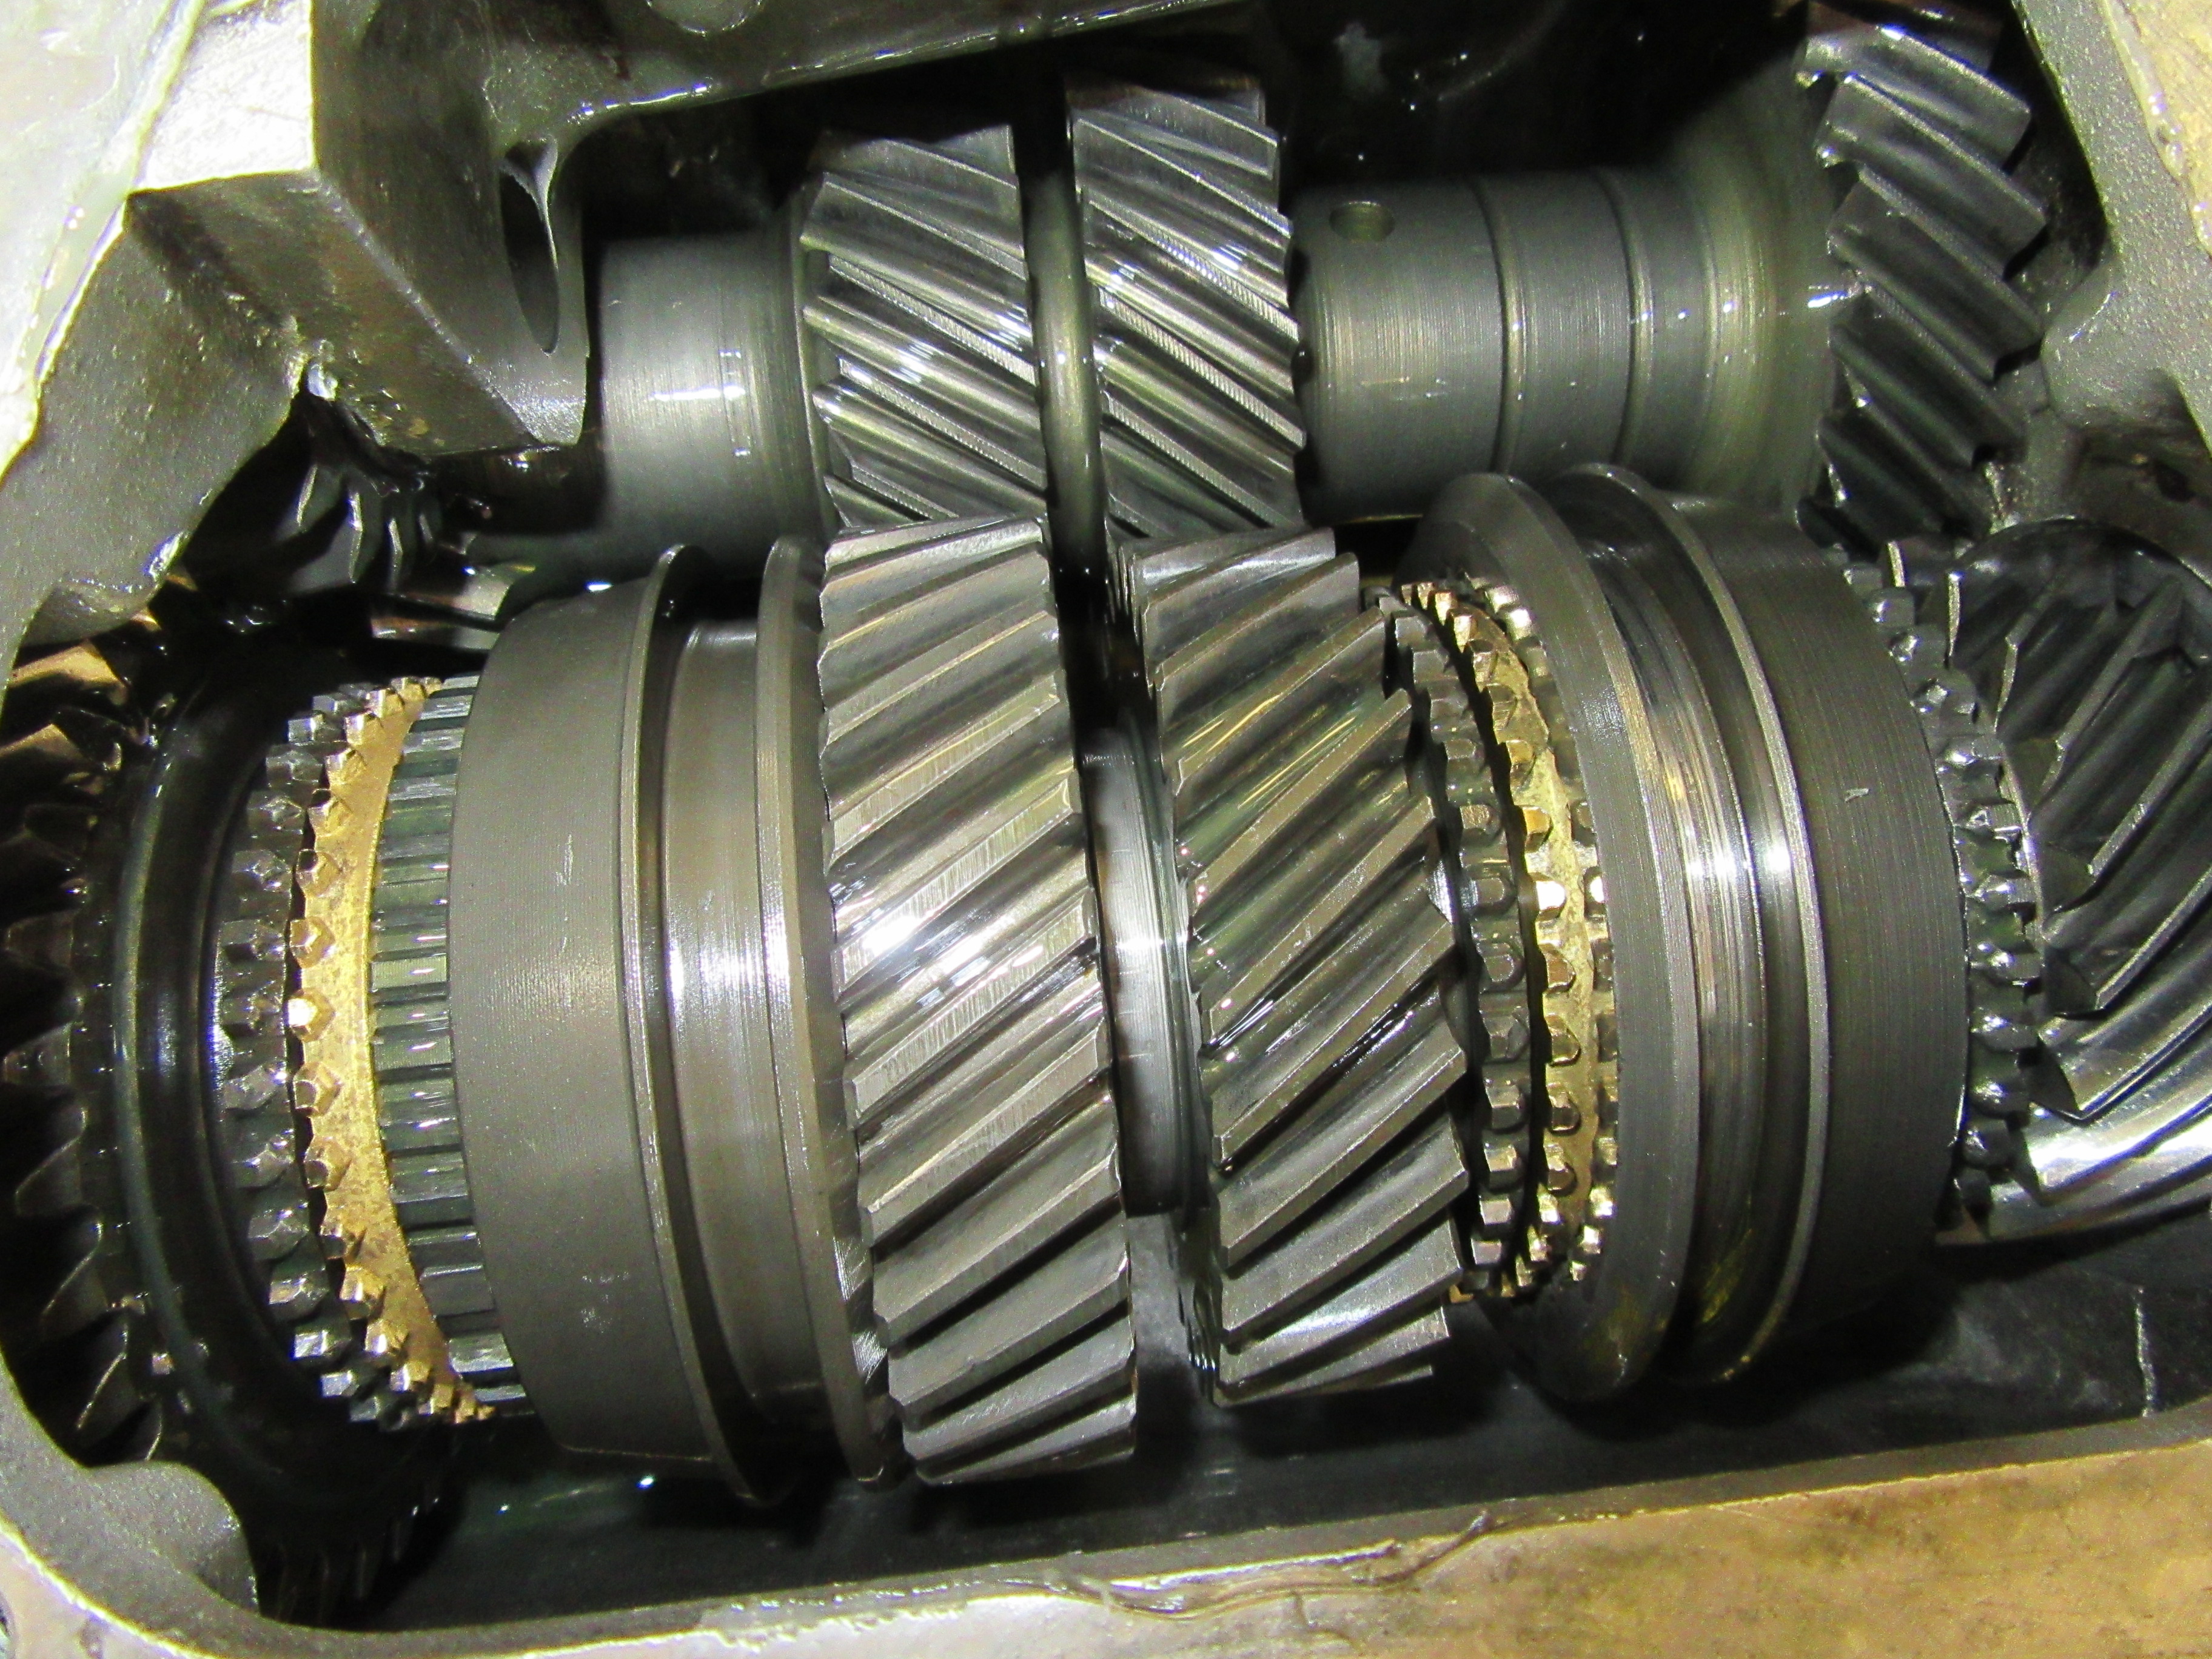
I opened up the gearbox just to see how it looks. Gears seem good but I can see some wear here and there. Fortunately I have almost all new parts to go back into it so I don't have to worry too much about what is serviceable and what isn't
So - I don't know that I accomplished a lot with this. It's just a pain removing a 4-speed from a Corvette. I was tempted to unbolt the clutch and remove it to simplify getting the bellhousing out and the transmission down. There was plenty of room to get to the bolts - but those things are pretty heavy and very awkward when trying to hold it while removing that last bolt so I don't think that would have been a good approach either. Not sure how I will approach putting it back but I have a couple weeks probably to think about it and maybe I can come up with a little better approach.
One thing I'm thinking is to remove the right side splash shield and rotate the transmission to lower the right side bolt ears and see if sliding everything in at an angle from the right might work with the nose way down and slide the bellhousing over the input and swing it all up and to the left into place.
Something else is I'll probably leave the fork out until the bellhousing is in place as it acts as an eccentric weight and wants to hang at the bottom which kind of hinders how it wants to hang while trying to maneuver everything into place.
Last edited by DansYellow66; 05-27-2017 at 07:11 AM.
Theres a Utube showing a guy who had to remove bell housing to drop tranny. I do not know how he got it all back together but he did. When I removed my tranny it was close but able to adjust at an angle and tranny just missed the BH. You won half the battle having exhaust pipes on the outside of the car. It was extra work but removing the exhaust pipes made it a whole lot easier dropping tranny.
Theres a Utube showing a guy who had to remove bell housing to drop tranny. I do not know how he got it all back together but he did. When I removed my tranny it was close but able to adjust at an angle and tranny just missed the BH. You won half the battle having exhaust pipes on the outside of the car. It was extra work but removing the exhaust pipes made it a whole lot easier dropping tranny.
That's pretty much what I have done in the past when working on the floor - I could shove the transmission back tight over the crossmember, lower the rear of the engine as far as possible and although it was tight I could lower the front of the tranny down and angle it off to the left a little and just barely get the pilot tip to slip out of the bellhousing (usually with a bit of scraping) and then drop it out.
Several guys over the years have posted that dropping the bellhousing with the transmission was the way to go. I knew that with the transmission on a jack I would not be able to maneuver it as well as I could by hand while directly under it - so I thought maybe that pulling the bellhousing with it might be the best approach. And it might be - it did work although I'm not quite sure I managed to figure out the best combination of maneuvering the transmission and bellhousing yet.
Dan - great pictorial of the process and it should be a big help to someone�s first attempt.
I would add that I agree with 69427 and prefer to use a scissor jack to lower/raise the engine. I believe it allows more precise control especially in the lowering mode.
Sorry, but I just can�t help mentioning that I hate to see the pan surface being used to support an engine. Guess I saw too many damaged pans in the years I spent working on the Fremont engine line. I like the wooden jacking cradle recommended by JohnZ many years ago. It rests on the pan rail bolt heads instead of the pan itself.
Sorry, but I just can�t help mentioning that I hate to see the pan surface being used to support an engine. Guess I saw too many damaged pans in the years I spent working on the Fremont engine line. I like the wooden jacking cradle recommended by JohnZ many years ago. It rests on the pan rail bolt heads instead of the pan itself.
I understand and a cradle is certainly a very good - I would even agree superior approach. But I've used this method 3 or 4 other times on my GTX and Corvette without any damage and I while I considered making a cradle this time I was afraid I would not have enough room for a 2x member and some air gap. You can see my oil pan bottom in one of the early pictures and it's perfect after using this approach 2 or 3 times before (I've lost count). I'm just careful to use enough support under it to spread the load. You can't easily see it but I had an approx. 5/32 steel plate on top of the jack head, two pieces of 3/8 inch hard chip board and a layer of rubber backed carpet tile.
Was getting like a young guy who plays high school football or wrestles to lift it out! How stupid were the rest of you to not mention that for the procedure!
Last edited by TCracingCA; 05-27-2017 at 03:57 PM.
Was getting like a young guy who plays high school football or wrestles to lift it out! How stupid were the rest of you to not mention that for the procedure!
Actually we sometimes forget how fortunate we are with these aluminum case Muncies. The last two transmissions I've handled were a 727 Torqueflite (175 lbs w/o converter) and a Ford Toploader (98 lbs). I went to lift the Muncie off my jack which only lowers it to chest height and no problem lifting it to chin high and dropping it on my bench. When I pulled my aluminum case 727 out I put my arms under it to cradle it and tried to jerk it up off the jack with a big hhhhuuuummmppp - and nothing moved at all. That was when I went to the computer and googled it's weight. Lots of steel parts inside an automatic.
Thanks - it's seen only local driving on dry roads for the last 20 years - a little dusty but doesn't show up in photos. Keeping it on a lift helps me spot anything starting to leak right away and keep it from getting messy. That satin black lacquer I sprayed on the underside may not be correct but does help keep it looking good and hide a few off-color repairs. Even if it were a pristine, never scarred underside I think I would still give it a coat of flattened clear lacquer just to seal it and help keep it clean.
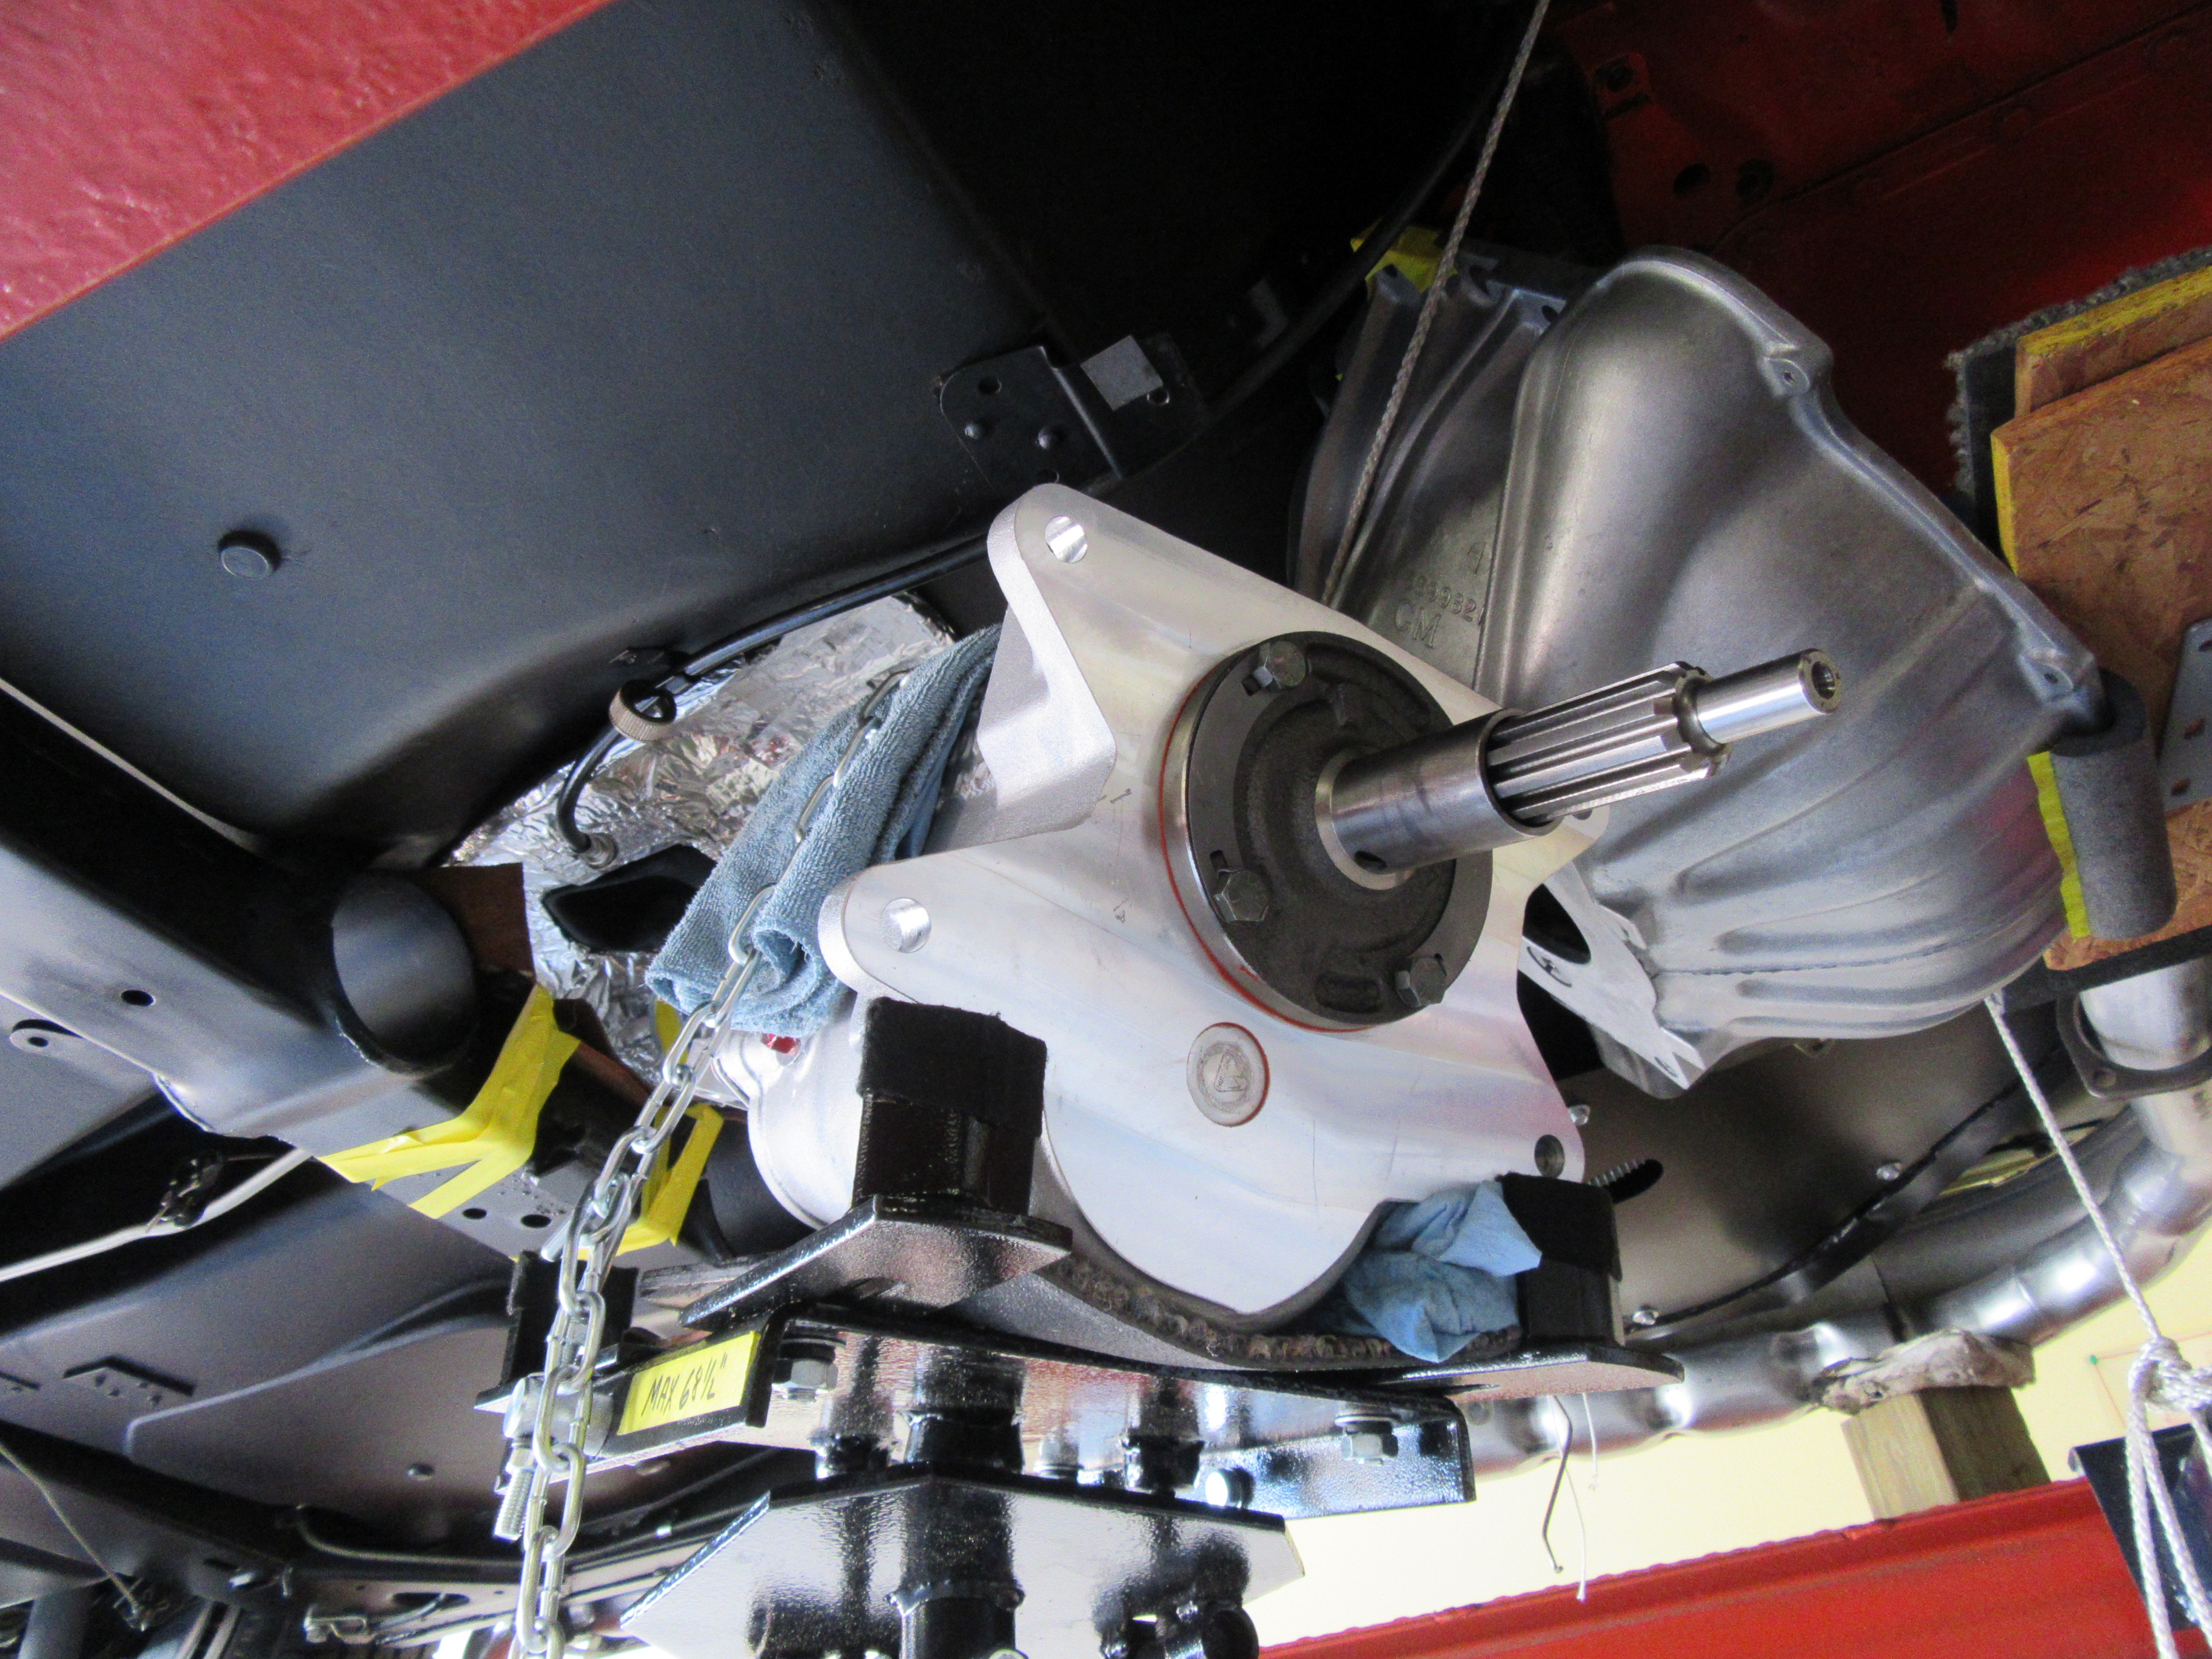
Reinstalling the transmission and bellhousing together went a little better than removal - probably learned some things that would have helped on removal. I made a hammock with some light rope to hold the bellhousing down low on the clutch so I didn't have to be trying to hold it with a third hand while I was using my other two to jack the transmission while I tilted it. I also put some plywood under the rear of the transmission to give it a little more down ward tilt.
I also removed the passenger side splash shield for a little more room. Then it was a matter of tilting and raising the transmission, adjusting the position of the bellhousing and maneuvering things until the input entered the hole and TO bearing. I started out with the rear of the engine lowered and then remembered it needed to be raised instead with the bellhousing off. It was also necessary to start with the transmission angled off towards the driver side until the tail started in over the crossmember and then as I raised it up slowly, I could gradually move it back and straighten it out.
Finally got everything aligned but it was hitting on the disc and not going in so I stuck the output yoke in and gave it a twist while shoving and it slid in like closing a rifle bolt. I got rid of my old Muncie input shaft back in the 70s when the fine tooth inputs came out and I've been stuck using those cheap plastic tools ever since which hardly work. Now I have a spare coarse spline input again for disc alignment and nothing beats that.
All in all, except to lift the transmission up on the jack I didn't have to manhandle it after that - just a little shoving and twisting. Now to finish installing the driveshaft, shifter, linkage, back up switch, starter and a couple other odds and ends. Oh yeah - need to fill the transmission - don't want to forget that.
Hope something here is help to others of advancing age who still like to work on their own cars but don't like bench pressing transmissions out on concrete floors.
You can make a sticky but I would add the words this is not the correct way to remove transmission. It worked for him and that's fine. The correct way is stated in corvette shop manual which leaves the bell housing in place. Removing the bell housing creates a lot more unnecessary work. If everything is stock you should be able to slide the trans rearward then tilt input shaft end of trans downward and out of the way of bell housing.
As a professional auto technician, I have to say that the use of dowel pins to slide the trans out and to re-install it is an excellent, excellent idea. Virtually eliminates 'hanging' the transmission on the clutch cover diaphragm springs, which can cause all sorts of damage. Also, helps guide the trans in dead straight. I've used long dowel pins to install cylinder heads in-car to avoid slippage, but never on a trans install. That'll change with the next one I do. Great post.
 05-21-2017, 07:47 PM


 . This is my first effort with pulling a tranny on a lift - before I did this on my back with the car on jack stands.
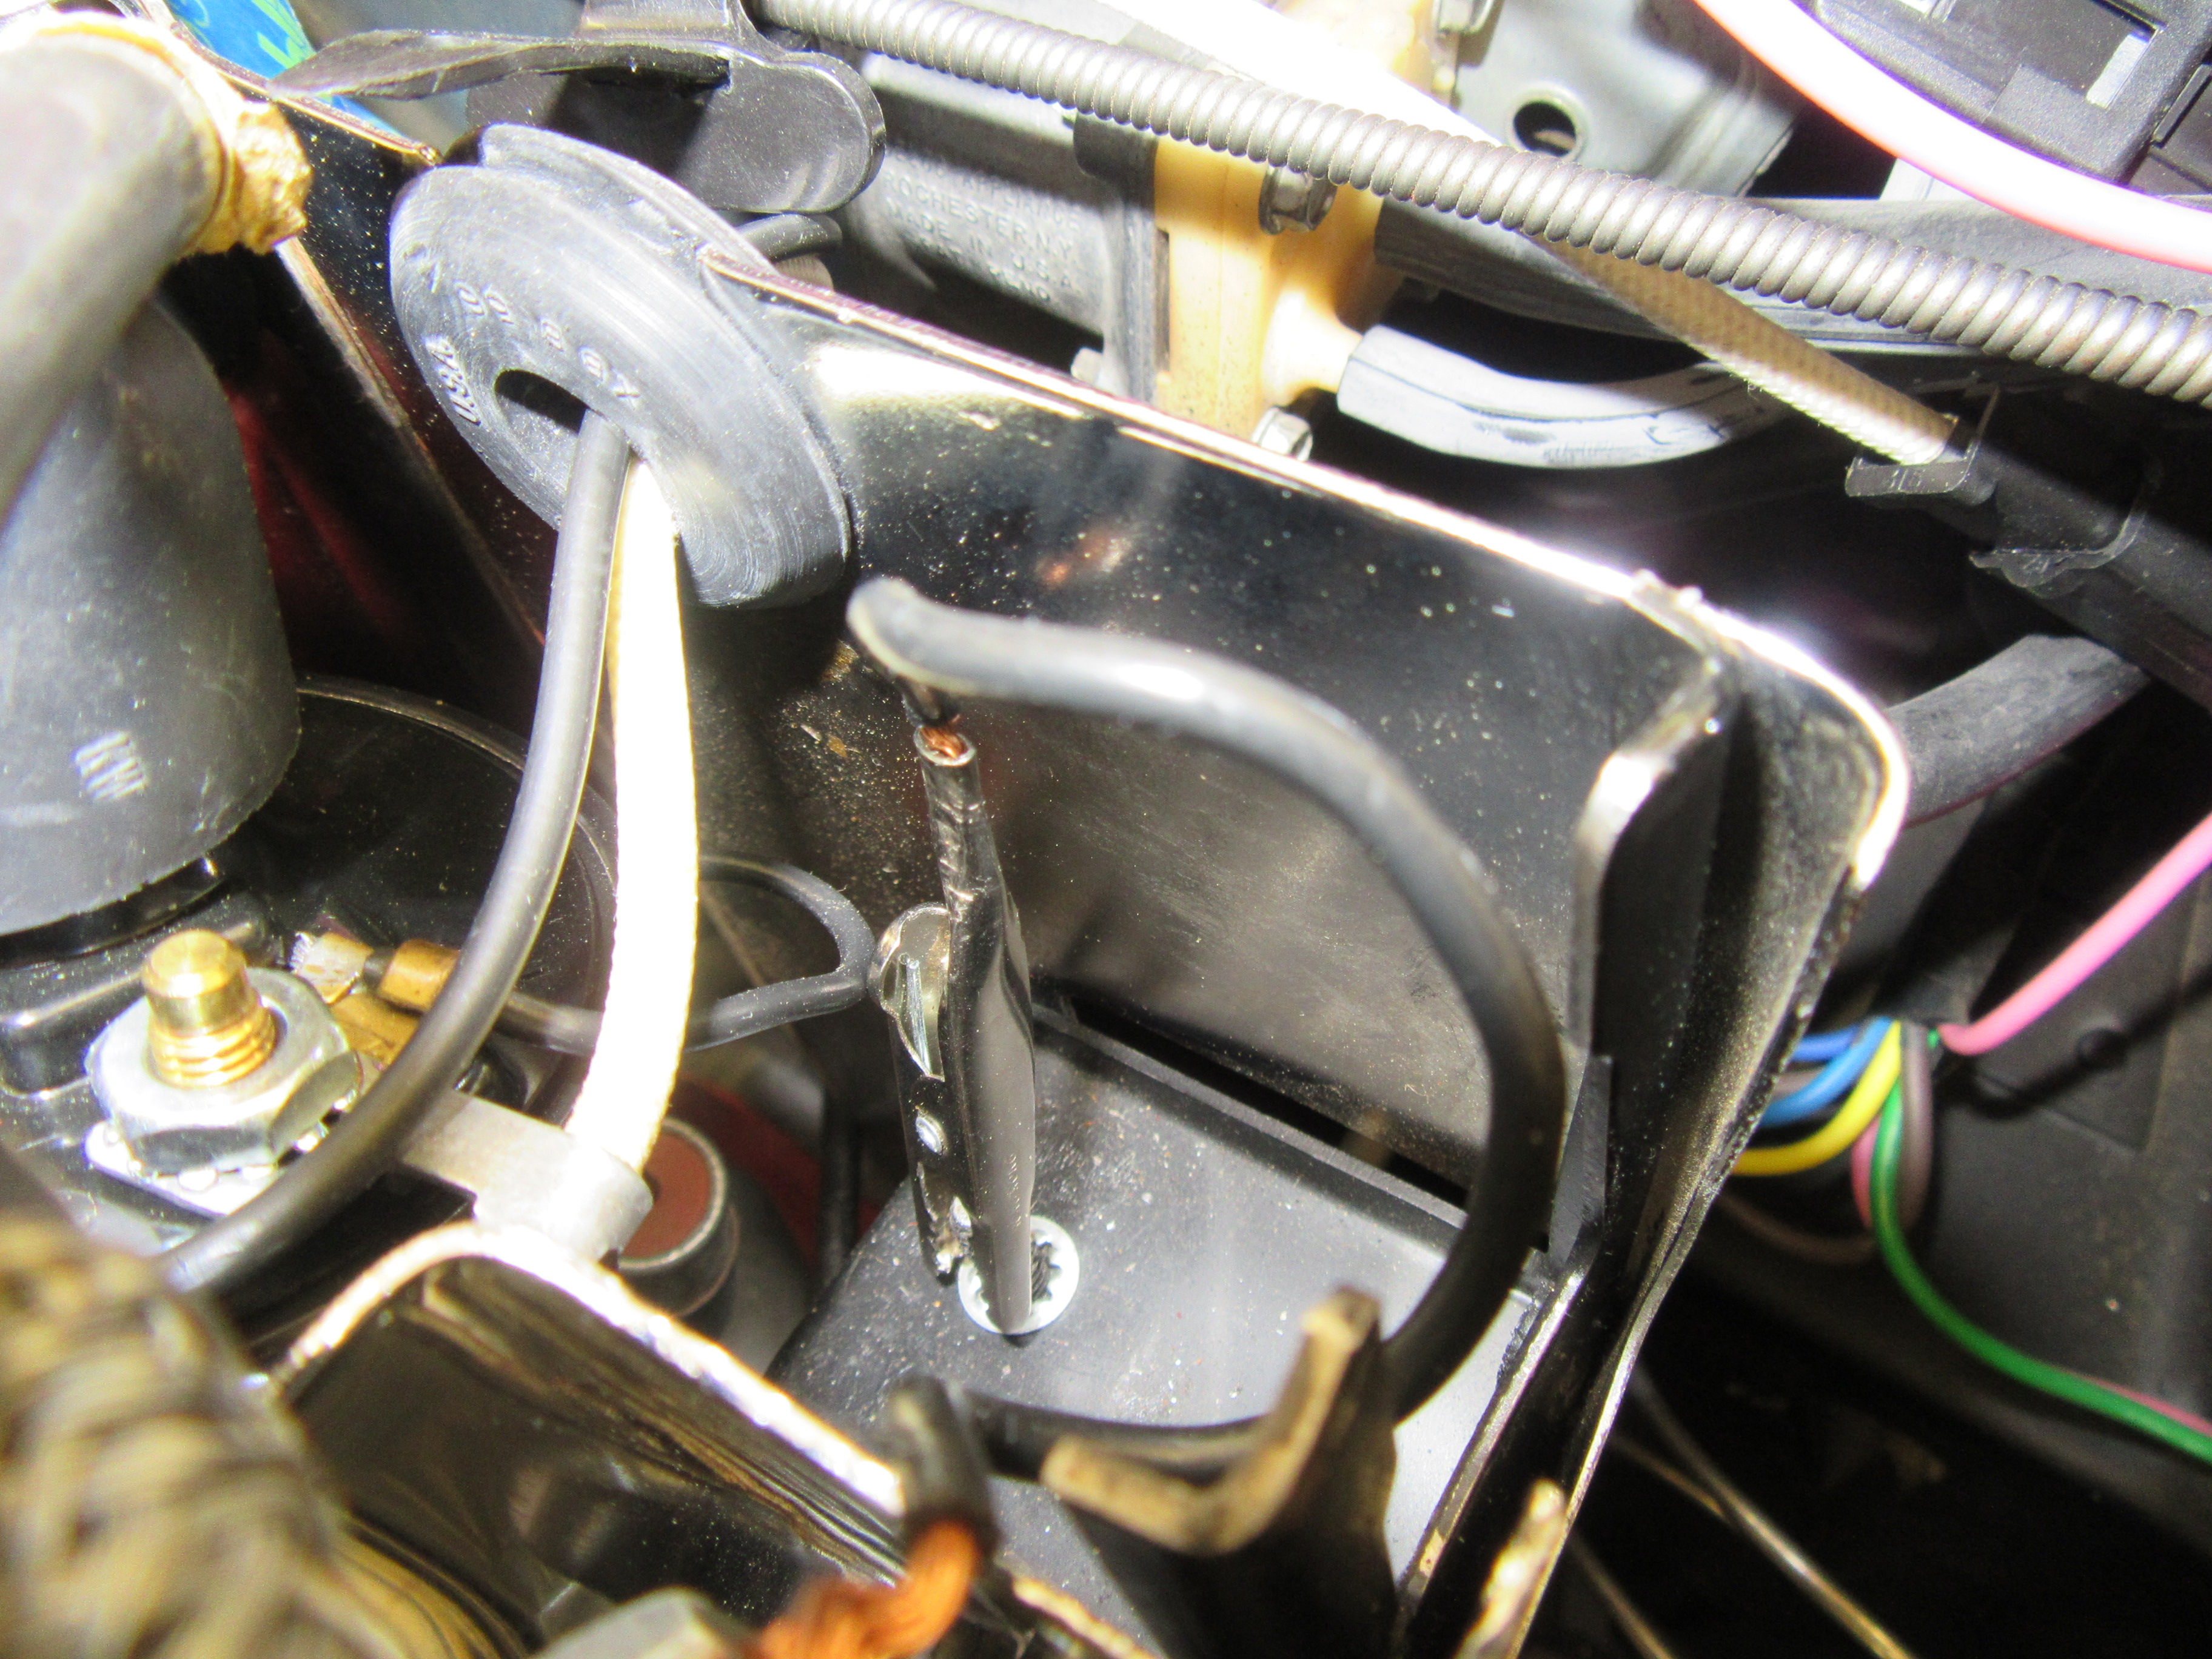


 Dennis


 Lots of steel parts inside an automatic.