When you click on links to various merchants on this site and make a purchase, this can result in this site earning a commission. Affiliate programs and affiliations include, but are not limited to, the eBay Partner Network.
People may find it educational and I am sure I will have a number of questions as my 62 nose removal + Replace takes place.. so I will keep an updated thread going.
Feel free to offer any advice as you may see when viewing the pics. In general you can go the last page for the latest update.
This is a NOM car that I am putting together as a 'driver' quality for my wife. The work I will do will be quality work, although my intent is not to make the car as original as possible. Again.. a decent driver that the casual observer will think looks great.. but those that 'know' could tear it apart for sure. So keep that level of 'end state' in mind.
Thanks in advance for any input, tips, answers to questions, etc.
Cheers ! Jim
Franklin Ma area
Note.. updated... added some pics of what I am starting with. The night I brought it home. Then a pic after I stripped the nose thinking I would just do a 'quickie' to give my wife something to drive. On stripping the nose, found it so beat up with shoddy repair on top of shoddy repair, that it would be more effort to just stabilize that nose for a 'temp hack job' as it would be to replace the nose. So with that much effort needed, decided to invest that time replacing the nose.
The night pic does way more justice to the nose than it really looked like. Cracks everywhere on the nose and the hood. The hood had one of the hinge mount pads also broken off (pulled out of the hood). One of the pics is my test fitting a new hood.
Day 1 was the discovery that getting the doors off was going to be a pain the butt. As with any project.. it is never easy. The very 1st thing I started working on, the door removal.. and most of the door hinge screws snapped off the cage nut and the screws were just spinning
Day 2... Lost 3/4 of the day removing door hinge screws... then finally got to work on separating the nose. About 1/2 way through the removal now. See pictures of progress and 'tools' used.
Overall needed to heat the bond areas more than I thought I would need to before I could work a tool between the seams.
Was not sure where the existing nose was grafted on in the rocker panel area. I ground back towards the rear of the car pretty far looking for a graft / joint of some kind. Did not see one as far back as I ground, so decide to just play it safe and zip off a cut line vertically below the door pillar. Replacement noses will cover at least this far back. When the nose is off I will investigate further where the graft line is on the rocker.
Hi All.. some questions... Thanks in advance for response...
1). Electrical Connectors; Anyone know how these connectors unplug ? They are for the headlights and directionals. I do not see any release tabs, and I have tried putting paper clips, eyeglass screw drivers, etc down inside trying to find some type of tab or something. The wires do move around inside this coupling. I was told that this is a repro wire harness.. maybe someone recognizes this type of connector. It will keep me from getting the nose off. Do not want to have to cut the wires.
2: Wipers will not turn off; Don't ask me why, but I decide to test out the wipers.. so turned them on. Move great. Problem is.. they will now not turn off no matter how I play with the switch. Am I missing something in the operation of the switch ? Or is the switch 'gone bad' on me (broken with a closed circuit.. odd.. but it figures.. should have left it alone).
I believe the wires just pull out of the connector. May be stuck from moisture over the years. I did this on my 61 years ago and I think that's what I did. Hold onto both of the same color wires and pull. One is a male end and the other is female.
I'm betting you wiper concern is due to a poor ground and your getting feedback through a weak ground. Try running a ground wire from the battery to the wiper motor housing and see if they will turn off.
Just my 2 cents worth here....I very well could be wrong....I'm old and forgetful these days.
Chris
I don't think they just pull out, I THINK there is a tab you have to depress with a thin narrow screwdriver in order to pull it out.
I don't think they just pull out, I THINK there is a tab you have to depress with a thin narrow screwdriver in order to pull it out.
Bill
I have never seen a one piece clip like that, normally two halfs to the clip. But the clips on the end of the wires will likely have the tabs that dig into the plastic clip. Those tabs can be hard to release sometimes. There is a groove on the inside of the clip, that will be the side with the tab. I use a very small thin screw driver. It must be very thin.
The wiper switch is on top of the wiper motor, the thingy with the cable on the dash clsuter activates it, you can probably move the switch with your finger, back to teh off position.
On the headlamp connectors, use needle nose pliers to grasp the male end (the part on the headlamp), and pull them out individually one at a time. There are some locking tabs in the brass, but they will generally separate without getting in there with a jewelers screw driver. If you don't have bare one to look at, it is real hard to know what you need to do.
Those wires are just plug in style. No doubt they are probably stuck in there with corrosion. Spray some penetrating oil in there, give it some time to work, then get a small long nose pliers and wiggle each wire one at a time from the metal end and they will come apart. The spades come FROM the light assemblies, so be sure not to pull on the wrong end.
About the wipers, I agree that run on is a ground issue. There should be a dedicated ground to the motor but that is often missing and the cable (metal) will act as a ground but not work proberly and run on. Pilot Dan
B/T/W was wondering if you removed the kick panels and checked the birdcage when you dealt with the door screws and what you found.
The connectors have a spot that need to be depressed by a very small screw driver.
For the wipers, You might check to see if the cable that goes to the wiper motor has slipped. It is retained by a very small washer and screw. If not adjusted correctly the wipers will continue to run.
I see you are working on a front end build. I`m rebuilding a 62 as we speak. I went with a complete front end from Corvette Image. The challenge is when using that kit the car need to have the windshield removed and the dash is split in half. Looks like a giant erector set for adults. I think 17 parts make up the kit. Bonding strips , inner finders outer finders and upper half from center of dash split to the head lamps is one piece.
Hi All: Thanks to all for the helpful responses indeed ! Your efforts are much appreciated.
Wipers; Tried the ground wire (thanks for the tip) but no chg and continued investigation. I had not read Harold's post. But you hit it right on. I learned / observed that these wiper motors have the electrical switch on the motor and the 'switch' on the dash operates a cable that in turn moves the electrical switch mounted on the motor. Moving the switch on the motor by hand tuned off the wipers. Cable adjustment needed I am guessing. At least for now the wipers are off.
Connectors; Could not find any tabs of any kind, so took Pilot Dan's advice and pulled a good bit harder.. right on.. apart they came.
Harold.. I am also considering the Corvette Image nose. It sounds like you are going the press molded route. I plan to do the hand laid one piece route. I am waiting on a answer from CI if their fender tops droop down or not (they did not know and have to check their molds... been a few days trying to get an answer) I have an ongoing saga (separate thread about noses I have received from Ecklers and J+D Fiberglass)
Progress of the Day; Nose is off ! A milestone of sorts. Items of note;
* Still needed to apply a lot more heat than the videos I had seen led me to think I would need
* Heater Core Pipe; Seems the heater core pipe is aligned perfectly to be in the way of removing one of the inner fender bolts. I tried loosening up the heater core to see if I could nudge it a couple mm out of the way. Nope... seems the whole heater box would need to come out (see pic). Decide that was way too much effort for one bolt, so I took a saws-all and delicately cut the bolt head off w/o touching the heater core pipe. I think on reassembly I will just not install that bolt.
* Long day. Tomorrow I will start taking a hard look at things / assess issues. One is that part of the firewall needs attention due to previous accident. Will take some pics tomorrow of what I am seeing close up now that the nose is off.
Cable operated switch at wiper motor
Bolt right at the heater core inlet pipe. Augggh !
Nose is off ! Yeah.
Notice the firewall damage (right lower in this pic) and the shoddy work to fix it in the past. Will take a harder look at this tomorrow.
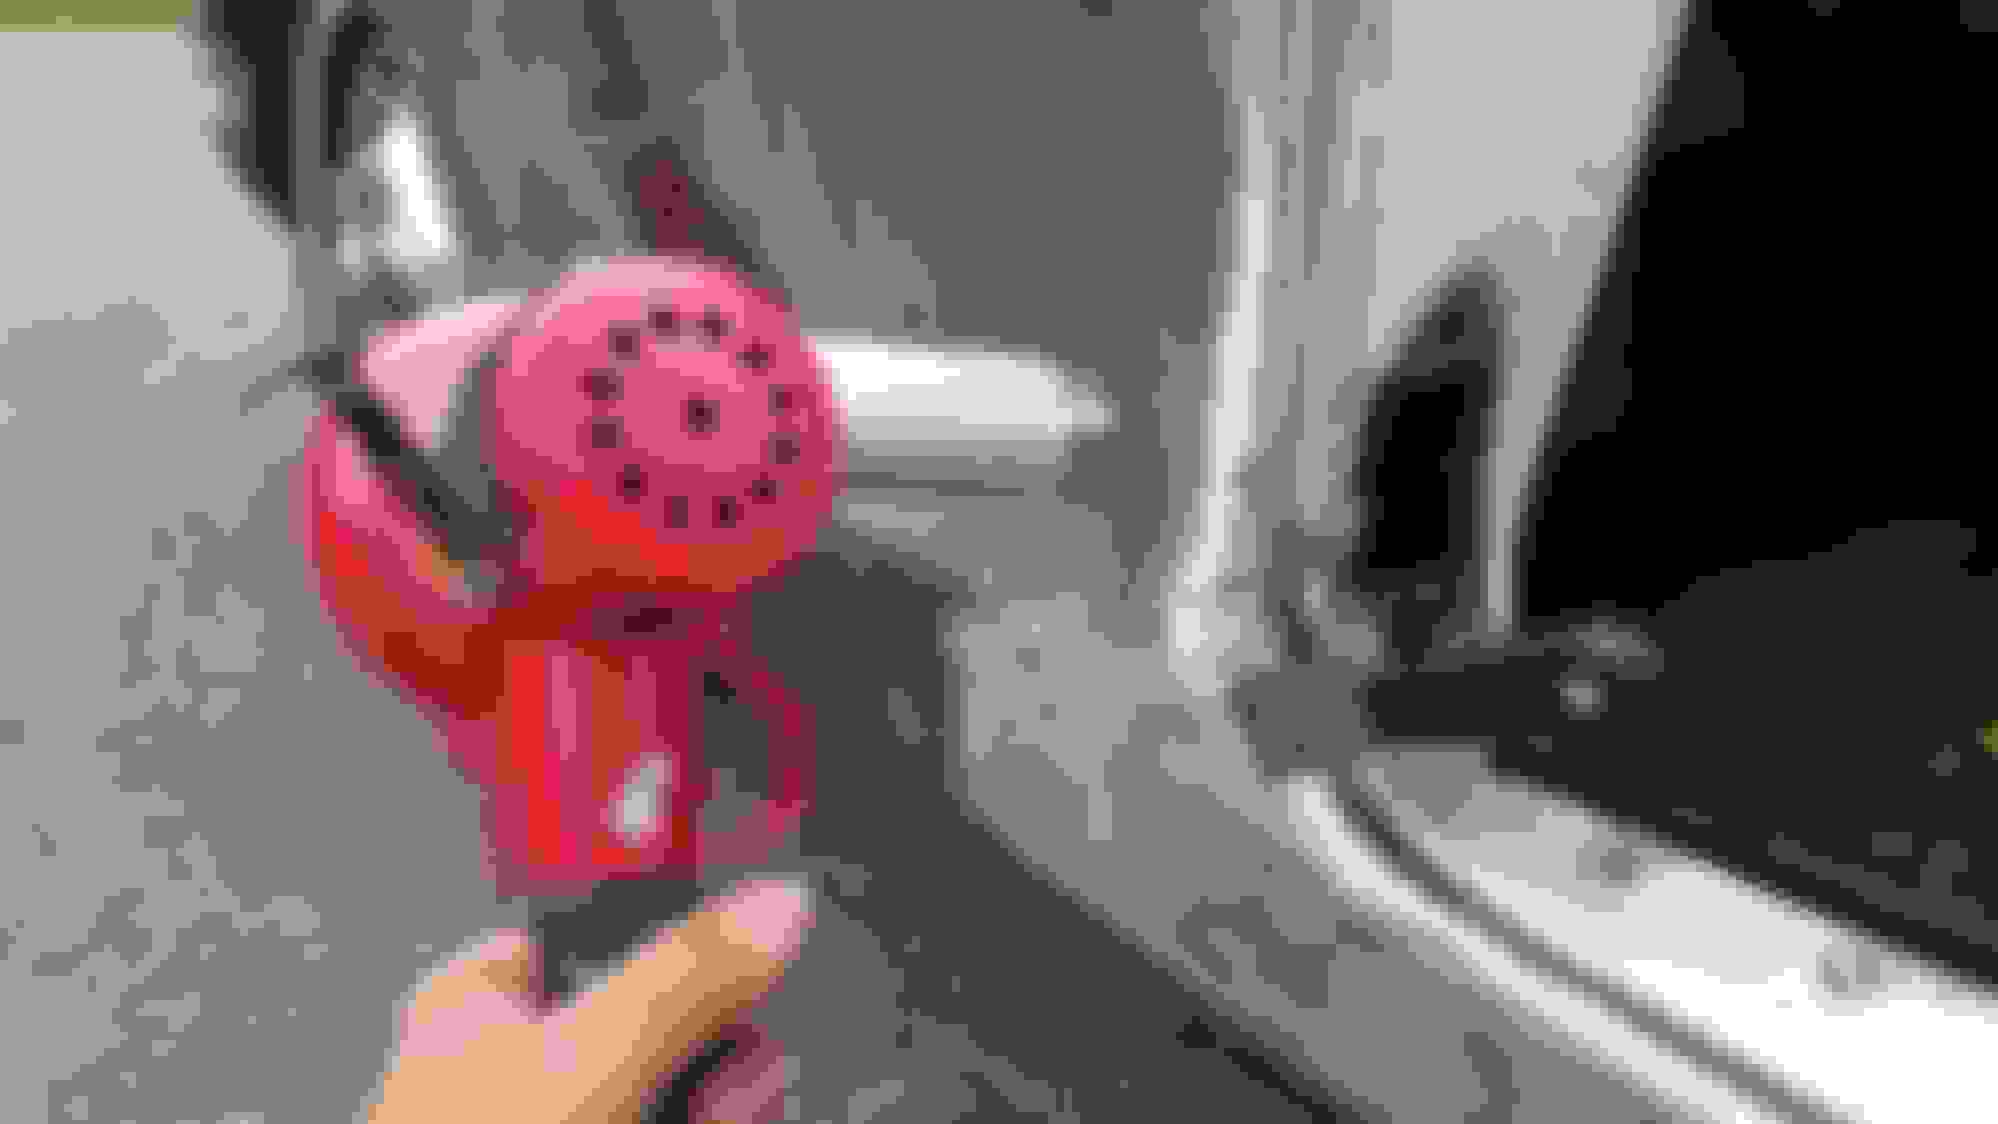
The wire bundle above for the turn signals just has push in connectors...its an unusual rig on our cars but yes. A bit hinkey too as a knee or screwing around under the dash can cause connectors to come loose. If the wires WERE secured by a tab there is a tool for that available that is like $5 and you'll have it forever. Shown in this picture.
I hope you're putting a ZipLok back or something over that carb -- looks wide open to me...
Hi All: Thanks for following the thread and offering great insights ! I hope the thread will be both educational and entertaining.
Happy Memorial Day to all, and especially to those that have served our great nation in a branch of service. It is you that have given us such a great country to live in, that we live with the relative freedoms we have. My hat off and a huge handshake to each and every veteran and active member. As an aside, my dad (deceased relatively early in life) is a Korean veteran and recipient of the Combat Infantryman Badge. Which he explained to me, at that time, required one to be engaged in active, sustained ground combat for 7 or more days. He was a 'just out of high school' grad that signed up for the Army 2 weeks after graduation. A 'grunt' (as he would say) paratrooper in the Airborne with multiple combat jumps. I can only imaging what a 17.5 year old kid in sub-zero winter trenches of Korea was experiencing. He seldom spoke of the war but one of the memories I have was a quick quip he would often relate about hooking up for a combat jump, under fire, said he was so scared that he felt like he could not breathe, and seeing the unit Chaplin hook up behind him, jumping into fire, carrying only a bible. That left a deep impression on my dad.
Anyway...
* Today is another rain day here in MA. A bit later when the rain stops I will roll the car out of the garage to get some good 'assessment pictures'.
* Some suspect areas I will need to look into...
1). The Birdcages as a Pilot Dan points out. The drivers side bird cage cavity was totally impacted with sand / gravel. The inferior repair job done who knows how long ago on that firewall damage (lower drivers side fire wall) left some 'daylight' into the bird cage area and road gravel over the decades amassed into the bird cage. See my prior pic above of me taking some of the gravel out while taking the drivers door off
2). Left lower firewall damage to assess and plan a repair strategy.
3). With the nose cut off at the rocker panel, I can see that both rocker panel cavities are jamb packed with gravel, leaves, mice nests, etc. Poking at it the stuff is impacted and semi-hard. Will need to pick that out somehow with a homemade too that can reach down the rocker panel cavity to 'pick' it loose. Then some sort of long vacuum hose to reach deep into the cavity.
* One thing.. once one takes the nose off...no longer a 'quickie' job as now it opens a whole host of other things to work on while the nose is off and one has the access. Things such as; a). At least sanding down and refinishing all the suspension, steering, and frame rail components one can get at. I will look for some instructions later on how to drop the a frames and pull out the coil springs for better access to refinish the coil spring cradle area. I am guessing it would be similar to when I dropped the a-frames on the GTO.. but this time king pins instead of ball joints to allow the lower a frame to drop down b). Refinishing the firewall.
Last.. yes... time to put a bag over the carb ! Thanks for the reminder.
The wire bundle above for the turn signals just has push in connectors...its an unusual rig on our cars but yes. A bit hinkey too as a knee or screwing around under the dash can cause connectors to come loose. If the wires WERE secured by a tab there is a tool for that available that is like $5 and you'll have it forever. Shown in this picture.
I hope you're putting a ZipLok back or something over that carb -- looks wide open to me...
Nice tool !! I absolutely will get one. I think how may times I wrestled with other connectors and eyeglass screw drivers, etc. Thanks !
Drivers side firewall damage from a 'hit' and shoddy repair probably decades ago. The poor repair work allowed debris, water, gravel, etc, to fill in the bird cage area and hold moisture.
My initial repair impressions;
* I do not want to weld anywhere near that fiberglass backing on the door pillar.
* The vertical metal that holds the door hinge inner bolts is actually pretty solid. It is only that lower horizontal section that is rusted. I am thinking I can fabricate a 'L' shaped 'insert' of like shape and side braces and bolt it in via the bottom bolt and the 2 door hinge bolts (on the vertical). Clean up the metal as best can and use those 3 bolts and 2 part epoxy on the insert that I fabricate. Thus no heat needed.
* More work to do for sure... but looks worse than it is (given the vertical post is still quite solid except at the junction with the horizontal base).
Based on what I am seeing... always more work needed than expected on these projects.. and doing this part time... as a hobby... my wife's planned 'driver' for this summer is more looking like the little red wagon in the last pic
The poor work done on the firewall repair on the drivers side also allowed all sorts of muck and gravel into the rocker panel. There is huge amounts of crud in that rocker panel cavity
The passenger side has as much crud.. so all that must be finding other ways to get in there.
First step is just to work free some of that impacted crud and see if there is any rust issues.
As a start, to get partially in there, I bend a coat hanger to make a 'flicker' to break off some of that semi-solid crud. Running a vacuum hose down in that cavity was not breaking off the crud.
I will fabricate a 'tool' of sorts to get in deeper. But just a quick look at what comes out with a coat hanger tool.
Cheers - Jim
Drivers side firewall damage from a 'hit' and shoddy repair probably decades ago. The poor repair work allowed debris, water, gravel, etc, to fill in the bird cage area and hold moisture.
Partial output from drivers side rocker cavity. Will fabricate some sort of tool that can get deeper in and break off the semi-hard crud.<br/><br/>From what I can see down the rocker cavity, fortunately the metal has some surface patina only.
65GTO, I see a '37--'38 Mopar coupe in the background! I had a '37 Imperial business coupe for about 15 years, selling it in 2001. Great cars. (I also have a '65 GTO hardtop, but mine's Blue Charcoal..like the wheels on yours....) Congrats on your hard work...you'll be glad you did it when it's done.
65GTO, I see a '37--'38 Mopar coupe in the background! I had a '37 Imperial business coupe for about 15 years, selling it in 2001. Great cars. (I also have a '65 GTO hardtop, but mine's Blue Charcoal..like the wheels on yours....) Congrats on your hard work...you'll be glad you did it when it's done.
Thanks GTOGuy for the encouragement. Good eye... that is a 1938 Ply Coupe that I restored about 8 years ago. Lots of metal fabrication needed because finding replacement panels was getting too tough. Really honed my compound bend sheet metal forming and welding skills (after blowing through the metal a number of times finally got the hang of welding thin metal )
Below are some pics of interest. The coupe, in progress and after, some of the other Mopars I have. The yellow pickup is a 1940 Plymouth. Not many made. The pic was last week at our Ply Club meeting. A day at Thompson Speedway.
The red truck is a 47 Dodge. That is the wife behind the wheel in one of the pics on the day I started to teach her to drive a std shift. The day went about how one would expect.. her smiles were short lived
 05-24-2017, 09:46 PM


 Pilot Dan