When you click on links to various merchants on this site and make a purchase, this can result in this site earning a commission. Affiliate programs and affiliations include, but are not limited to, the eBay Partner Network.
I recently recovered my 65 seats and have to ask, why eliminate the wires? They add support as the zig-zag springs run side to side and the wires run front to rear.
When redoing the seats will burlap without the wires in them work ok?
I agree with 1snake, why would you not want to use burlap with wires? The cost and availability shouldn't be issues.
You may be able to recover the seats using burlap without wires, but I�m not sure the result or longevity of the recover will be the same.
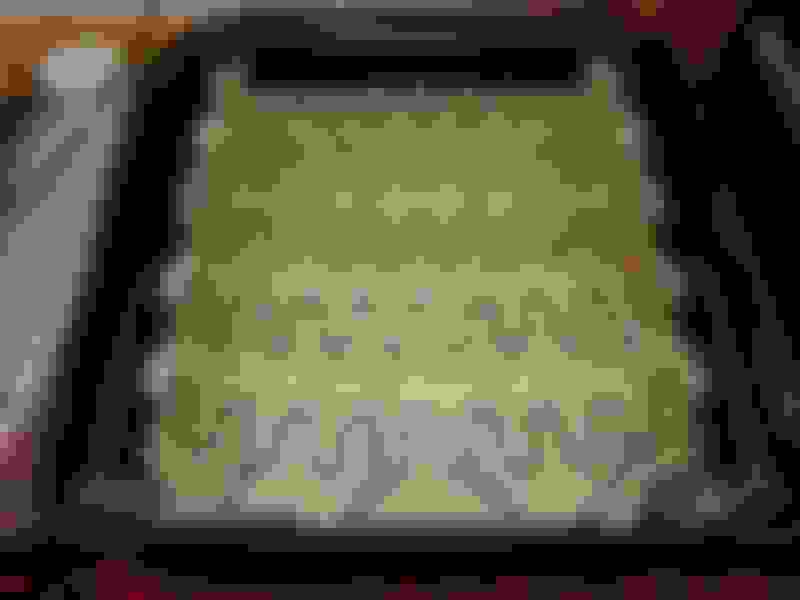
In addition to adding support to the entire seating surface, the horizontal wires in the burlap help to provide support for the �crimped wire� (below the burlap). The retainers between the cover and the crimped wire are under tension (compressed foam) to maintain the seat contour. I suspect the long-term effect of no wires may not be desirable. Here�s a pic of my �67 seats - Al Knoch covers, foam and burlap with wire.
Mike67nv, The burlap and wires in the pic. you posted is installed incorrectly. The wires should run front to rear, perpendicular to the zig-zag springs.
Mike67nv, The burlap and wires in the pic. you posted is installed incorrectly. The wires should run front to rear, perpendicular to the zig-zag springs.
Thanks I have some burlap with wires on the way,along with the tool for the clips.
It is my understanding the the wires in the burlap were to help protect the "zig zag" wires from cutting into the foam. A lot of the new foam already has that protection built in.
What tool for the clips are you talking about? Are you talking about the tool to pull the listing wires thru the cushion? I have done hundreds of these seats and never used a clip tool. Just hog rig pliers.
Last edited by woodsdesign; 01-09-2018 at 07:22 PM.
It is my understanding the the wires in the burlap were to help protect the "zig zag" wires from cutting into the foam. A lot of the new foam already has that protection built in.
What tool for the clips are you talking about? Are you talking about the tool to pull the listing wires thru the cushion? I have done hundreds of these seats and never used a clip tool. Just hog rig pliers.
Do you have any tips to share on getting the listing wires pulled through and on?
Do you have any tips to share on getting the listing wires pulled through and on?
The Corvette America video gives you the basics.
Install the clips on the listing wires, paying attention to using the right length at each location. Lay the cover in place on the foam and mark the clip locations on the foam.
What I do to make things easier: using a heated knitting needle, melt a hole in the foam for each clip. Gives you a perfect hole with no shredding of the foam.
Related tip: mark on the burlap where the needle tip pokes thru. That eliminates guesswork on where to insert the hook tool from the burlap side. Also guides you in laying out the corrugated wires that the clips hook to. Note: burlap has already been glued to the cushion bottom.
The bottom cushion is much easier to do if the cushion is NOT on the seat frame. But at this point I do glue the cushion/seat cover onto the seat frame bottom, using 3M Super 90.
With a little forethought and patience, even a rank amateur (me) can get good results.
Did I have wrinkles? Yes, but steam+ice applications removed them.
don't want to hijack this thread, but you got to explain how that steam and ice go into work? I can get the steam part but what's the ice for?
I have got some wrinkles from using the seat will it work?
Last edited by Twan Sloot; 01-12-2018 at 05:04 PM.
The way I get wrinkles out is to warm the entire panel and surrounding area very well. Then use the steamer on that area. Push outward from the wrinkles to pull them out. I hold it that like that with both hands for one full minute. Then let them cool to room temperature and repeat if necessary.
Also, make sure the edges of the foam align with the inside of the cover.
Last edited by woodsdesign; 01-12-2018 at 06:43 PM.
Great posts on '65 seats but wondered if anyone else has tried the same "bubba" steps I have done to improve firmness and supports, using zip ties, firm foam padding ...even a plastic paint roller for lumbar.
Two bolts and the seatback comes off for adjusting, but I found this extra support (specially in my lower back from the plastic core paint roller) a fantastic improvement for long rides. (Did over 5200 miles in just over a few weeks last fall.)
PS - That short section of pipe insulation foam at top center was to stop the plastic seat back panel from crushing inward when the back was super-packed with travel stuff.


 01-03-2018, 11:13 PM


 here's an original.


