When you click on links to various merchants on this site and make a purchase, this can result in this site earning a commission. Affiliate programs and affiliations include, but are not limited to, the eBay Partner Network.
The only wire you need to worry about is the green wire. The voltage comes out on it from the flasher with the signal on and the brake wire with the turn signal in the center. I don't think I could be any more clear, the problem is in the contact in the turn signal, I'm not sure why you measured voltages and grounds at the back when the symptoms could not be caused by anything back there as I and others told you. The contact that touches the brake light switch contact and the green wire contact inside the housing at the same time to make the brake come on is not touching when the turn signal is in the center.
Boy, a picture really is worth a thousand words. To help clear it up i am....well dense. But it's all good, it gave me a pleasurable afternoon of looking at the system, at issue, from terminus to terminus. Helps me with the big picture and I noticed some detail work that should be addresses (floating harness clamps and such). The plan today is to scrounge up a tool to pull the wheel, after making indexing marks, and to get into the column where you and the guy's had advised. My next post should be a follow up that the issue is resolved. Thanks to all.
If you built your own airplane then you'll find these cars are simple to maintain once you get a 'feel' for them. You're new so I'll just say 65GGvert is one of the top electrical guys on here. His advice is rock solid...
Well it did take 9 years and over 3,000 man hours to build the ship so I'll never make a living from such endeavors but we know that's not the point. It's the process of challenge, learning and problem solving, the journey if you will. I am new to the hobby and so this opens the door to many years of that as well as an opportunity to chat with talented good guy's like youzz. For a guy like me, it dun't get much better.
I bought a cheap wheel puller at Harbor Freight. I don't use one enough to buy an expensive one. You can also rent one for free at Advance, etc. Leave a deposit and get it back when you return it
I bought a cheap wheel puller at Harbor Freight. I don't use one enough to buy an expensive one. You can also rent one for free at Advance, etc. Leave a deposit and get it back when you return it
I have both up here, quarter mile from each other. On my way in a half hour or so.
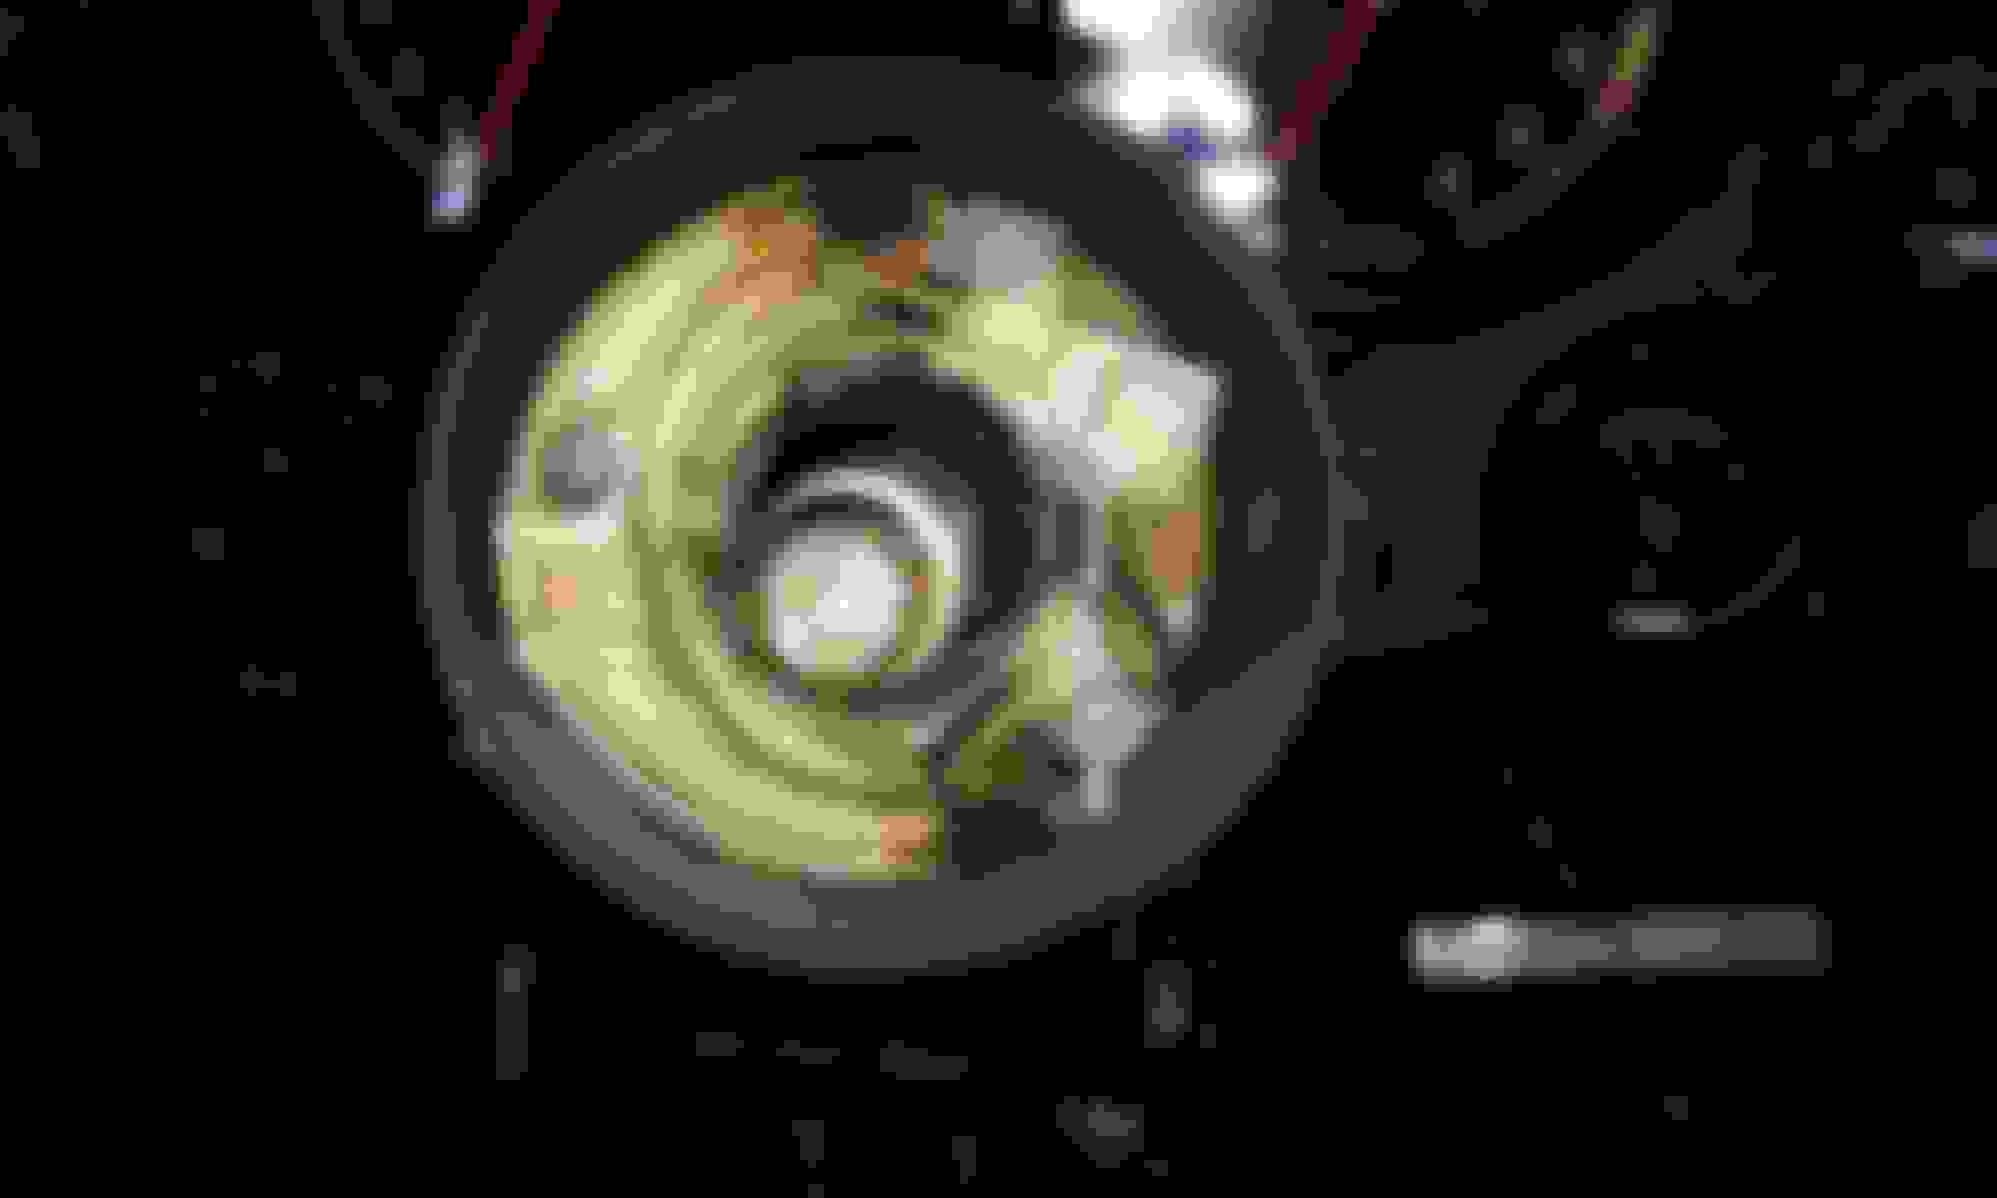
Thanks to buns' picture, here is the area in one or the other of the small red circles that isn't touching on your faulty passenger brake light.
That is a good picture what with the inclusion of wire colors. I picked up the HF wheel puller (20% off 13 bucks) today and got as far as pulling the steering wheel when a series of EMS tones went off at my ambulance company. Spent virtually the full day EMT'ing. I'll be back on it tomorrow.
That is a good picture what with the inclusion of wire colors. I picked up the HF wheel puller (20% off 13 bucks) today and got as far as pulling the steering wheel when a series of EMS tones went off at my ambulance company. Spent virtually the full day EMT'ing. I'll be back on it tomorrow.
I pulled the hub with my HF puller and exposed the plastic mechanism within. Looks to be two components the first of which is the part that rotates with the directional stalk, the second being the plastic appliance behind it that looks to have the contacts in question. Not sure where to go from here. Removed the directional stalk but the outer rotating cam does not seem to want to come out. Loosened the (3) screws but that did not result in any obvious movement of the parts. Before I apply persuasion to anything I wanted to ask. I did receive some manuals for her but there does not seem to be any references to the directional switch mechanism.
I pulled the hub with my HF puller and exposed the plastic mechanism within. Looks to be two components the first of which is the part that rotates with the directional stalk, the second being the plastic appliance behind it that looks to have the contacts in question. Not sure where to go from here. Removed the directional stalk but the outer rotating cam does not seem to want to come out. Loosened the (3) screws but that did not result in any obvious movement of the parts. Before I apply persuasion to anything I wanted to ask. I did receive some manuals for her but there does not seem to be any references to the directional switch mechanism.
OK, answered my own question. Had to pull the steering shaft support apart to take pressure off the plastic wire harness sleeve. Then while pushing the sleeve toward the column and then pushing up on the sleeve where it entered the cone shaped piece while working the cone toward the dash, bit by bit I advanced the turn signal mechanism out of the column. At that point I could see the back screw that holds the two parts together. Using a tiny right angle ratchet with a #1 Philips tip, I removed the screw and separated the parts. That revealed the part that's in all the pictures you gave me. Thing is that all the contacts looked good. Confirmed that with a continuity meter. Huh. Stepped on the brake pedal and I have both lights. Somehow through the disassembly process it fixed itself which does not give me warm and fuzzy feelings as I go to reassemble it. Would feel better if there was a bent part I could straighten and know it's fixed.
Regardless I figure to put it all back together, checking the brake pedal after each step to assure it still works. Now I got's to say I am no engineer BUT could not the GM guy's have made a slightly larger opening in the cone to allow the wiring sleeve to slide back and forth a little easier? I'll let you all know the outcome and again thanks for your patience/advice.
Have not stopped grinning since I got her home Sunday, the wife is beginning to worry.
Worry she should-I'm accused of having an affair with a gal named Corvetta! She also knows I see Golfina a couple of times a month. Other than that--I'm faithful...
One quick thought-mine had been repainted. The reconstruction left a ground wire off of one tail light which caused similar problems. Just drop the spare tire carrier for easy access.
OK, answered my own question. Had to pull the steering shaft support apart to take pressure off the plastic wire harness sleeve. Then while pushing the sleeve toward the column and then pushing up on the sleeve where it entered the cone shaped piece while working the cone toward the dash, bit by bit I advanced the turn signal mechanism out of the column. At that point I could see the back screw that holds the two parts together. Using a tiny right angle ratchet with a #1 Philips tip, I removed the screw and separated the parts. That revealed the part that's in all the pictures you gave me. Thing is that all the contacts looked good. Confirmed that with a continuity meter. Huh. Stepped on the brake pedal and I have both lights. Somehow through the disassembly process it fixed itself which does not give me warm and fuzzy feelings as I go to reassemble it. Would feel better if there was a bent part I could straighten and know it's fixed.
Regardless I figure to put it all back together, checking the brake pedal after each step to assure it still works. Now I got's to say I am no engineer BUT could not the GM guy's have made a slightly larger opening in the cone to allow the wiring sleeve to slide back and forth a little easier? I'll let you all know the outcome and again thanks for your patience/advice.
NO JOY. Never got further than reassembling the cam. As soon as I did that lost the light again. Began attempting to reshape the contact but two failed attempts later I found myself in "chasing my tail" mode. Went ahead and ordered a new complete unit form Corvette Central.
That's what I'd do since you've already got it apart. I'm not really sure of aftermarket quality so don't throw your old switch away.
Well if I wanted to take the easy out of this and based on what you said quality wise I could simply remove the contactsfromn the new switch and install them in my existing one. I'll look at the product once it arrives, get a sense if it was made in Beijing on Cinco de Mayo Day.
Well if I wanted to take the easy out of this and based on what you said quality wise I could simply remove the contactsfromn the new switch and install them in my existing one. I'll look at the product once it arrives, get a sense if it was made in Beijing on Cinco de Mayo Day.
So tomorrow I plan to replace the directional switch and reassemble the column. The new switch unit comes with the wiring harness and the connector attached. Obviously the only way to do that is to first remove the connector, route the wires down through the protective sleeve and to reattach the connector. Just not seeing how to withdraw the wires from the plug. Tried inserting a small flat blade screw driver into the plug so as to compress the contact but no joy so far. Worst case would be to cut the wires and solder them back together once installed but there has to be a more elegant way. Any advice?
So tomorrow I plan to replace the directional switch and reassemble the column. The new switch unit comes with the wiring harness and the connector attached. Obviously the only way to do that is to first remove the connector, route the wires down through the protective sleeve and to reattach the connector. Just not seeing how to withdraw the wires from the plug. Tried inserting a small flat blade screw driver into the plug so as to compress the contact but no joy so far. Worst case would be to cut the wires and solder them back together once installed but there has to be a more elegant way. Any advice?
FYI - when you reinstall the terminal into the connector give it a firm tug at the wire to make sure its seated....sometimes, in the process of removal, that tab gets flattened and needs pried back up (GENTLY!) to secure the terminal...
 04-04-2018, 07:42 AM