[C2] 1964 Convertible - Plain Jane - The Journey Begins.
 04-12-2018, 09:51 PM
#21
Burning Brakes


Thread Starter

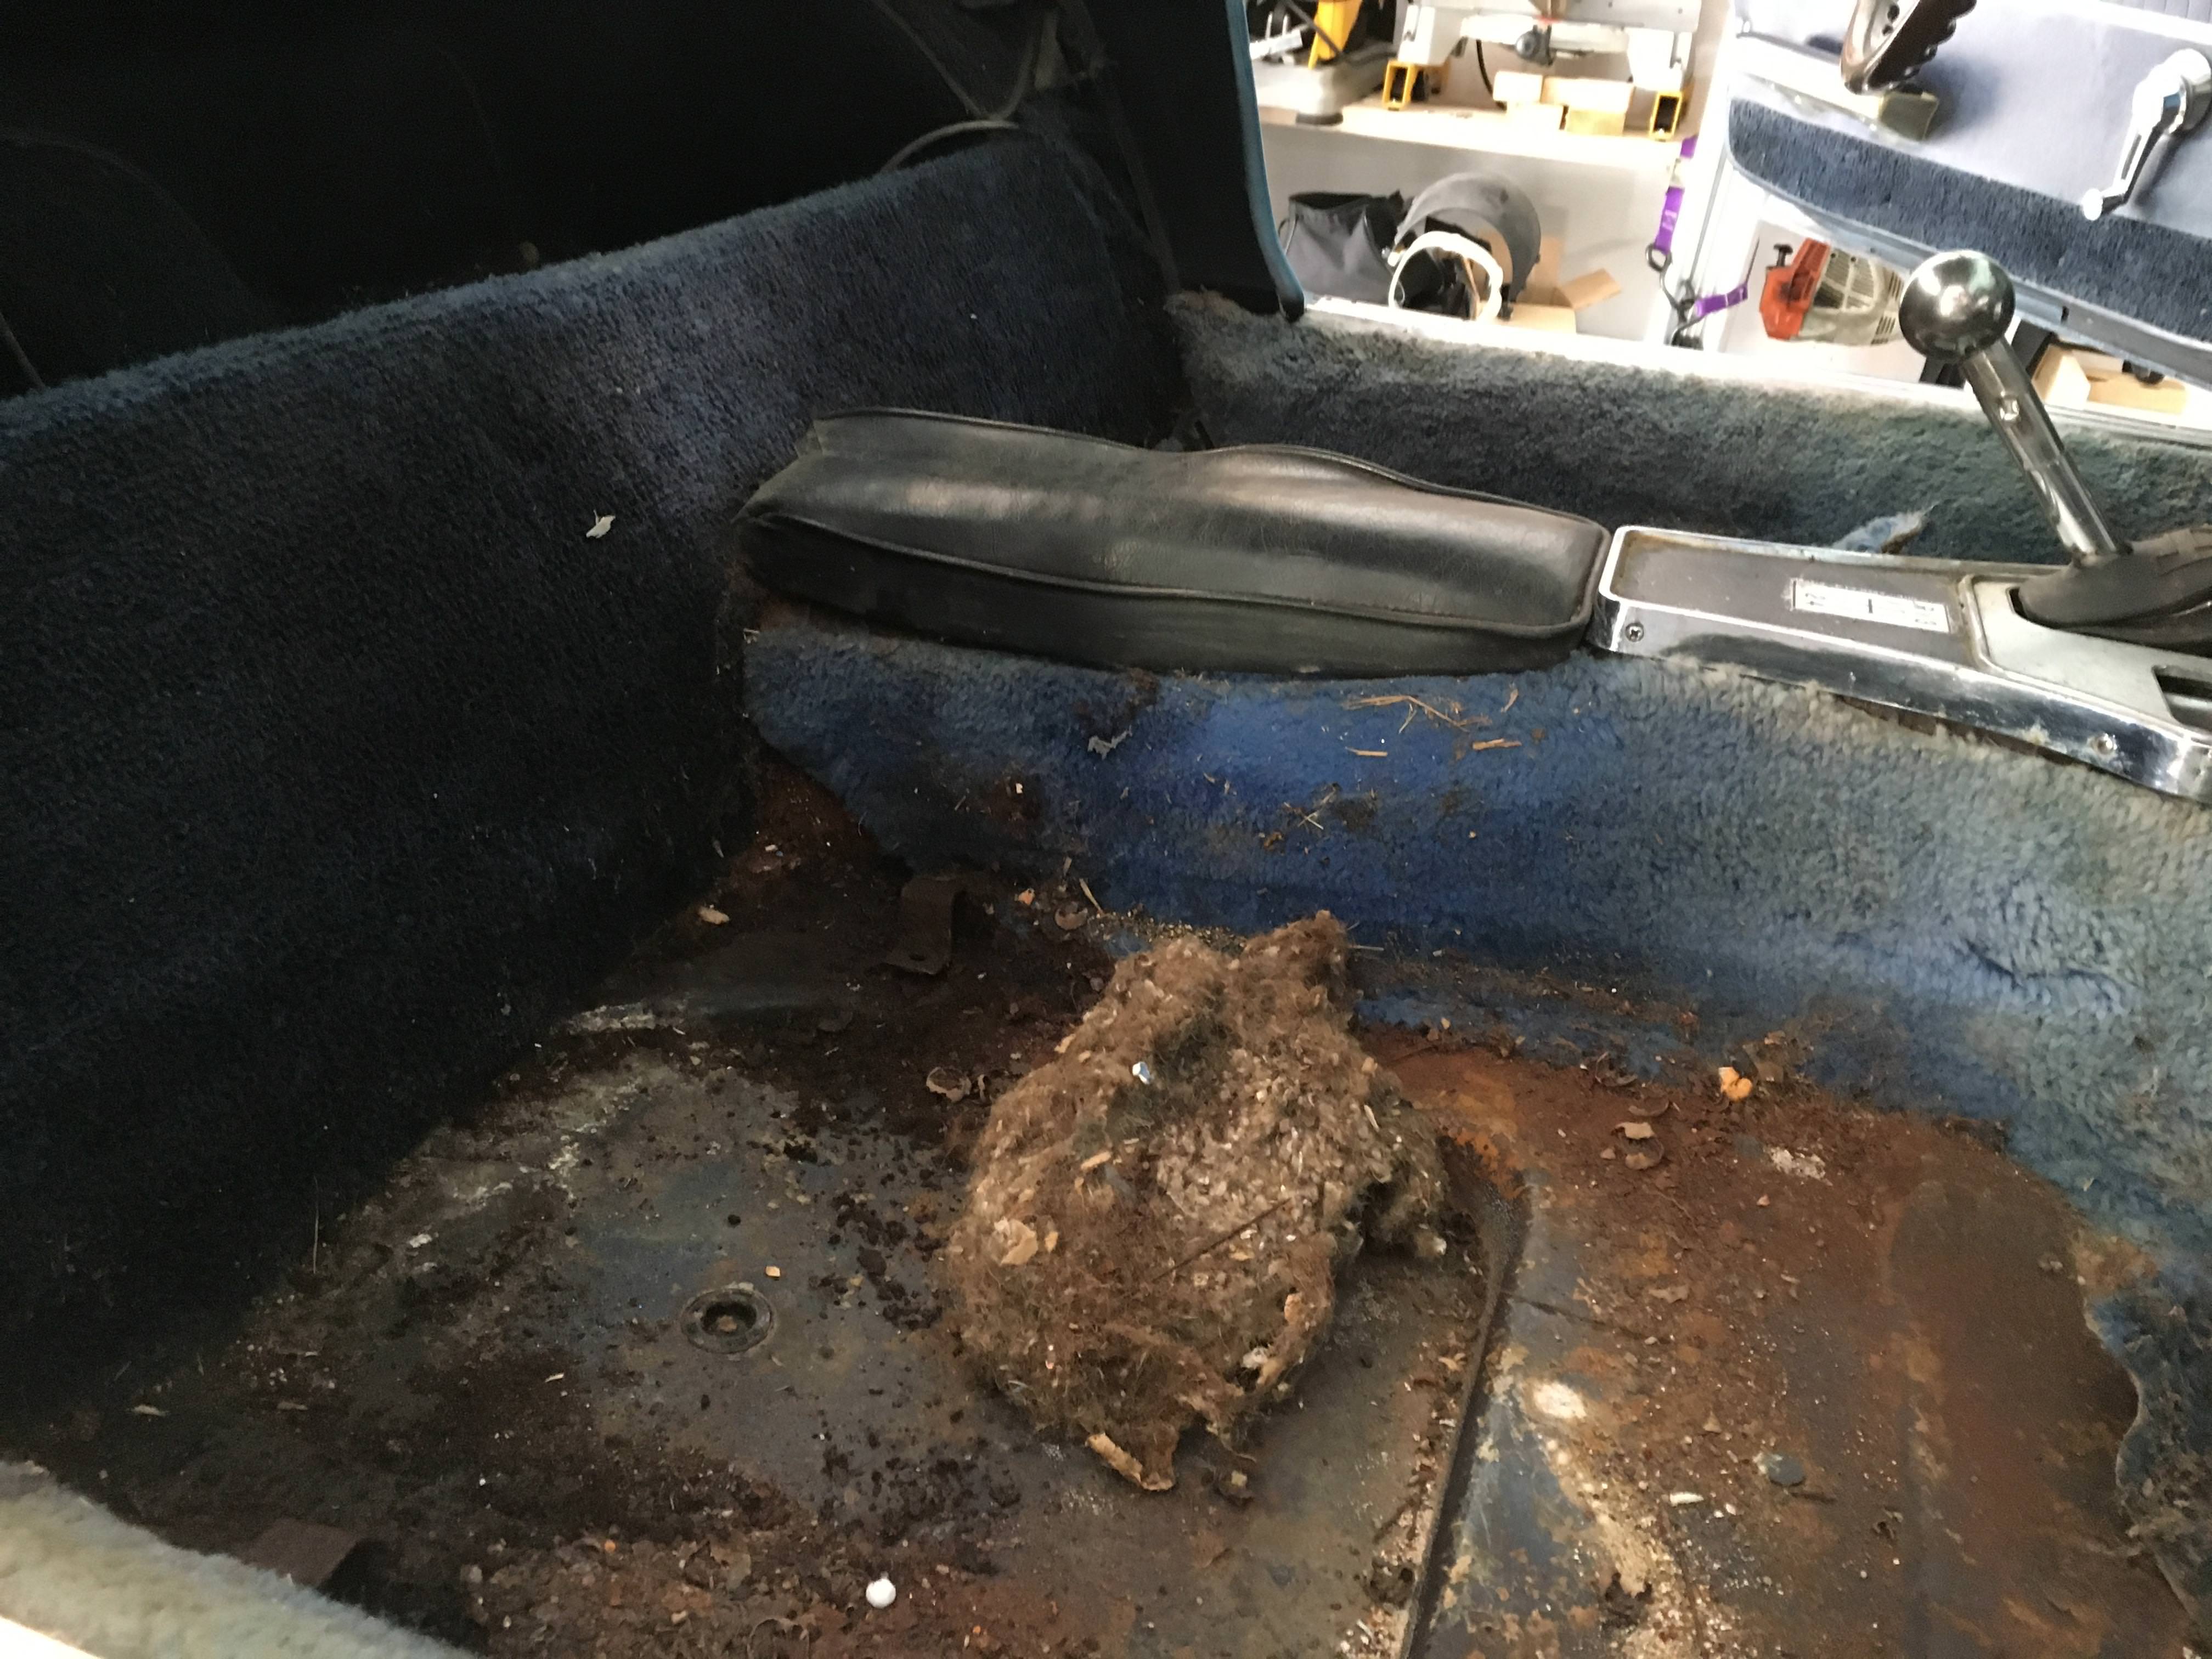
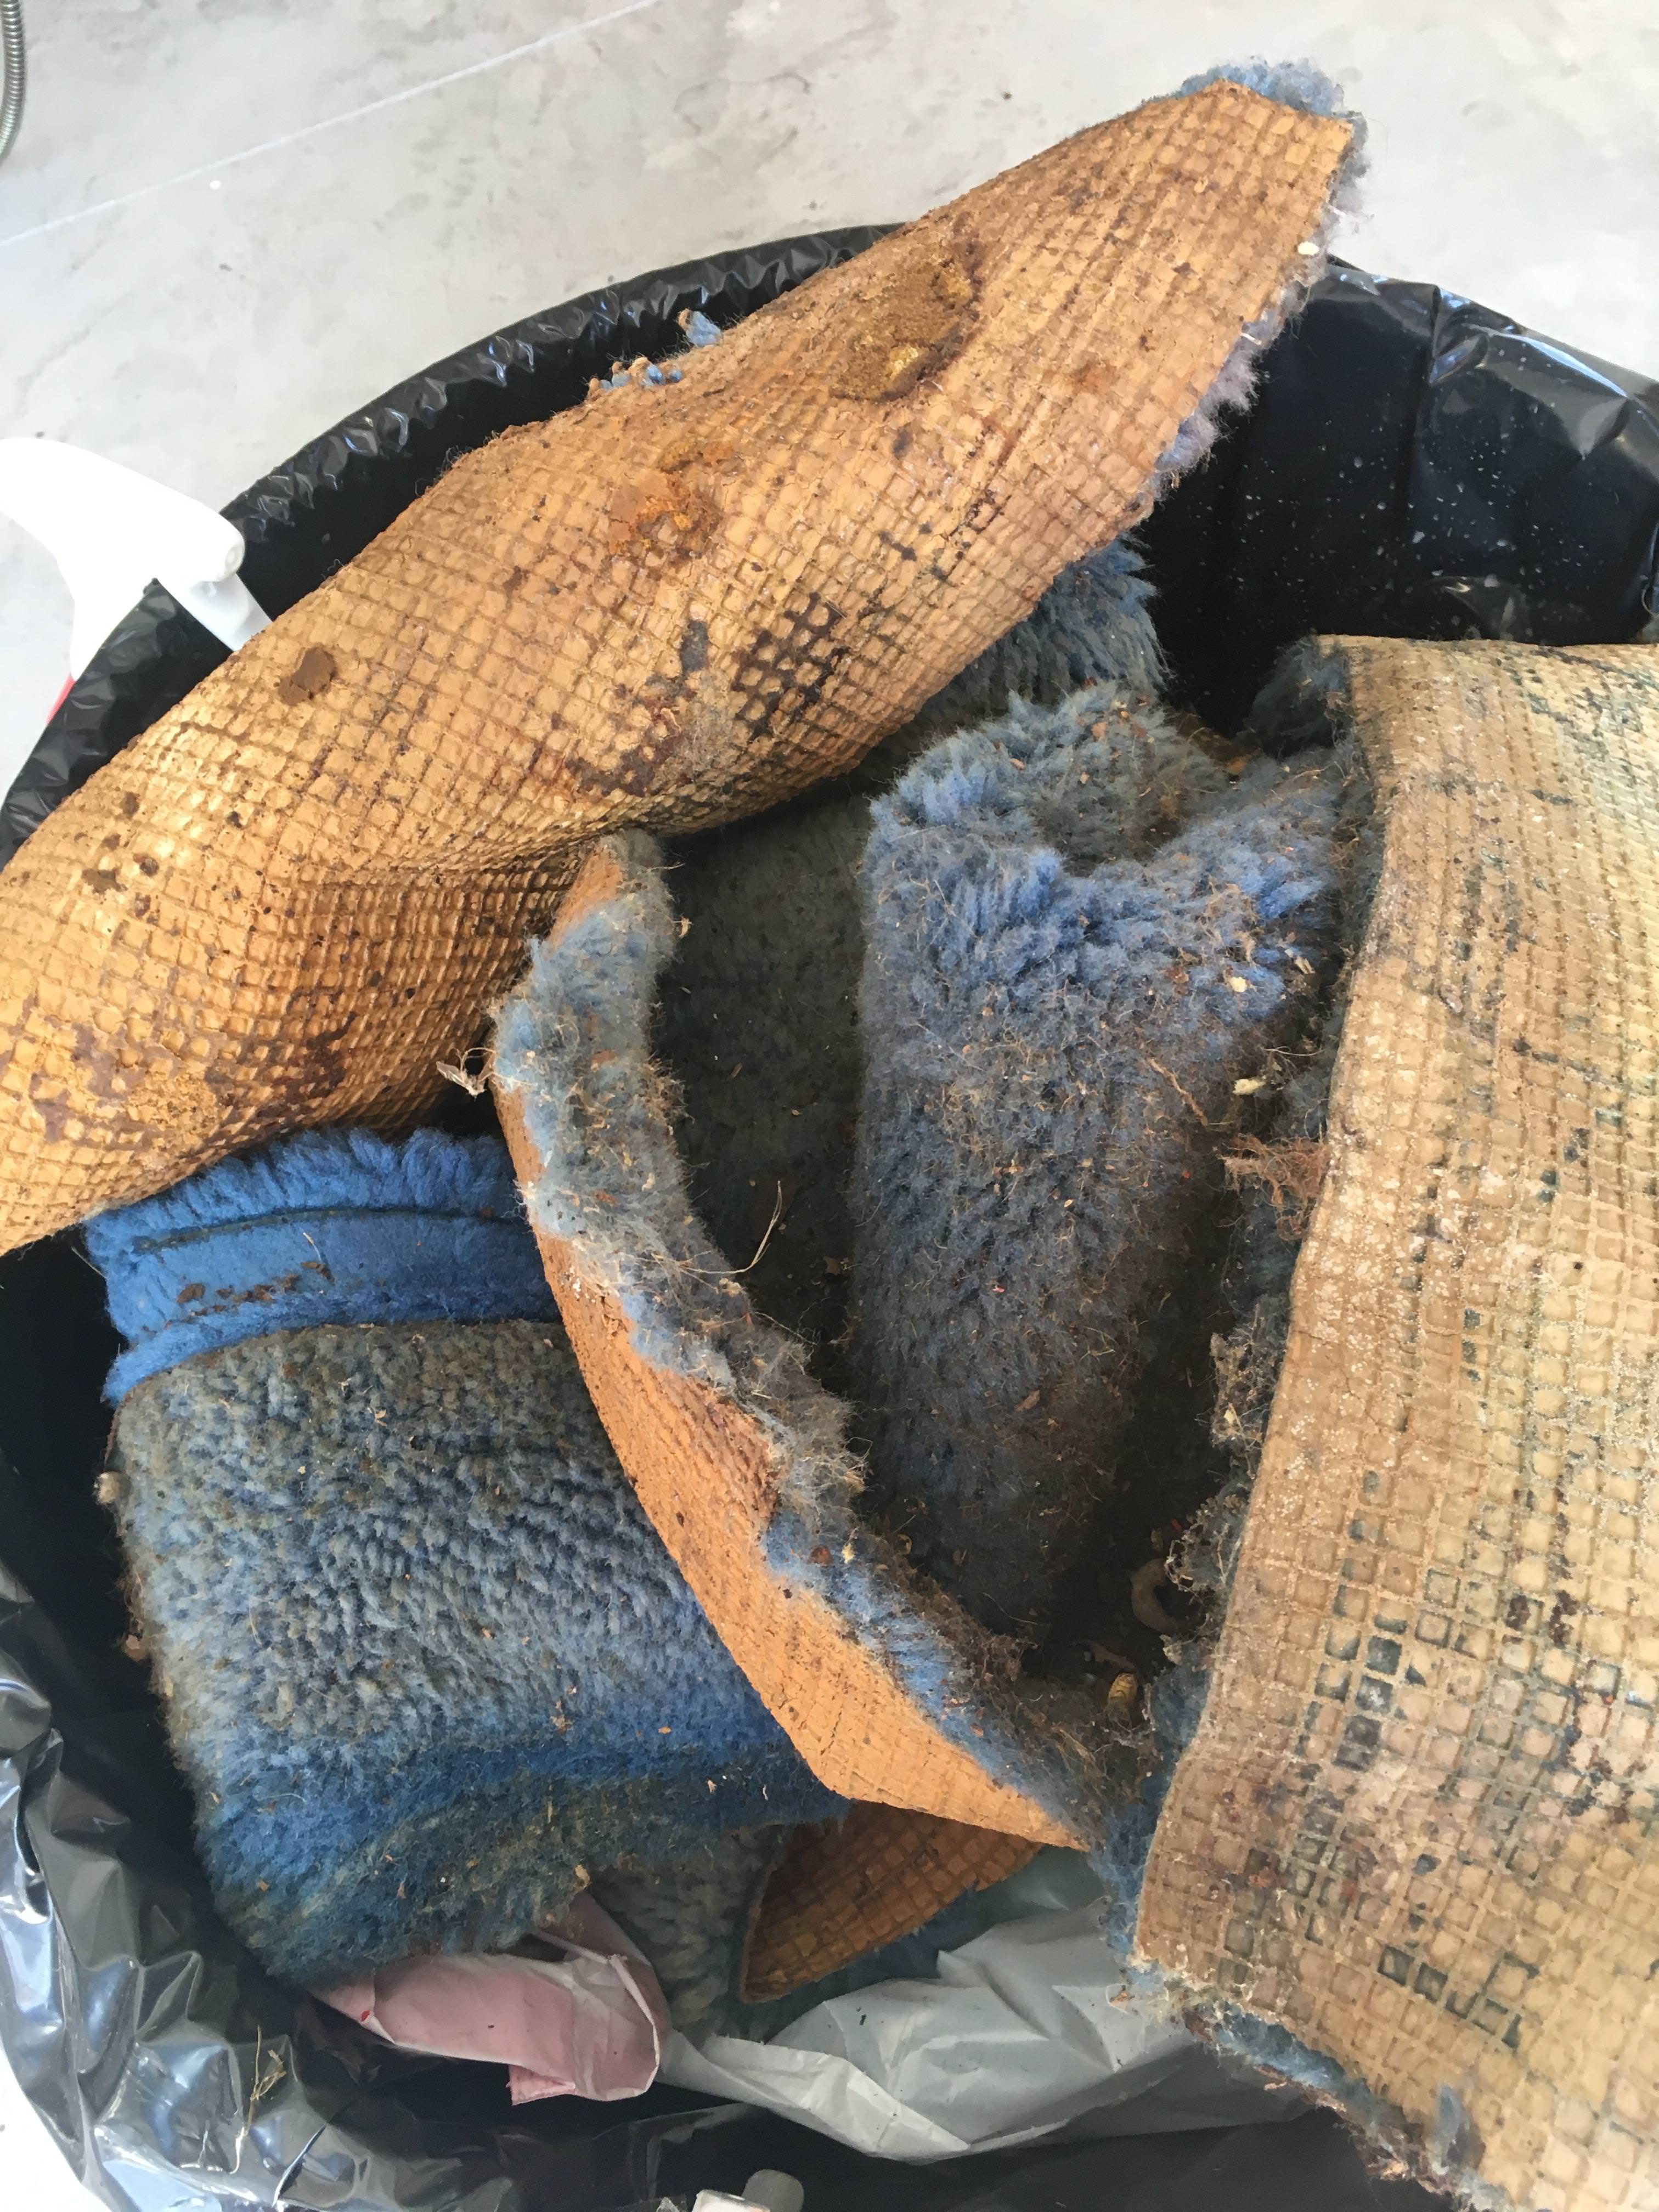
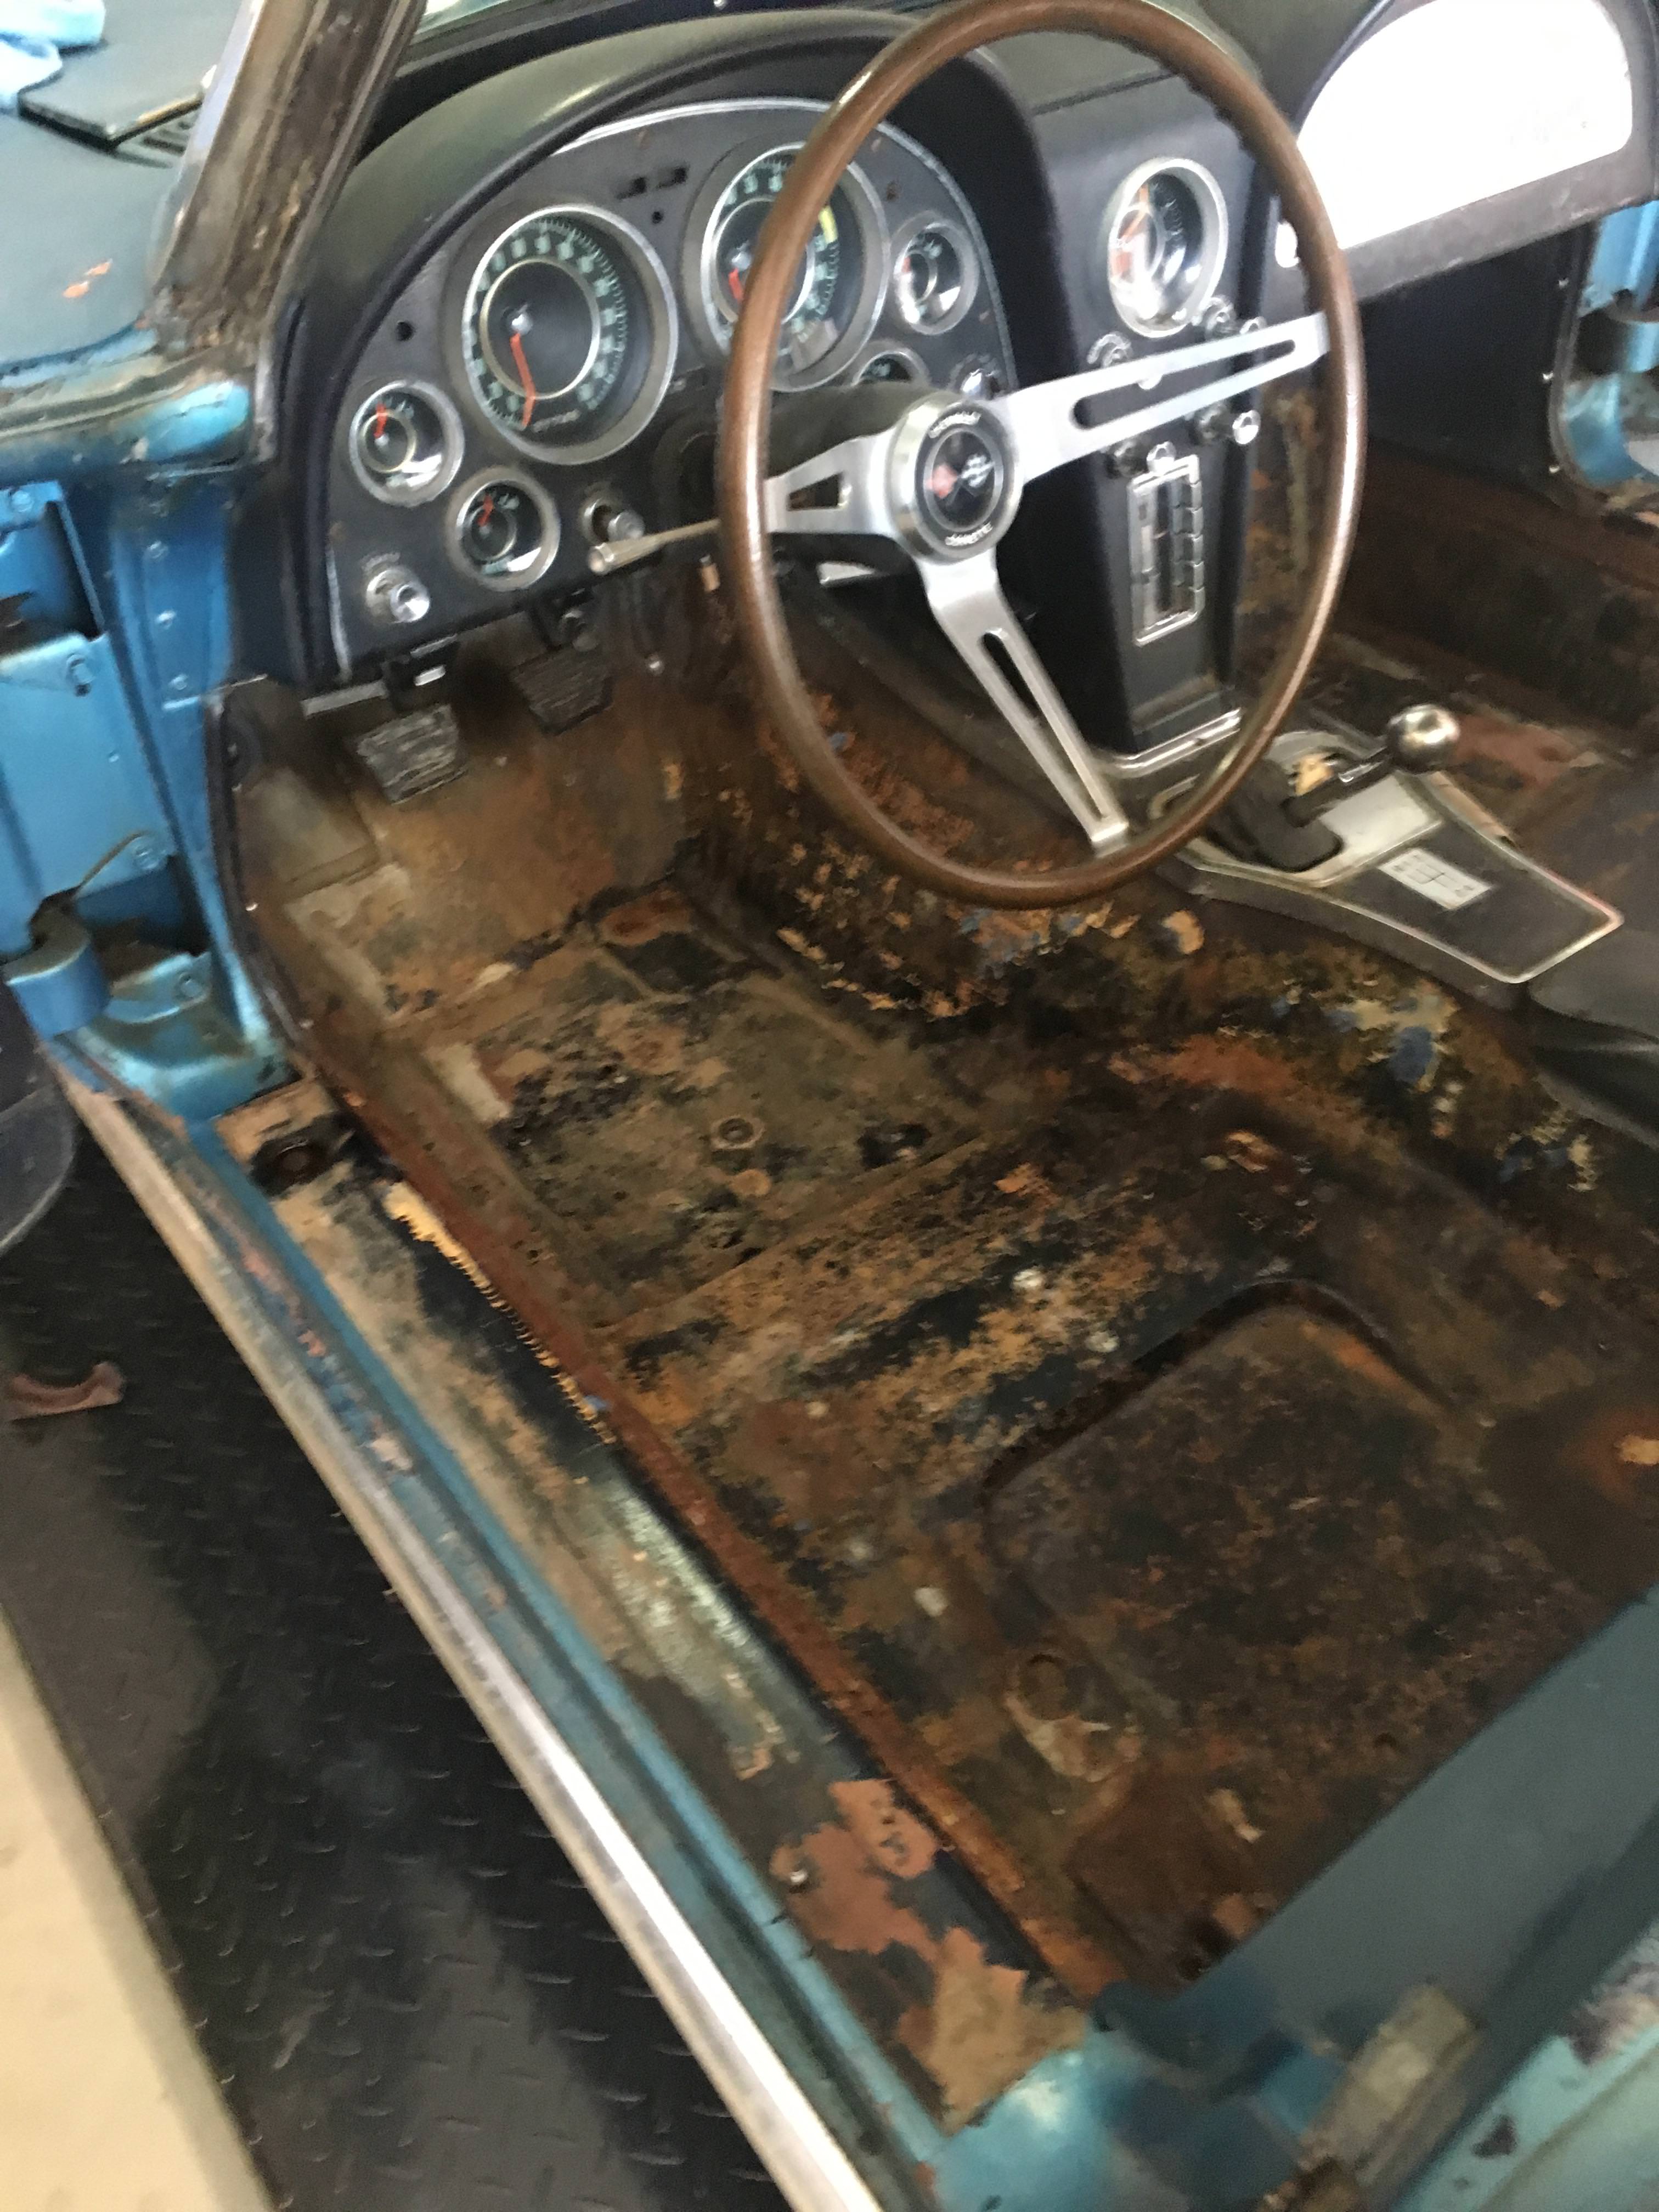
The first order of business is to get the inside cleaned out.
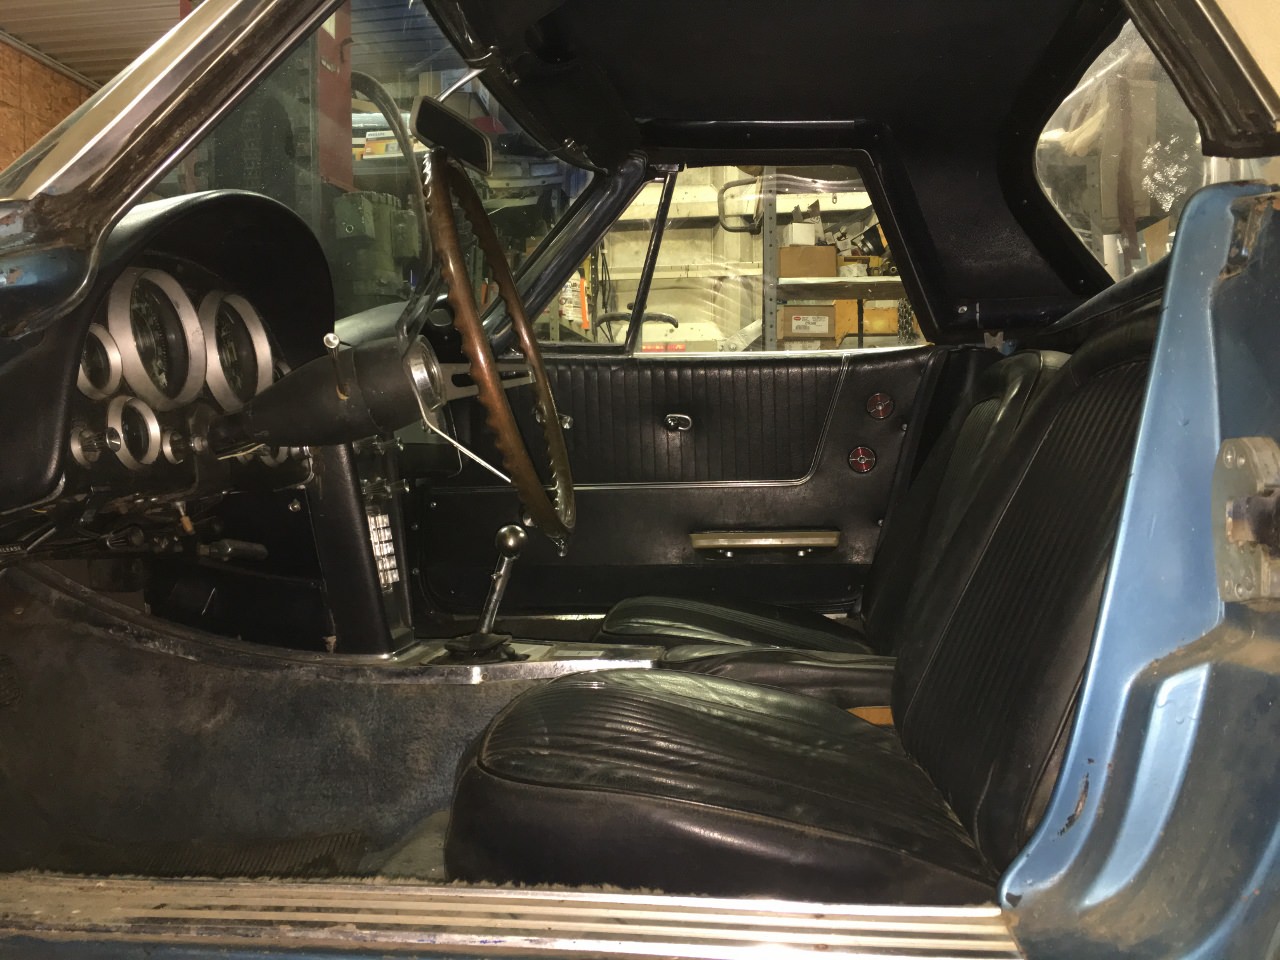
We plan on using the seats with the black duct tape until we get to the point where the body is ready for a final paint.
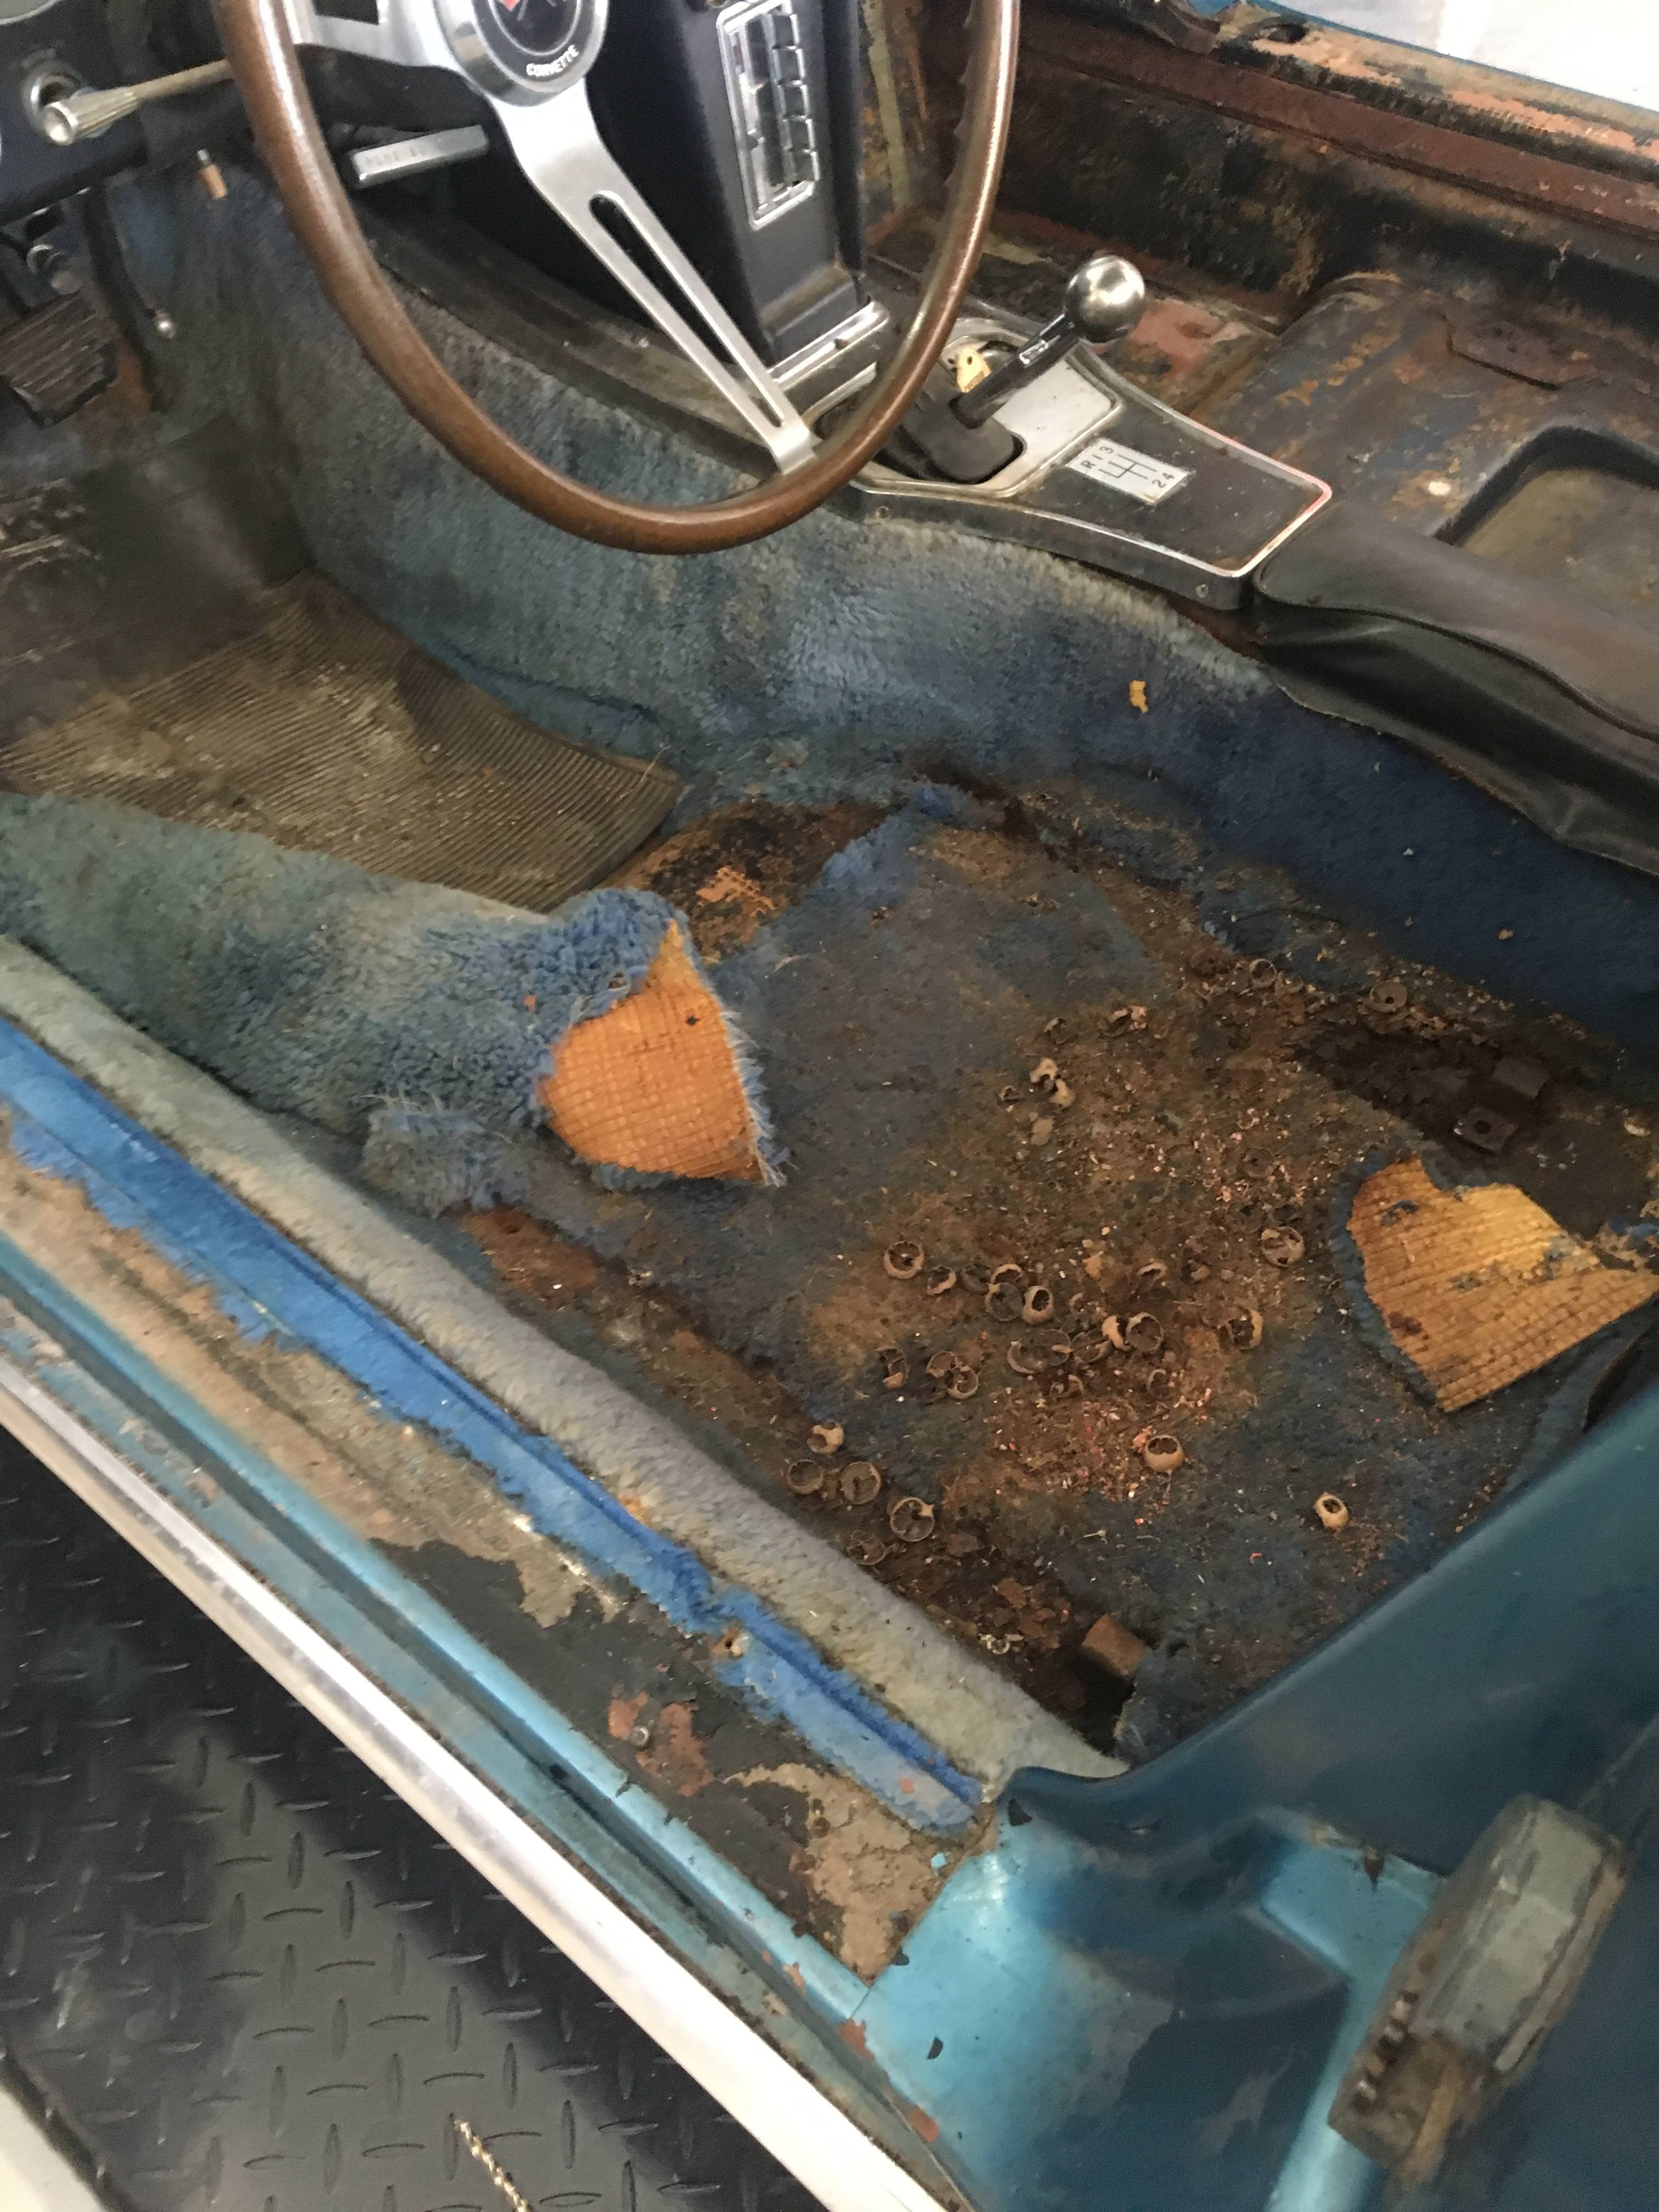
**** Carpet must have been pretty sharp back in the early 70's.
Nice Mouse House and food supply.
We plan on using the seats with the black duct tape until we get to the point where the body is ready for a final paint.
**** Carpet must have been pretty sharp back in the early 70's.
Nice Mouse House and food supply.
 04-12-2018, 09:55 PM
#22
Burning Brakes
Thread Starter
Seats cleaned up. They were covered in a fine red clay. I did not know that was around in PA and NY.
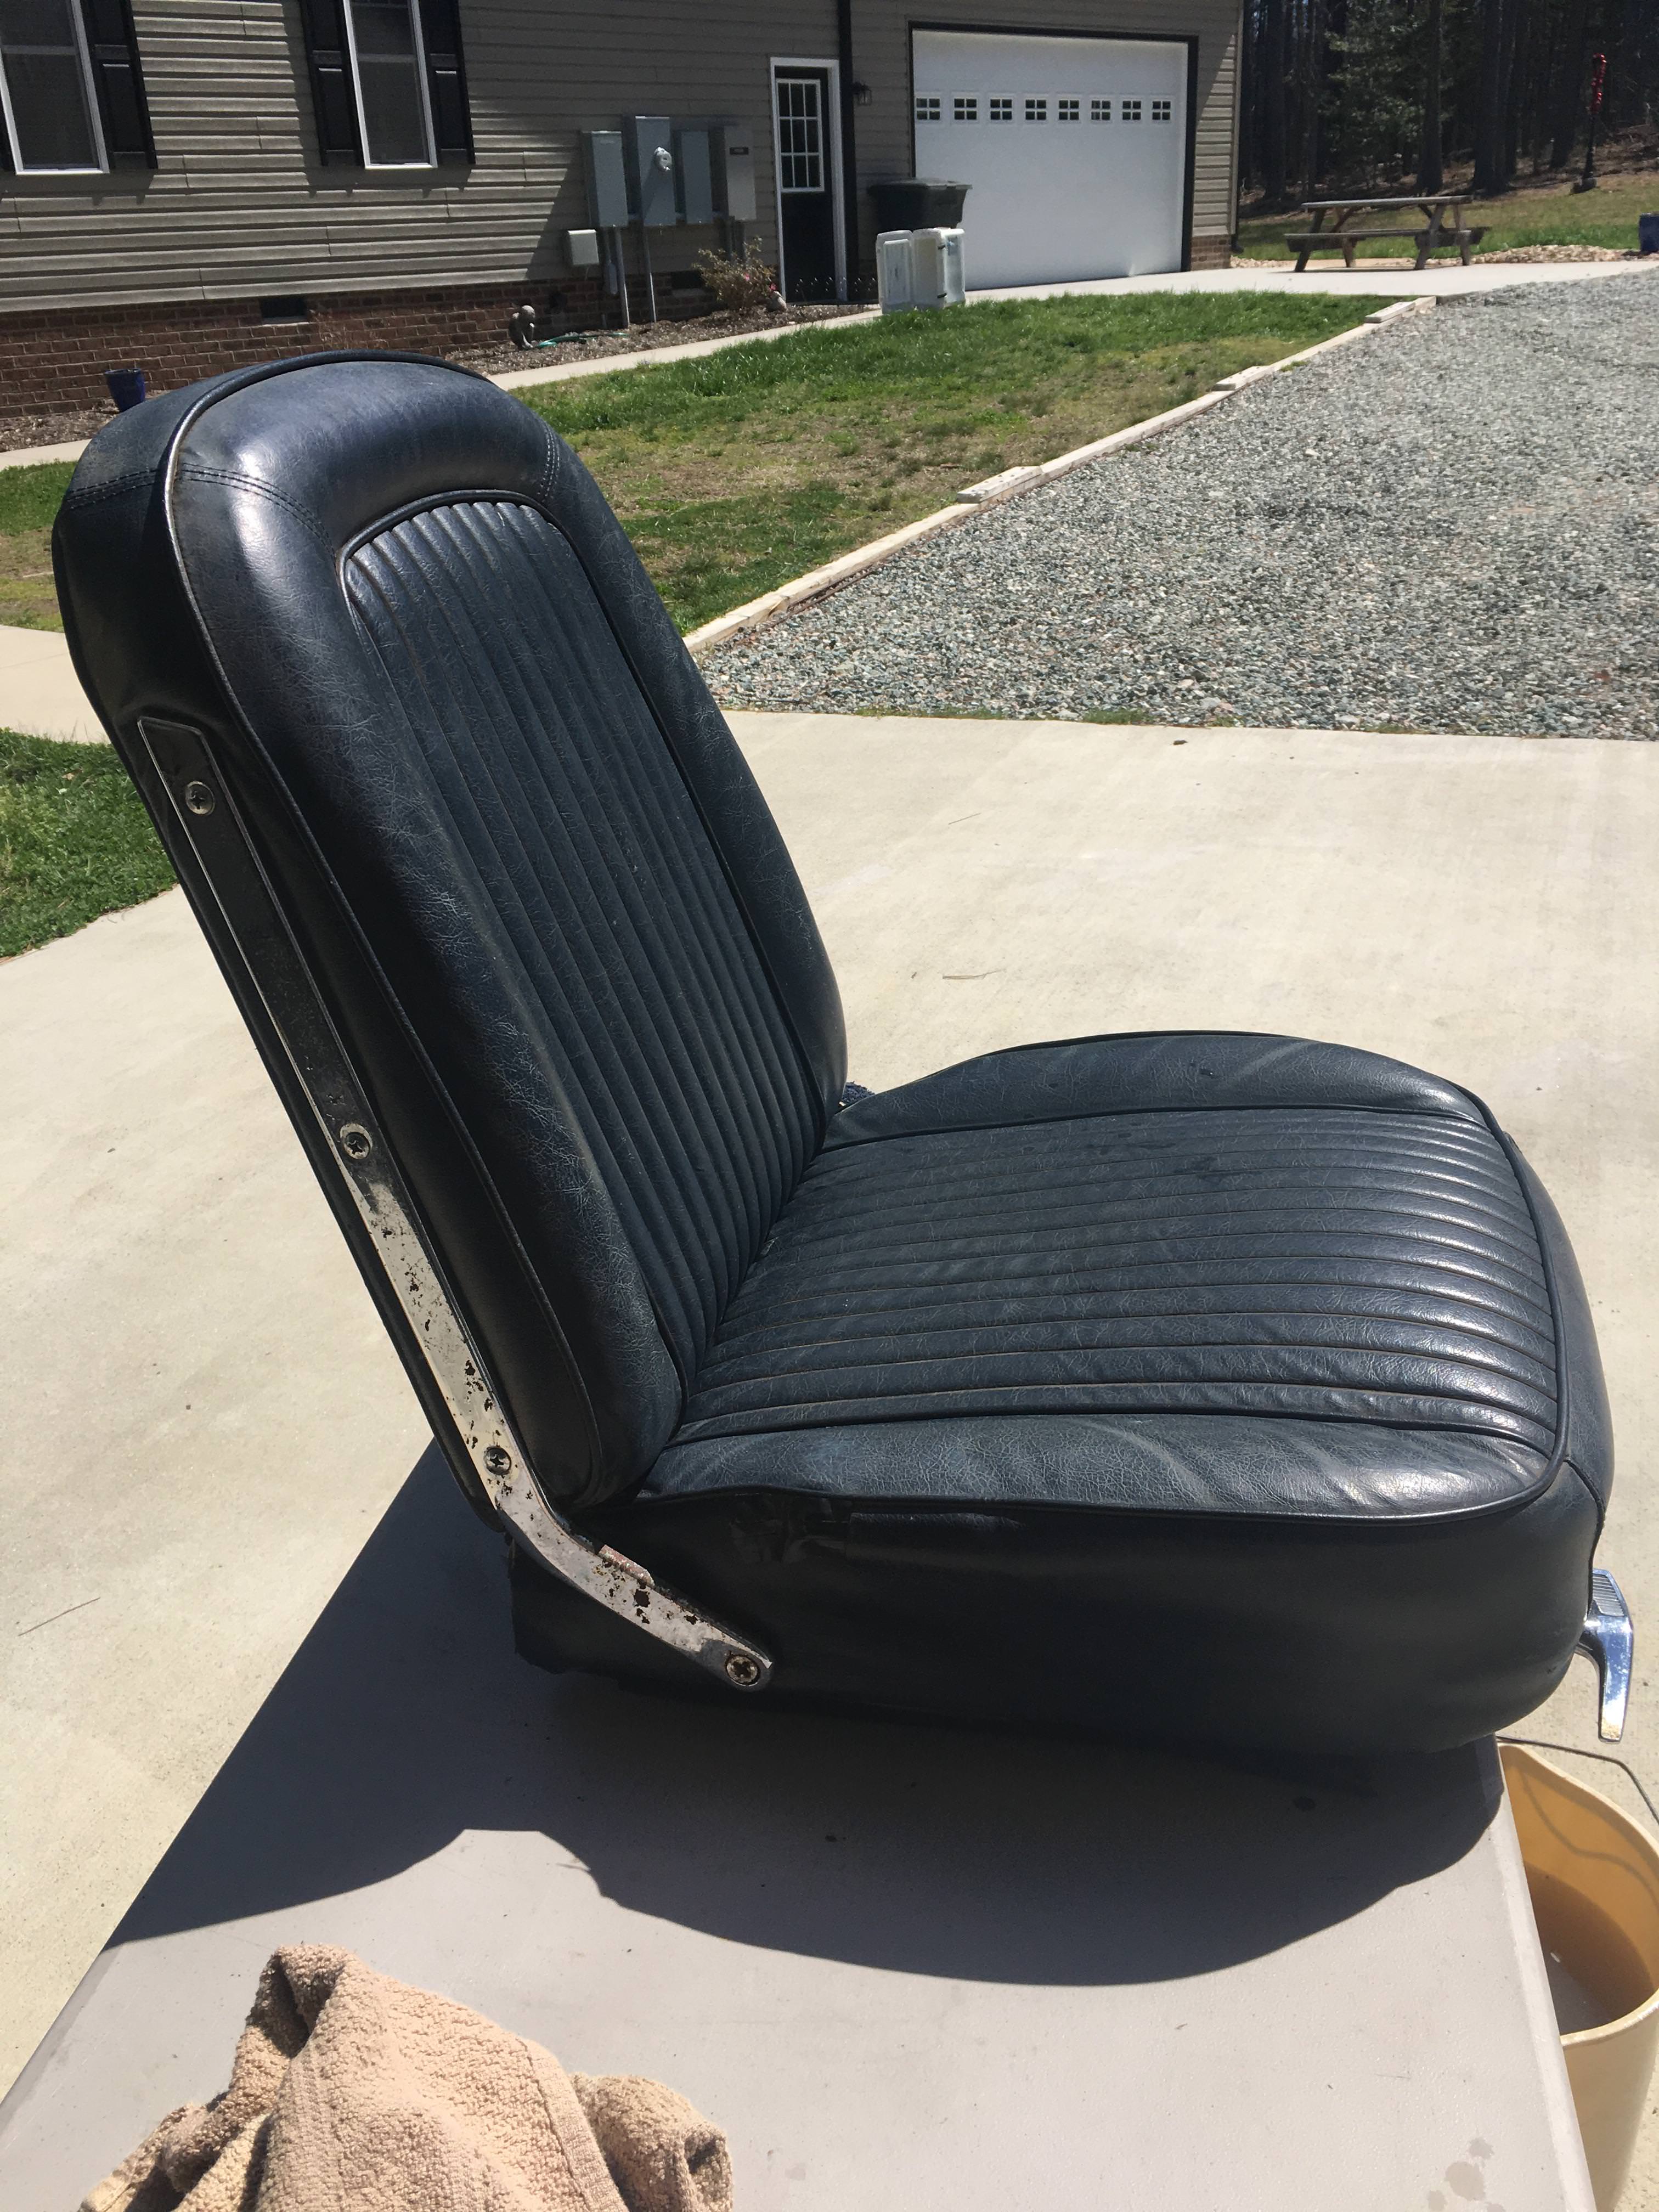
Cleaned and greased the tracks. All the hardware was intact. Seat bottoms will need attention when they get recovered. Painted the tracks, stop gap measure for the bare metal.
Cleaned and greased the tracks. All the hardware was intact. Seat bottoms will need attention when they get recovered. Painted the tracks, stop gap measure for the bare metal.
04-12-2018, 10:00 PM
#23
Burning Brakes
Thread Starter
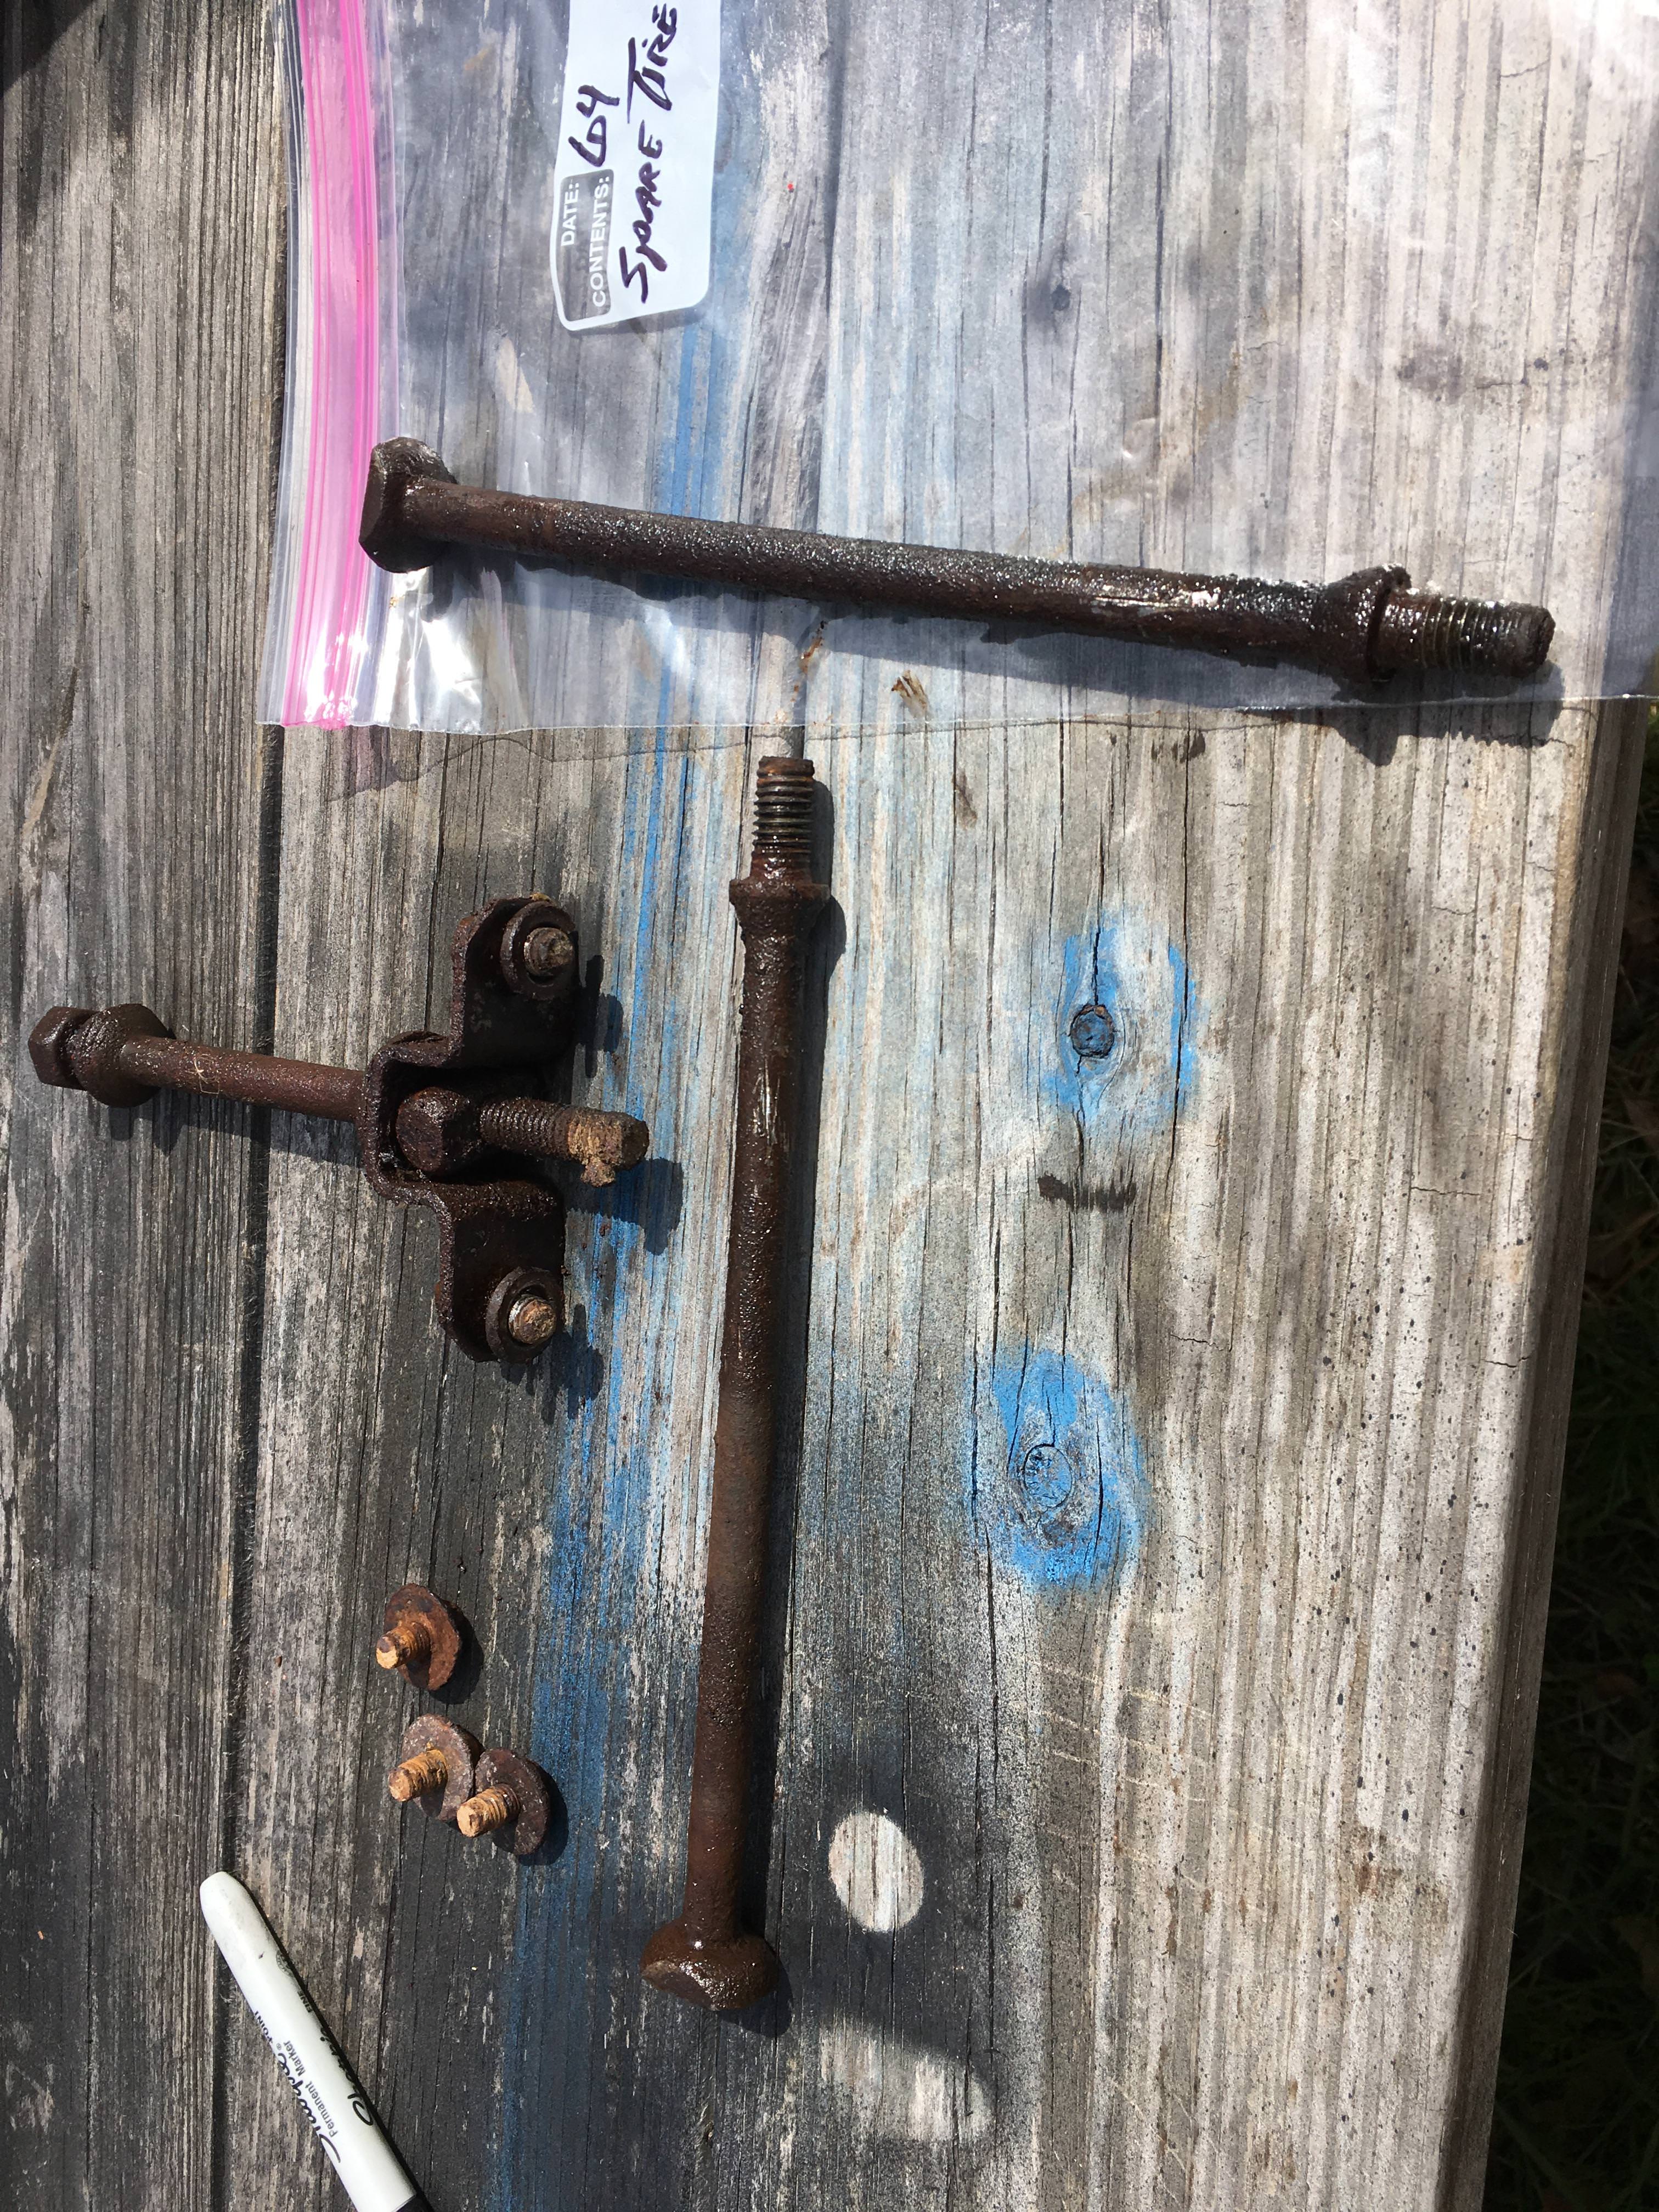
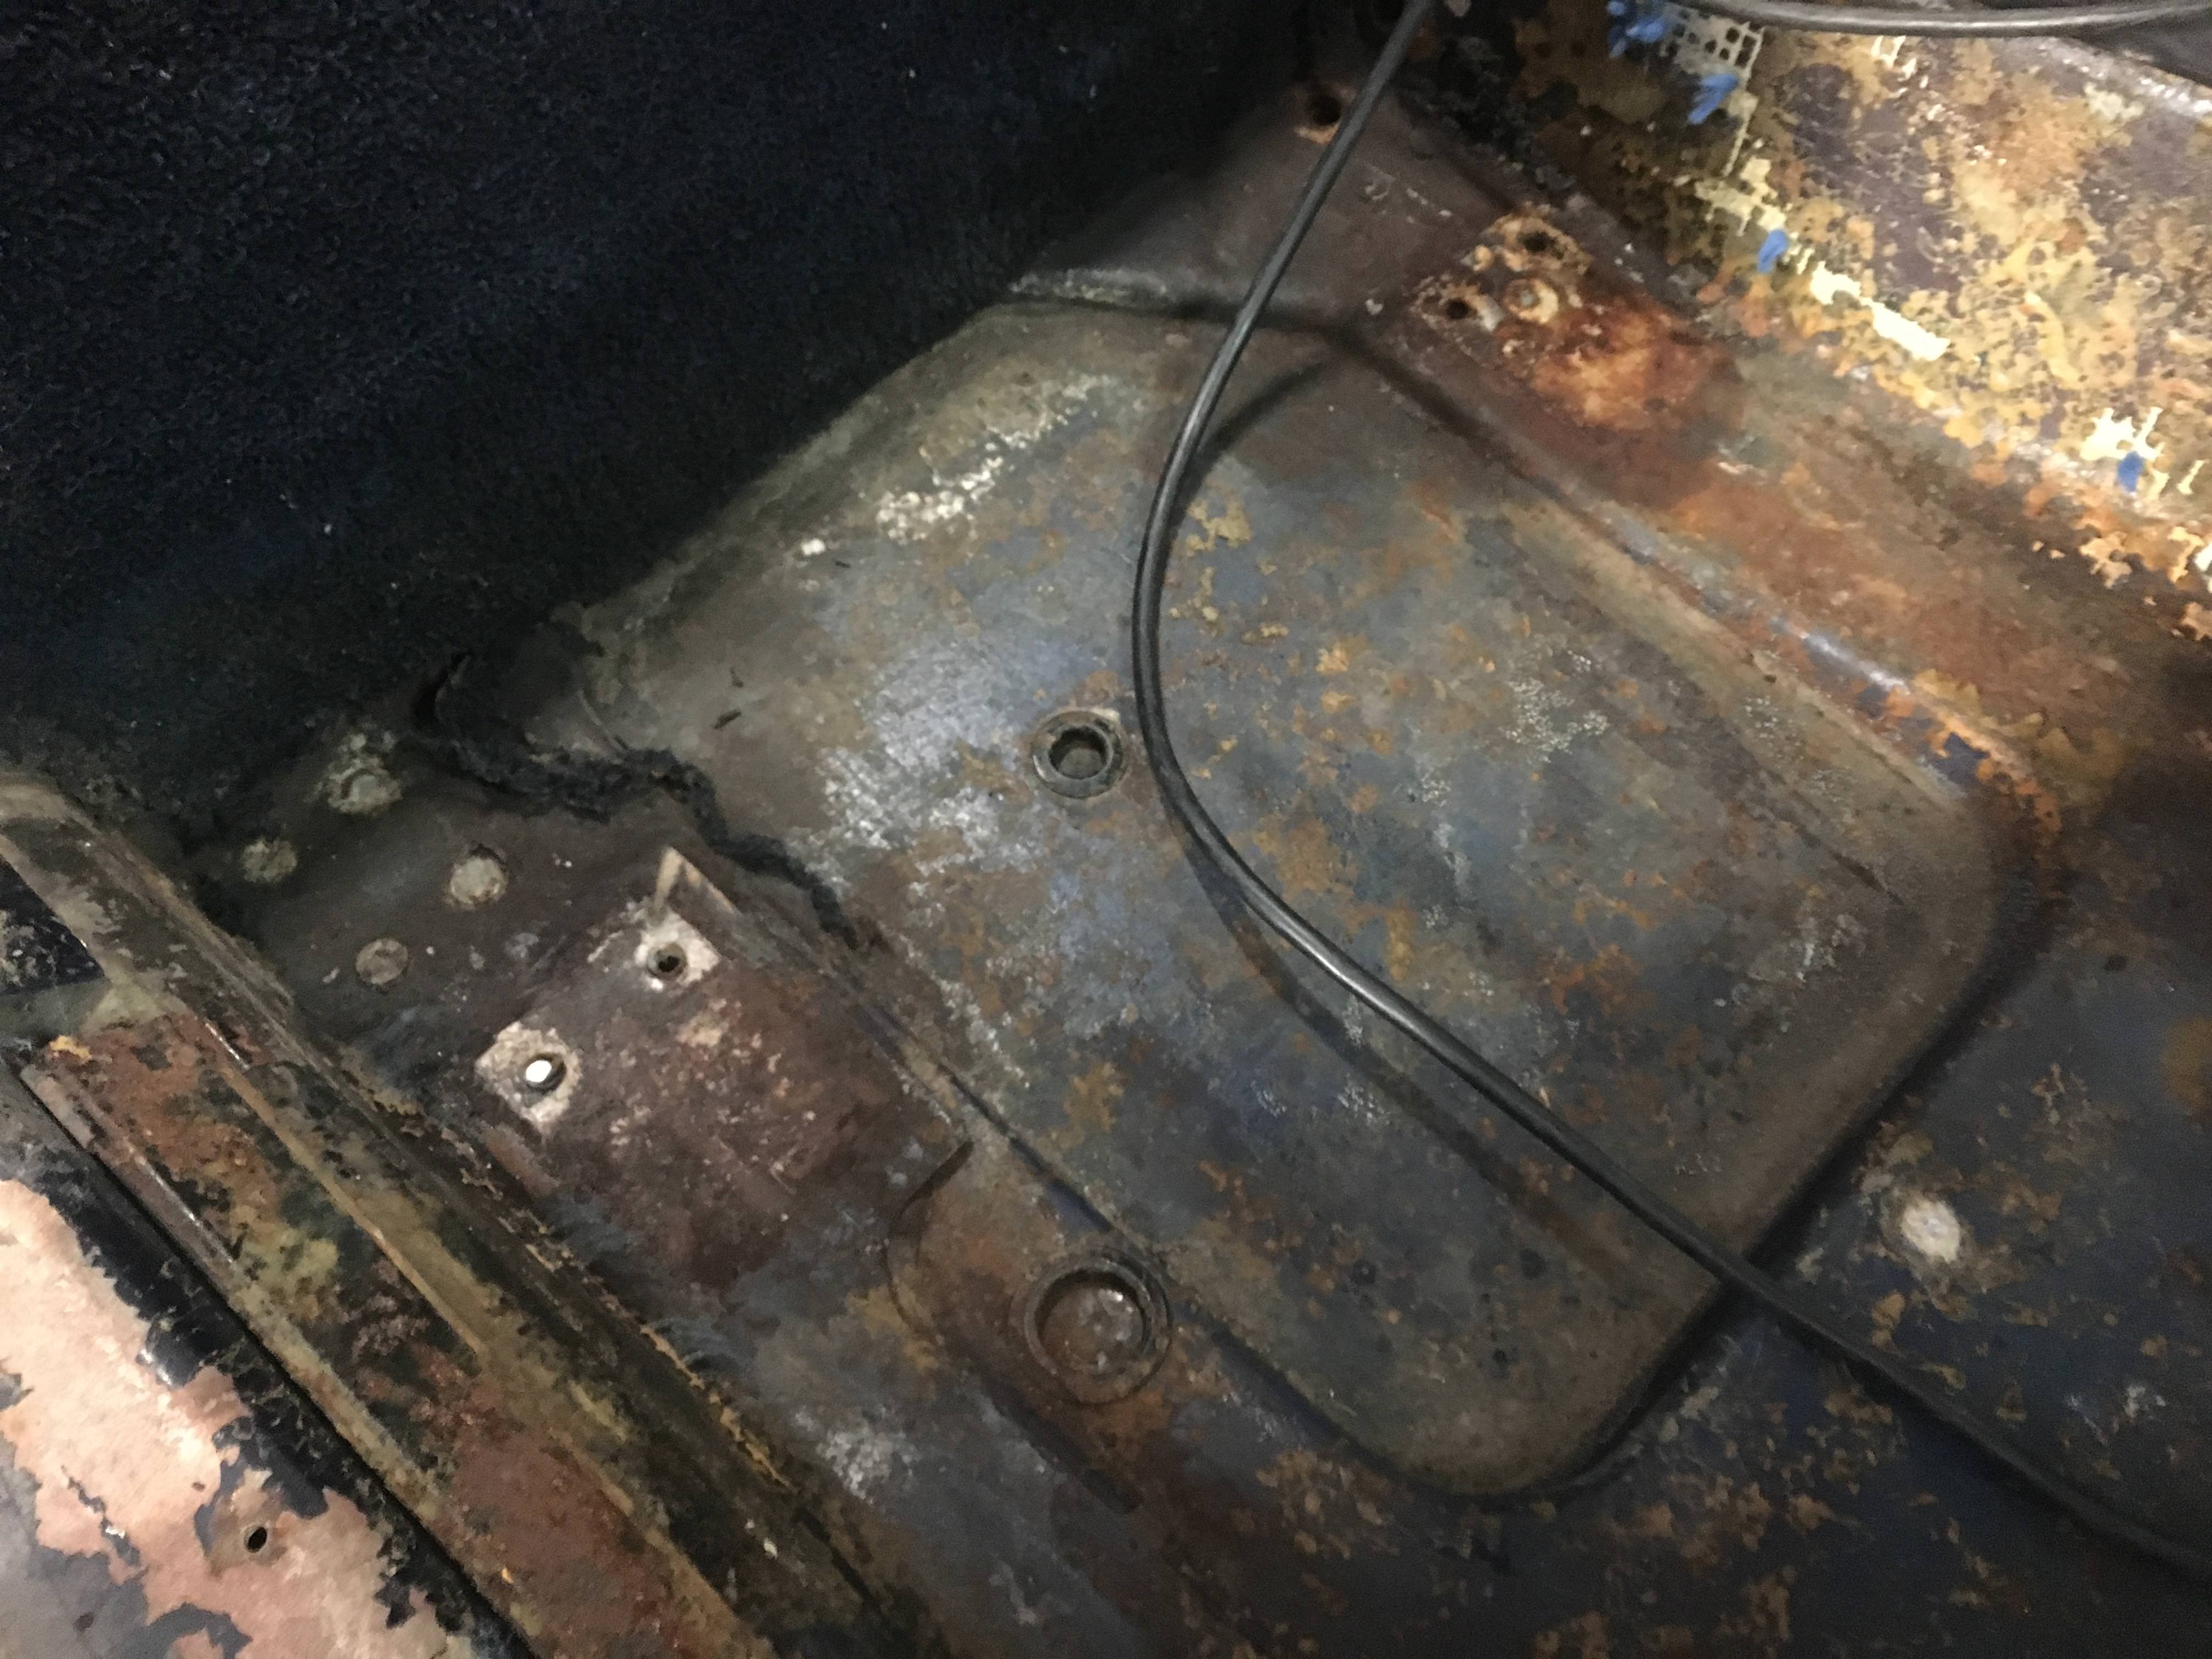
Removed the spare tire cover to gain access and check out more of the frame.
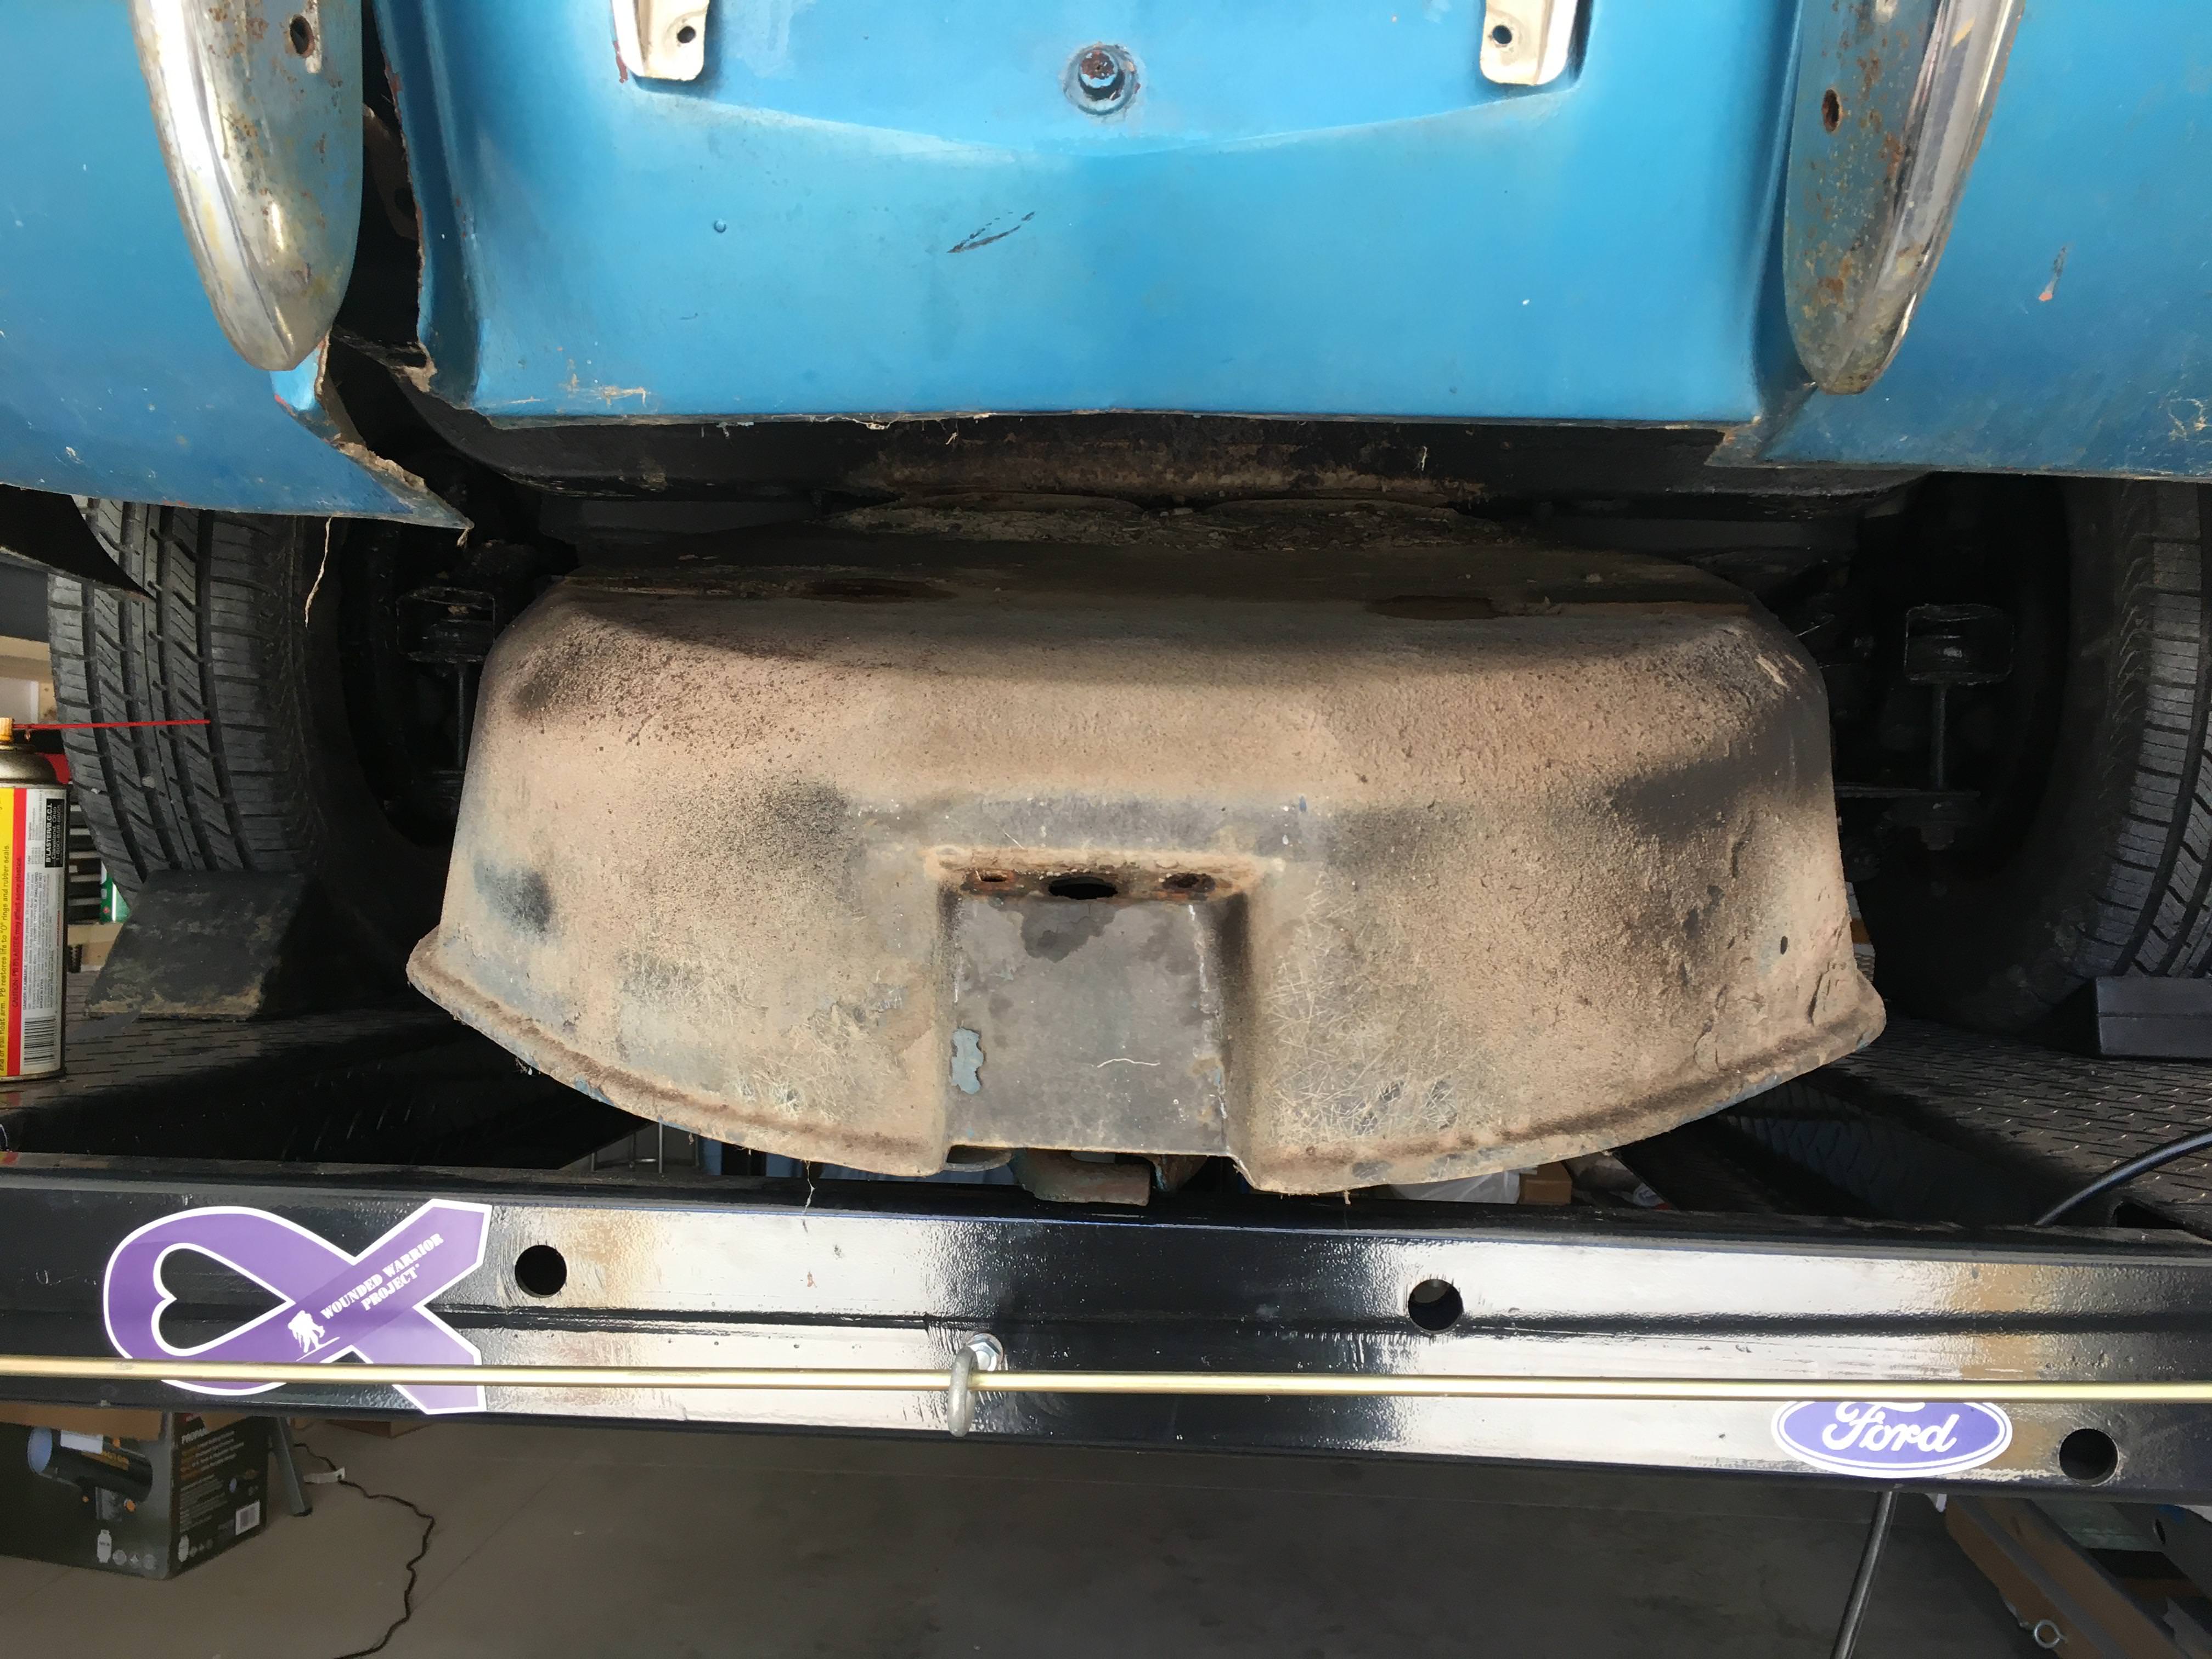
I really don't understand why the spare tire bolts were designed the way they were. What a pain to remove and not damage the fiberglass carrier.
I really don't understand why the spare tire bolts were designed the way they were. What a pain to remove and not damage the fiberglass carrier.
04-12-2018, 10:03 PM
#24
Burning Brakes
Thread Starter
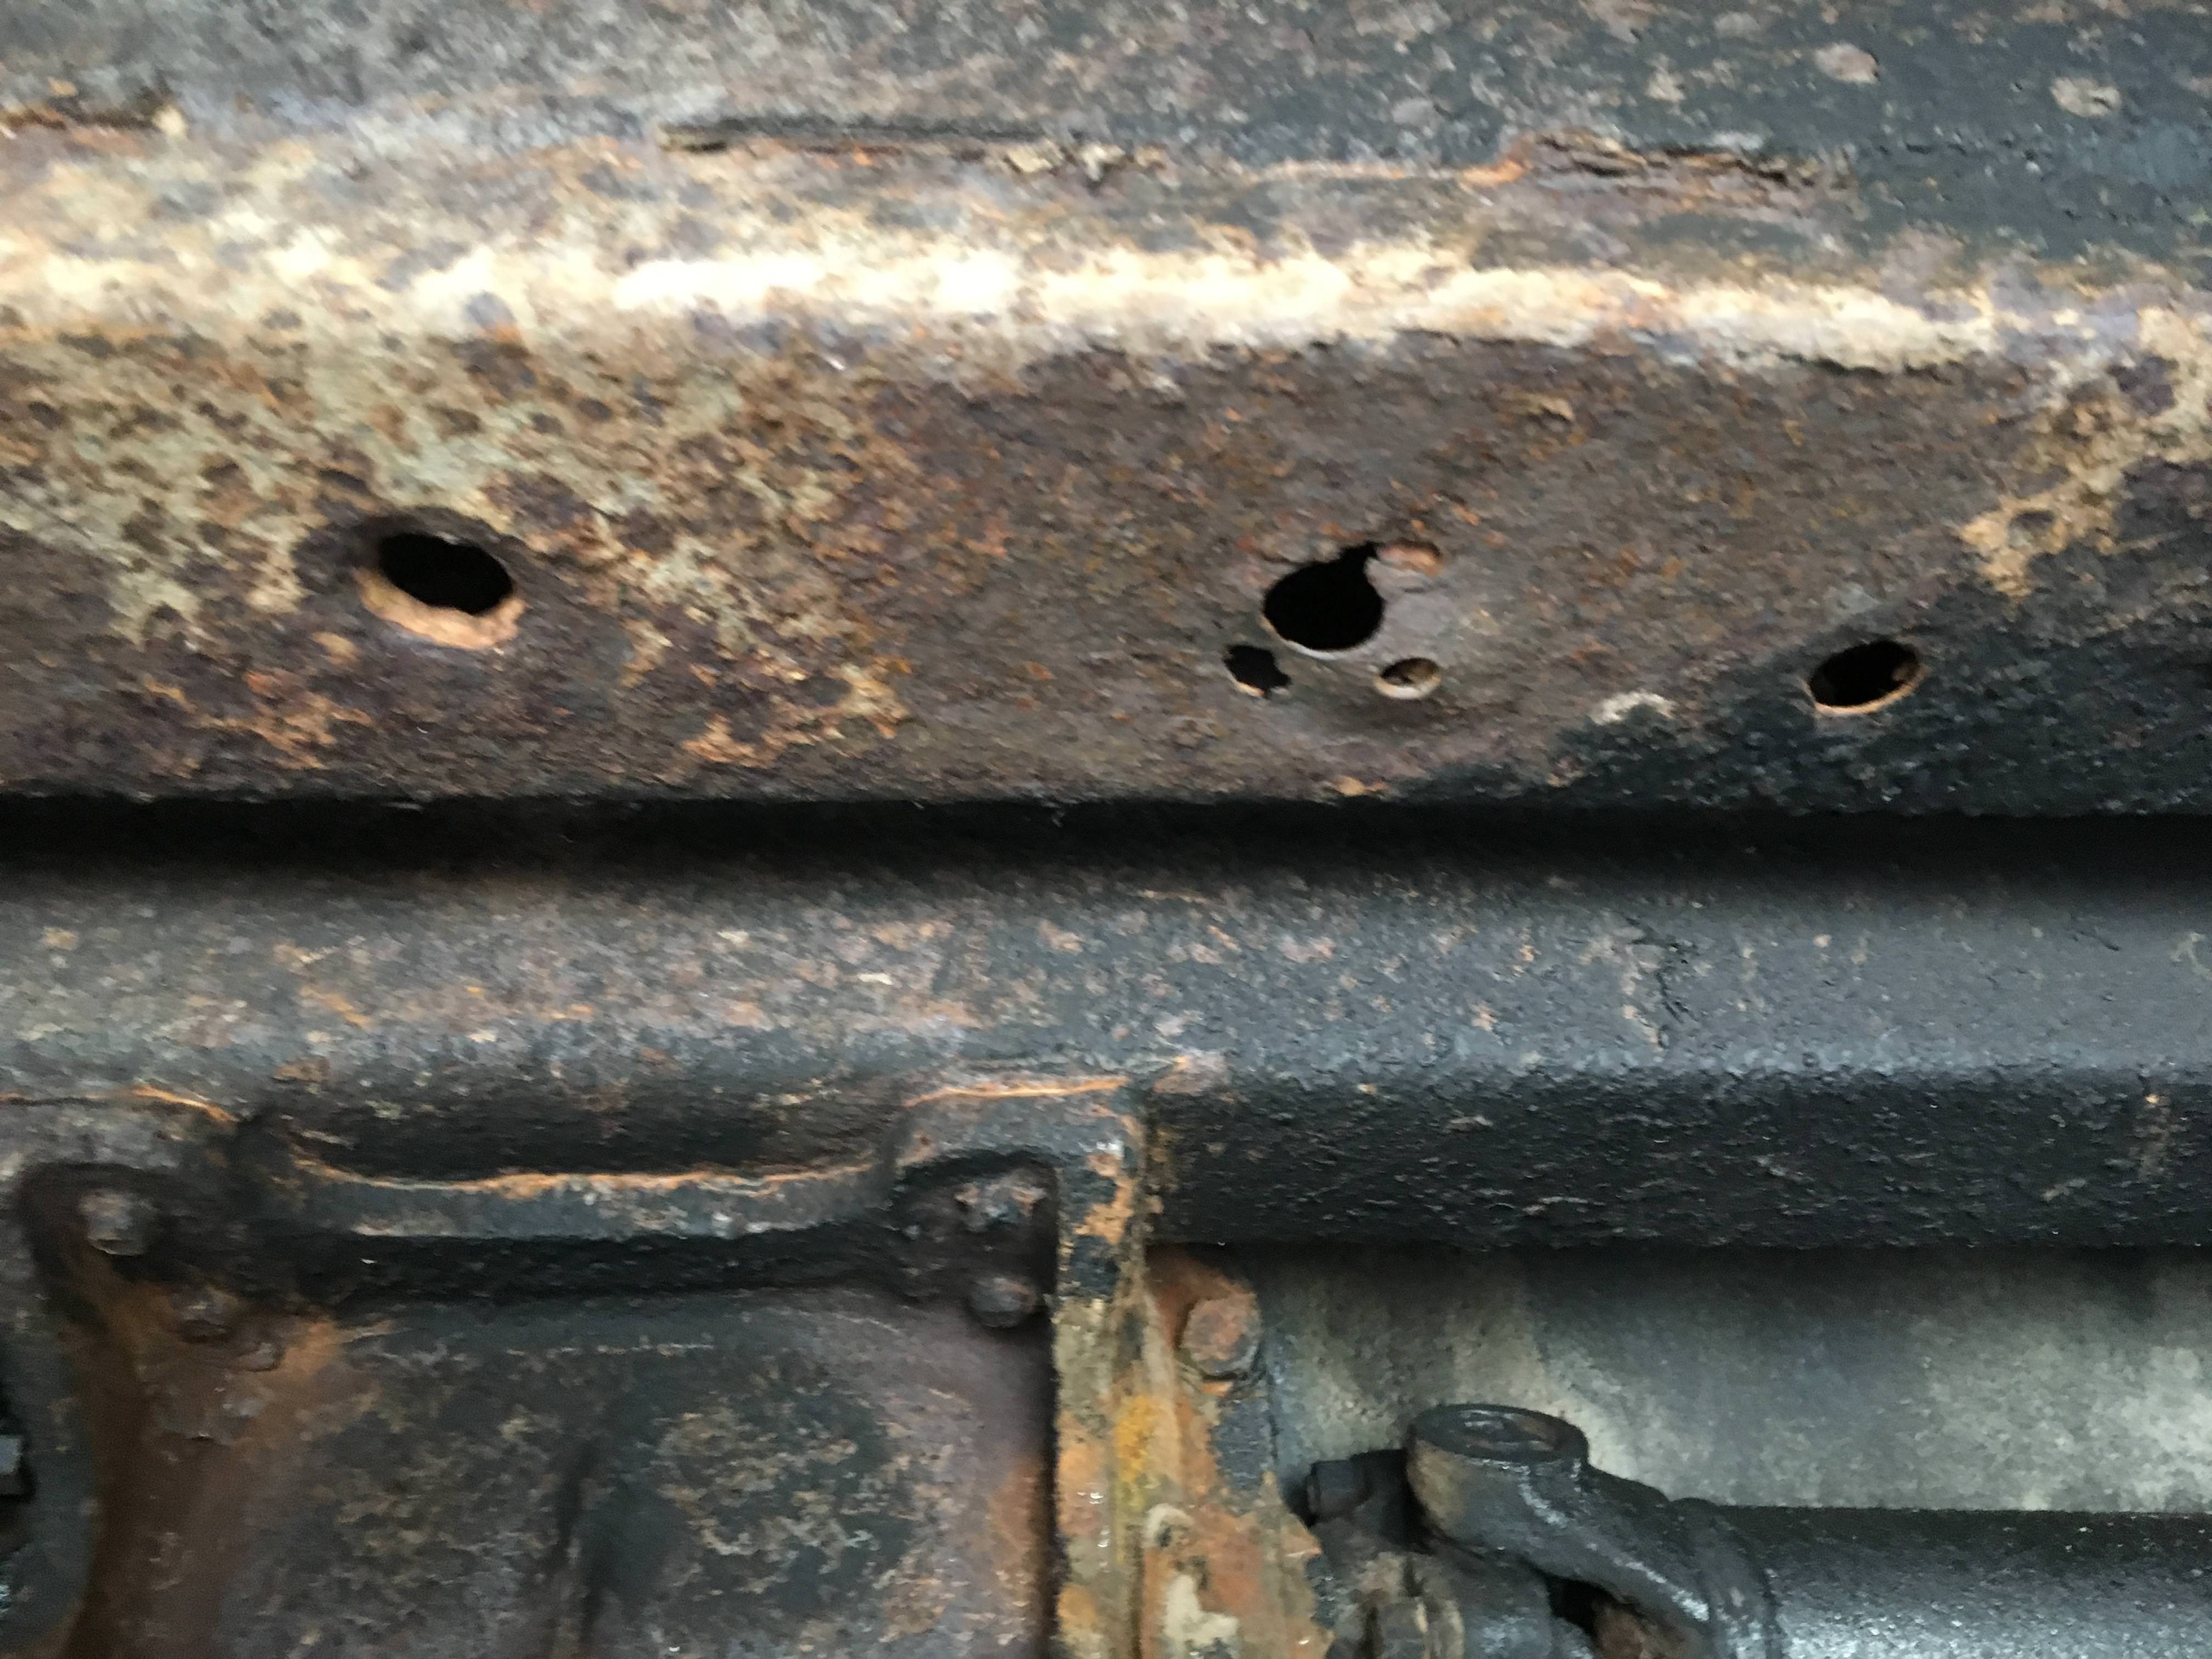
Dirt was accumulated over the top of the tire carrier. Created a nice place to rust.
At least there is good access to cut, remove and replace the metal.
At least there is good access to cut, remove and replace the metal.
04-12-2018, 10:12 PM
#25
Burning Brakes
Thread Starter
This is all leading to replacing the bushings with the body mount kit.
Low material cost, tremendous labor effort as every bolt will fight us.
I started PB Blasting the #2 bolts in the cab and the #3 bolts in front of the rear wheels.
Filled with nuts and dirt.
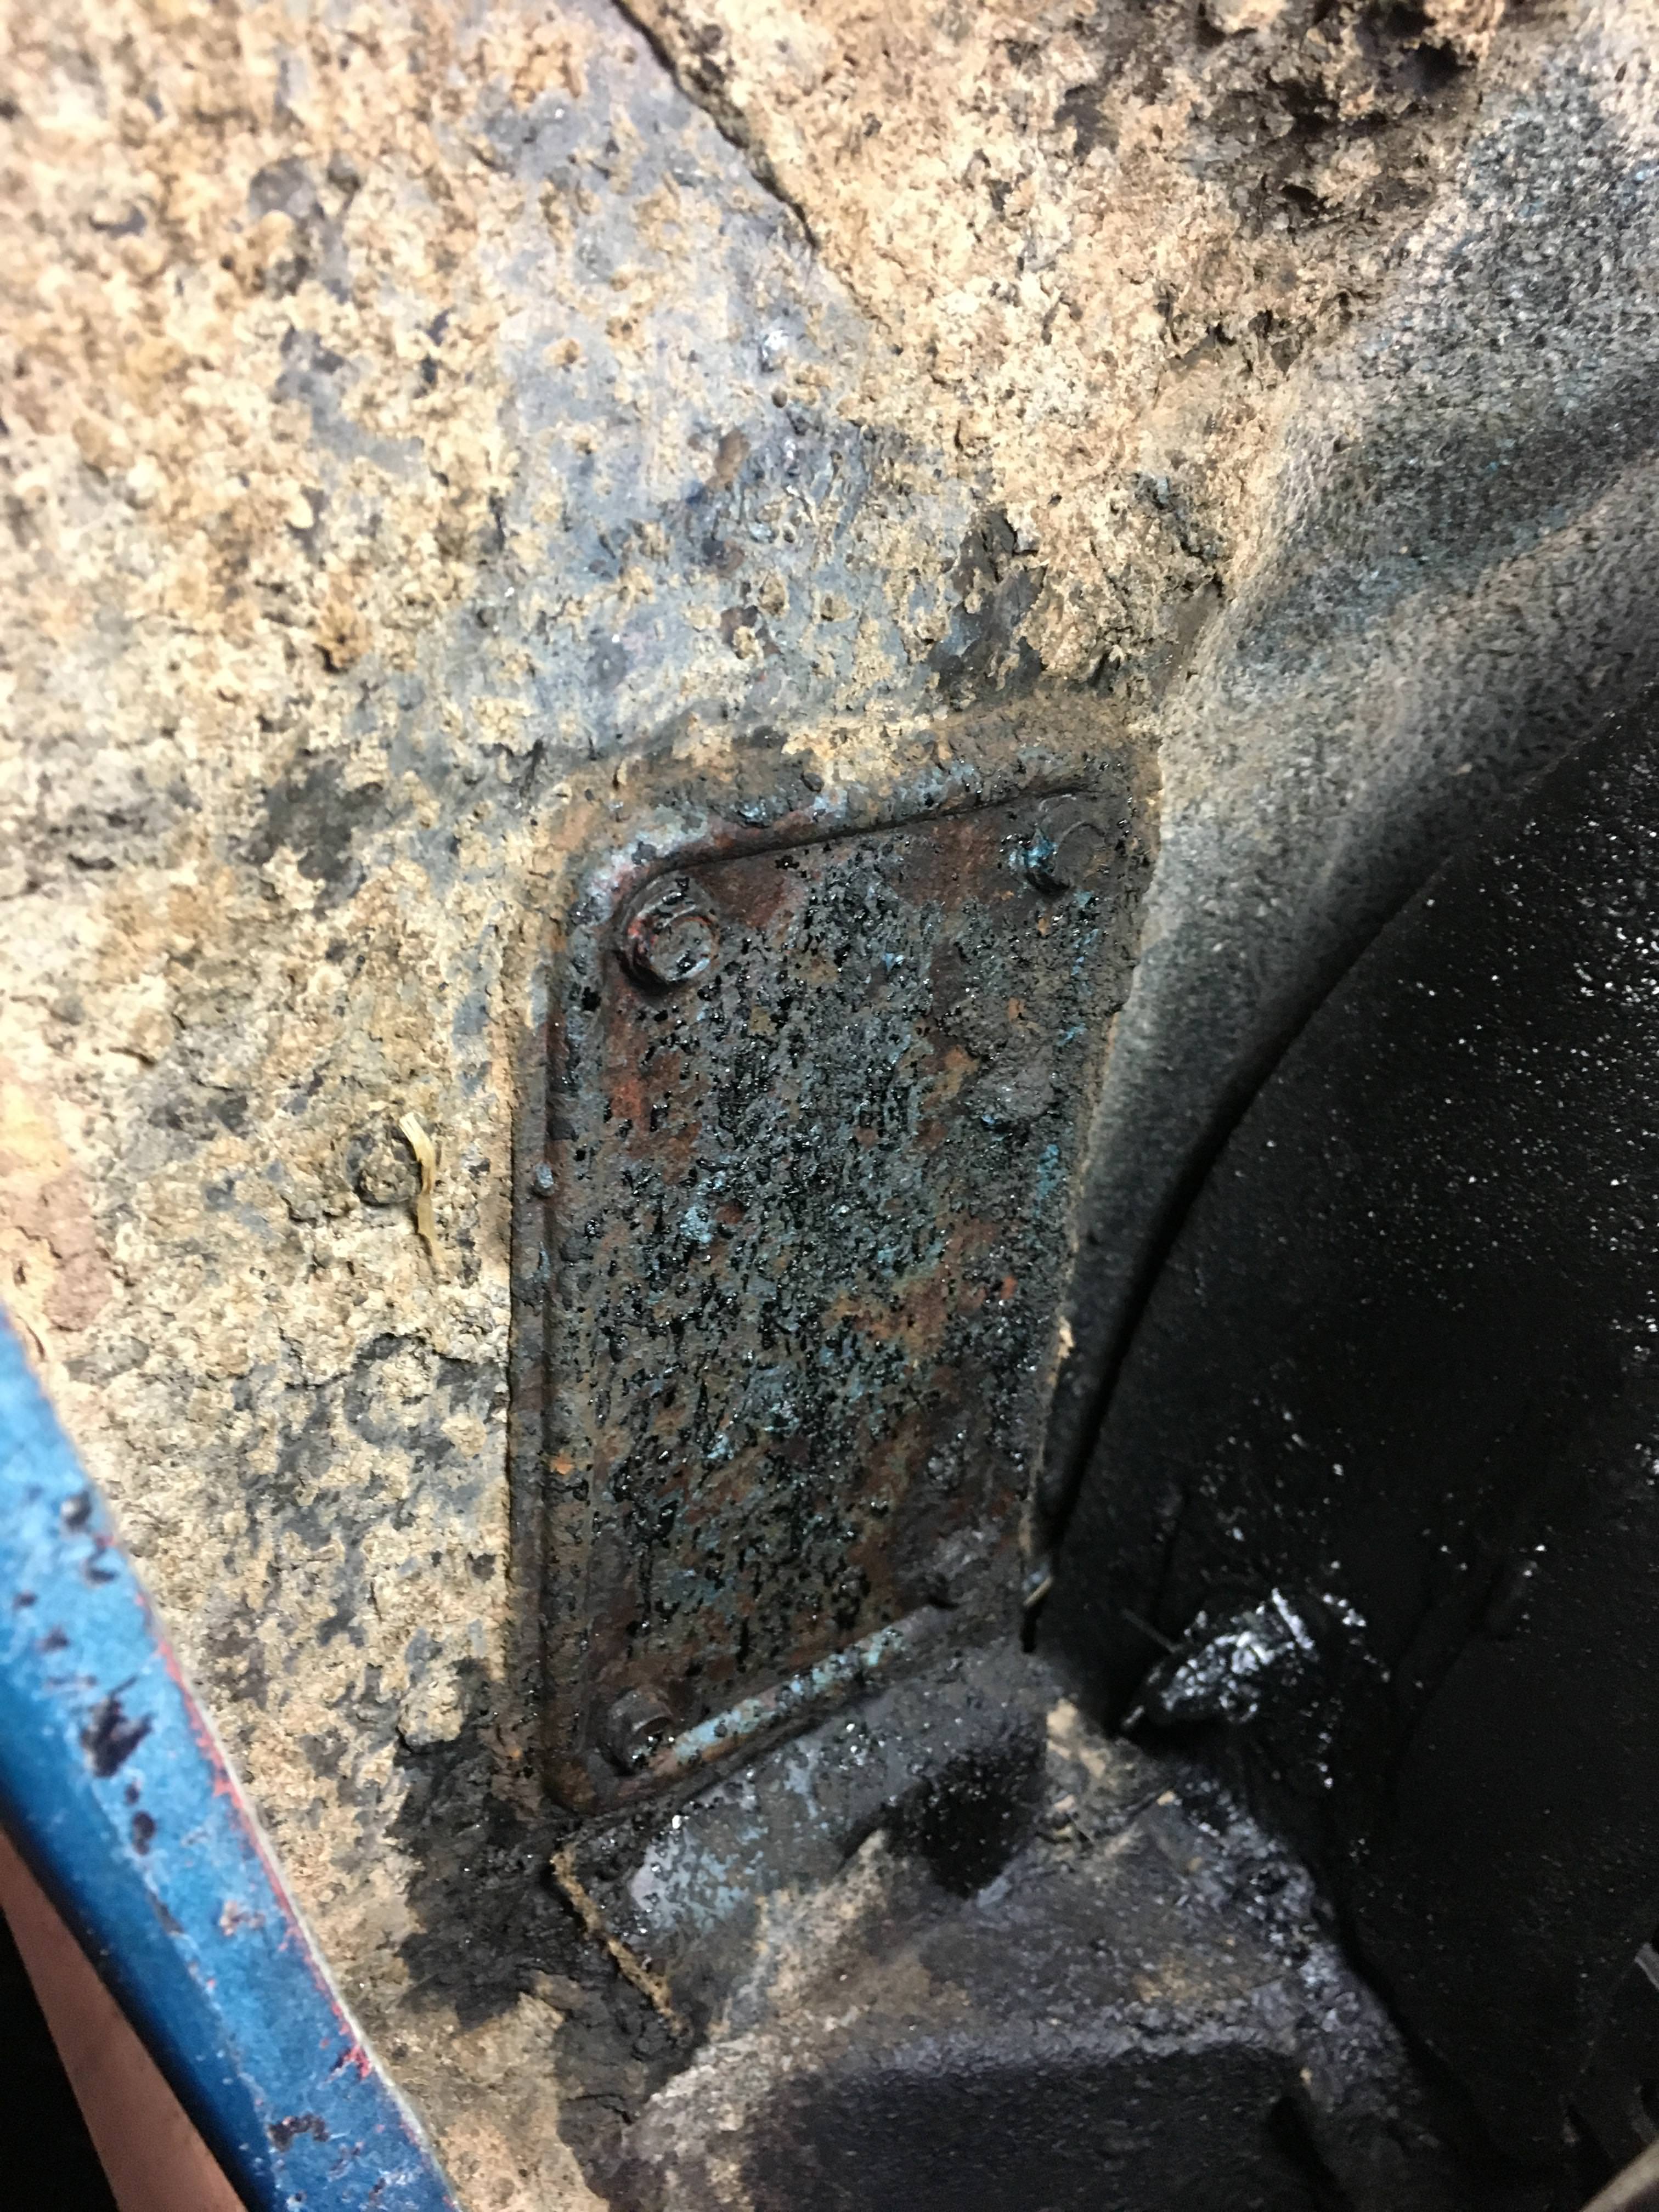
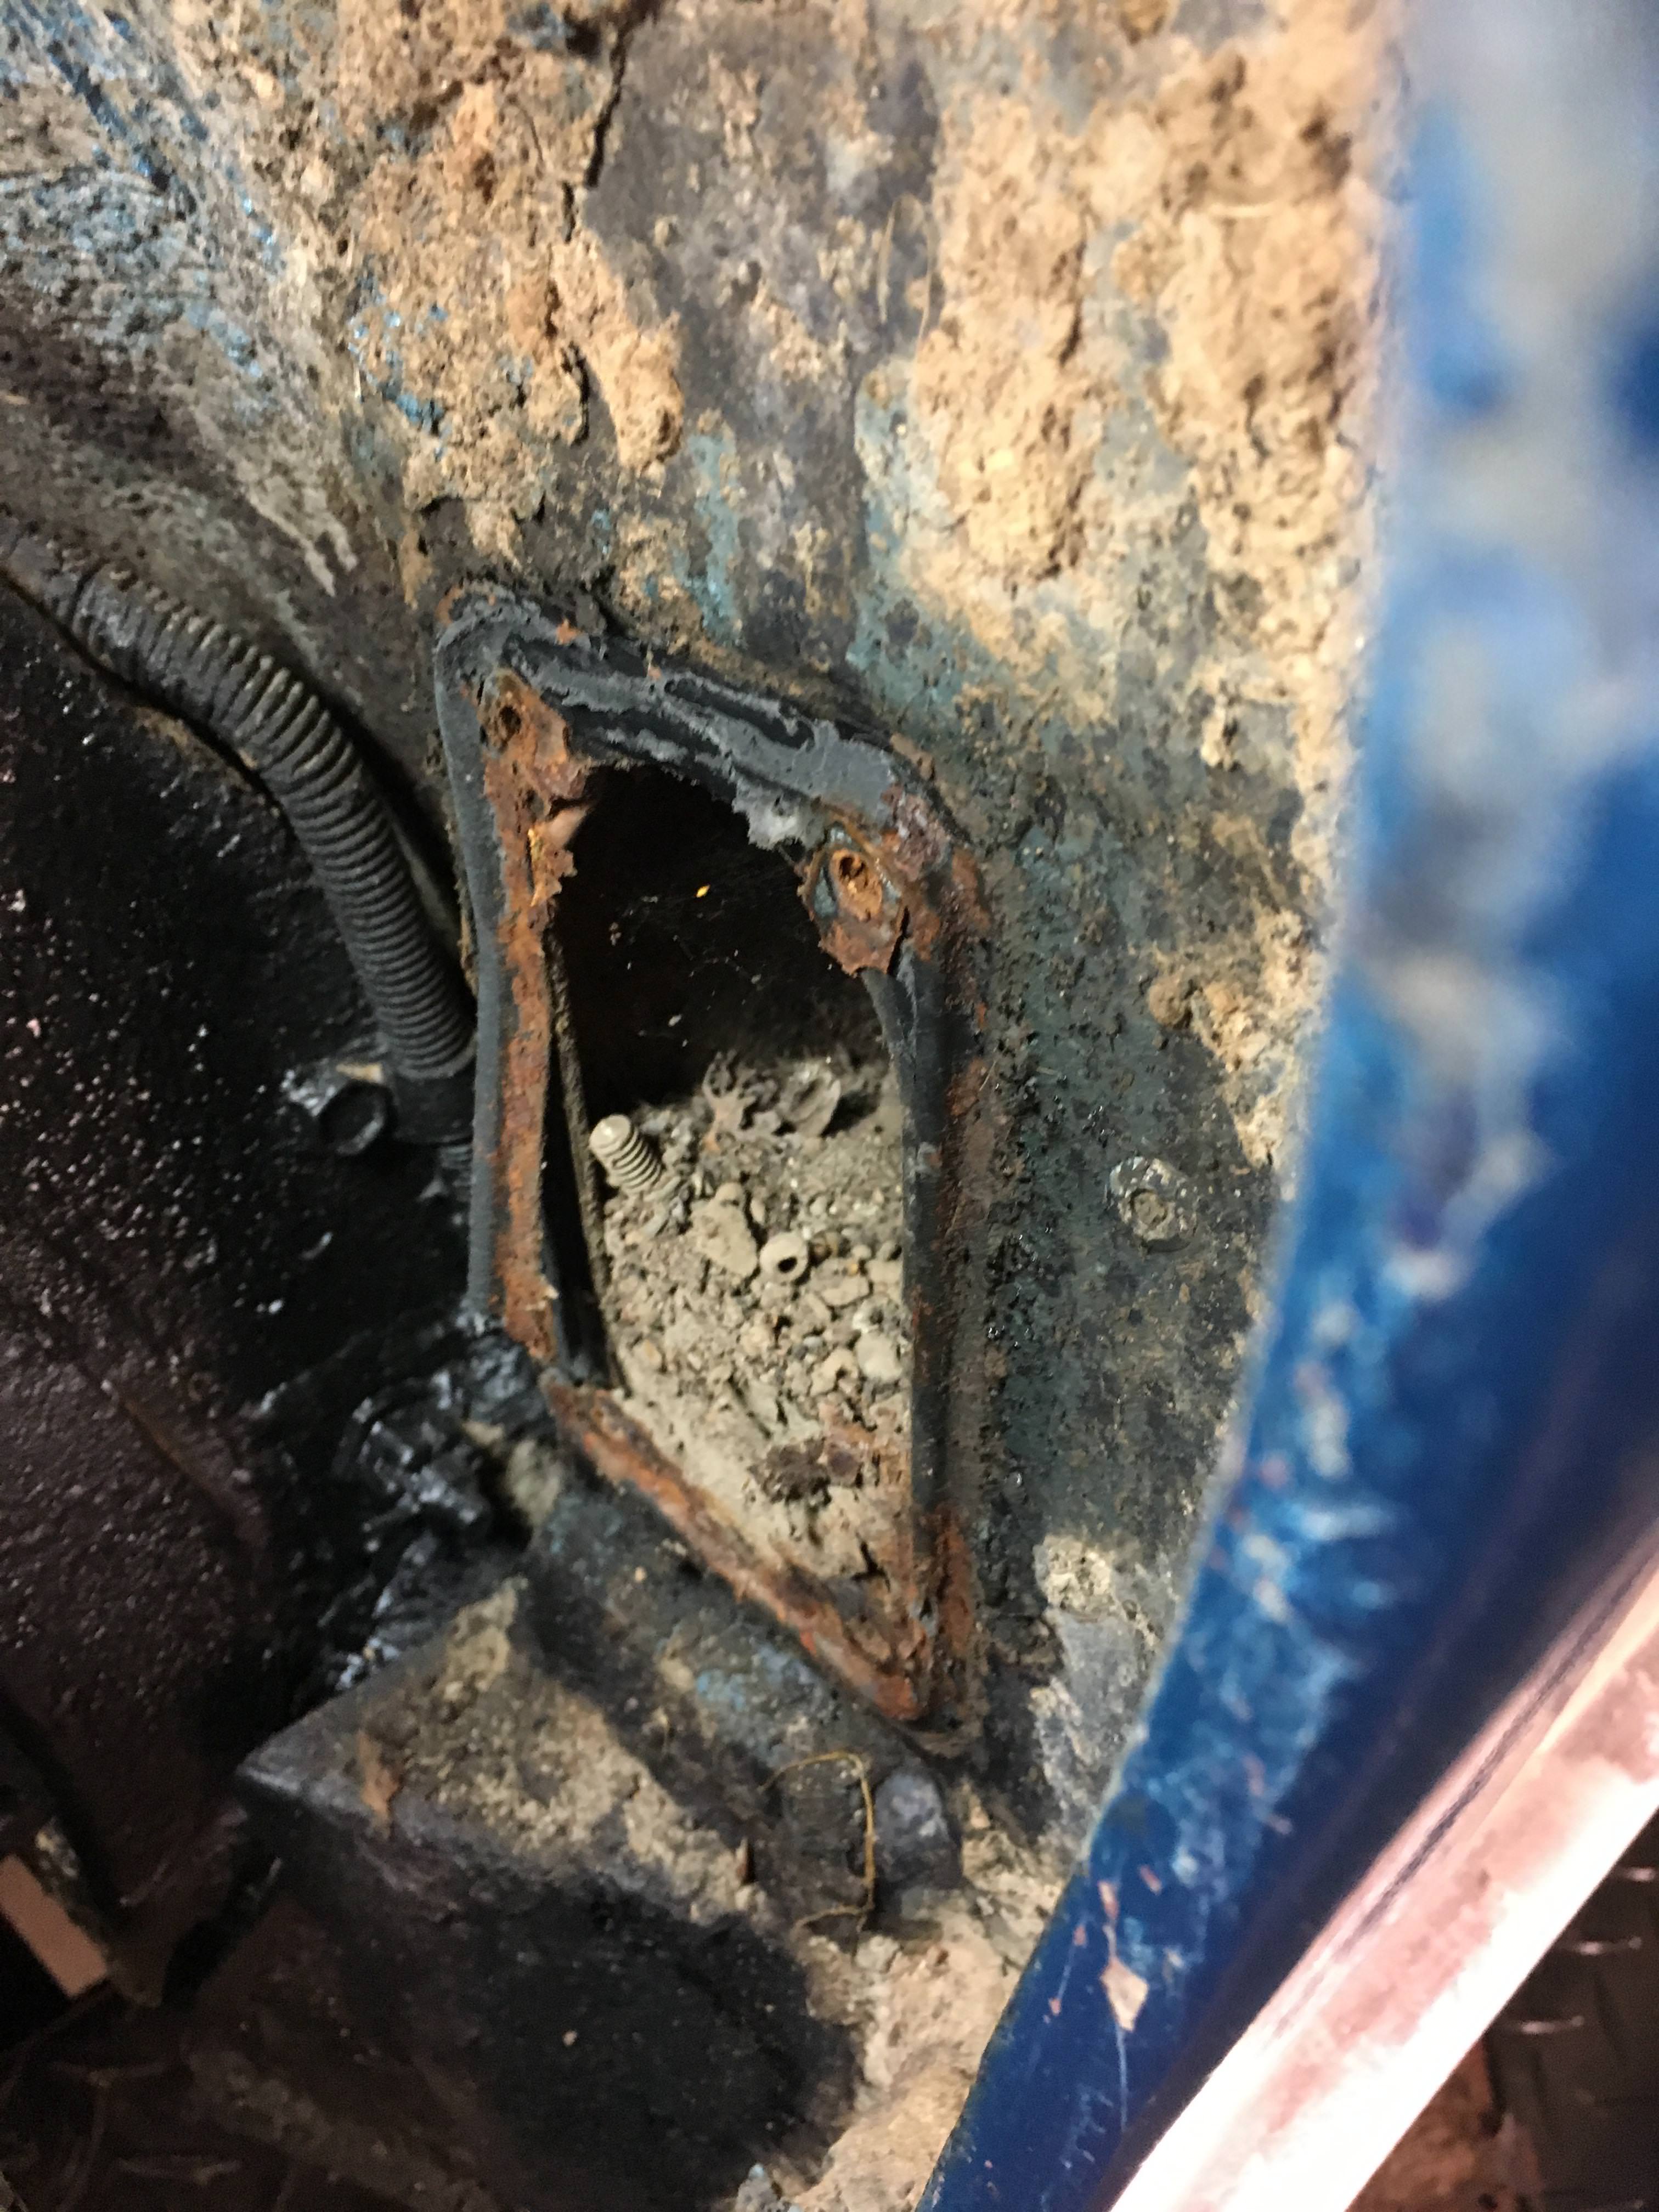
I feel like that if I can get these locations loose the others should be easier to remove.
This car being a 64 convertible has 2 extra bolts behind the rear seats and I have been lubing those as well.
Low material cost, tremendous labor effort as every bolt will fight us.
I started PB Blasting the #2 bolts in the cab and the #3 bolts in front of the rear wheels.
Filled with nuts and dirt.
I feel like that if I can get these locations loose the others should be easier to remove.
This car being a 64 convertible has 2 extra bolts behind the rear seats and I have been lubing those as well.

The following users liked this post:
elwood13 (04-12-2018)
04-12-2018, 10:22 PM
#27
Safety Car


Slow down, your passing me.  . Well at least you didn't have mold on the hardtop headliner or throw the spare tire carrier bolts in the recycle bin because you didn't know what they were at the time
  . I guess I got lucky because those covers came off easy on mine. Boys are gonna pull the gas tank and maybe the rotten soft top this weekend if the weather is decent. Looks like y'all are doing a good job.
. Well at least you didn't have mold on the hardtop headliner or throw the spare tire carrier bolts in the recycle bin because you didn't know what they were at the time . I guess I got lucky because those covers came off easy on mine. Boys are gonna pull the gas tank and maybe the rotten soft top this weekend if the weather is decent. Looks like y'all are doing a good job.Last edited by elwood13; 04-12-2018 at 10:23 PM.
04-12-2018, 10:25 PM
#29
Safety Car
Thanks for the heads up pop. Didn't know that one.

The following users liked this post:
Wjkiefiuk@comcast.ne (05-10-2018)
04-15-2018, 06:45 PM
#31
Burning Brakes
Thread Starter
I had two guys from the Corvette Club come by the house/garage Saturday. I have built several cars so I have a pretty good idea about what to do; however, I know there are people out there like many on this forum that really know the C2's. Once I explained what I thought Pat and I were going to do to this car, they gave me their opinion. They agreed that the body needs to come off the frame and install new bushings and repair any rust issues. That will allow us to do fiberglass repairs and not worry about continued cracks. We can do the basic fluid, hose changes and general repair as we work to separate the body.
04-15-2018, 07:03 PM
#32
Burning Brakes
Thread Starter
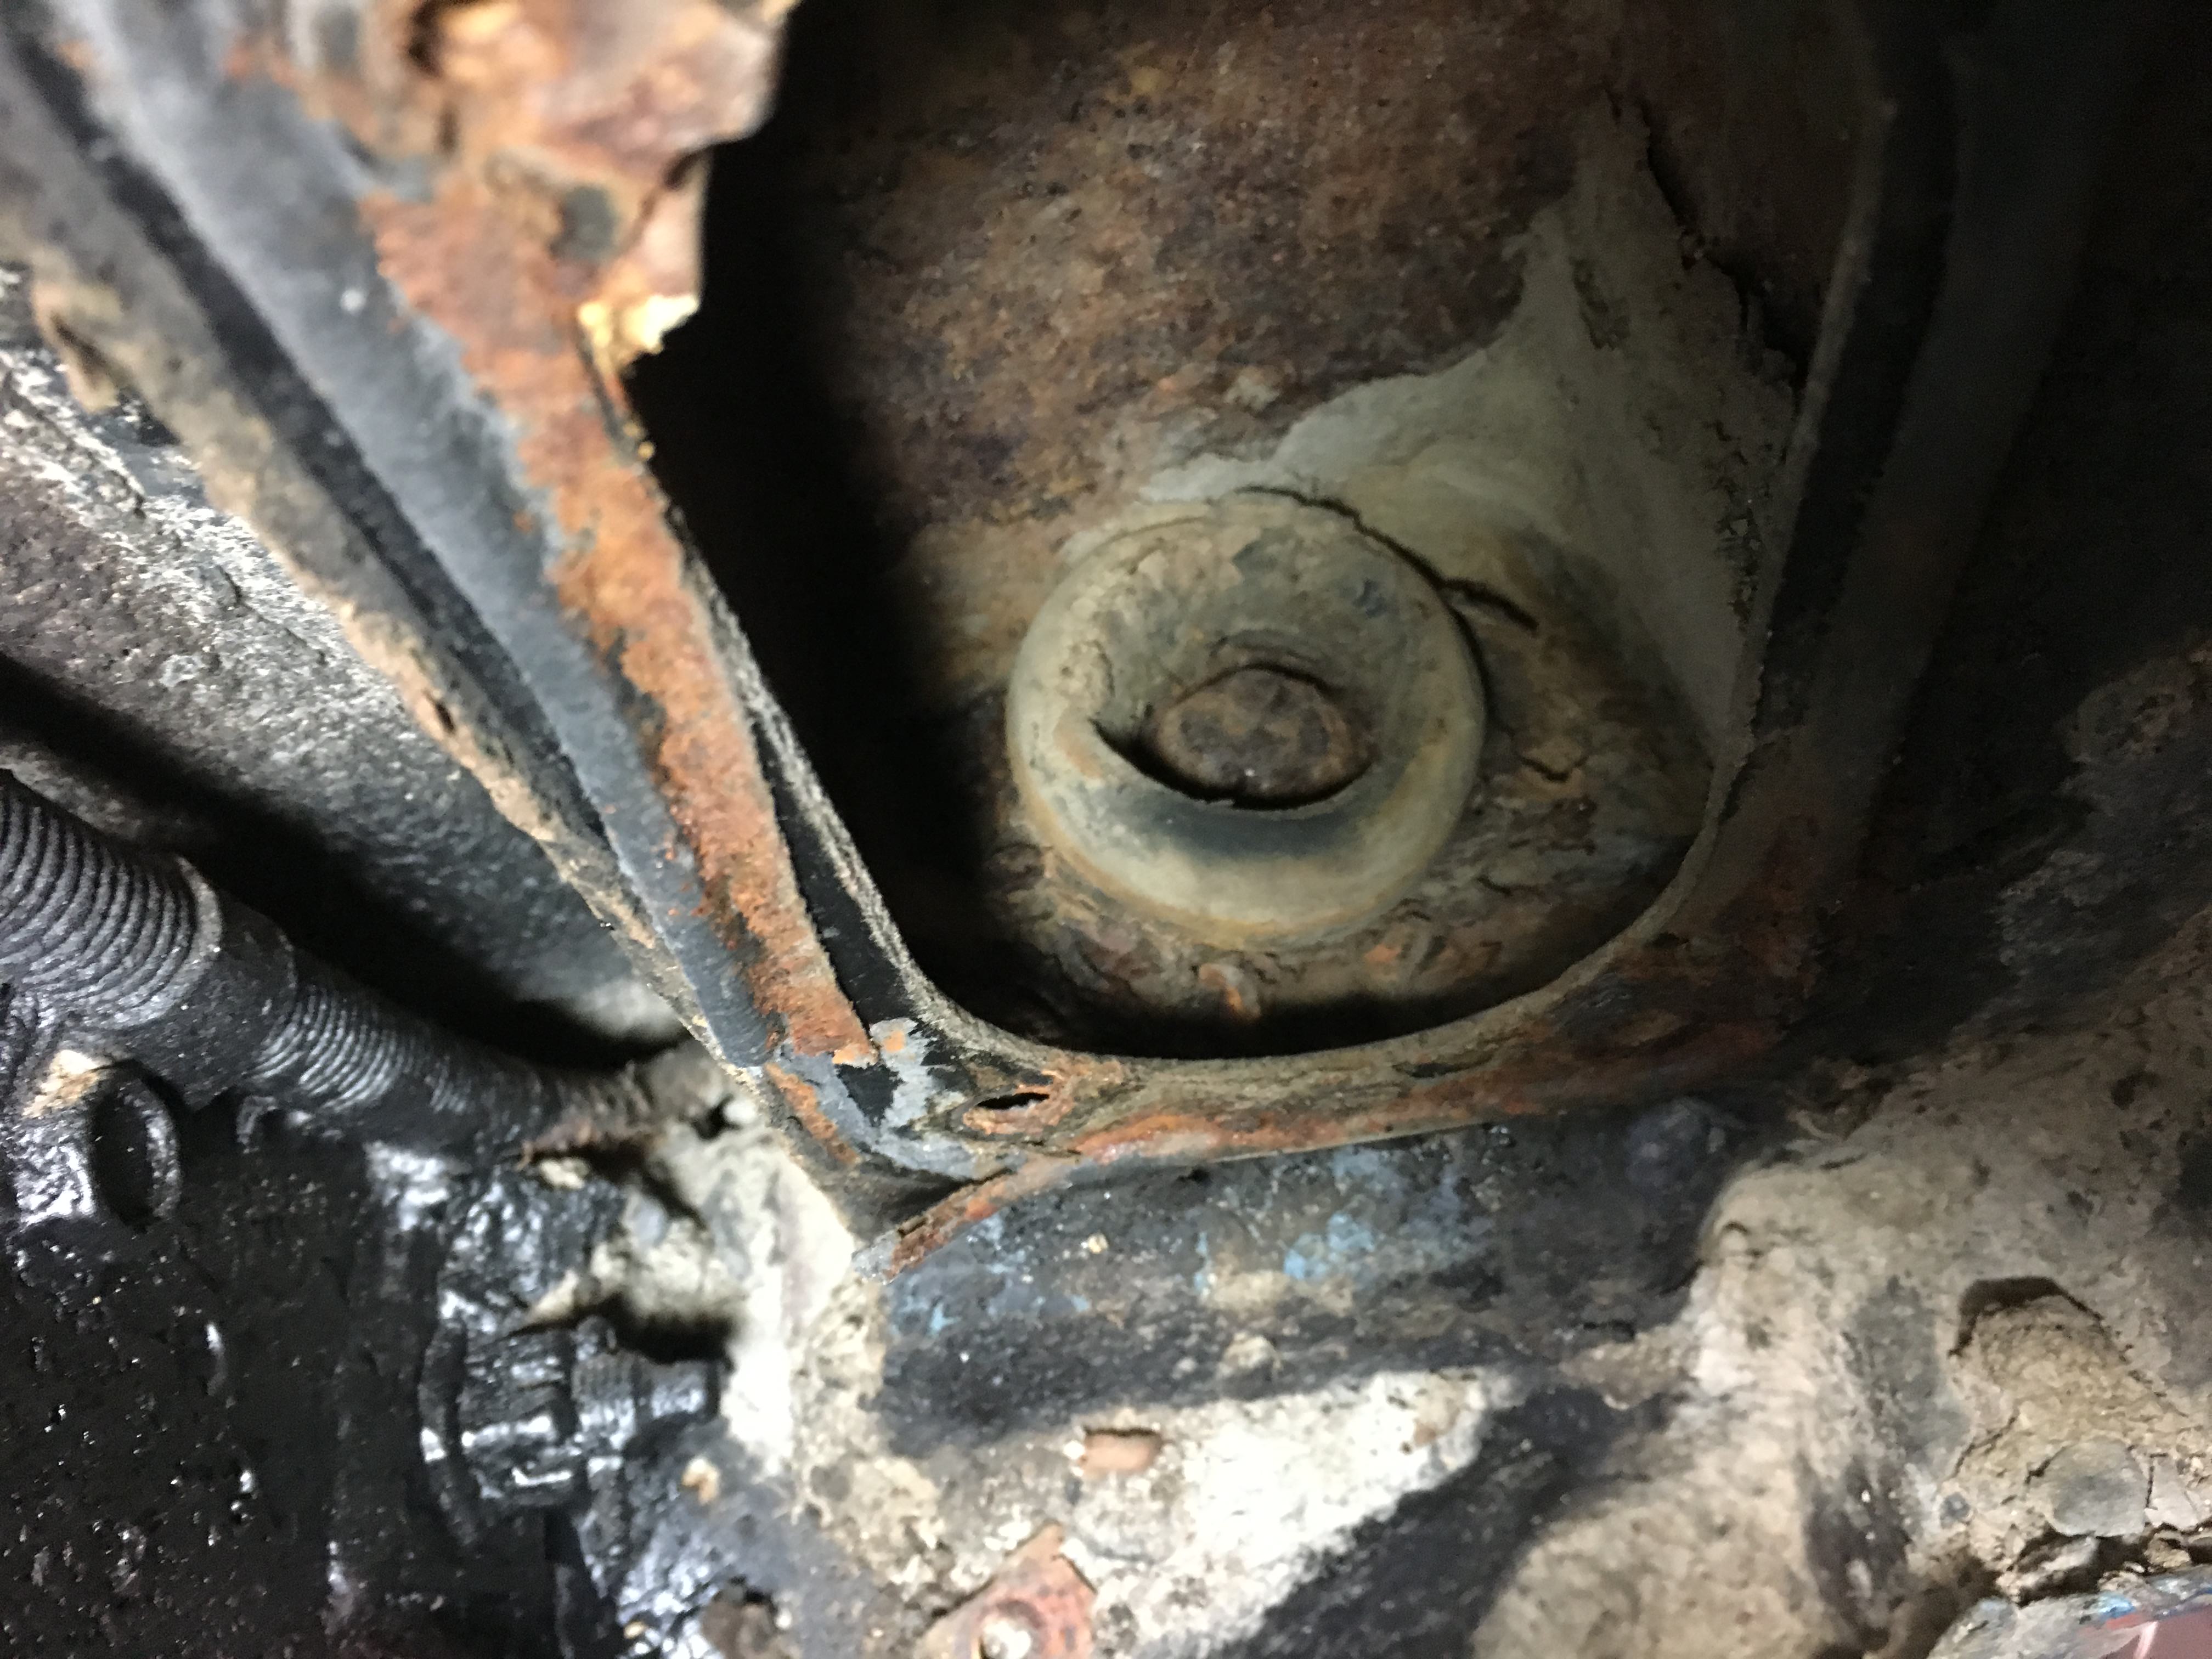
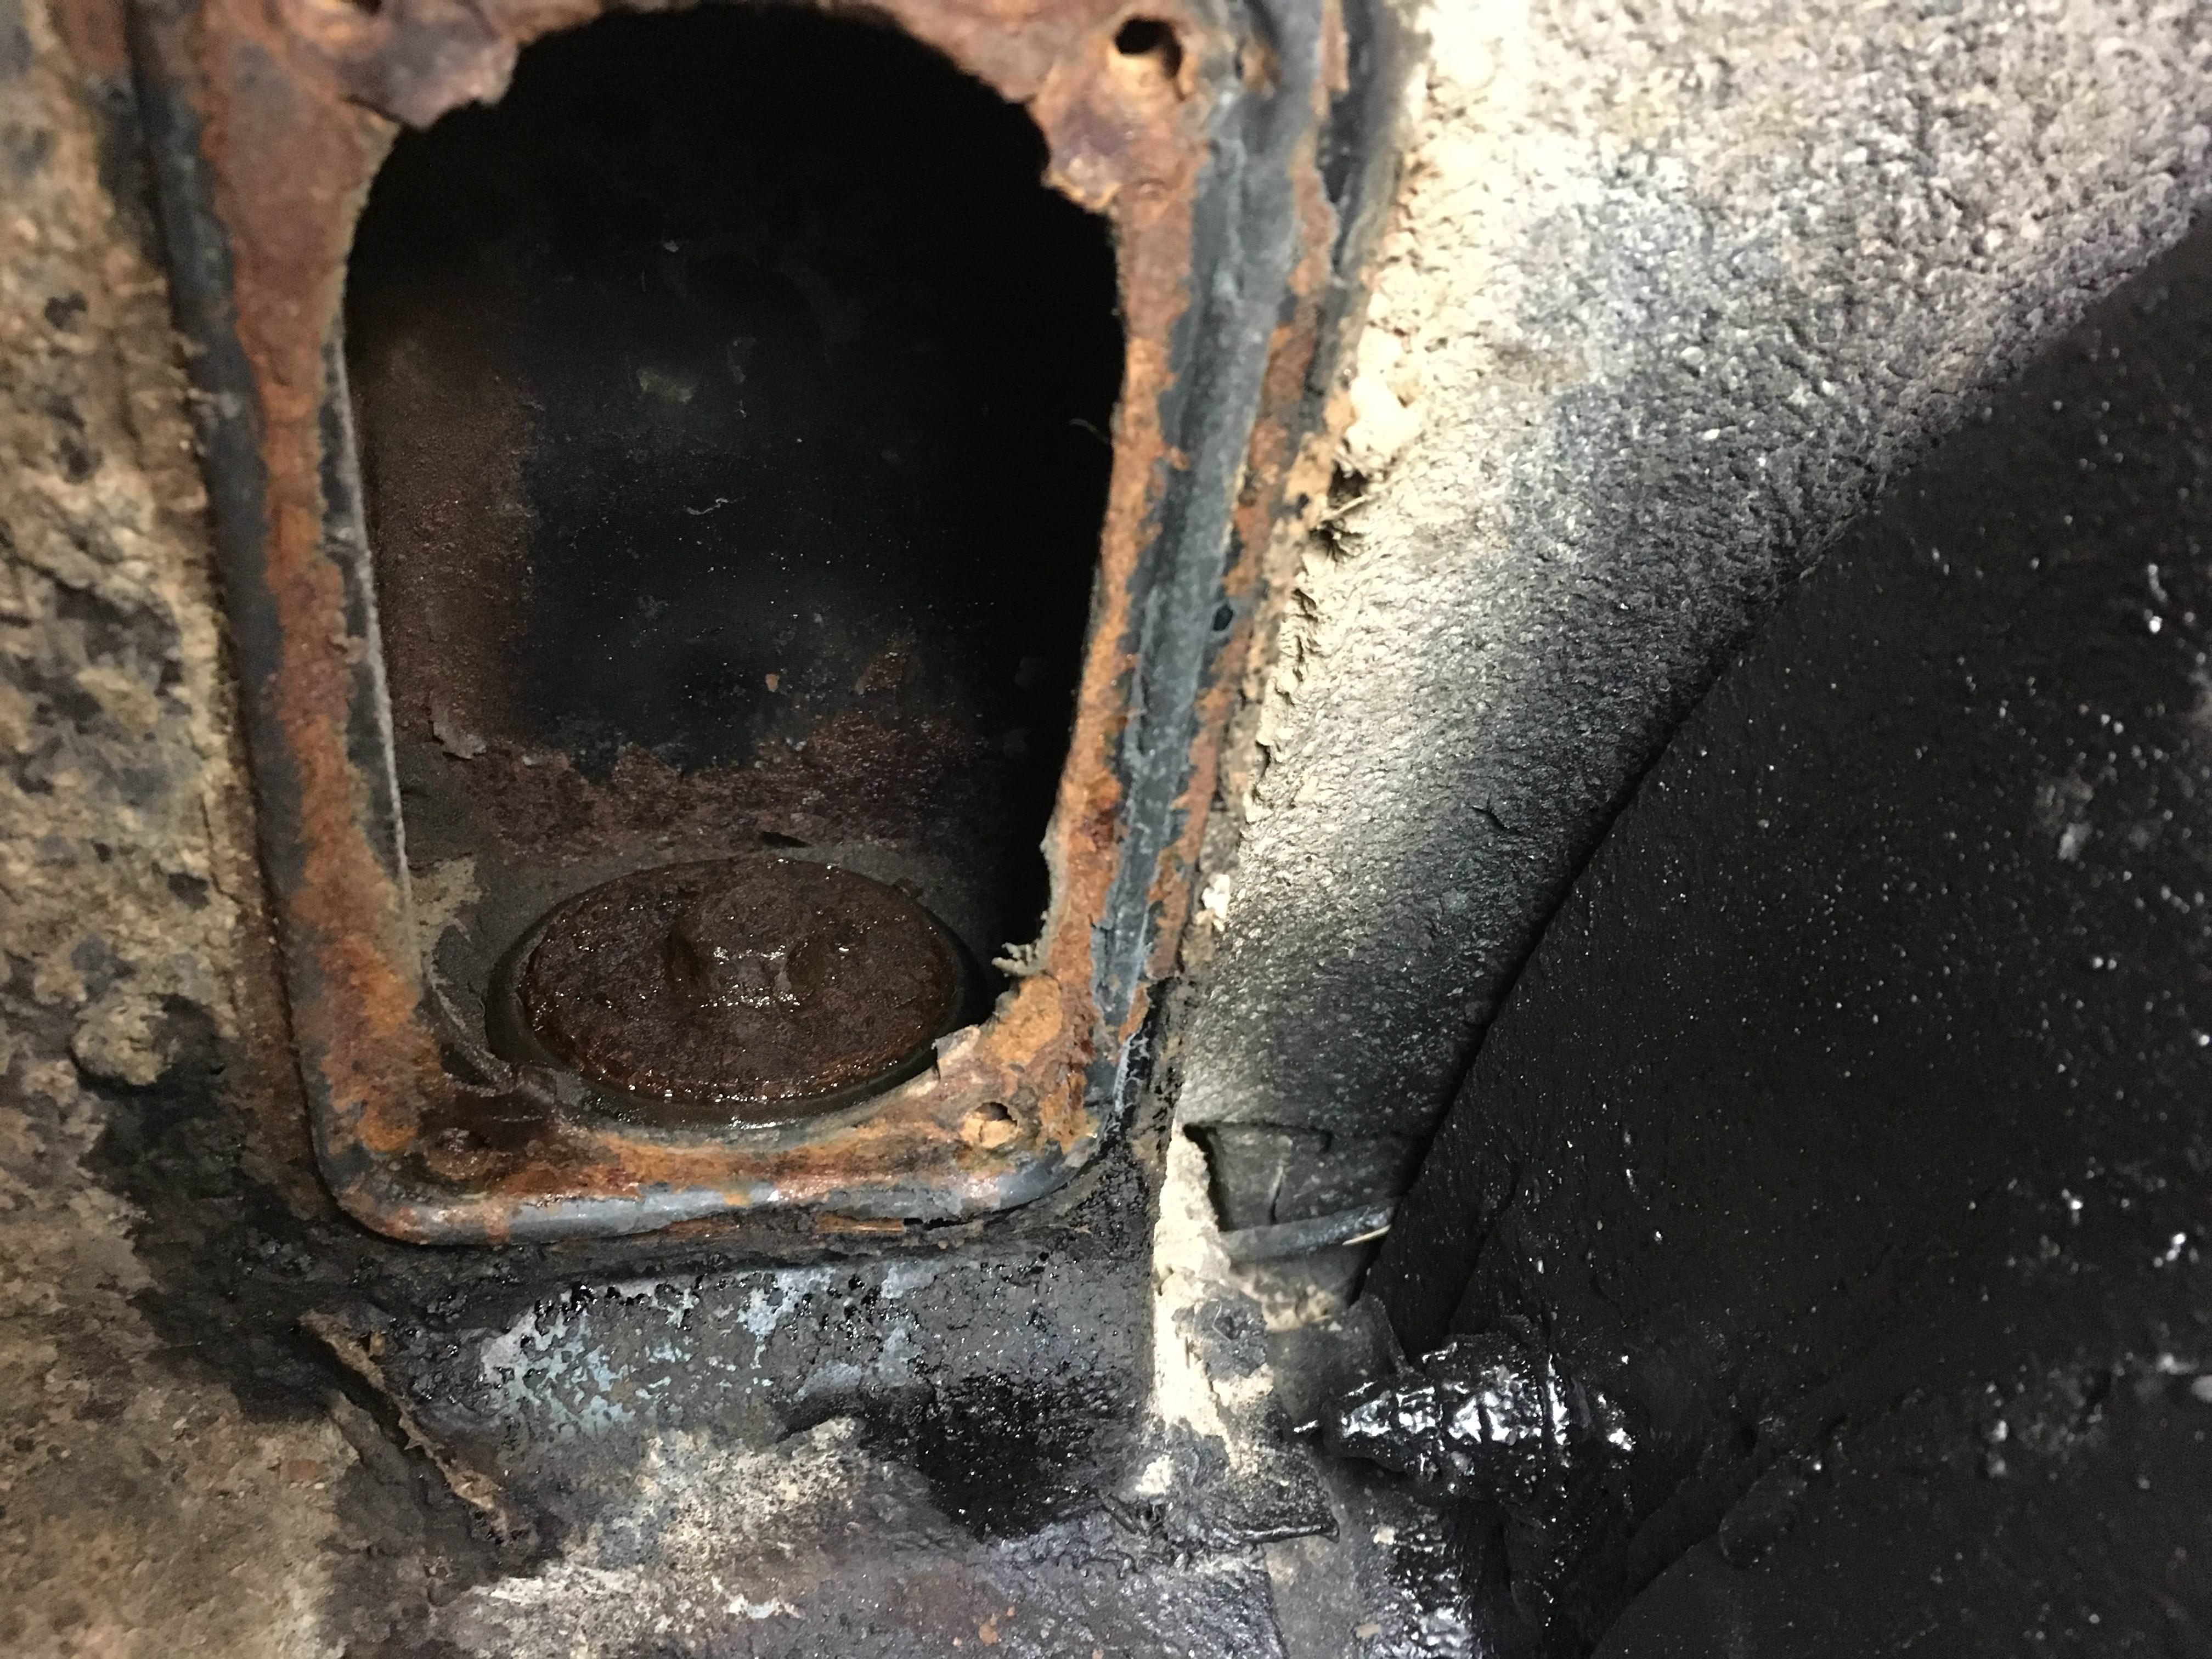
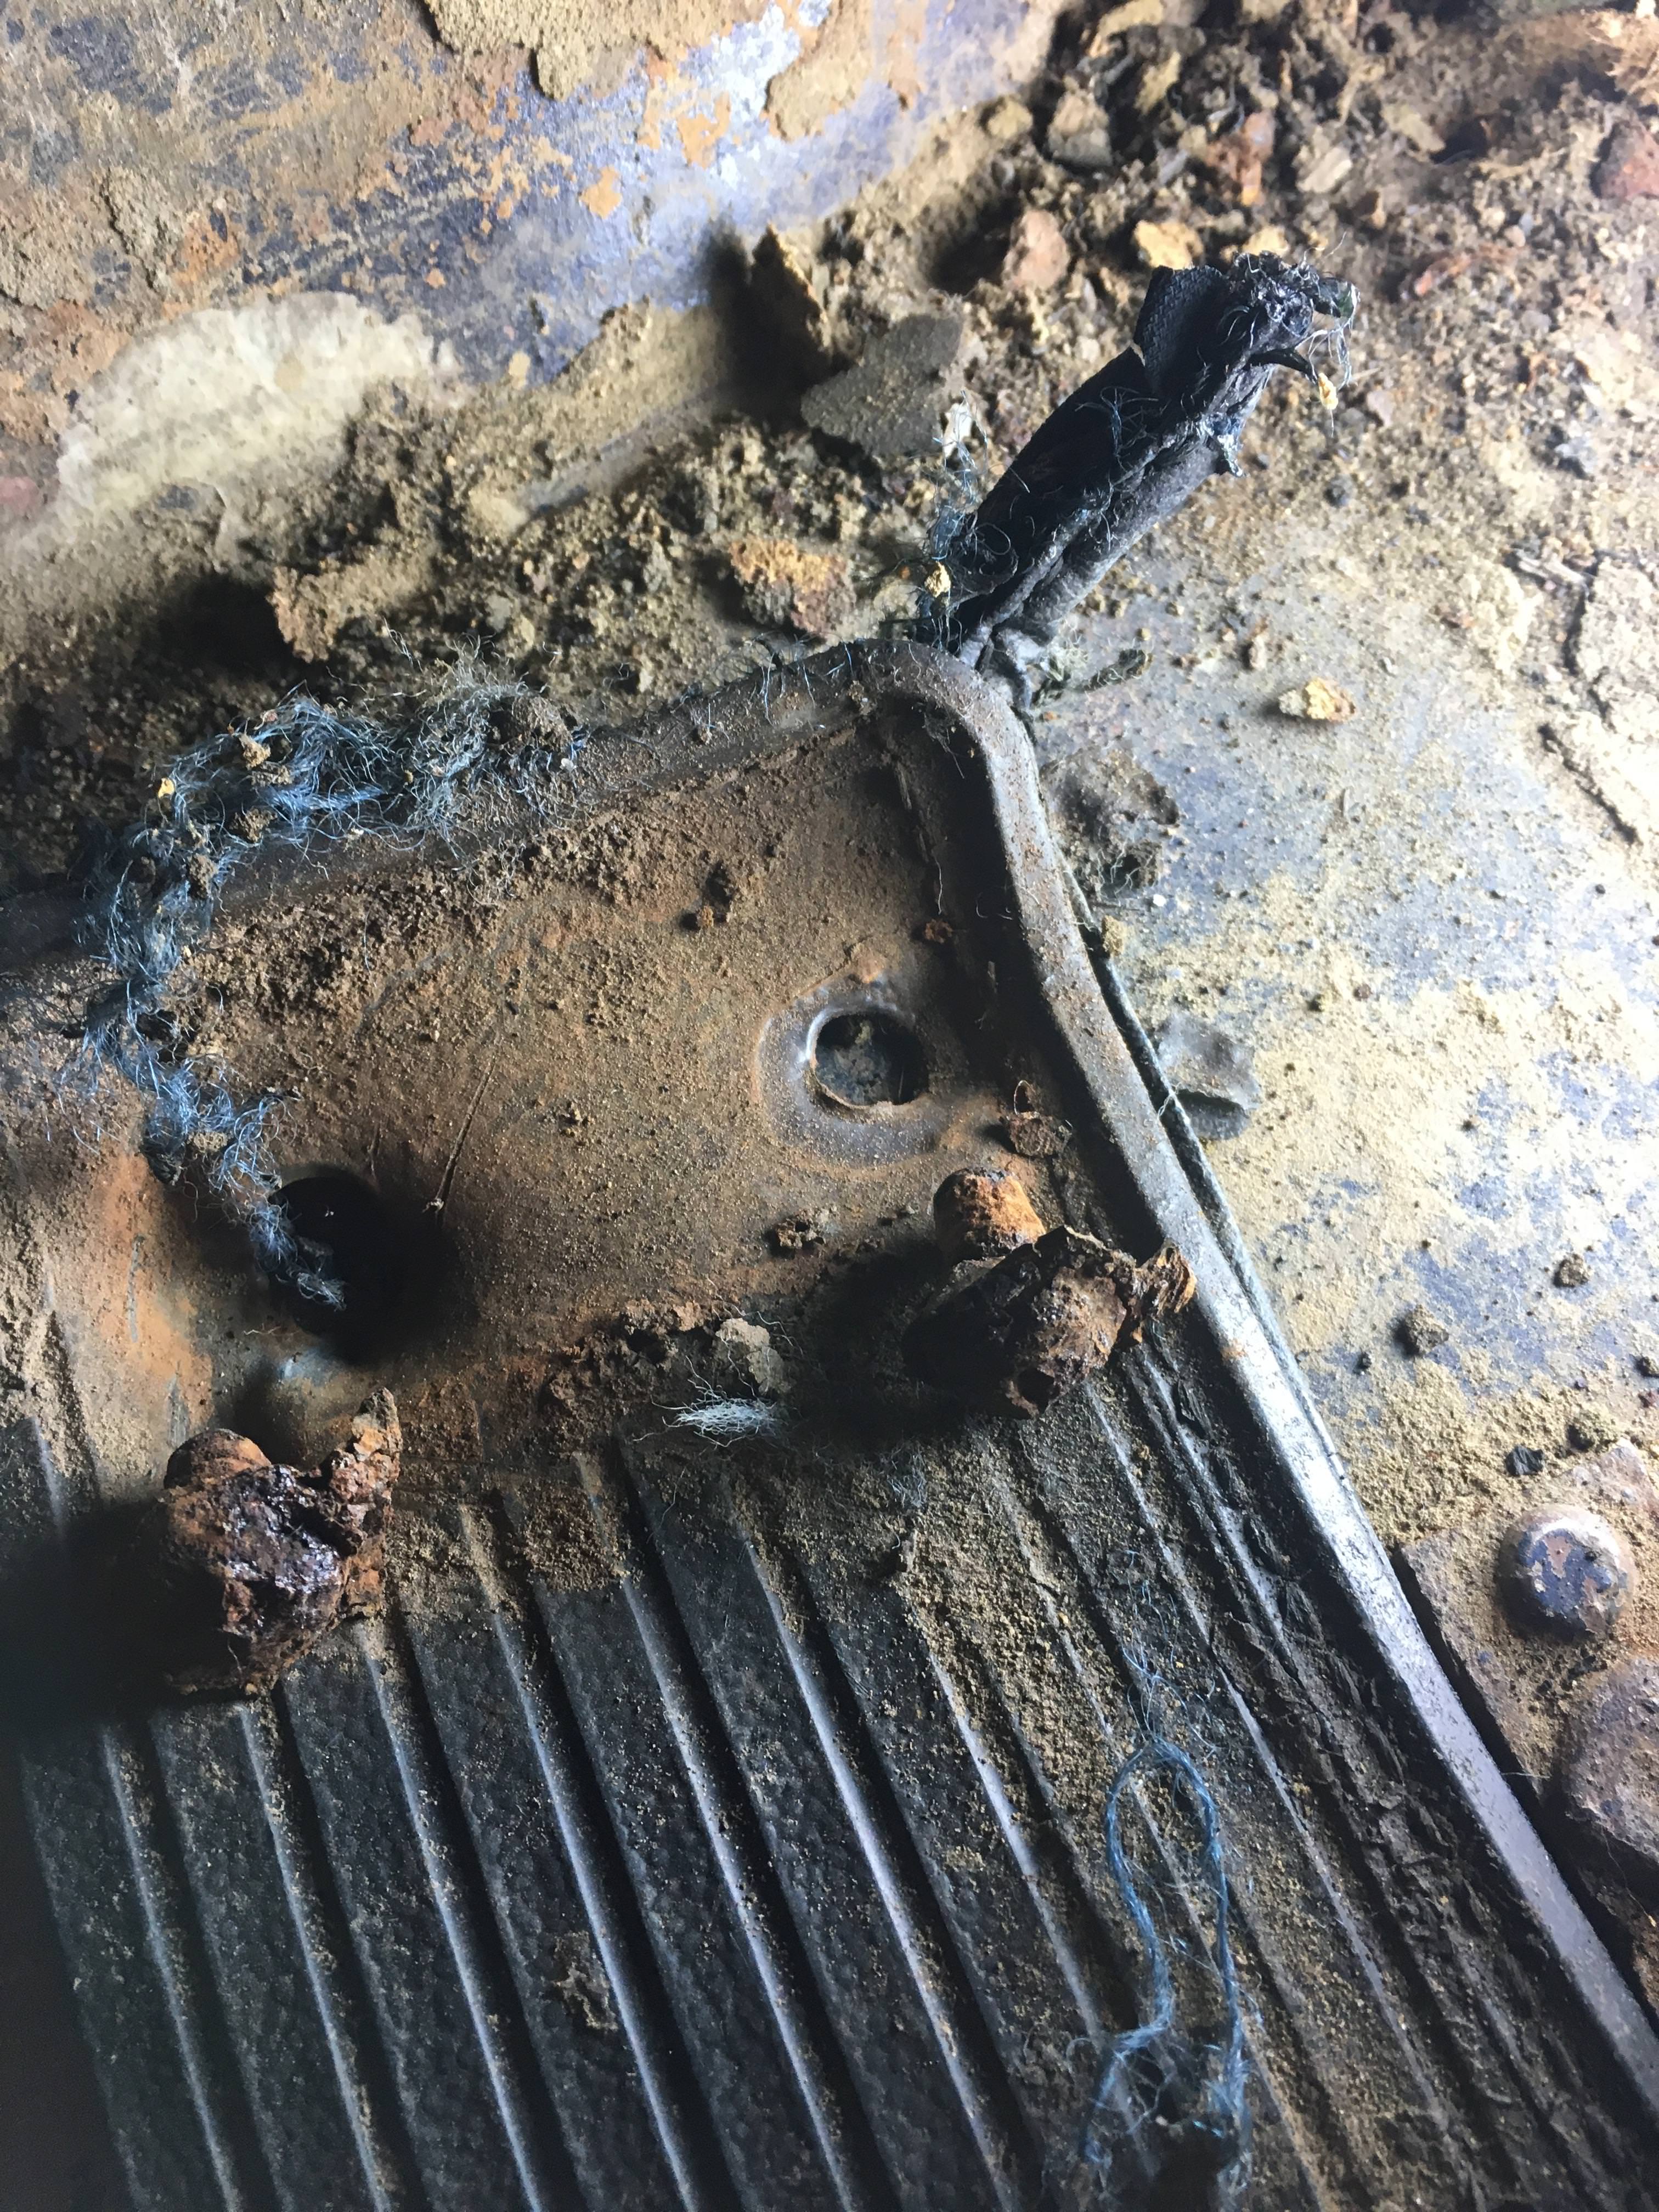
I have removed most of the body bolts in the passenger compartment. I also had to cut out the rear seat track brackets. I thought they needed to be drilled out; however once the heads were cut or snapped, the bolts just push out the bottom. Much easier once you realize how it was constructed.
Top part is the plate that the seat track bracket rests on. The center part is the bottom bracket that is push out. You can see the wasted effort to drill the bolts out as it was not necessary.
Before they were punched out.
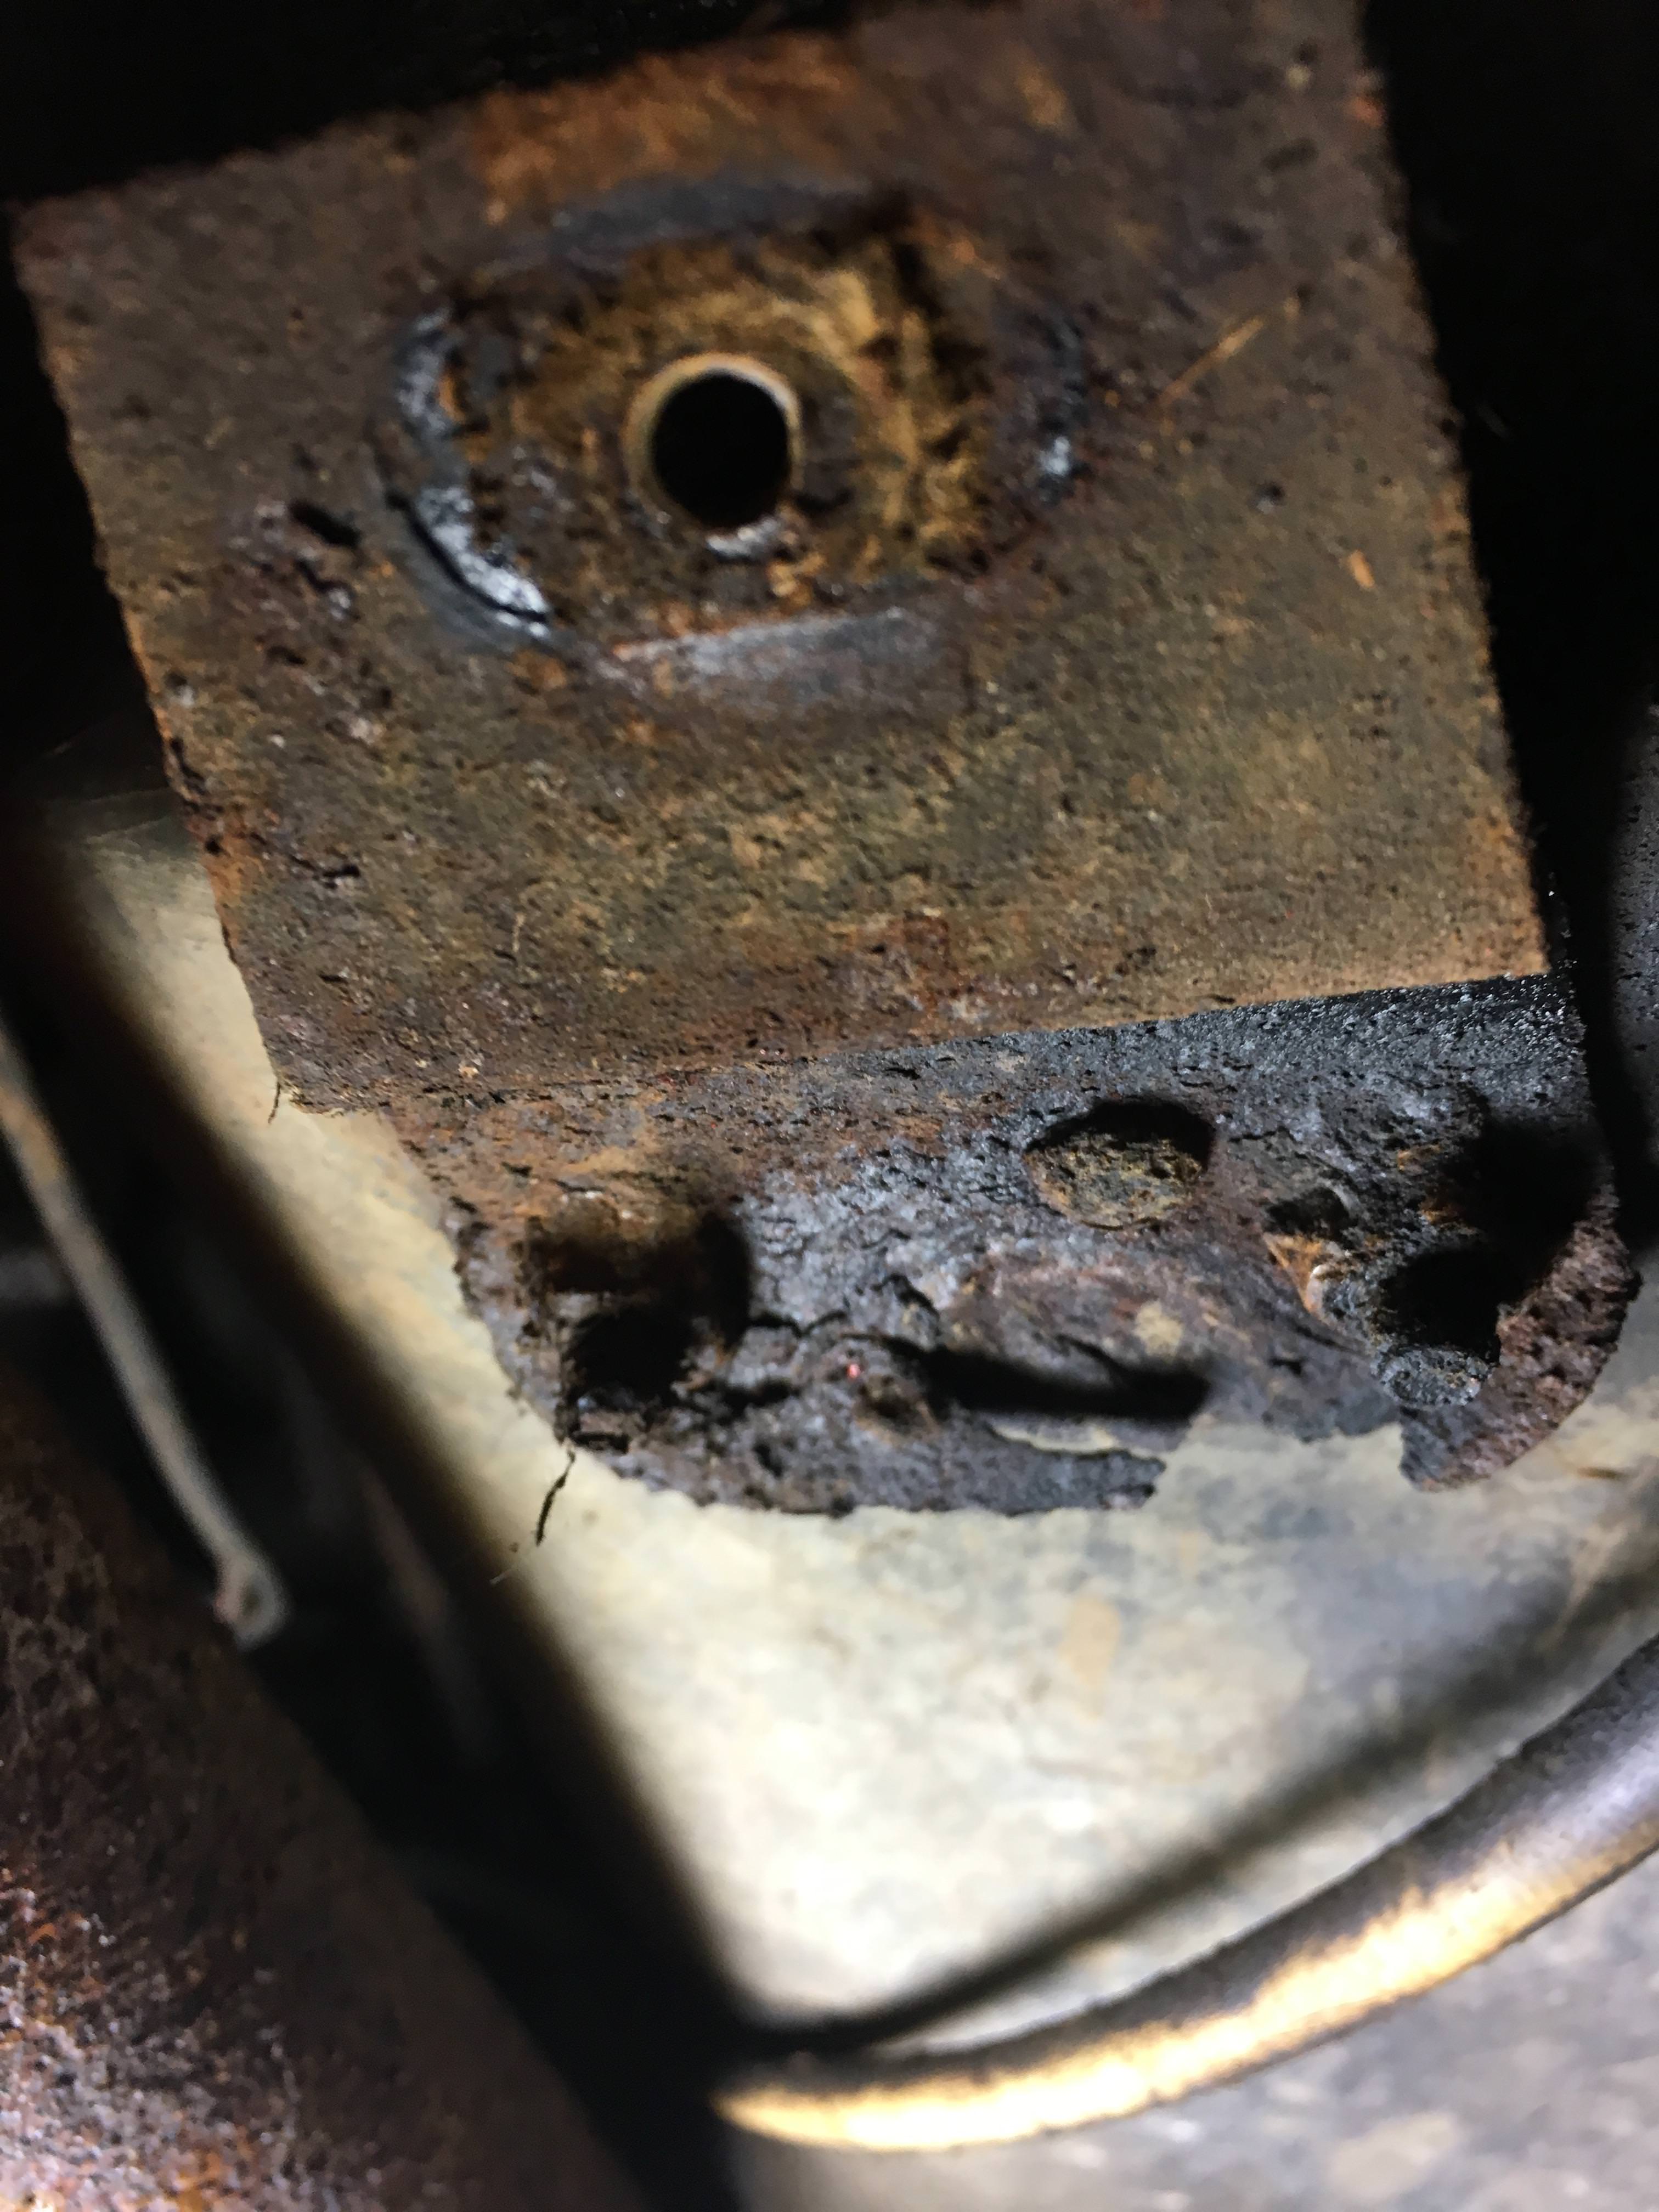
Top and bottom brackets will be cut out of flat bar, drilled and nuts welded to the bottom plate.
Top part is the plate that the seat track bracket rests on. The center part is the bottom bracket that is push out. You can see the wasted effort to drill the bolts out as it was not necessary.
Before they were punched out.
Top and bottom brackets will be cut out of flat bar, drilled and nuts welded to the bottom plate.
Last edited by hcallaway; 04-15-2018 at 08:16 PM.
04-15-2018, 09:32 PM
#33
Safety Car
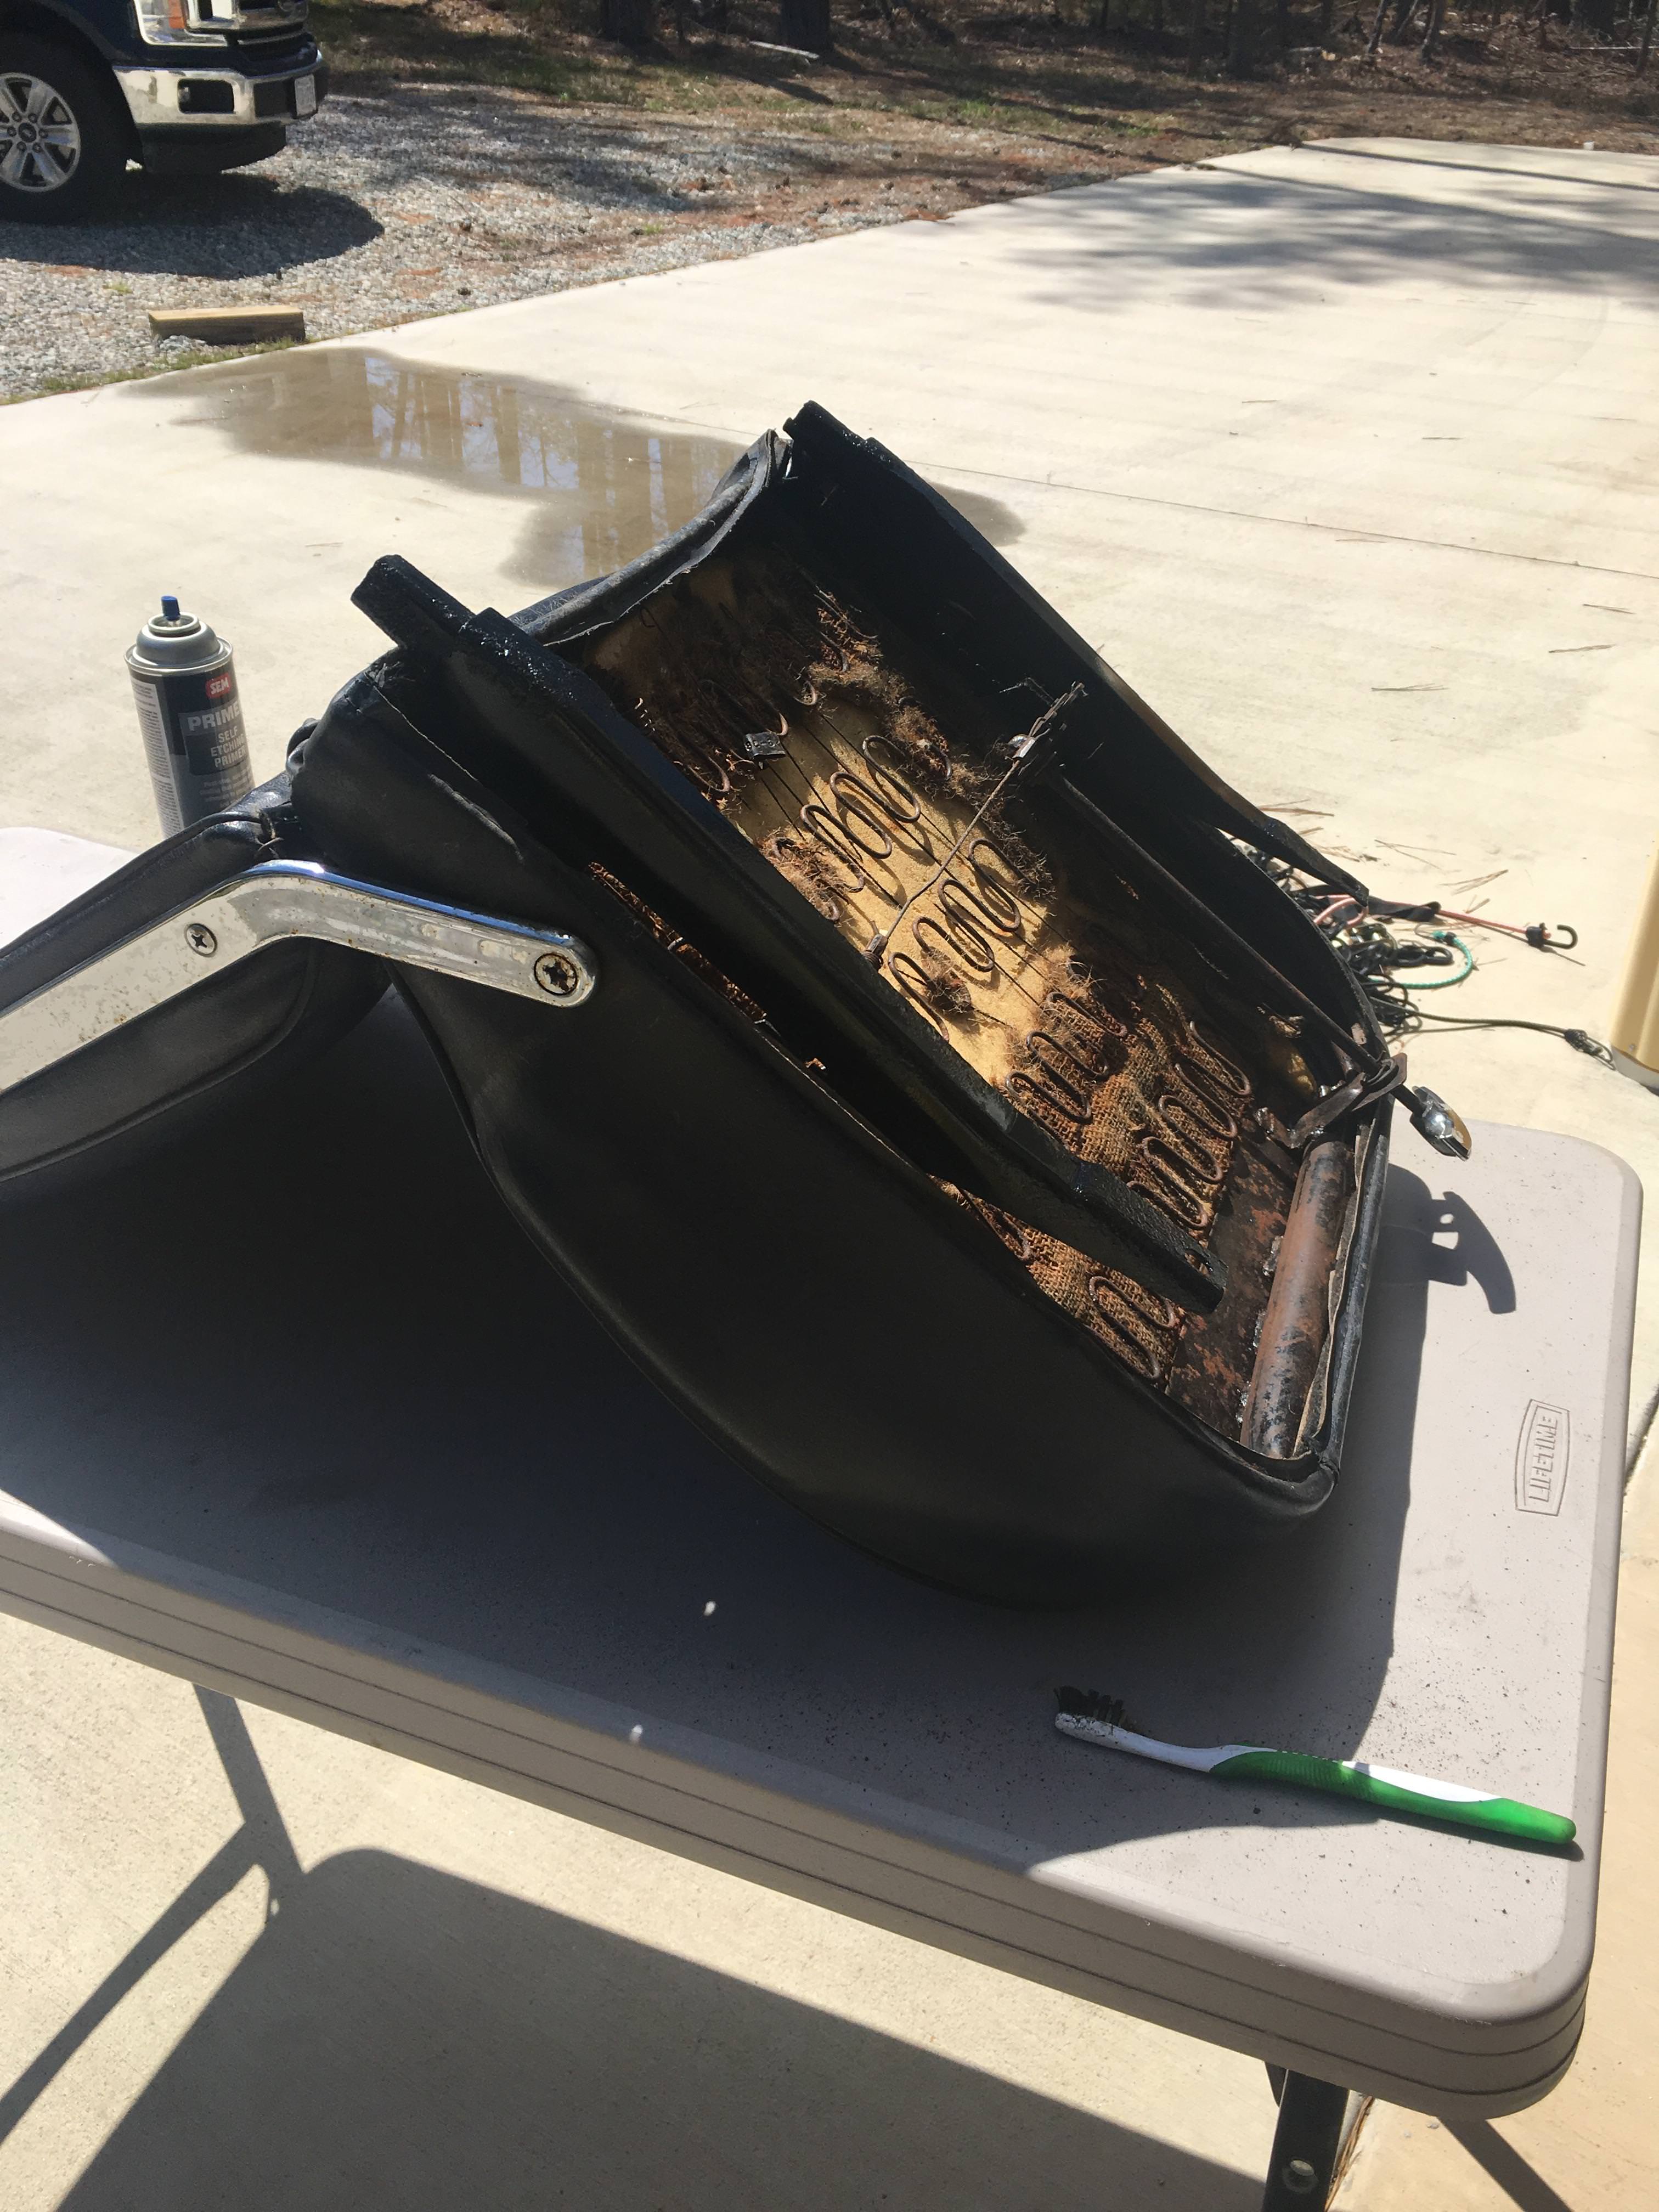
Your seats look pretty good. Mine are ripped and stink.
04-15-2018, 10:54 PM
#34
Burning Brakes
Thread Starter
They are usable. We want to get it on the road making it mechanically sound. Address the fiberglass problems and play with it.
If the frame needs more repair than anticipated this could push us to do more than we want. We have an initial budget that might be more wishful than reality. We may have to flood Craigslist and generate some cash. LOL
If the frame needs more repair than anticipated this could push us to do more than we want. We have an initial budget that might be more wishful than reality. We may have to flood Craigslist and generate some cash. LOL
04-15-2018, 11:45 PM
#35
Safety Car
Curious why you cut the seat brackets out unless I missed it somewhere. My passenger seat only had two bolts in and the driver side had three. That carpet was a pain but it's gone now.
My wife was looking around at stuff and telling me I should sell it to put into the car.
My wife was looking around at stuff and telling me I should sell it to put into the car.
Last edited by elwood13; 04-15-2018 at 11:46 PM.
04-16-2018, 05:39 AM
#36
Burning Brakes
Thread Starter
The fact that your wife is now thinking of positive cash flow is a good sign she is on board.
There is one bolt on the front of the slides. Remove that and the seats should slide straight out. I had 3 of the bolts either shear off or round out with a six point socket. The rear brackets were toast and the thin base plates on top were badly rusted. With a fiberglass pan I felt like my anchor points need to be stronger. Same goes for my seat belts where only two of the four brackets and hex head bolts remained.
There is one bolt on the front of the slides. Remove that and the seats should slide straight out. I had 3 of the bolts either shear off or round out with a six point socket. The rear brackets were toast and the thin base plates on top were badly rusted. With a fiberglass pan I felt like my anchor points need to be stronger. Same goes for my seat belts where only two of the four brackets and hex head bolts remained.
Last edited by hcallaway; 04-16-2018 at 05:43 AM.
04-16-2018, 08:01 AM
#37
Melting Slicks


Member Since: Apr 2009
Location: Virginia Beach VA
Posts: 2,475
Received 574 Likes
on
321 Posts
C2 of the Year Finalist - Modified 2020
C2 of Year Finalist (performance mods) 2019

Congrats on your new toy. You are lucky that Zip is in your neighborhood, check them out and they give a discount to the Richmond Corvette club members. I hope to see this car one day. I am in Virginia Beach.
The following users liked this post:
hcallaway (04-16-2018)
04-16-2018, 11:45 AM
#39
Safety Car
Got ya. Haven't looked at mine close as we just got the seats out yesterday. I posted a couple pics of the floor but will be inspecting it more closely now.
04-16-2018, 06:41 PM
#40
Burning Brakes
Thread Starter
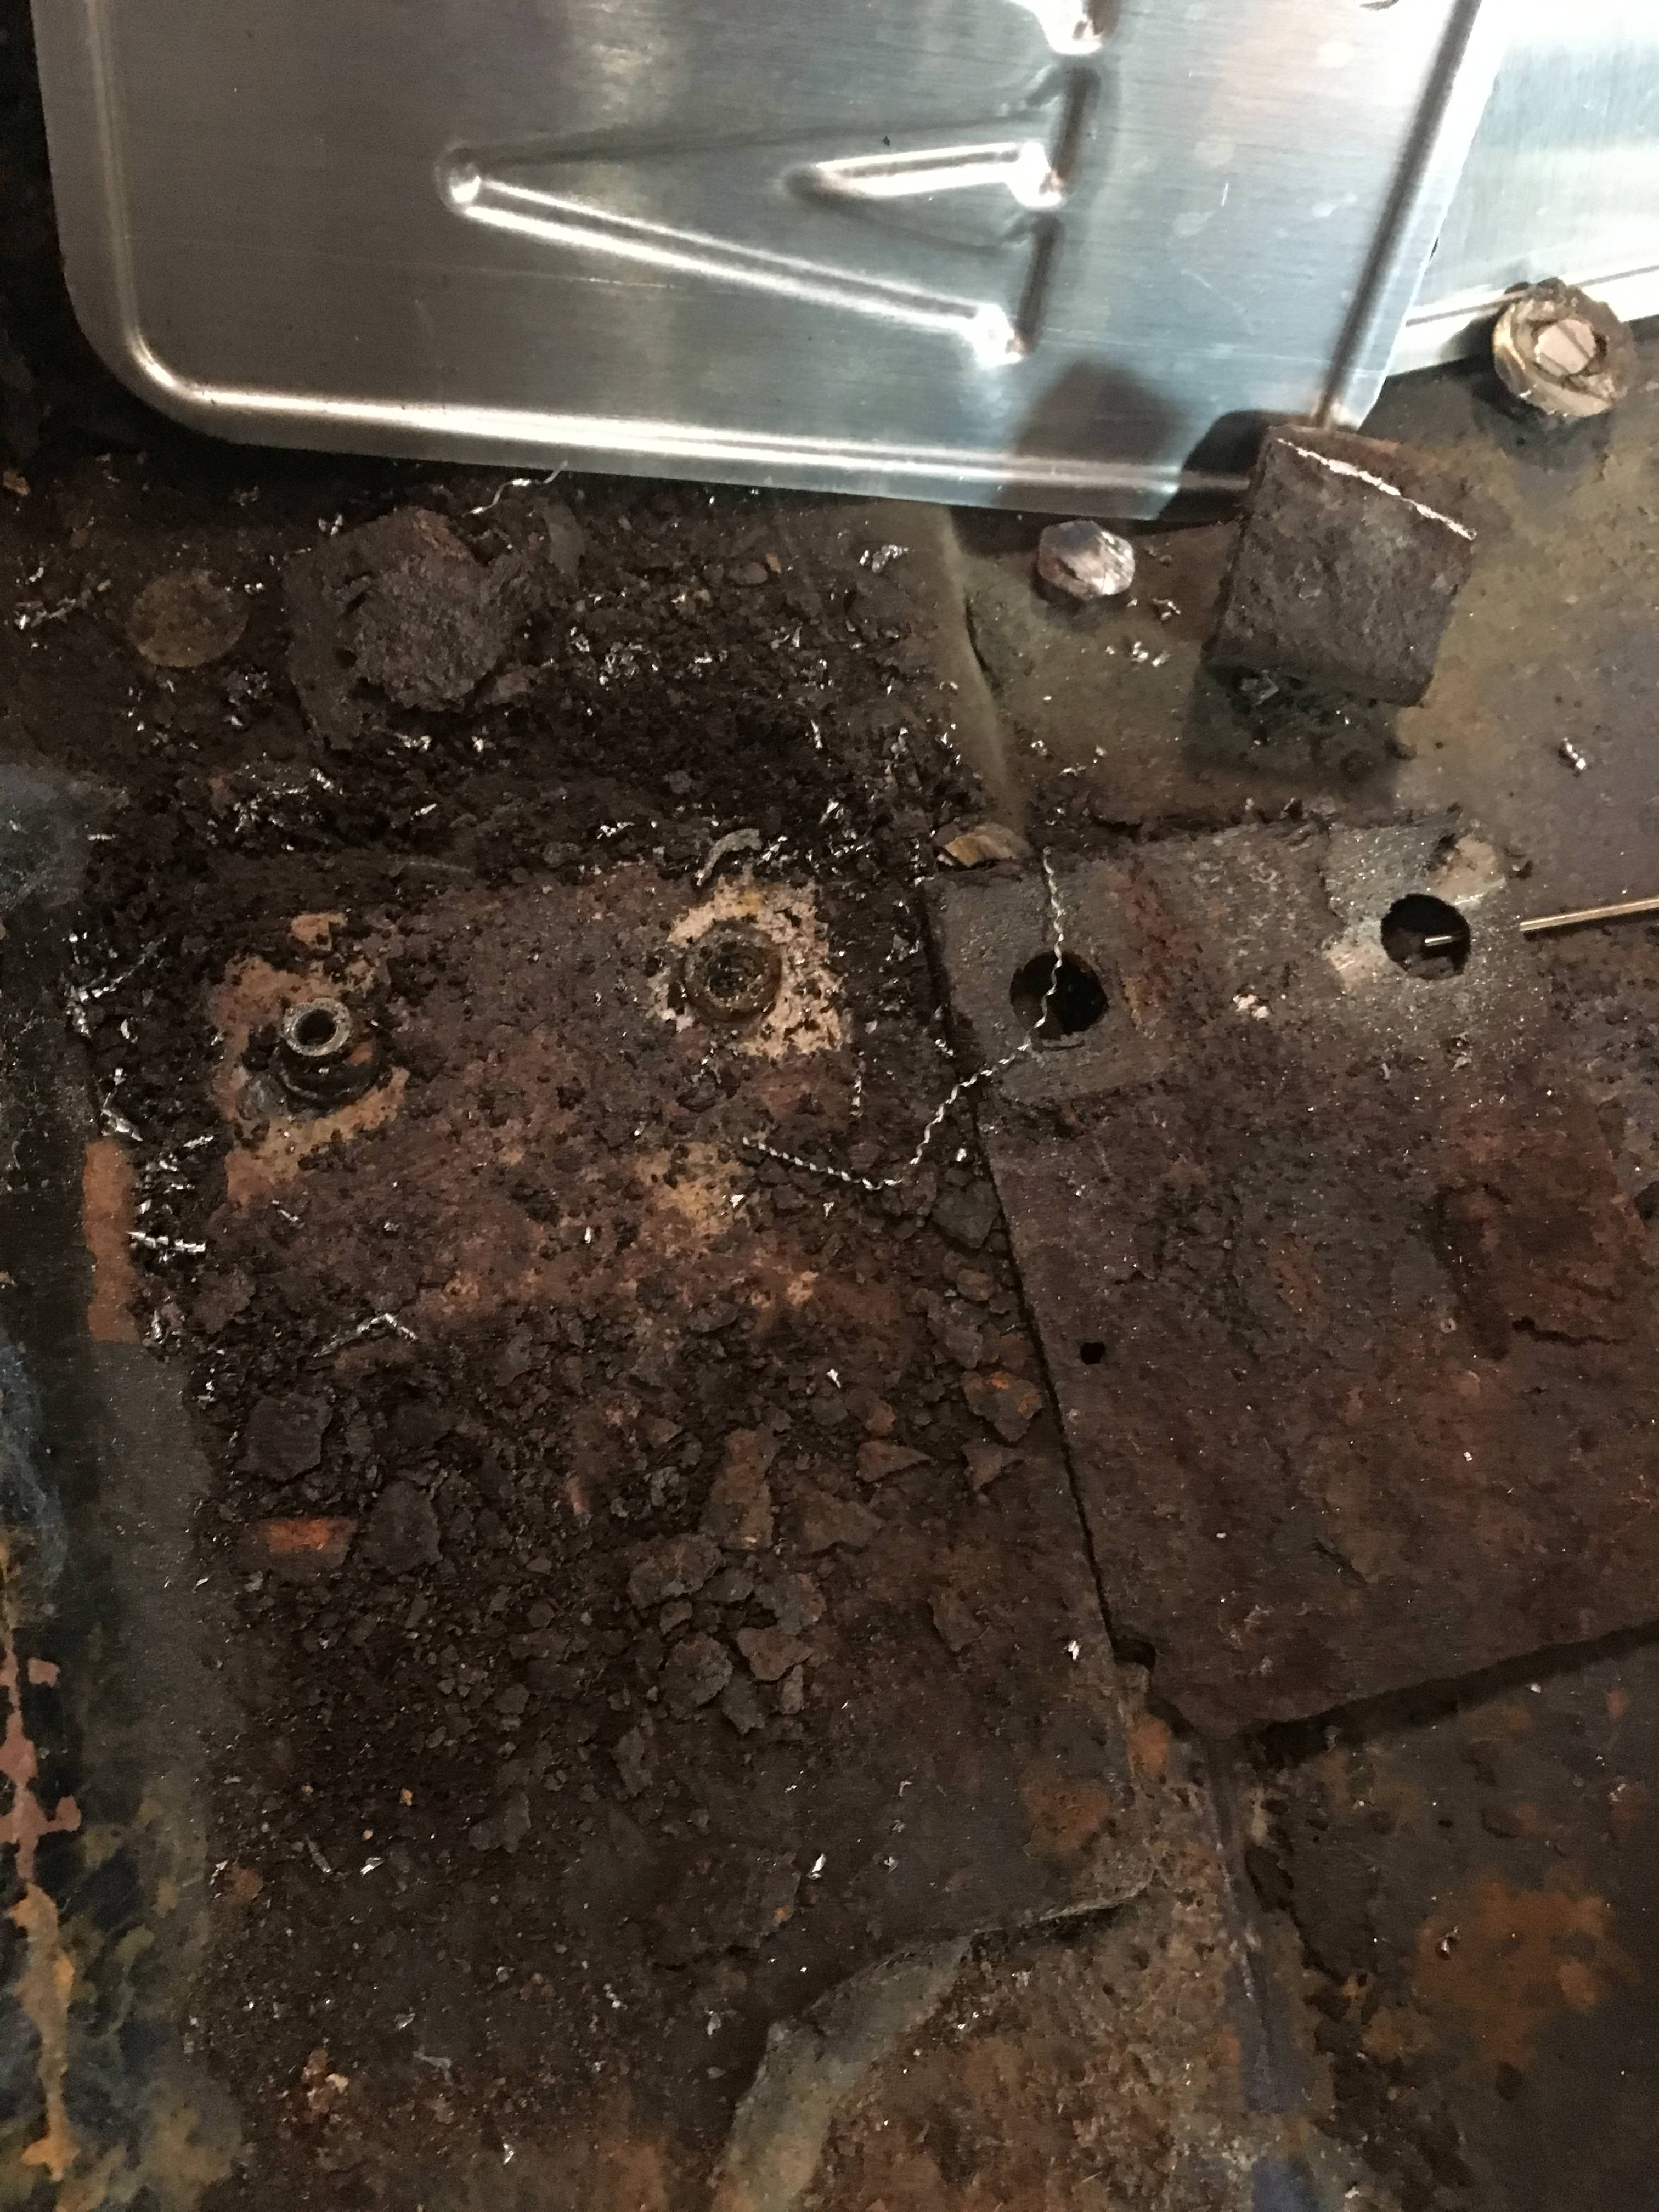
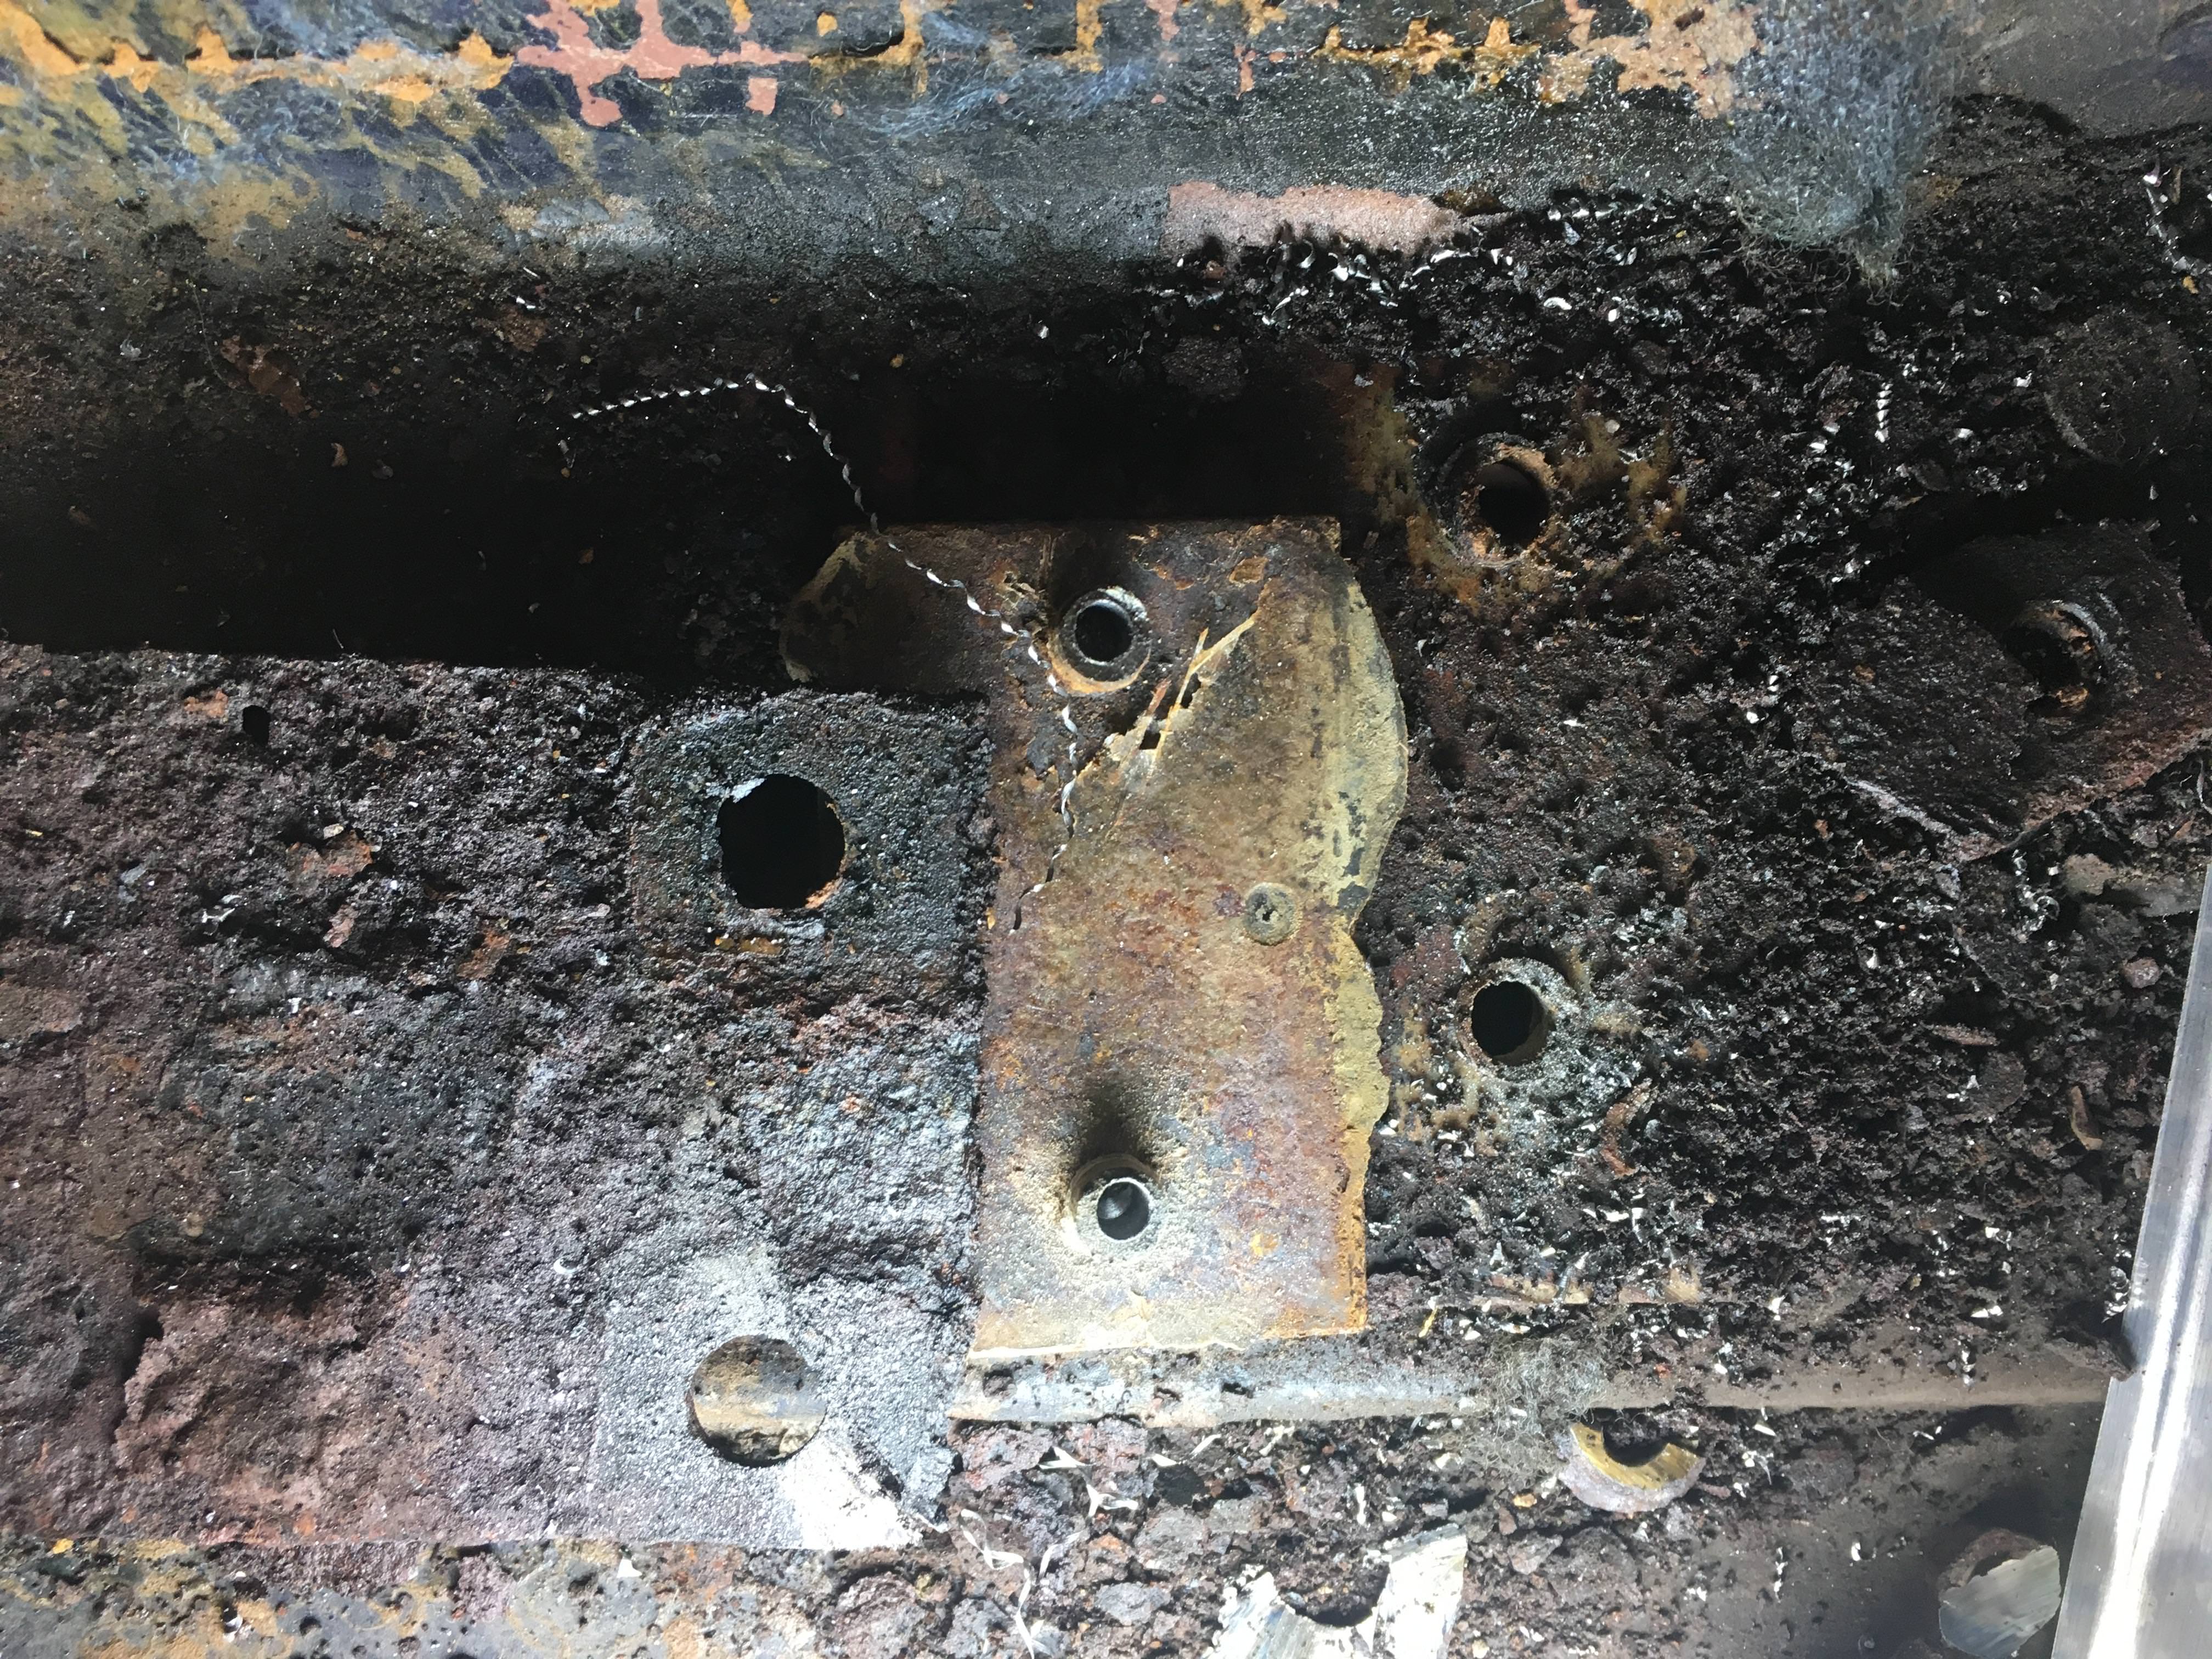
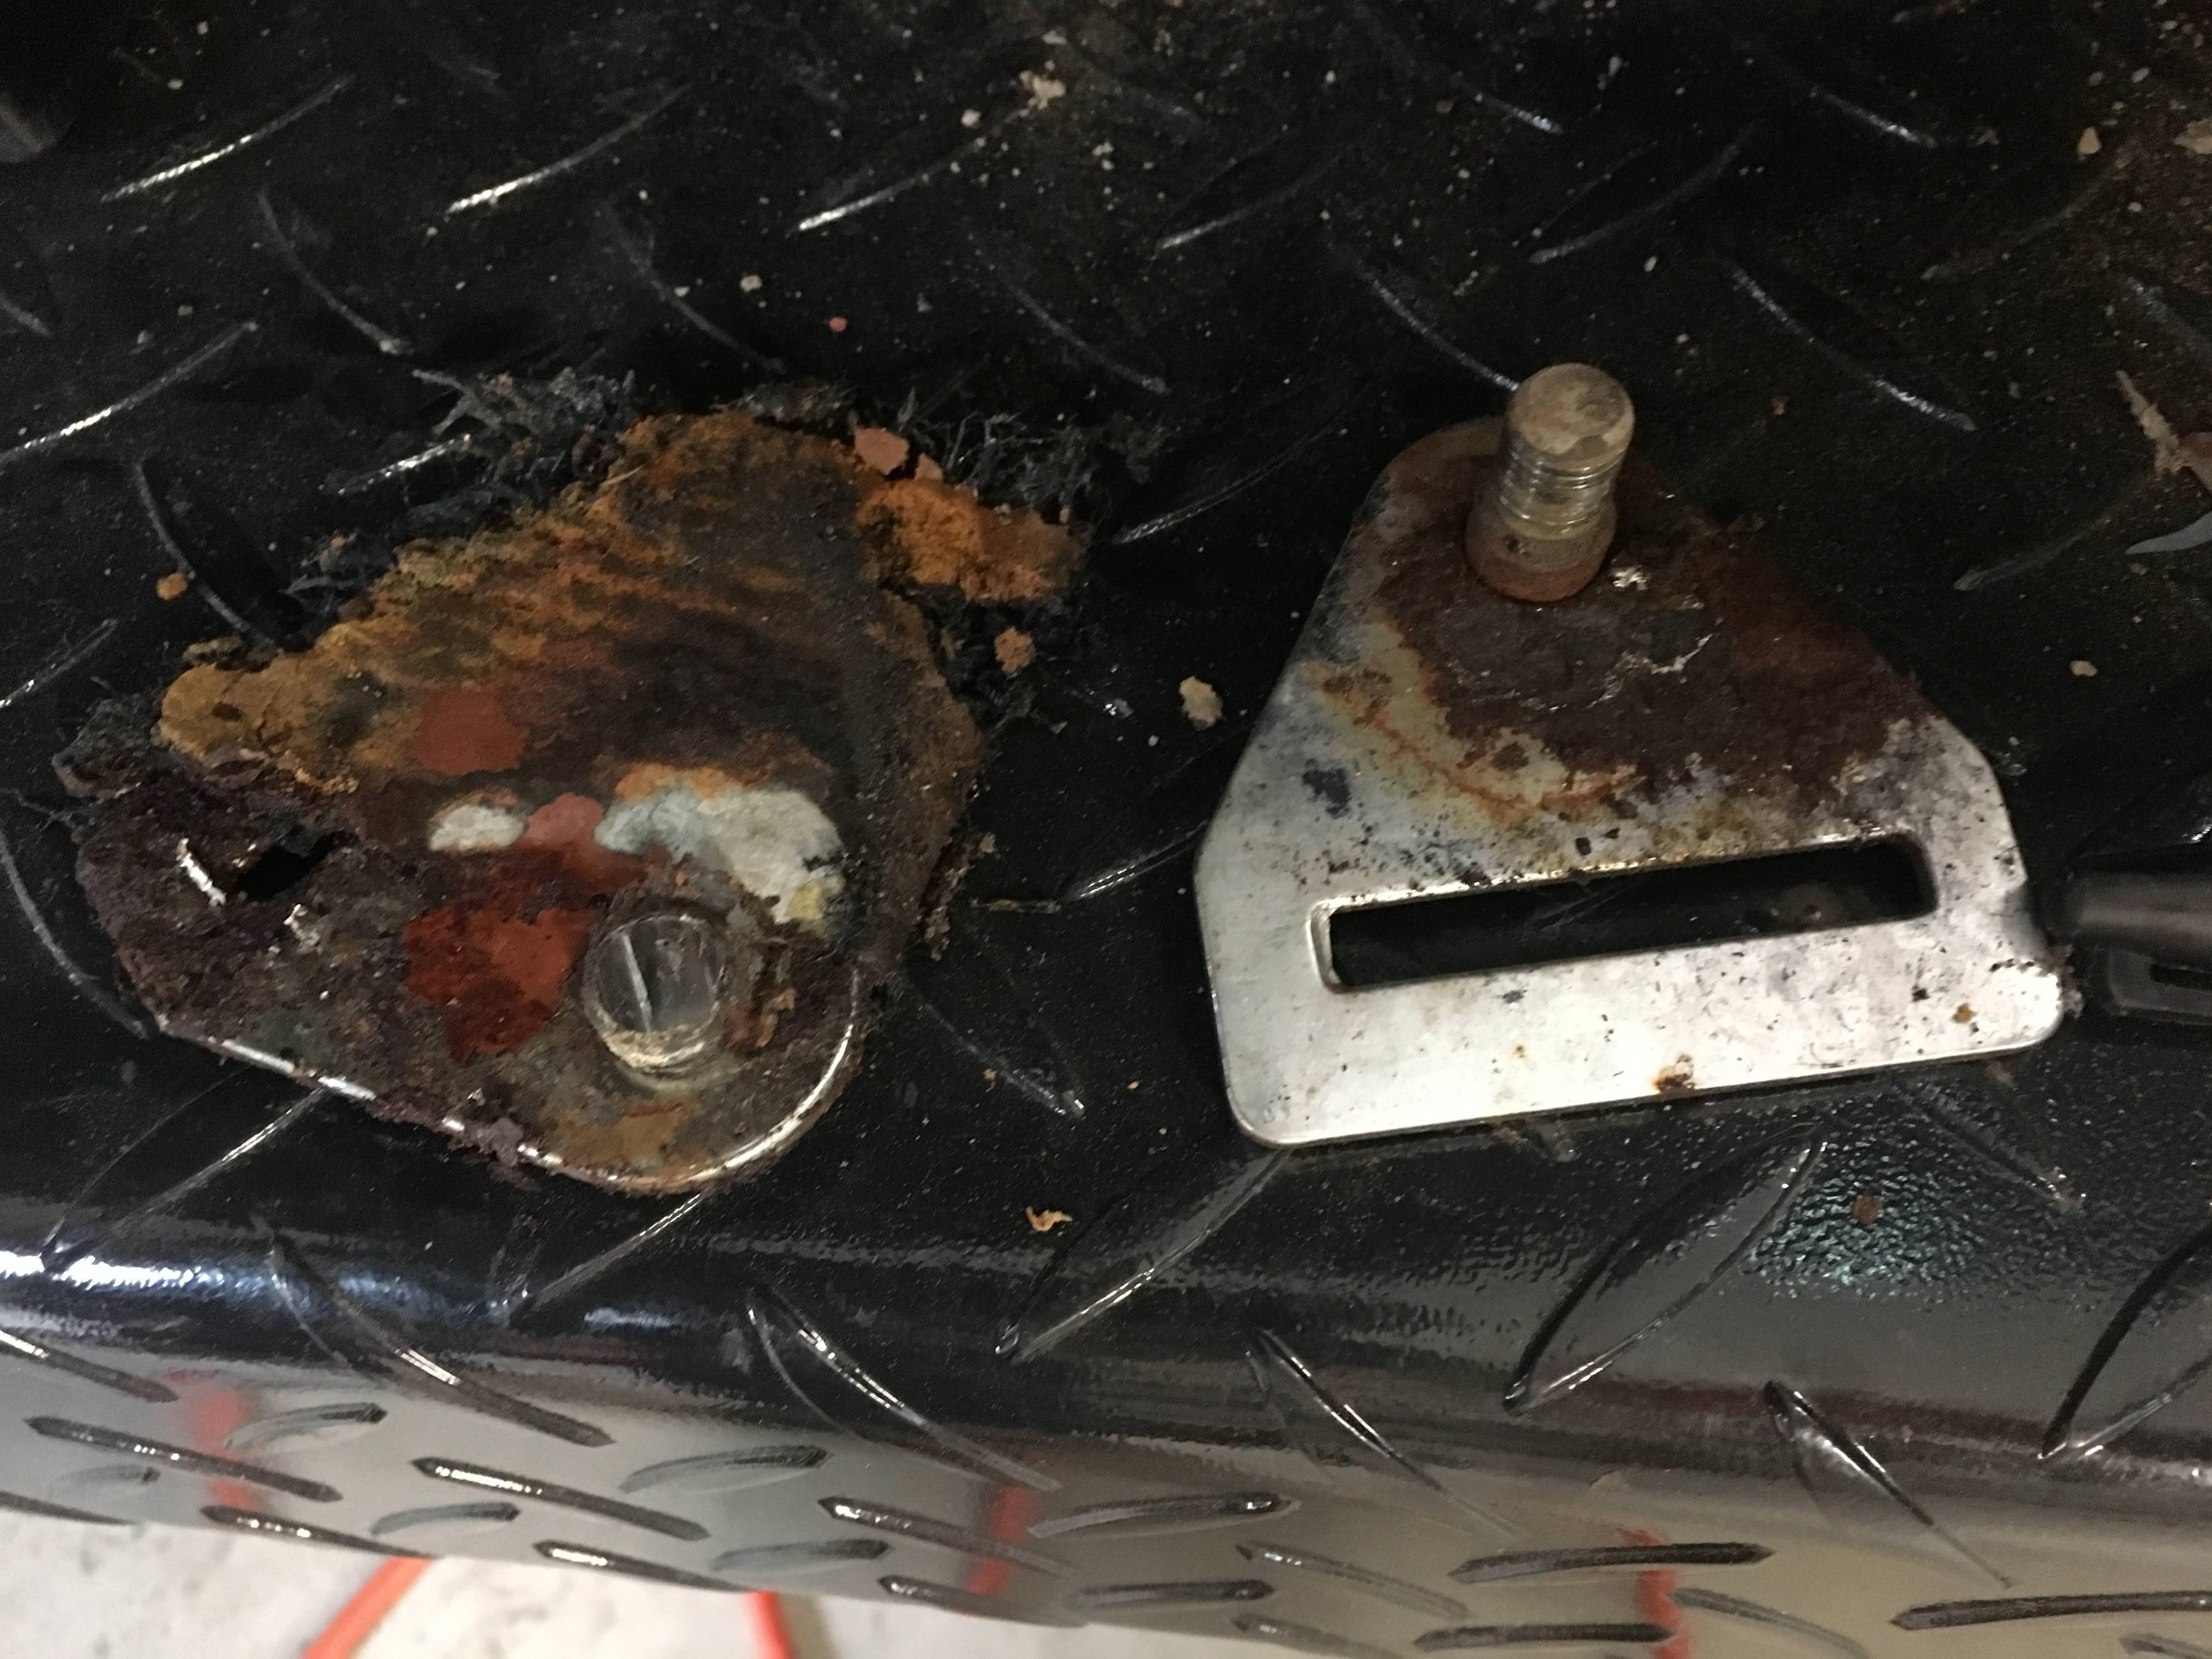
As with everything so far, the tops of the two screws holding the base of the Throttle that would be on top of the carpet were pretty much gone. Time to take it out via cutting out the capture nuts welded on the bottom and avoid cutting the speedometer cable in half.
Finished job picture first.
Bracket that is under the pedal also serves as an attachment for a metal splash shield that is located behind the front wheels on each side.

This is the bracket still mounted. You can see the two nuts and the poor condition of the mount.
Finished job picture first.
Bracket that is under the pedal also serves as an attachment for a metal splash shield that is located behind the front wheels on each side.
This is the bracket still mounted. You can see the two nuts and the poor condition of the mount.

