When you click on links to various merchants on this site and make a purchase, this can result in this site earning a commission. Affiliate programs and affiliations include, but are not limited to, the eBay Partner Network.
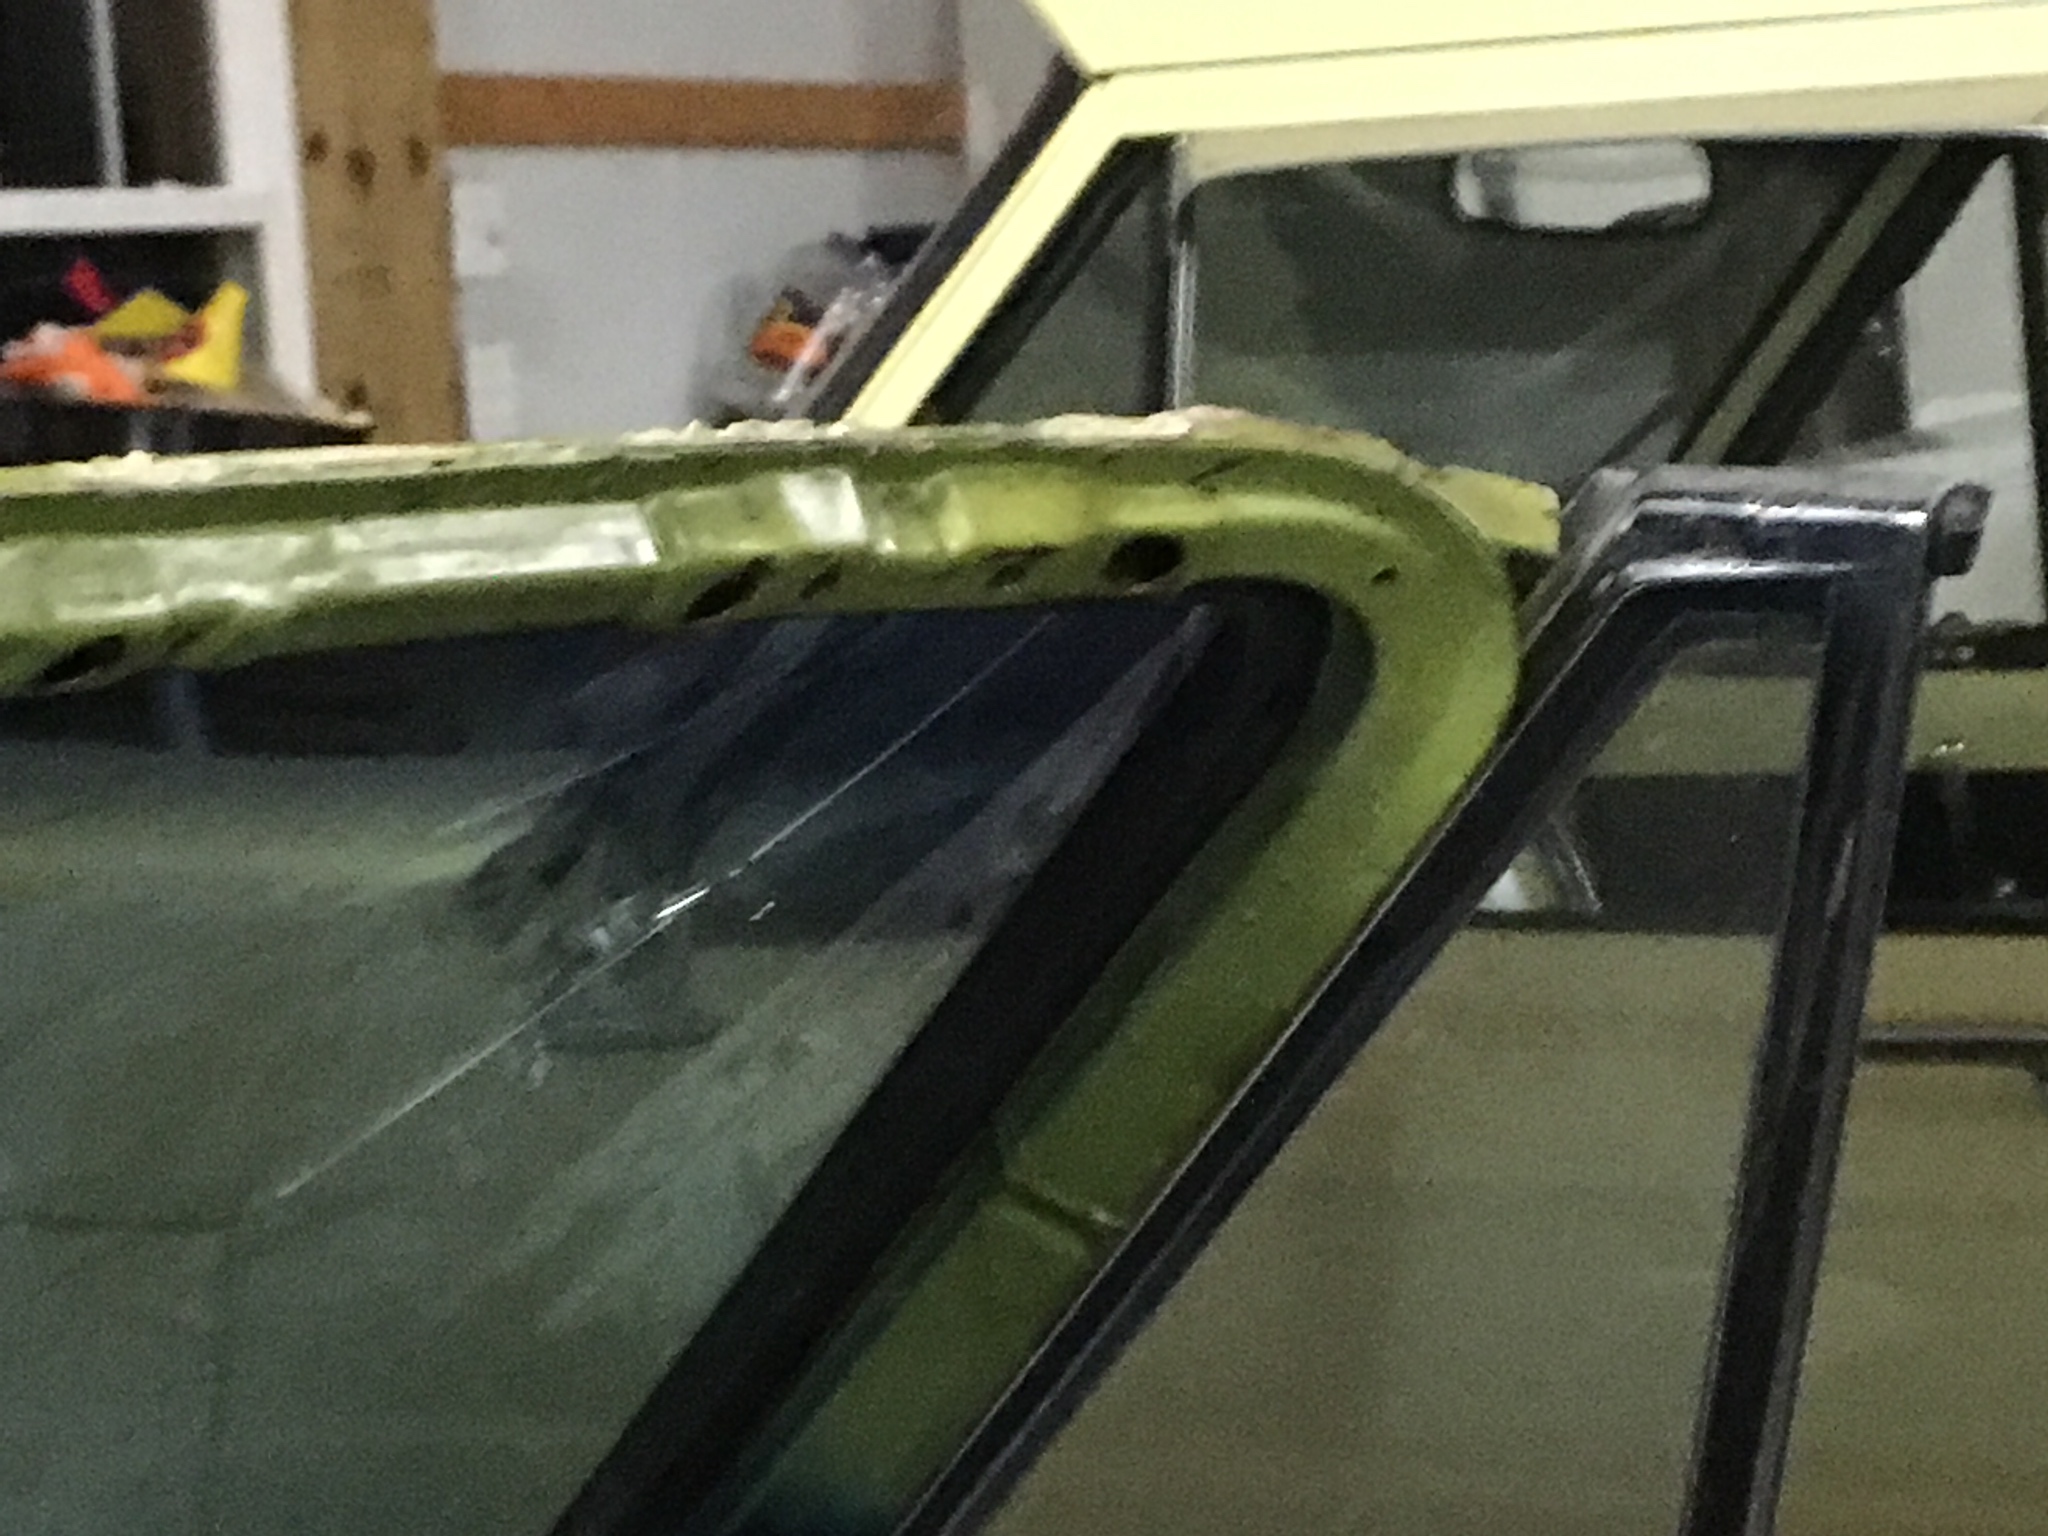
Holt, are you taking the windshield out? If so, I did the unorthodox way of cutting the weather strip out from the inside, pulled the windshield out from the inside and then removed the trim. It actually worked very easy. I did have the top and side trim removed prior to taking out the glass.
After removing all the trim. I used a sharp old wood chisel, and cut the weatherstrip from the outside keeping the cutting edge of the chisel flat against the windshield as I progressed all the way around. The windshield lifted right out after cutting the weatherstrip from the outside. I suppose this would be the orthodox way?
Shzc2, that was pretty much the normal way I read. Pull the trim and pull the windshield from the front. I wasn’t having much luck with the trim tool so I thought, why not pull it from the rear and then get the trim off.
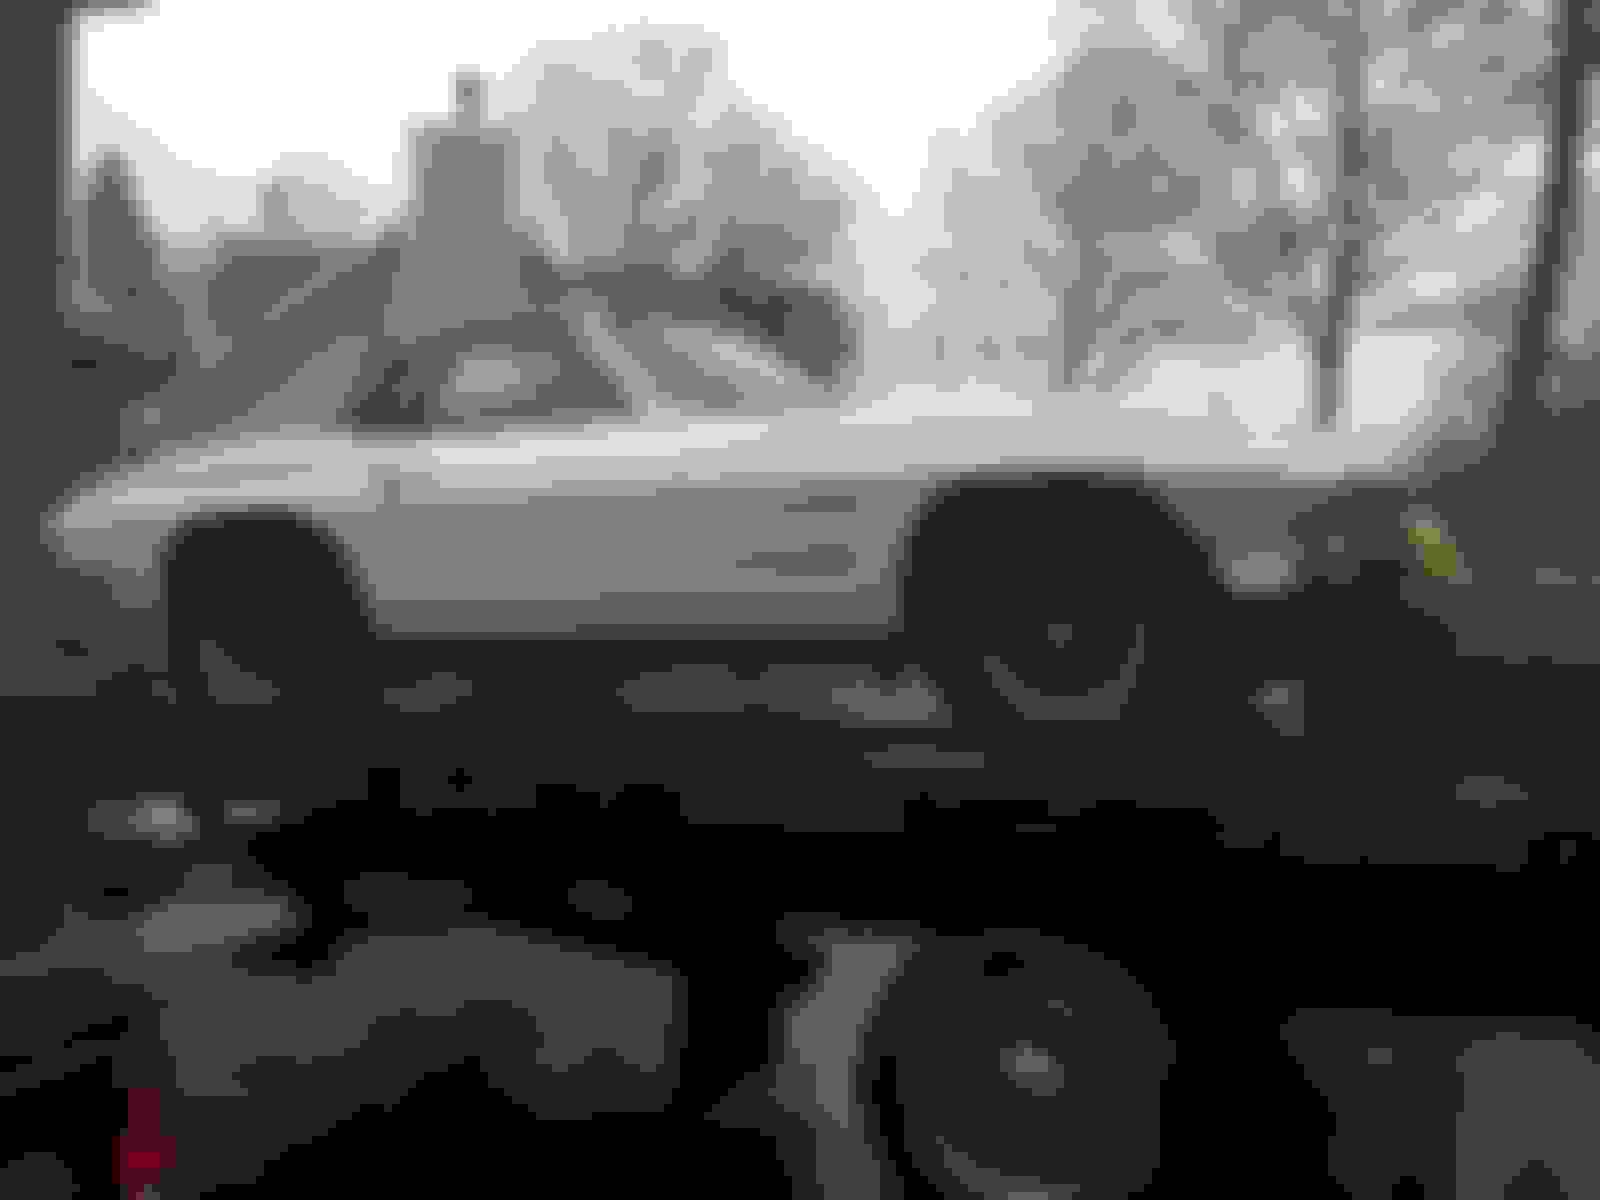
Obviously I am partial to 64's, so therefore I am really enjoying this build thread of yours. Although I didn't have the fortitude that you did to post the story step by step, I thought you might be interested in a before and after picture of my project.
Notice the headlight position in the before, as the previous owner had made some major alterations to them, this was the first thing I restored as I couldn't stand looking at it in that condition. He also widened the rear wheel wells, and painted it white amongst many other interesting changes. I was not able to do a body off, but just chipped away at it little by little, and returned it to it's original Daytona Blue. I still have a long way to go, but it's now a nice reliable driver, which I enjoy doing as much as possible. I either did, or had my hands in every bit of the restoration except for having Al Knoch do the top out at Carlisle last year.
So good luck with your project, you will be driving it before you know it.
Shzc2, that was pretty much the normal way I read. Pull the trim and pull the windshield from the front. I wasn�t having much luck with the trim tool so I thought, why not pull it from the rear and then get the trim off.
Good to know there is an alternative way to do it.. I wonder if heating up the chisel might help ease the process. I was having trouble removing the #4 body mounts, I needed to remove the old rubber cushion to access the bolt so I could get a cut-off wheel in there to cut the bolt. I heated up an old steak knife and whittled away at the cushion. It produced a lot of smoke but it made the process easier. Just a thought.. I know there's always more than one way to skin a cat.
Mark the finished product is very nice. What did you do with the old wheels? I love their patina.
When we got ours the color pattern was the reverse. Blue body (close to your color) and a white vinyl hard top.
I am going to look up the threads you started to hopefully see more pictures.
Then I started looking at your finished picture. Ours will be Daytona Blue with Dark Blue Interior with a White Vinyl Top and a Painted Daytona Hardtop. They are very close.
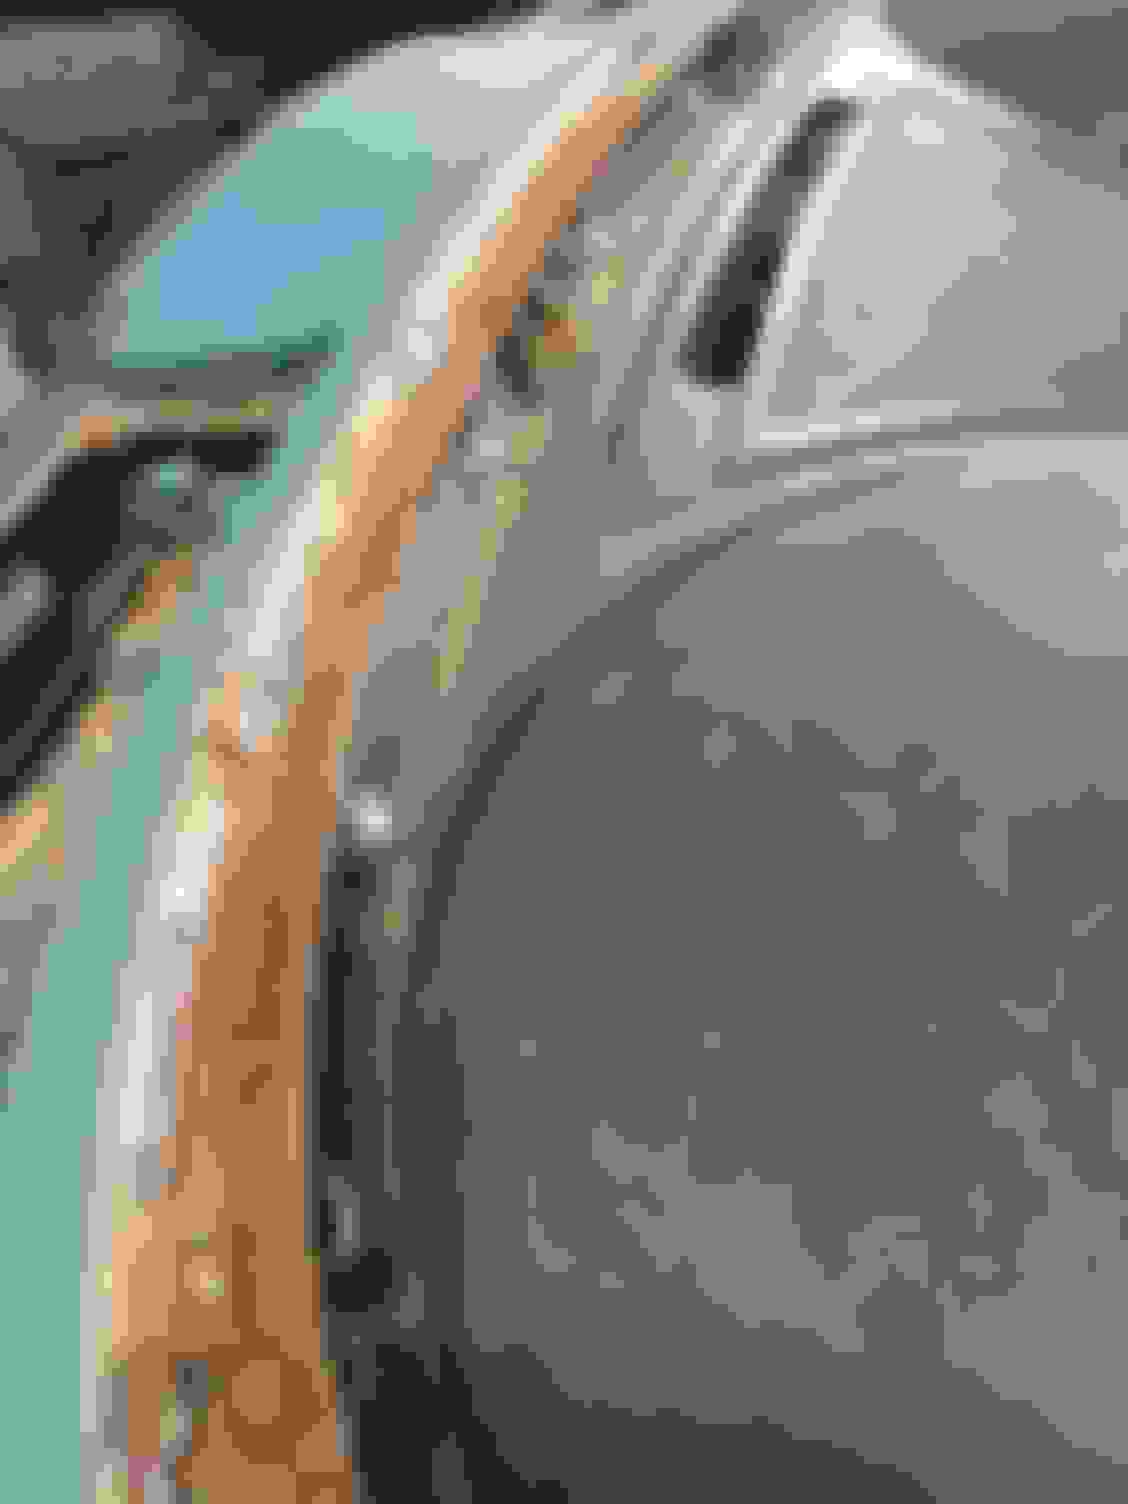
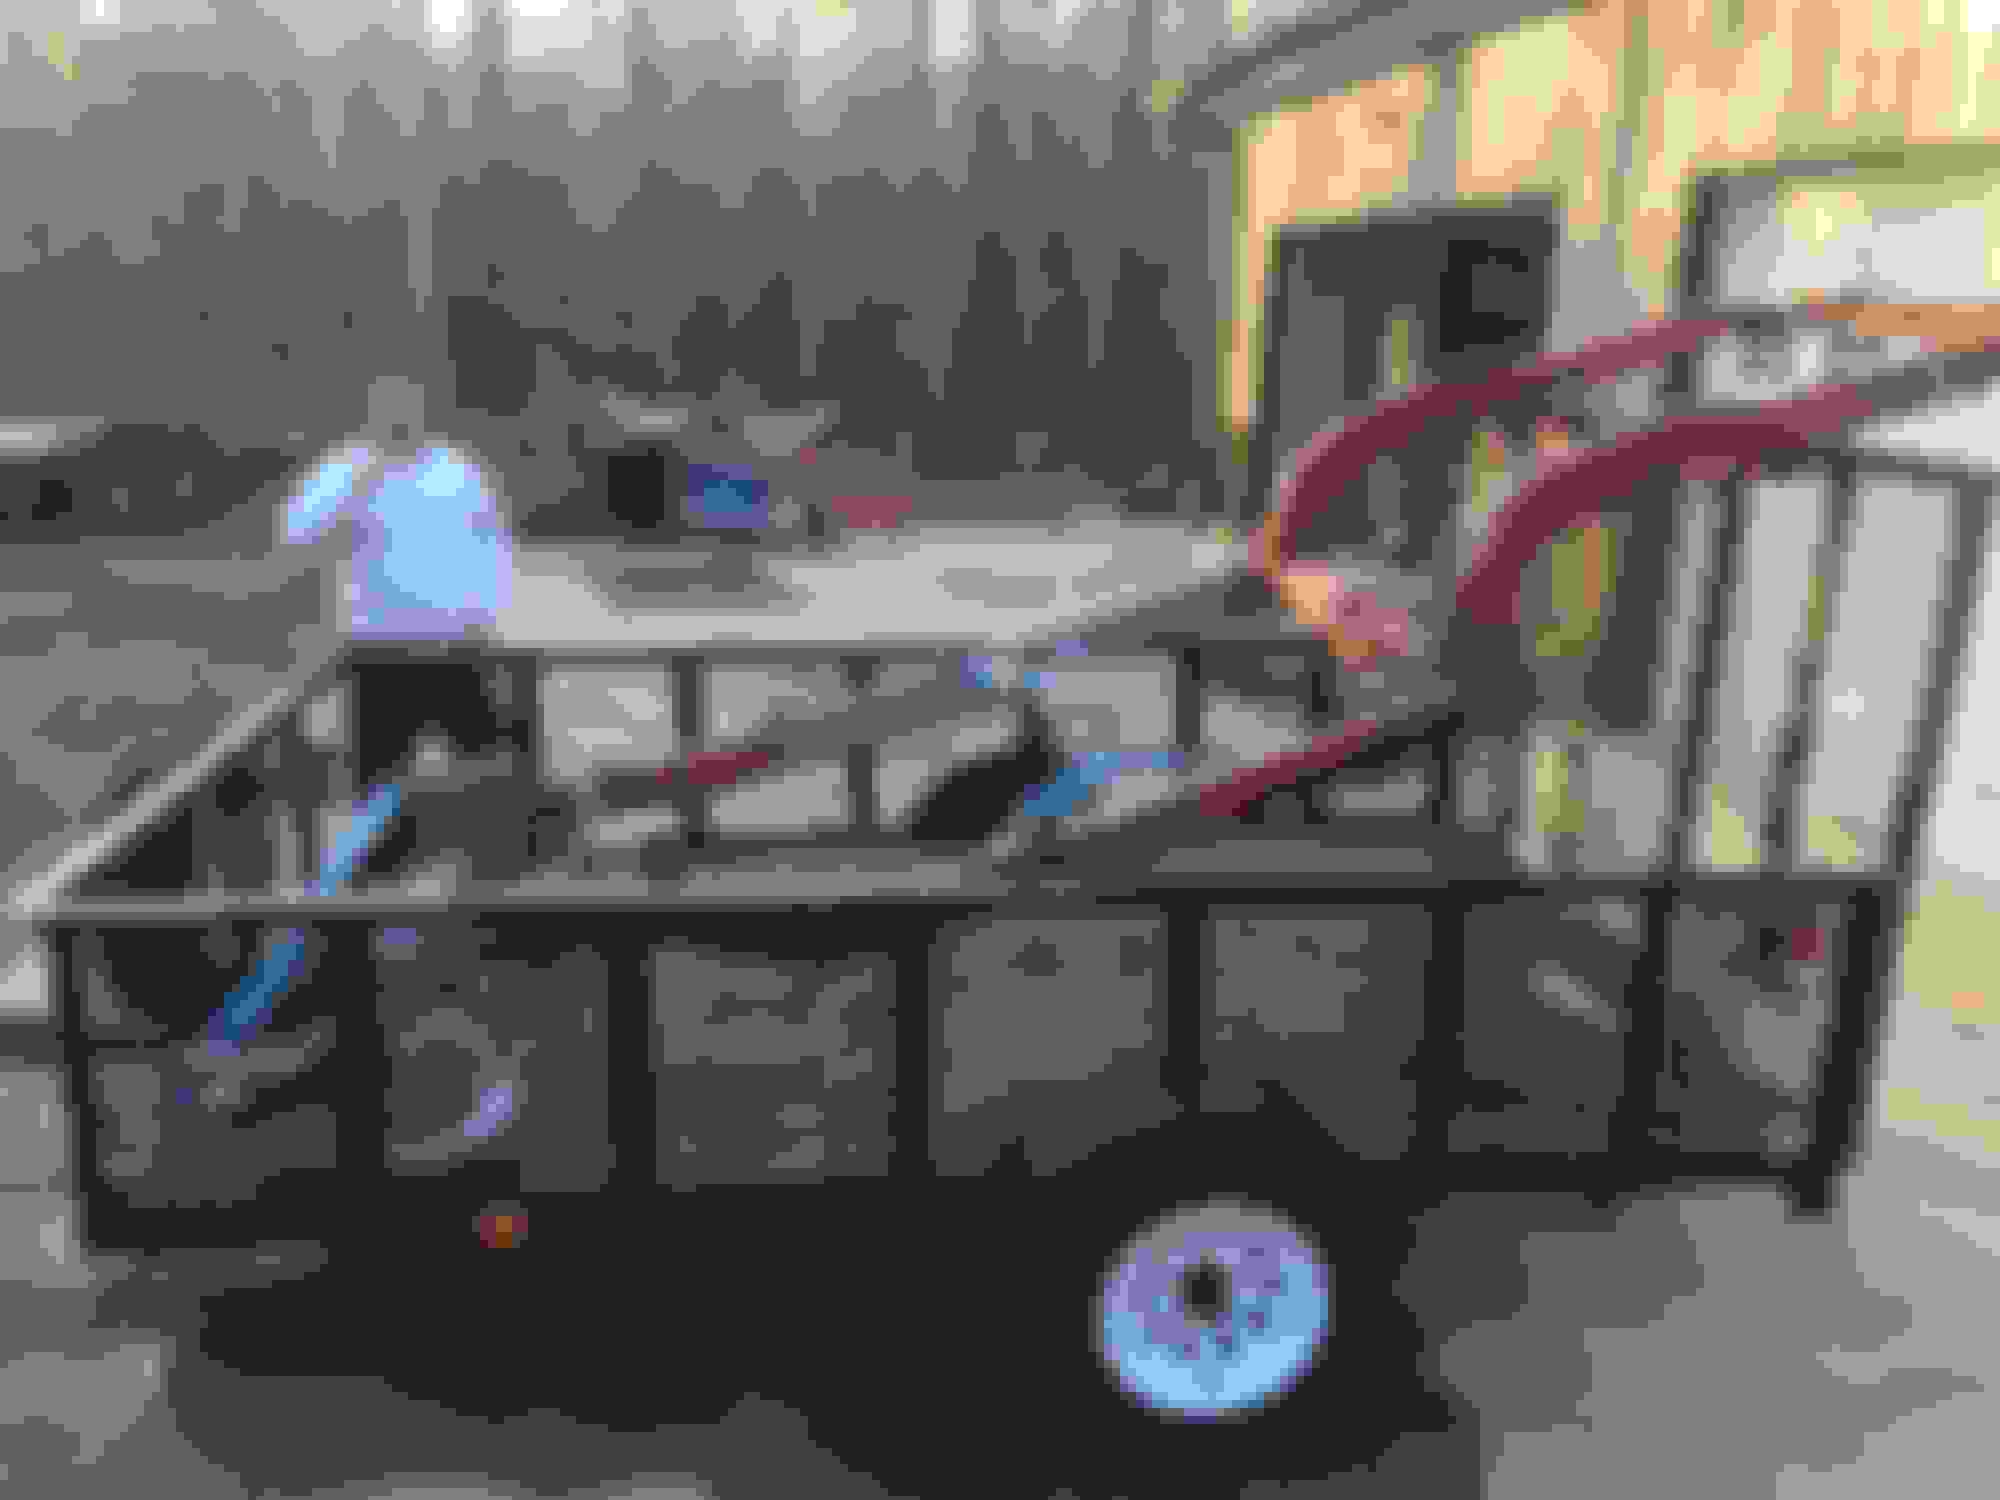
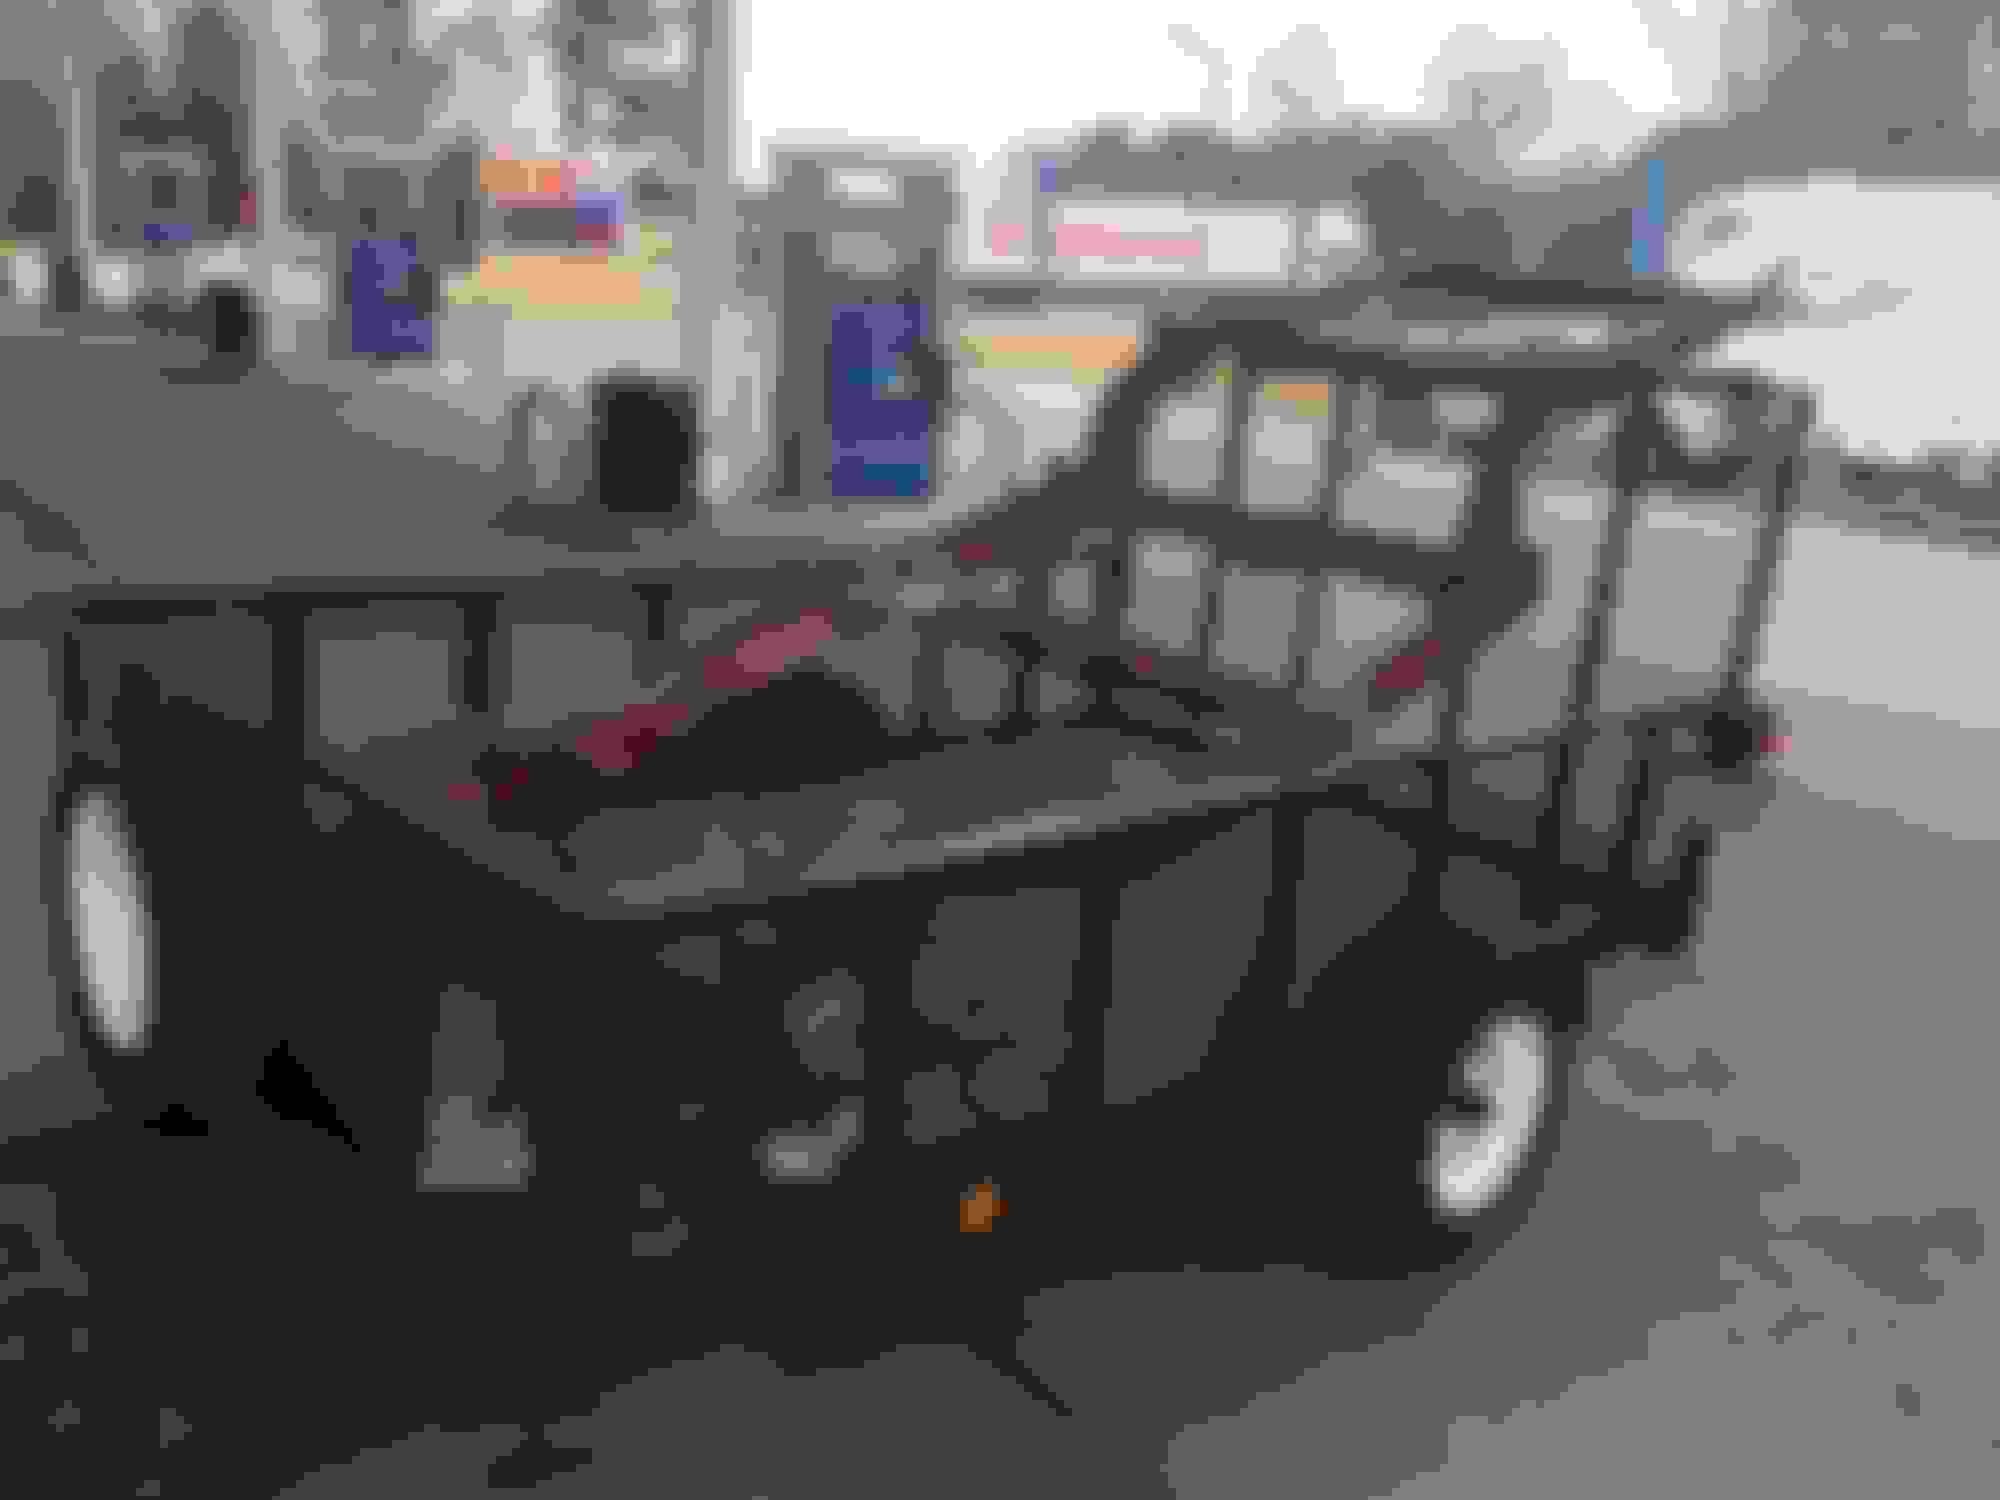
After taking care of lifting the body, working on the rocker channels and getting the rolling chassis to NC (Now in my brothers capable hands.), we are past some of the mountains on this build. In my mind the last real unknown area was the birdcage so once again I had set pretty low standards for what to expect. On the top side, inside and out it looks about as good as anyone could expect.
After I get the bottom exposed there may be a rude awakening.
The frame should clean up nice. I am surprised that the material (sealant?) is still sticky and pliable.
Mark the finished product is very nice. What did you do with the old wheels? I love their patina.
When we got ours the color pattern was the reverse. Blue body (close to your color) and a white vinyl hard top.
I am going to look up the threads you started to hopefully see more pictures.
Then I started looking at your finished picture. Ours will be Daytona Blue with Dark Blue Interior with a White Vinyl Top and a Painted Daytona Hardtop. They are very close.
Yes they will be almost identical, as my color combination is exactly what your describing, As for those wheels, they were original Torque Thrusters which I sold to buy other needed parts, I'm personally not a fan of them, but they look good on some cars. I would be glad to show you more pics if your interested.
St. Jude Donor '09-'10-'11-'12-'13-'14-'15-'16-'17-'18-�19-'20-'21-'22-'23-'24
Originally Posted by Oaker57
Yes they will be almost identical, as my color combination is exactly what your describing, As for those wheels, they were original Torque Thrusters which I sold to buy other needed parts, I'm personally not a fan of them, but they look good on some cars. I would be glad to show you more pics if your interested.
Mark
Mark, not to hijack but was your car ever from the Rochester NY area? Seems to me we had one just about like that back about 1970 altho I can't say for sure whether the headlights had been relocated or not. It's not the most common color combination.
Looking good. All I can say is have fun with that adhesive. I still haven't got it out of my trim pieces. Hopefully you had a different guy apply yours. My guy must have used a wide tip and put the gun on full auto.
Mark, not to hijack but was your car ever from the Rochester NY area? Seems to me we had one just about like that back about 1970 altho I can't say for sure whether the headlights had been relocated or not. It's not the most common color combination.
Not sure Railroadman, I got it in Paramus, NJ, and it had been there since about 1980. It hadn't been driven in about 19 yrs when I got it. The story I got was that some car guy in the area would buy handfulls of cars in lots of 10 at a time. The 64 came in one of those lots, and was sold or handed over to my previous owner because he was owed some money. At any rate, it came very modified as you saw in the picture, but was originally a Daytona Blue, 375 hp fuel injected car. My goal was to just put it back to an original or period correct "looking" nice driver.
If you have any knowledge of it's previous life I would love to hear about it, as I have not been able to find any further info on where it came from.
Regards,
Mark
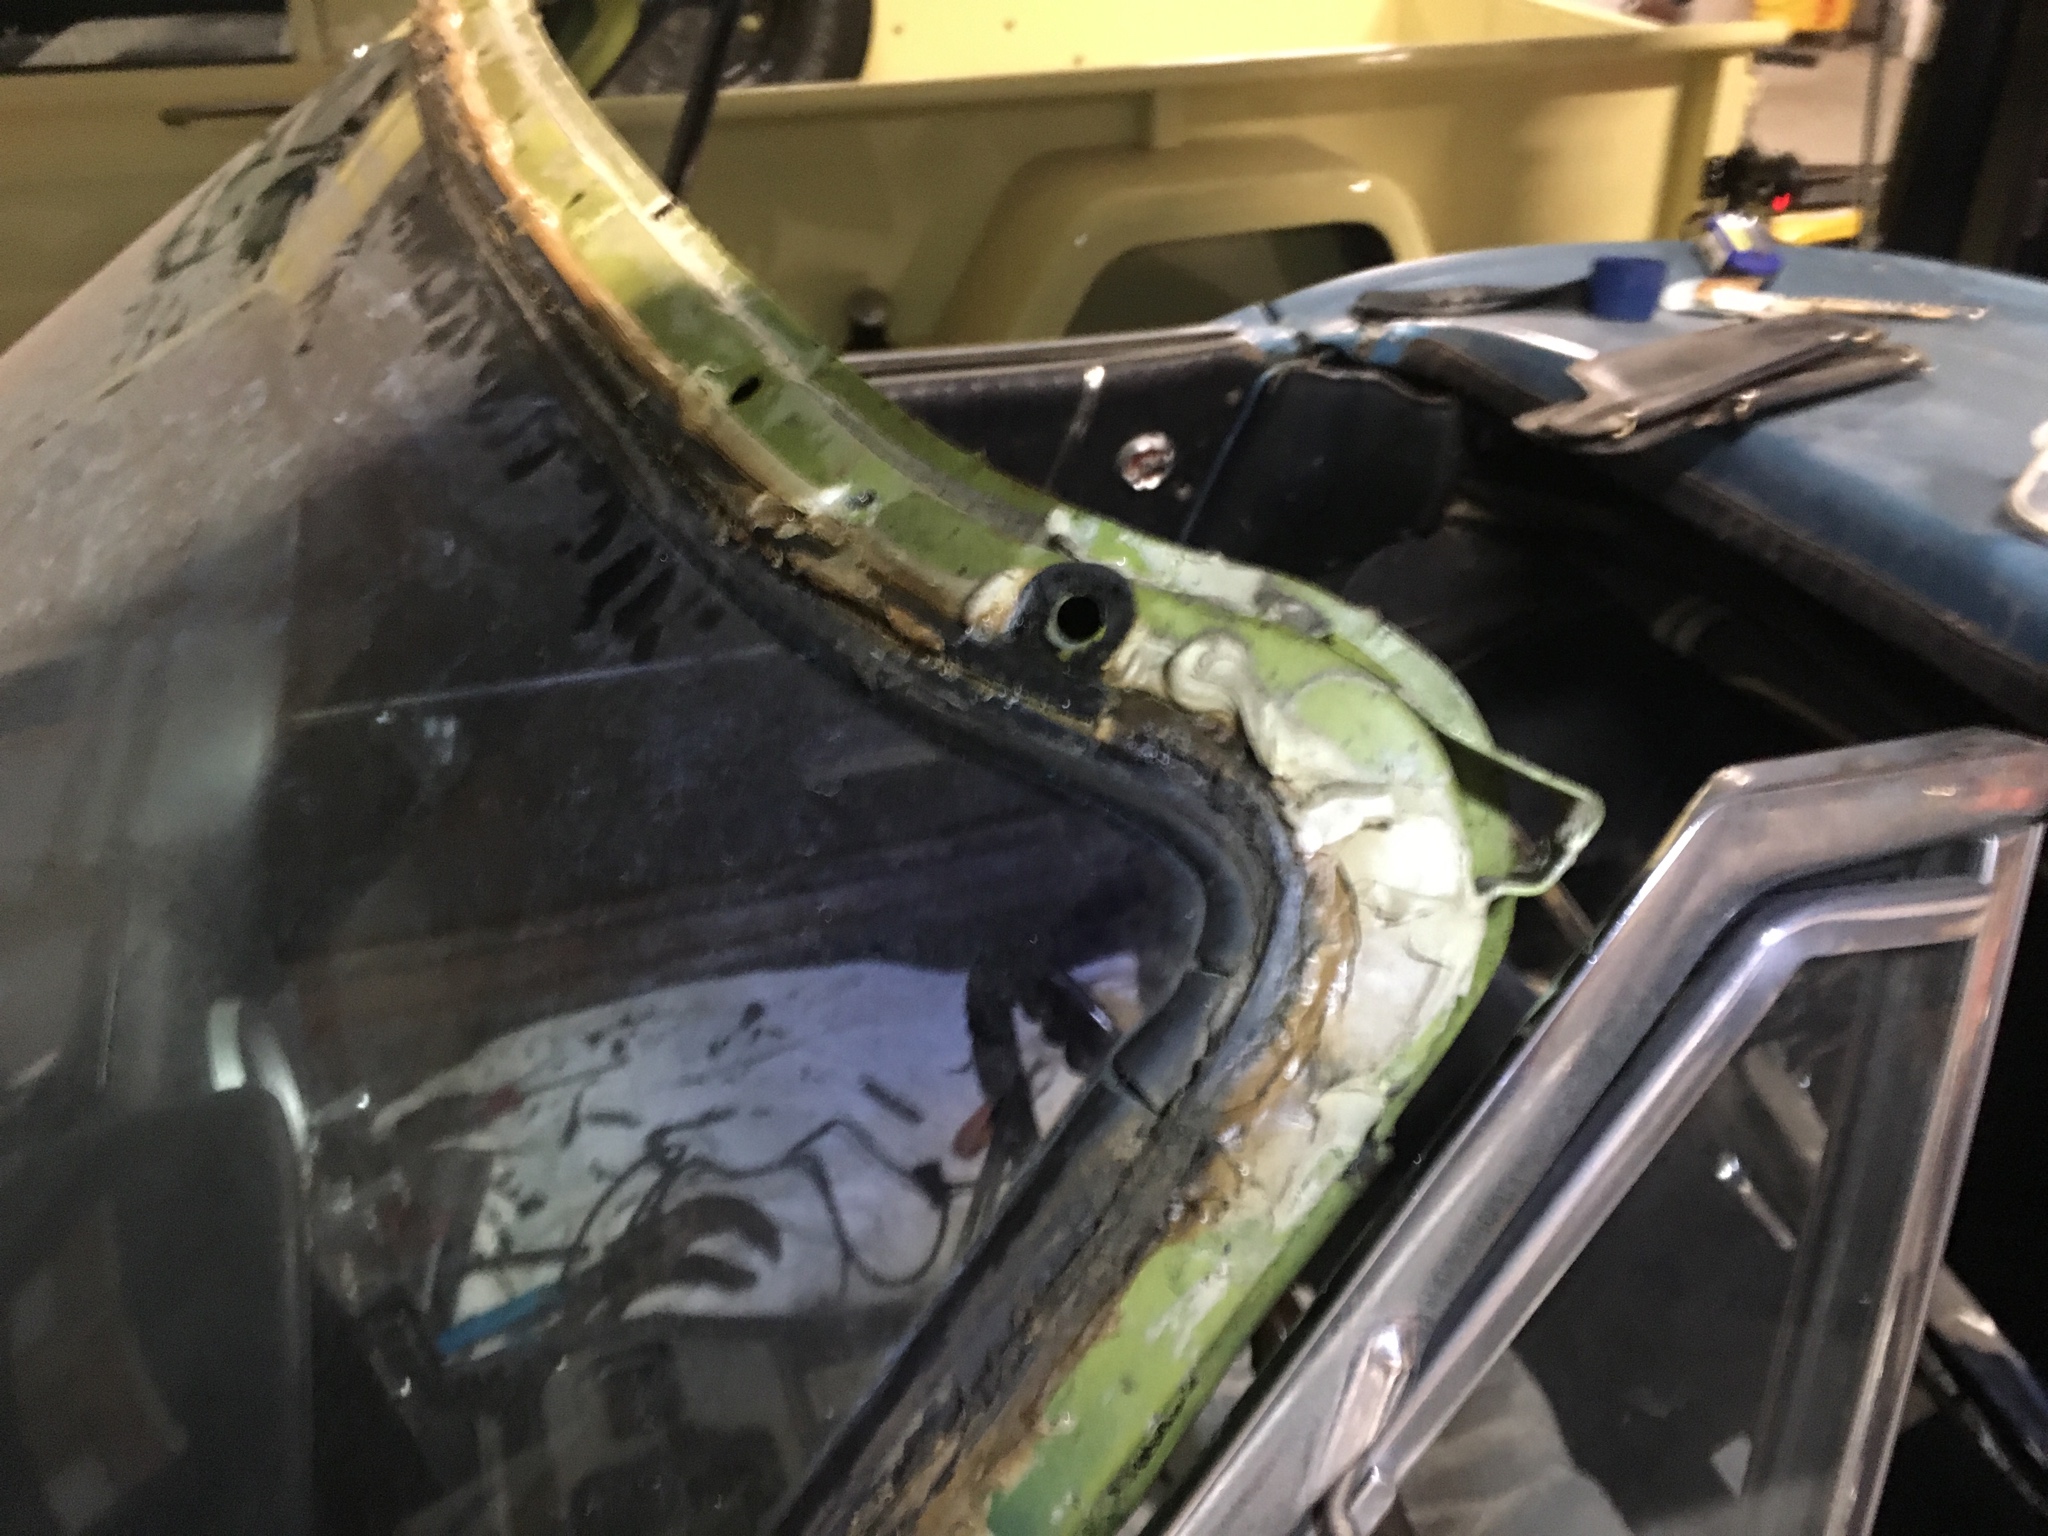
I was able to cut the rubber gasket around the windshield on the inside and the outside enough to maneuver it out. The chrome trim on the outside lower bottom was left in place. This exposed the clips and it was easy to remove without damage.
After a quick wire brush it looks great. I was not able to save many of the clips. If something had to go bad, I am glad I am dealing with their replacement and not a section of the birdcage. I have several to cut, grind and remove.
Update:
I was able to remove all the clips and leave the original holes intact.
Still need to clean this up. Exposed from under the trim.
 01-08-2019, 01:21 PM