C1 & C2 Corvettes General C1 Corvette & C2 Corvette Discussion, Technical Info, Performance Upgrades, Project Builds, Restorations

[C2] Functional cowl induction on my 1964

Thread Tools
 
Search this Thread
 
Old 09-29-2018, 03:19 PM
  #1  
Factoid
Le Mans Master

Thread Starter
 
Factoid's Avatar
 
Member Since: Jul 2018
Location: San Antonio, TX/Mahopac, NY
Posts: 8,380
Received 5,554 Likes on 2,797 Posts
2024 Corvette of the Year Finalist - Modified
2024 Corvette of the Year Finalist - Unmodified
2023 C7 of the Year Winner - Modified
Default Functional cowl induction on my 1964

The oval air cleaner on my engine is filthy and when I removed it, I discovered the PO or the one before that one drilled two larg holes in the bottom so it would clear the float adjusters on the Holley carb! It also rubbed on the inside of the big block hood given the engine has a high rise manifold.

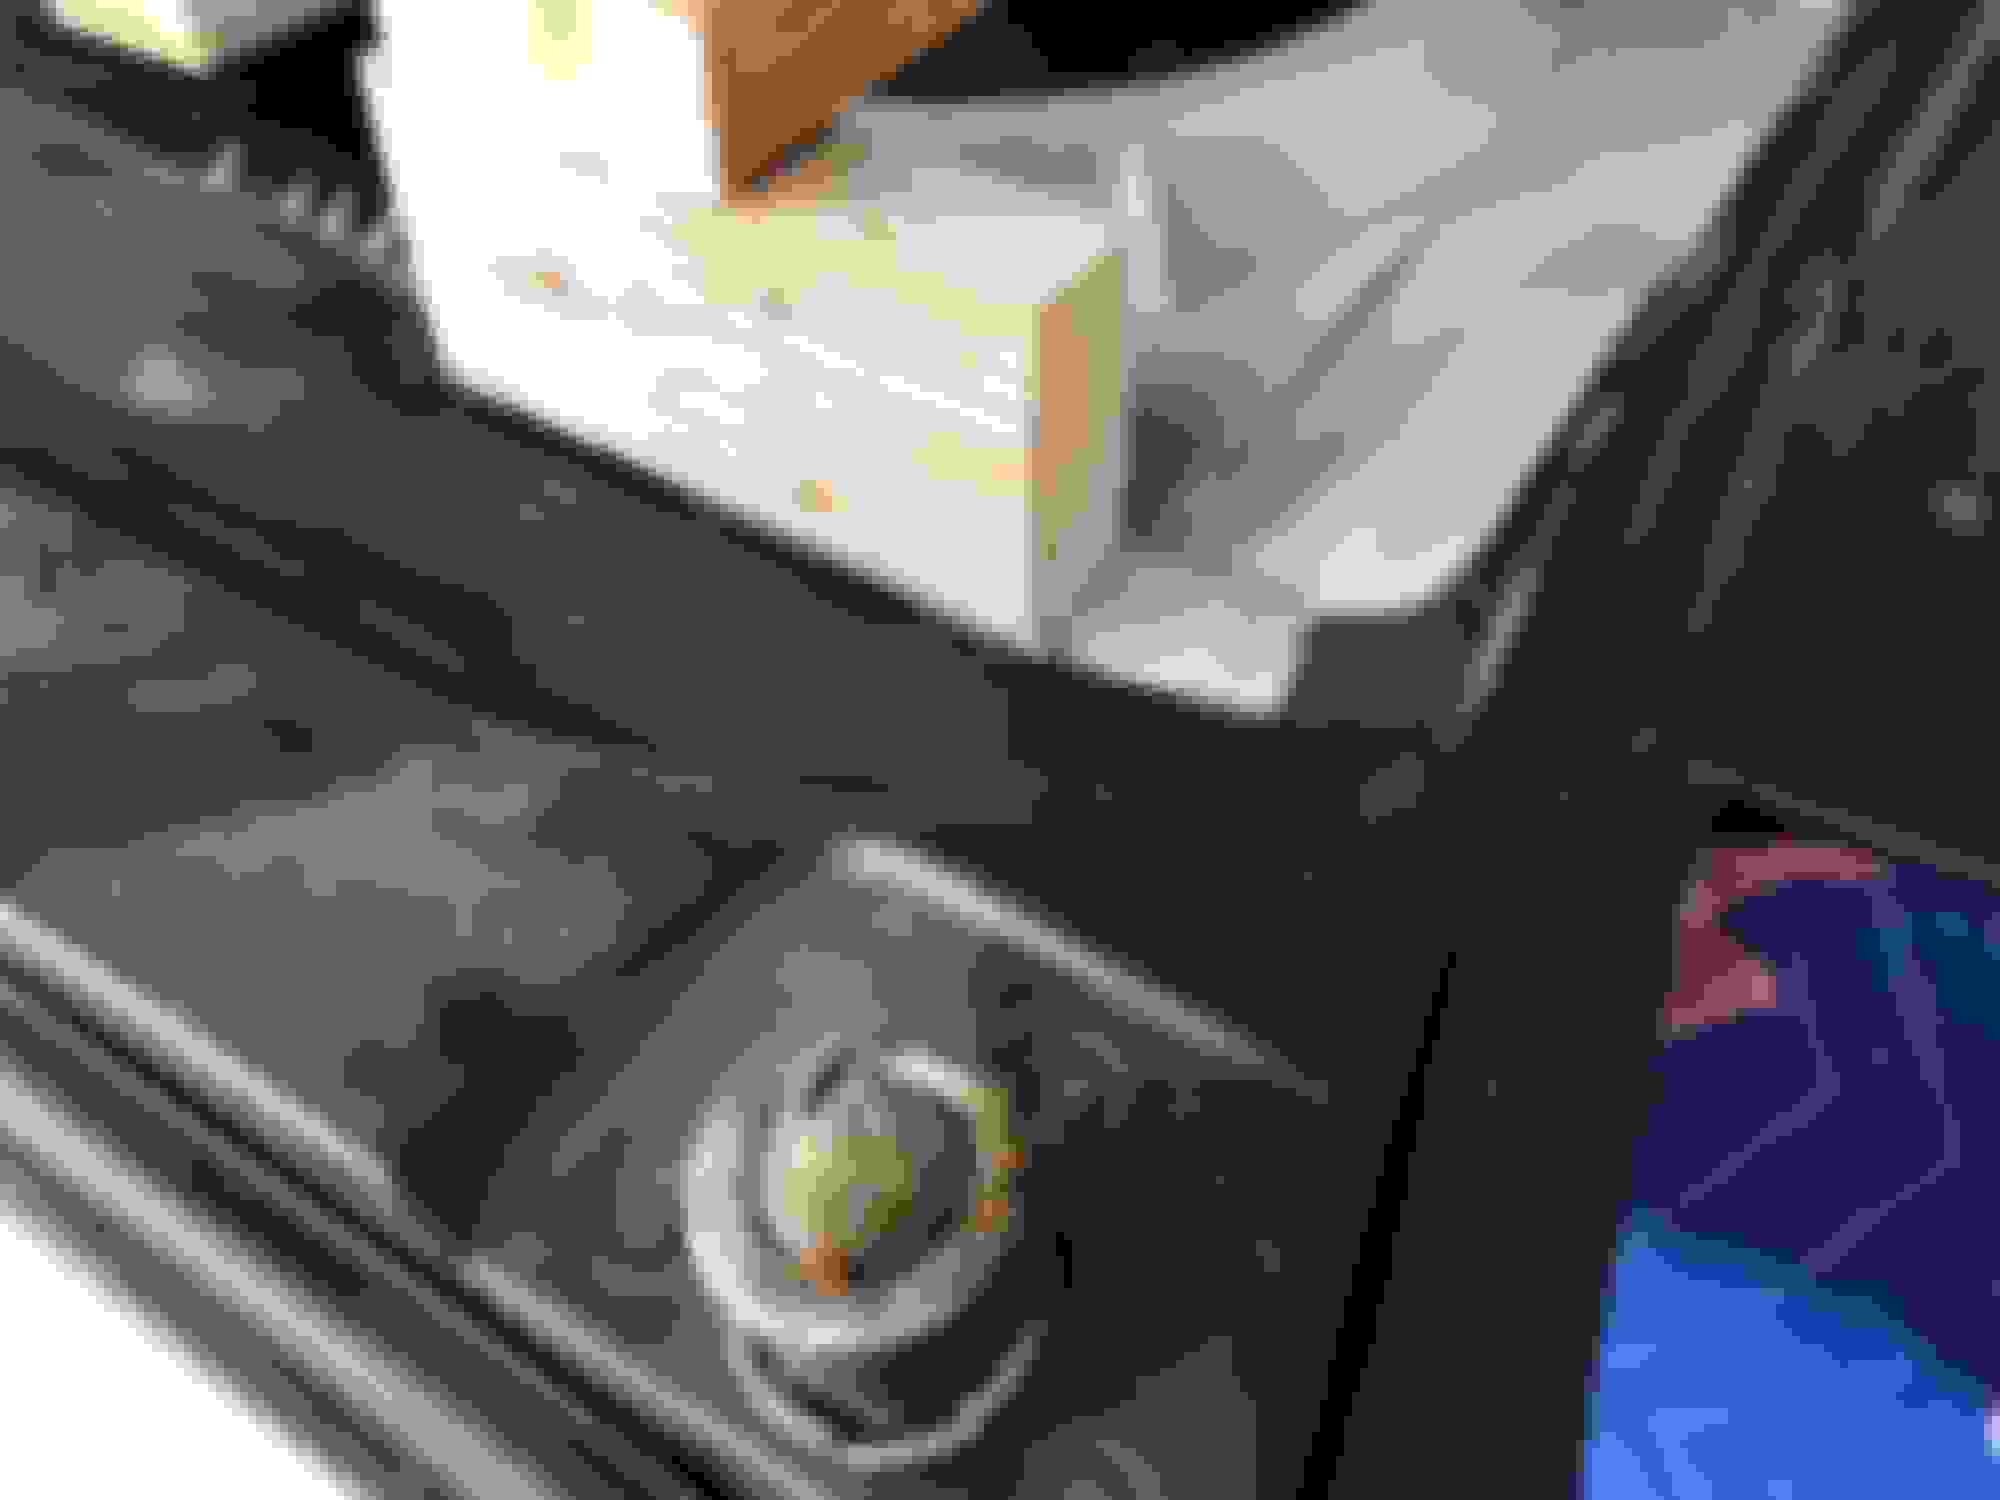
Today, I started the process of making the hood functional via the L88 mod. My engine is a small block 427 rated at 520HP. I had to relocate the fuel pressure gauge, throttle return spring, and accelerator rod (not complete, yet). Here are a few pics. It will take me a while as I have to remove the hood to modify it and move the plenum back about 11/2” to fit the small block. Should be fun!


So far, so good!

Throttle rod needs to be rebent.

Love this picture!
Old 09-29-2018, 03:25 PM
  #2  
FLYNAVY30
Le Mans Master
 
FLYNAVY30's Avatar
 
Member Since: Sep 2002
Location: Austin TX
Posts: 6,569
Received 2,366 Likes on 1,034 Posts

Default

I dig it!
Old 09-29-2018, 03:37 PM
  #3  
Factoid
Le Mans Master

Thread Starter
 
Factoid's Avatar
 
Member Since: Jul 2018
Location: San Antonio, TX/Mahopac, NY
Posts: 8,380
Received 5,554 Likes on 2,797 Posts
2024 Corvette of the Year Finalist - Modified
2024 Corvette of the Year Finalist - Unmodified
2023 C7 of the Year Winner - Modified
Default

Just following your lead!
Old 09-29-2018, 04:03 PM
  #4  
FLYNAVY30
Le Mans Master
 
FLYNAVY30's Avatar
 
Member Since: Sep 2002
Location: Austin TX
Posts: 6,569
Received 2,366 Likes on 1,034 Posts

Default

Haha....depending on who you ask, that may not be a lead you want to follow! Id definitely go hole saw over sawz-all in your case. I dig the car, give me a shout if you need any info about the 3-pt belt install....pretty simple
The following users liked this post:
Factoid (09-30-2018)
Old 09-29-2018, 04:37 PM
  #5  
elwood13
Safety Car
Support Corvetteforum!
 
elwood13's Avatar
 
Member Since: Jan 2018
Location: McKinney Texas
Posts: 4,245
Received 1,886 Likes on 1,078 Posts
Default

Love that hood pic and the color.
The following users liked this post:
Factoid (09-30-2018)
Old 09-29-2018, 04:42 PM
  #6  
USMC 0802
Drifting

Support Corvetteforum!
 
USMC 0802's Avatar
 
Member Since: Jan 2016
Location: CENTCOM, Tampa, FL
Posts: 1,673
Received 959 Likes on 490 Posts
USMC
Default

I like it....Who said ‘64s weren’t fun?
The following users liked this post:
Factoid (10-01-2018)
Old 09-30-2018, 05:55 PM
  #7  
Factoid
Le Mans Master

Thread Starter
 
Factoid's Avatar
 
Member Since: Jul 2018
Location: San Antonio, TX/Mahopac, NY
Posts: 8,380
Received 5,554 Likes on 2,797 Posts
2024 Corvette of the Year Finalist - Modified
2024 Corvette of the Year Finalist - Unmodified
2023 C7 of the Year Winner - Modified
Default

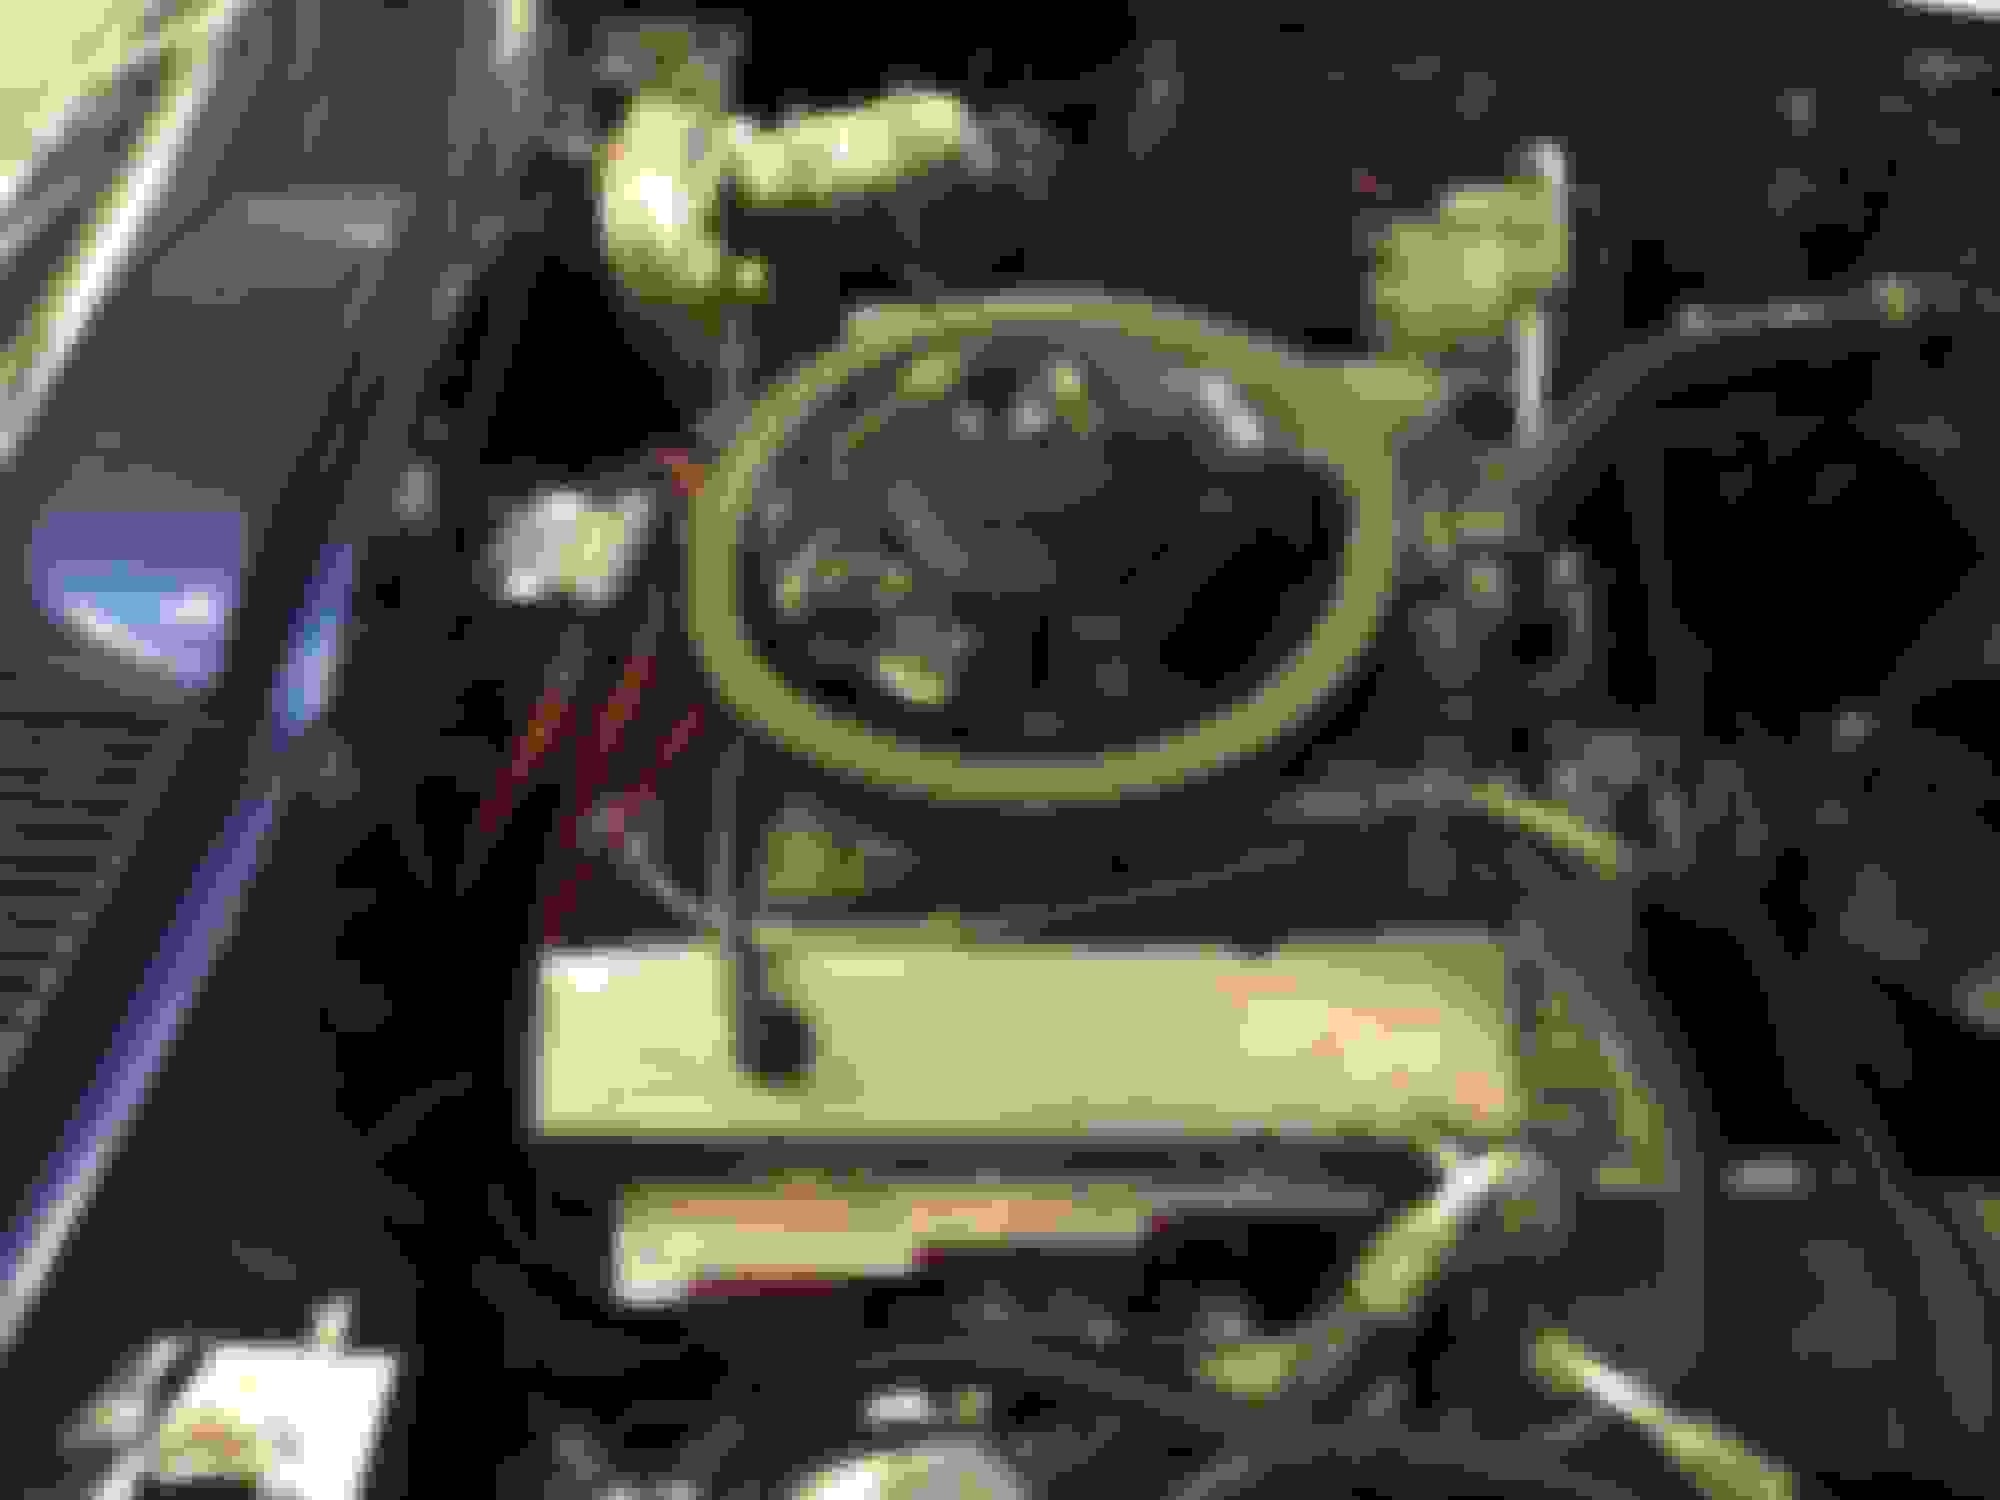
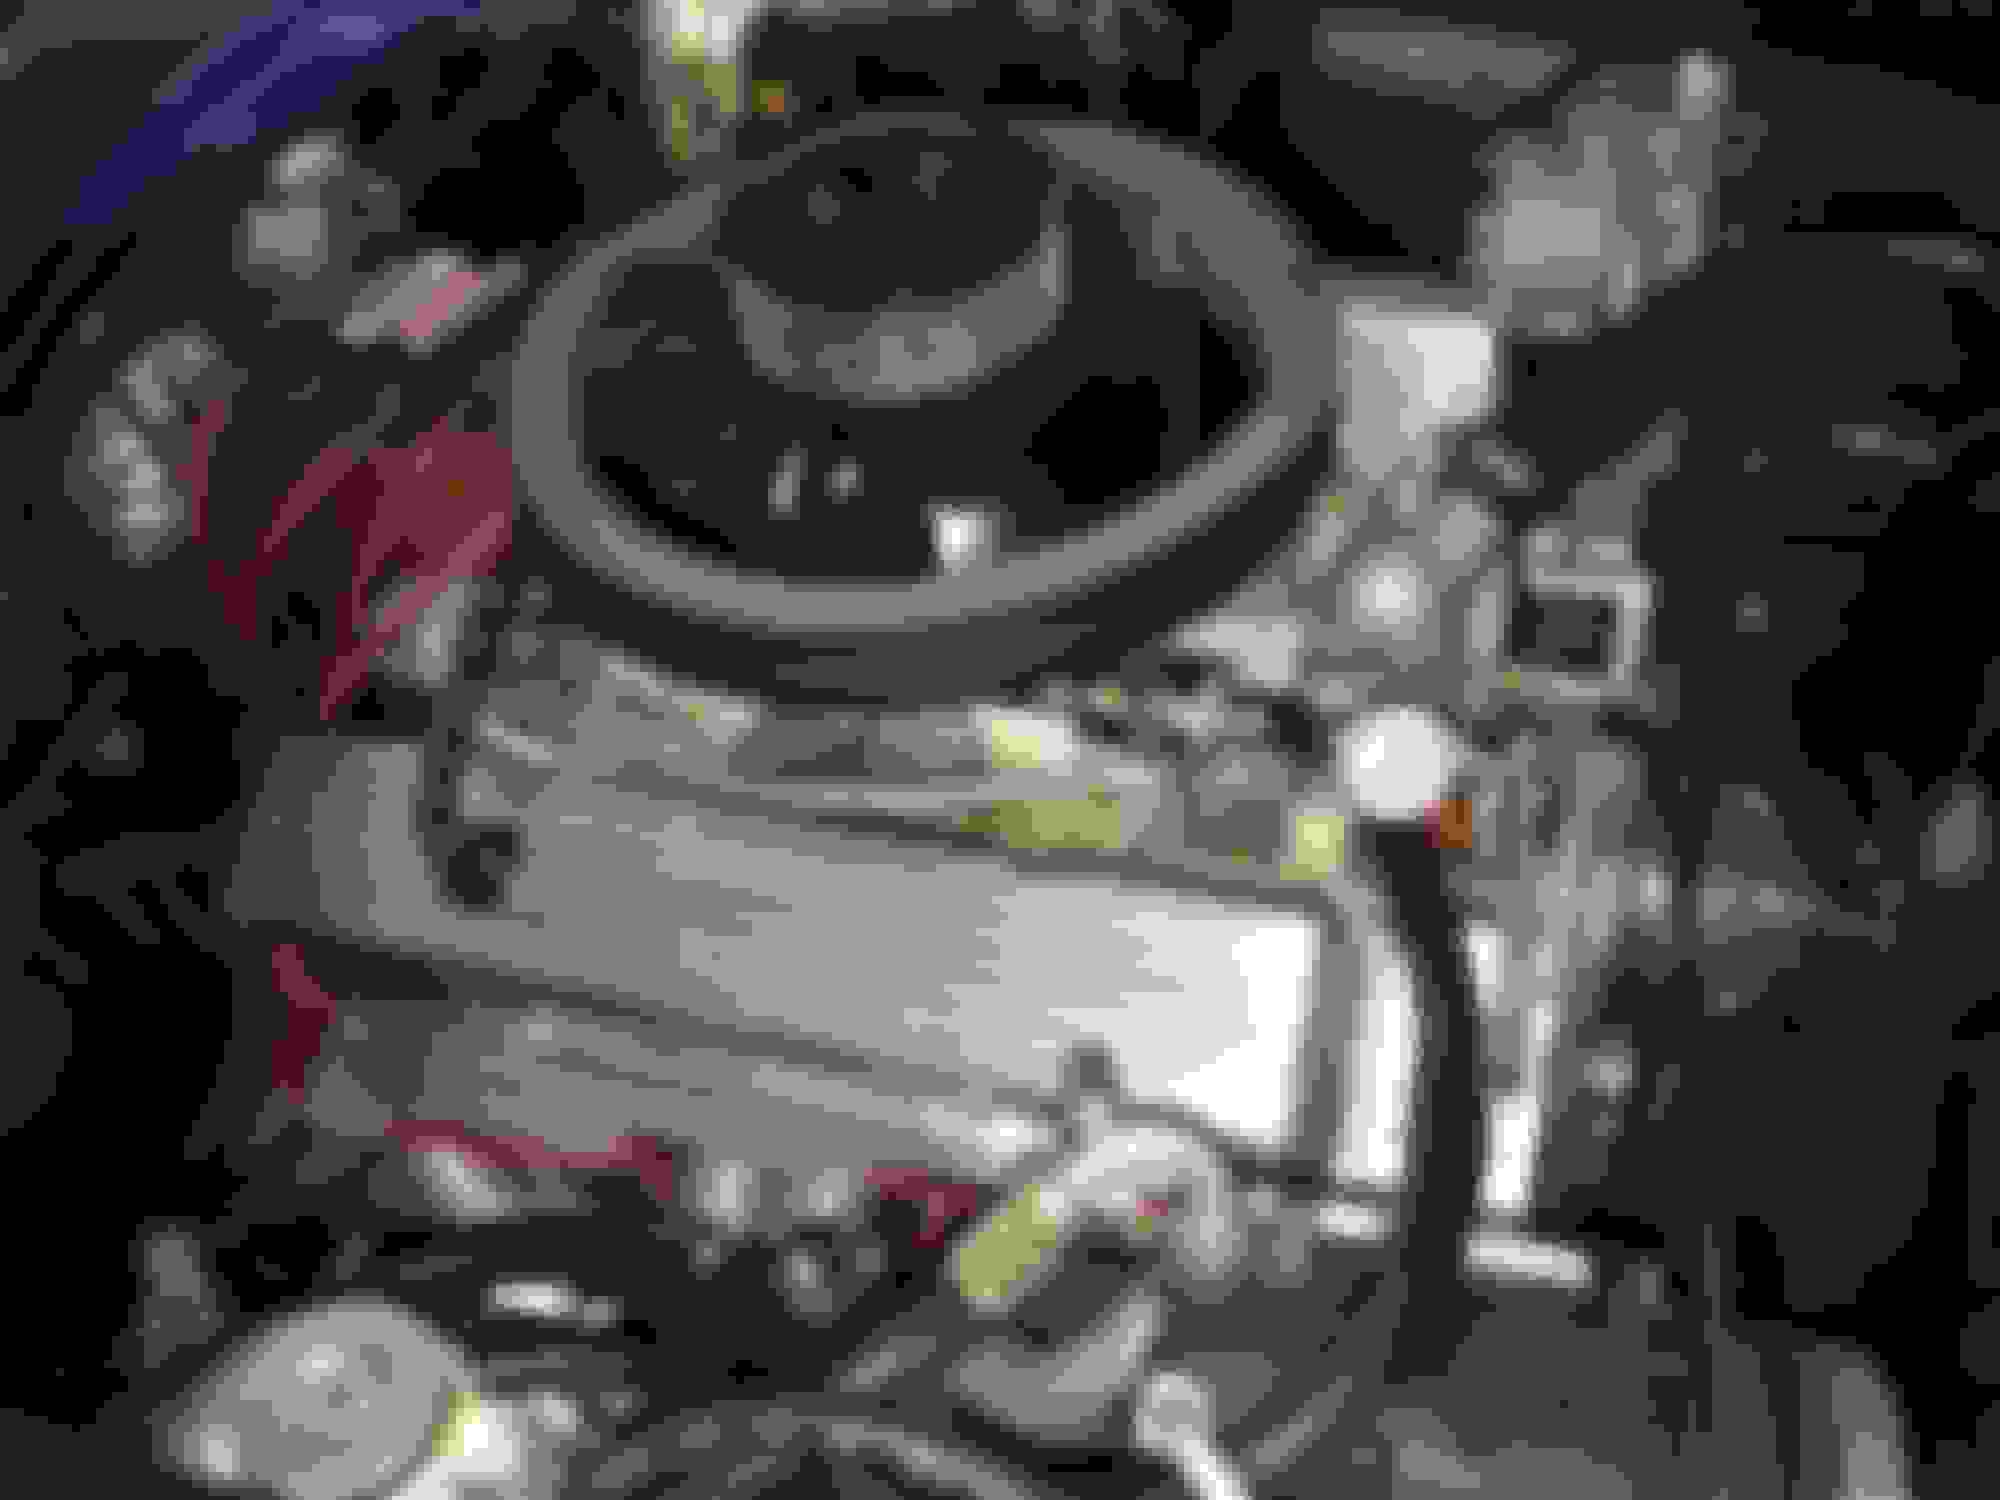
Finished the engine clearance modifications and mocked up the location and changes I will need to make to the hood plenum.


I rebent the accelerator rod to clear the drop base air cleaner.

It really just needed some profiling while maintaining the 10” distance between the linkage points.

I also finished the fuel line routing which is much cleaner and maintains both the regulator and fuel pressure gauge.

As you can see, the plenum will need to be sectioned and shortened about 1 1/2” before bonding it to the hood and then filled at the front end.

My rough measurement (the cross) was really close. The white dot was from threading all thread into the carb carefully, putting a dot of white paint on the tip, and carefully closing the hood.
Old 10-01-2018, 06:24 PM
  #8  
Fordracer9
Pro
 
Fordracer9's Avatar
 
Member Since: Jun 2003
Location: Calabash, NC
Posts: 701
Received 17 Likes on 15 Posts

Default

Nice! This project is on my short list as well. Can't wait to see the finished product.
Old 10-02-2018, 01:13 PM
  #9  
GUSTO14
Le Mans Master
 
GUSTO14's Avatar
 
Member Since: Sep 2003
Location: eastern NC
Posts: 8,801
Received 1,962 Likes on 1,283 Posts

Default

Someone here posted a while back how they adapted a SB engine to the 427 hood by making an adapter between the intake and the carb. The carb needed to be raised and moved forward to reach the plenum of the stock hood.


Good luck... GUSTO
Old 10-02-2018, 01:23 PM
  #10  
AZDoug
Race Director
 
AZDoug's Avatar
 
Member Since: Oct 2005
Location: Camp Verde AZ
Posts: 12,434
Received 1,478 Likes on 905 Posts
C1 of Year Finalist (performance mods) 2019
2017 C1 of Year Finalist

Default

I use the factory FI cold air inlet in the rad support to feed the air filter housing on my car, and that filter gets incredibly dirty in a few thousand miles. Lost of oily dust and debris kicked up off the road. There is no engine crank case ventilation to the air cleaner, so its all from external sources.
Doug
Old 10-02-2018, 01:29 PM
  #11  
wmf62
Race Director
 
wmf62's Avatar
 
Member Since: Jun 2006
Location: Inverness FL
Posts: 17,891
Received 727 Likes on 621 Posts
St. Jude Donor '07

Default

Originally Posted by GUSTO14
Someone here posted a while back how they adapted a SB engine to the 427 hood by making an adapter between the intake and the carb. The carb needed to be raised and moved forward to reach the plenum of the stock hood.


…. Good luck... GUSTO
THAT is ingenious, and Bubba at his finest.... ....

Bill

[/QUOTE]

Last edited by wmf62; 10-02-2018 at 01:29 PM.
Old 10-02-2018, 01:37 PM
  #12  
Wolf74
Instructor
 
Wolf74's Avatar
 
Member Since: Aug 2017
Location: Cornelius NC
Posts: 103
Received 17 Likes on 16 Posts
Default

I like it. Please post pictures when you are complete!
Old 10-02-2018, 01:45 PM
  #13  
Factoid
Le Mans Master

Thread Starter
 
Factoid's Avatar
 
Member Since: Jul 2018
Location: San Antonio, TX/Mahopac, NY
Posts: 8,380
Received 5,554 Likes on 2,797 Posts
2024 Corvette of the Year Finalist - Modified
2024 Corvette of the Year Finalist - Unmodified
2023 C7 of the Year Winner - Modified
Default

I saw that adapter and he said it didn’t negatively impact the engine performance at all. I have my engine tuned to perfection and don’t want to mess with it. Plus, I have the height, I just need to move the plenum back a bit. I plan on sectioning the plenum before bonding it to the hood. More pics to come!
Old 10-02-2018, 02:41 PM
  #14  
AZDoug
Race Director
 
AZDoug's Avatar
 
Member Since: Oct 2005
Location: Camp Verde AZ
Posts: 12,434
Received 1,478 Likes on 905 Posts
C1 of Year Finalist (performance mods) 2019
2017 C1 of Year Finalist

Default

Originally Posted by Factoid
I saw that adapter and he said it didn’t negatively impact the engine performance at all.
It may have even helped, by giving some more height to the manifold under the carb.

Doug

Old 10-02-2018, 06:35 PM
  #15  
64corvettekid
Advanced
 
64corvettekid's Avatar
 
Member Since: Mar 2012
Location: Erie Pennsylvania
Posts: 58
Received 14 Likes on 12 Posts

Default

Originally Posted by AZDoug
It may have even helped, by giving some more height to the manifold under the carb.

Doug
yessir it helped these guys haha

Last edited by 64corvettekid; 10-02-2018 at 06:37 PM. Reason: but seriously very cool. Im puttingit on my list to do!
Old 10-03-2018, 03:32 PM
  #16  
Factoid
Le Mans Master

Thread Starter
 
Factoid's Avatar
 
Member Since: Jul 2018
Location: San Antonio, TX/Mahopac, NY
Posts: 8,380
Received 5,554 Likes on 2,797 Posts
2024 Corvette of the Year Finalist - Modified
2024 Corvette of the Year Finalist - Unmodified
2023 C7 of the Year Winner - Modified
Default

Turns out it is an inch and an eighth +/- an RCH.

I trimmed the front end which will will need some filling once bonded and measured the rear for the 1 1/8” section. I’ve decided to cut the rear piece and bond it to the hood first and then bond the remaining section in place. This will allow me to more easily achieve a flush bond as the plenum only roughly follows the conture. It would take much more work if I bonded the sections together first and it will be fairly easy to lay up some fiberglass strips to seal the gap once the entire plenum is in place.


The blue tape marks the center of the air cleaner opening and the green the two lines to cut (the black line and the edge of the tape closest to the air cleaner opening).
Old 10-07-2018, 06:25 PM
  #17  
Factoid
Le Mans Master

Thread Starter
 
Factoid's Avatar
 
Member Since: Jul 2018
Location: San Antonio, TX/Mahopac, NY
Posts: 8,380
Received 5,554 Likes on 2,797 Posts
2024 Corvette of the Year Finalist - Modified
2024 Corvette of the Year Finalist - Unmodified
2023 C7 of the Year Winner - Modified
Default

I removed the hood today and started the installation of the plenum. The fiberglass mold they used to make the plenum is an approximation at best! However, a little trimming, a lot of heat and weight on the hood as the epoxy set up will make it perfect.


Since I have to remove an 1 1/4 section I decided to bond the rear piece to the hood as a reference, but it is not a very good fit!

I positioned the remaining section to ensure everything would line up. I think it will work out just fine.

I marked the cowl opening I have to cut.

And used the rotary cutter on my Dremel to zip right through it.

Both of the rear sides complete and rough sanded. I plan on making a grill to cover this opening, so it doesn’t have to be perfect.

On to the inside of the hood and done!


Last edited by Factoid; 10-08-2018 at 02:51 PM.

Get notified of new replies

To Functional cowl induction on my 1964

Old 10-07-2018, 06:30 PM
  #18  
Factoid
Le Mans Master

Thread Starter
 
Factoid's Avatar
 
Member Since: Jul 2018
Location: San Antonio, TX/Mahopac, NY
Posts: 8,380
Received 5,554 Likes on 2,797 Posts
2024 Corvette of the Year Finalist - Modified
2024 Corvette of the Year Finalist - Unmodified
2023 C7 of the Year Winner - Modified
Default

Somewhere under there is the rear edge of the plenum, hopefully curing into a tight and flush seal! I used four screws to secure the rear most lip to the hood holding it flush and the weights on a 2x4 to hold the side flanges in position.

We shall see tomorrow if I was successful.


Last edited by Factoid; 10-07-2018 at 06:33 PM.
Old 10-07-2018, 06:59 PM
  #19  
Vette5311
Le Mans Master
 
Vette5311's Avatar
 
Member Since: Mar 2018
Location: Golden Colorado
Posts: 9,253
Received 1,255 Likes on 838 Posts
Default Nice......

Nice work 👌
The following users liked this post:
Factoid (10-09-2018)
Old 10-08-2018, 01:47 PM
  #20  
Factoid
Le Mans Master

Thread Starter
 
Factoid's Avatar
 
Member Since: Jul 2018
Location: San Antonio, TX/Mahopac, NY
Posts: 8,380
Received 5,554 Likes on 2,797 Posts
2024 Corvette of the Year Finalist - Modified
2024 Corvette of the Year Finalist - Unmodified
2023 C7 of the Year Winner - Modified
Default

Thanks!

The rear edge bonded nicely and is laying pretty flat, so I moved to the most problematic piece. It was warped down in the middle and up on the edges. I built a wooden brace I could stack weights on to hold down the edges and made a spaced that you can’t see, but it is braced between the hood and the inside of the plenum where the air filter mounts. With both in place, the cut seam I used to remove 1 1/4” of material lines up uniformly. Tomorrow when I remove the weights, I’ll leave the spacer in place temporarily while I glass the seam from the inside and fill the outside to make it flush and smooth. I plan on finishing this project by Friday so I can go to C&C on Saturday morning. We shall see!


The small piece aligned nicely to the conture of the hood with a little heat, sanding, and weight.

A little weight and some bracing to hold the main section of the plenum on place while the epoxy cures.


Quick Reply: [C2] Functional cowl induction on my 1964


All times are GMT -4. The time now is 06:53 AM.