
Rookie's first attempt at a restoration...


 03-04-2012, 03:02 PM
#2162
Safety Car

Thread Starter

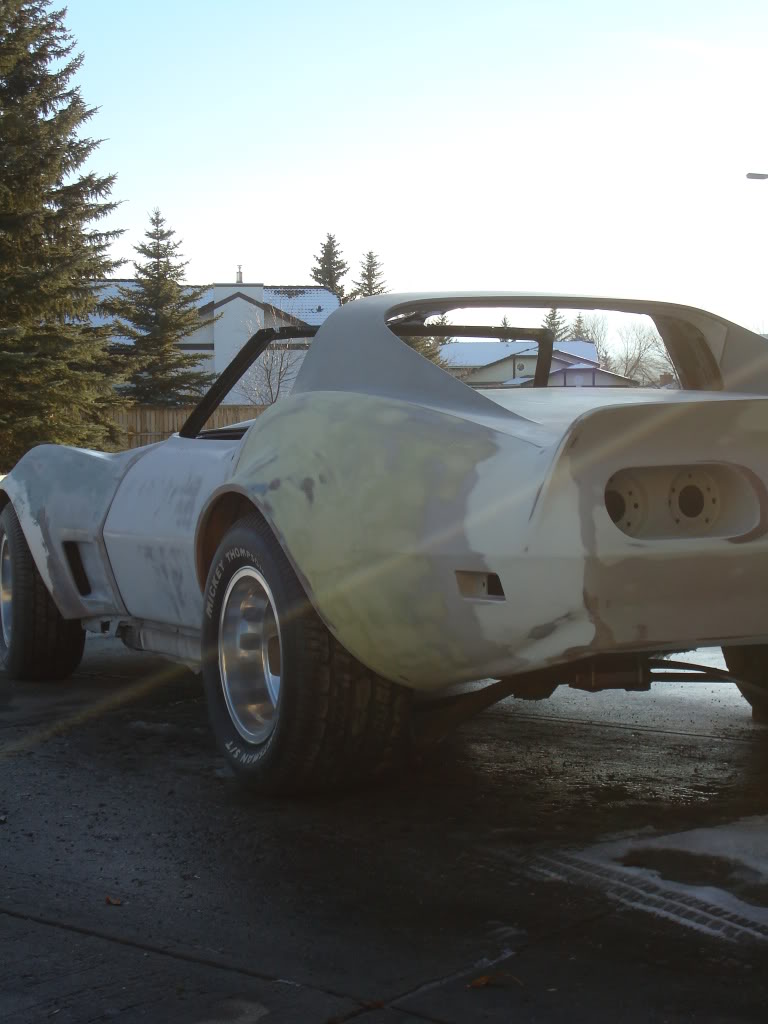
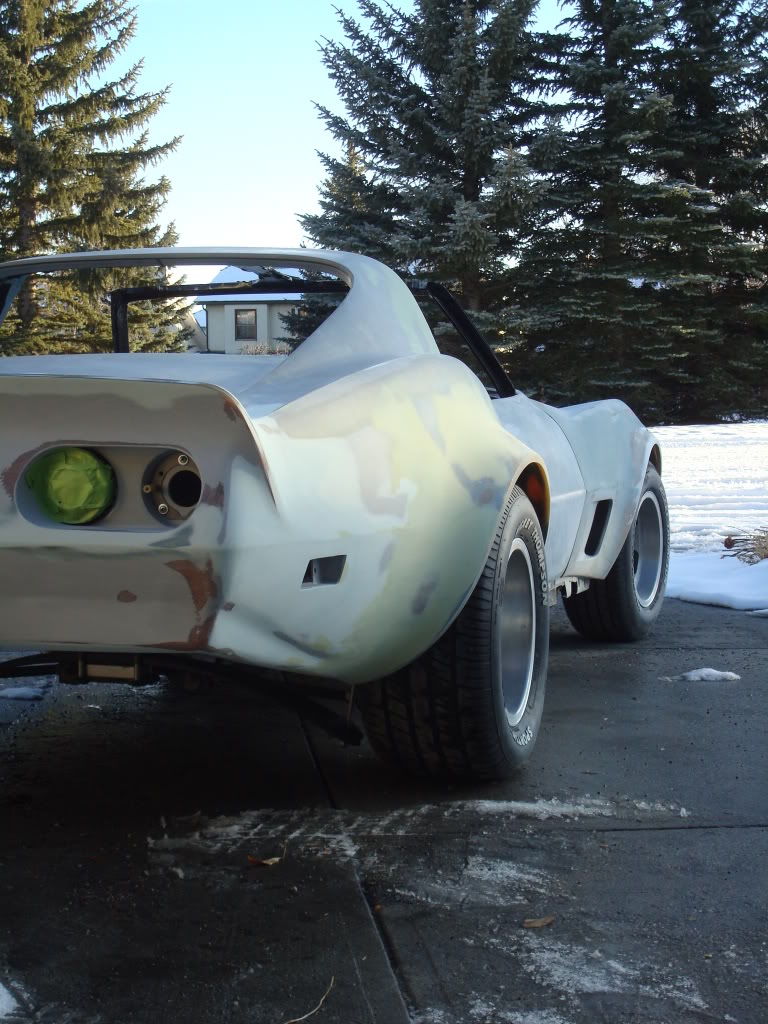
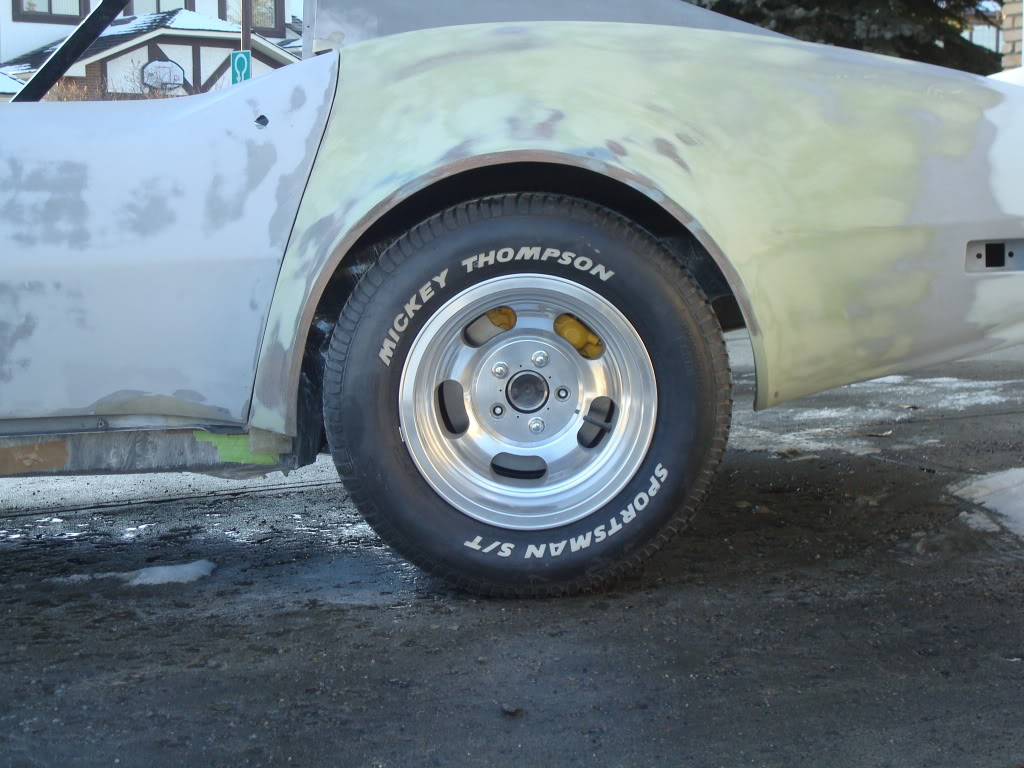
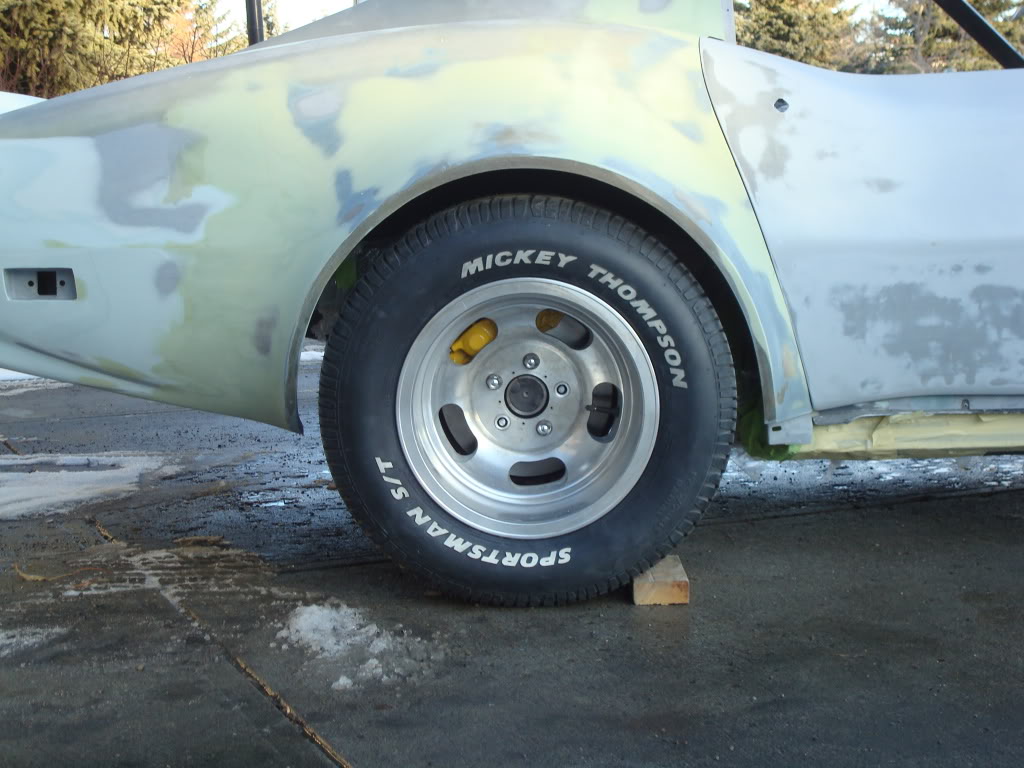
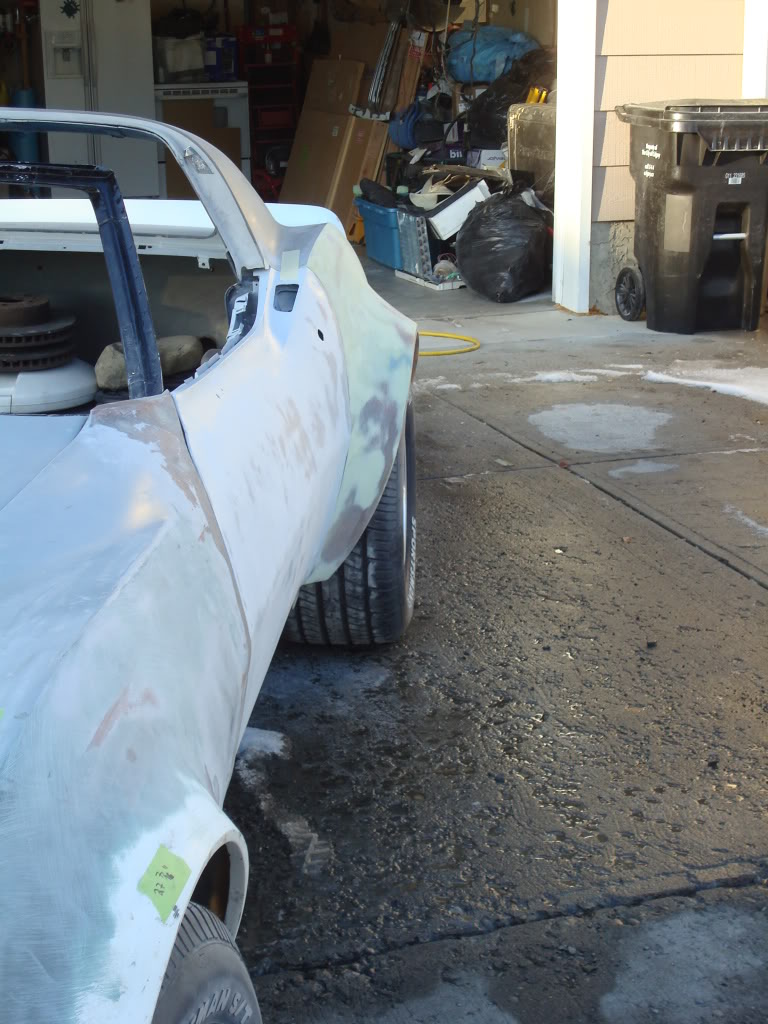
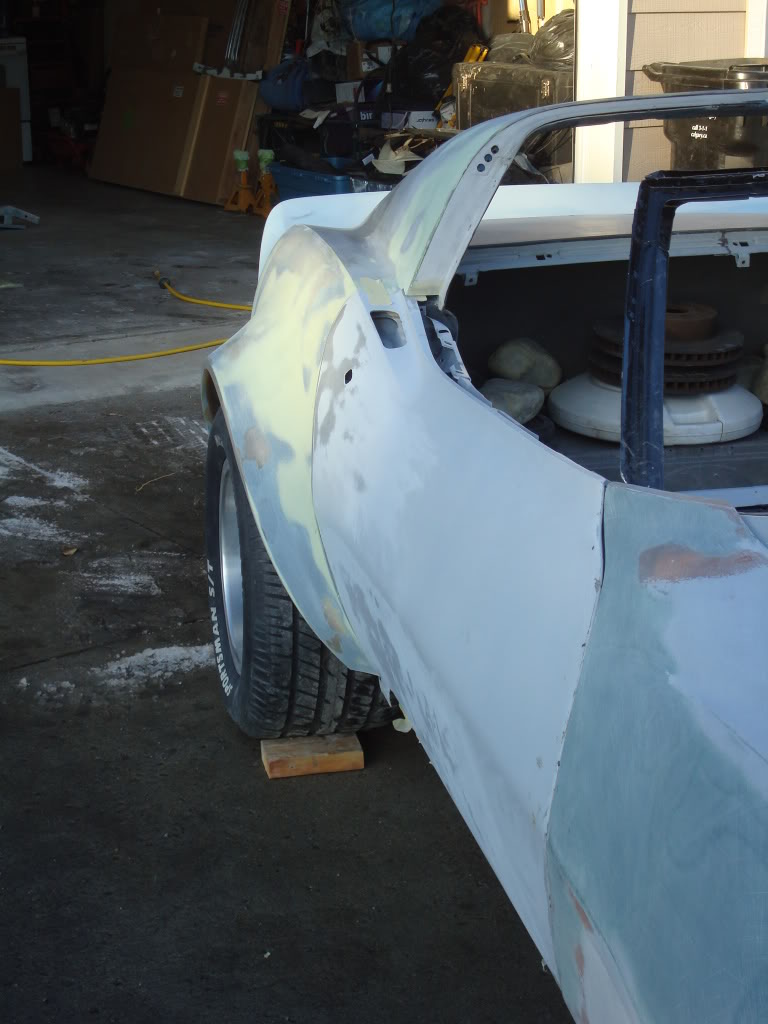
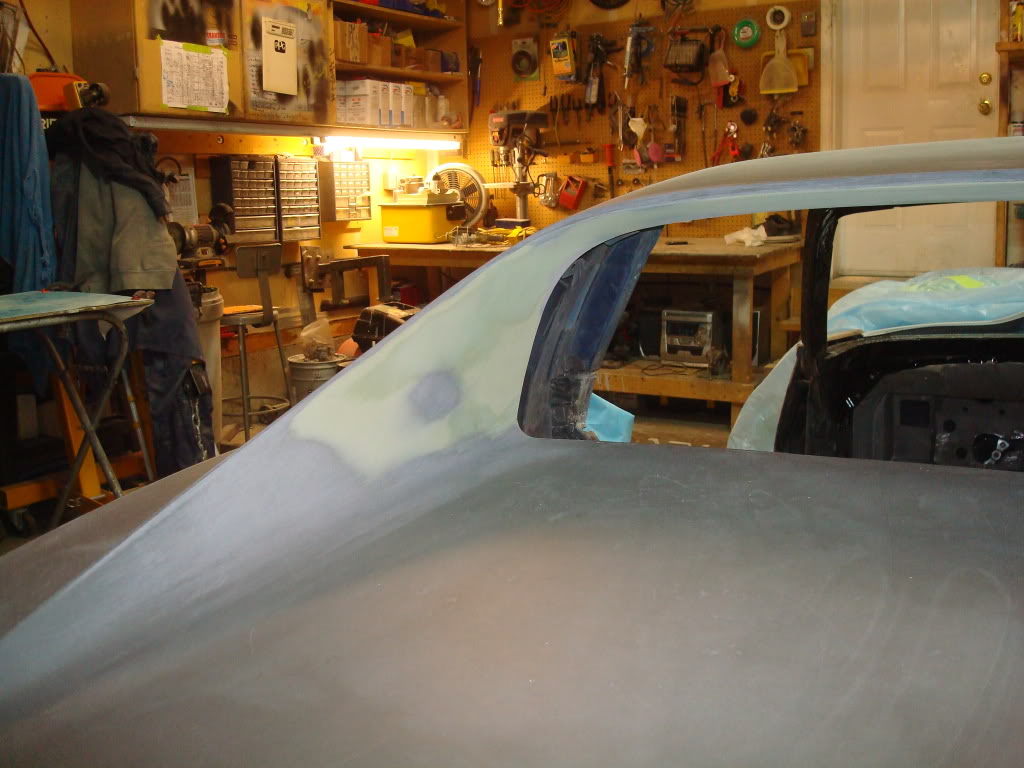
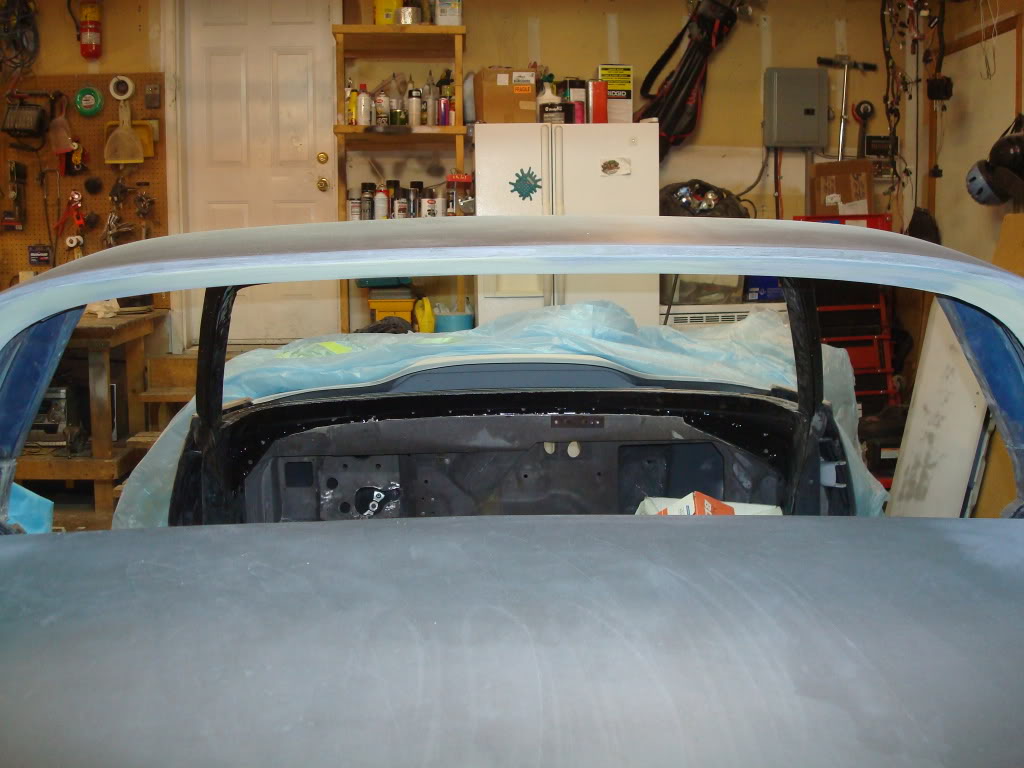
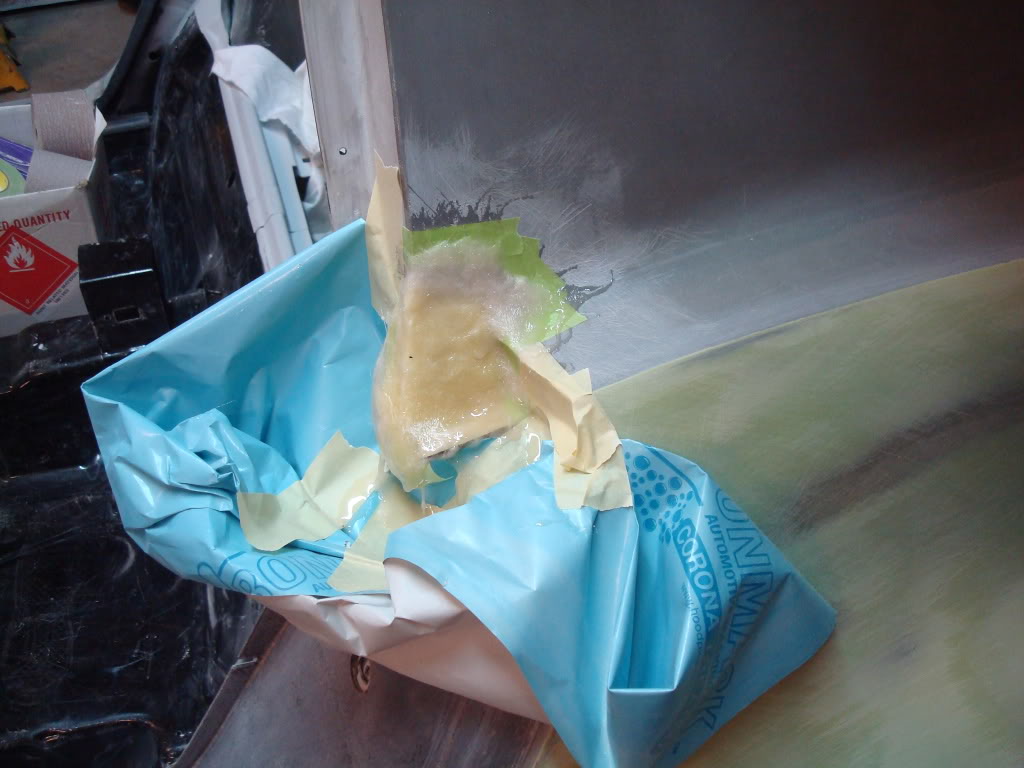
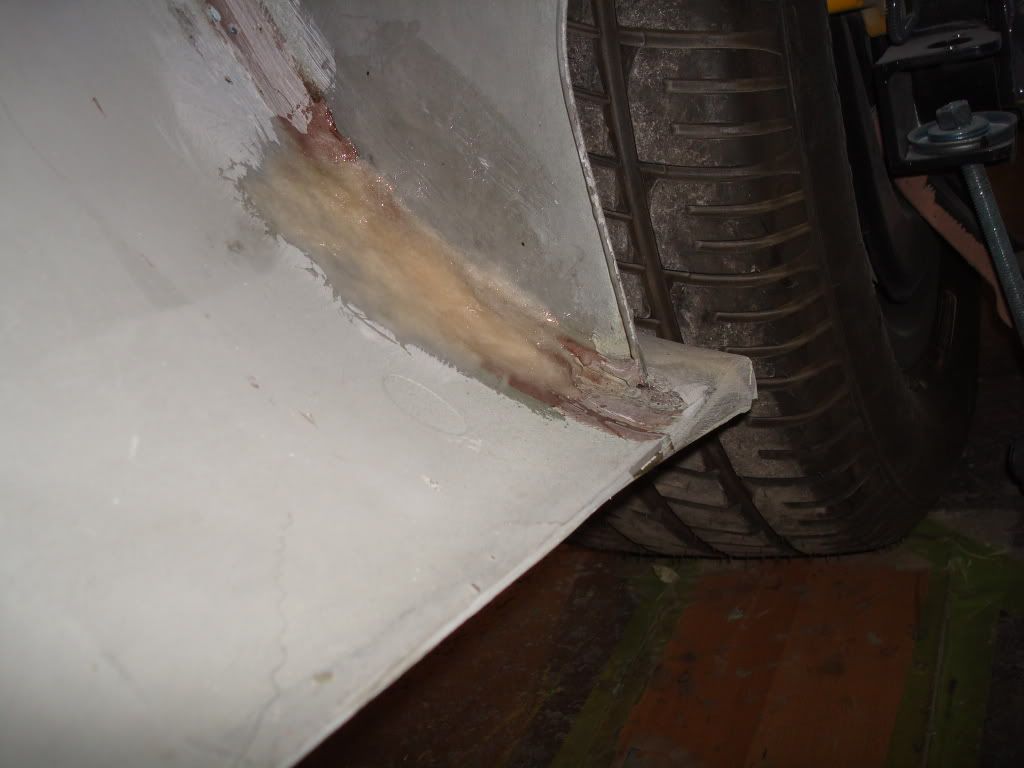
The rear bumper and rear flares were definitely the most time consuming projects of this build. Things should move a lot quicker now that they are done.
03-04-2012, 03:22 PM
#2163


 03-05-2012, 09:28 AM
#2165
Melting Slicks

Outstanding job.......have you had the chance, now standing back and looking at all your hard work, to figure out how many hours you've put into the body work to this point?
03-05-2012, 09:44 AM
#2166
Le Mans Master

I changed the electric window motor out on my wife's 73 BB...did some, well, quite a bit of dynamat... new plenum tubes....stereo boxes...and a few other small fixes... I am proud of what I've done and did the best I could do with what I have.
But, YOU have a GIFT. Yes you work very, very hard and spend lots of time researching and have some help, but the bottom line is you have a GIFT, treasure it, baby it, recognize it, nurture it, your OBVIOUSLY on the right path. Looking forward to seeing possibly, no doubt, the worlds finest redo by a any "rookie" anywhere on the planet. Heck, Carrol Shelby would probably be intimidated......You go brother! You are such a great kid...
the Next Chip Foose... Boyd Codington......the sky is the limit. Has West Coast Customs called yet? Keep up the good work....pace yourself....be sure to stop and smell the roses!
03-05-2012, 09:07 PM
#2169
Safety Car
It looks excellent. You are a craftsmen and you should be proud of your work.
I'm sure your glad that part of the project is done.
Can't wait to see what's next!
I'm sure your glad that part of the project is done.
Can't wait to see what's next!
03-06-2012, 02:29 AM
#2170
Burning Brakes

Member Since: Oct 2011
Location: long beach California
Posts: 1,093
Likes: 0
Received 2 Likes
on
2 Posts
wow wow wow insomniacs perfect thread just read all 109pages 
the work on this car is incredible congrats stinger you must be proud
all the good feelings i was having about my very slow progress on my car just got stomped on your car is coming very fast for as well as it is being built your craftsmanship is amazing for your age or for anyone very impressive
the work on this car is incredible congrats stinger you must be proud
all the good feelings i was having about my very slow progress on my car just got stomped on your car is coming very fast for as well as it is being built your craftsmanship is amazing for your age or for anyone very impressive
03-07-2012, 01:39 AM
#2171
Safety Car
Thread Starter
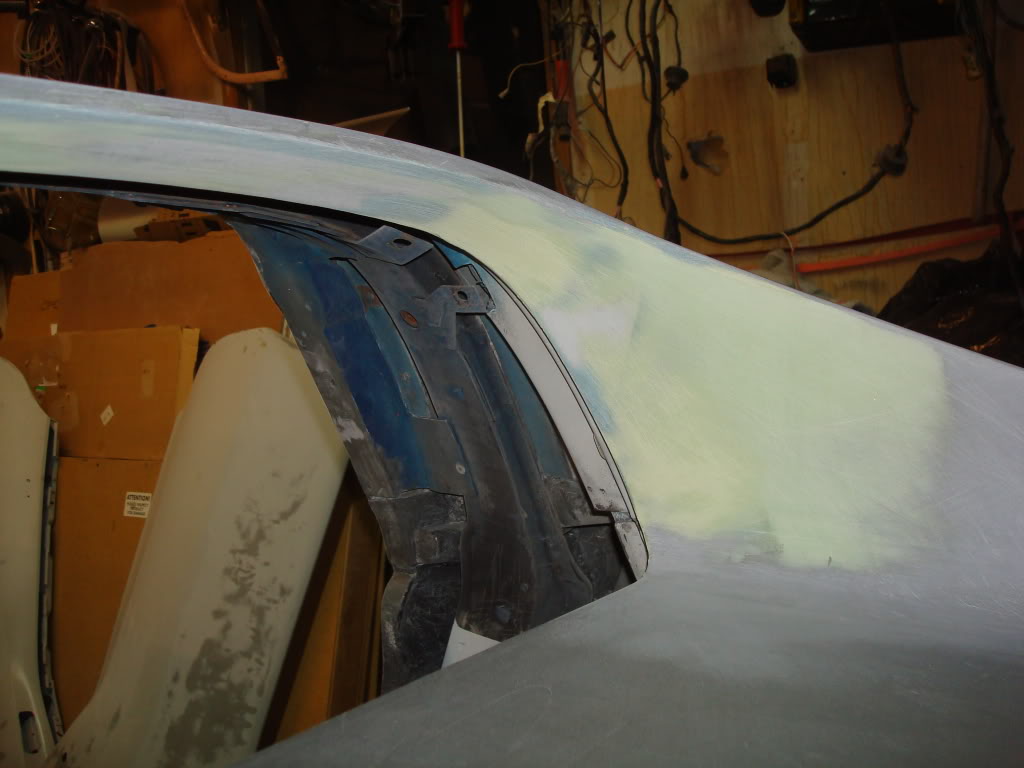
I talked to Mike about the bonding seams underneath the halo. Apparently they aren't actual bonding seams - it is just one panel glued on top of another panel, and the gap is just filled with some adhesive for cosmetics. So, this area does not need to be glassed like the quarter seams and fender seams. He just said to "v" out all the old bonding adhesive, and fill it with everglass.
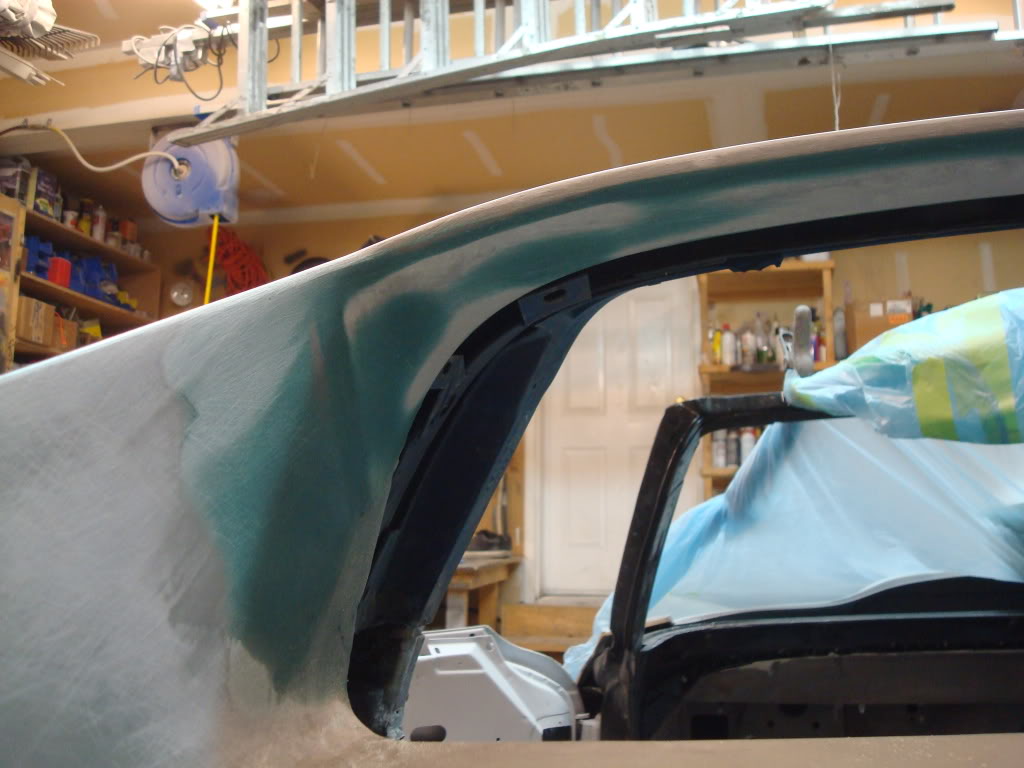
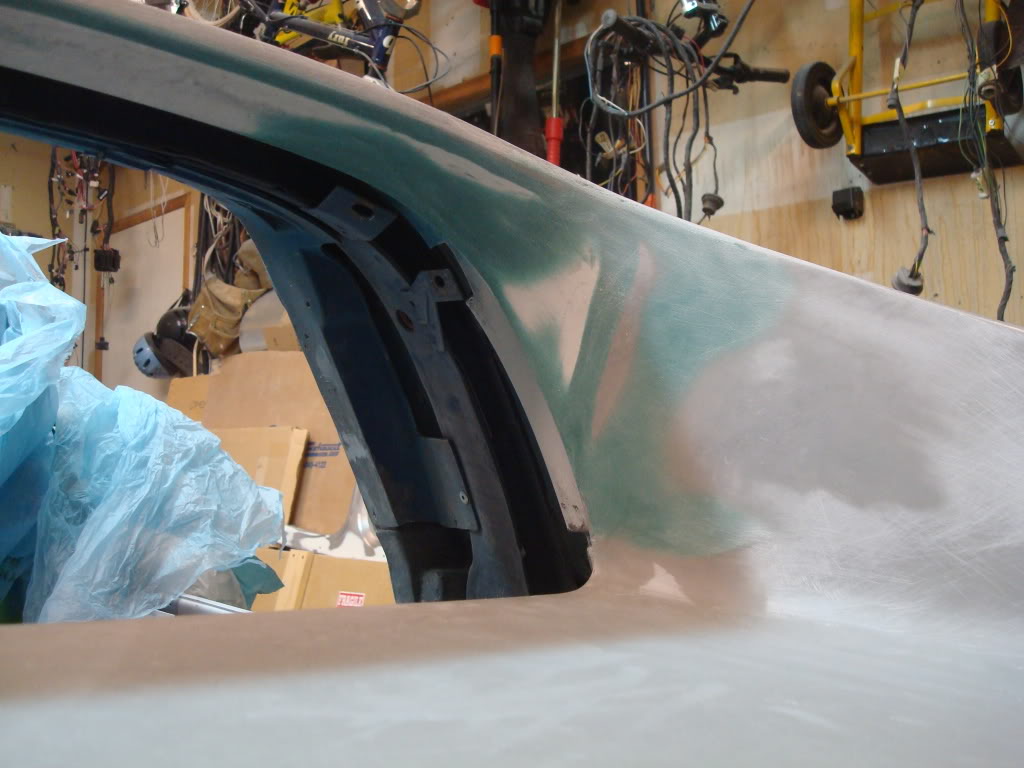
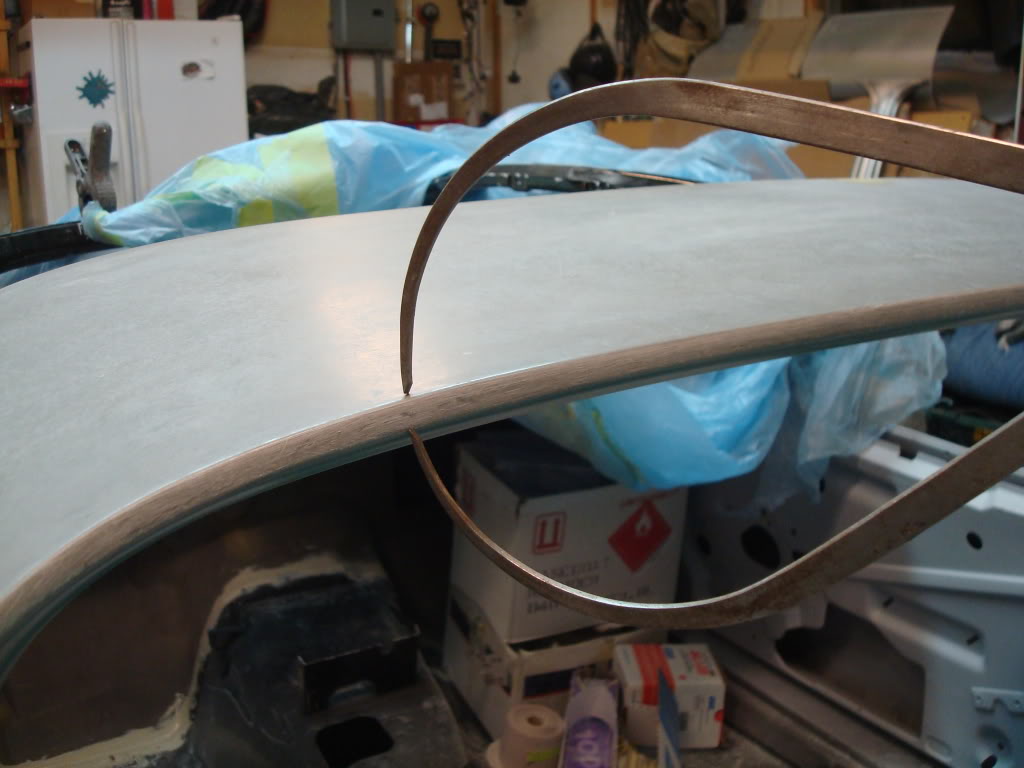
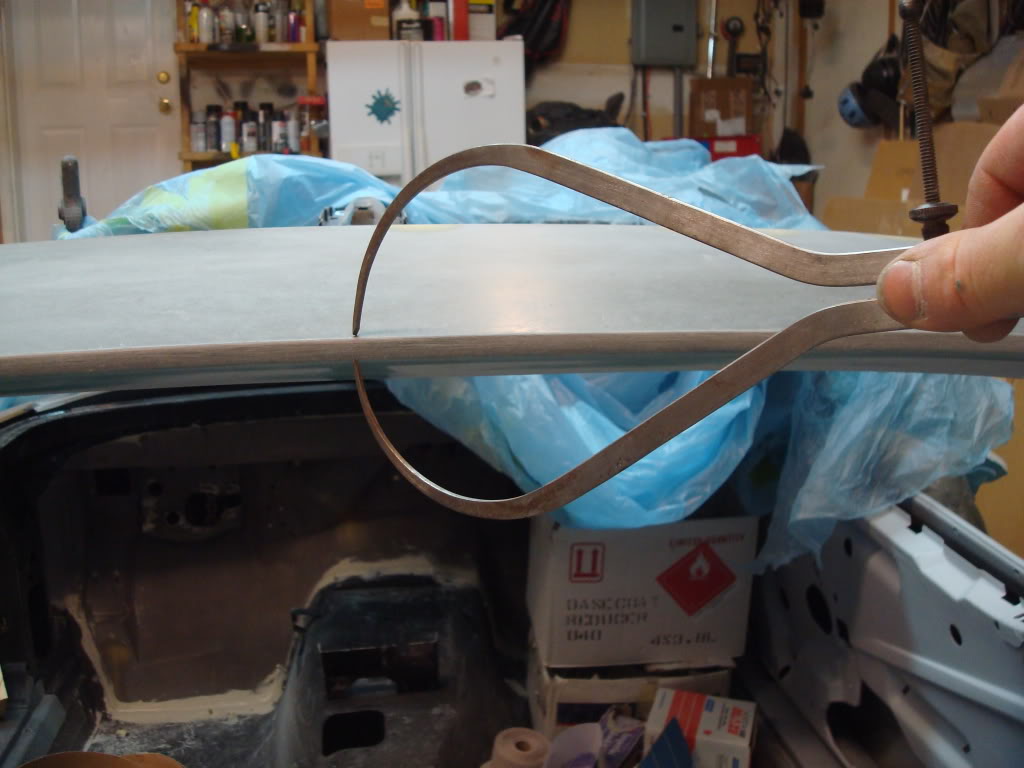
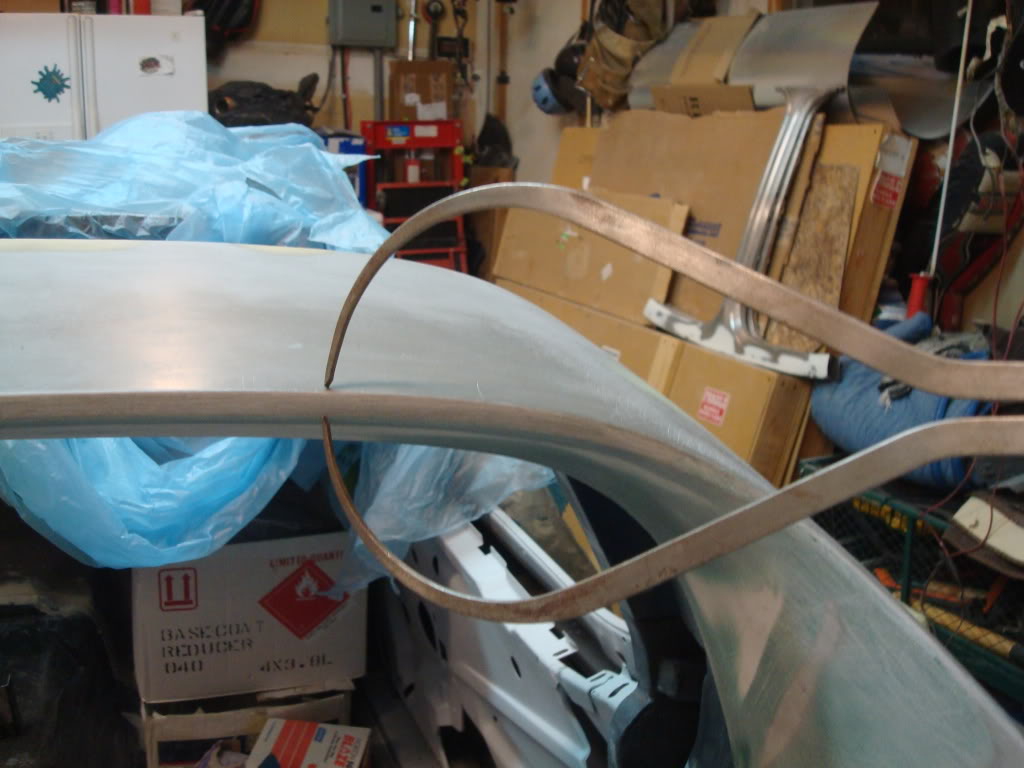
Another thing he pointed out was to make sure the lip was consistent across the halo. That took some work.
Good night!
Another thing he pointed out was to make sure the lip was consistent across the halo. That took some work.
Good night!
Last edited by stinger12; 03-07-2012 at 01:42 AM.
03-08-2012, 02:50 AM
#2173
Safety Car
Thread Starter
 03-08-2012, 12:18 PM
#2174
Racer


I don't like this thread, It makes my project look like crap. Its good to see another young guy (and Canadian too) taking on a big project. I started mine 5 years ago when I was 19. Everything you've done looks great, I haven't gone anywhere near the extent you have. It will be a gorgeous car when its done. It took me forever to read this whole thread but I think I've learned as much hear as I have on the rest of the forum. Keep at it.
03-18-2012, 02:48 AM
#2175
Safety Car
Thread Starter
After weeks of work, I finally finished updating Alternative Restoration's website. Check it out!
www.alternativerestoration.ca
www.alternativerestoration.ca
Last edited by stinger12; 03-18-2012 at 03:01 AM.
03-18-2012, 09:33 AM
#2176
Melting Slicks


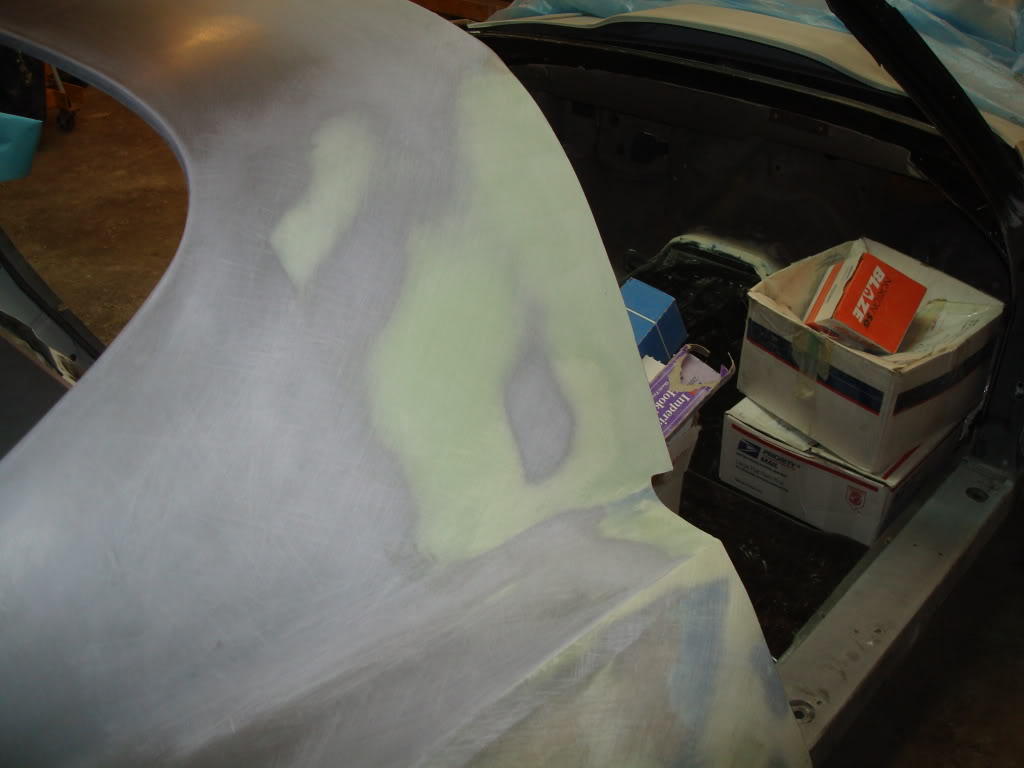
Looks good. Sanding around the halo is some fun huh. I'm sanding on that section right now on the 72 I'm working on, and it KILLS my back sanding on that section . No real easy way to get comfortable.
. No real easy way to get comfortable.
03-18-2012, 12:52 PM
#2177
Drifting

After weeks of work, I finally finished updating Alternative Restoration's website. Check it out!
www.alternativerestoration.ca
www.alternativerestoration.ca
Website looks fantastic, great job... It was fun to look through all the projects posted...
Rogman
03-18-2012, 05:12 PM
#2178
Safety Car
After weeks of work, I finally finished updating Alternative Restoration's website. Check it out!
www.alternativerestoration.ca
www.alternativerestoration.ca
Jeremy - the updated website looks great. Nice to see the current and past projects you and the AR boys are working on. Hopefully, I can make it out to Calgary this spring/summer to meet you and the guys at the shop. Looking forward to it. Until then...take care. BK3
Last edited by bkvette3; 03-18-2012 at 05:19 PM.
03-18-2012, 07:33 PM
#2179
Terrorizing Orange Cones

Jeremy,
As always, your work speaks for itself. Your project continues to amaze and impress. All of your fans here will be celebrating with you when that rascal starts building its own heat and then takes you wherever you want to go.
I guess I shouldn't be surprised that you are the de-facto webmaster for AR, also. Maybe that's just a bonus skillset? Lucky Byron to recognize you for that. Well done (as if there would be any other outcome there, either. LOL).
Thanks for the ride, so far. We await the next post with baited breath.
Bravo!
Last edited by Dustup7T2; 03-19-2012 at 10:28 AM. Reason: correct text
03-19-2012, 12:43 AM
#2180
Safety Car
Thread Starter
Byron stopped by today to size up the vette. He's got me on a schedule now - tomorrow I prime the front jambs.
After he's going to do a final fit on the doors, and then I'm going to do the final gapping on them. Once that's done, finish the bodywork on the rear of the doors to the quarters, and the front of the doors to the fenders. Then fit the t-tops. Finish fitting the tail-lights and gas cap...and then...wait for it...slick sand the back half of the car!!!!!
Stuff is going to go fast now!
Last edited by stinger12; 03-19-2012 at 12:51 AM.