
Rookie's first attempt at a restoration...


 10-30-2007, 10:36 AM
#42
TheCorvetteBen

 I'm 18 and wish that i had the time money and space to do a frame off restoration. My parents won't let me even park the vette in the garage let alone do a frame of resto in it...
 10-30-2007, 11:05 AM
#43
Safety Car

Thread Starter
I succesfully flared both trailing arm bushings using my hydraulic press ,some grease on the end of the tube and an autobody hammer which was shaped to a point (I greased that as well to prevent cracking to the flare) . I also setup my rear bearings last night, using the two spacers I purchased from Van Steel. I calculated how much the two shims I chose from the kit needed to be parallel ground so I get .002" endplay. I made sure to spin the setup tool to work the bearing in before I measured the endplay. I did 3 or more tests per bearing support to make sure I was getting accurate readings...the readings were at most off by .001", which I am not going to worry about. I am going to call my friend today and get him to parallel grind the shims to the sizes I calculated. I talked to Dan at Vansteel, he rebuilds trailing arms. I asked him if I was going to need to parallel grind the shims and spacers I bought from him before setting them up in the spindle tool. He said that I shouldn't have to and that it is done at the machineshop - they use the spacers and shims I bought from him when they setup bearings for people who send their trailing arms in. I bought 2 new spacers and a 2 shim kits. I measured them using my digital caliper and they were indeed parallel, so I just set them up by picking out a shim and one spacer. Now all I need to do is get the shim parallel ground to the size I calculated. I could have used the two old spacer which I pulled off of the old spindles, but that would have required an extra trip to the machineshop. I first would of had to get the old spacers parallel ground by my friend, then take them home and setup the endplay, take the two shims back to my friend to get them ground to the right size. I skipped the first ttrip by just ordering two new spacers from Vansteel.
Last edited by stinger12; 12-31-2007 at 08:17 PM.
10-30-2007, 11:58 AM
#44
Melting Slicks

Member Since: May 2006
Location: Nashville TN
Posts: 2,510
Received 347 Likes
on
253 Posts
St. Jude Donor '09

Job well done!!! We all know the time and effort you are putting into your car. I wish I had your time, resources, energy and skill. You are making some of us older guys envious . . . keep it up . . . we all motivate each other here on CF and you are setting a great example for us to follow. I wish my sons had your interest in cars . . . maybe someday. Help your dad with his car. I thinks it's great you work together . . . I can't think of a better way to keep a father/son relationship going, especaily at your age. Some day maybe you will be working on another vette with your kids. Good luck and keep the motivation coming 
I have a '76 too, and like you, was looking at Camaros, Chevelles and Novas to restore. Then it dawned on me that I could have my dream car, a vette, for about the same money. I've never looked back; it's been very rewarding and I have learned a lot. We all think you made the right choice, not that we are biased or anything
BTW, are you storing your parts in your bedroom? My wife would kill me
10-30-2007, 12:08 PM
#45
Safety Car
Thread Starter
Only the new and restored parts are being stored in my room. I have some of the fiberglass pieces in their as well, but nothing that is greasy or oily. The rest of my parts are at my dad's office in storage.
10-30-2007, 08:16 PM
#46
Safety Car
Nice Job
Your going to really enjoy that car once your behind the wheel driving it. If you can keep a tally sheet of your costs for this restoration. Would love to know what your costs are in parts.
Enjoy!
Your going to really enjoy that car once your behind the wheel driving it. If you can keep a tally sheet of your costs for this restoration. Would love to know what your costs are in parts.
Enjoy!
10-31-2007, 03:42 AM
#47
Team Owner


Member Since: Oct 2004
Location: altered state
Posts: 81,242
Received 3,043 Likes
on
2,602 Posts
St. Jude Donor '05
Dont listen to the negativity, a frame off can be draining in more ways than one. DONT be one of those ads that says, "selling, lost interest"....Doing one myself, been apart for a number of years. Heard every negative remark in the book, trust me. You can get temprarily burned out, broke, no time etc. Keep at it and youll have a brand new car, screw what others say. 
10-31-2007, 11:01 AM
#49
Safety Car
Excellent work!! 
10-31-2007, 11:03 AM
#50
Melting Slicks
Hats off to you
People on the curb don't realize how time consuming it can be. Key for me is to do something everyday and stay at it! Too many restorations start off with a bang but soon hit the back burner for years.....that's not a problem you'll have!
JU
People on the curb don't realize how time consuming it can be. Key for me is to do something everyday and stay at it! Too many restorations start off with a bang but soon hit the back burner for years.....that's not a problem you'll have!
JU
11-03-2007, 08:20 PM
#51
Safety Car
Thread Starter
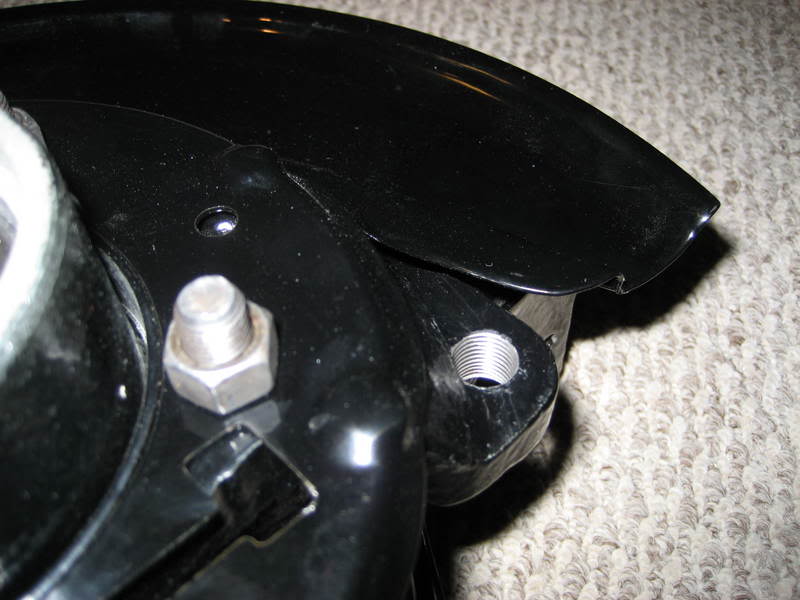
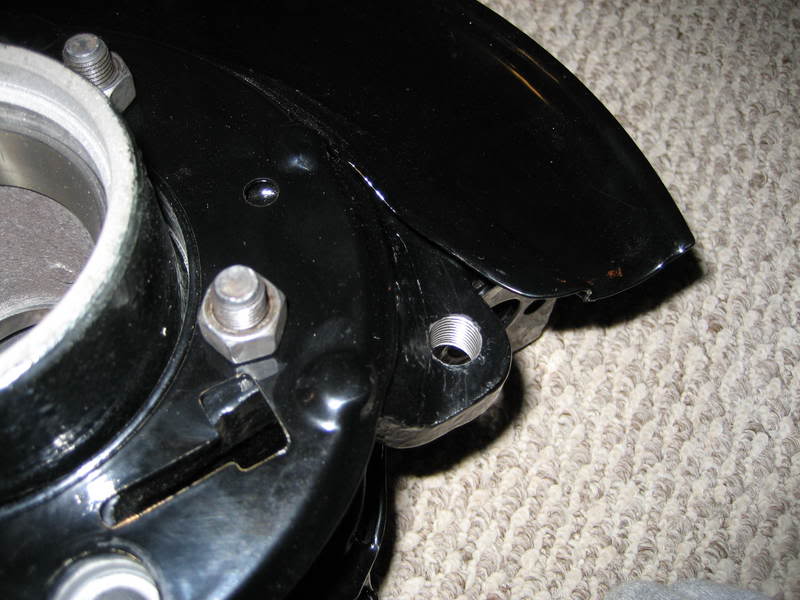
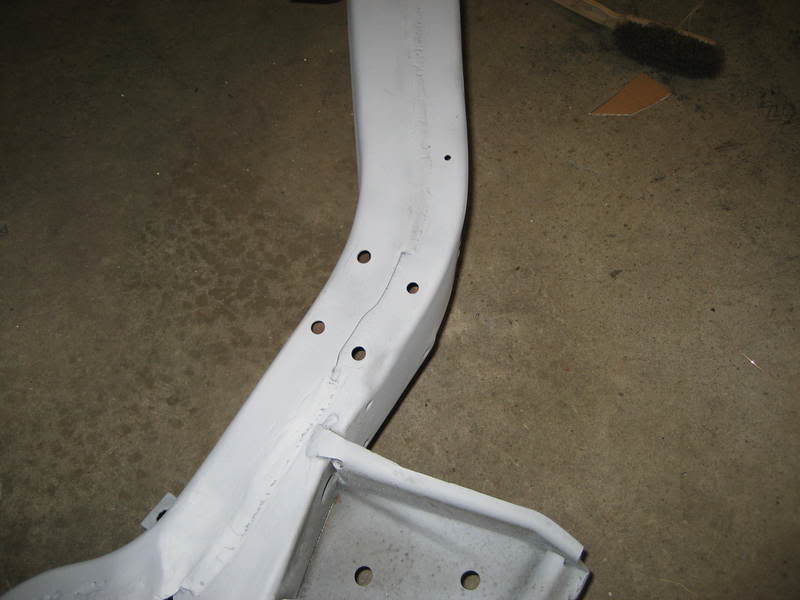
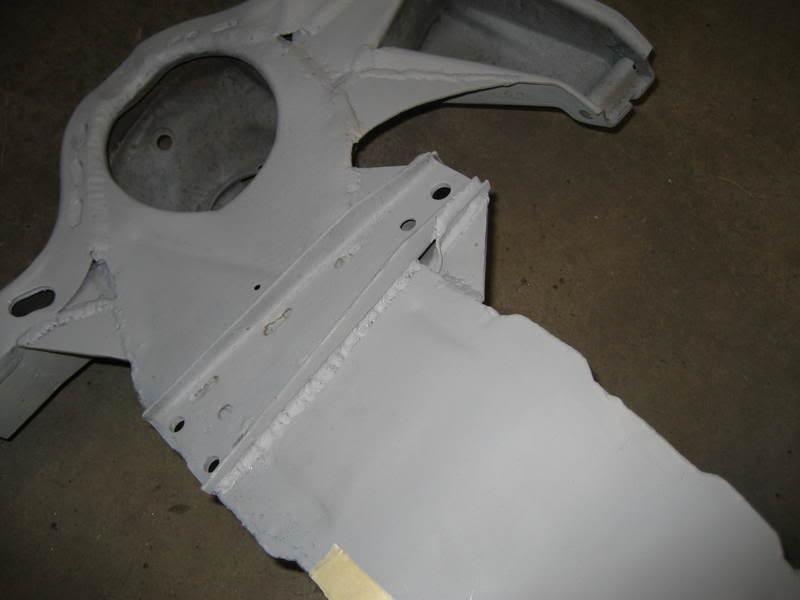
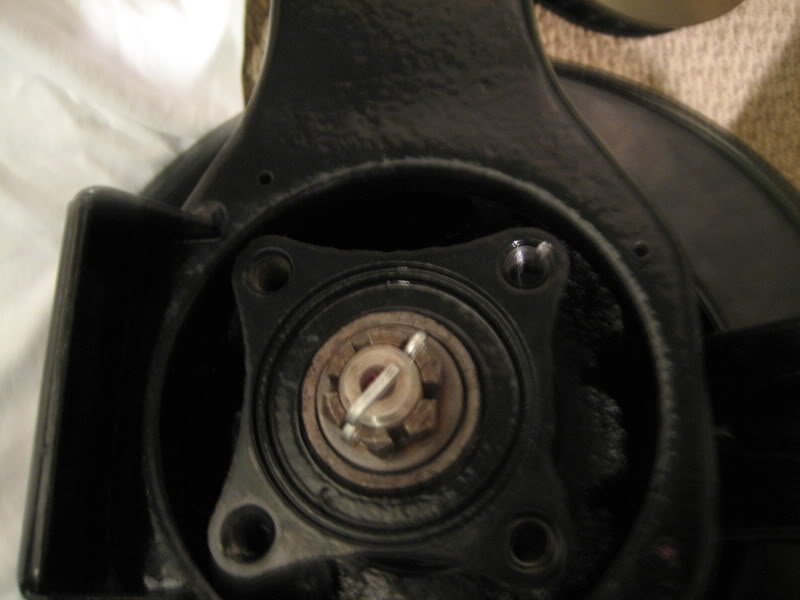
Got a lot done on the vette today. I was able to weld some more parts of the frame (sorry no pics of that yet, will get some asap) and pre-assembled my trailing arms to make sure everything was going to fit. I made a mistake when I was chasing the threads for one of the caliper mounting brackets. I thought it was 7/16 coarse thread instead of the correct 7/16 fine thread...I used the wrong tap. I basically ruined one of the mounting holes, but fixed it with the help of my dad. We drilled the one hole that I messed up with a 29/64'' drill bit (I think that was the size...I picked the correct drill bit size from my tapping chart). I then tapped it to accept a 1/2'' bolt; it's as good as new now! once again my dad saved me around 80 bucks...he's the man.The only problem with using a 1/2'' bolt instead of a 7/16 bolt is I will have to enlarge the hole on the caliper to accept the new bolt...other than that, I don't foresee any problems. I'll try to post pics of the new frame welds later on tonight.
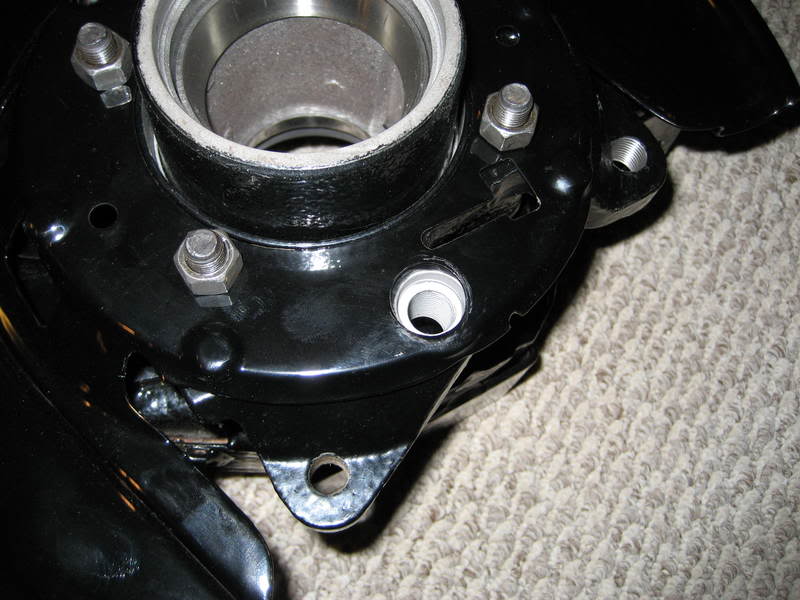
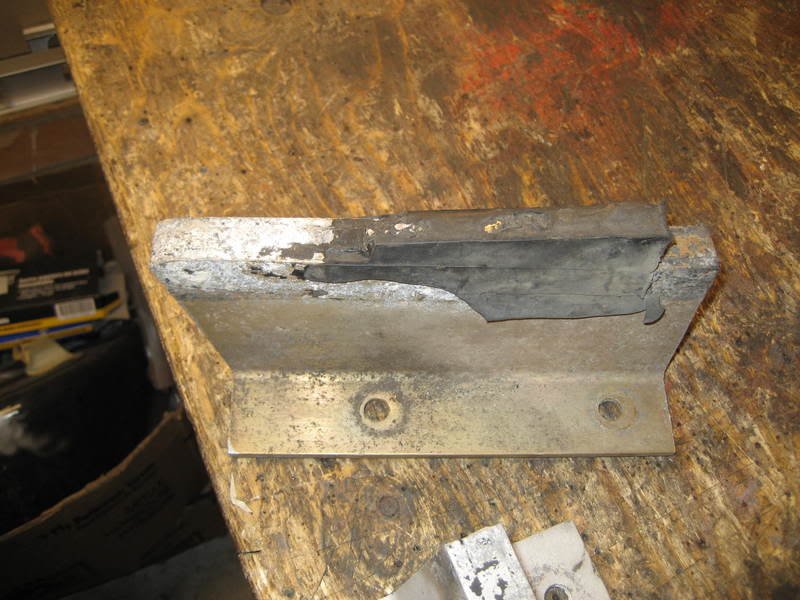
New Tapped hole:
 \
\
New Tapped hole:
\

 11-04-2007, 07:43 PM
#55
Safety Car
Thread Starter
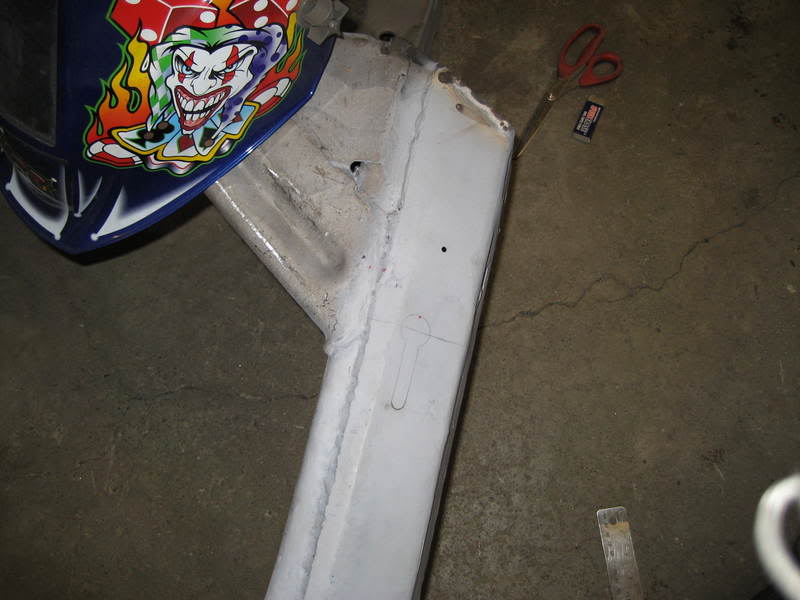
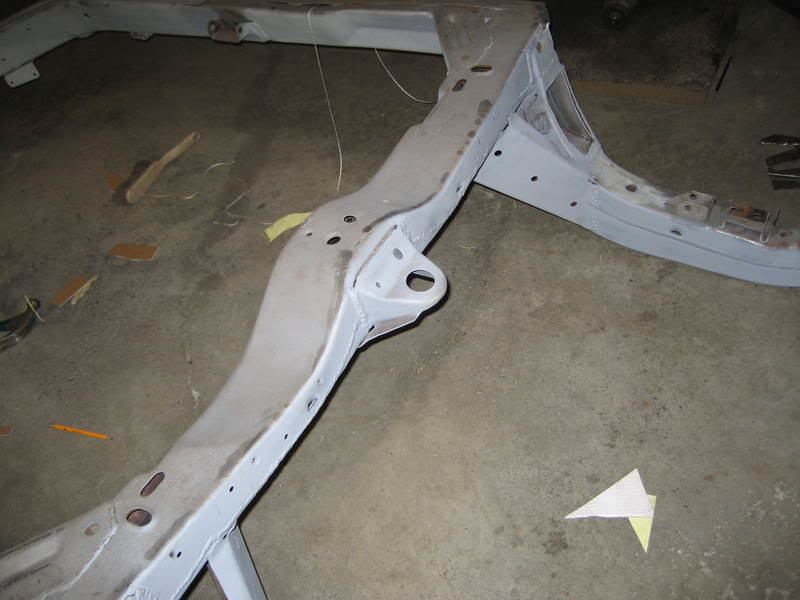
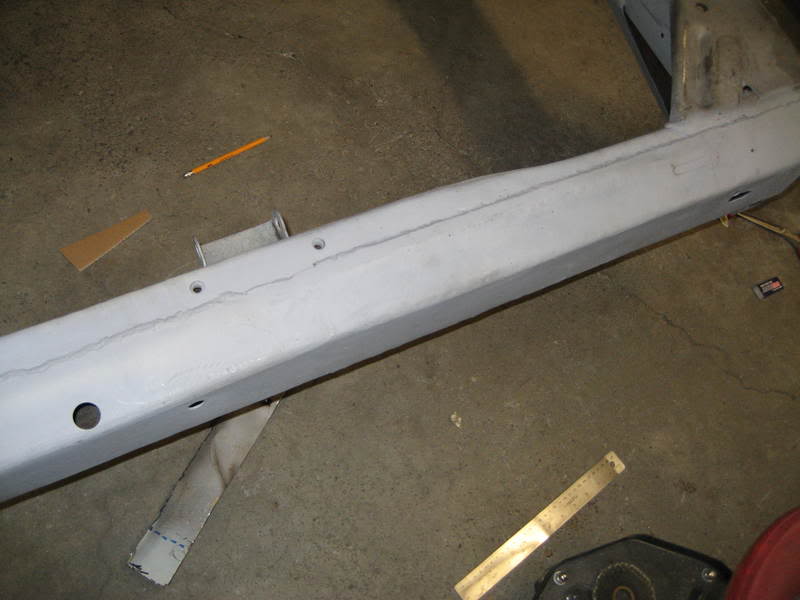
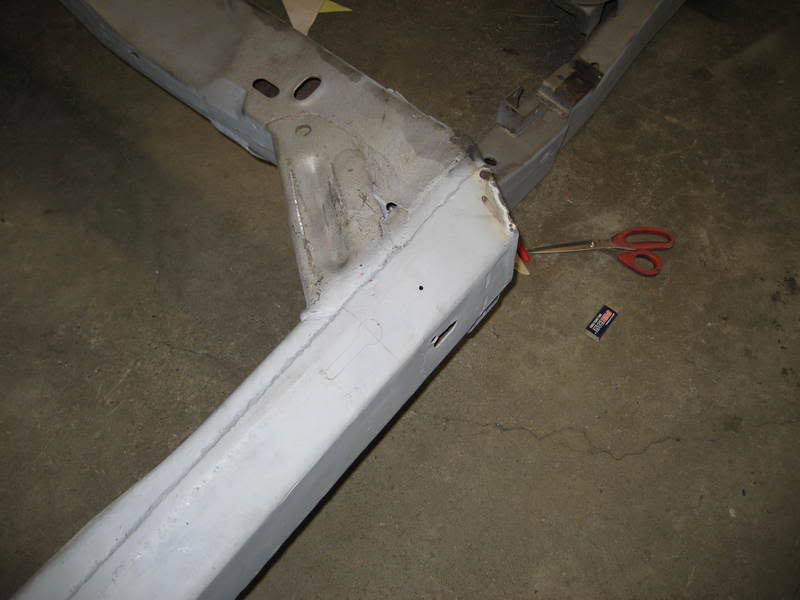
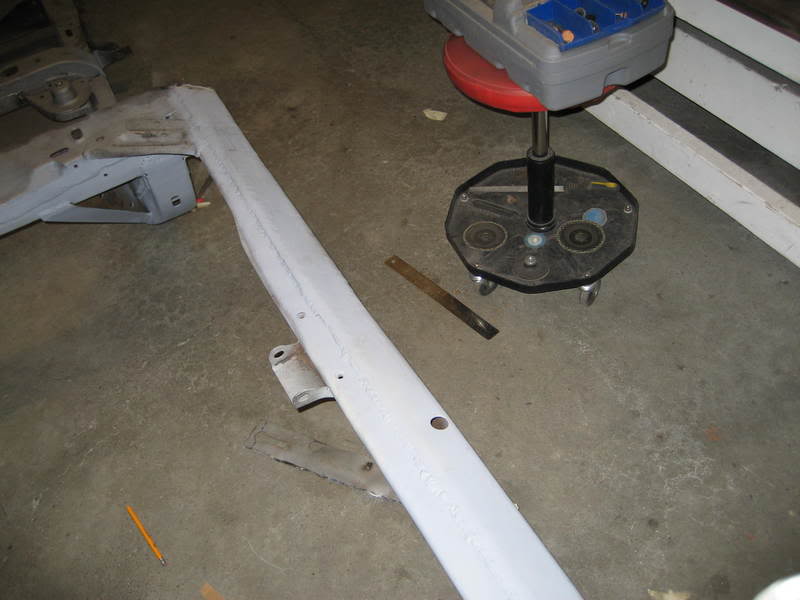
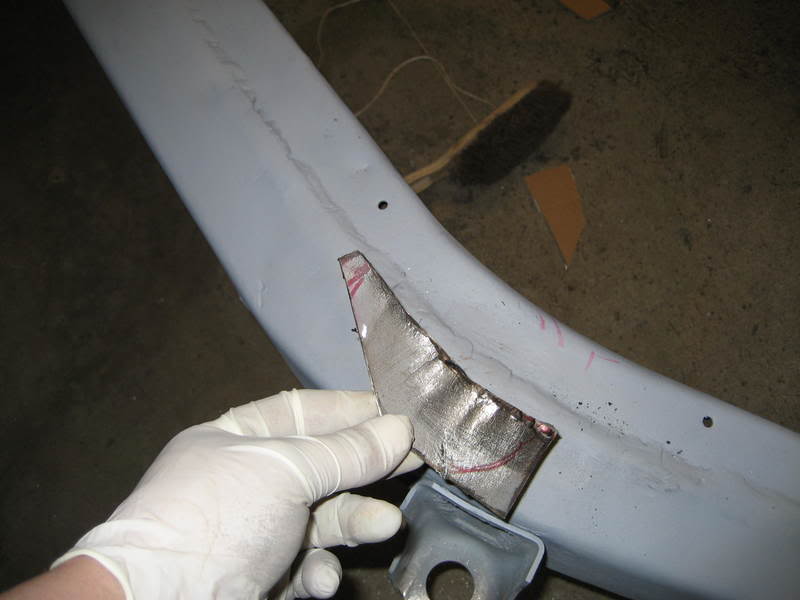
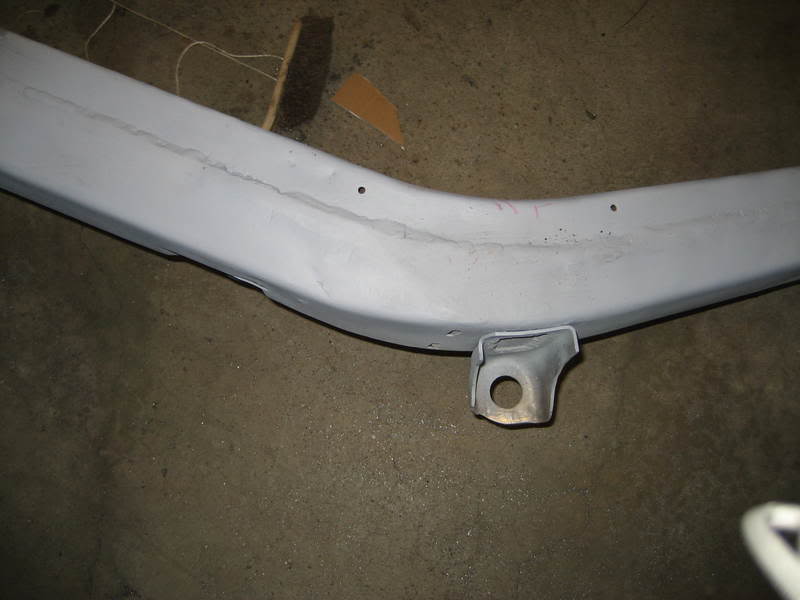
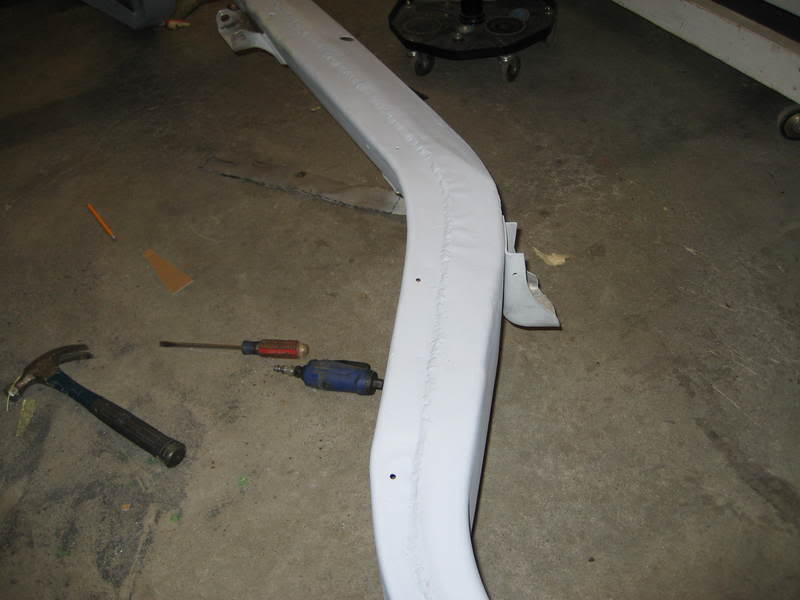
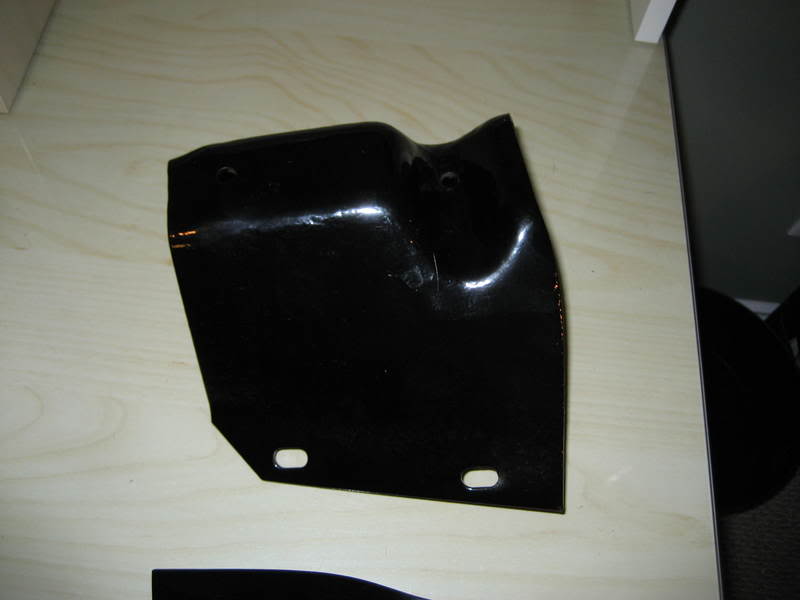
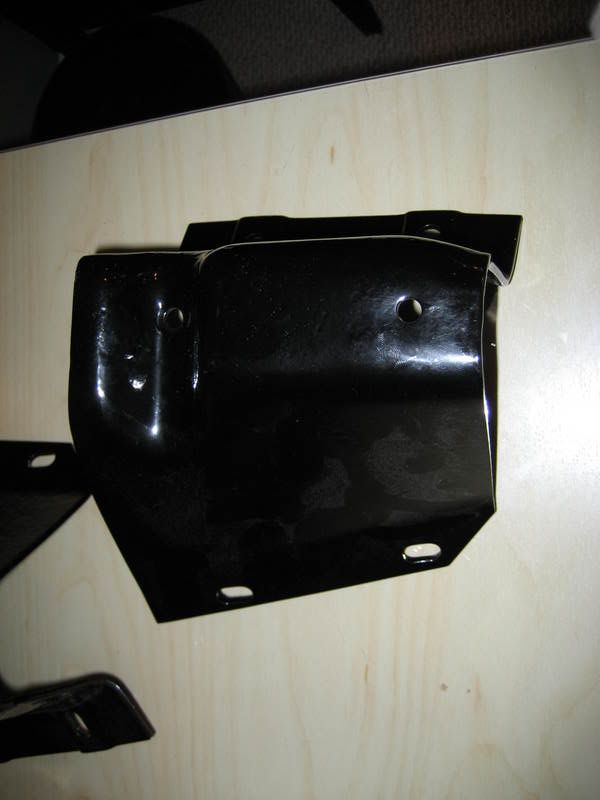
Does anyone know if I can get new rubber pieces for these rear bumper parts? I have looked everywhere without any luck. They are for the rear bumper support bar if that is any help.

11-04-2007, 07:51 PM
#56
Safety Car
Thread Starter
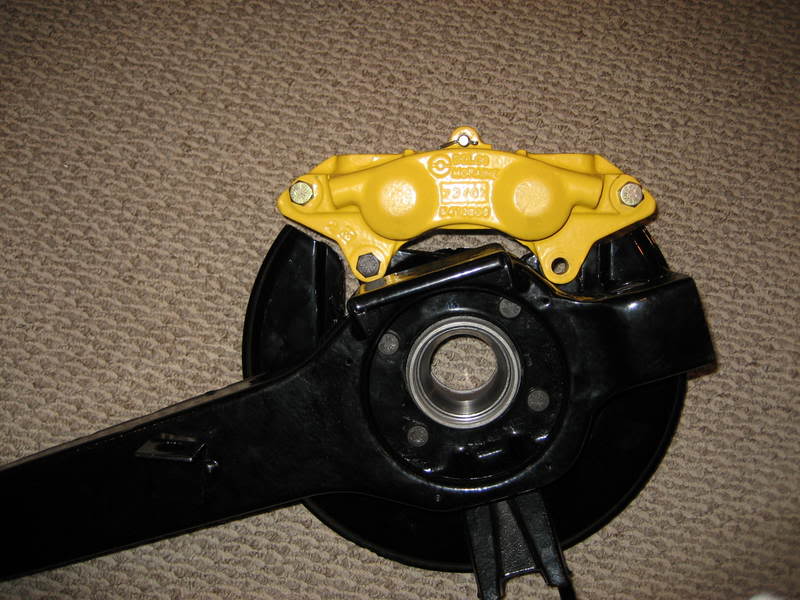
Also, I made the mistake of not labeling the calipers when I took them off the car...now I can't figure out which caliper is for the right trailing arm and which one is for the left trailing arm. The reason I am asking is because I need to enlarge one of the holes on the right caliper where it bolts to the caliper mounting bracket. As noted in my earlier post, I messed up the threads on the caliper mounting bracket and had to enlarge and tap the hole to accept a 1/2'' bolt instead of the original 7/16'' bolt. The hole in the calipers are drilled to accept 7/16'' bolts, but I need to enlarge the one hole on the correct caliper to accept my new 1/2'' bolt. How do I figure out which caliper is for which side?
11-04-2007, 08:55 PM
#57
Melting Slicks
Put the trailing arms in the position the will be in when installed in the car. Then place the calipers in position. The bleeder screw needs to be on the top. I think if you put the calipers on the wrong side the bleeder screw will be on the bottom. I had a neighbor who installed disc brakes on his 56 chevy and couldn't get a firm pedal. He asked me to see if I could help him and I took one look at them and noticed the bleeder screw on the bottom. It turned out they were on the wrong side.
I hope this helps.
I hope this helps.
11-09-2007, 11:49 AM
#58
Safety Car
Thread Starter
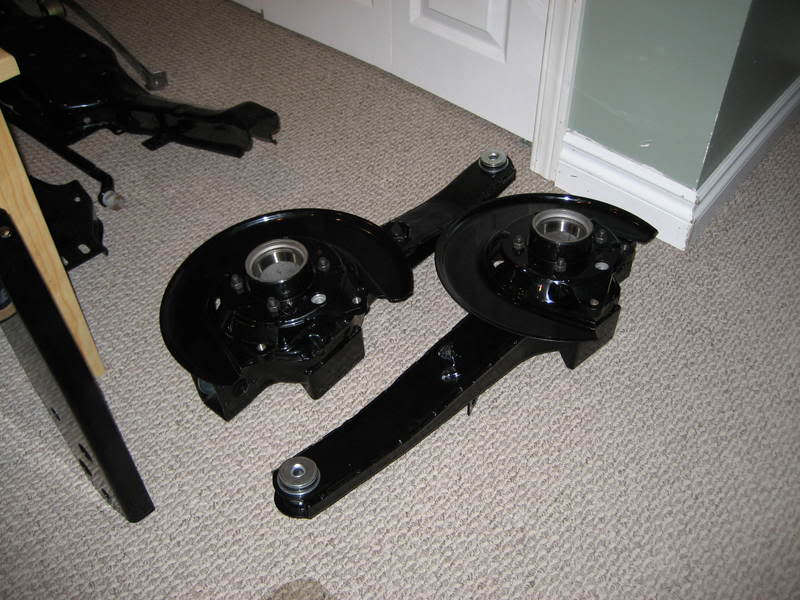
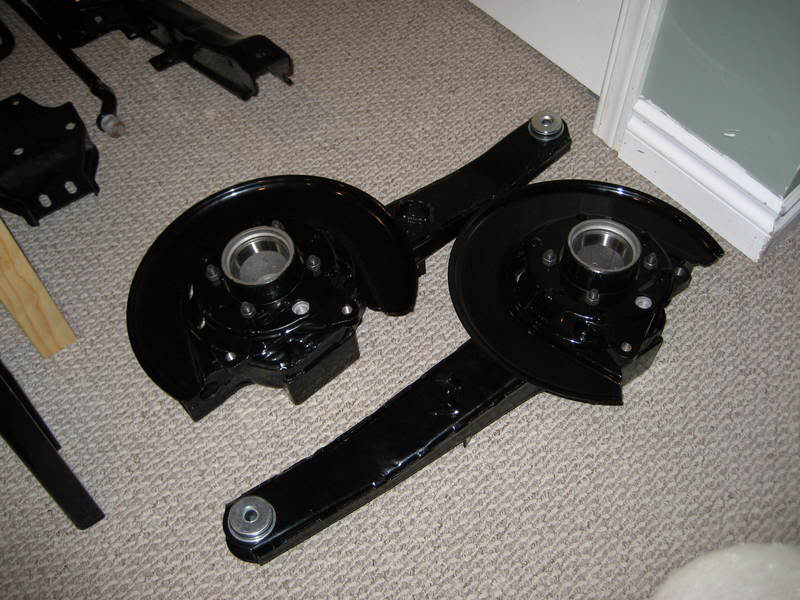
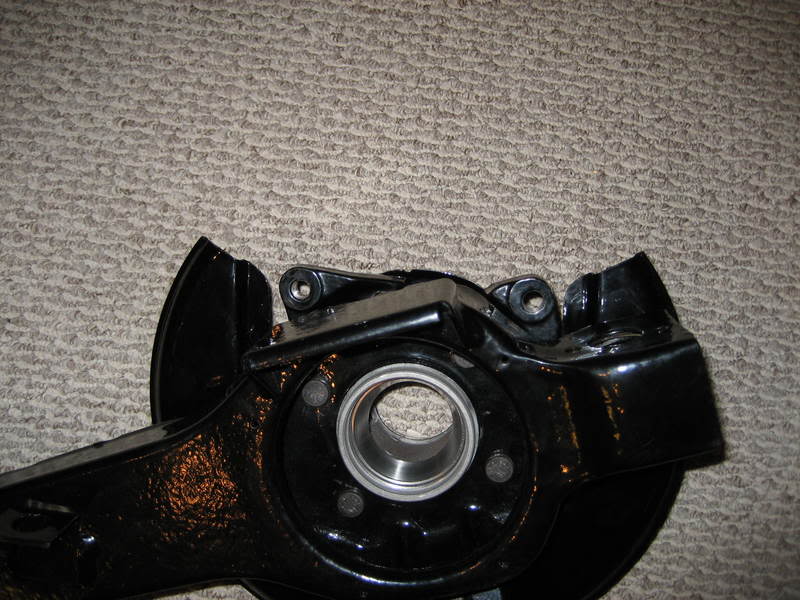
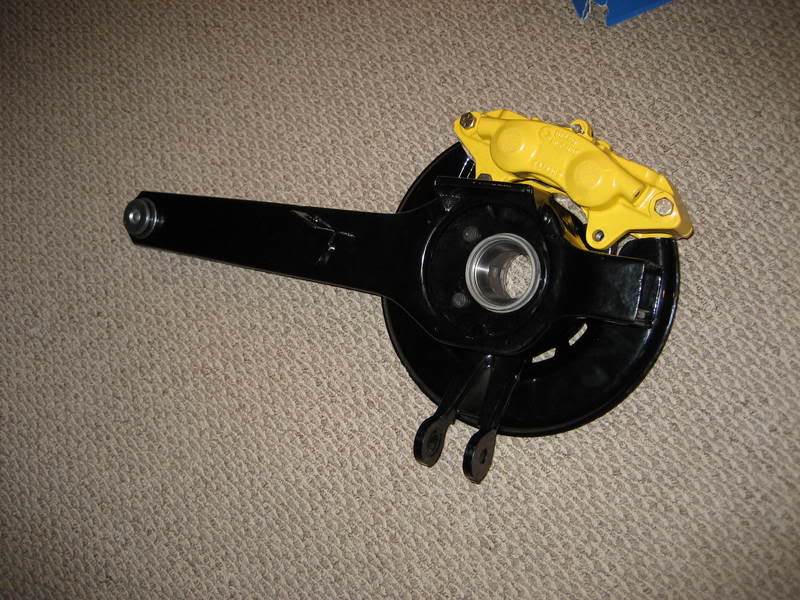
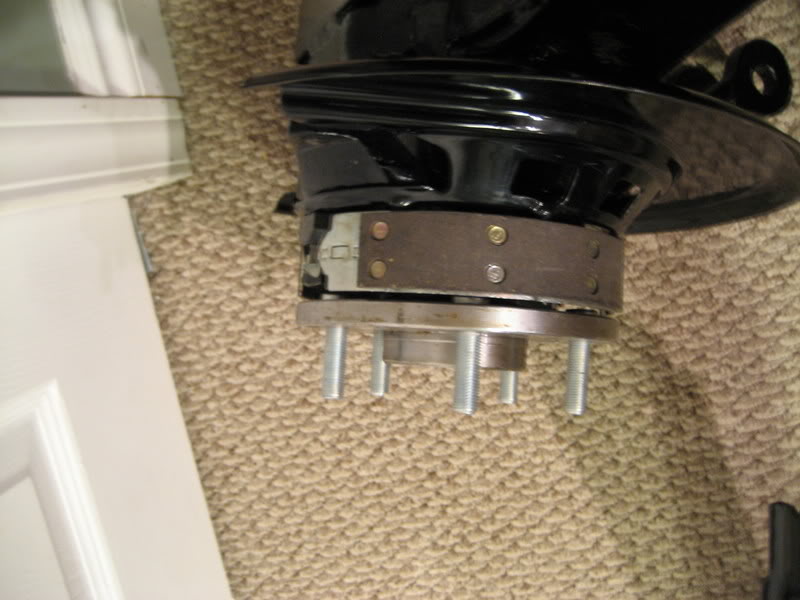
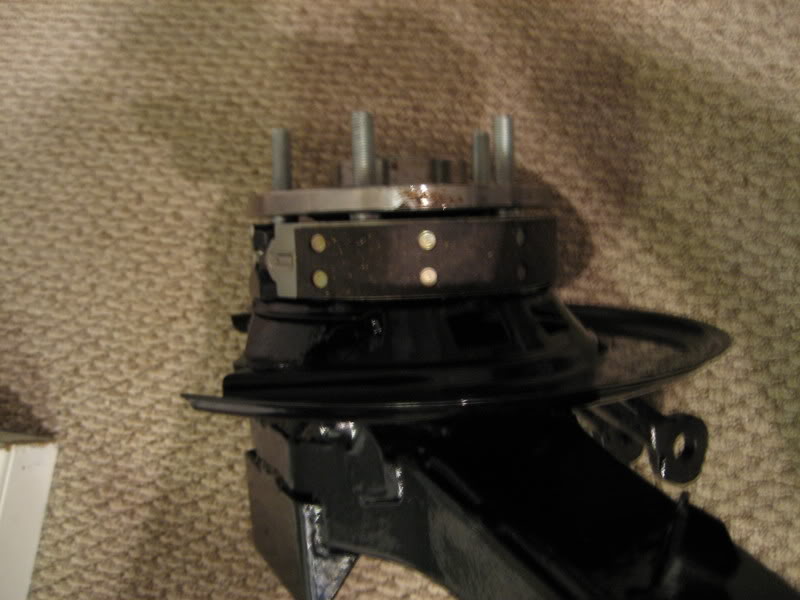
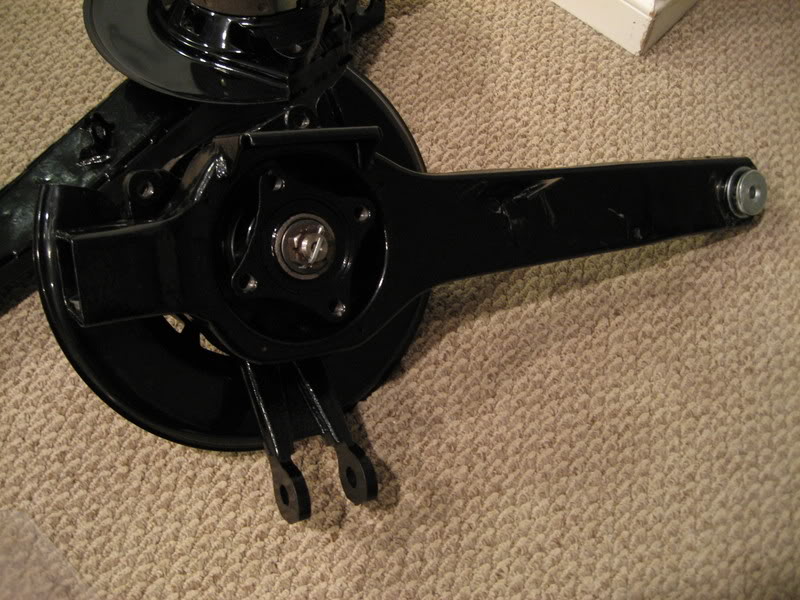
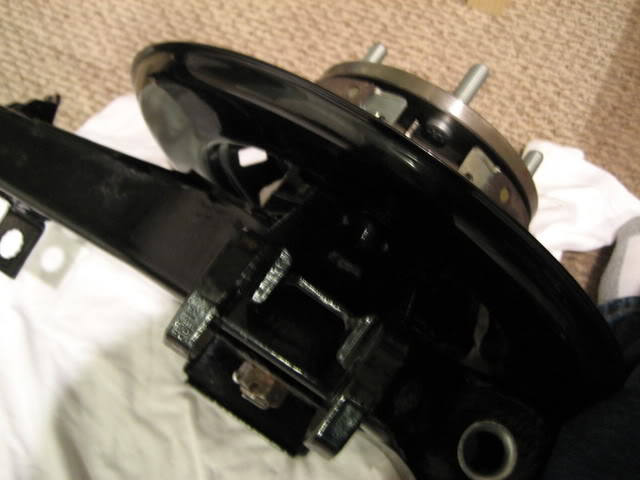
Finally after months of research and gathering of parts, I assembled both trailing arms yesterday successfully. The endplay readings for one of the bearing supports was .002-.0025 and the other bearing endplay reading was .0015. I had my friend turn me down two new shims to the size I needed because one of the guys at the shop was having problems setting up the parallel grinder. I am very happy with my results. The only thing I messed up was installing the inner oil seal on ther left trailing arm, which bent a little on me. I will be installing a new inner seal, I just ordered a new one. I took multiple readings for each bearing support and I was at most off by .0005 when rerading, which could have easily been just from me pushing up on the spindle tool incorrectly. I used antiseize on everything, even the new spindle threads. I am extremely confident in my work. I don't care what anyone says. I set it up better than anyone here in Calgary could have set it up. I even had my friend, who is a machinist by trade, read the dial indicator for me. He said I was spot on and that noone in any shop would have taken the time and effort I put in. My father is extremly proud of me, and so is my friend. My uncle thinks I shouldn't be messing around with the rear bearings, and that I would never get it done right if I did it on my own because I don't have experience. I just did what he thought I couldn't do right by myself...and damn is it a good feeling . I am so happy, I don't think I could have done a better job on these arms...there is no way. I'll post pics later on tonight. I bought two new spacers from VanSteel whch were already parallel. The bearings turn smooth and the parking brakes work great. To all you guys out there who have been considering building your own arms, be confident in yourself! I don't know why I was so worried about rebuilding them...I actually found that it was fun rebuilding all newly powdercoated parts. Do lots of research before you jump in, ask tons of questions and make sure you understand before proceeding.
Jeremy Smith
. I am so happy, I don't think I could have done a better job on these arms...there is no way. I'll post pics later on tonight. I bought two new spacers from VanSteel whch were already parallel. The bearings turn smooth and the parking brakes work great. To all you guys out there who have been considering building your own arms, be confident in yourself! I don't know why I was so worried about rebuilding them...I actually found that it was fun rebuilding all newly powdercoated parts. Do lots of research before you jump in, ask tons of questions and make sure you understand before proceeding.Jeremy Smith
Last edited by stinger12; 06-30-2008 at 06:58 PM. Reason: t
11-09-2007, 06:04 PM
#59
Safety Car
Thread Starter
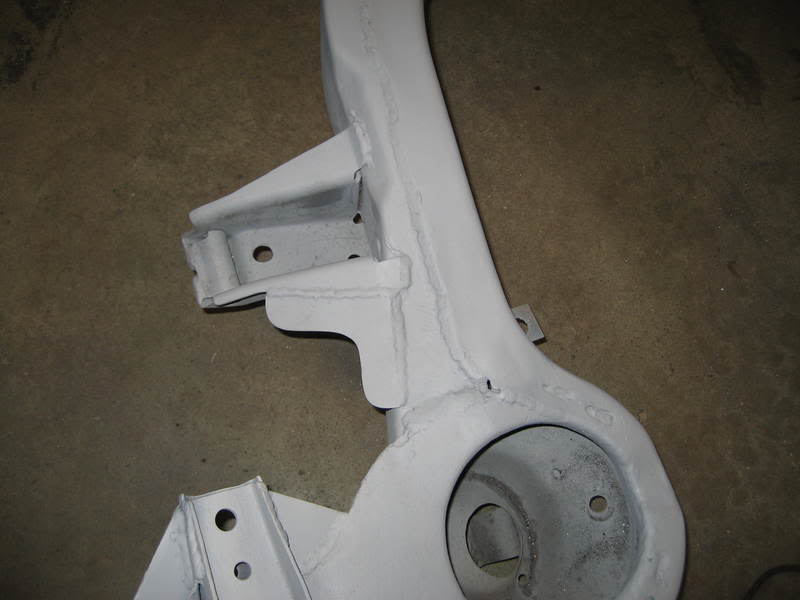
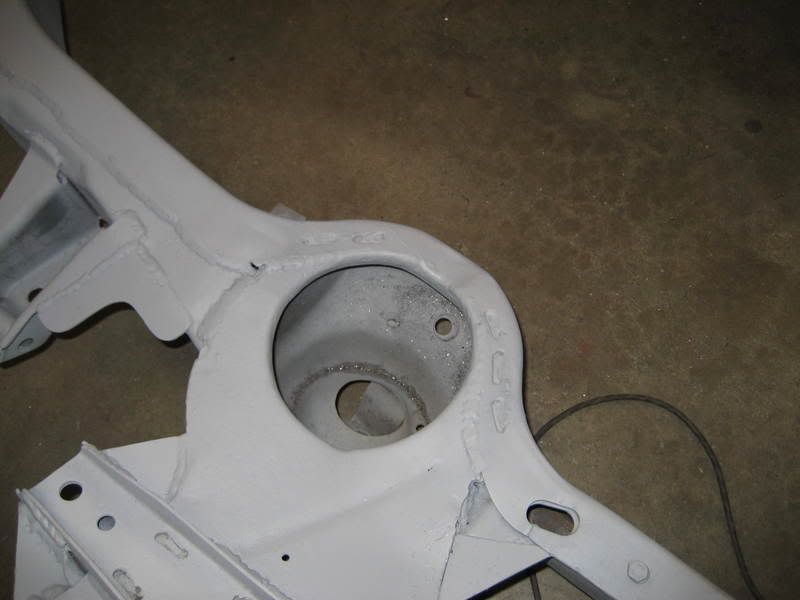
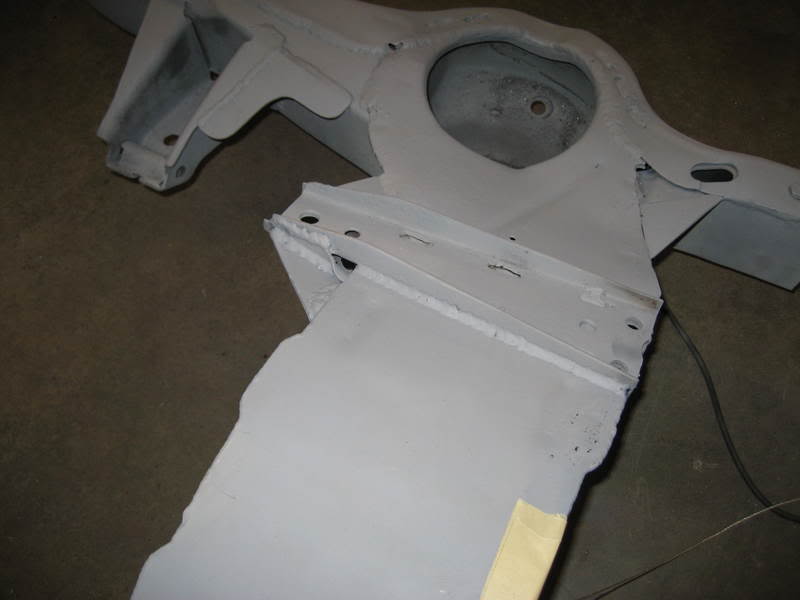
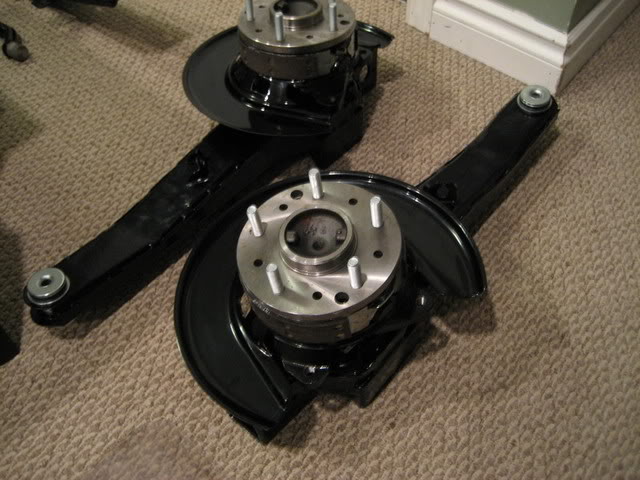
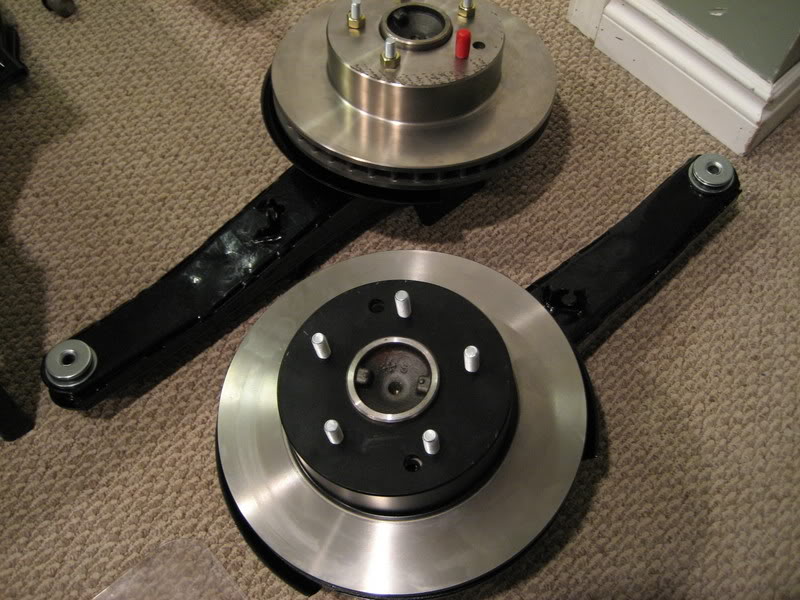
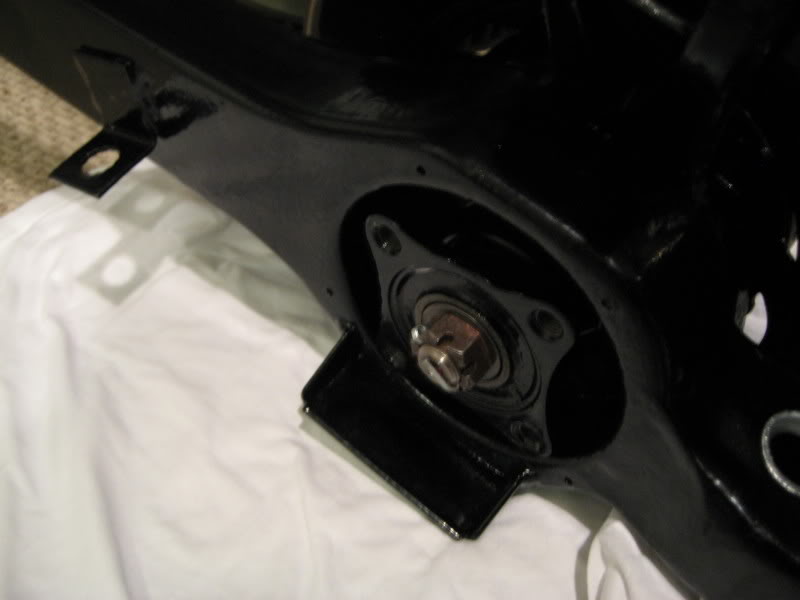
Here are some pics. I had to replace one of the bearing supports at the beginning of this project - I ruined the original one which came on the car when I was cutting out the shock mount with a grinder...this was before I bought a hydraulic press, and I have learned from my mistake.

11-18-2007, 12:14 AM
#60
Safety Car
Thread Starter
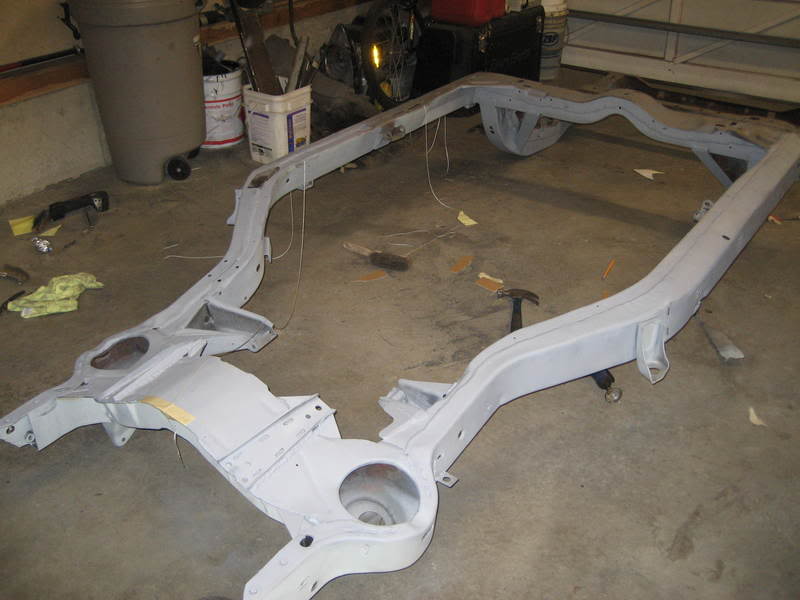
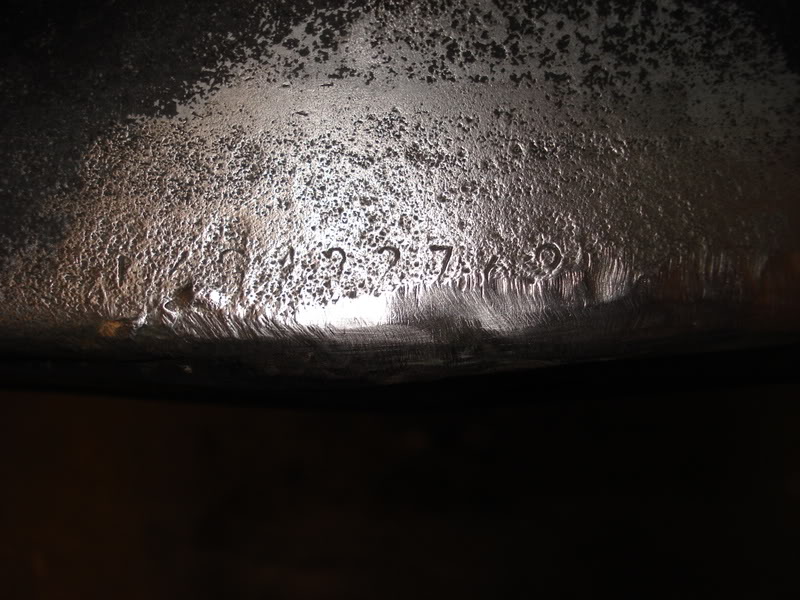
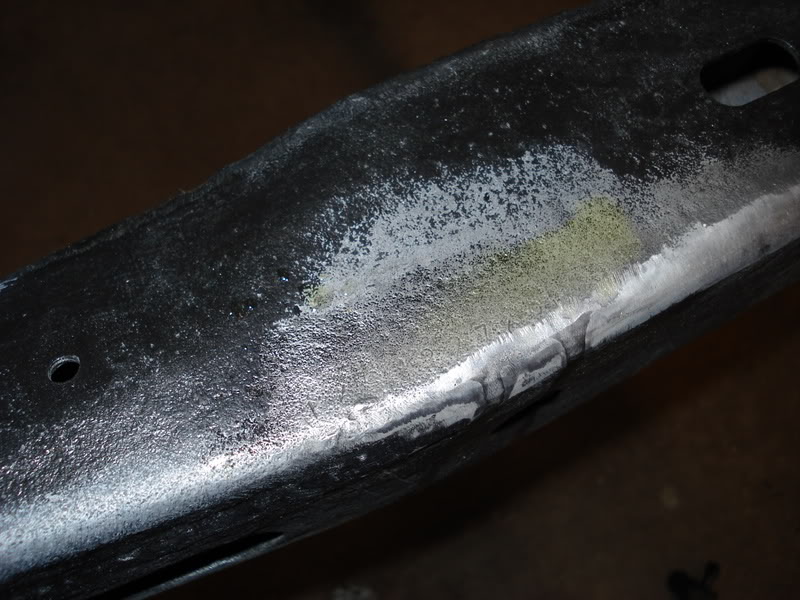
Alright, I need your help corvette people - here is my scenario. After sandblasting my frame a few times in the rear kick up area, my VIN number has been degrading slowly. I was grinding one of my welds back there yesterday and totally forgot that the VIN number was there. I stopped before I did any damage to it. Thankfully, the last two numbers were already faint at the bottom...so I don't think it caused any damage. I understand that this 76 really isn't worth as much as some of the older vettes, but hopefully someday it will be worth something. I have modded the entire frame and upgraded everything so it is still a numbers matching car, but it is not NCRS (which I never wanted it to be anyways). It will never become NCRS, because I think NCRS is absolutely stupid (sorry if I offended any of you guys...just my opinion).Before this gets sent off to powdercoat, I want to document that the frame matches the original VIN number. Would this picture be sufficient evidence that it matches? Some of the numbers are a little hard to make out. I used acid to bring them out a little better just so I can get a picture of them...it helped a little. I'm pretty sure only the last 5 digits are the important ones...so I might be okay.
I've completed a lot of work this past couple of weeks and will update it later on tonight, going back into the garage to work on the vette again!
VIN: 1Z37L6S422769
I've completed a lot of work this past couple of weeks and will update it later on tonight, going back into the garage to work on the vette again!
VIN: 1Z37L6S422769