When you click on links to various merchants on this site and make a purchase, this can result in this site earning a commission. Affiliate programs and affiliations include, but are not limited to, the eBay Partner Network.
Tonight I test-installed the door weatherstrips I got from DrRebuilt (he is praised for the quality and fidelity of its rubber part).
I used some strip of double face tape to make it stay in place.
I was nervous, I've read so many horror stories about rubbers (from other vendors) not fitting and doors impossible to close.
Well, I'm please to tell you my passenger door closes just perfectly.
Locating the exact position of the door striker pin sure is a crap-shot for sure, but I ended with the right position after a dozen of attempts.
By feel I can tell it takes the right amount of slam to close the door, just like you'd expect.
Door is flush, but under tension it changes its geometry a bit. I will probably do one more mudding, since I have the shape to fit perfectly.
As soon as I can move the car on the other side, I will test the driver side.
It's a big relief, and a testimony I located the door correctly.
I'm amazed at the "even gaps" between door and body!
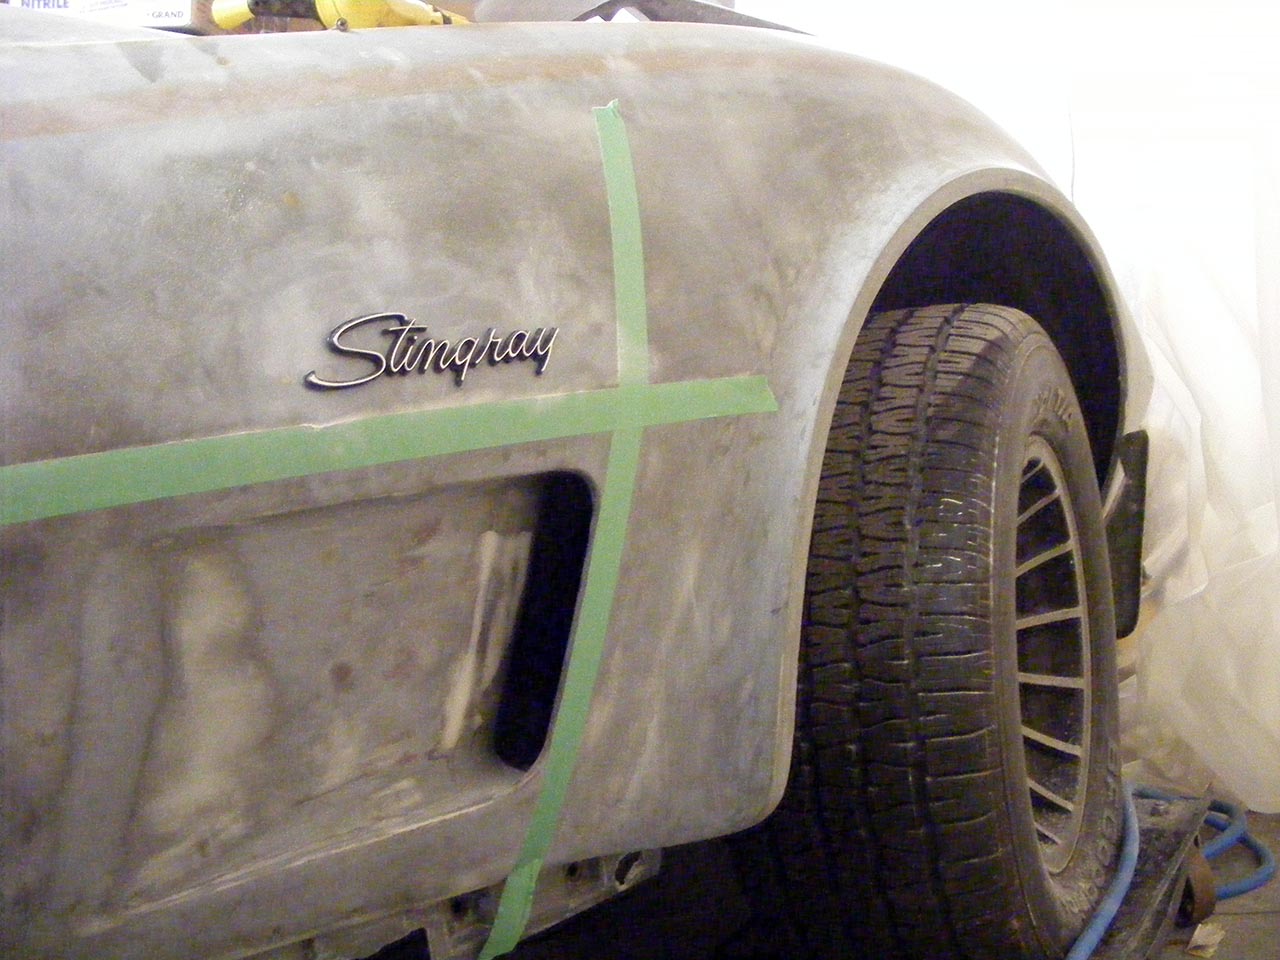
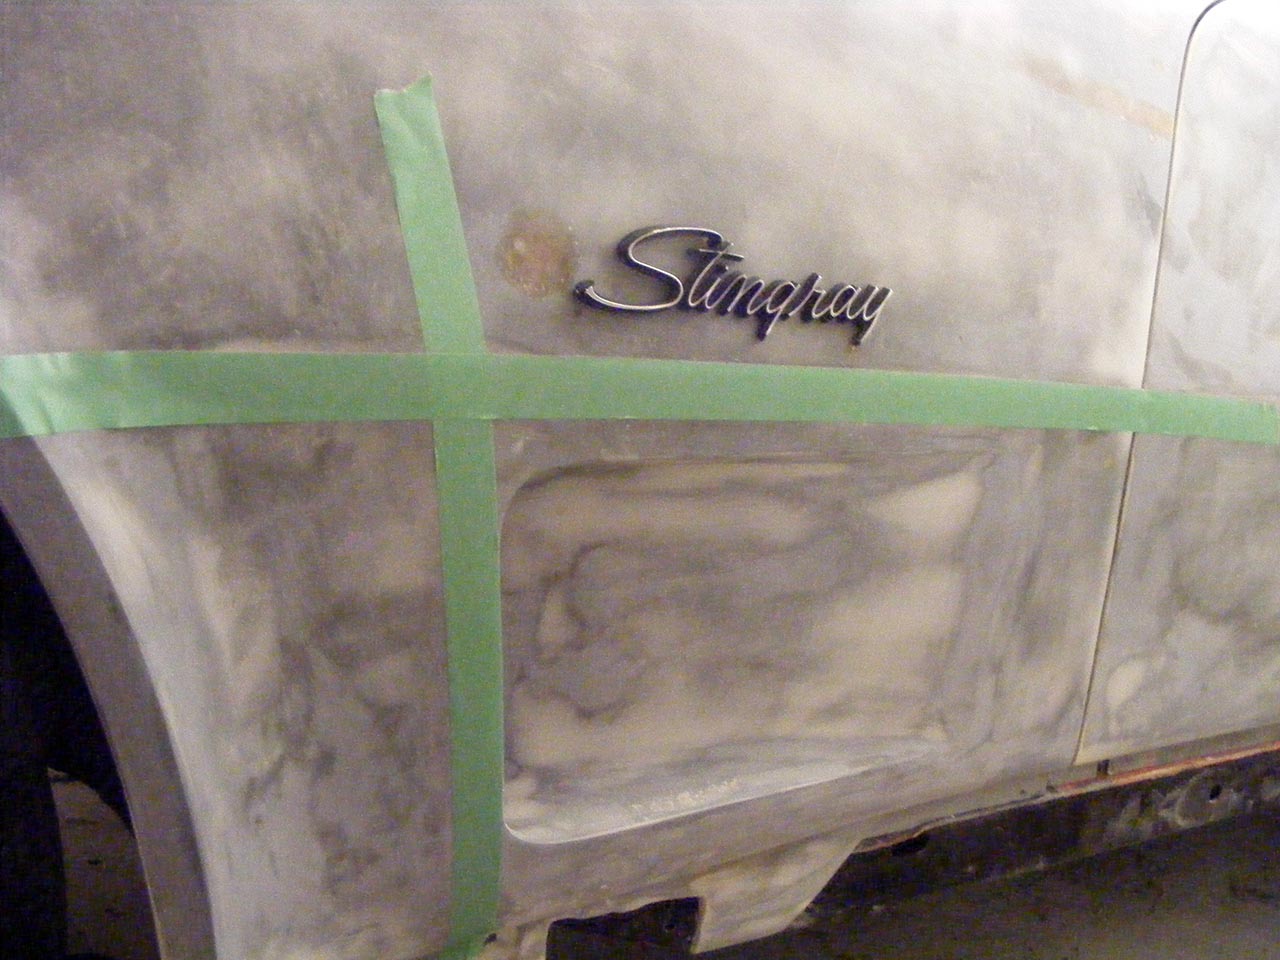
Annnnnnnnd the Stingray emblem.....you're a brave man!
Thanks you fellow restorer.
To be honest I tried to read the AIM page on emblem location, for a solid hour. Couldn't figure out was those 5 and 15 line meant and went "F*** it, I'm reusing the existing holes".
All informations I could find online were about 70-72 (egg crates), where the emblem is located much on the back, centered on the vent.
Since the front clip is from a '76 donor, the holes had to be right.
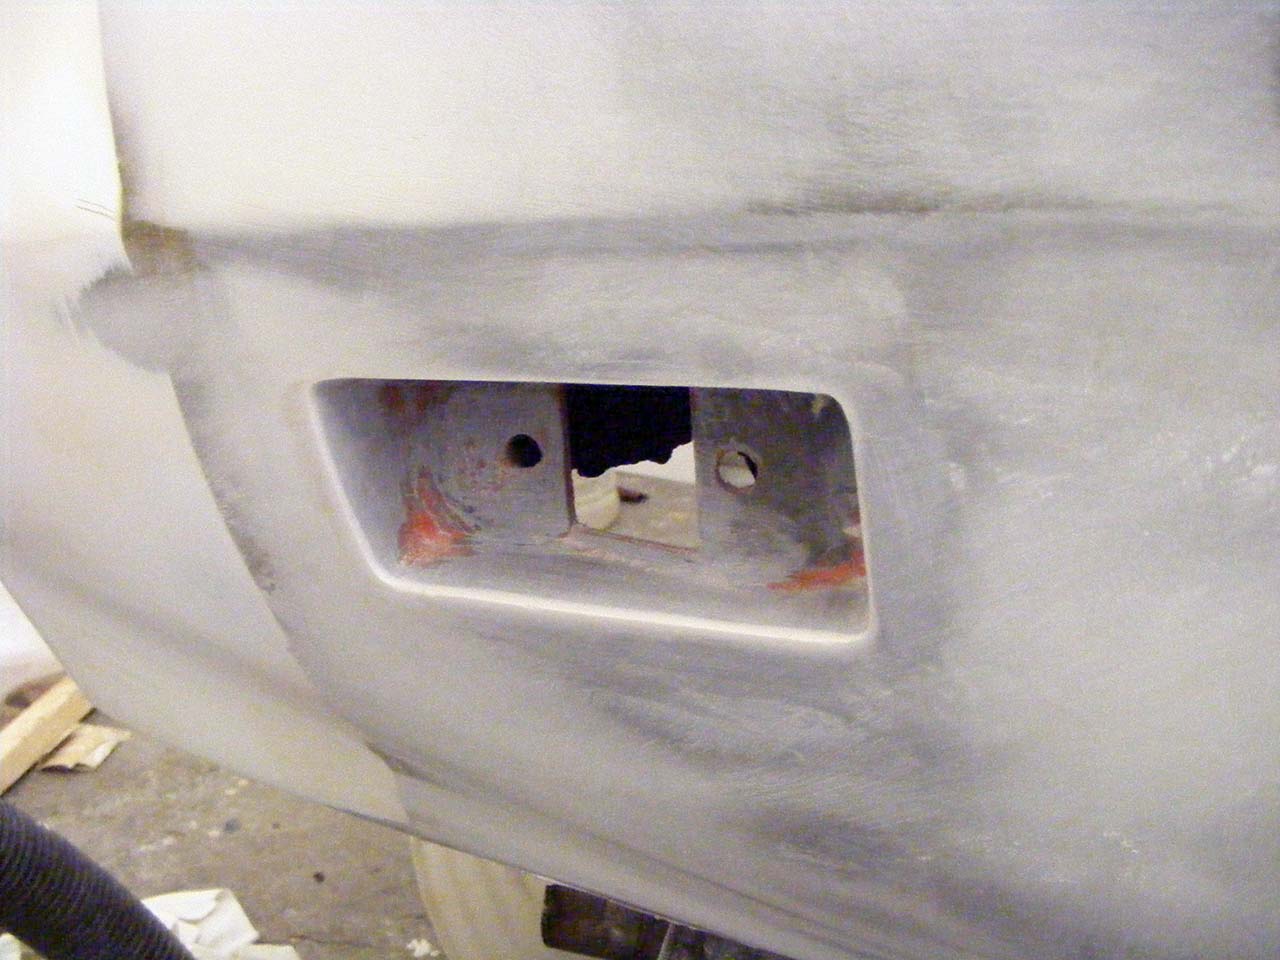
Another details I forgot mentioning : the passenger holes were the very first attempt at glassing and to be honest, they weren't that nice, so I took some time to redo them.
All done, right?
Well, not so much.
Turns out my door didn't get misaligned, it's the striker pin that forces it downward. But the pin is already at its highest position.
Look like I'm gonna have to grin some metal to enlarge the window around the stricker pin backplate. *sight*
OTOH I found out realigning the door at that point is a breeze, the weatherstrip helps a lot. That's a good news, I'm more confident I can remove the door at paint time and recover the alignment afterward.
Actually the stricker pin alignment does a lot to the final door position.
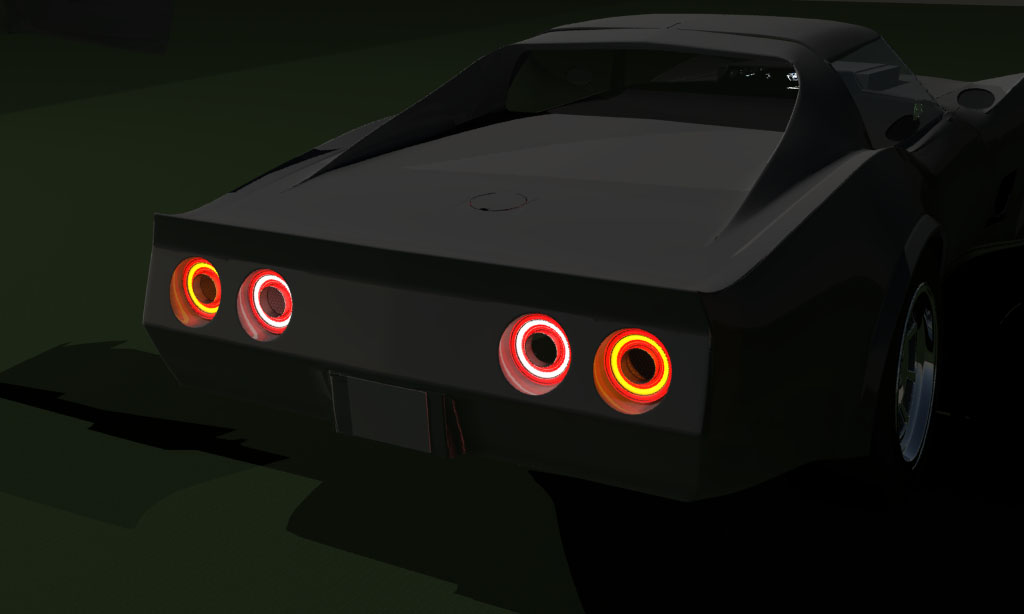
I've been trying many thing to make my tail light special.
Afterall this is a very important detail as it may be the only thing many may see
So after all the led soldering, pcb hacking and such, I decided to start again from scratch.
The idea came for the little brainstorming I had will forum members about venting the rear bumper.
I watched a vid on the Challenger Hellcat, describing how they hollowed out one of the headlight to make room for supercharger intake that it all came clear to me.
I'm gonna do hollow taillights.
LED rings are of the 'COB' style, as smooth as CCFL rings, and damn luminous.
The support is gonna be aluminum, and there will be a grid in the middle.
Another pretty massive news : I managed to find the suspension kit of my dreams : double mount VBnP monospring, front AND back.
And this just as I was about to install longer TA bolt and cut front coil to put the car at its final stance. How timely!
I feel like Xmass before Xmass.
Glad that the suspension kit is what you were looking for.
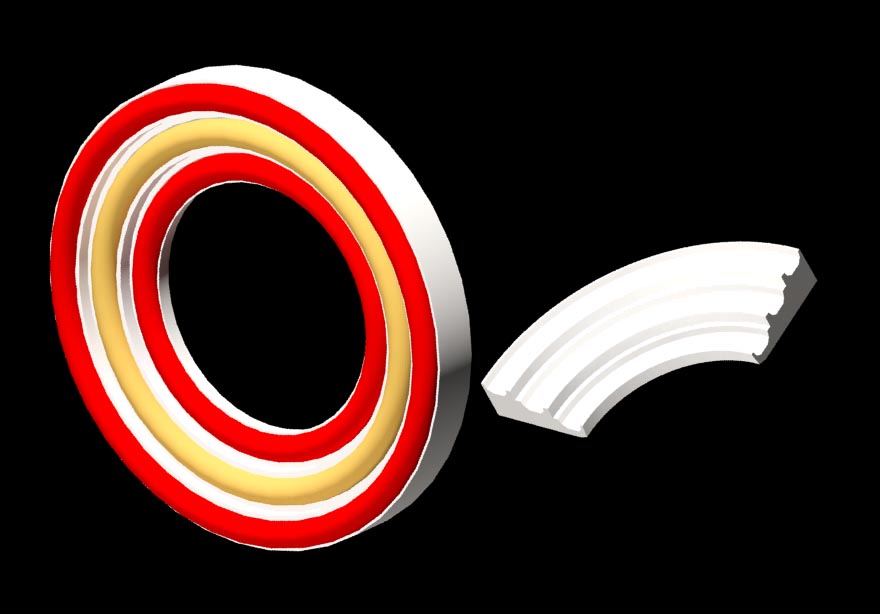
The piece that's going to support the rings it still in developpement, I'd like the three rings not to be on the same plane, but rather describe a inverted bubble shape, if you see what I means.
I will depends on what my machinist buddy is up to, I will see that with him this WE.
In the center I'm planning a honeycomb grid (I'm ordering it this evening).
Here's a render of what I'm after :
I got to check on the car how I can fix them. The simpler would be 3 or 4 threaded hole around the side, but I need to confirm I can reach there to put the screws. I can't count on the venting hole as there will be a mesh already.
I like the way you think. I would think that would help release the pressure back there, but also should look pretty cool.
Thanks.
Keeping thing simple is hard, and when sometimes form and function feel like coming together damn it's rewarding.
I'm similarly obsessed by my front turn signal / font grill combo.
Here's a render with the chosen grill, at its actual scale.
The grill is the actual grill, at its actual size.
I just took another look at your steering column/wheel rebuild ... nice job. I think I'll be taking my column and wheel down to the winter home. Seems like I won't need a garage full of tools (that I don't have down south). I doubt I'll find Moose leather but maybe some alligator . Nice job!!!
I just took another look at your steering column/wheel rebuild ... nice job. I think I'll be taking my column and wheel down to the winter home. Seems like I won't need a garage full of tools (that I don't have down south). I doubt I'll find Moose leather but maybe some alligator . Nice job!!!
Thanks mate.
I'm sure you already know, but Jim Shea's papers are all you need to redo a steering column.
No much tool needed, except two specific ones, but they can be made out of metal sheet and bolts.
Man, you will have time to redo the column tens of time during the winter season.
I hope you won't feel corvette-sick, so far away from the garage...
Tips 4 ya: tedious things that can be done outside the garage:
-interior trim recleaing & repaint (if needed)
-wiring harness cleaning/repairing/repacking.
-rear compartiment door/frame rebuild.

 08-19-2014, 11:37 PM


 .
.

 . Nice job!!!