
just starting a frame off resto 79, any tips?
 03-24-2012, 11:46 PM
#41


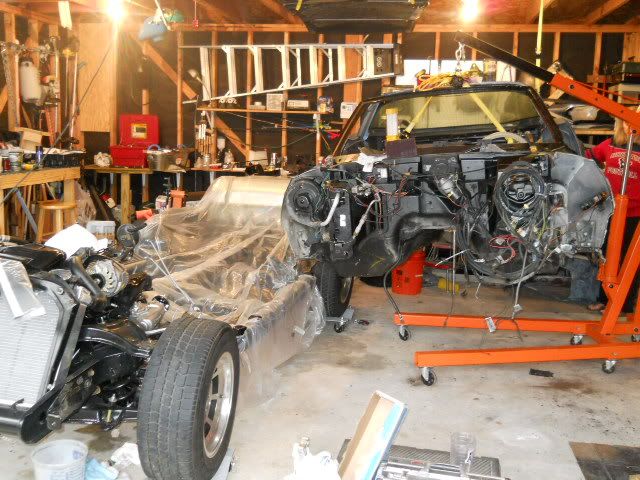
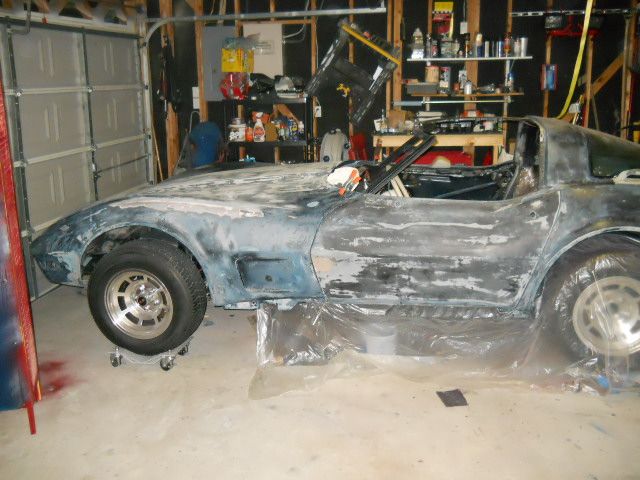
here is my latest progress. got the body (minus front clip) back on the frame so it feels like big time progress.....at least it does to my wife. anyway, here are some pics.
[IMG]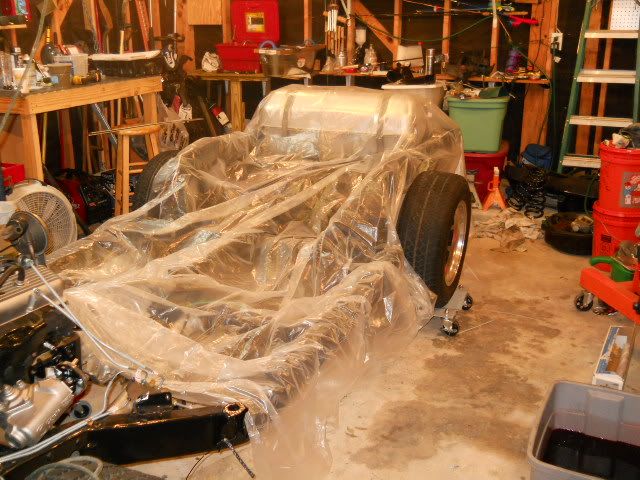 [/IMG]
[IMG]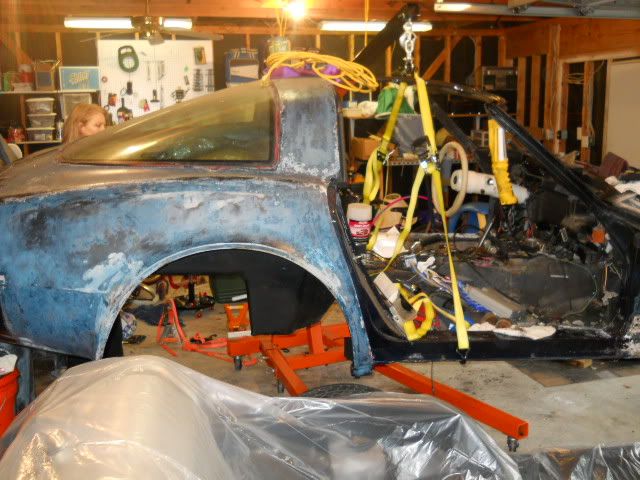 [/IMG]
[IMG] [/IMG]
and then finally, i have a problem. the rear wheels/trailing arms are sitting to low. any thoughts on what I did wrong?
[IMG]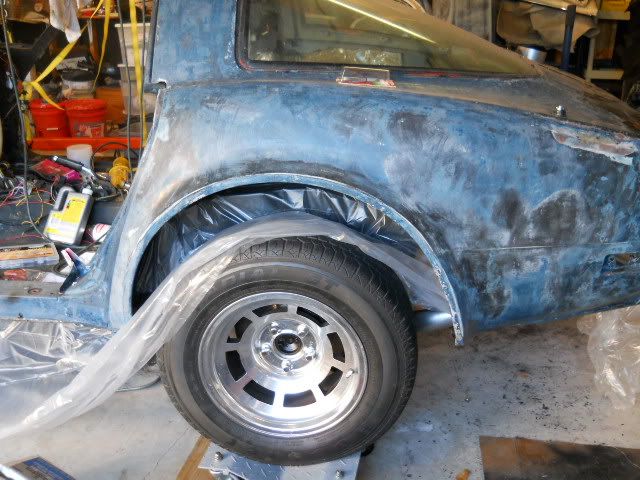 [/IMG]
[IMG]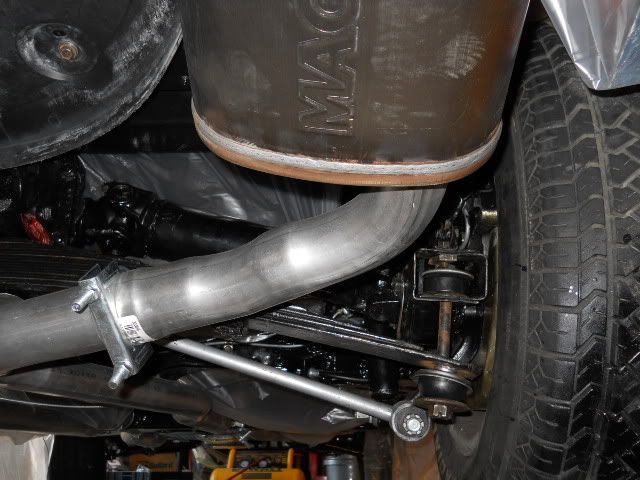 [/IMG]
[IMG]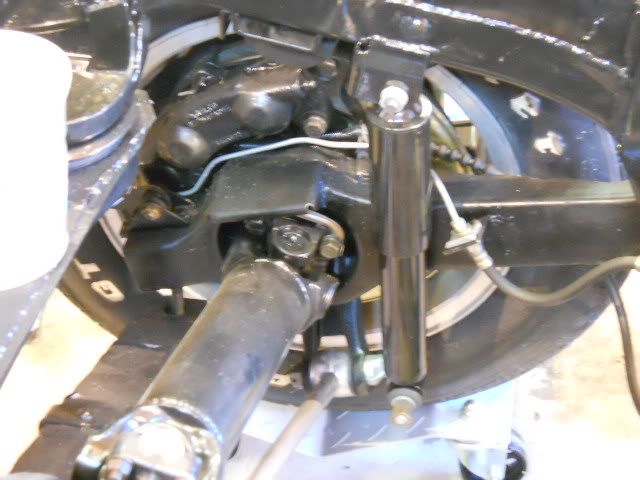 [/IMG]
thanks for looking.
[IMG]
[/IMG][IMG]
[/IMG][IMG]
[/IMG]and then finally, i have a problem. the rear wheels/trailing arms are sitting to low. any thoughts on what I did wrong?
[IMG]
[/IMG][IMG]
[/IMG][IMG]
[/IMG]thanks for looking.
 03-25-2012, 10:12 AM
#42
Melting Slicks


Just some tips.
Do not torgue the lower shock bolt or all four of the spring plate bolts until all the weight is on the ground including full tank of gas if possible.
If you torque the mounting plate bolts before full weight is on the ground there is a risk of breaking the rear diff cover.
Did you disassemble the rear spring and paint each leaf?
the spring should be painted with a high zinc content paint like Cold Galvanizing paint. The zinc help to lubricate as leaves slide and protects from rust.
Lookin good!
Bill
 03-27-2012, 09:12 PM
#45
I'm getting ready to try and install the front clip on my car. Any advice or pointers that any of you guys can send my way? I really don't want to screw this up.
Thanks,
Gary
Thanks,
Gary
03-27-2012, 11:17 PM
#46
Burning Brakes


 07-20-2012, 01:21 AM
#47
here are some update photos....doing a trial fit up of the front clip and the doors. I plan on bonding that on in the next few days, and then it's time to fire up the new engine and make sure everything mechanical is working before going to paint.
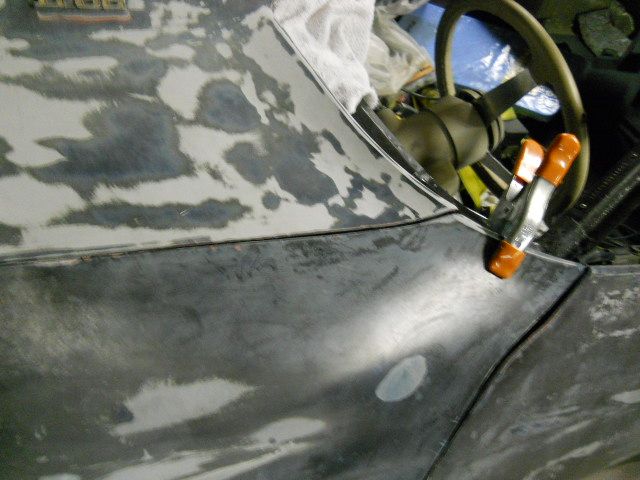

Not crazy about some of those lines, but I hope some of that improves once I level the car. BTW, anyone have any tips on leveling the car? Front to rear doesn't seem like a problem, but side to side on the front has me a bit baffled.
Anyway, thanks for looking.
Gary
Not crazy about some of those lines, but I hope some of that improves once I level the car. BTW, anyone have any tips on leveling the car? Front to rear doesn't seem like a problem, but side to side on the front has me a bit baffled.
Anyway, thanks for looking.
Gary

 07-22-2012, 10:59 AM
#51
 11-06-2012, 07:35 AM
#52
just started getting parts back from paint.....midnight blue that looks great. I will post some pics soon. Still waiting on the carb rebuild so that I can finish mechanical before painting the car.
Gary
Gary
11-13-2012, 08:15 PM
#54
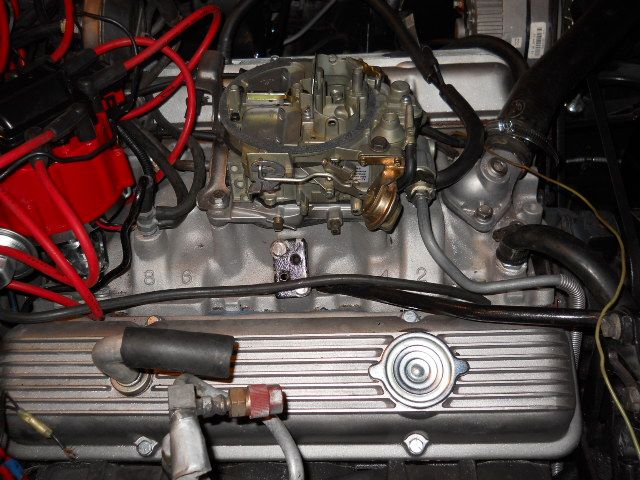
Here are some update photos....put the starter on and it gave me fits. Tried to shim it and messed around with for a couple of hours before frustration sent me to upgrade Went from this:

to this
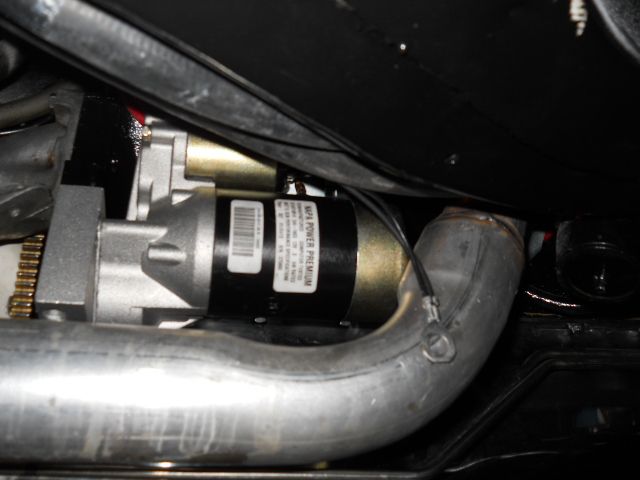
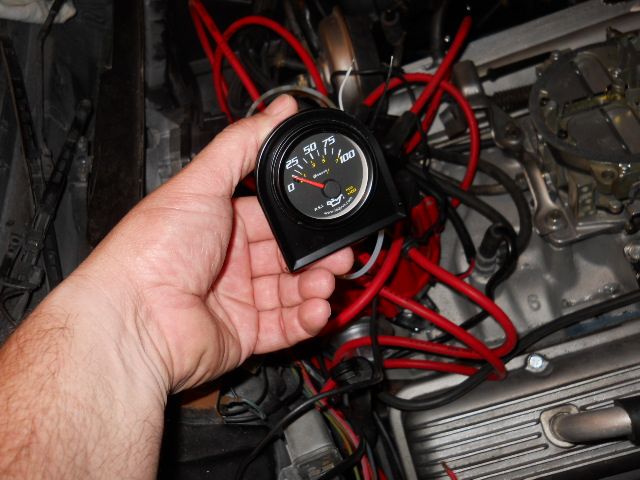
and my problems were cured. So i installed a mechanical oil pressure gauge so I would be sure and started cranking with my handy rigged up starter button
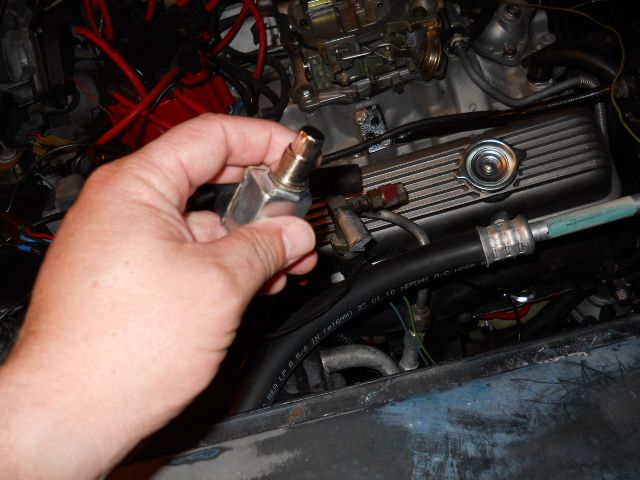
the quadrajet is awesome once I got the timing set....1/2 turn and starts right up. really helps to have a true expert work on your carb. He wasn't cheap, but well worth the money (so far)

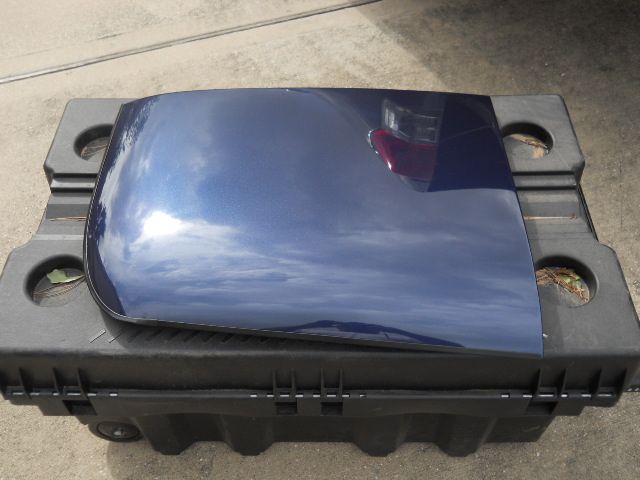
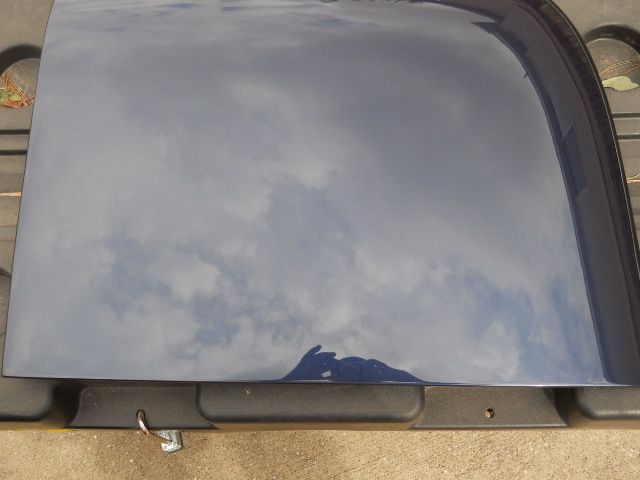
Finally, here are a few pictures of the t-tops after paint. Pictures really don't do them justice as they turned out very nice. I'll post some more pics as parts get back.
Well that's all for now....it has been such a long process, but it feels great to finally get the engine started and make some symbolic progress.
to this
and my problems were cured. So i installed a mechanical oil pressure gauge so I would be sure and started cranking with my handy rigged up starter button
the quadrajet is awesome once I got the timing set....1/2 turn and starts right up. really helps to have a true expert work on your carb. He wasn't cheap, but well worth the money (so far)
Finally, here are a few pictures of the t-tops after paint. Pictures really don't do them justice as they turned out very nice. I'll post some more pics as parts get back.
Well that's all for now....it has been such a long process, but it feels great to finally get the engine started and make some symbolic progress.
12-15-2012, 01:54 AM
#55
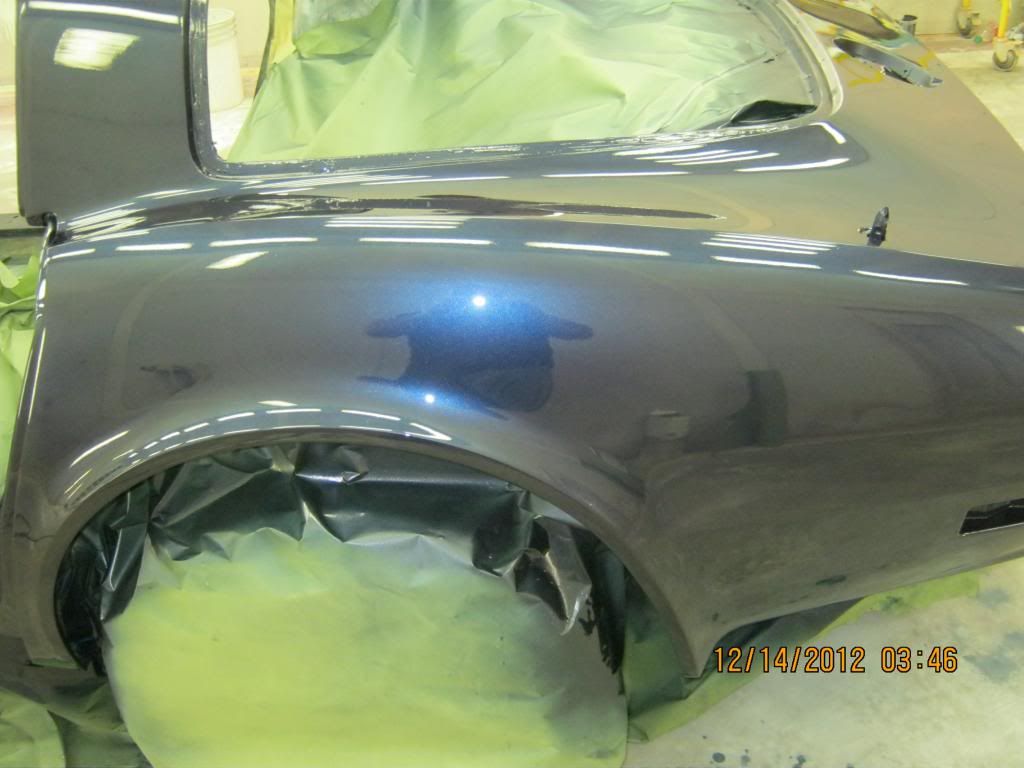
Here are pics of the car at my paint shop in various stages. I'm almost home with the exterior....it has been a long road, but there's light at the end of the tunnel.
Prime coat: 3 coats with wet sand between
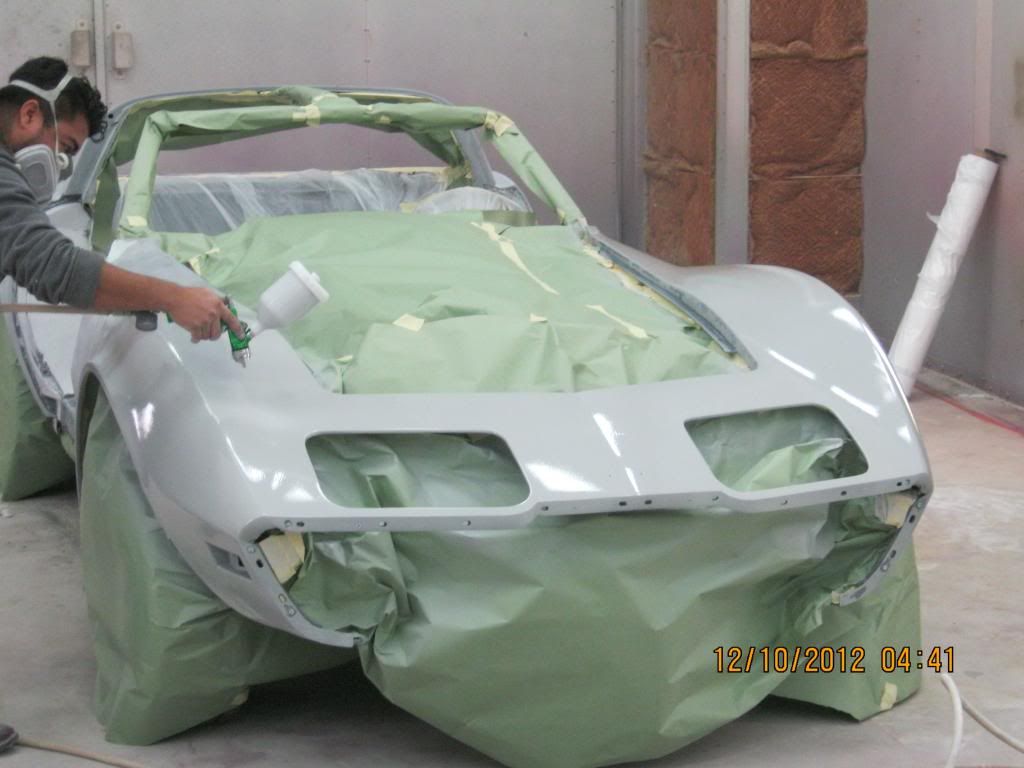
seal coat: 1 coat
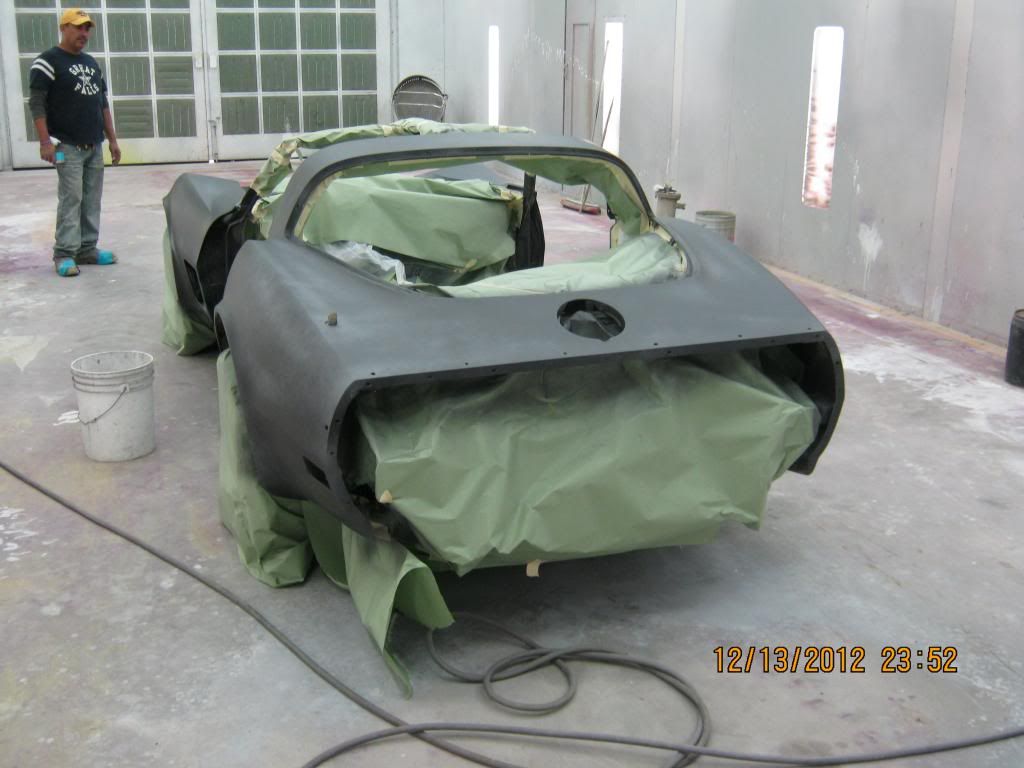
base coat: 4 coats with wet sand between
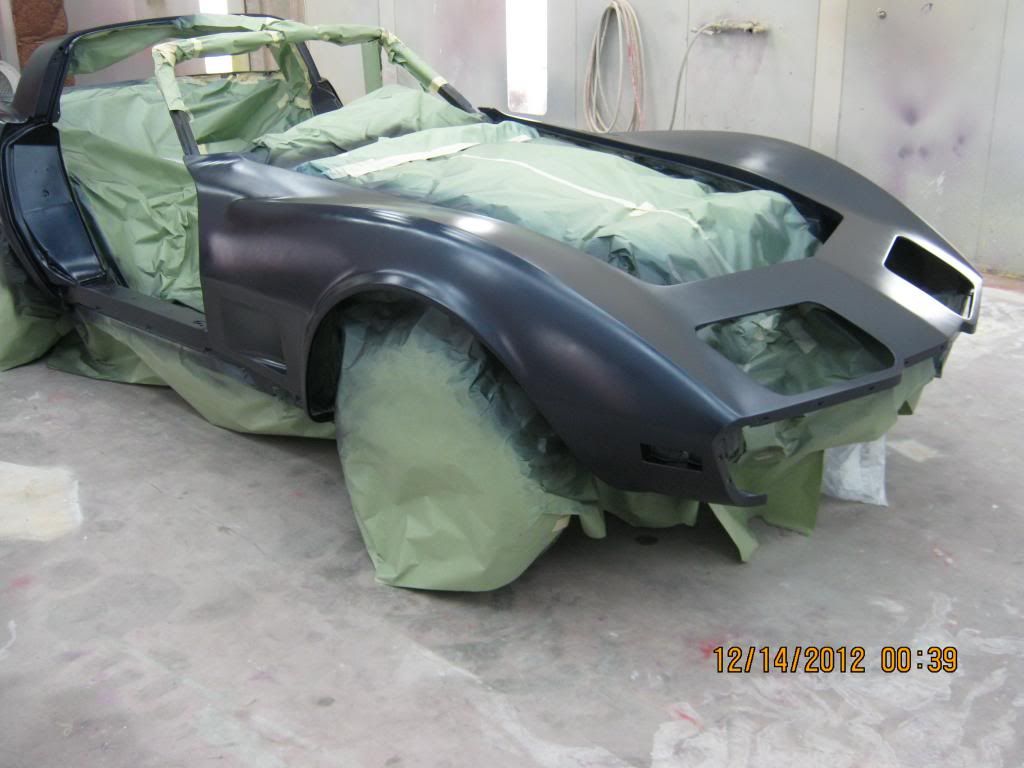

clear coats:
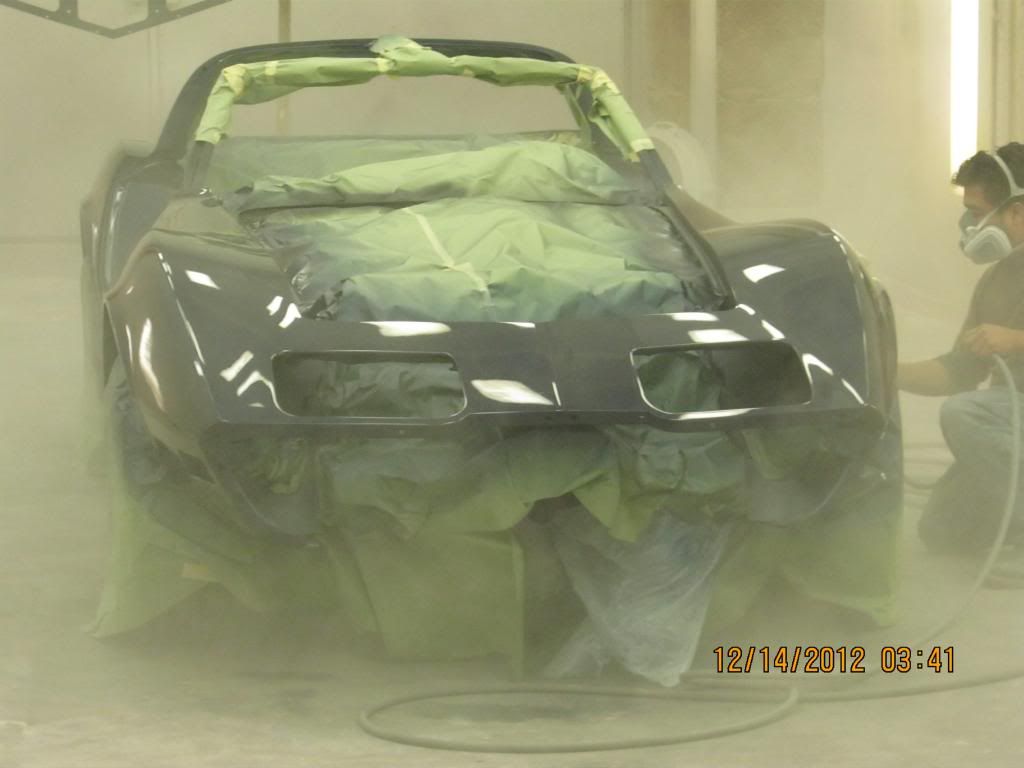
I just thought the above pic was cool, so wanted to include it.
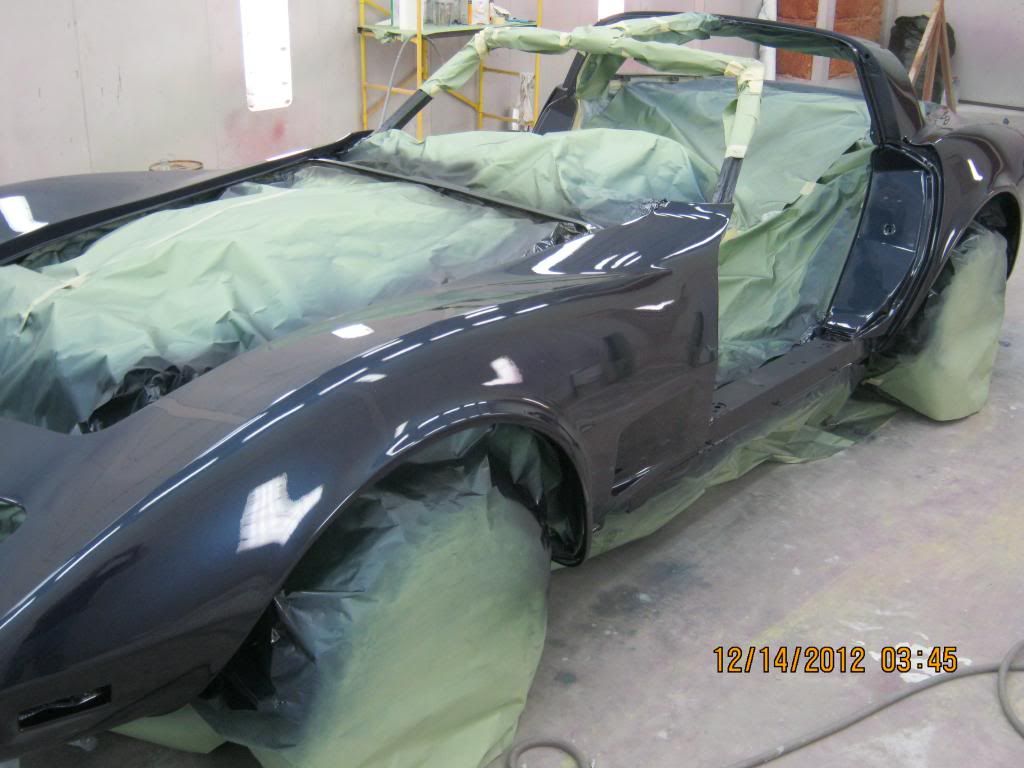
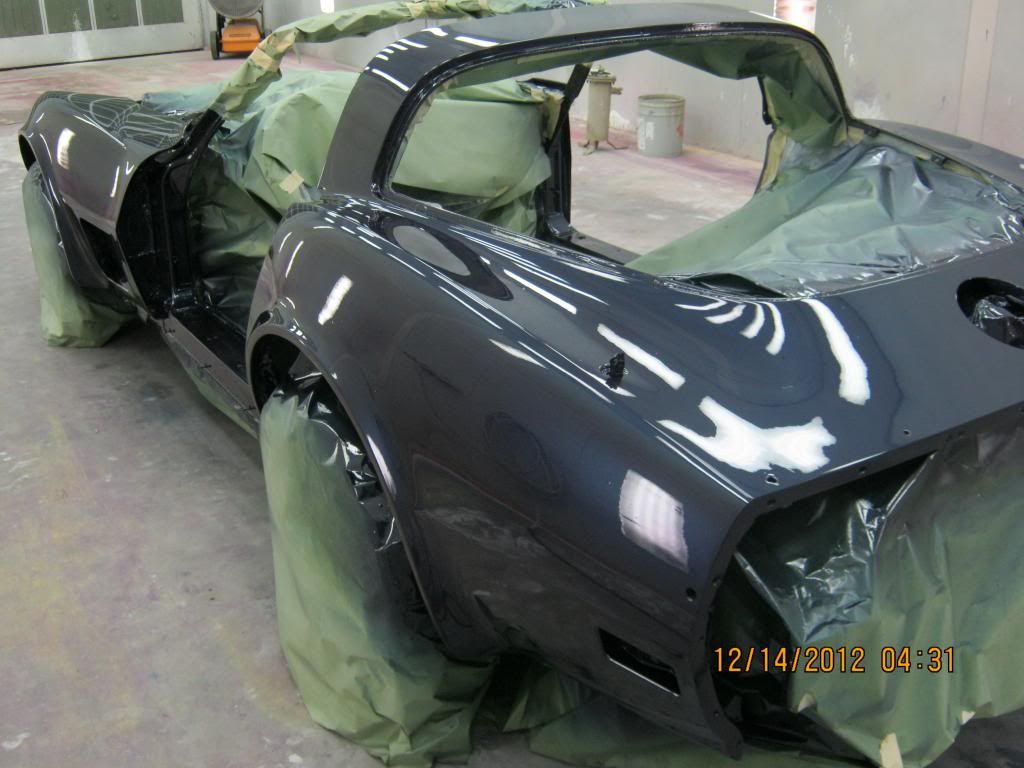
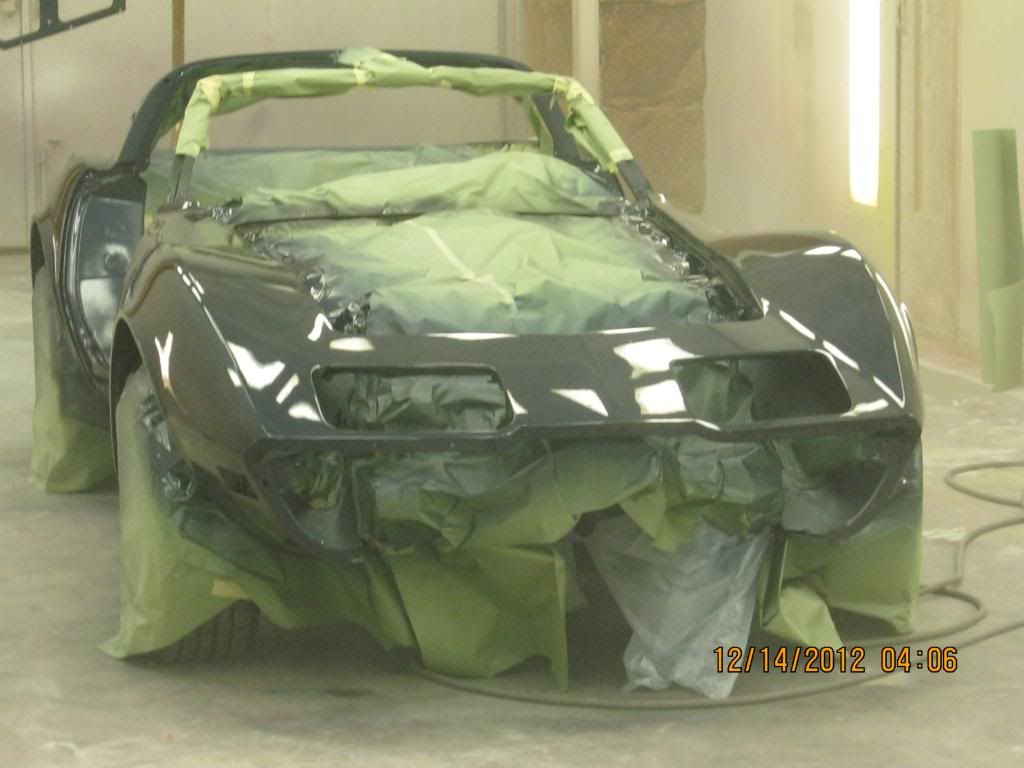
Now it's on to buff, then putting on bumpers and other exterior parts......fun for all, but getting closer and that is nice.
Prime coat: 3 coats with wet sand between
seal coat: 1 coat
base coat: 4 coats with wet sand between
clear coats:
I just thought the above pic was cool, so wanted to include it.
Now it's on to buff, then putting on bumpers and other exterior parts......fun for all, but getting closer and that is nice.
Last edited by garym52; 12-15-2012 at 03:04 AM.
12-15-2012, 09:51 AM
#56
Drifting

Gary--
Car looks outstanding... You have got to be "stoked" that you are getting so close... Please have fun with her and drive the crap out of her once you get her road-worthy... Years of labor coming to fruition, Awesome!!!
Rogman
Car looks outstanding... You have got to be "stoked" that you are getting so close... Please have fun with her and drive the crap out of her once you get her road-worthy... Years of labor coming to fruition, Awesome!!!
Rogman

 01-04-2013, 05:25 PM
#60
thanks guys...I got the bumpers/covers and rear spoiler back on and installed the headights. Heads up to anyone else doing this, I highly recommend that you put the headlight assembly in before the bumper/honeycomb. I thought the headights would slip right back in but was wrong and it took a ton of time to get them re-installed. i will post some more pictures soon. I was planning on getting a bunch more done over the holiday, but I've had the flu which sucks because i finally had time slotted to work on this car.......6 month project (ambitious I know), 2.5 years later 
gary
gary