
72 resto mod re-build start (pics)
 07-05-2011, 09:49 PM
#1
Racer

Thread Starter

Member Since: Nov 2010
Location: Flower Mound TX
Posts: 364
Likes: 0
Received 0 Likes
on
0 Posts
I guess I concider the break down of my 72 done and now that I have started the frame stuff, that I am now officially in the rebuild phase. Long way to go but I know what I am going to do and put back into the car.
I will try to keep this one going as I make progress.
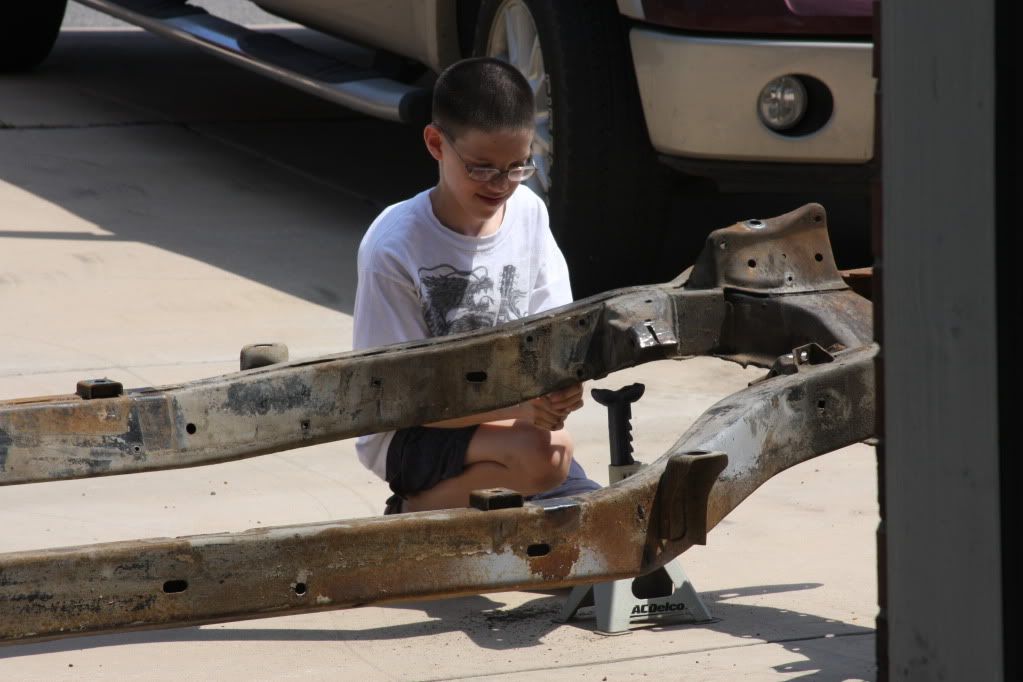
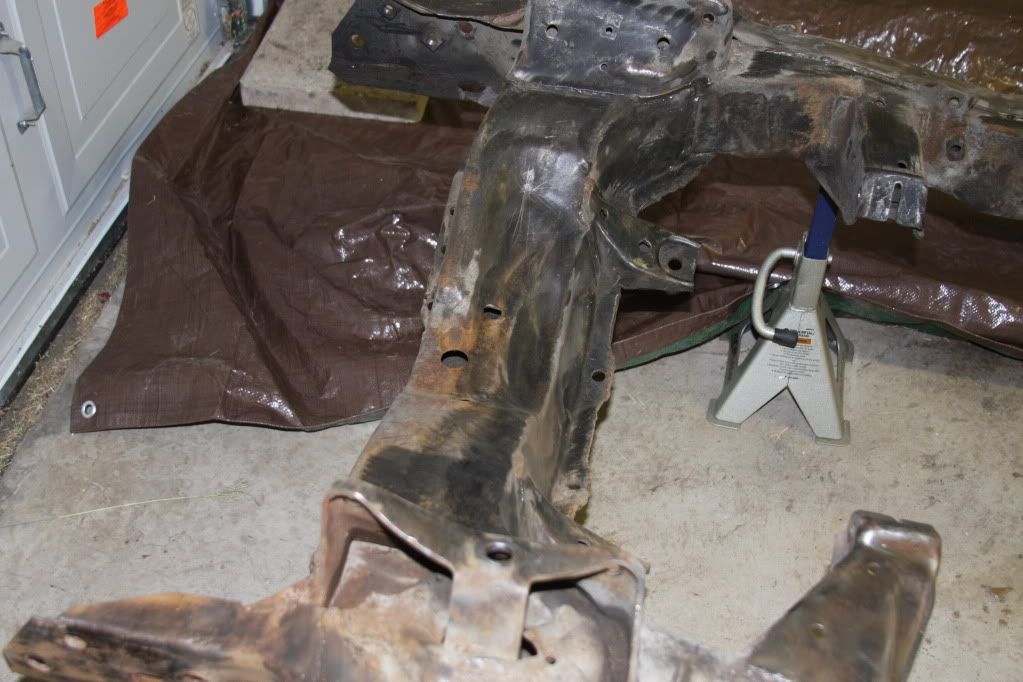
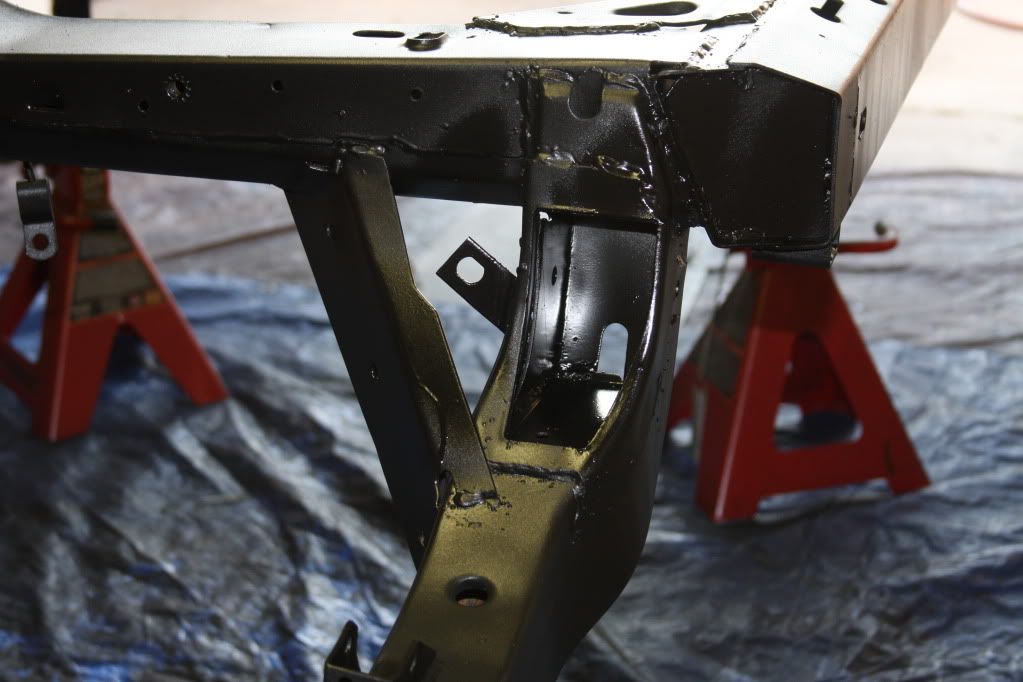
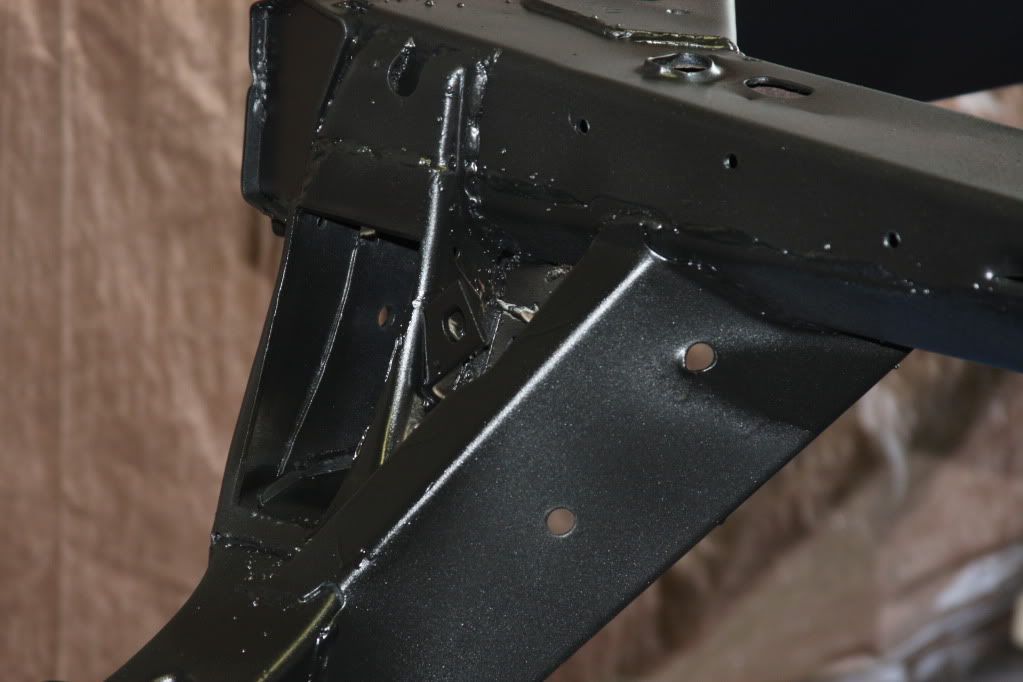
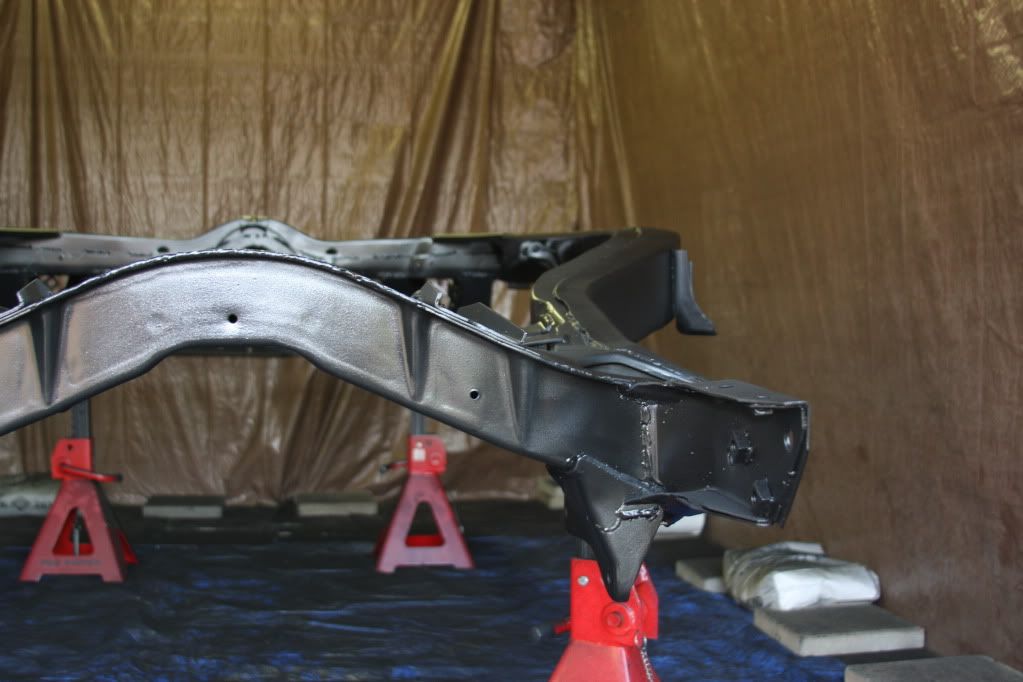
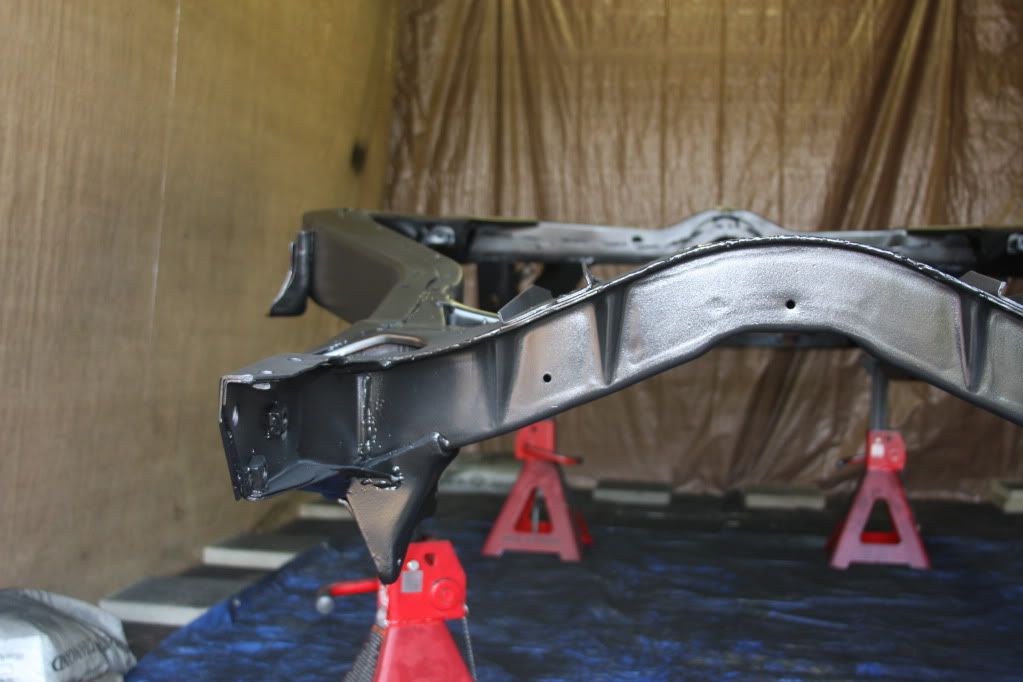
So the last few weeks I cleaned the frame up to get it ready for POR and chassis coat. My son and I cleaned the frame to get loose stuff off prior to blasting. I then used some manual labor and wheels to clean the seams and places I may have missed in the blasting. I then used metal ready to give some tooth to the areas I made smooth.
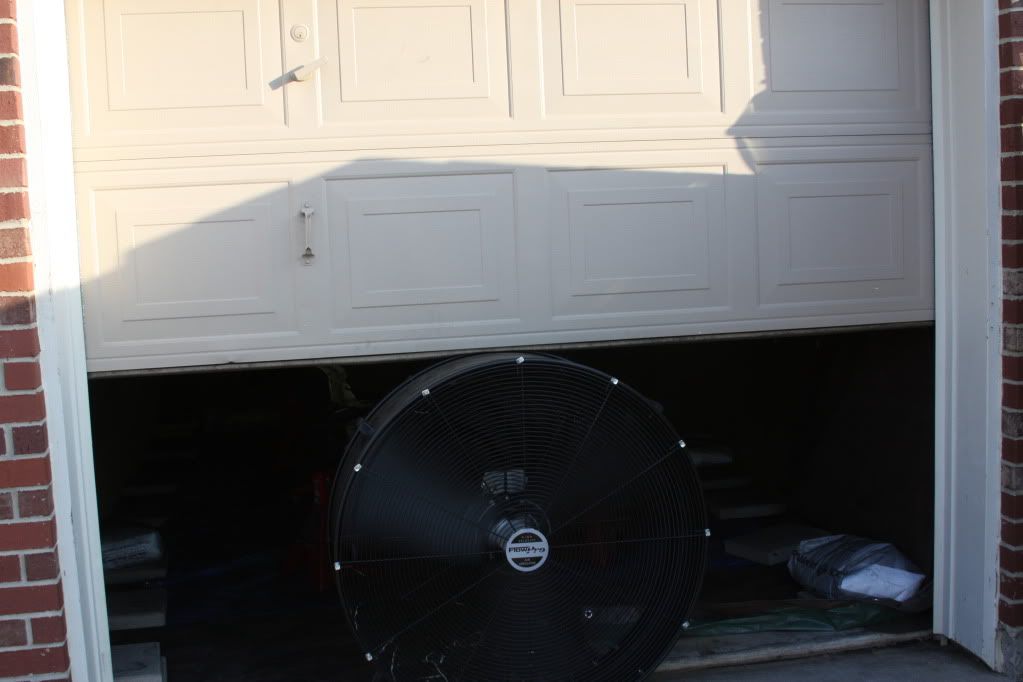
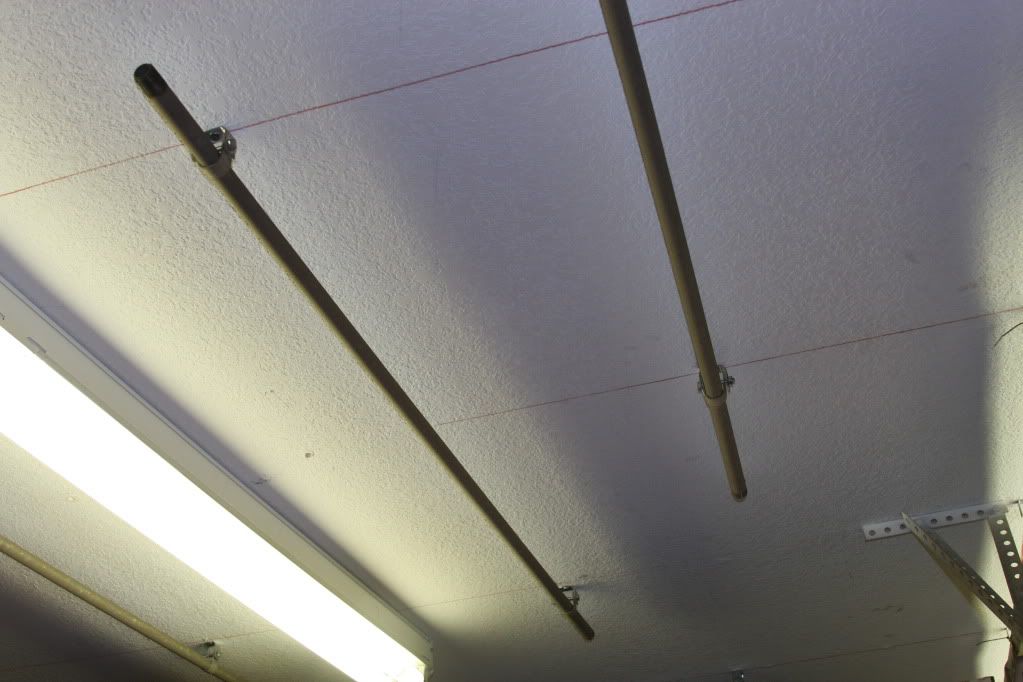
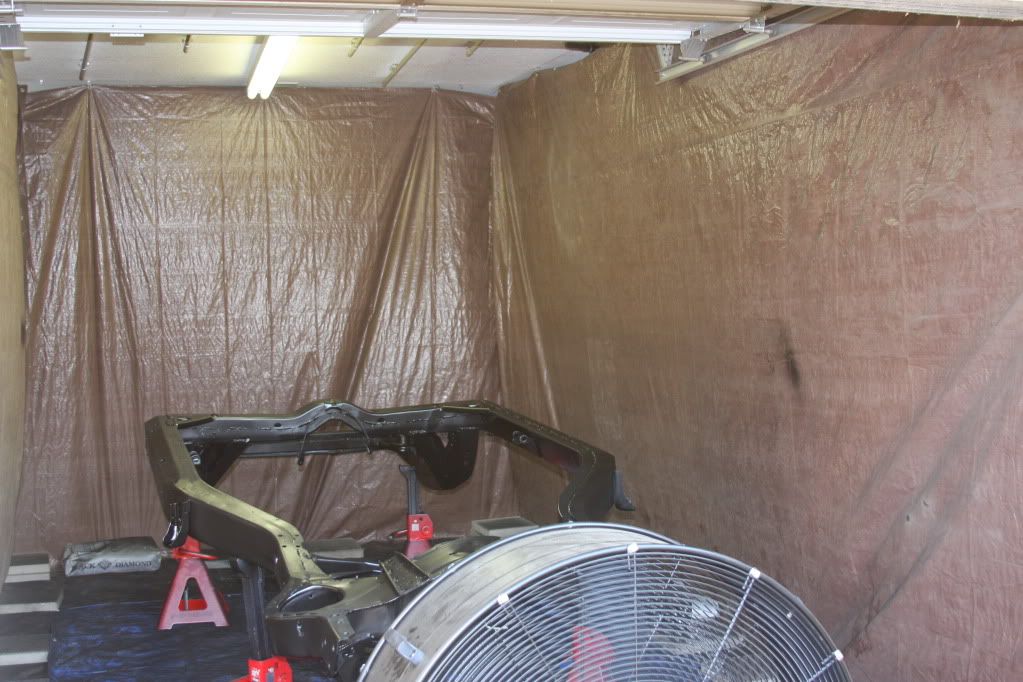
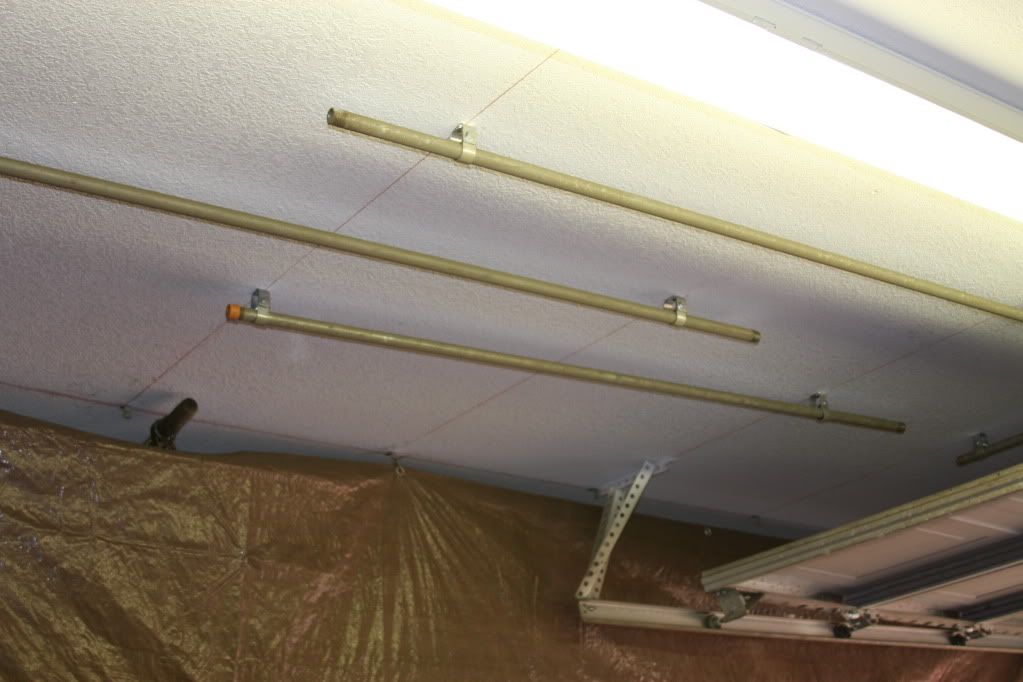
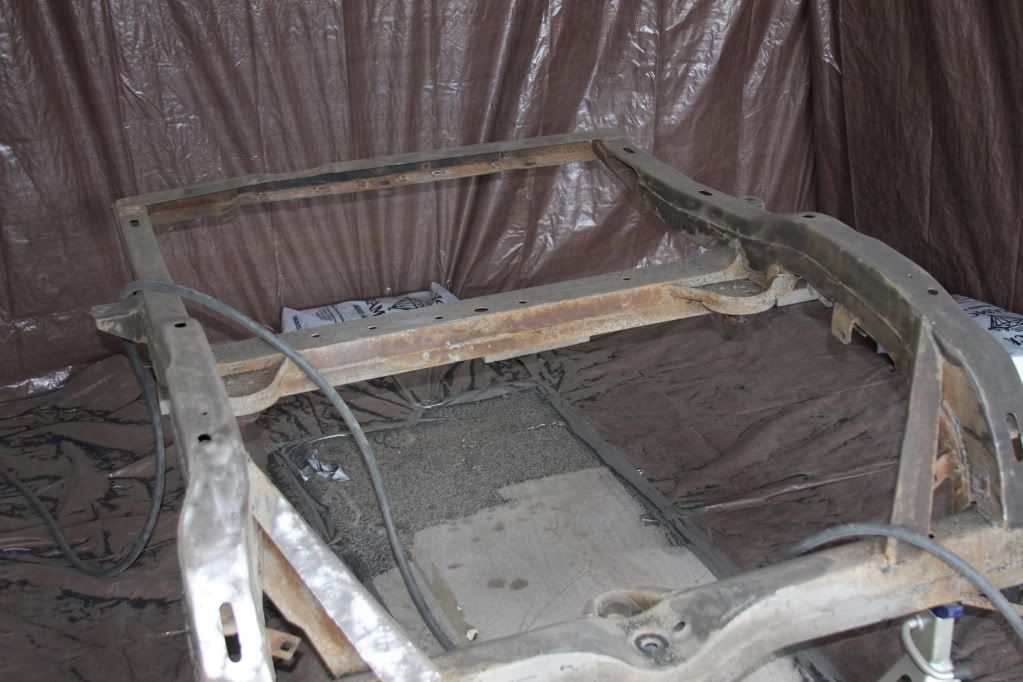
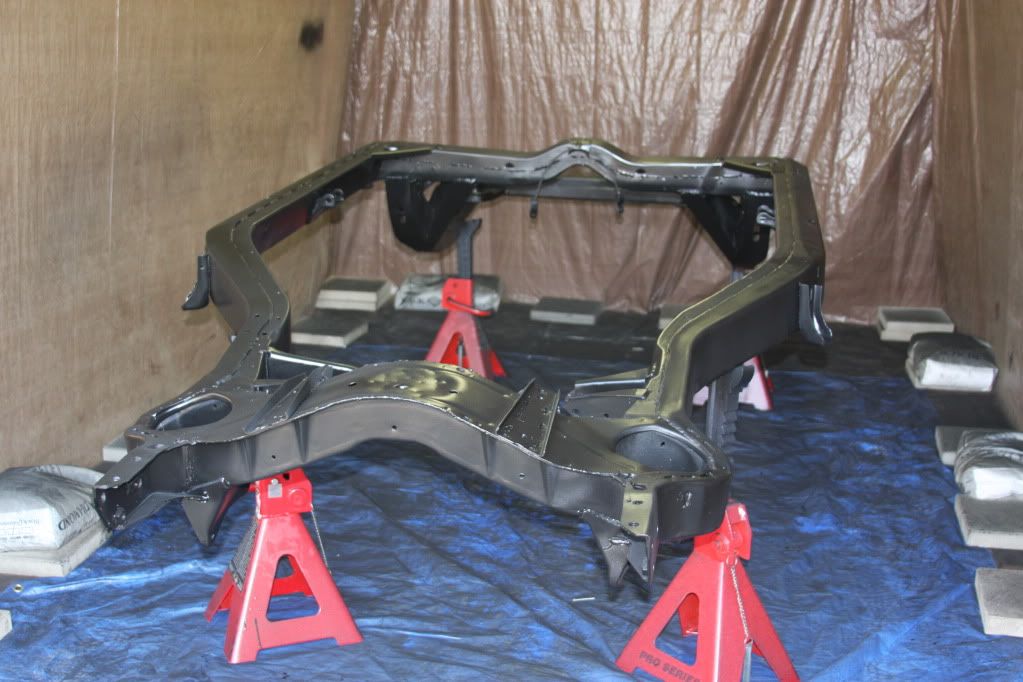
Finally I was able to get it into my paint booth (used for blasting also). 1 car garage with tarps to keep it out of the other 2 bays and the house. I hung pipe off the studs so I can hang future parts. ALso have a 36" fan that helps vent the room when I am in it.
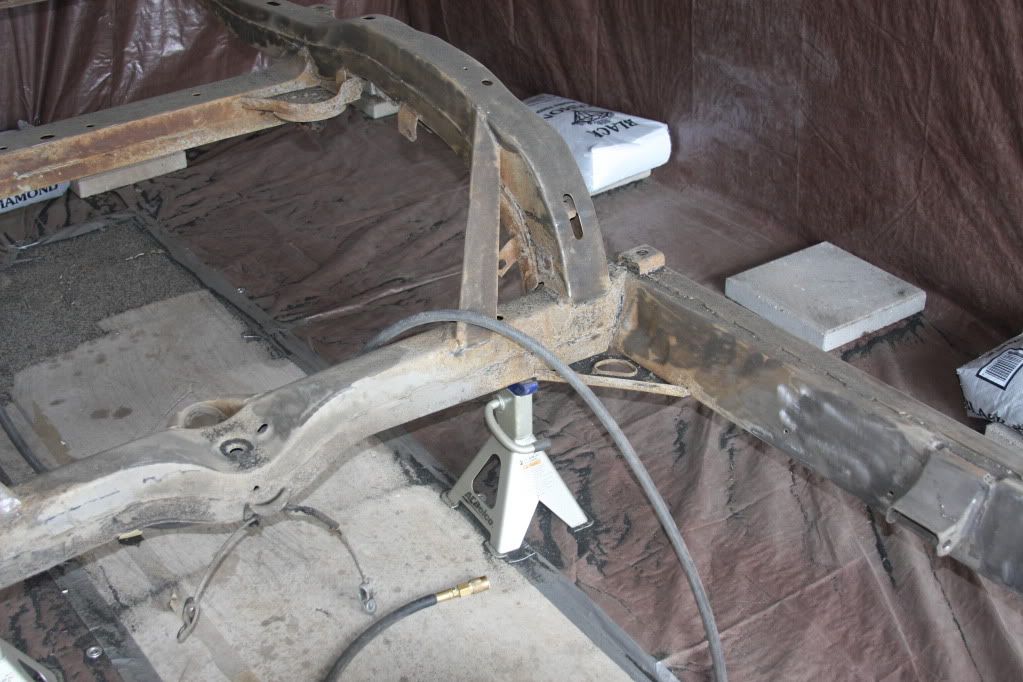
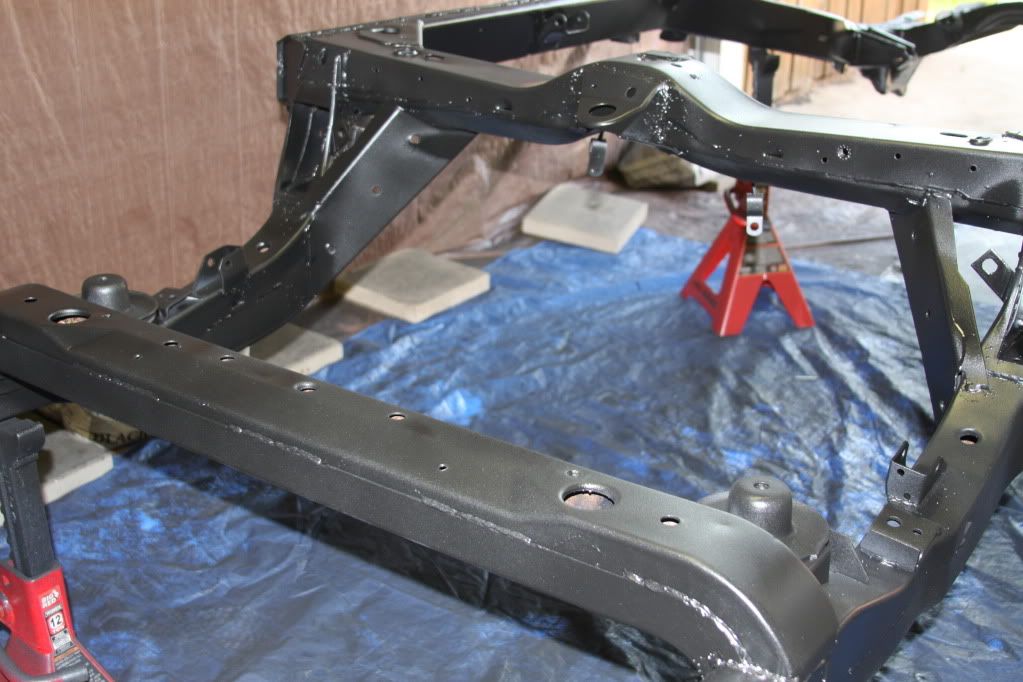
I used black por15, then gray por15 to help ensure coverage. then I put on 2 coats of chassis coat.
I sprayed it on and wore a full 3M mask with appropriate filters.
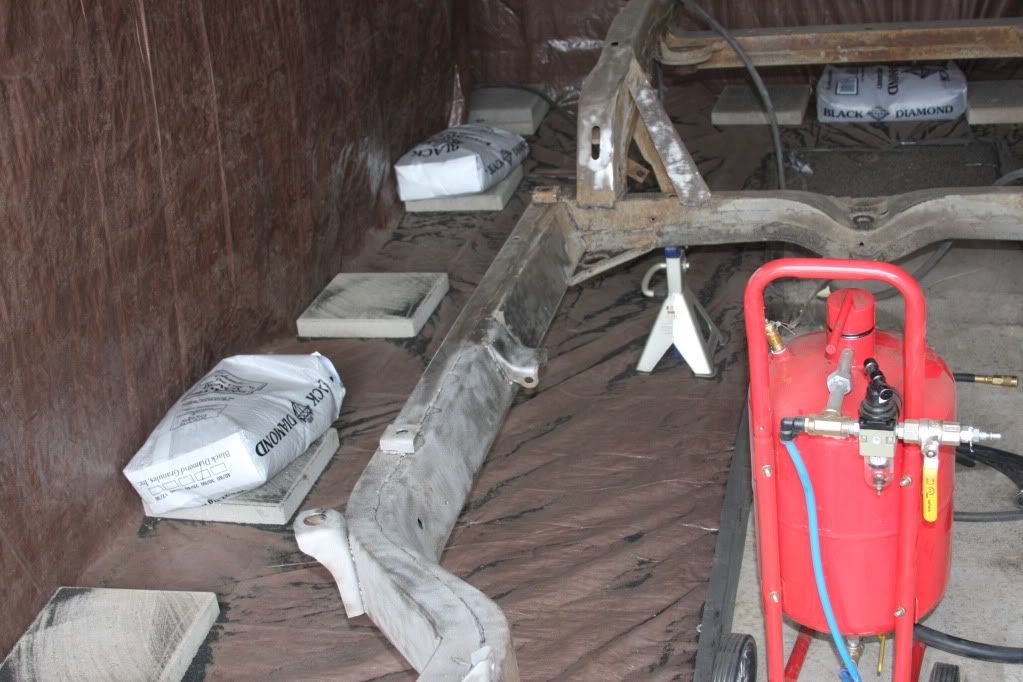
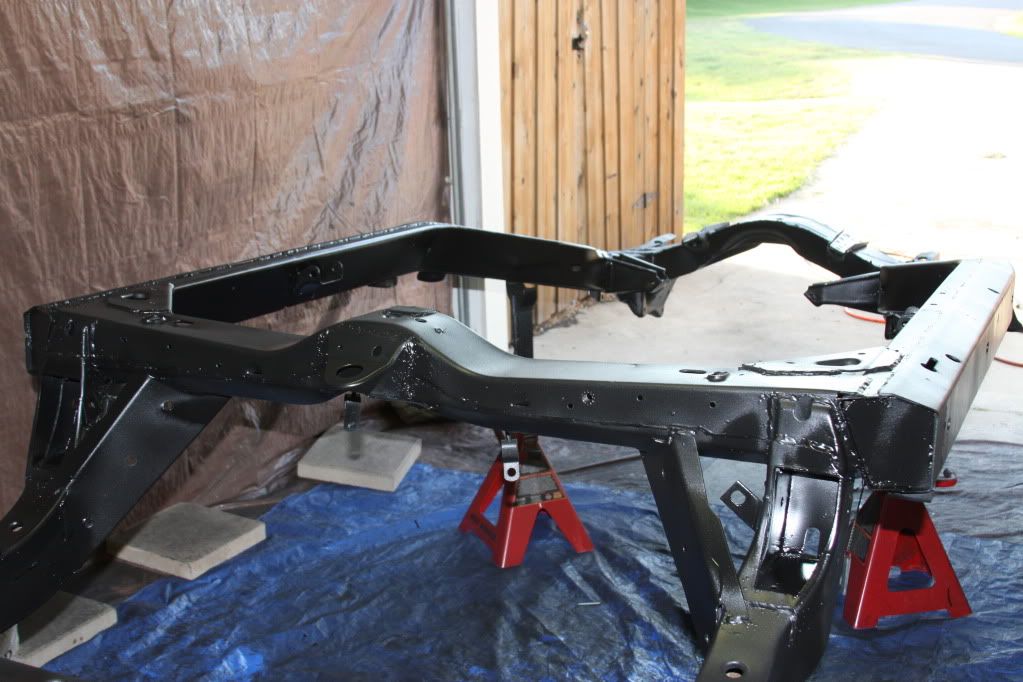
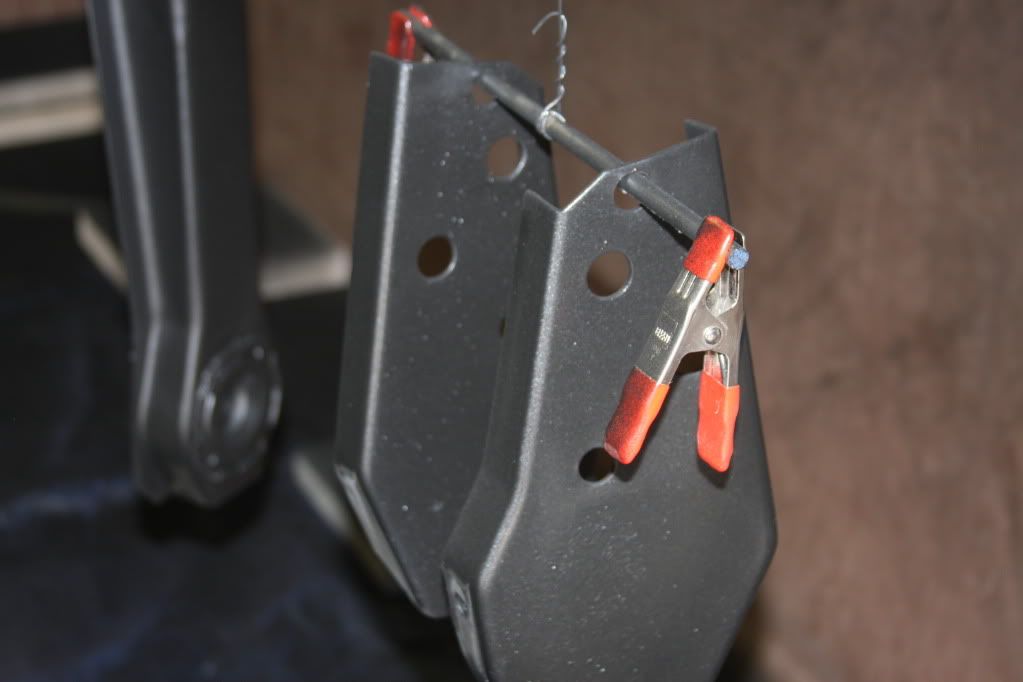
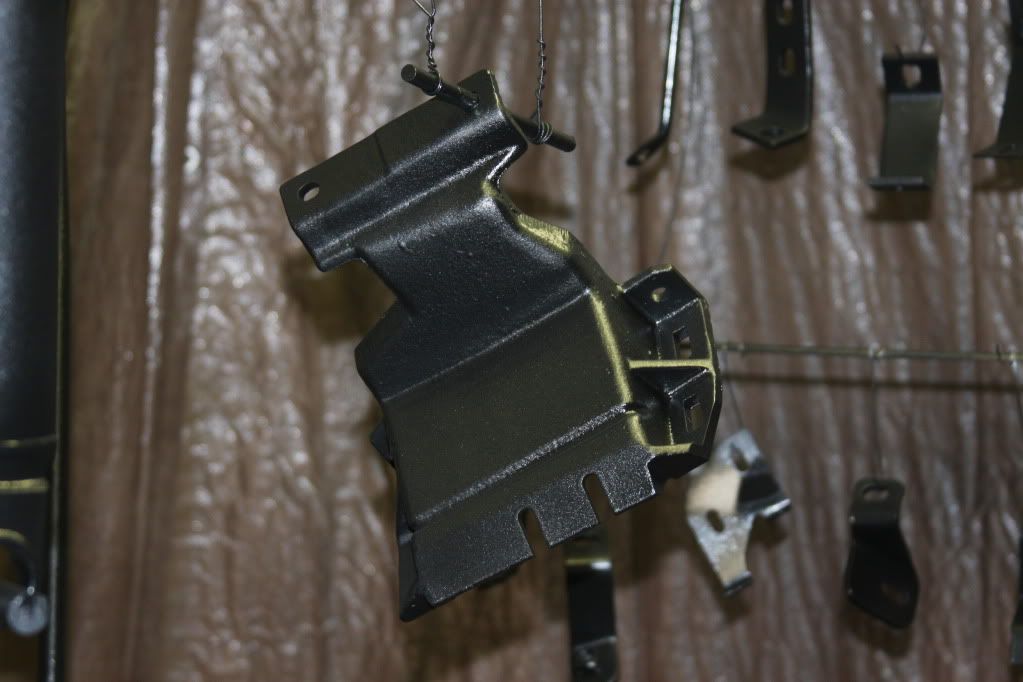
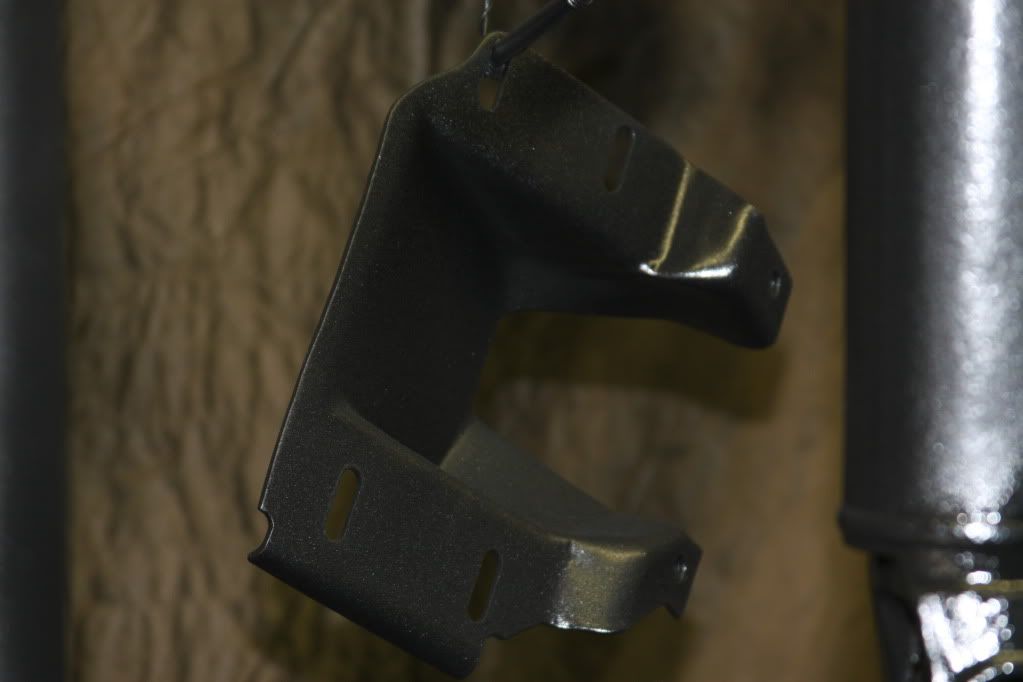
Here are some pics. I am going to do the cross members this weekend and then will put them back onto the chassis.
booth pics
cleaning & blasting

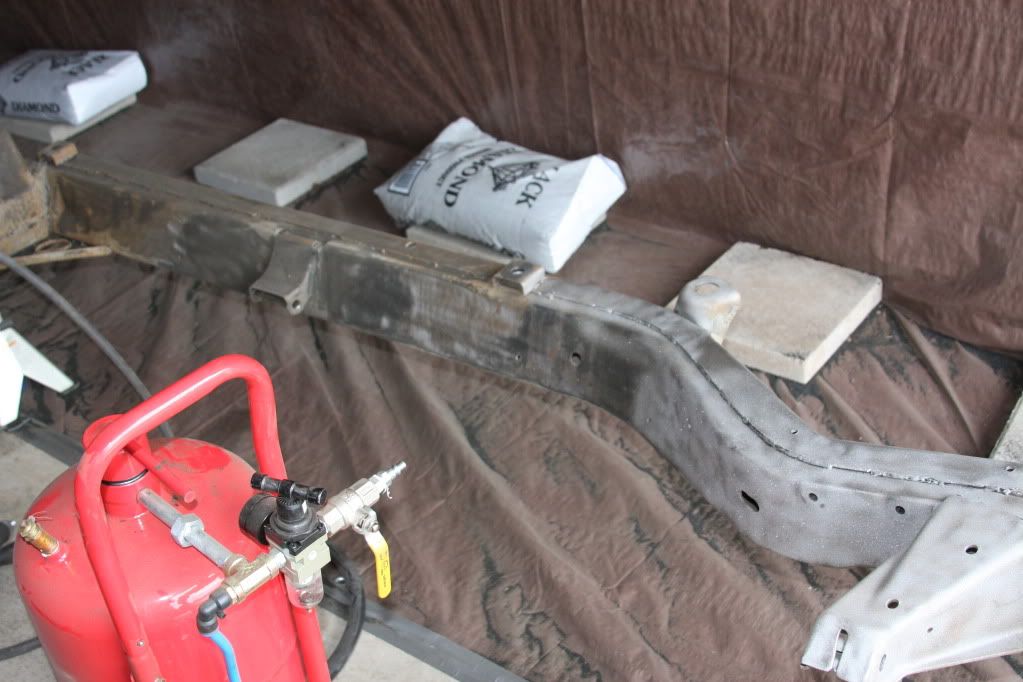


Curing
I will try to keep this one going as I make progress.
So the last few weeks I cleaned the frame up to get it ready for POR and chassis coat. My son and I cleaned the frame to get loose stuff off prior to blasting. I then used some manual labor and wheels to clean the seams and places I may have missed in the blasting. I then used metal ready to give some tooth to the areas I made smooth.
Finally I was able to get it into my paint booth (used for blasting also). 1 car garage with tarps to keep it out of the other 2 bays and the house. I hung pipe off the studs so I can hang future parts. ALso have a 36" fan that helps vent the room when I am in it.
I used black por15, then gray por15 to help ensure coverage. then I put on 2 coats of chassis coat.
I sprayed it on and wore a full 3M mask with appropriate filters.
Here are some pics. I am going to do the cross members this weekend and then will put them back onto the chassis.
booth pics
cleaning & blasting
Curing

 07-06-2011, 08:16 AM
#3
Racer
Thread Starter
Member Since: Nov 2010
Location: Flower Mound TX
Posts: 364
Likes: 0
Received 0 Likes
on
0 Posts
I used POR15 as the base 2 coats, then used their chassis black topcoat. Basically put it on in 2.5 hour intervals before it cured. I was not going to use the chassis black but did not want the fading to happen. I was going to brush it on, but with the heat here in tx, i thought it best to spray it on for speed since it was drying reasonably fast.

 07-06-2011, 09:00 PM
#6
Team Owner

Member Since: Sep 2006
Location: Westminster Maryland
Posts: 30,173
Likes: 0
Received 2,878 Likes
on
2,515 Posts

Hi ef,
It looks like you're doing a very thorough job AND very nice work.
Now that it's done..... did you know there is a 'tool' available that helps get the jack dents out of the center of the front cross member? Sorry.
I'll be interested to see your pictures as you continue.
Again, Nice Work!
Regards,
Alan
07-06-2011, 11:06 PM
#7
Burning Brakes


Nice work, looks great. I have never seen a paint booth just for the frame so I am really excited to see progress when you get to the parts you can actually see. LOL
07-07-2011, 08:12 AM
#8
Racer
Thread Starter
Member Since: Nov 2010
Location: Flower Mound TX
Posts: 364
Likes: 0
Received 0 Likes
on
0 Posts
Boy sounds like my wife put you up to that comment 
Actually it is a multipurpose room. I used it to contain and re-claim the blasting material as well as painting. I trying to do my best to not get dust and such all over the world. I should be able to raise the tarps and drop them back down when not needed. I hope to blast and paint all the parts 1st so hopefully wont have to raise and drop it often.
Actually it is a multipurpose room. I used it to contain and re-claim the blasting material as well as painting. I trying to do my best to not get dust and such all over the world. I should be able to raise the tarps and drop them back down when not needed. I hope to blast and paint all the parts 1st so hopefully wont have to raise and drop it often.


 07-08-2011, 10:40 AM
#12
Racer
Thread Starter
Member Since: Nov 2010
Location: Flower Mound TX
Posts: 364
Likes: 0
Received 0 Likes
on
0 Posts
07-08-2011, 02:32 PM
#14
Safety Car


Looks like a good start! 
07-08-2011, 10:23 PM
#16
Race Director


Nice work. l like the color of the frame. Keep up the good work and keep the pics coming. Looks like you guys are doing a good job.
09-17-2011, 08:54 PM
#17
Racer
Thread Starter
Member Since: Nov 2010
Location: Flower Mound TX
Posts: 364
Likes: 0
Received 0 Likes
on
0 Posts
I have been working steady on the vette but have not had time to post the pics I have taken.
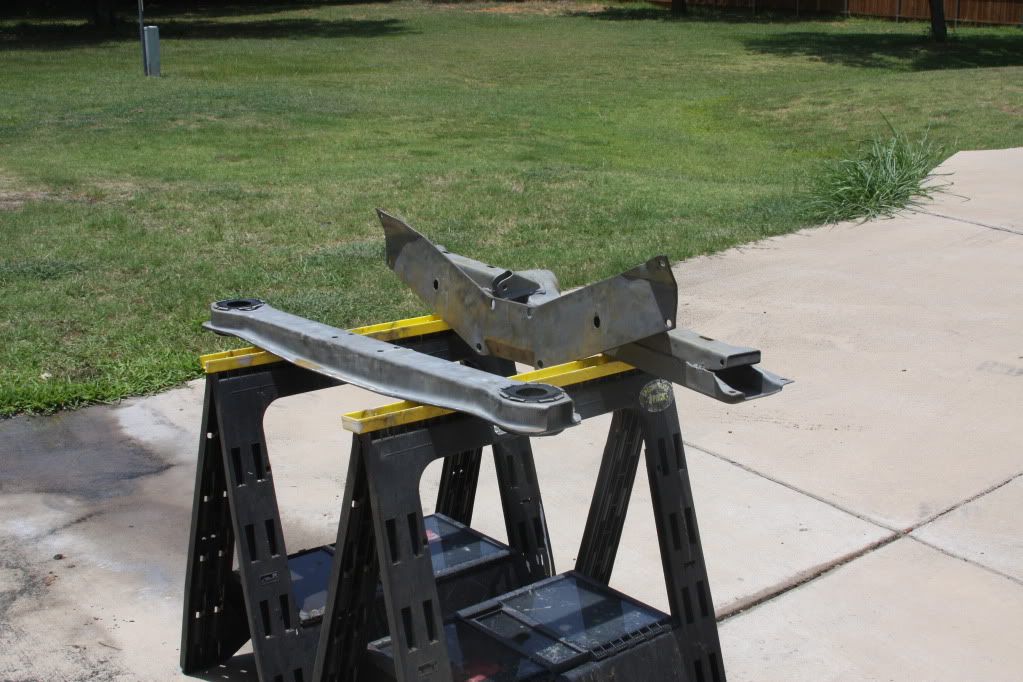
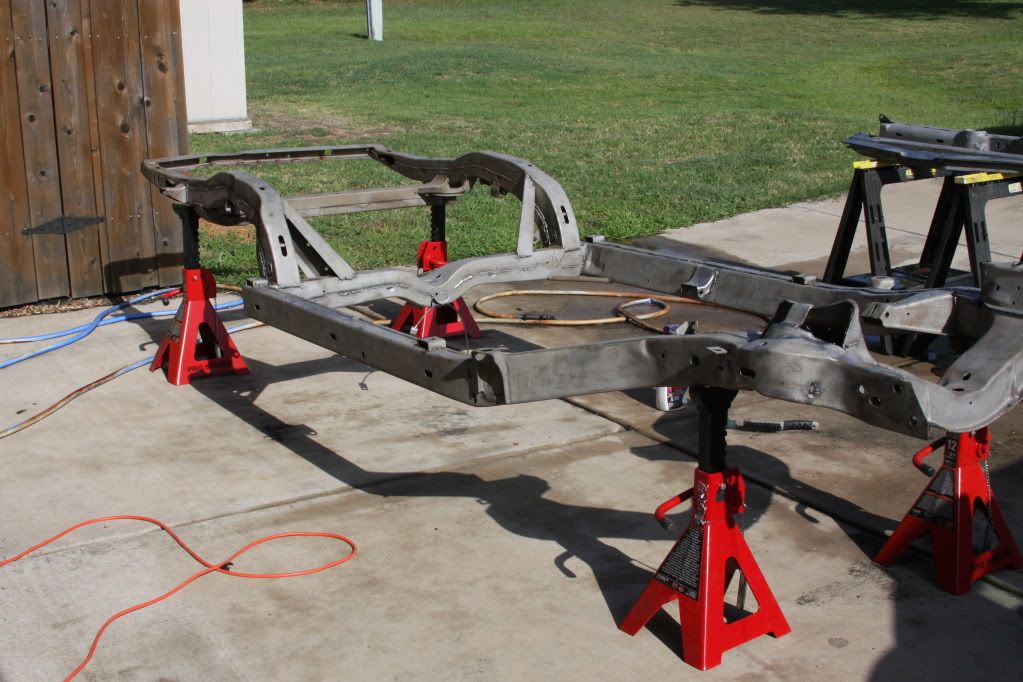
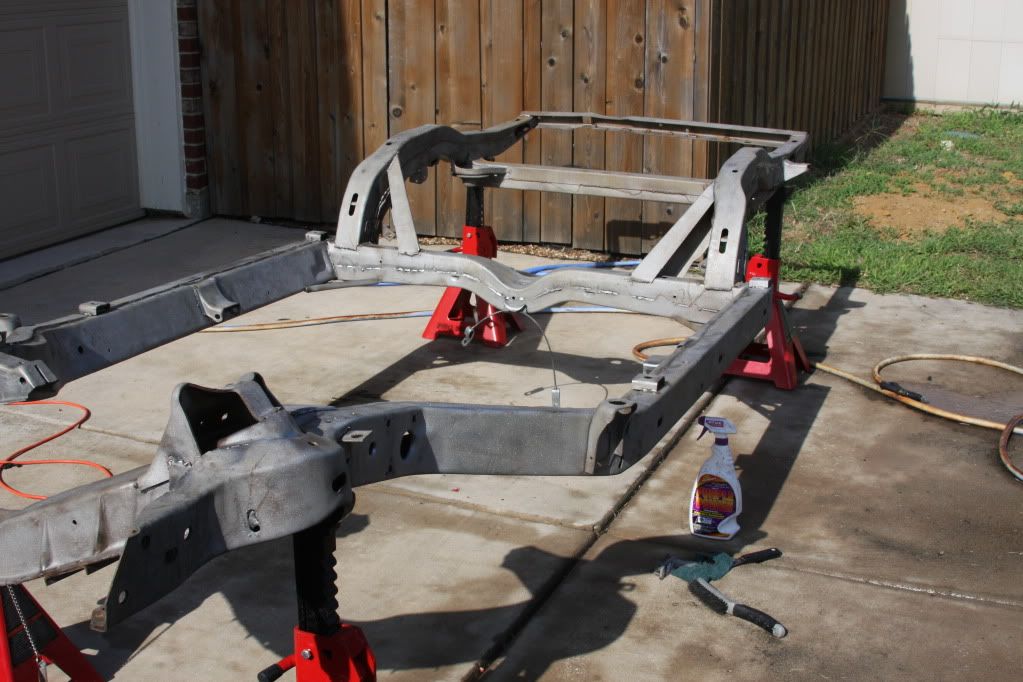
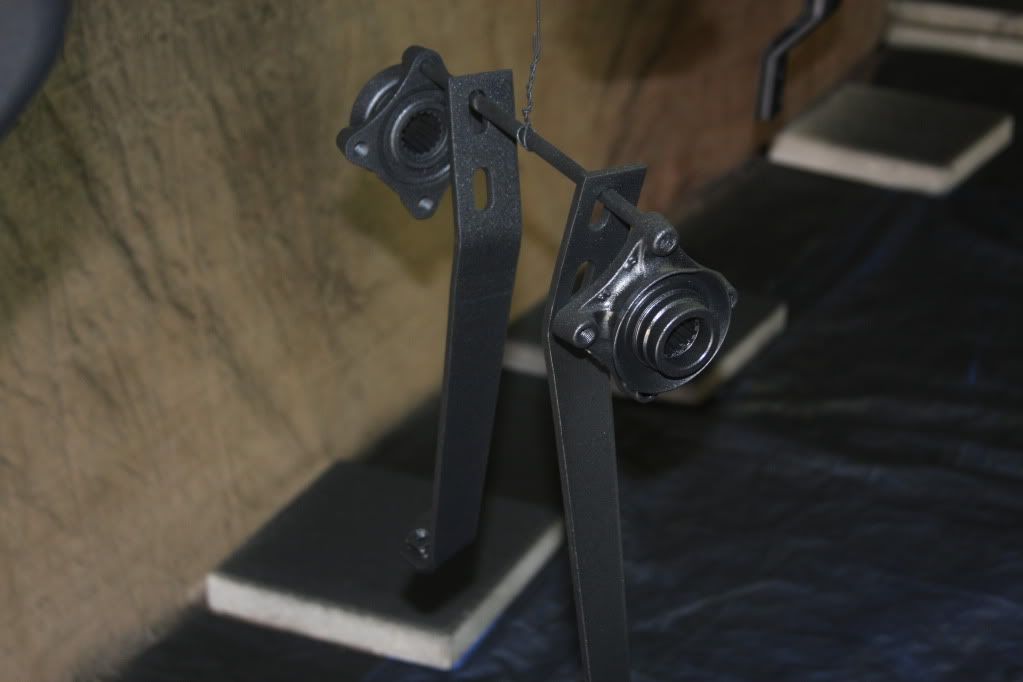
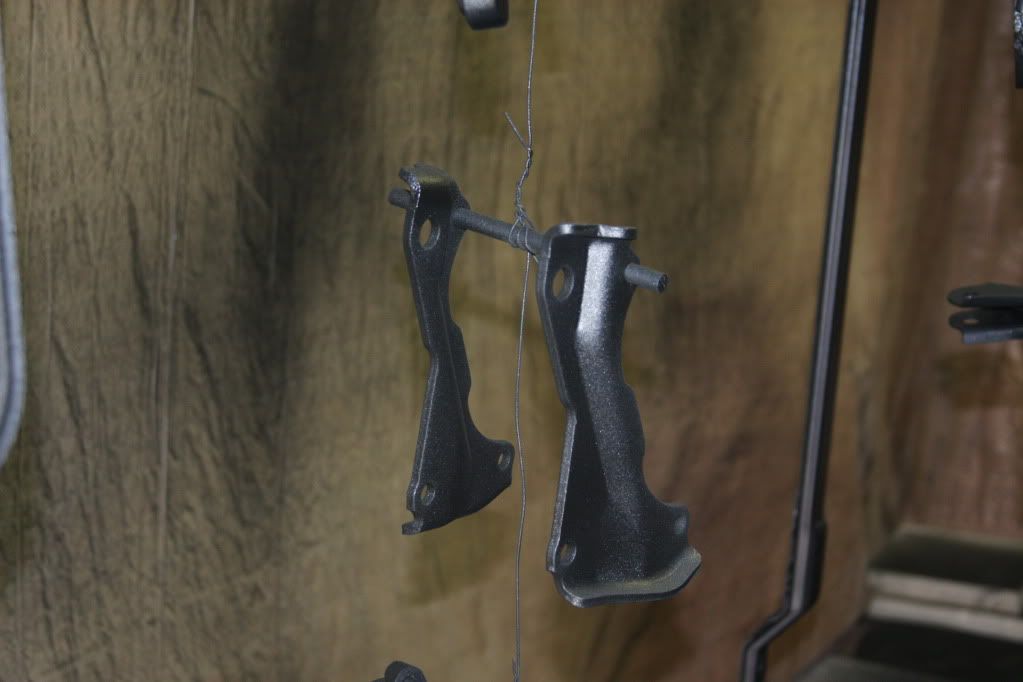
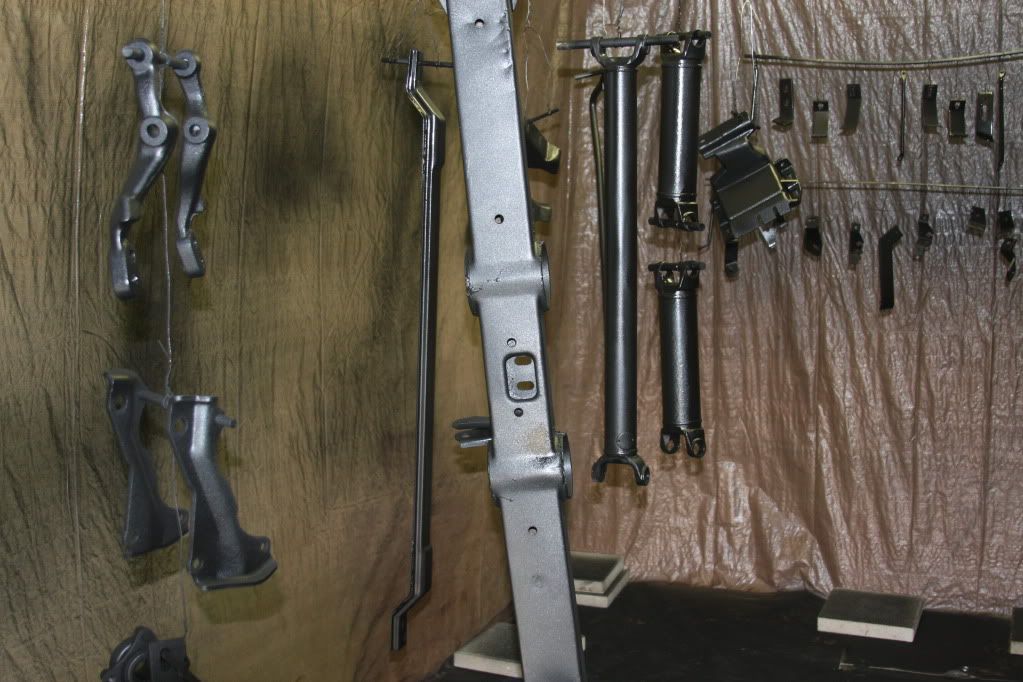
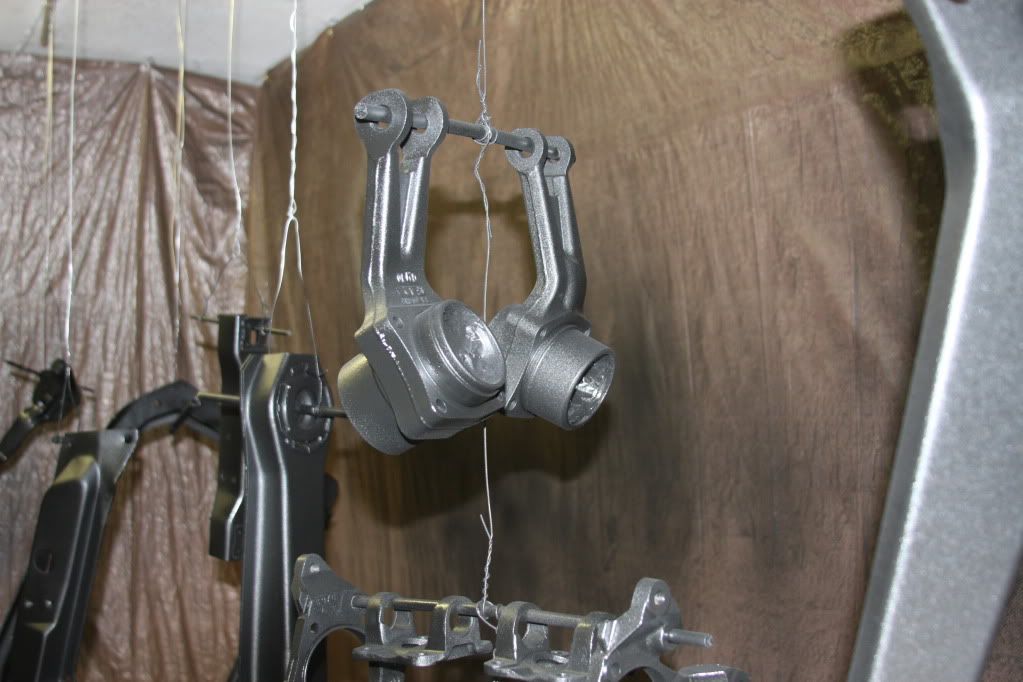
I am in the process of starting to put the chassis back together after re-finishing various suspension parts, steering, cross members, radiator bracket and other brackets. All of which I blasted, and used POR15 & Chassis Black.
I have also blasted the differential and primed and painted it as well as the dust shields on the wheels. They were painted an aluminum silver. Pics will be posted for those when I get it back from Mike (tracdog).
Attached are the pics of the various parts being finished in the paint booth I created.
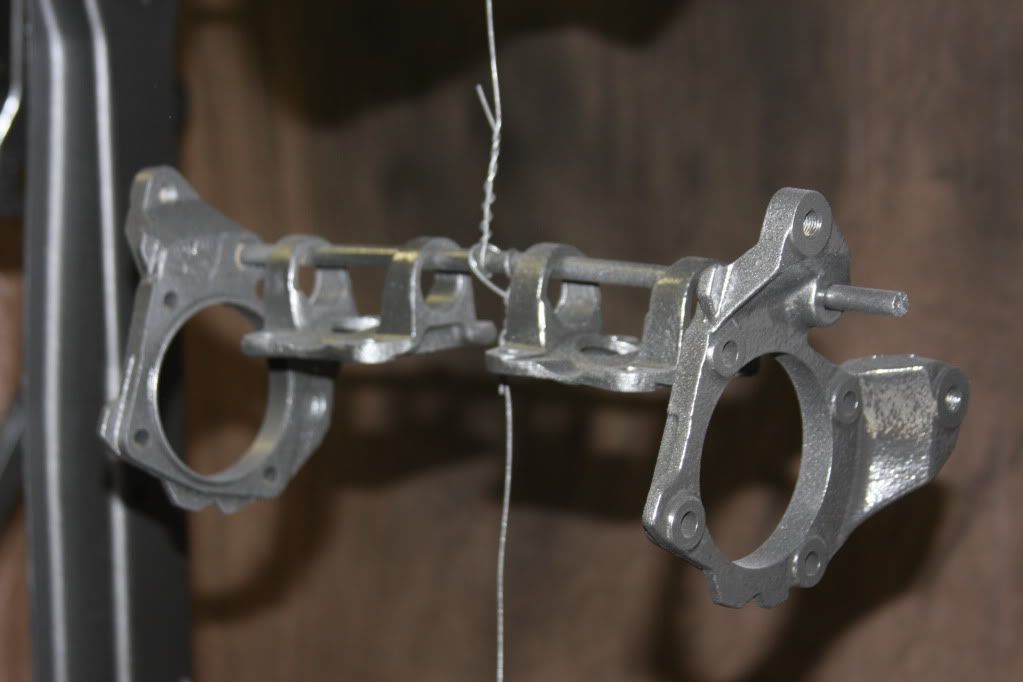
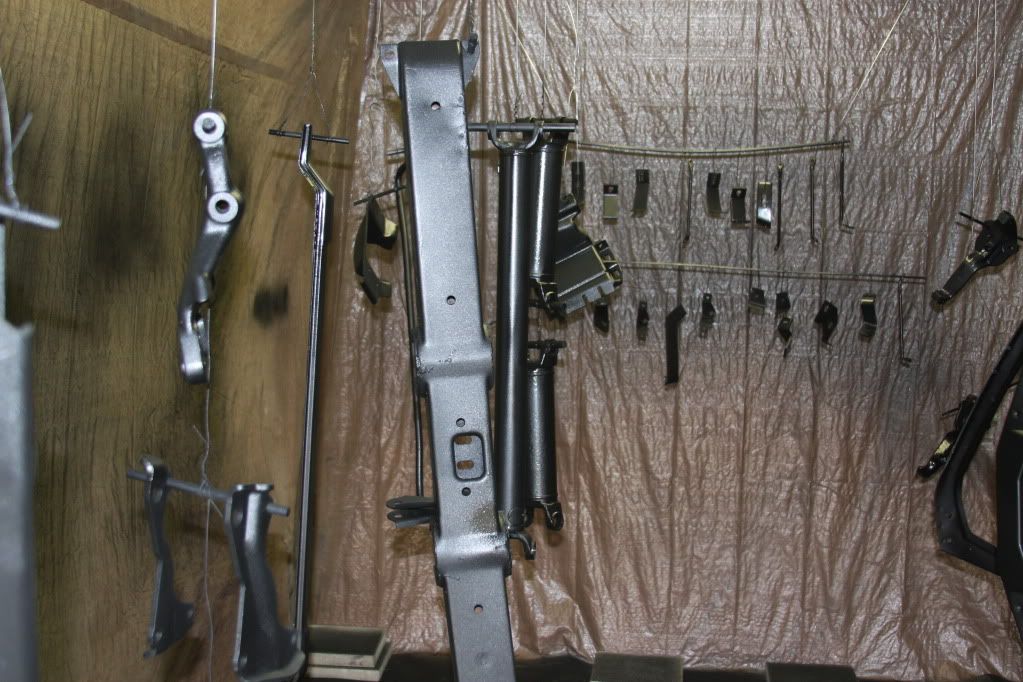
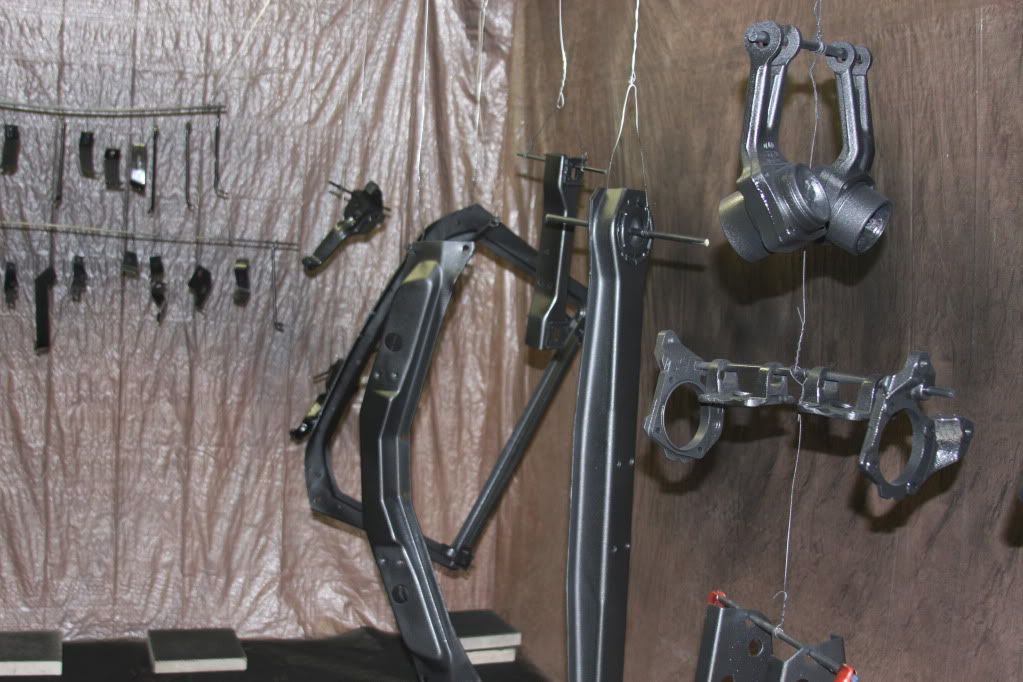
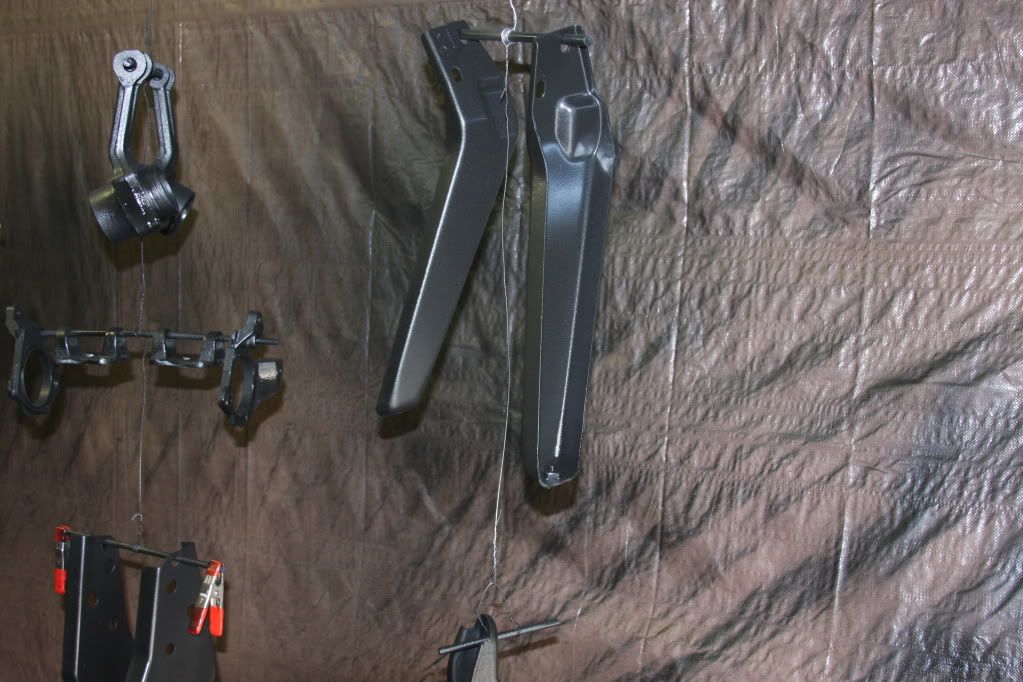
12-30-2011, 10:05 AM
#18
Racer
Thread Starter
Member Since: Nov 2010
Location: Flower Mound TX
Posts: 364
Likes: 0
Received 0 Likes
on
0 Posts
I have been working my butt on on the car. I have had 2 weeks off from work, so did a lot of it. I hoped for a rolling chasis, but the caliper rebuild parts did not get in on time.
I went with a composite spring, borgenson box, SS lines. TrackDog (Mike) rebuilt my differential. I upgraded to 3" halfshafts. and used adjustable strut rods.
Other than the differential, I did it all myself. I did buy a press which I have used for alot so it was worth it.
1. I rebuilt my trailing arms myself. Took a lot of time, but they turned out very nice. driver runout was .0016, the passenger is .0019. O would love to say it went without a hitch but I cant. I put the bearing assembly bracket on the wrong sides, so when I went to do the shocks I had to break it down and flip the sides. but it was not a full break down. The key is patience here. I had maintained a table saw for a few years, so that really helped me get the runout right. Makeing a jig to hold the bracket was a key part,
but not too hard. I used Timken bearings. I pressed in the bushings etc. I went with poly, I know there are 2 schools of thoughts on rubber or poly, but I wanted to use polly and after all the research it seemed to be a matter of choice and the spacers are a key part.
2. I pressed all my u-joints myself and they are spicer. I used a 1/4 piece of steel to back the bracket that connects to the spindle so it would not bend when I pressed them in. THIS IS A MUST and even more than 1/4 could have been used to do it.
3. I used polly on the front end as well, and rebuilt my front arms as well.
4. The tank was refinished, and I still need to change out the neck. and add the lines but not until after I fit the panels back and pull the body again.
5. I will be rebuilding the calipers, they have been painted with red from eastwood and I did use the activator to make it harder. those are a pain to paint but turned out well I think.
6. new parking brake kit used
7. Borgenson box and new tierods added etc.
Still need to align the front to be parallel (for 1st pass) etc.
I am going to try to just paste a link to the album. I am sorry I got busy doing the work and did not take picks as I was going. I was in the zone lol.
http://s1224.photobucket.com/albums/...oject/Rebuild/
12-30-2011, 12:49 PM
#19
Melting Slicks

another fellow por-15 addict. awesome work, love your paint booth. i also used por-15 to do my inner fenders and the inside of the body shell, works great, dirt n grime just wipe off. Rust is a thing of history on your vette. Be looking forward to see the final product.
12-30-2011, 01:05 PM
#20
Burning Brakes
Excellent job. Keep up with the pics of your progress. I agree it is hard to stop (dirty hands, concentrating on the task) to take pics, but try. We all care. You are an inspiration to us all.

