
1971 Journey
 02-23-2013, 05:55 PM
#401
Melting Slicks

Thread Starter


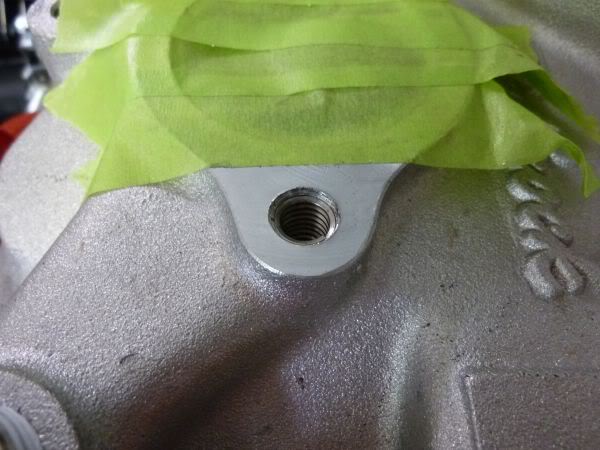
I needed to repair one of the thermostat housing threads as I had used a spring washer under the long bolt (thinking I was doing the proper thing) but it caused it to strip as it did not get enough threads before it got higher torque.
So I got to learn about Helli coils.
Started by drilling it out, then tapping with a larger size.
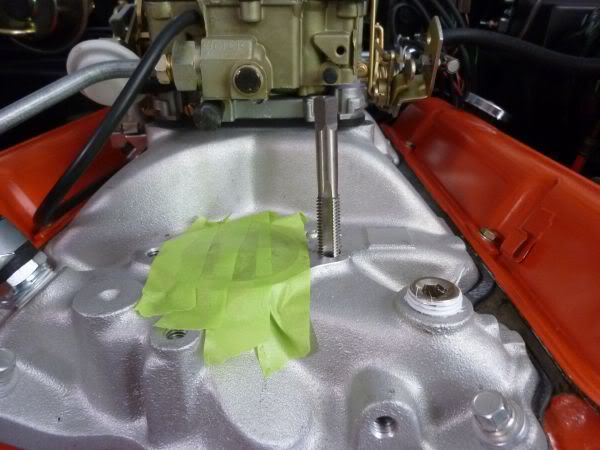
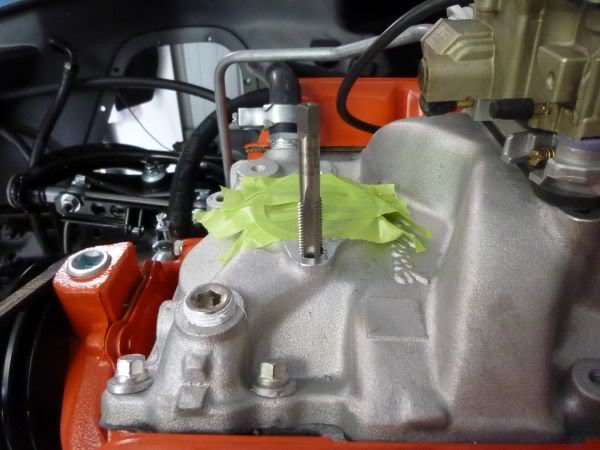
Then insert the helli coil using the tool provided.
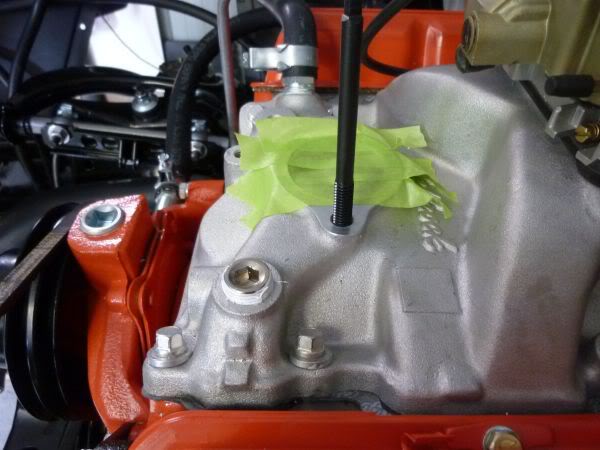
Snap off the insertion tang and its as good as new, possibly better.
So I got to learn about Helli coils.
Started by drilling it out, then tapping with a larger size.
Then insert the helli coil using the tool provided.
Snap off the insertion tang and its as good as new, possibly better.
Last edited by CraigH; 04-10-2023 at 02:31 AM.

The following users liked this post:
Primoz (04-21-2022)
02-23-2013, 05:56 PM
#403
Melting Slicks
Thread Starter
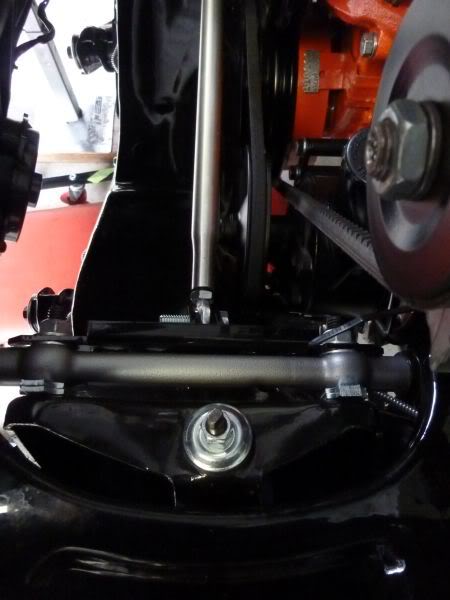
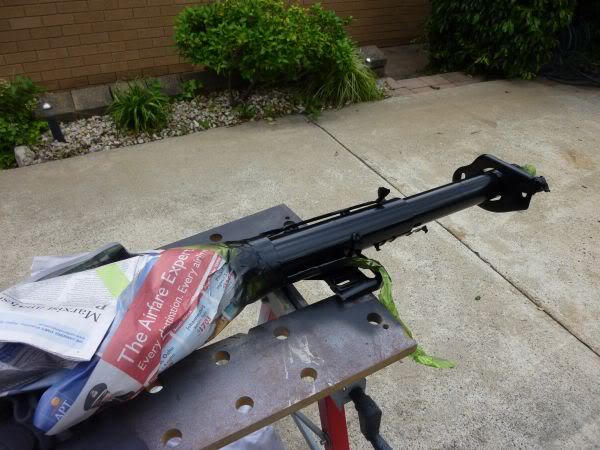
Using the Borgeson integrated steering box means the column needs to be shortened.
To do this you collapse it a few inches from its base.
Not an issue according to Jim Shea, one of the original designers of the column.
So I had the length about correct but when I inserted then column to the steering box the steering wheel was way off being centered.
So I double checked the box was in its center position so I needed the column to have its flat part of the spine upwards.
However my wheel was not correct in that spot.
After reading lots of documents on this I believe my column has been pulled apart previously and not put back properly.
So it seemed like a simple fix
Undo the top bolt.
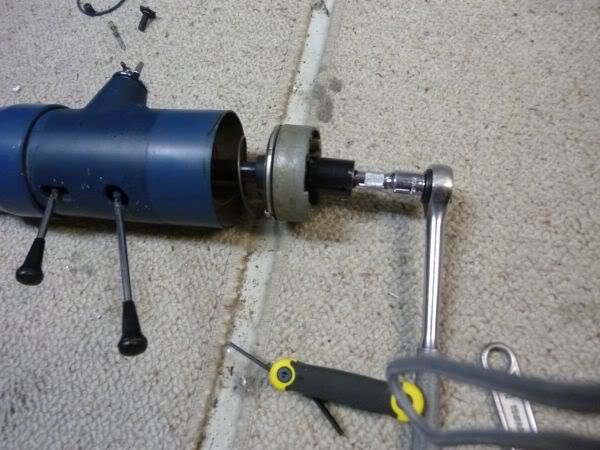
Using a puller extract the top assembly.

Then put it back in the correct position.
According to Jim when they made them they notched the top point to help assembly.

So I aligned that notch and re tightened it down.

Now it lines up great.
Just need to prep it all and repaint it before final assembly.
To do this you collapse it a few inches from its base.
Not an issue according to Jim Shea, one of the original designers of the column.
So I had the length about correct but when I inserted then column to the steering box the steering wheel was way off being centered.
So I double checked the box was in its center position so I needed the column to have its flat part of the spine upwards.
However my wheel was not correct in that spot.
After reading lots of documents on this I believe my column has been pulled apart previously and not put back properly.
So it seemed like a simple fix
Undo the top bolt.
Using a puller extract the top assembly.
Then put it back in the correct position.
According to Jim when they made them they notched the top point to help assembly.
So I aligned that notch and re tightened it down.
Now it lines up great.
Just need to prep it all and repaint it before final assembly.
Last edited by CraigH; 04-10-2023 at 02:31 AM.
02-23-2013, 05:56 PM
#404
Melting Slicks
Thread Starter
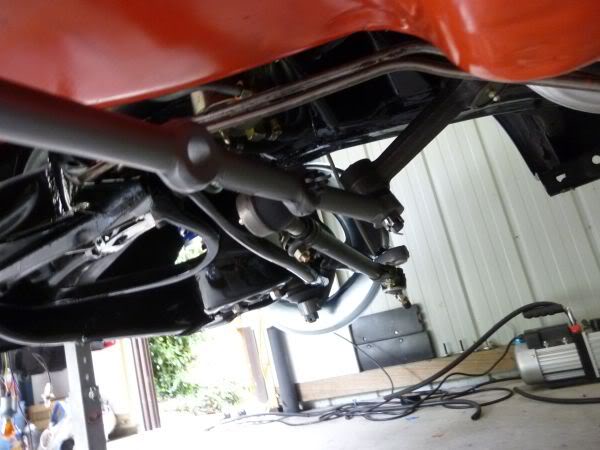
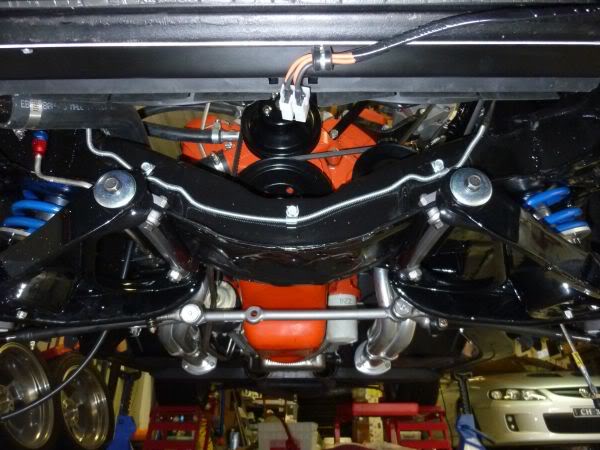
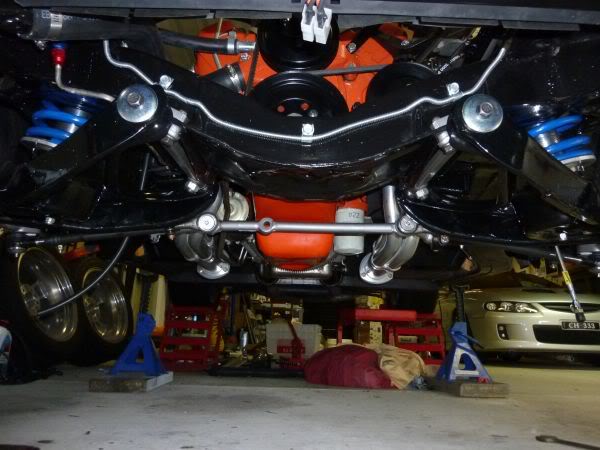
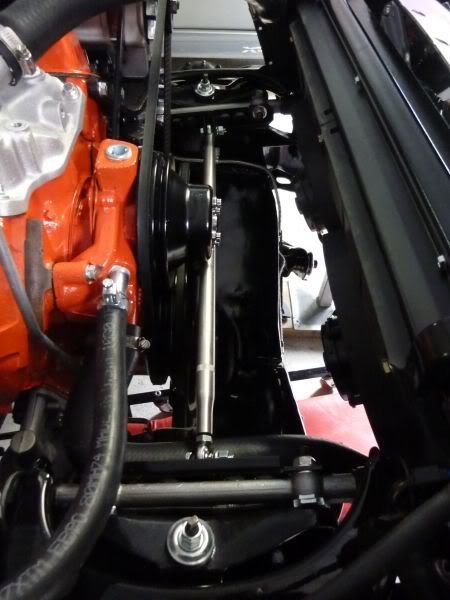
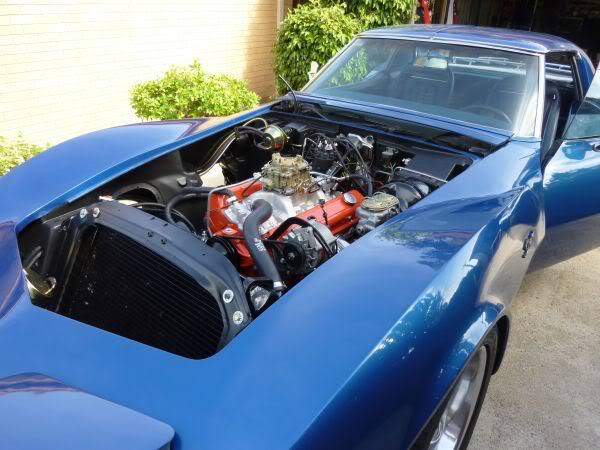
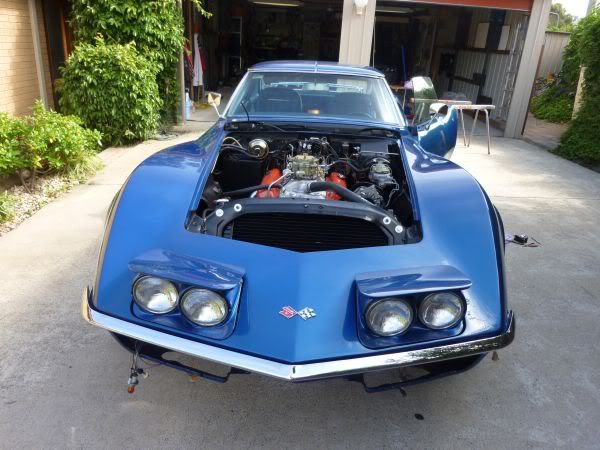
Radiator back in and the electric fans fitted and wired up.
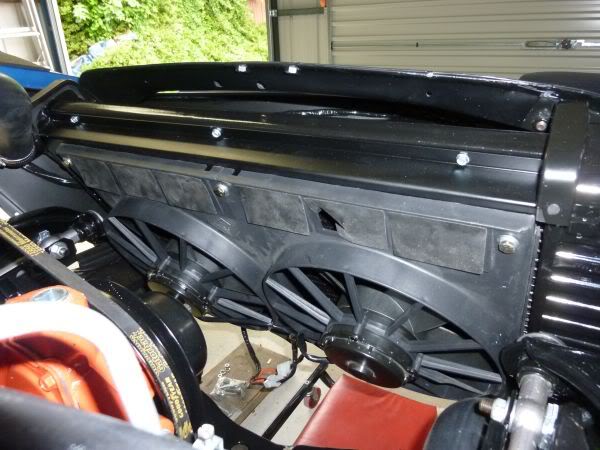
You can see how much clearance I have to the upper A-arm and to the lower radiator hose.
Wired up.
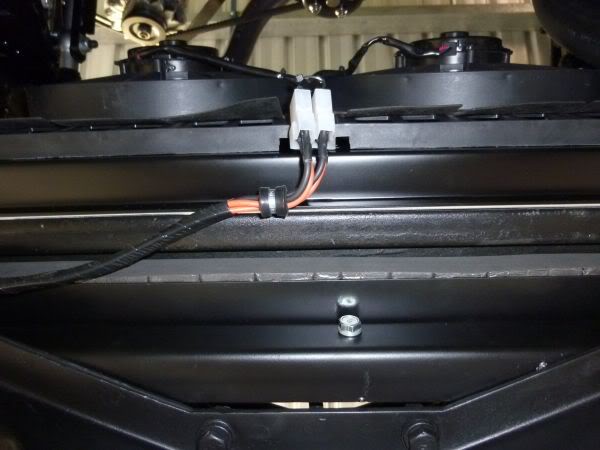
You can see how much clearance I have to the upper A-arm and to the lower radiator hose.
Wired up.
Last edited by CraigH; 04-10-2023 at 02:30 AM.
The following users liked this post:
Primoz (11-05-2018)
02-23-2013, 05:57 PM
#406
Melting Slicks
Thread Starter
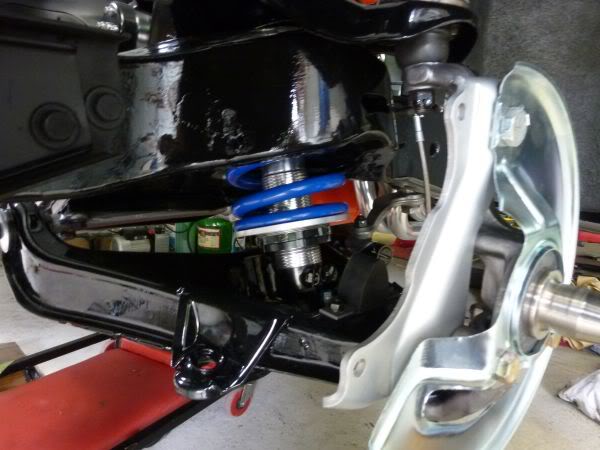
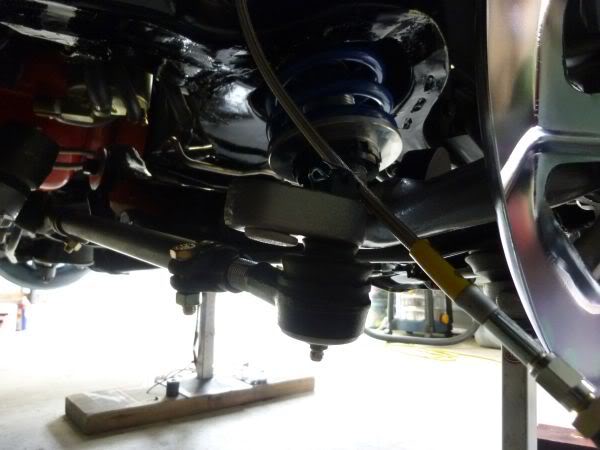
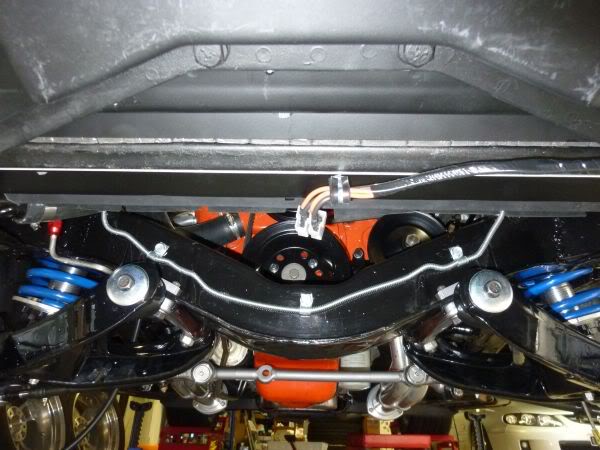
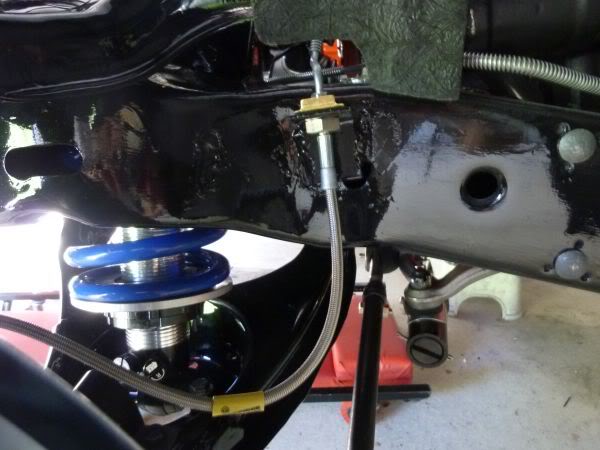
After starting it up and letting it get up to temperature I had a small leak in the return line at the steering box.
Picked up a 5/8" flare spanner and gave it a bit more and now it seems to be ok.
Fans seem to keep it cool, only needed one to hold it at temperature in the garage.
Now to move onto the front bearings, hubs, rotors and brakes and I can take it down for an exhaust.
Sounds rather nice with just the headers :-)
02-23-2013, 05:57 PM
#407
Melting Slicks
Thread Starter
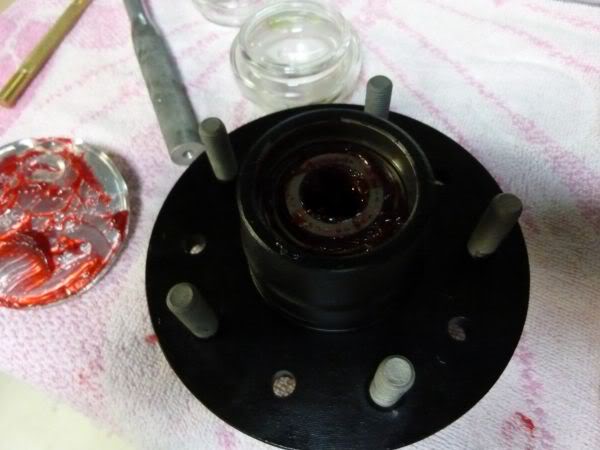
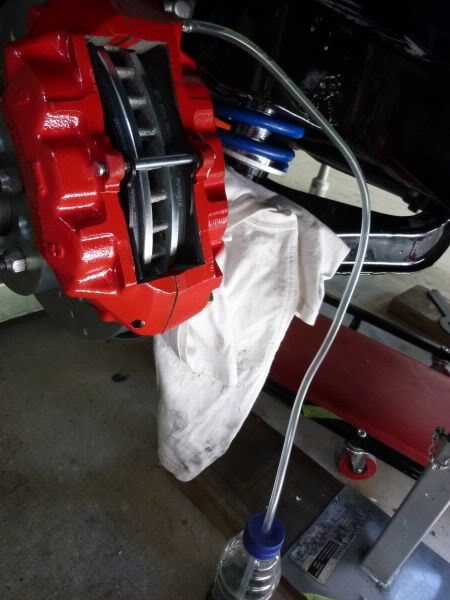
Rebuilt the front calipers this morning.

New o-ring pistons from VB&P.
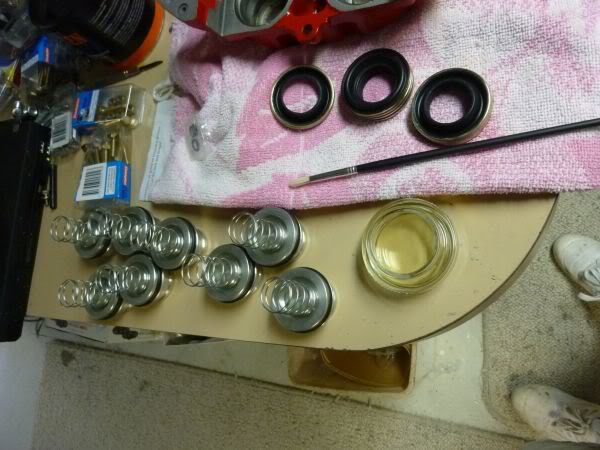
Cleaned the bores with scotchbrite then painted on some brake fluid as well as on the o-rings and inserted them.
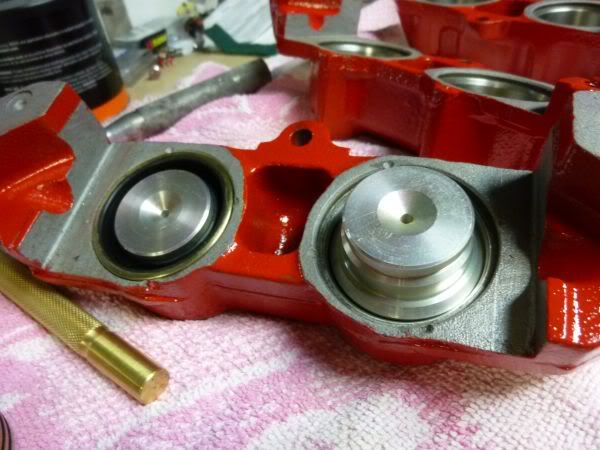
Then tapped outer seals in place.
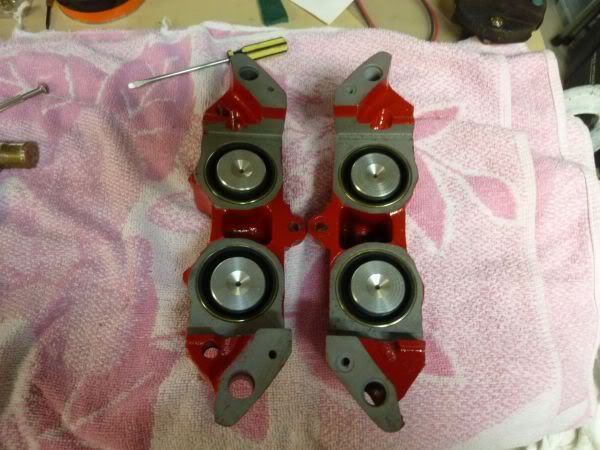
Bolted together with new o-rings for the fluid passages.
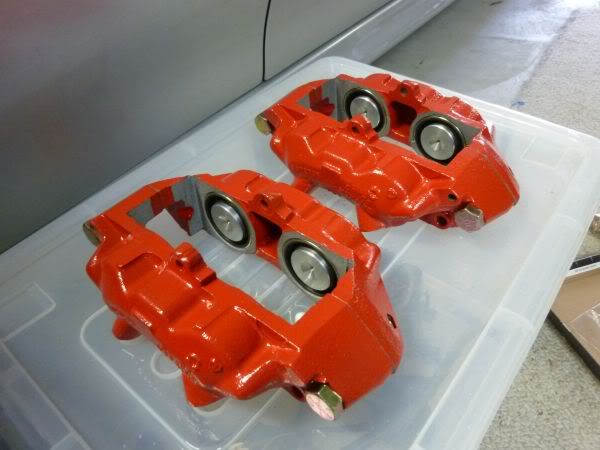
Couldn't get past 105 lbs/in with the main bolts - will need to find someone heavier to hold them or a large vise.
New o-ring pistons from VB&P.
Cleaned the bores with scotchbrite then painted on some brake fluid as well as on the o-rings and inserted them.
Then tapped outer seals in place.
Bolted together with new o-rings for the fluid passages.
Couldn't get past 105 lbs/in with the main bolts - will need to find someone heavier to hold them or a large vise.
Last edited by CraigH; 04-10-2023 at 02:30 AM.
02-23-2013, 05:58 PM
#408
Melting Slicks
Thread Starter
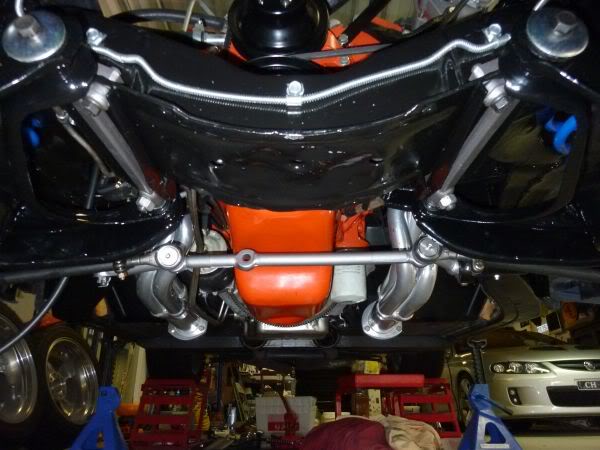
My replacement spreader bar came from Speed Direct today.
A bit of a difference to the one sent originally.

Bolted it up to test fit.
A bit of a difference to the one sent originally.
Bolted it up to test fit.
Last edited by CraigH; 04-10-2023 at 02:30 AM.

 02-23-2013, 06:00 PM
#412
Melting Slicks
Thread Starter
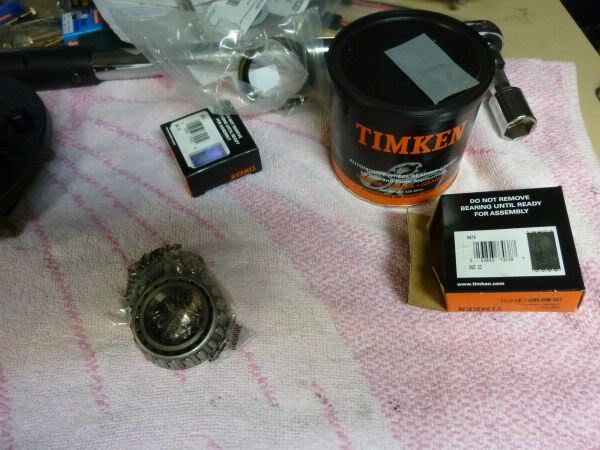
The service manual says to tighten the front bearings down to 12 ft/lbs then back off one flat on the castle nut.
Hmm, I dont have a socket big enough.
Lots of sites say just use channel locks to do it and adjust till wheel does not have any movement.
Never done it before so want to do it properly.
I ended up using the following method.
Torque the nut down to 15 ft lbs while rotating the rotor.
Back off the castle nut then torque it to between 50 and 60 in lbs the insert split pin.
02-23-2013, 06:01 PM
#413
Melting Slicks
Thread Starter
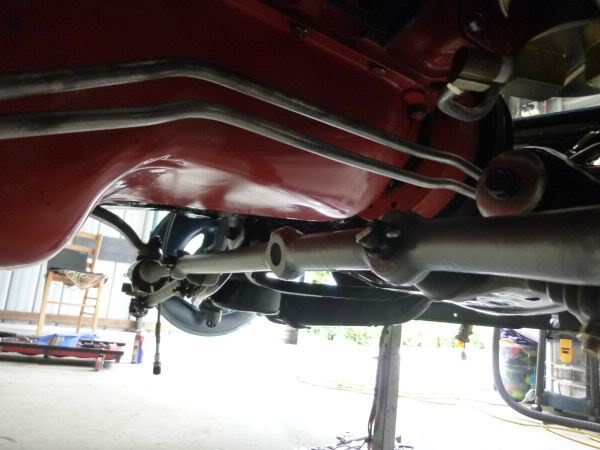
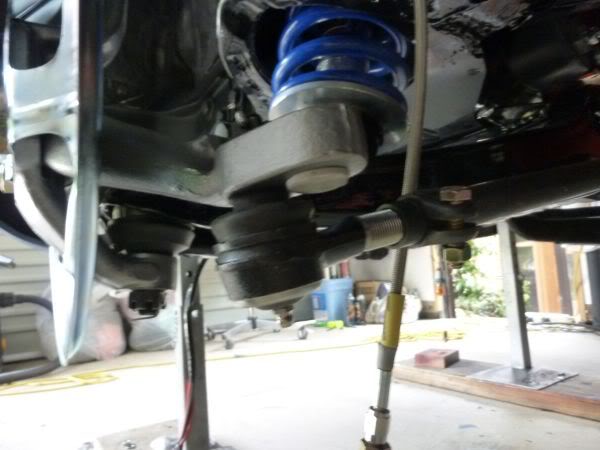
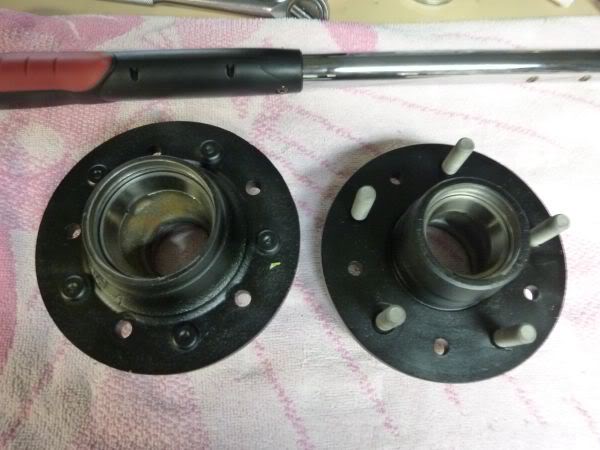
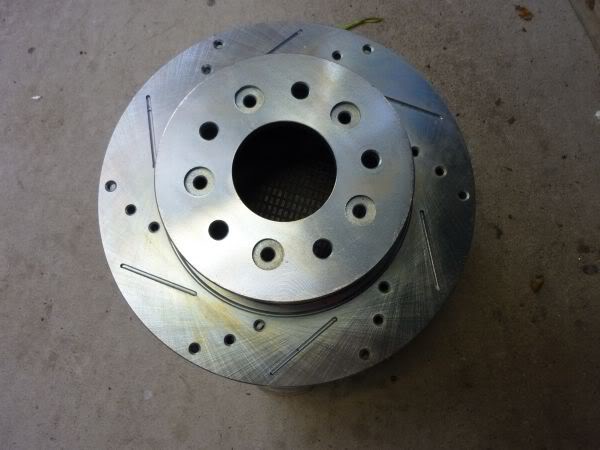
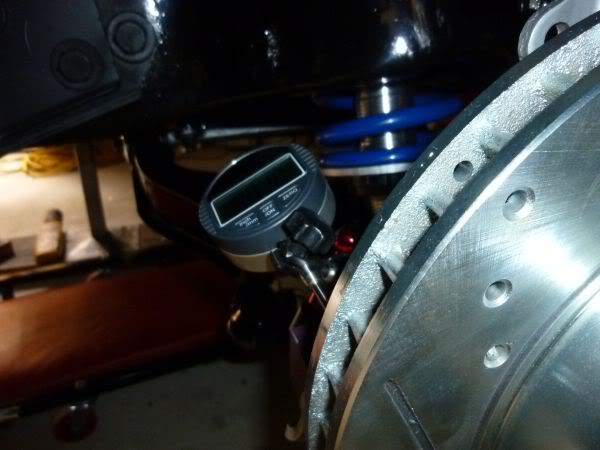
Got the Rotors fitted and set the runout for them.
New Brake lines.
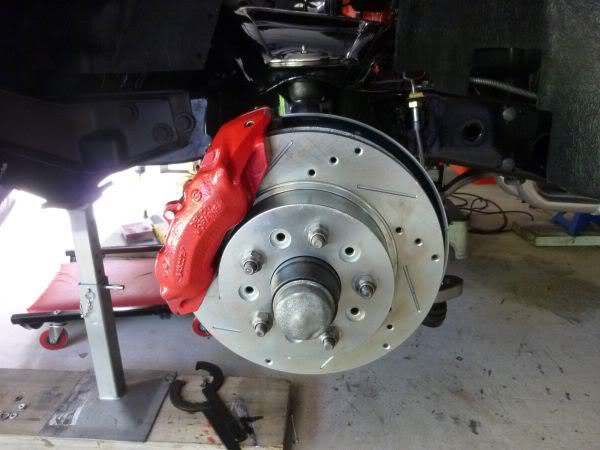
Bled the Fronts.
Have to get the car down and rear wheels off to do the backs.
New Brake lines.
Bled the Fronts.
Have to get the car down and rear wheels off to do the backs.
Last edited by CraigH; 04-10-2023 at 02:29 AM.
02-23-2013, 06:01 PM
#414
Melting Slicks
Thread Starter
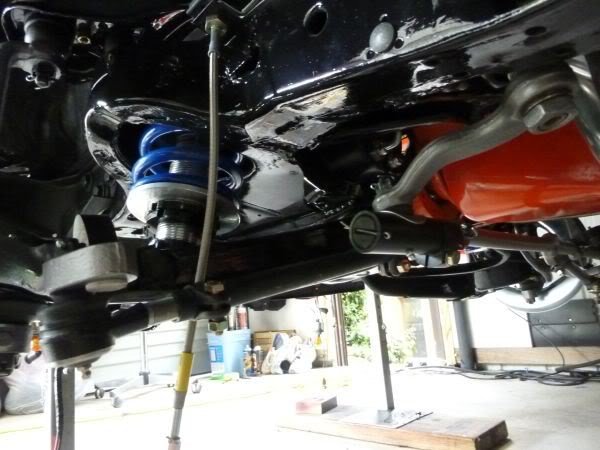
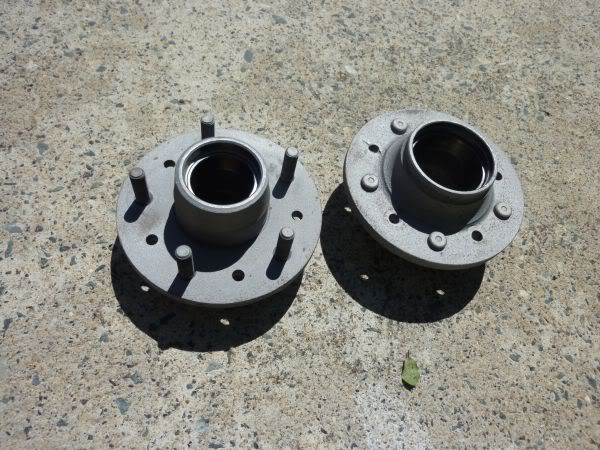
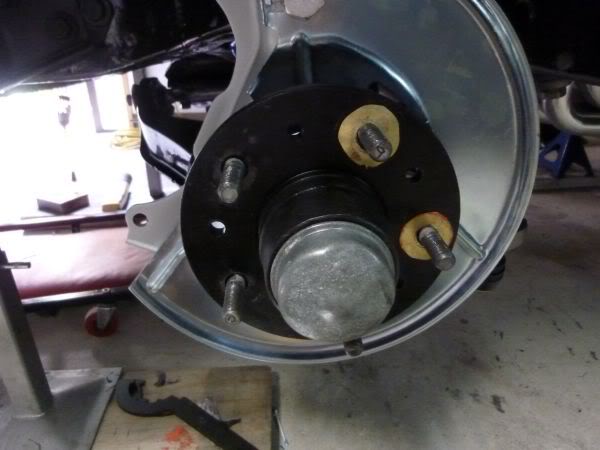
Not sure if I had a slight issue with one of the rotors machine work as it was offset too close to the caliper on one side.
3/8" flat washers spaced it out perfectly till I can get a proper spacer plate to go between the hub and the rotor.
3/8" flat washers spaced it out perfectly till I can get a proper spacer plate to go between the hub and the rotor.
 02-23-2013, 06:02 PM
#416
Melting Slicks
Thread Starter
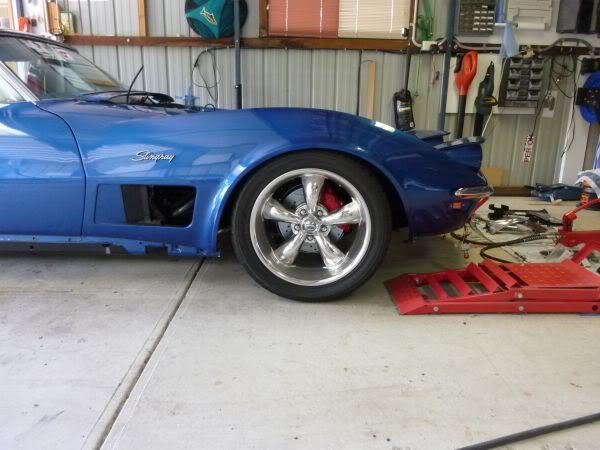
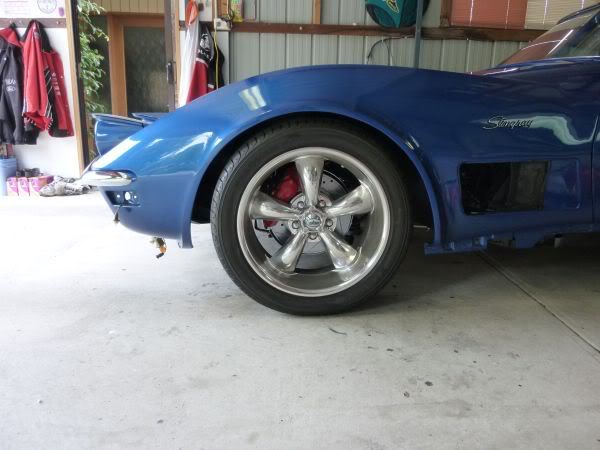
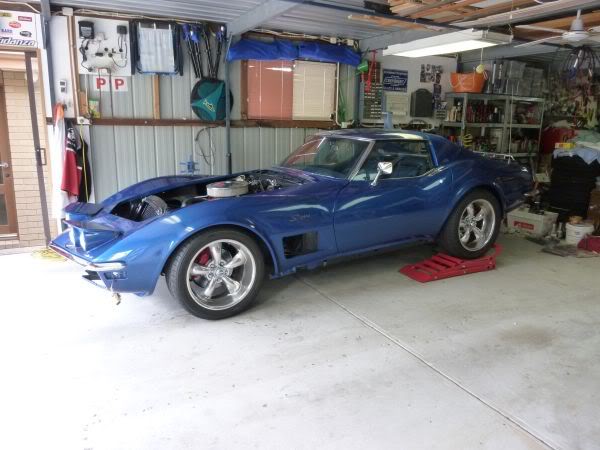
So wheels on and ready to check ride height.
Hmm a little low but I still have another inch at least I can go down from here.

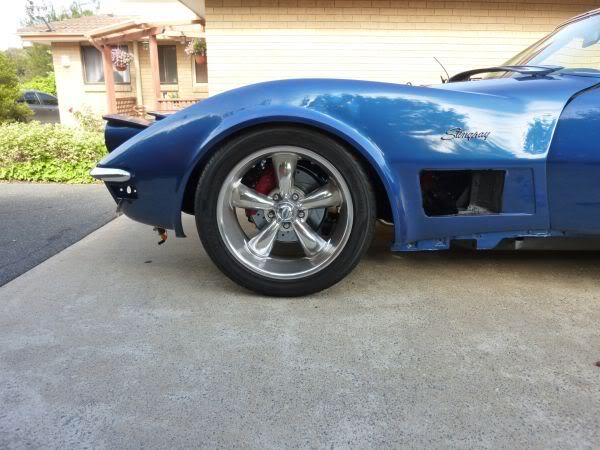
Hmm a little low but I still have another inch at least I can go down from here.
Last edited by CraigH; 04-10-2023 at 02:29 AM.

 02-23-2013, 06:05 PM
#419
Melting Slicks
Thread Starter
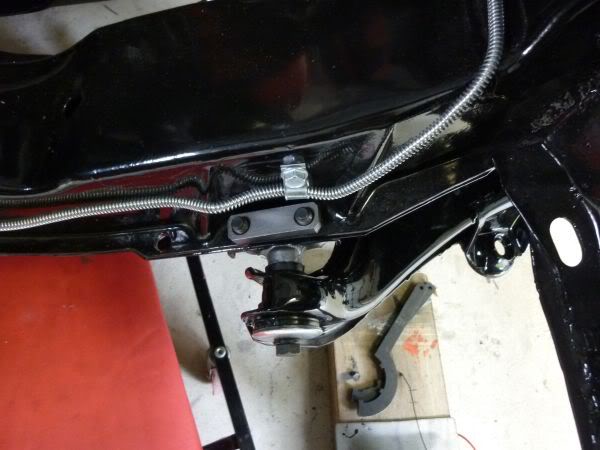
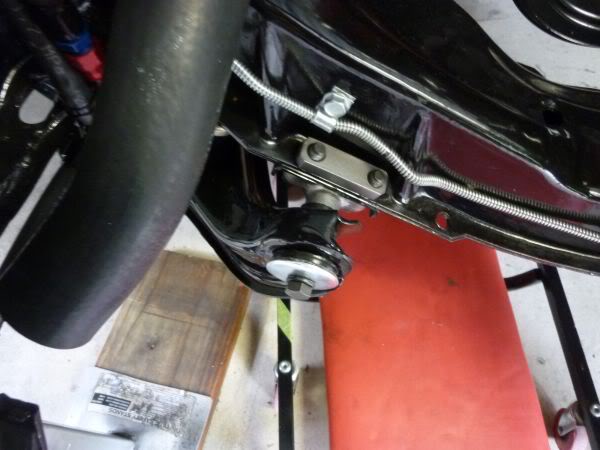
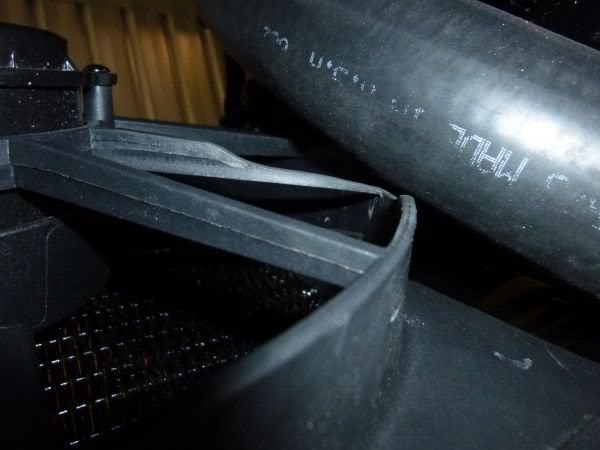
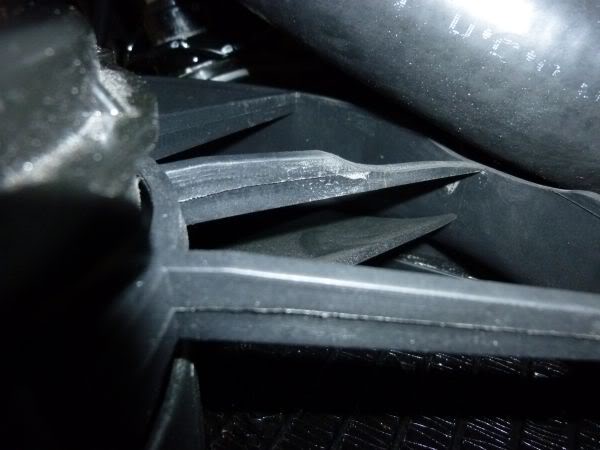
The lower apron needs to be sealed to force as much air into the radiator and not down under.
originally there was some bitumen rubber pieces in there but I uses 3mm rubber and attached it with weatherstrip adhesive.
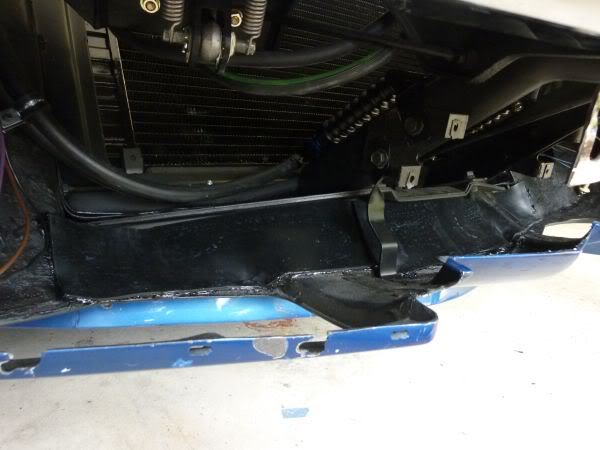
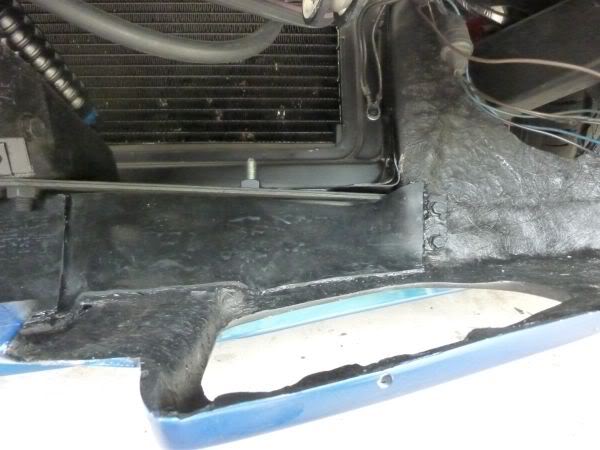
originally there was some bitumen rubber pieces in there but I uses 3mm rubber and attached it with weatherstrip adhesive.
Last edited by CraigH; 04-10-2023 at 02:28 AM.
02-23-2013, 06:06 PM
#420
Melting Slicks
Thread Starter
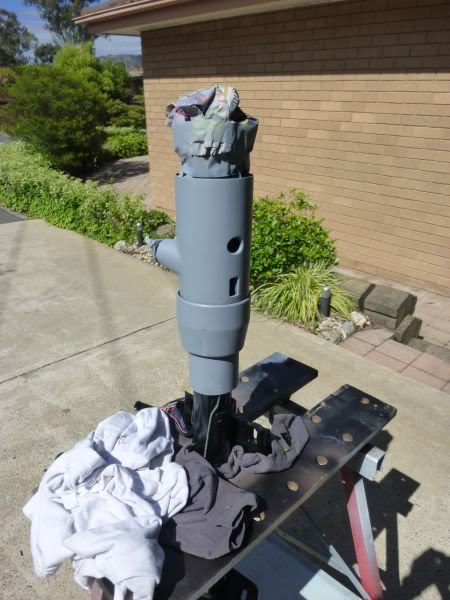
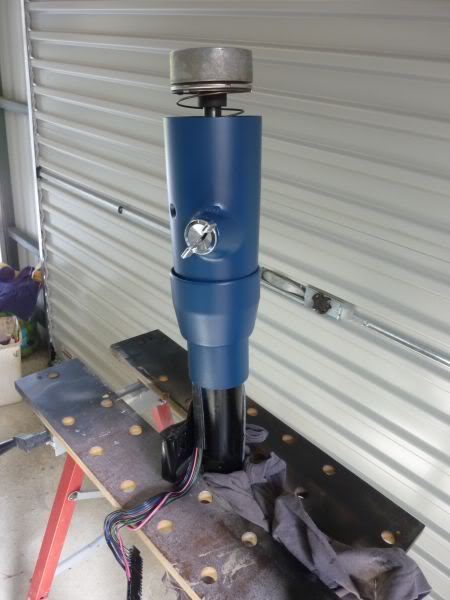
December 2011
The Steering column just needs a new isolating part for the head and it will be done.
In the meantime it has been cleaned and painted. There were cracks in some of the ABS parts that were glued with MEK, coated in superglue gel then normal sand, filler etc.

The Steering column just needs a new isolating part for the head and it will be done.
In the meantime it has been cleaned and painted. There were cracks in some of the ABS parts that were glued with MEK, coated in superglue gel then normal sand, filler etc.
Last edited by CraigH; 04-10-2023 at 02:28 AM.