When you click on links to various merchants on this site and make a purchase, this can result in this site earning a commission. Affiliate programs and affiliations include, but are not limited to, the eBay Partner Network.
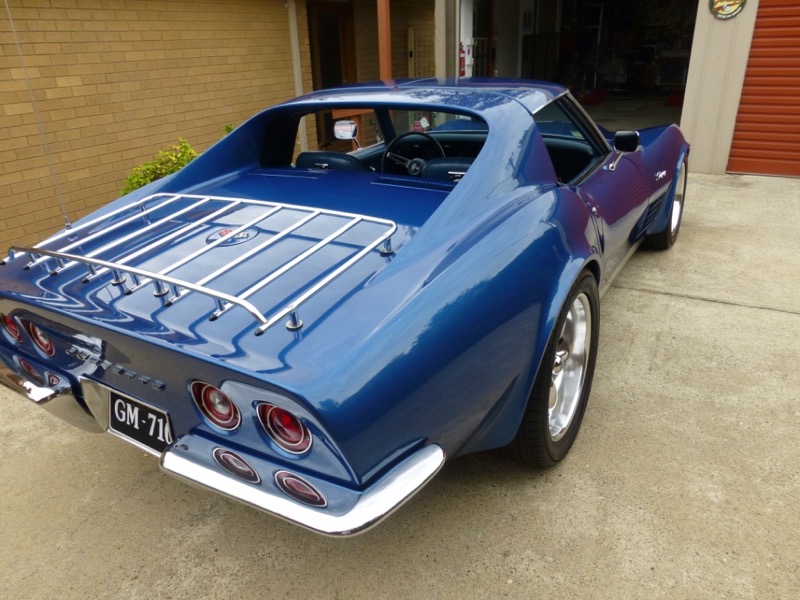
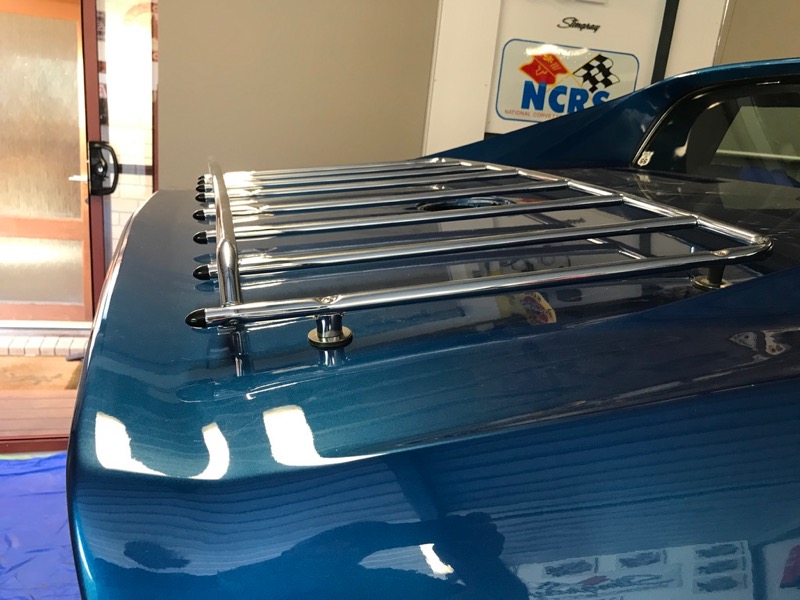
Nice work Craig. I am in the ' no rack' camp personally but your modification definitely makes it look like a much more attractive option in my book. Well done!
Hi Craig,
I think that might be an ORIGINAL idea!
I don't think I've seen or heard of anyone else doing it!!!
Well Done!
Regards,
Alan
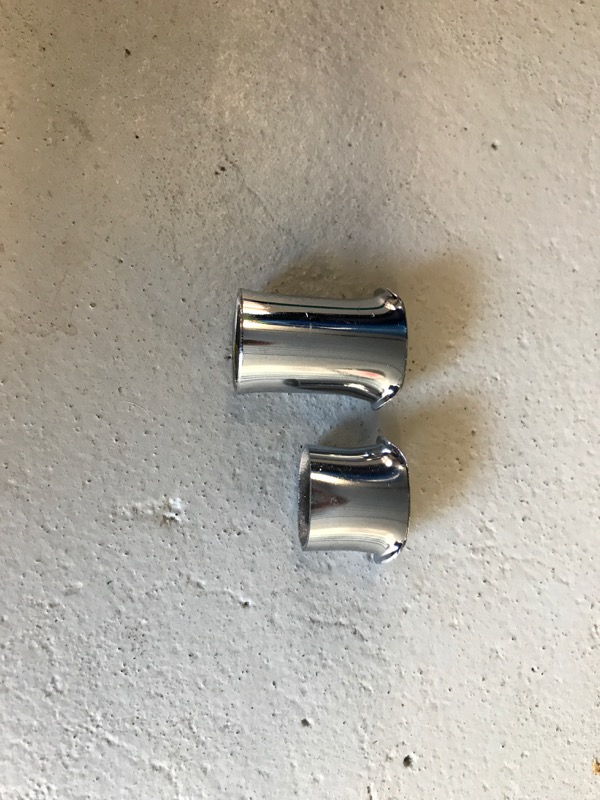
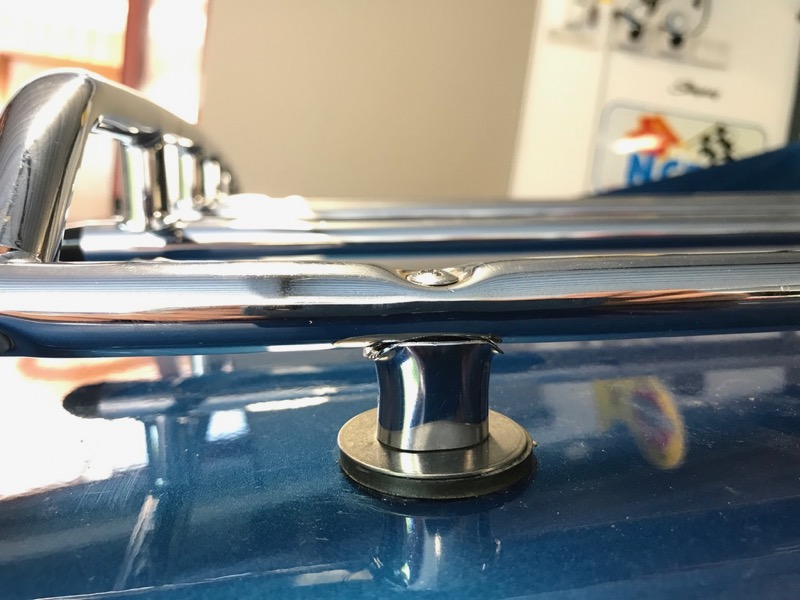
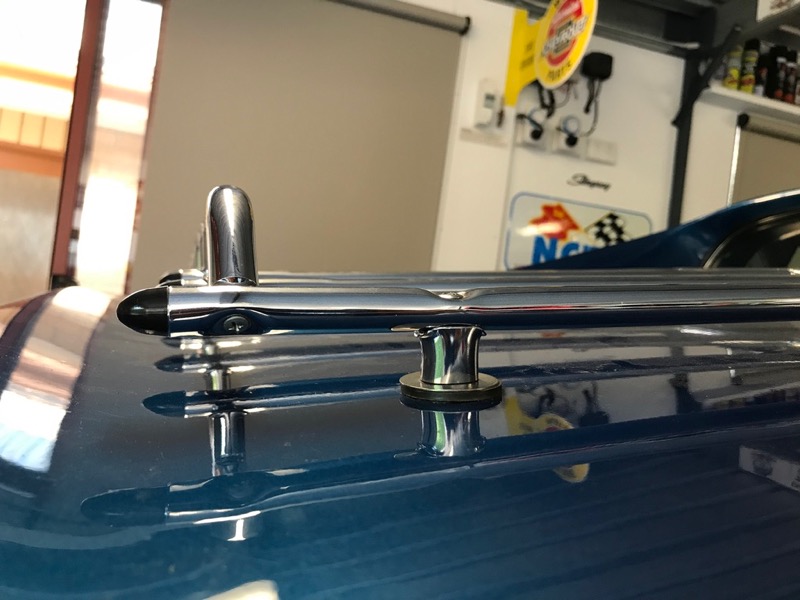
I wish that were true but the cutting of the stands for the luggage rack has already been done. A few show cars I did for people had it done to them back in the mid/late 1980's. Any 'little' thing to make it different and bring attention to it.
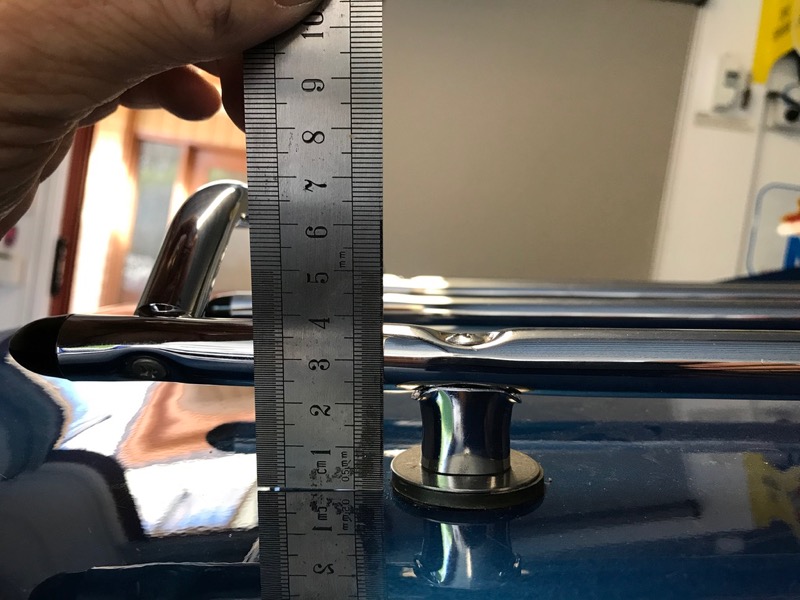
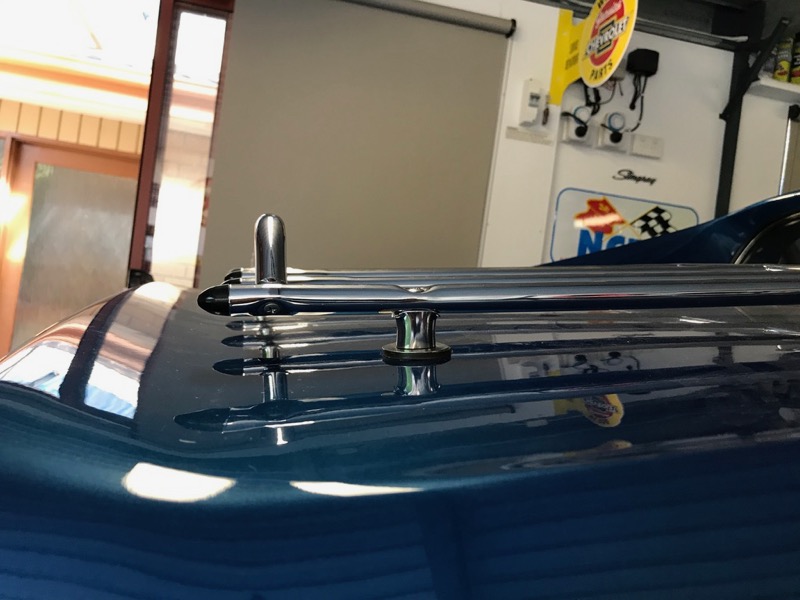
Actually how it came about at my shop was one night the owner was at the shop when we were assembling it and the new luggage rack was in so I set it down on the rear body and he liked how it looked with no stands at all.
Then out came the cut off wheel and the cutting of the old stands began until the height was something he liked. Once it was done on the first Corvette and people saw it...then others wanted it due to the sleeker/cleaner look.
Probably just as well your leaving it on. Filling the holes so they will never eventually show through is not going to be an easy task, if it's possible at all.
For the underside of the halo I would use a polyester body filler, it's not really a critical area.
If you want to use VPA, I've got some left in a tin you can have. Getting it to you might be a drama as it cannot be sent in the mail.
For the underside of the halo I would use a polyester body filler, it's not really a critical area.
If you want to use VPA, I've got some left in a tin you can have. Getting it to you might be a drama as it cannot be sent in the mail.
Thanks for the offer Brad. Logistics could be a problem.
Strangely I have had Evercoat Rage delivered by Australia Post.
Possibly its just an international issue.
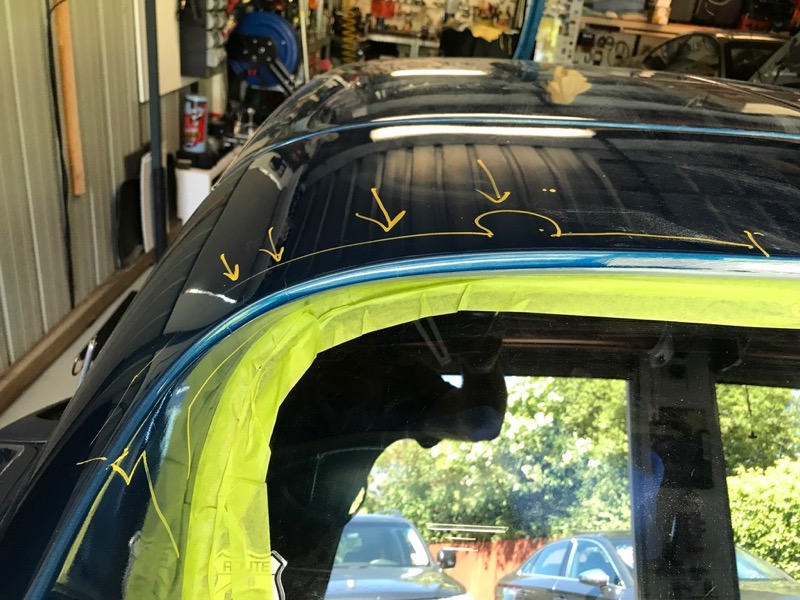
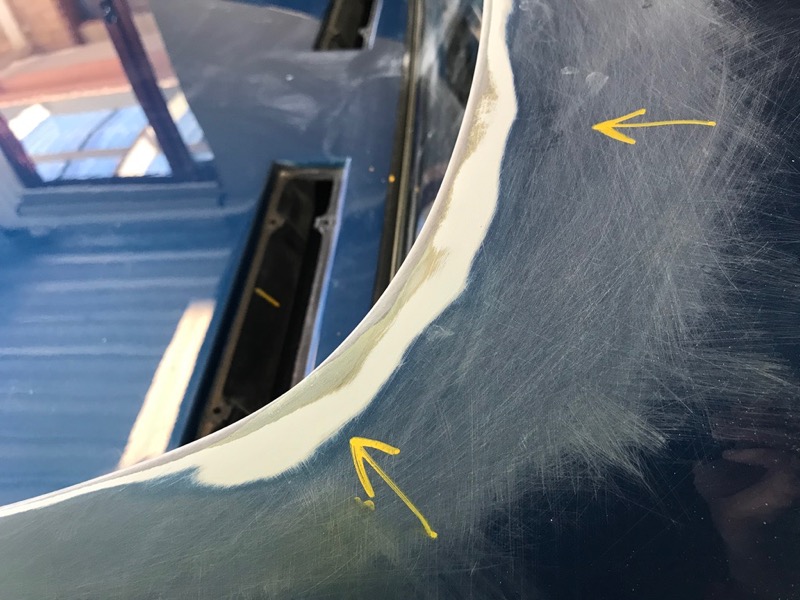
I was concerned about stopping any future stress cracks in the top edge.
I may grind out the vertical panel joins and then glass them up and run a strip of new glass along the entire top edge.
Just does not look like the best glass condition at present.
Will have to wait till i get all the old filler and paint off first.
Hate for more cracks to come in future.
Is there any issue with glassing up a panel join rather than using something like VPA ?
Hi Craig,
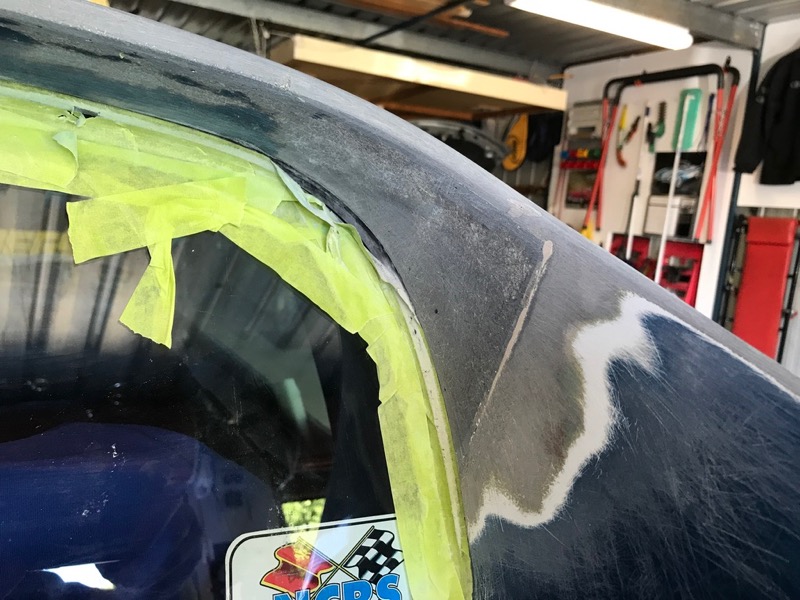
The fellow that painted my car felt that the 'joint' between the sail panel and the halo filler was secure so only dealt with it 'cosmetically'.... smoothed the transition between the 2 parts.
If you feel that's true on your car too perhaps you don't need to do more than some cosmetic work at the area?
You wrote 'Fiber tech' and I tried to search for it can did not find anything about it...so I can not comment on it unless I know who makes it. I know you have used it and seem to be happy with the results it gives you...so it more than likely can be used in case 'wabco40' can not get you the VPA that he has.
Knowing that your car is made out of the early form of SMC. The VPA can be used to do filling but it is NOT for actual crack repair.
So...depending if you go in and actually verify that the SMC is cracked.,..and it is not previously applied or sprayed on products. Then it is a toss up. Grind it and apply mat and resin....or if the Fiber Tech can be used for SMC crack repair...use it.
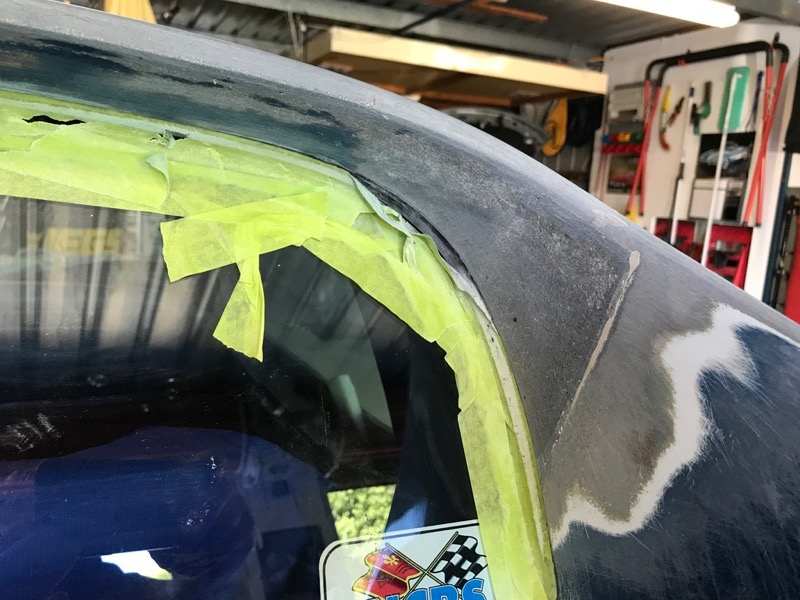
Now as for the seams in the halo area...just bevel it when you grind it and it can be filled with the VPA. And if you cannot get the VPA...I guess use your Fiber Tech. No need in laminating up that seam.
Keep in mind that the area on your upper body wherre these cracks are....makes me a bit suspicious. Knowing that that panel really can not flex or bend. I am betting that it is not structural. So if you stop and think about it...the cracks that go around the edge where it curves towards your rear back glass. That panel really can not bend or flex...So with it being rigid...assuming it is still all bonded correctly like the factory designed. I seriously doubt that they would come back due to this area....like I wrote...really does no flex and move.
Sp much depends on actually what you find when you go though the layers of what I see that has been applied in that area of your roof panel area.


 02-28-2018, 06:03 PM