
Chazde3's '68 Vette Project
 09-09-2018, 01:31 PM
#821
Drifting

Member Since: Apr 2014
Location: montague michigan
Posts: 1,744
Received 77 Likes
on
61 Posts
C2 of Year Finalist (stock) 2019
Thanks!
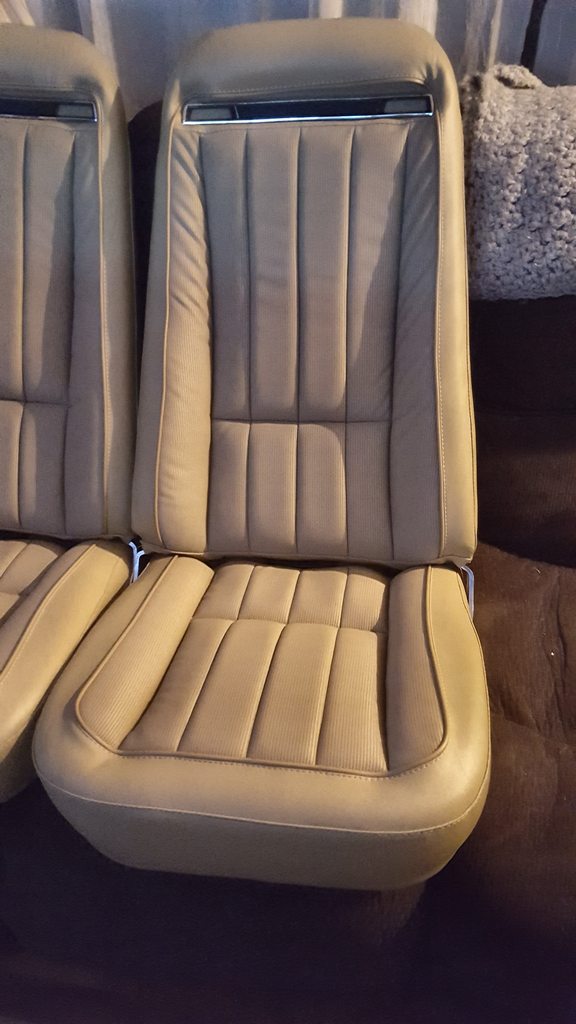
Thanks Roger! I don't think there is really anything to do differently. I had a terrible time getting to seat back cover rolled over the back of the seat. I had heard it would be bad, but I spent probably an hour trying to get it stretched over the top of the seat and felt like I was going to rip the cover the whole time.Maybe a little more glue on the back piece of foam and I now know the proper spot to cut the portion out for the seat belt cutouts in the foam. The first seat had them cut a little too high.
Thanks David! I am curious if the 8-10 hour estimate includes tear down and cleaning the frames as well. If that figure does, I think that time is very accurate into what I have into the seats. Not a job I am looking forward to anytime soon again, but I would likely do them myself again if needed, The other seat will likely be done next week now since I am missing wire clips and waiting on replacements from Paragon. This weekend I will be manning a booth at the Woods-N-Water News outdoor weekend for Brenton USA. Nothing like showing off the finest AR hunting rifles you can buy to thousands of people. But, I will be bringing my knee cart just in case.
 09-21-2018, 09:48 AM
#822
Drifting
Thread Starter
Finally got the replacement clips in from Paragon after a nearly 2 week wait due to some miscommunication. The second seat went a lot faster than the first one. I was able to get the majority of the seat done in one evening after work, but ran out of hog rings and had to buy more at a farm supply store. Had issues with the area around the shoulder belt trim on this seat as well, oh well. They still look great for an amateur job. I took lots of pictures and will post a thread on how to do the covers later.
Tossed one in the drivers seat of the car to see how they look and to be able to sit in the seat for the first time in 5 years.
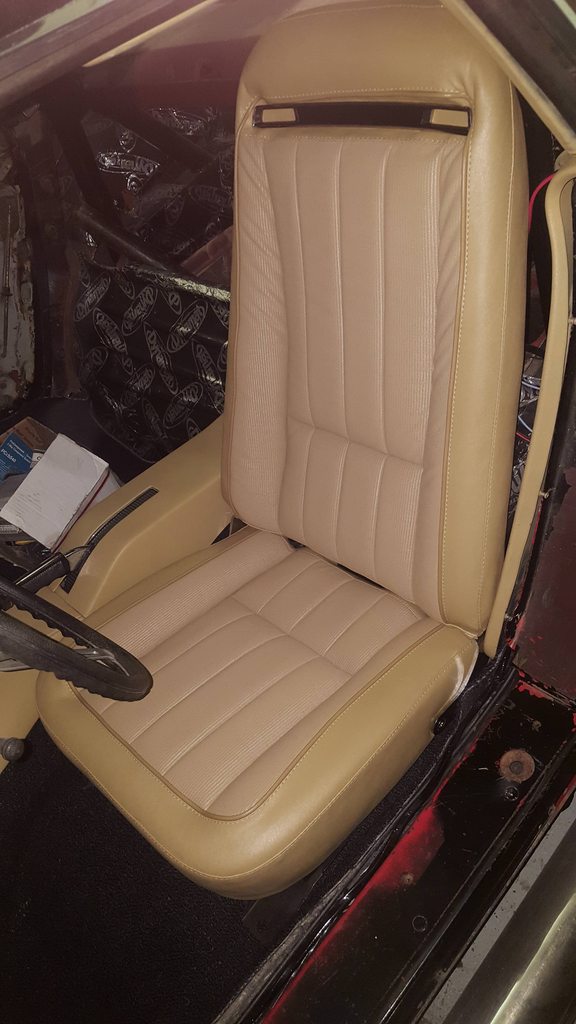
A couple of observations from that. There is some interference with the back corner of the seat and the roll bar. The seat foam sits nice and high like expected, that coupled with my thick thighs and I will be running a smaller diameter steering wheel like dad did. I would run the exact same one, but the wheel is very tacky.
Tossed one in the drivers seat of the car to see how they look and to be able to sit in the seat for the first time in 5 years.
A couple of observations from that. There is some interference with the back corner of the seat and the roll bar. The seat foam sits nice and high like expected, that coupled with my thick thighs and I will be running a smaller diameter steering wheel like dad did. I would run the exact same one, but the wheel is very tacky.
Last edited by chazde3; 10-12-2018 at 09:18 AM.
09-21-2018, 09:48 PM
#823
Melting Slicks

Chuck - Those seats look as good as factory! And what a shame to cover those beautiful frames! Good job my friend! And SON! You sell AR (MSR)?? Why did I not know this?? We need to talk! Keep up the good work man!
09-22-2018, 03:49 AM
#824


Chuck I forgot to ask you if you used or needed any special tools for the seats. I think they came out very well. Nice job!
09-22-2018, 07:01 AM
#825
Safety Car

I recently did my seats with new foam, and the "leather-like" covers. Like you said, it was a real challenge getting them to slip over the top, but that trim piece was the WORST part of the whole job! Mine look a lot like yours(except in black)�. so I guess we did alright! 
09-22-2018, 07:52 PM
#826
Drifting
Thread Starter
I recently did my seats with new foam, and the "leather-like" covers. Like you said, it was a real challenge getting them to slip over the top, but that trim piece was the WORST part of the whole job! Mine look a lot like yours(except in black)�. so I guess we did alright!
The following users liked this post:
SB64 (09-23-2018)
09-24-2018, 03:44 PM
#827
Drifting
Thread Starter
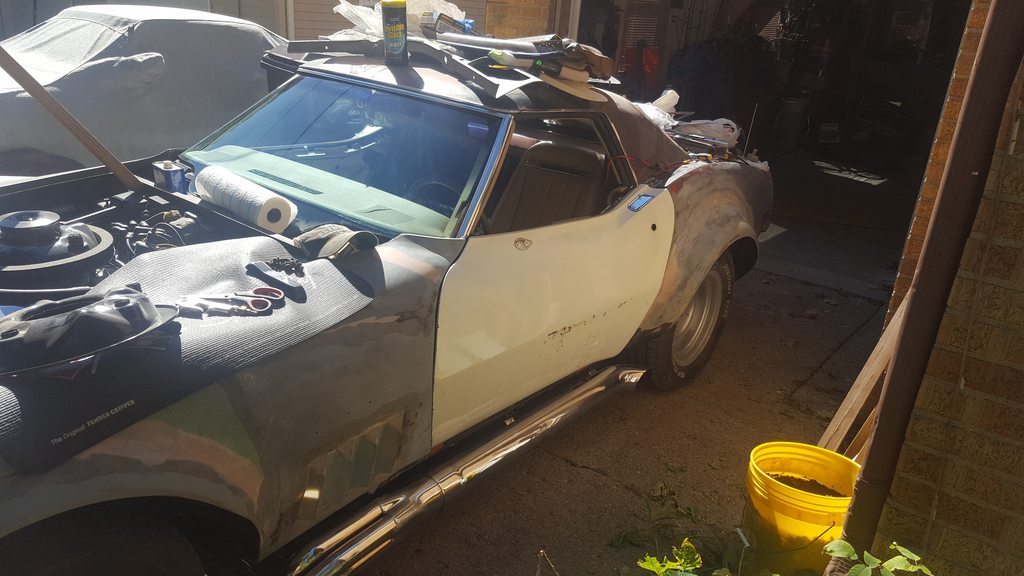
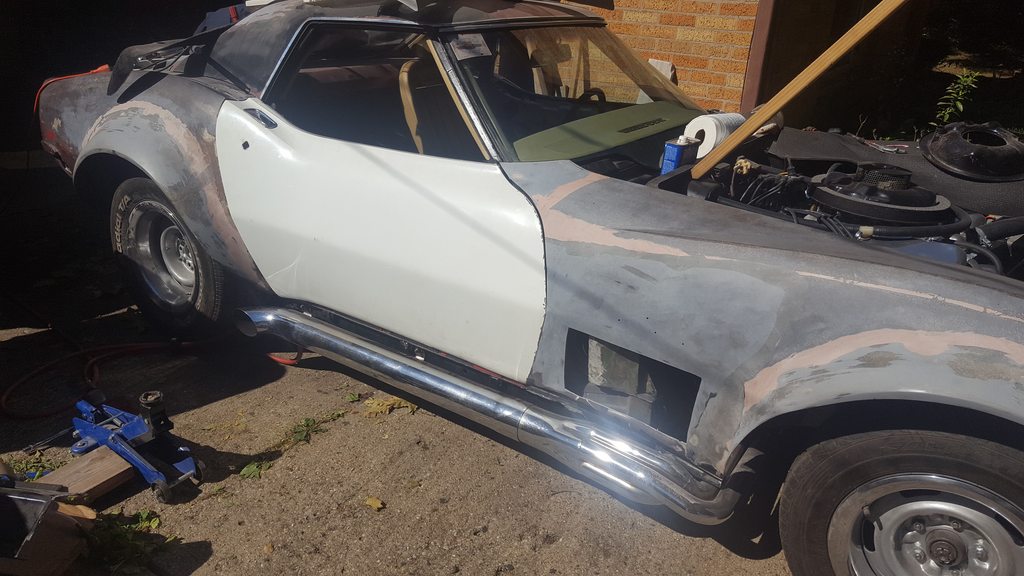
So Friday night I drove an hour and a half to pick up a set of electric window doors from someone parting out their '76 coupe project. They are in excellent condition other than the paint. I was able to get them installed yesterday, but need to do some adjusting to get them to fit better. Will also need to add the necessary wiring needed.
Also cleaned up the Pontiac steering wheel dad had been using and installed it. I think it will need to be wrapped in leather eventually though.
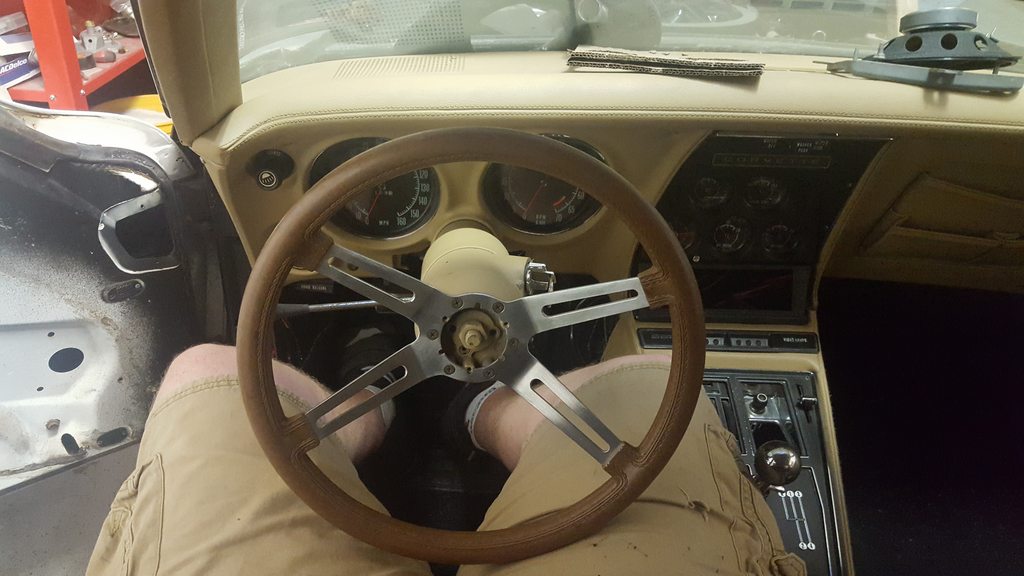
Also cleaned up the Pontiac steering wheel dad had been using and installed it. I think it will need to be wrapped in leather eventually though.
Last edited by chazde3; 10-12-2018 at 09:17 AM.
10-13-2018, 09:37 AM
#829
Drifting

FYI, That is an Oldsmobile Sport steering wheel not Pontiac. Wheel Assembly You need the plunger, horn contact and button.

Last edited by Boiler_81; 10-13-2018 at 09:40 AM.
10-13-2018, 10:59 AM
#830
Drifting
Thread Starter
FYI, That is an Oldsmobile Sport steering wheel not Pontiac. Wheel Assembly You need the plunger, horn contact and button.
10-13-2018, 12:09 PM
#831
Hey Chuck, thanks for the bump on facebook!
10-17-2018, 04:40 PM
#832
Senior Member


Member Since: Jan 2008
Location: Easton, PA
Posts: 12,154
Received 2,031 Likes
on
1,103 Posts
St. Jude Donor '10

It is amazing how many pictures you can accumulate during a build.
Keep the progress updates coming Chuck.
Looking good.
David
11-09-2018, 03:30 PM
#833
Drifting
Thread Starter
Haven't put much work into the car lately. I did have it fired up the other night in the garage. It was good to hear the beast running. I am working on getting my tiny garage cleaned up some to make working on the car a little bit easier/nicer, but since winter is hitting the garage is starting to cool off pretty quickly. I am debating adding a ventless natural gas heater along one wall.
11-09-2018, 06:07 PM
#834
Dementer sole survivor

Member Since: Oct 2015
Location: YUPPY HELL Westford MASS
Posts: 16,399
Received 6,258 Likes
on
3,904 Posts
2020 C3 of the Year Finalist - Modified
2020 Corvette of the Year Finalist (performance mods)
2019 C3 of Year Winner (performance mods)
2016 C3 of Year Finalist
Thanks David!
Haven't put much work into the car lately. I did have it fired up the other night in the garage. It was good to hear the beast running. I am working on getting my tiny garage cleaned up some to make working on the car a little bit easier/nicer, but since winter is hitting the garage is starting to cool off pretty quickly. I am debating adding a ventless natural gas heater along one wall.
Haven't put much work into the car lately. I did have it fired up the other night in the garage. It was good to hear the beast running. I am working on getting my tiny garage cleaned up some to make working on the car a little bit easier/nicer, but since winter is hitting the garage is starting to cool off pretty quickly. I am debating adding a ventless natural gas heater along one wall.
Last edited by Rescue Rogers; 11-09-2018 at 06:07 PM.

The following users liked this post:
AllC34Me (11-11-2018)
11-11-2018, 04:32 PM
#835
Nam Labrat

Member Since: Sep 2013
Location: New Orleans Loo-z-anna
Posts: 33,883
Received 4,154 Likes
on
2,727 Posts

Thanks David!
Haven't put much work into the car lately. I did have it fired up the other night in the garage. It was good to hear the beast running. I am working on getting my tiny garage cleaned up some to make working on the car a little bit easier/nicer, but since winter is hitting the garage is starting to cool off pretty quickly. I am debating adding a ventless natural gas heater along one wall.
Haven't put much work into the car lately. I did have it fired up the other night in the garage. It was good to hear the beast running. I am working on getting my tiny garage cleaned up some to make working on the car a little bit easier/nicer, but since winter is hitting the garage is starting to cool off pretty quickly. I am debating adding a ventless natural gas heater along one wall.
11-12-2018, 04:58 PM
#836
Drifting
Thread Starter
So I have some electrical gremlins to work out apparently. I decided to test out the headlights/dash lights. I need to get new bulbs to really test this, but one high beam was working correctly, but only if I wiggled the floor dimmer switch, so I think that switch is bad. No dash lights were working at all. I checked and I had 2 blown fuses, the CTSY/CLK fuse blows instantly when trying to replace it which is not cool. I will have to poke around and see if a wire is hitting the sound deadener somewhere. I hate wiring.
11-12-2018, 10:01 PM
#837
Nam Labrat
Member Since: Sep 2013
Location: New Orleans Loo-z-anna
Posts: 33,883
Received 4,154 Likes
on
2,727 Posts
Does anyone make a "fuse light"? It would temporarily replace a fuse. It would stay lit until the shorted wire is moved/wiggled enough to cause the fuse-light to go out.


The following 3 users liked this post by TM1400:
11-13-2018, 05:36 AM
#839
That seems like a handy dandy tool to have!
11-13-2018, 10:06 AM
#840
Drifting
Thread Starter
The new dimmer switch and headlight bulbs did the trick. The headlights are working properly now. I am just waiting for the passenger side bulbs to come into the auto parts store later today. An added bonus was that the Sylvania replacement bulbs, although not having the glass nipple at the back like original bulbs, did have a clear spot that gives enough light for the fiber optic system to register. Pretty cool to see that working.
I couldn't track the rest of the issues I was having yet unfortunately. I may have to look into a tester like what was posted a couple posts up. I found the little 5 amp instrument panel fuse blown as well. I replaced that and it didn't blow again, but the dash lights still weren't working. One thing I find odd is that if I short the driver's side courtesy lamp switch wires together like the door is open the footwell lights will come on. I would have assumed these wouldn't work with the courtesy fuse blown.
I couldn't track the rest of the issues I was having yet unfortunately. I may have to look into a tester like what was posted a couple posts up. I found the little 5 amp instrument panel fuse blown as well. I replaced that and it didn't blow again, but the dash lights still weren't working. One thing I find odd is that if I short the driver's side courtesy lamp switch wires together like the door is open the footwell lights will come on. I would have assumed these wouldn't work with the courtesy fuse blown.