Chazde3's '68 Vette Project
 11-13-2018, 06:52 PM
#841
Instructor

Full disclosure, I don't have one of those tools but after seeing DG's post remembered seeing it online and thought it might do what he was suggesting. Seems like you could plug it in and move wires looking for shorts or opens by the reading on the display.
Best of luck knocking out those gremlins!
Tod
Best of luck knocking out those gremlins!
Tod

The following users liked this post:
doorgunner (11-16-2018)
11-14-2018, 12:49 AM
#842


DG's thread is full of some pretty cool stuff, that being one of them. Thanks, as the battle to get rid of the gremlins on my project.
The following users liked this post:
doorgunner (11-16-2018)
11-14-2018, 09:16 PM
#843
Drifting

Thread Starter
SUCCESS!!!
So today I had my broken taillight fixture studs fixed with new carriage bolts. After that, I installed them and wired them up like they should be. Replaced the fuse and tried the lights out and they worked perfectly and didn't blow the fuse. Apparently the taillight wiring was touching a ground and shorted out. This fixed the dash lights also. 1 problem down.
So after that worked I installed another fuse in the courtesy light spot and it blew instantly. After poking around I realized the passenger side courtesy light wiring was grounding out on the metal bulb holder because I hadn't installed a bulb yet. I corrected that and everything is working properly now except the door jamb switches which I will be ordering very soon.
Moral of the story, actually install bulbs before testing your circuits.
The following 2 users liked this post by chazde3:
Andy Tuttle (03-27-2019),
rickimvette (11-14-2018)
11-15-2018, 04:16 AM
#844
Man that looks really nice Chuck. Really cool in the dark to see it all lit up. Nice job!
11-15-2018, 10:58 AM
#845
Drifting
Thread Starter
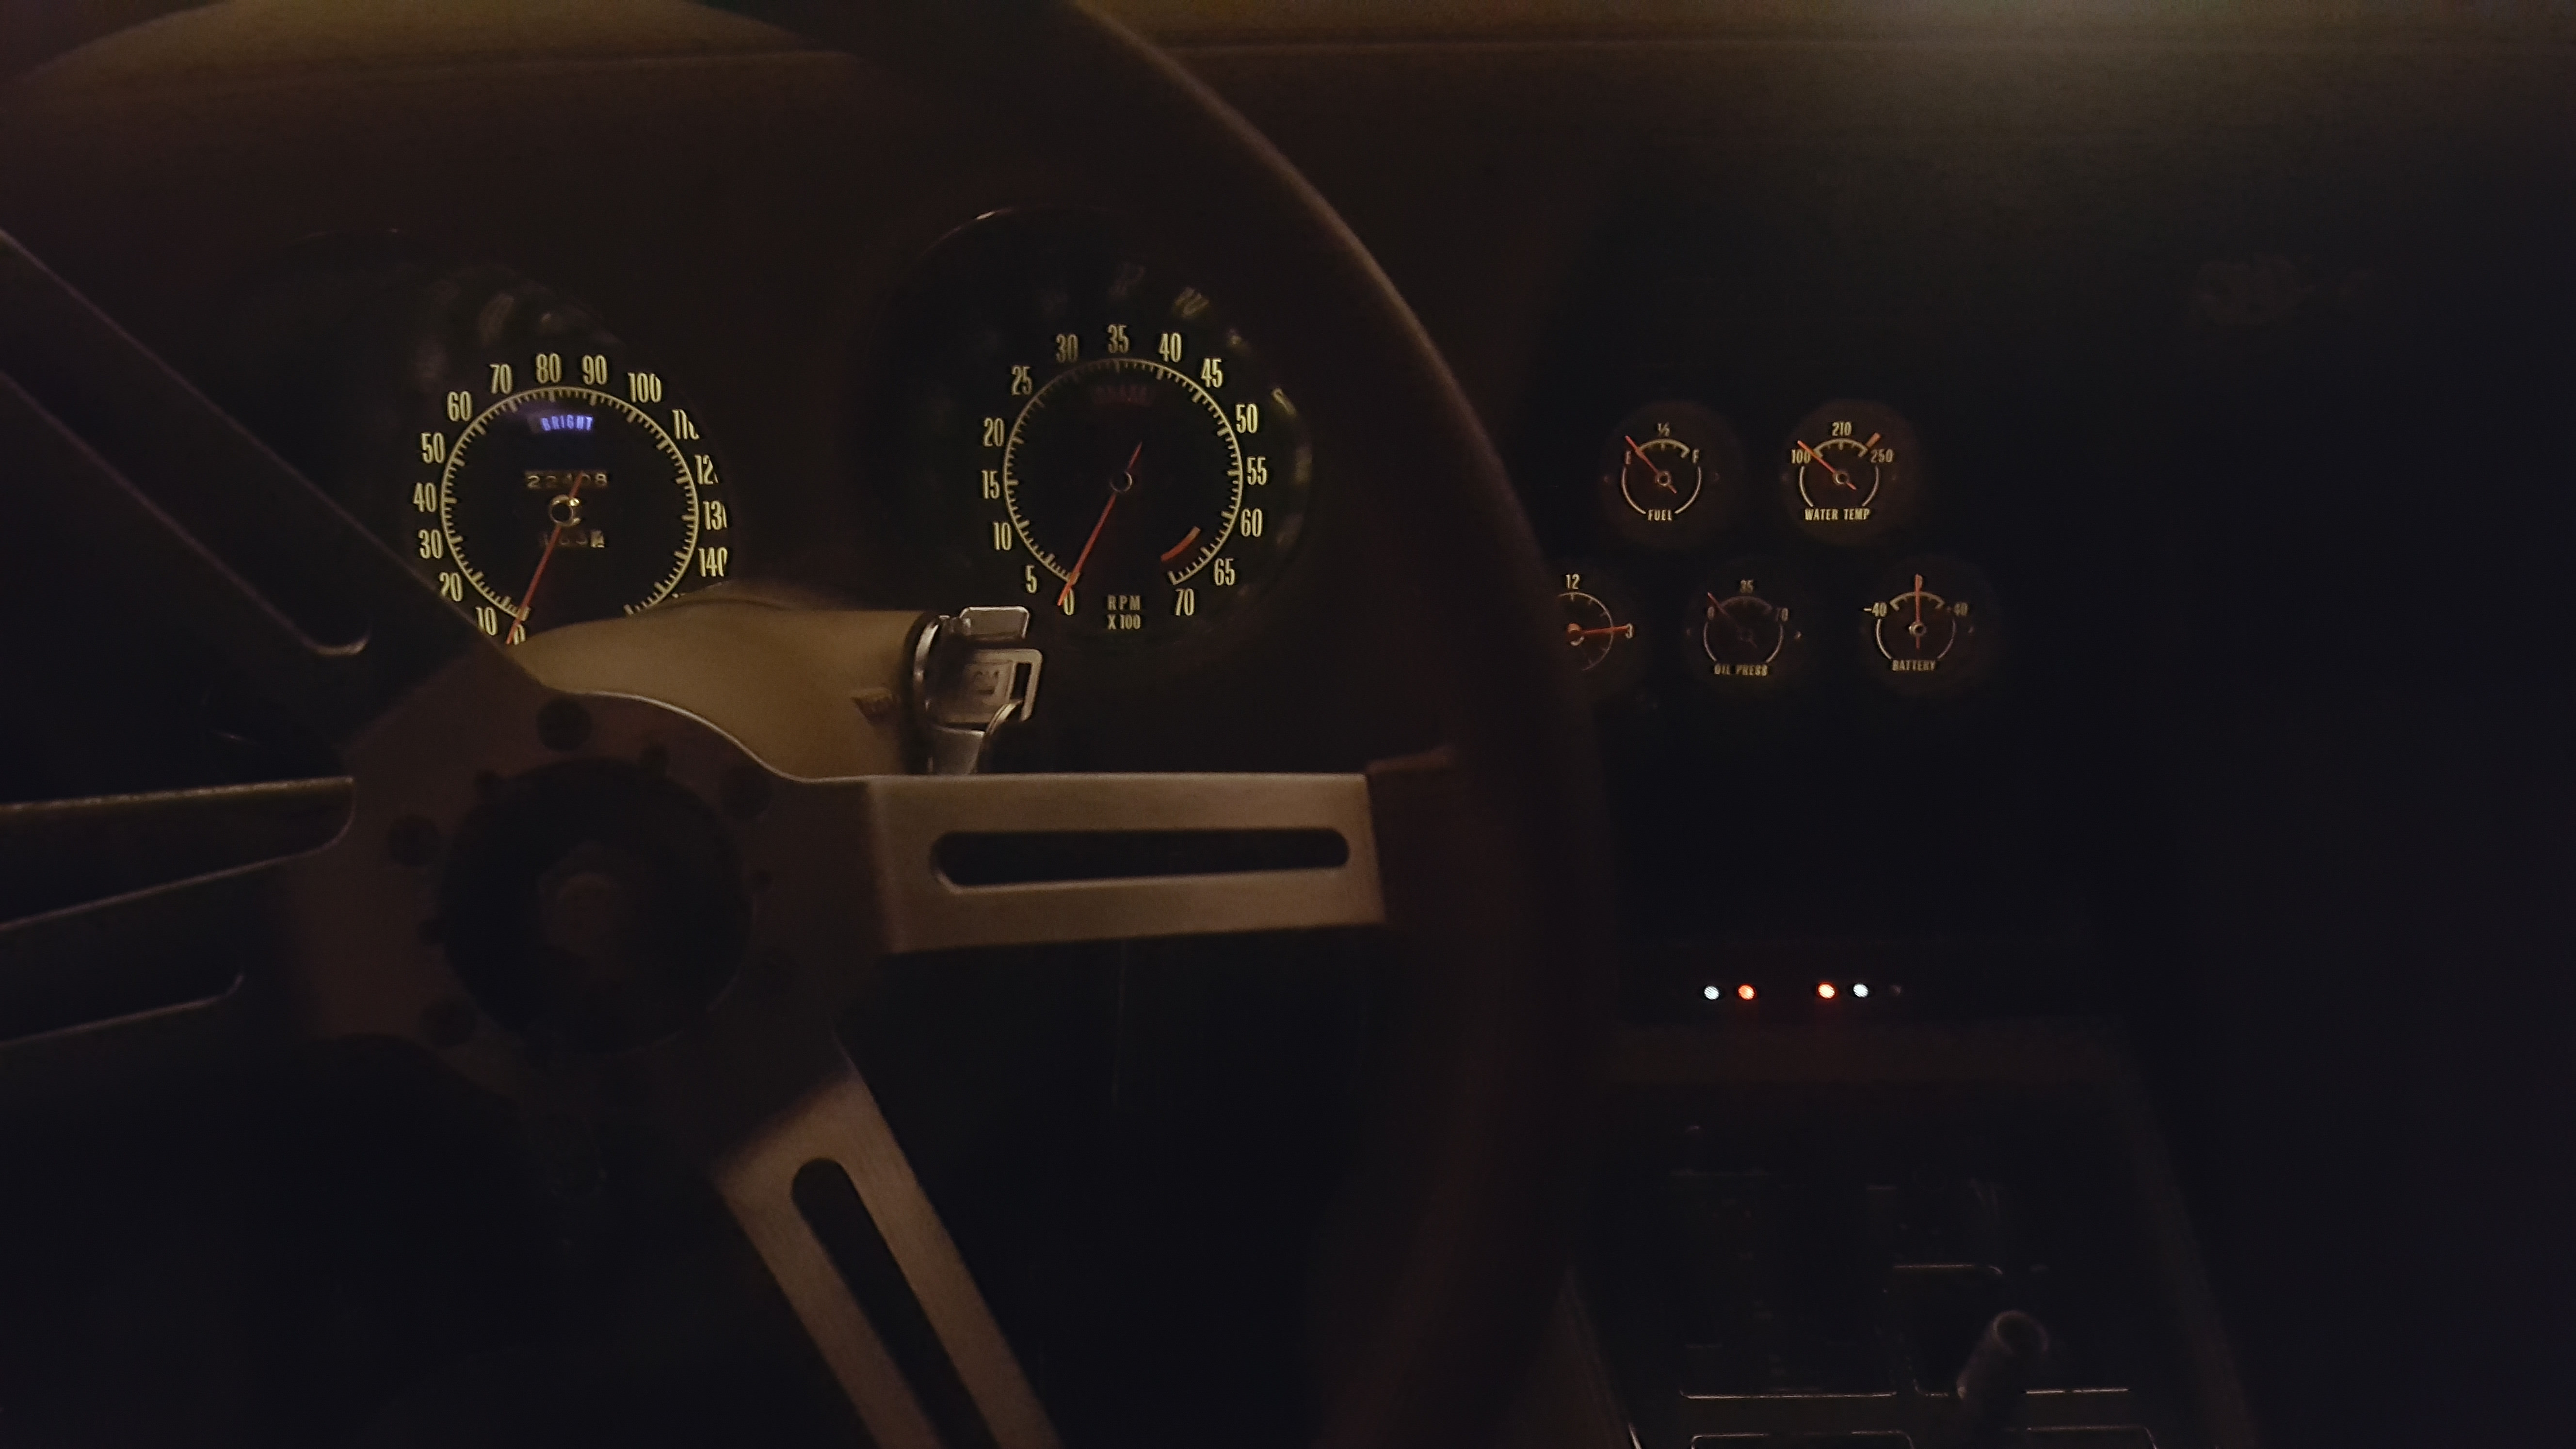
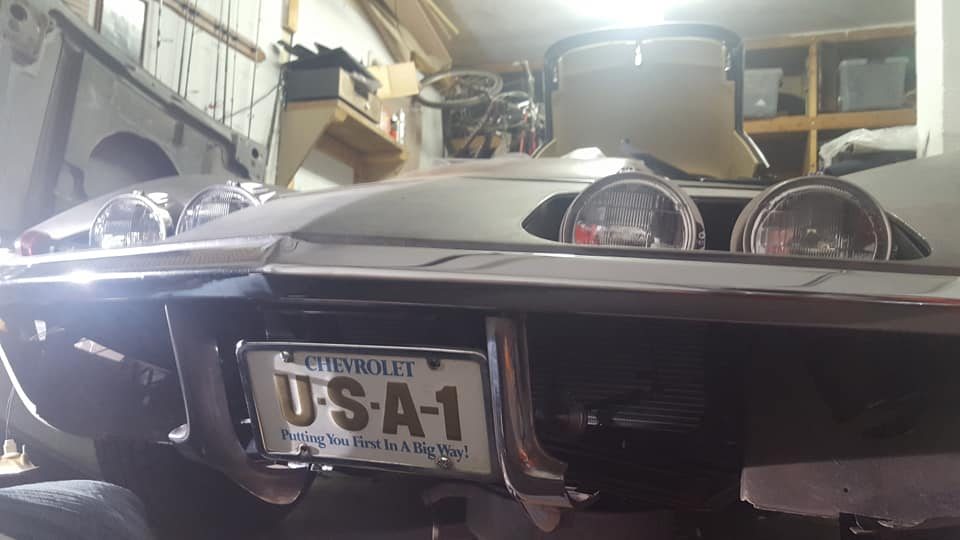
Thanks Roger! Also grabbed a pic of the tail lights all lit up.
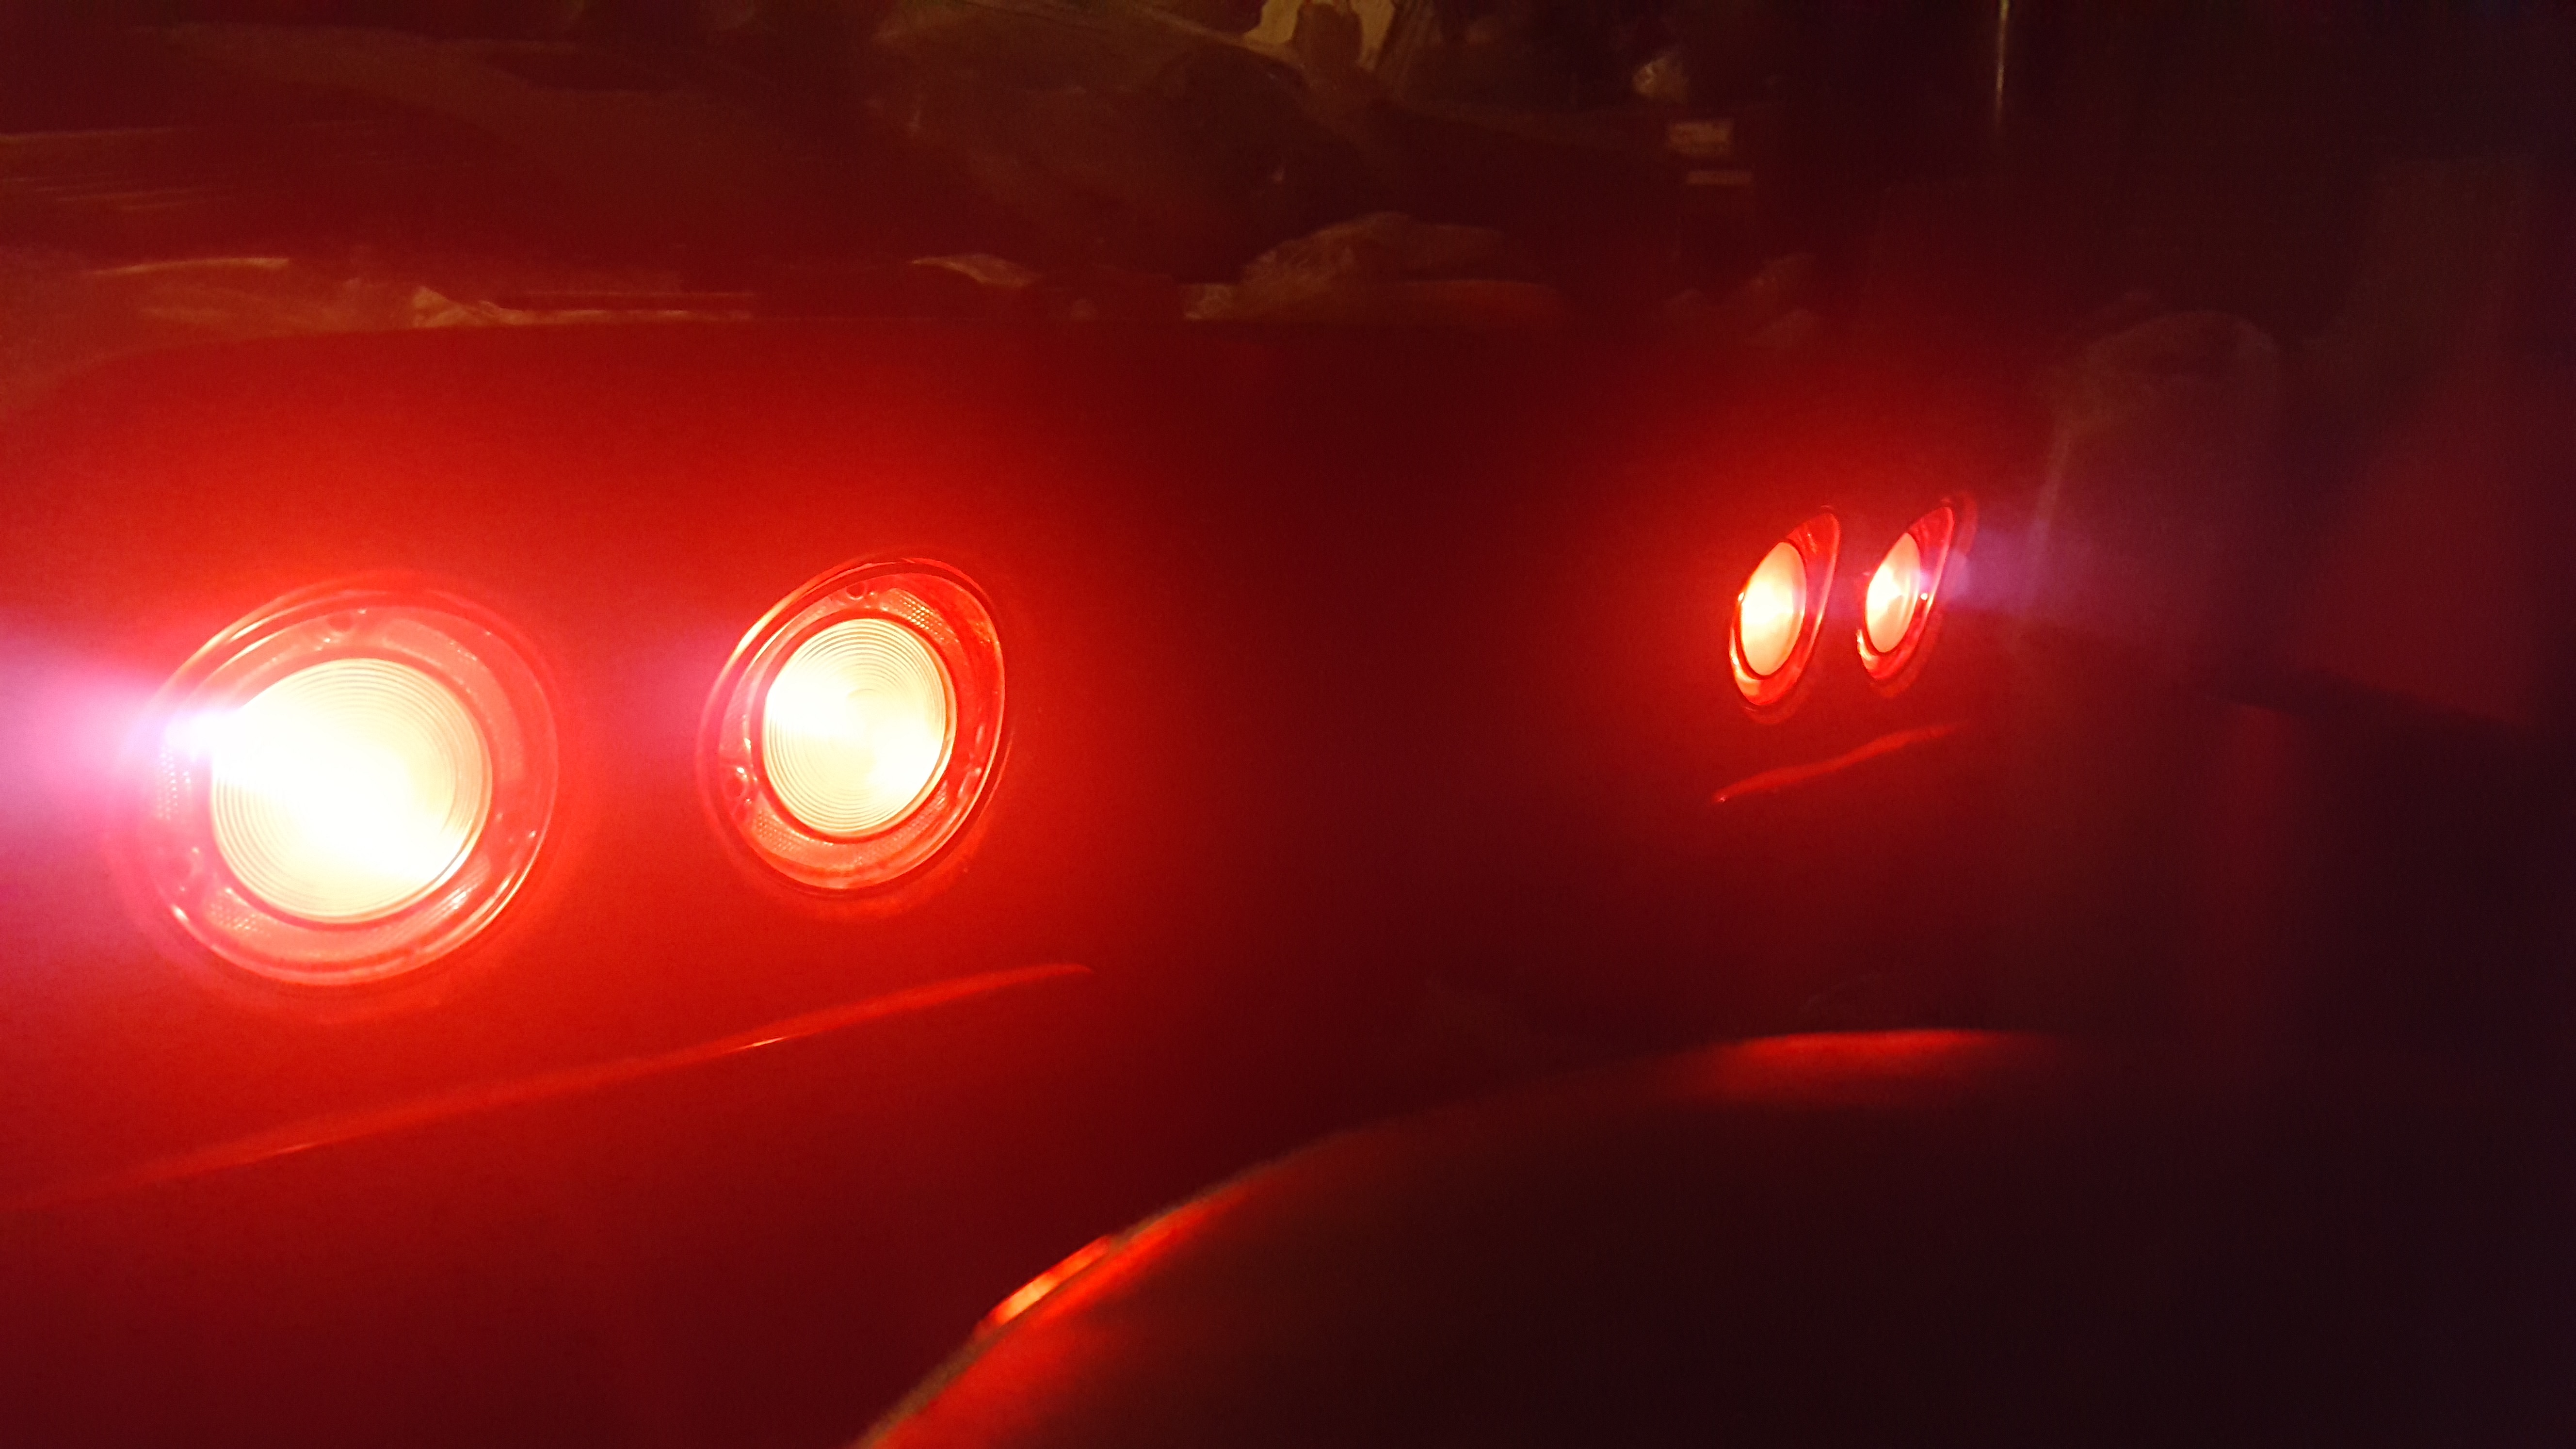
Unfortunately, the brake light function is not working on the car at the moment, but not sure if that only works with the car running or not. It was too late and too cold to open the garage door to fire up the car and check that.
Unfortunately, the brake light function is not working on the car at the moment, but not sure if that only works with the car running or not. It was too late and too cold to open the garage door to fire up the car and check that.
11-15-2018, 04:03 PM
#846
Yea Chuck we are going to be in the high 40's in the morning before it goes up to 75 burrrrrrrrrrrrrr!
11-15-2018, 05:56 PM
#847
Drifting
Thread Starter
So I replaced the flashers and the brake switch which was converted to a 69 and up plunger style this evening. That fixed all the brake light issues. All lights now working besides back up and parking lights which I haven't hooked up yet to test. Don't foresee any issues with that stuff though.
11-16-2018, 10:50 PM
#848
Nam Labrat


Member Since: Sep 2013
Location: New Orleans Loo-z-anna
Posts: 33,899
Received 4,179 Likes
on
2,739 Posts

You're doing great on those wiring gremlins!
11-17-2018, 12:39 AM
#849
Drifting
Thread Starter
Thanks DG! What a pain in the butt.
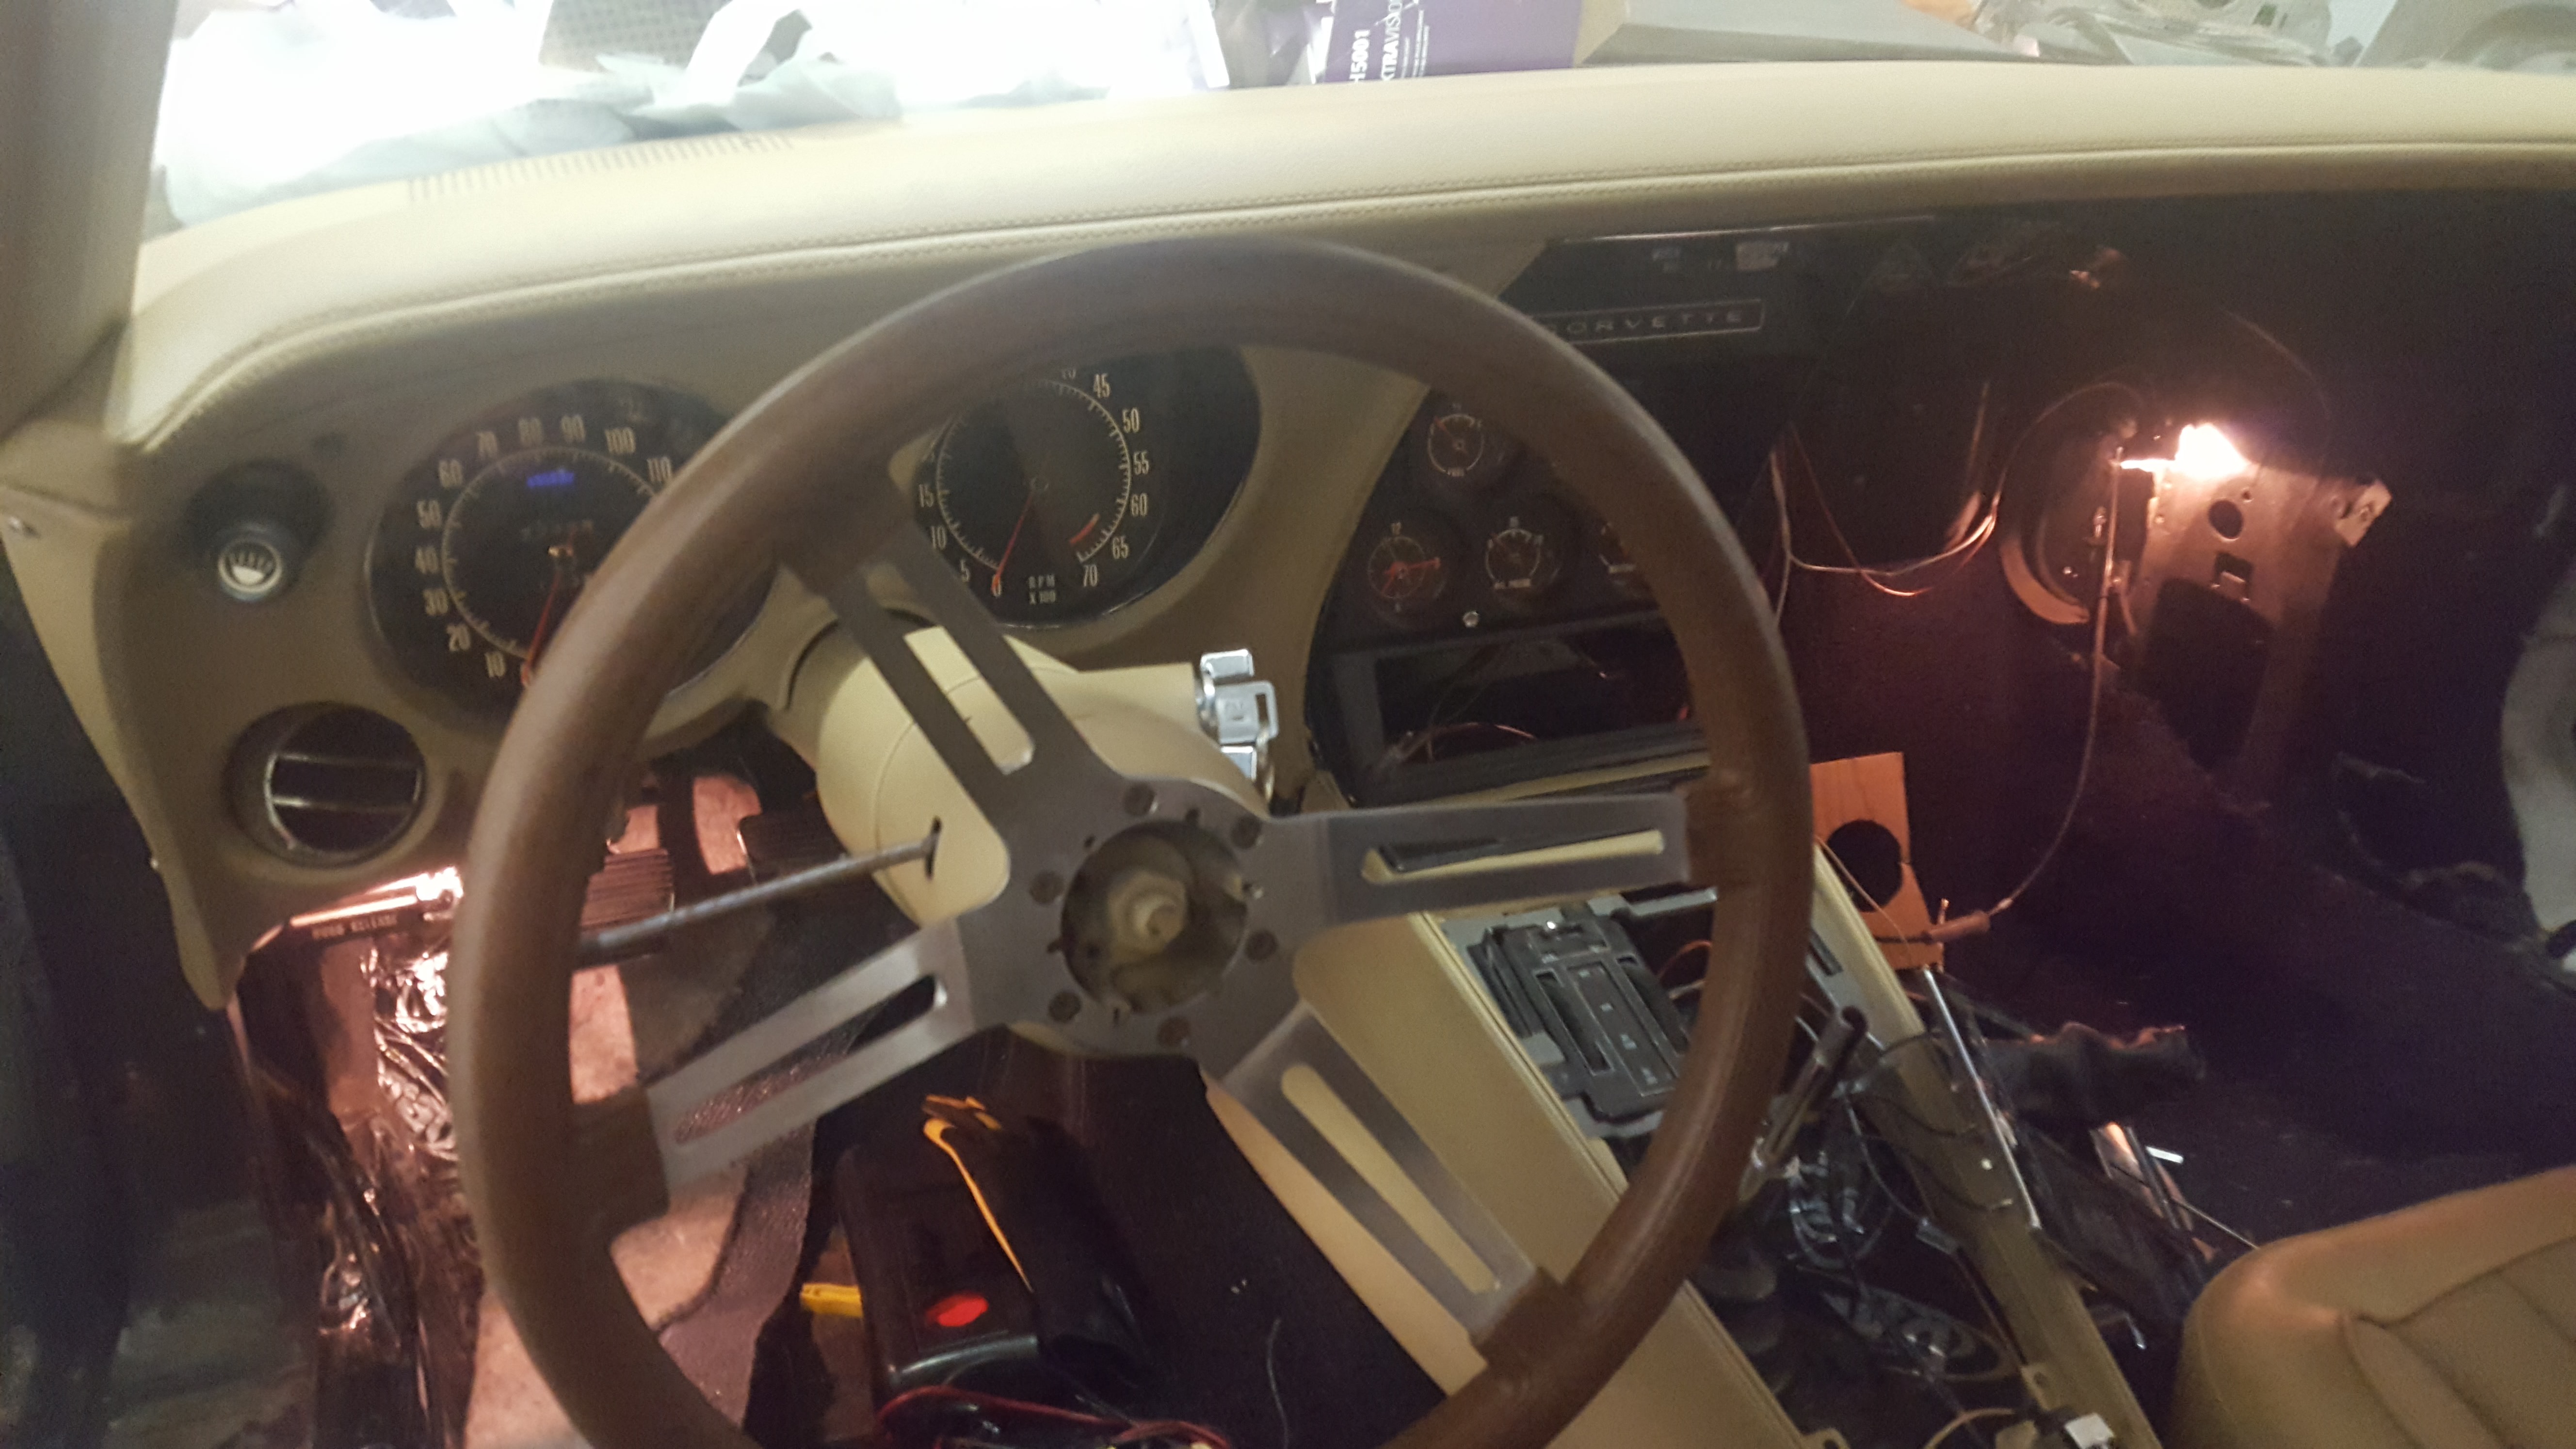
now that I had the wiring taken care of, I had to tear apart part of the driver's dash to access the bolts for the upper door hinge so I could adjust door gaps with the new power window doors I bought recently. This has by far been one of the worst jobs on the build so far. Tight cramped space under the dash for a few hours and many many tries to get the door aligned. The driver's door finally looks pretty good, but I will have to tweak the gaps to get consistent gaps once I start body work.
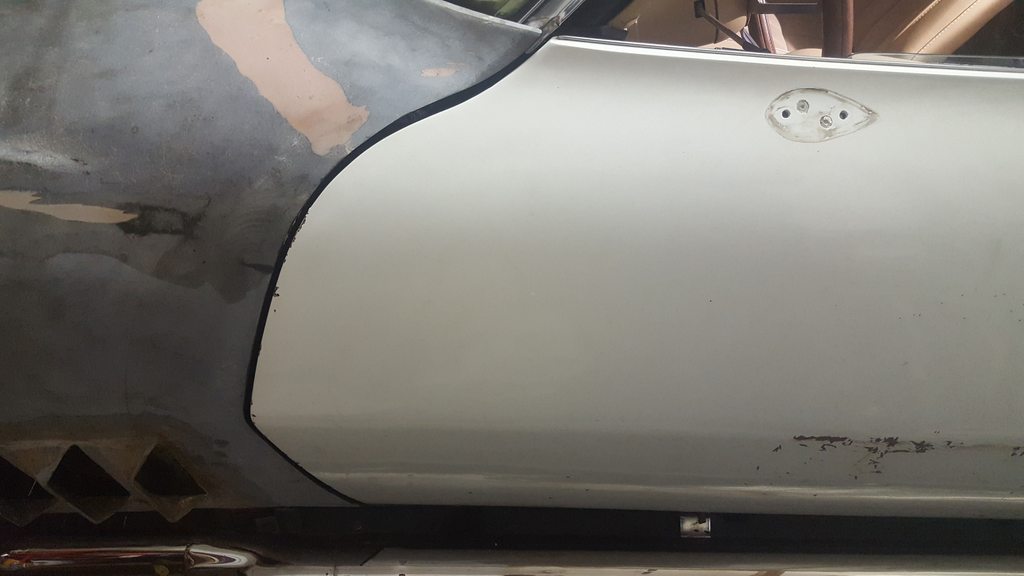
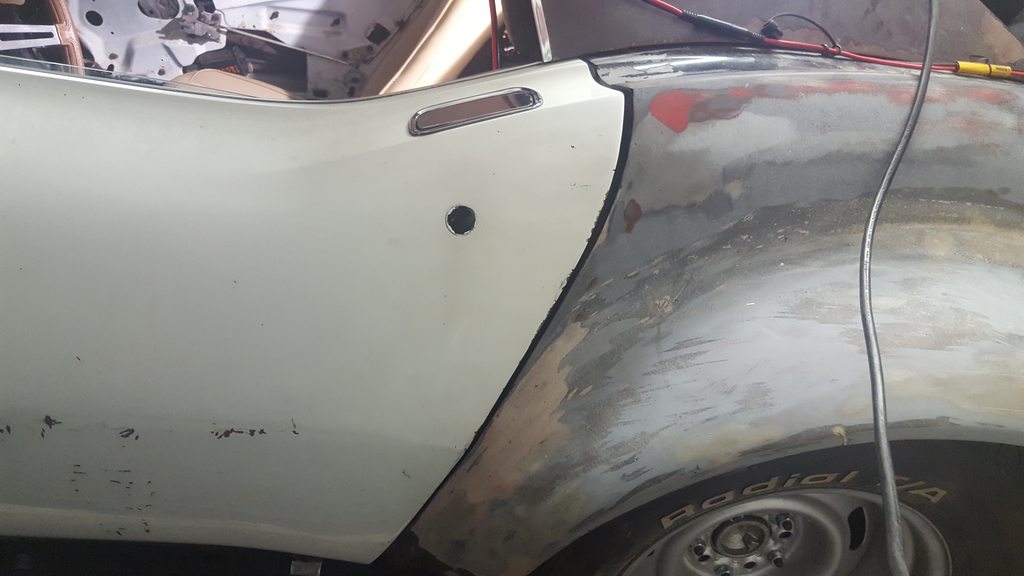
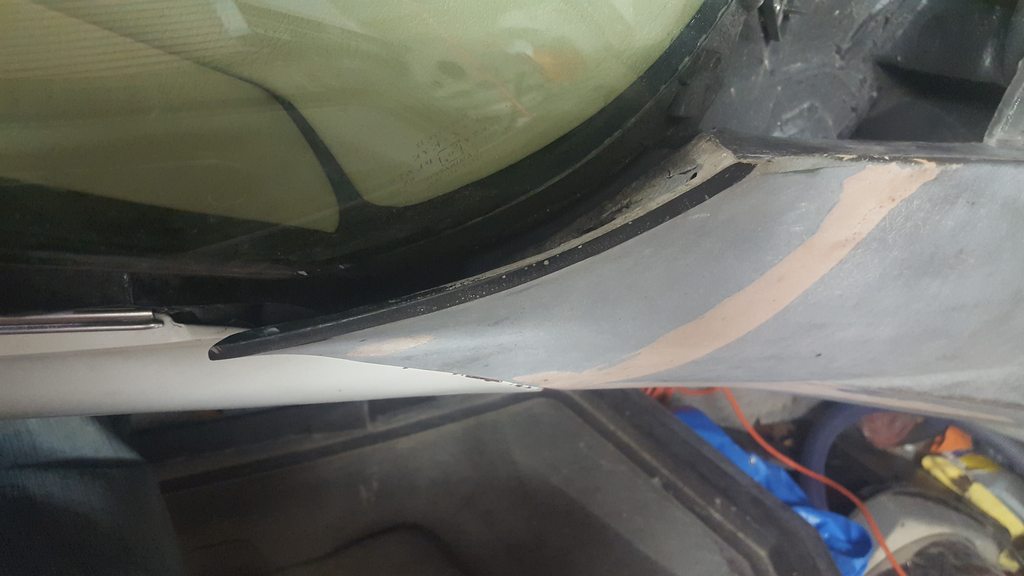
I have quite a bit more work to do on the passenger's side door still. Gaps aren't great and the corner of the fender appears to be too far away from the windshield. That will need to be fixed.
Driver's side
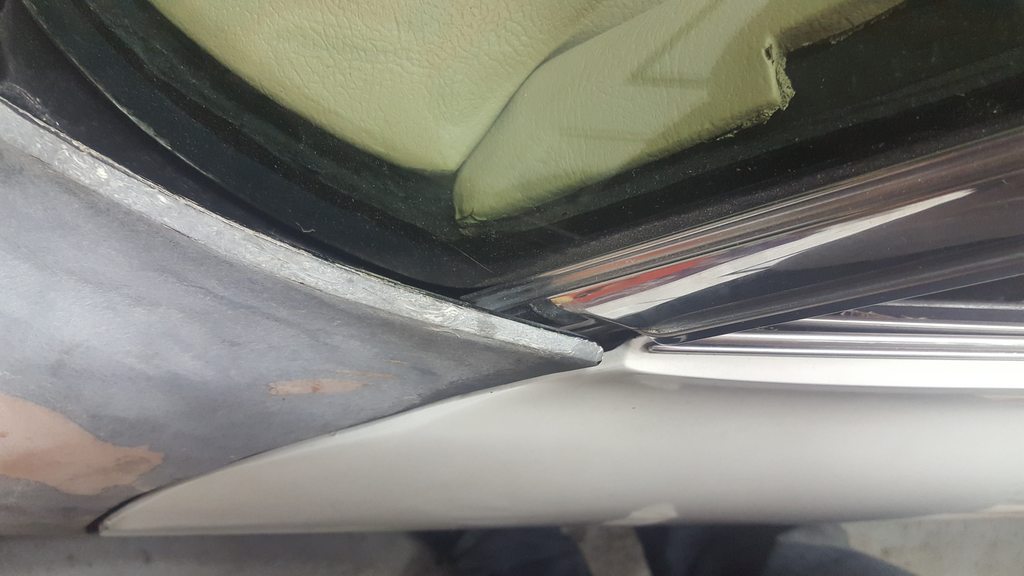
Passenger's side
Also waiting on a decent size paragon order, so should have lots to do when that gets in.
now that I had the wiring taken care of, I had to tear apart part of the driver's dash to access the bolts for the upper door hinge so I could adjust door gaps with the new power window doors I bought recently. This has by far been one of the worst jobs on the build so far. Tight cramped space under the dash for a few hours and many many tries to get the door aligned. The driver's door finally looks pretty good, but I will have to tweak the gaps to get consistent gaps once I start body work.
I have quite a bit more work to do on the passenger's side door still. Gaps aren't great and the corner of the fender appears to be too far away from the windshield. That will need to be fixed.
Driver's side
Passenger's side
Also waiting on a decent size paragon order, so should have lots to do when that gets in.
11-20-2018, 08:37 AM
#850
Drifting
Thread Starter
Spent last night disassembling the side marker lights to clean them up. 50 years caused some dirt build up inside the housings, scratches, dull metal trim and one of the clears even looked like it had some heat damage. I wetsanded out the bubbled damage spots on the one lens and lightly wetsanded out the scratches with 2000 grit paper on the other lenses. After that I used Mother's plastic polish to buff them to a high shine on the inside and outside both. I also used Mother's metal polish to clean up the metal trim rings. Not bad for 50.

Last edited by chazde3; 11-20-2018 at 08:37 AM.
11-20-2018, 09:37 PM
#851
Nam Labrat
Member Since: Sep 2013
Location: New Orleans Loo-z-anna
Posts: 33,899
Received 4,179 Likes
on
2,739 Posts
They look new from here 
11-21-2018, 07:00 AM
#852
Dementer sole survivor

Member Since: Oct 2015
Location: YUPPY HELL Westford MASS
Posts: 16,446
Received 6,295 Likes
on
3,920 Posts
2020 C3 of the Year Finalist - Modified
2020 Corvette of the Year Finalist (performance mods)
2019 C3 of Year Winner (performance mods)
2016 C3 of Year Finalist
Shes coming along nicely!! Have a Happy Thanksgiving
11-21-2018, 02:31 PM
#853
Happy Thanksgiving Chuck!
11-22-2018, 06:51 PM
#854
Drifting
Thread Starter
Thanks gentlemen. Happy Thanksgiving to you all as well.
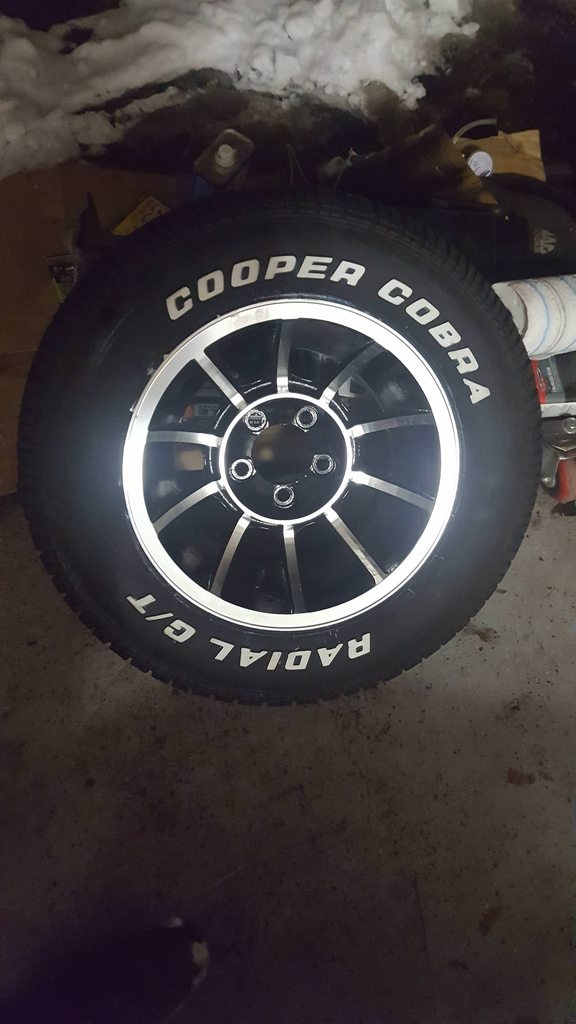
Just placed an order with Discount Tire for 2 295/50/15s and 2 245/60/15s. Hopefully in a few days I will finally have the 68 sitting back on the American Racing Vectors that Scott at Detroit Vintage Wheels remachined for me years ago.
Just placed an order with Discount Tire for 2 295/50/15s and 2 245/60/15s. Hopefully in a few days I will finally have the 68 sitting back on the American Racing Vectors that Scott at Detroit Vintage Wheels remachined for me years ago.
Last edited by chazde3; 11-22-2018 at 06:51 PM.
 11-27-2018, 04:16 AM
#856
Nice Chuck, the wheel / tire size looks good. Wheels look great for their age.
11-30-2018, 11:20 AM
#857
Drifting
Thread Starter
So I decided to try and push this fender corner into place since it seemed to have a little give. I took out the passenger side lower dash and used a c-clamp to pull the corner in towards the A-pillar. It worked like a charm. Hopefully this weekend I can work on getting the passenger door aligned properly and have the gaps looking better.
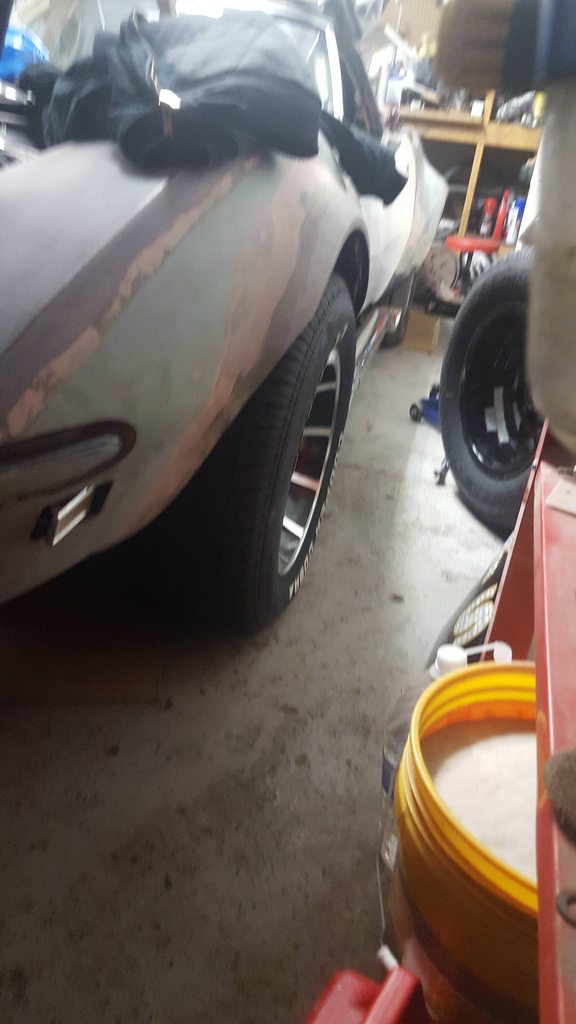
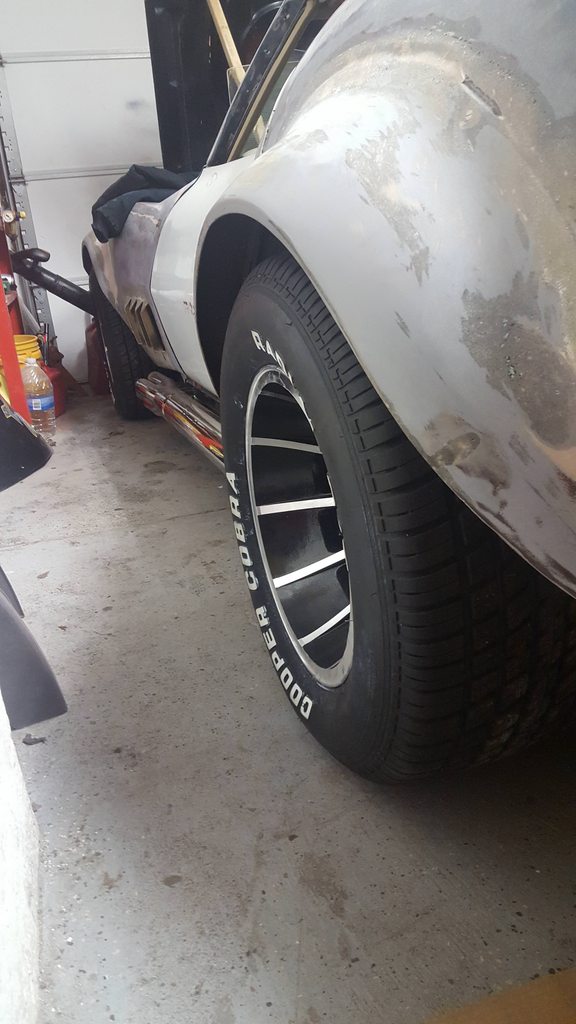
Thanks Roger! It's amazing what a little sandblasting, powder coating and some time on a lathe can do. They are almost too pretty to put on the car, but it was getting to be time that they needed to be installed. My wife did not understand my nervousness watching the tire jockeys at Discount install valve stems and tires on the set. One slip of a tool and they could have marred up perfection. I did not install the 1 inch spacers that dad was running on the rears yet. I did on one side and it looked to be sitting too far out before I dropped the car back on the ground, so I took it back off and ran without them. Now that they are on the ground, it looks like the 1 inch spacer would put the tires out to the right spot for the flares.

Thanks Roger! It's amazing what a little sandblasting, powder coating and some time on a lathe can do. They are almost too pretty to put on the car, but it was getting to be time that they needed to be installed. My wife did not understand my nervousness watching the tire jockeys at Discount install valve stems and tires on the set. One slip of a tool and they could have marred up perfection. I did not install the 1 inch spacers that dad was running on the rears yet. I did on one side and it looked to be sitting too far out before I dropped the car back on the ground, so I took it back off and ran without them. Now that they are on the ground, it looks like the 1 inch spacer would put the tires out to the right spot for the flares.
Last edited by chazde3; 11-30-2018 at 11:21 AM.
12-13-2018, 02:15 PM
#858
Drifting
Thread Starter
Passenger door alignment looks really good now. I just need to work the fender corner in a bit more. It just doesn't want to bend in as far as I would like it to.
for now I am stuck in Amish/Mennonite territory Pennsylvania watching coffee lids being made. Almost as bad as watching paint dry. Hopefully I can get back to work on the 68 this weekend once I am home.
for now I am stuck in Amish/Mennonite territory Pennsylvania watching coffee lids being made. Almost as bad as watching paint dry. Hopefully I can get back to work on the 68 this weekend once I am home.
01-08-2019, 03:08 PM
#859
Drifting
Thread Starter
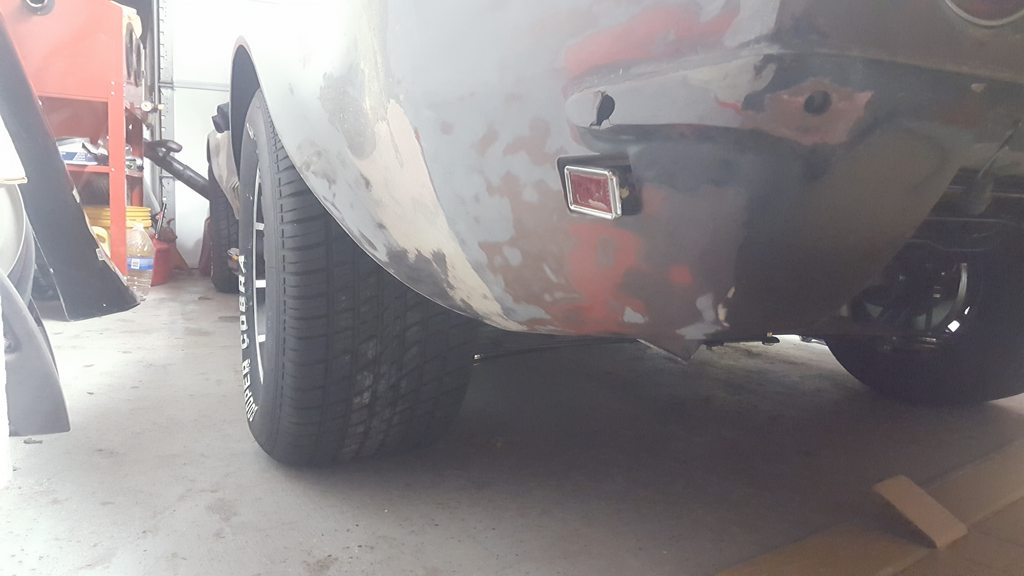
This weekend I attempted to fit the front bumper back onto the car to check alignment. It appears that at some point the mounting holes for the bumper were moved slightly too far outboard since it was a bear to get the bumper reinstalled. I had tried adding the missing metal outer reinforcement tabs, but the holes in the fiberglass did not line up with the metal reinforcement. Looks like I will need to modify the holes in the fiberglass so the bumper fits better and so I can use the outer reinforcements.
I also started fitting the repaired lower valance to the car. It looks like there was a good amount of damage done to the lower front fender corners where they meet the valance. I am still debating between fixing the corners and mounting the valance like it was from the factory or if I should glass over the seams for a cleaner look. Dad had these seams glassed over at one point. Decisions decisions...
Driver's side
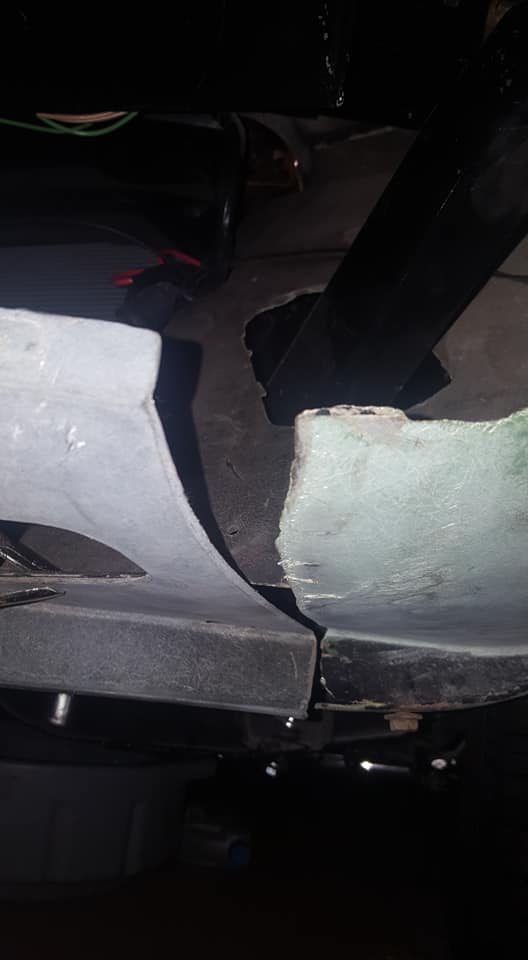
Passenger's side
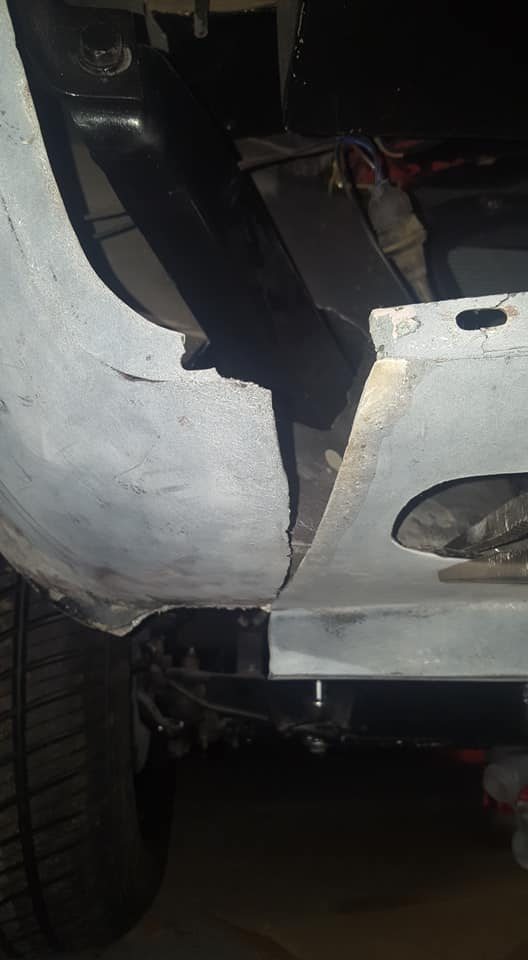
I also started fitting the repaired lower valance to the car. It looks like there was a good amount of damage done to the lower front fender corners where they meet the valance. I am still debating between fixing the corners and mounting the valance like it was from the factory or if I should glass over the seams for a cleaner look. Dad had these seams glassed over at one point. Decisions decisions...
Driver's side
Passenger's side
01-16-2019, 09:46 PM
#860
Drifting
Thread Starter
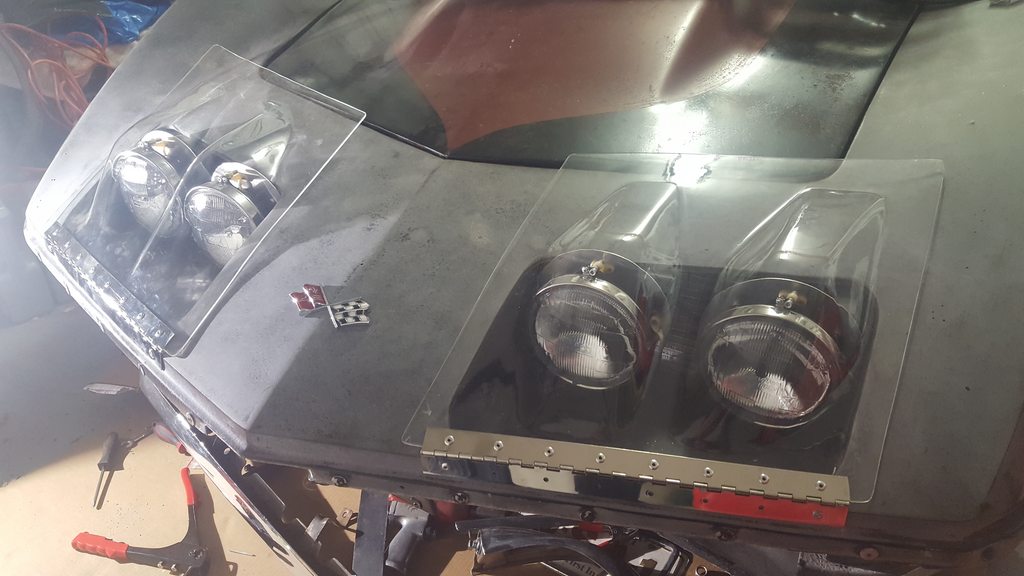
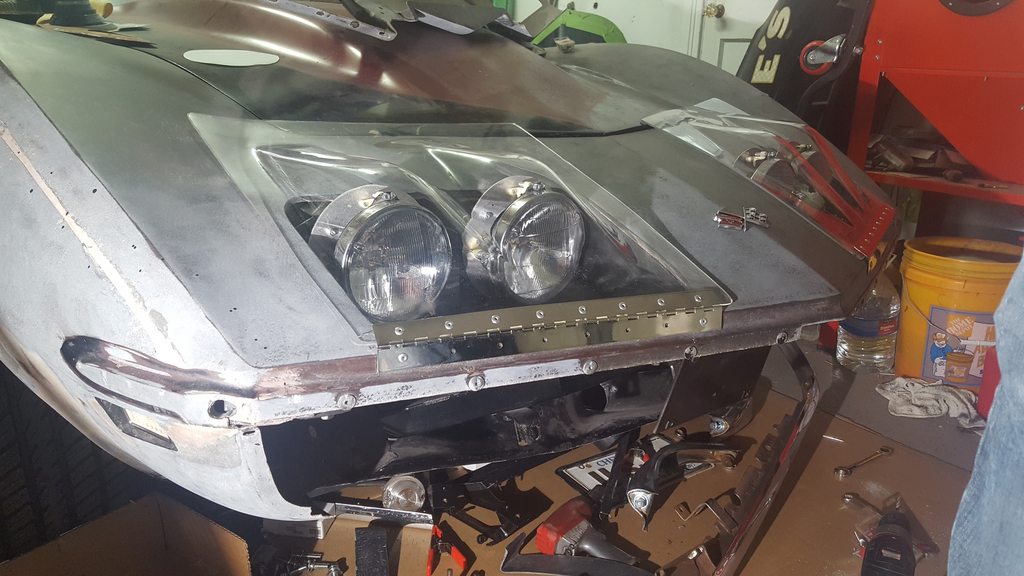
I have been working on cutting down the vintage exotic headlight covers to fit the car. Looking pretty good. Need to drill holes for the dzus fasteners soon.