
New (to me) 72 Corvette / Driver -Project
 03-13-2013, 08:47 AM
#1
Advanced

Thread Starter

Member Since: Nov 2012
Location: Cincinnati Ohio
Posts: 87
Likes: 0
Received 0 Likes
on
0 Posts
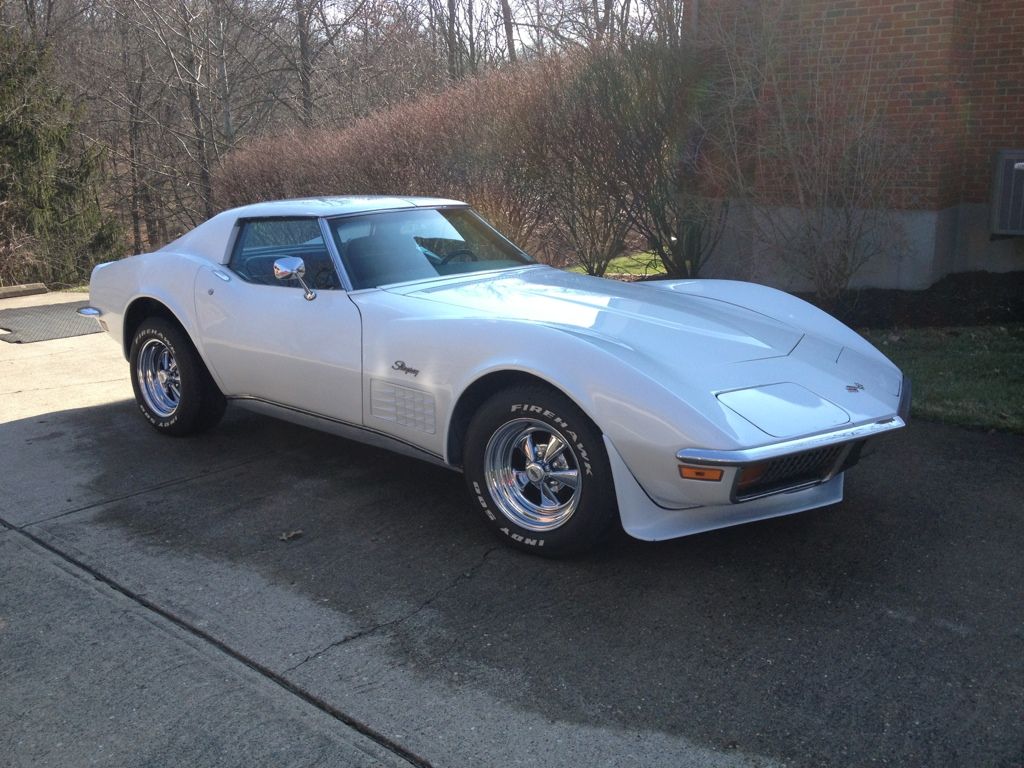
Ok, I picked this 72 Corvette up from Rochester NY and towed it back to my home town (Cincinnati). I was going after a car that I could make into a driver and this is what I found. (I know its not perfect but I can do body work and paint it myself when the time comes.) It has a crate 350 and orig 4 speed trans (not sure if trans is numbers matching?). Already ordered the AIM and service manual (I have owners manual).
After unloading off the trailer and first wash.
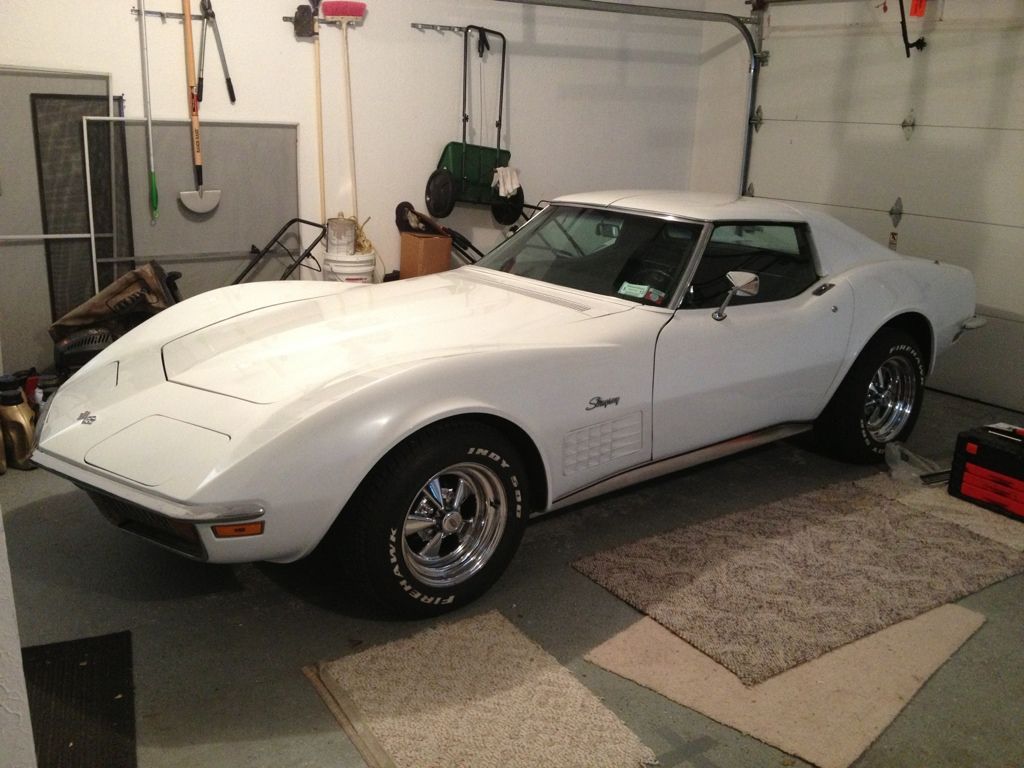
In the garage after the first day of having it out on the road. Took the front ground effect as it would hit the curb to get in my drive way and we were not fond of it anyway (wouldn't mine selling it off)
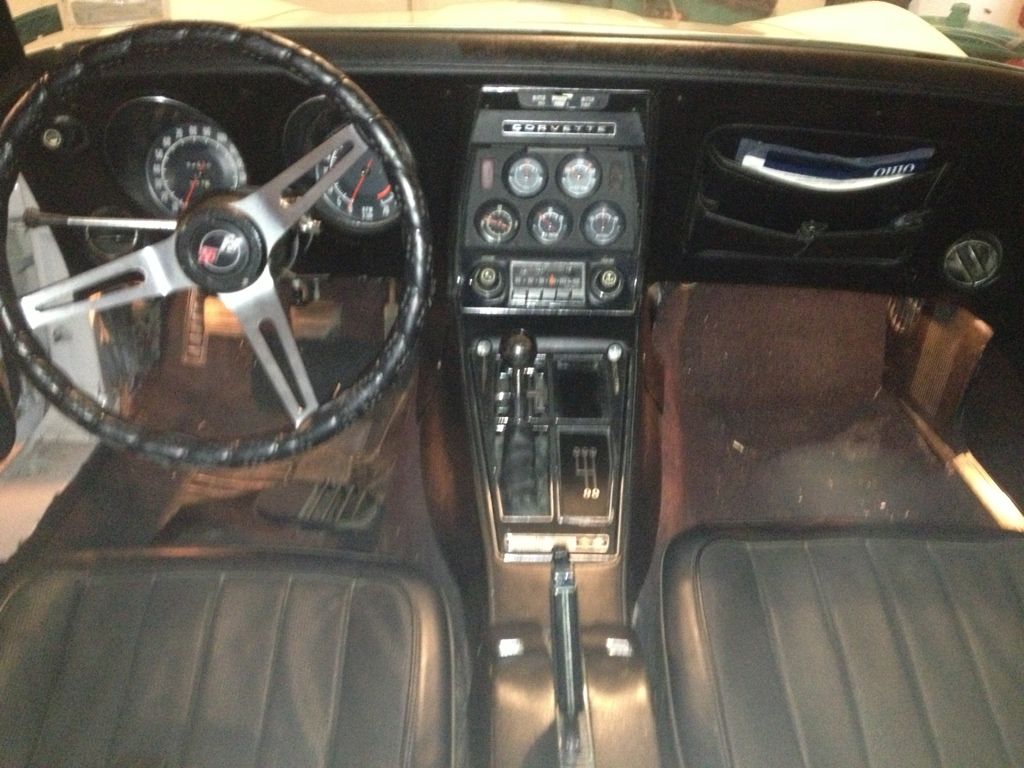
Interior (I plan on putting a new gauge bezel with DIN for new radio)
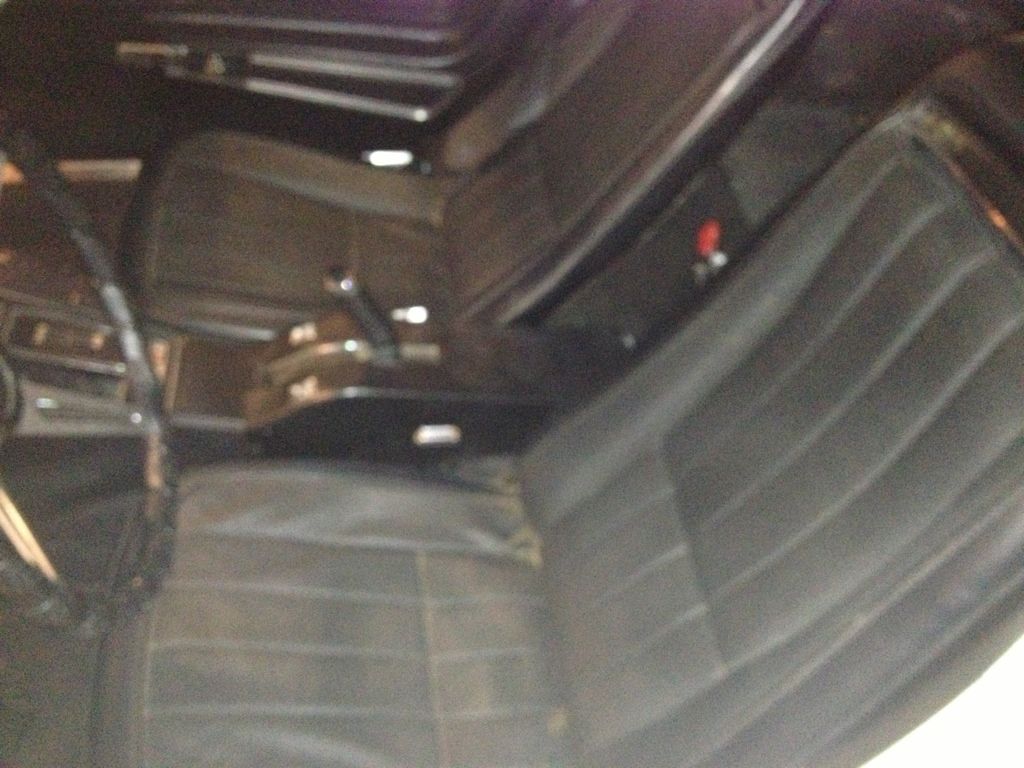
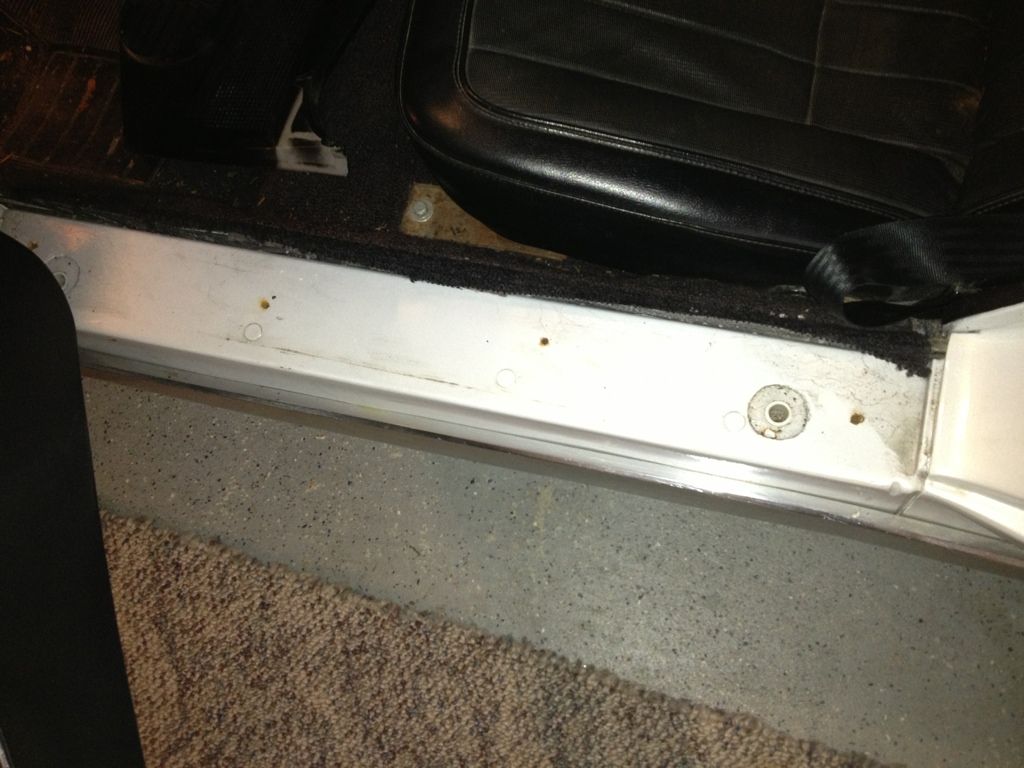
Need to be cleaned..

Not sure if this is were some rust./?
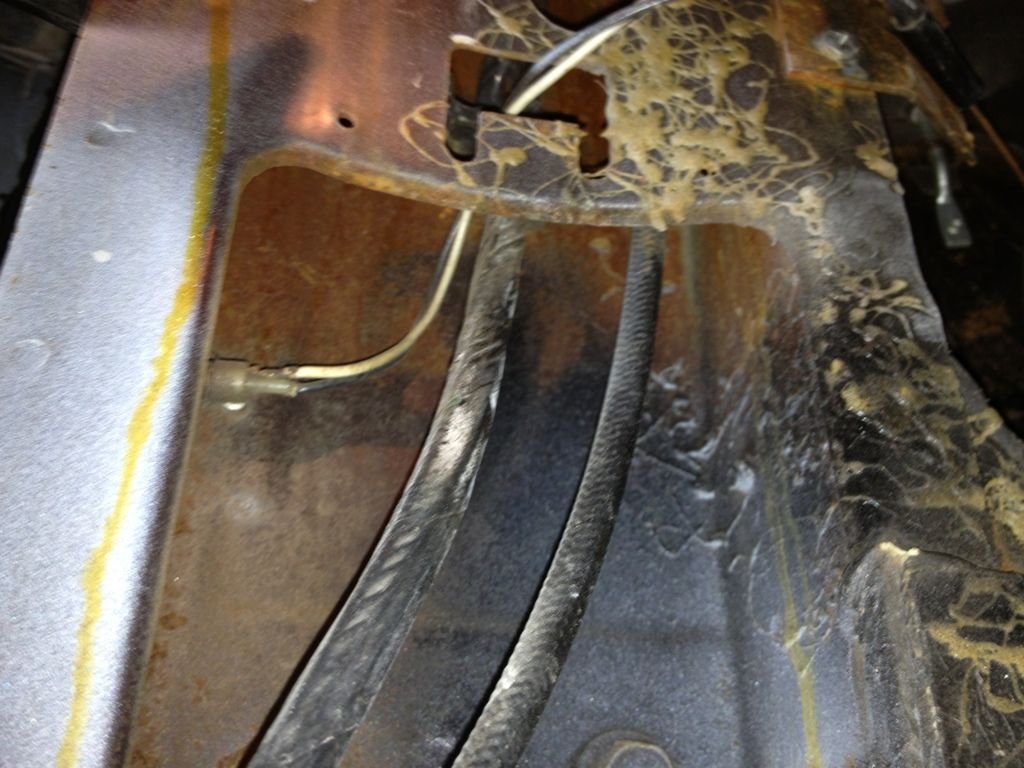
Behind drivers side kick panel (not to much rust)
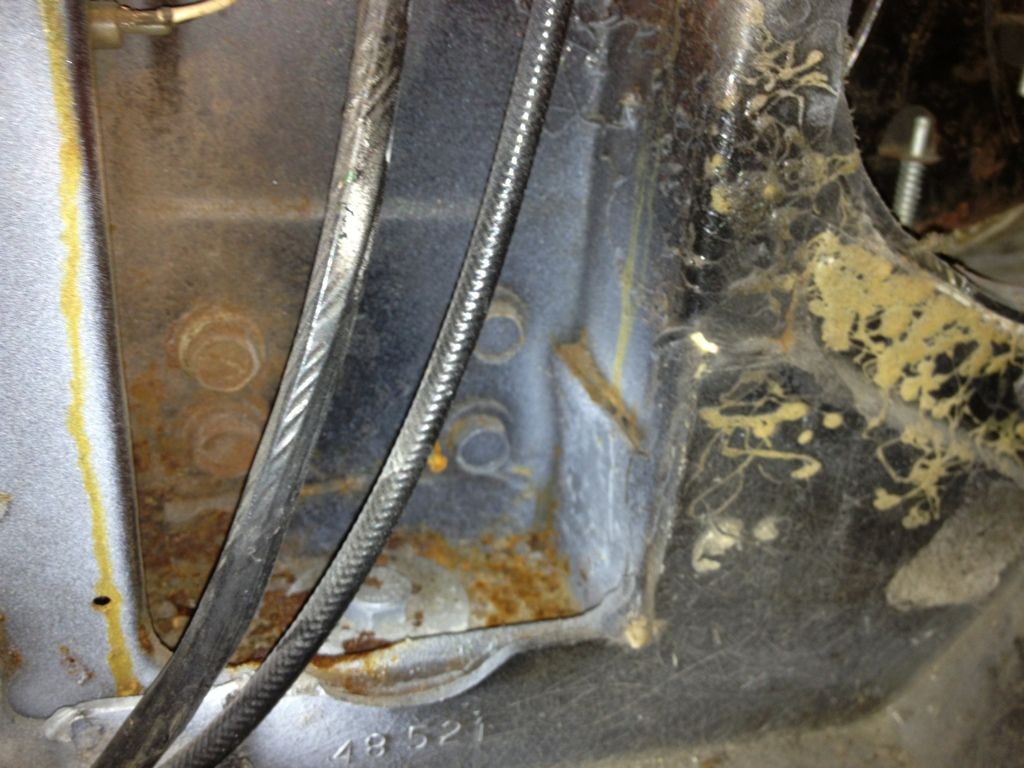
Different angle
list of known issues
Drivers side front wheel well has to cracks that were repaired with bond and the paint is cracking..
Crack by passenger head light was repaired with bondo and paint is cracking again.
Crack in front of passenger side head light, not been attempted to be repaired.
Speedo Cable is noisy, plan on ordering a new one today. (willcox)
Temp gauge only goes to right past the 100 degree mark. Thinking its missing the insulating washer.
Fuel gauge was on E and I put little over 10 gallons in it (the pump auto stopped) and the gauge slowly climbed to 3/4 full. Not sure if that is working 100% or not. I will investigate when I check the temp gauge.
Radio doesn't work. Plan on replacing that anyway.
Blower Motor works, however the controller for which vents it blows out of doesn't seem to change anything.
I think that is it for now. Off to Willcox to order some parts now.
Fixed my links as I was moving the pictures around.
Thanks
After unloading off the trailer and first wash.
In the garage after the first day of having it out on the road. Took the front ground effect as it would hit the curb to get in my drive way and we were not fond of it anyway (wouldn't mine selling it off)
Interior (I plan on putting a new gauge bezel with DIN for new radio)
Need to be cleaned..
Not sure if this is were some rust./?
Behind drivers side kick panel (not to much rust)
Different angle
list of known issues
Drivers side front wheel well has to cracks that were repaired with bond and the paint is cracking..
Crack by passenger head light was repaired with bondo and paint is cracking again.
Crack in front of passenger side head light, not been attempted to be repaired.
Speedo Cable is noisy, plan on ordering a new one today. (willcox)
Temp gauge only goes to right past the 100 degree mark. Thinking its missing the insulating washer.
Fuel gauge was on E and I put little over 10 gallons in it (the pump auto stopped) and the gauge slowly climbed to 3/4 full. Not sure if that is working 100% or not. I will investigate when I check the temp gauge.
Radio doesn't work. Plan on replacing that anyway.
Blower Motor works, however the controller for which vents it blows out of doesn't seem to change anything.
I think that is it for now. Off to Willcox to order some parts now.
Fixed my links as I was moving the pictures around.
Thanks
Last edited by mariobro; 05-07-2013 at 08:09 AM. Reason: Fixed my links


 03-13-2013, 09:58 AM
#8
Melting Slicks

nice looking car, great driver....I CANNOT wait until my Corvette is on the road, my car will be a driver for now, kinda ratty body, but went through all the mechanicals and will have a pretty nice interior..doing it now...also plan to finish up my Camaro soon....it is more fun to drive them than to work on them
03-13-2013, 10:00 AM
#9
Team Owner

Member Since: Sep 2006
Location: Westminster Maryland
Posts: 30,173
Likes: 0
Received 2,878 Likes
on
2,515 Posts

Hi mb,
It looks like a very nice car!
From the pictures, and what you write, it seems to be JUST what you were looking for.
Well Done!
Regards,
Alan
It looks like a very nice car!
From the pictures, and what you write, it seems to be JUST what you were looking for.
Well Done!
Regards,
Alan
03-13-2013, 10:08 AM
#10
Advanced
Thread Starter
Member Since: Nov 2012
Location: Cincinnati Ohio
Posts: 87
Likes: 0
Received 0 Likes
on
0 Posts
Thanks guys. I'll keep you posted as I get started working on it and hope to get some more pictures of the frame and others. Let me know if there is a place I should be concerned about that I may not have looked yet. This is my first Corvette.
 03-13-2013, 10:23 AM
#12
Le Mans Master


She's a beauty! The little things you found aren't that bad and typical of the C3 experience. I agree about the spoiler, not my cup of tea either, but different strokes for differen folks. Ya did good on this one and you'll be enjoying it, now that it's yours!
03-13-2013, 12:01 PM
#13
Melting Slicks
Another on getting rid of the spoiler. I'm not sure if the '72's have them but other years have smaller spoilers under the front that direct air through the radiator. Maybe someone who knows if you should have one will comment.
The problem with the heater blower could be the resistors. They are mounted in the blower housing under the hood (if '72's are like mine). Take it out and take a look at it. It will be obvious if it is burned out.
All in all, that looks like a nice car.
on getting rid of the spoiler. I'm not sure if the '72's have them but other years have smaller spoilers under the front that direct air through the radiator. Maybe someone who knows if you should have one will comment.The problem with the heater blower could be the resistors. They are mounted in the blower housing under the hood (if '72's are like mine). Take it out and take a look at it. It will be obvious if it is burned out.
All in all, that looks like a nice car.
03-13-2013, 12:30 PM
#14
Melting Slicks
In the garage after the first day of having it out on the road. Took the front ground effect as it would hit the curb to get in my drive way and we were not fond of it anyway (wouldn't mine selling it off)
The air is directed to the radiator from under the nose, so you will probably want to put an original air dam on the car.
Behind drivers side kick panel (not to much rust)
That's a good sign. If the birdcage is rusty, then that area can get pretty rusty.
Speedo Cable is noisy, plan on ordering a new one today. (willcox)
Replacing the speedo cable is not a simple task. The drivers side dash is considered one of the most difficult things to remove.
Fuel gauge was on E and I put little over 10 gallons in it (the pump auto stopped) and the gauge slowly climbed to 3/4 full. Not sure if that is working 100% or not. I will investigate when I check the temp gauge.
The nozzle on the pump will reach down into the tank, and cutoff before the tank if full. When I fill my tank, I hold the nozzle up a bit, and watch the fuel entering the tank, so I know when to stop - you get used too it.
Blower Motor works, however the controller for which vents it blows out of doesn't seem to change anything.
This could be a number of things. 1) disconnected vacuum line(s) from the controller to the actuator(s), 2) bad actuator(s), 3) there is a little plastic piece that connects the actuator to the diverter door in the heater core, when it breaks, the door will no longer move.
Since you are talking about replacing the speedo cable - left dash, the radio - center gauges, and looking into HVAC - center+right dash. I would honestly take some time to look into everything, and wait until you can hit everything at once.
If you decide to hit everything at once, and take the entire dash out, there are lots of improvements you can do all at once. Things like heat/sound deadener under the carpets, new light bulbs/leds in the gauges (I just replaced the bulbs with led's and it did make a huge difference - but you do lose the ability to dim the bulbs). Or replace any bad or missing bulbs. You can upgrade the speakers, and run the wires correctly. Do you have power brakes? If so, and you need a new booster, this would be the time to do it.
If you decide to go down that path, my best advice is to take your time, and don't force anything (40 year old plastic will break very easily!). If you have to force it, you are doing it wrong. And don't rush things, it will take as long as it takes, and most likely if you decide to do the above, you are looking at a 3-4 weekend project.
Taking the dash apart is something you only want to do once, so do everything you can when you do have it apart.
03-13-2013, 01:06 PM
#15
Team Owner

Member Since: Jun 2000
Location: Southbound
Posts: 38,928
Likes: 0
Received 1,469 Likes
on
1,248 Posts
Cruise-In II Veteran
 03-13-2013, 01:16 PM
#16
looks like a good solid car.
 spoiler doesn't help the looks of a 1972 at all......I'd removed it too.
thanks for sharing.
spoiler doesn't help the looks of a 1972 at all......I'd removed it too.thanks for sharing.
03-13-2013, 01:25 PM
#18
Drifting

Looks good. Good decision on dumping the spoiler, just look at replacing the stock one as others have said...they are not overly expensive and are readily available. Now you ought to go out and find a good set of rally wheels for it!
03-14-2013, 07:39 AM
#19
Advanced
Thread Starter
Member Since: Nov 2012
Location: Cincinnati Ohio
Posts: 87
Likes: 0
Received 0 Likes
on
0 Posts
So when I get into the dash, I am going to lay down dynamat on the floor and was thinking about installing a brake booster.
My question is, do I really need to change the master cylinder? (is there a difference in a power brake master cylinder and a non power brake?)
Thanks
My question is, do I really need to change the master cylinder? (is there a difference in a power brake master cylinder and a non power brake?)
Thanks

