When you click on links to various merchants on this site and make a purchase, this can result in this site earning a commission. Affiliate programs and affiliations include, but are not limited to, the eBay Partner Network.
Hey! Call me whatever! Addicts get desperate when they don't get their fi.......errrr.....medicine!
Originally Posted by Rescue Rogers
Hey Doorgunner!!!!!!
You awake yet? Letus know if you had any problems with that tornado last night. Justthinking of you buddy. Hoping for the best.
We are O.K.......the closet one was two miles away...many other families suffered though.....prayers to them.
Normally La. dodges the tornadoes, but not yesterday!
I managed to start repairing the rough edge of the lid....I beveled the entire top edge just enough NOT to cause any separation in order to have more surface area for the VPA filler. I attached aluminumized duct tape to the underside of the lid all the way around the edge to support the filler while it cured......
Tomorrow I will measure and draw a line down the center of the lid....then measure to the edges and draw trim lines around the edge on the filler, then trim off the excess and sand the filler smooth to the lid.
Last edited by doorgunner; 02-25-2016 at 04:57 PM.
OK THEN.....I see the repairs have changed to another direction. You can choose to do what you wish...BUT honestly...if your car were in my shop. AS like what I wrote previously for a reason. I would not spend one second of time on the deck lid at his time. You will more than likely find that you will be doing a good portion of this all over again.
Which is why the frame needs to be fixed first (proper foundation)...and you getting the deck lid to work like it is supposed to do...Becasue it is pointless building out on the deck lid if you do not know where to do it and get your gaps correct.
I will watch from a distance from here on out. I AM trying to save YOU time and ENERGY...thus NO BACKTRACKING! ...even though what I write may seem to not be in your best interests...IT actually is.
Gunner, can you put the decklid in now or is it built up too much? reason im asking is if you think you could use a roller guided router to trim an even gap around?
OK THEN.....I see the repairs have changed to another direction. You can choose to do what you wish...BUT honestly...if your car were in my shop. AS like what I wrote previously for a reason. I would not spend one second of time on the deck lid at his time. You will more than likely find that you will be doing a good portion of this all over again.
Which is why the frame needs to be fixed first (proper foundation)...and you getting the deck lid to work like it is supposed to do...Becasue it is pointless building out on the deck lid if you do not know where to do it and get your gaps correct.
I will watch from a distance from here on out. I AM trying to save YOU time and ENERGY...thus NO BACKTRACKING! ...even though what I write may seem to not be in your best interests...IT actually is.
DUB
I'm sticking with your plan......while I'm waiting for the body mount re-enforcements to come in I wanted to build up the edges of the lid.
I DID forget that you said to hold off on trimming the edges of the lid...THANKS FOR REMINDING ME/YOU SAVED ME EXTRA WORK LATER! I will set the lid aside until I raise the body and install the new re-enforcements.
Gunner, can you put the decklid in now or is it built up too much? reason im asking is if you think you could use a roller guided router to trim an even gap around?
Dub reminded me to wait on trimming the lid until I replace the rusted-out body mounts.
In the meantime part of my order came in a day ahead of time........
Rather than trim the lid tomorrow I can start removing body bolts and lift the body enough to replace mounts/bushings/add gussets.....the other mounts should be in tomorrow.
Tony, are you going to rivet the mounts or something else. What's the plan. Just curious!
R
R.........since my car was a basketcase Heinz '68'-'70-'76....raccoons and all.........and would have cost me $40,000 to restore....
I will bolt the mounts in place.....like you I don't have a helper for the riveting/been 45 years since I had to patch-rivet any bullet holes/got very good in Nam with riveting--plenty of opportunity....and the car being a restomod--it's too late to do it correctly now LOL!
If I ever inherit $10,00,000.........the plans will change !
Driver's-side #1 mount......removed the exhaust downpipe so I can get my head and arms into the opening at the driver's side mount........
Well....gee whizzzzzzzzzz.....the body mount has rusted away/the nut and bolt are fused together..................
Why spend 2 hours trying to break this aloose......may as well use my 5-minute tool........90* air grinder with 3" diameter 1/16" thicK cut-off disc................
Actually 7 minutes.................
There Ya' go......good thing that I ordered a new set of body bolts.......
BACK TO THE GARAGE FOR THE #1 PASSENGER-SIDE MOUNT.
I had to use a different method on the passenger-side body bolt because I couldn't get the cut-off tool to fit in the narrow area.....so I drilled a pilot hole in the center of the bolthead.......................
then I used a carbide tipped masonry drill to drill the head off of the bolt shank.................
I pushed the remainder of the bolt up through the hole to get it out.....
Yes.........the frame needs blasting/repainting......."STAY FOCUSED--DON'T REMOVE THE BODY!!!!! ...........................
A sideways pic of the mount/re-enforcement shows it was about to fall off the body also............
BACK TO THE GARAGE.
The passenger-side #2 body bolt NUT broke aloose so I spent about 5 minutes cutting the head off the bolt..........
Same problem with the #2 driver-side body bolt NUT.....................
Driver-side and passenger-side #3 mount bolts cut off/nasty/aluminum spacers are toast .............
BACK TO THE GARAGE.................................. .......
I will use the same methods to remove both #4 rear mounts............
The passenger-side #4 mount came off.......actually it wasn't there! It seems that even the bottom part of the body fiberglass support had broken away also. So I used a jack to raise the rear part of the body just enough to put a thick wooden spacer in place.........
These wooden shims held the body off the frame high enough to get the spacers in place...................
The temporary spacer for the driver-side mount is in place to keep the body off the frame...................
ALL THE MOUNTING BOLTS ARE NOW CUT ALOOSE SINCE THEY ALL WERE RUSTED BEYOND SAVING.
That's enough for today.....time to put the toys away and find some seafood................................. .
Well....the body needs to come off...but not 'til winter.
*******NOW FOR THE BODY LIFT/HIGH ENOUGH TO REPAIR REPLACE FRAME MOUNTS/CAGE NUTS AS NEEDED.*******
I removed the distributor cap to keep the firewallfrom cracking it while lifting the body...........
I removed the master cylinder (so I wouldn't have to re-bleed all the calipers by removing the brake lines from the M.C.) I ALSO removed the rag joint bolts to separate the halves since this was an aftermarket rag joint (you can see it under the rear of the master cylinder.........
I started removing the starter wiring and engine-to-frame ground......
I removed both frame horns (the bumper braces/brackets were never installed).......I did not remove the radiator support but I removed the bolts that hold the fenders to the sides of the radiator support.........notice the Bubba lower crossmember made of steel plate good thing I have a REAL crossmember on the garage pegboard..........................
Be sure to remove the two parking brake brackets near the differential......
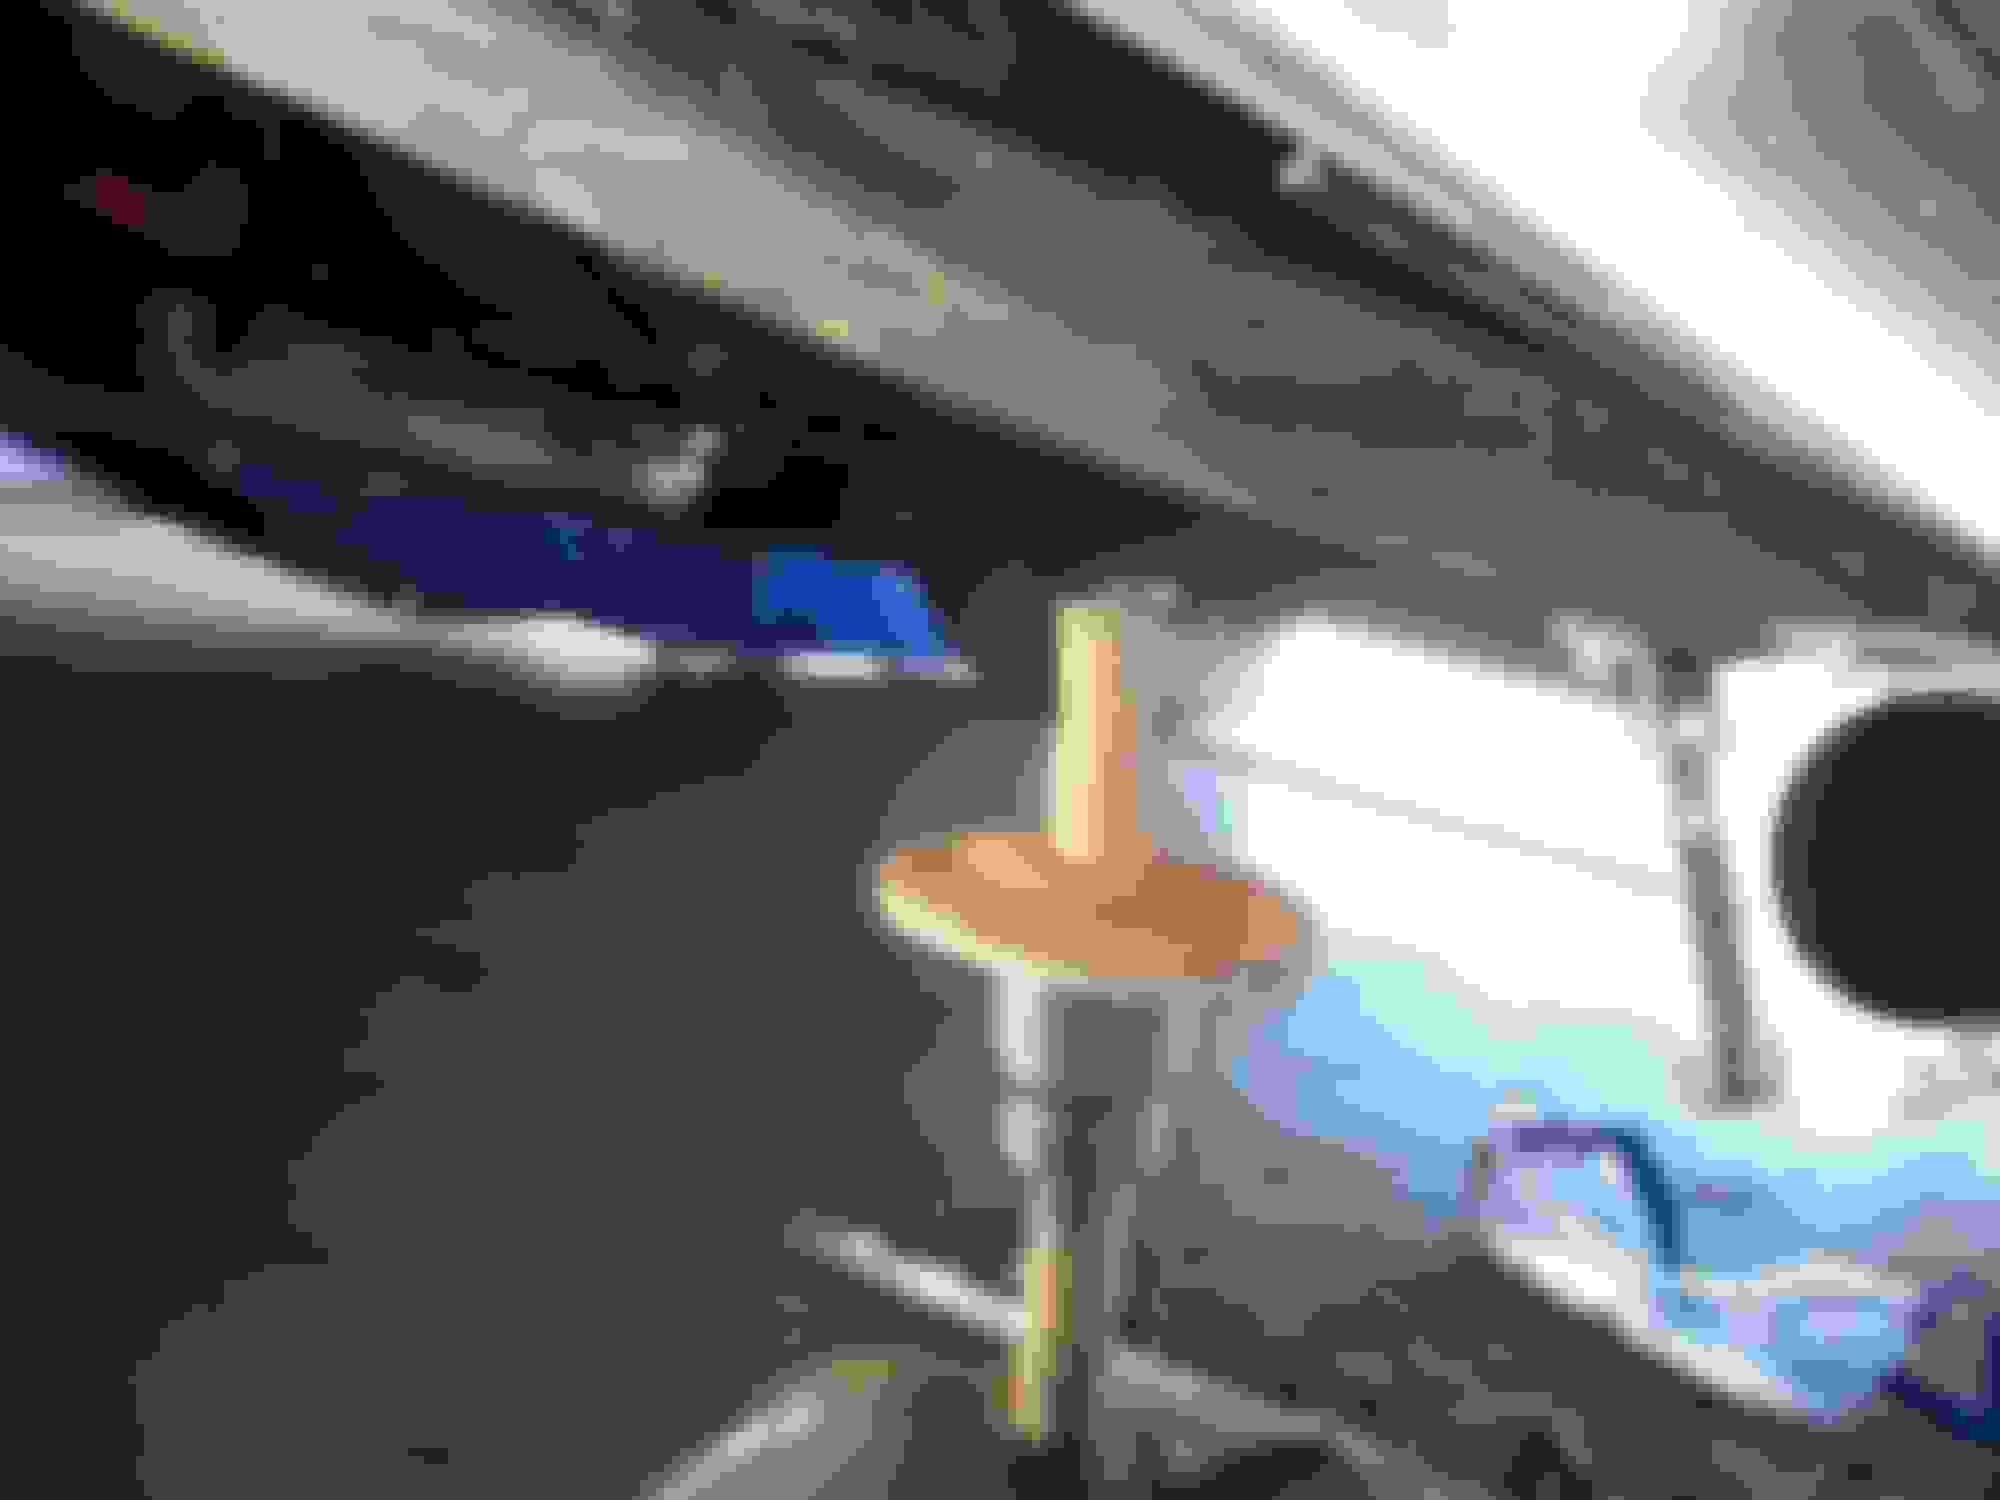
The next pics show the body being raised by using large boards and a floor jack.....I lifted each corner of the body about 2"/then I put wooden shims between the body and the frame. I WORKED THE FRONT FENDERS BY HAND TO HELP THEM SLIDE UP FROM THE RADIATOR SUPPORT ON BOTH FENDERS.
Then I lifted all FOUR CORNERS TWO INCHES MORE AND LAID THE 4" by 4" BY 5" LONG WOODEN SUPPORTS SIDEWAYS UNDER ALL FOUR CORNERS OF THE BODY. 6" TALLSUPPORTS WOULD HAVE BEEN BETTER.
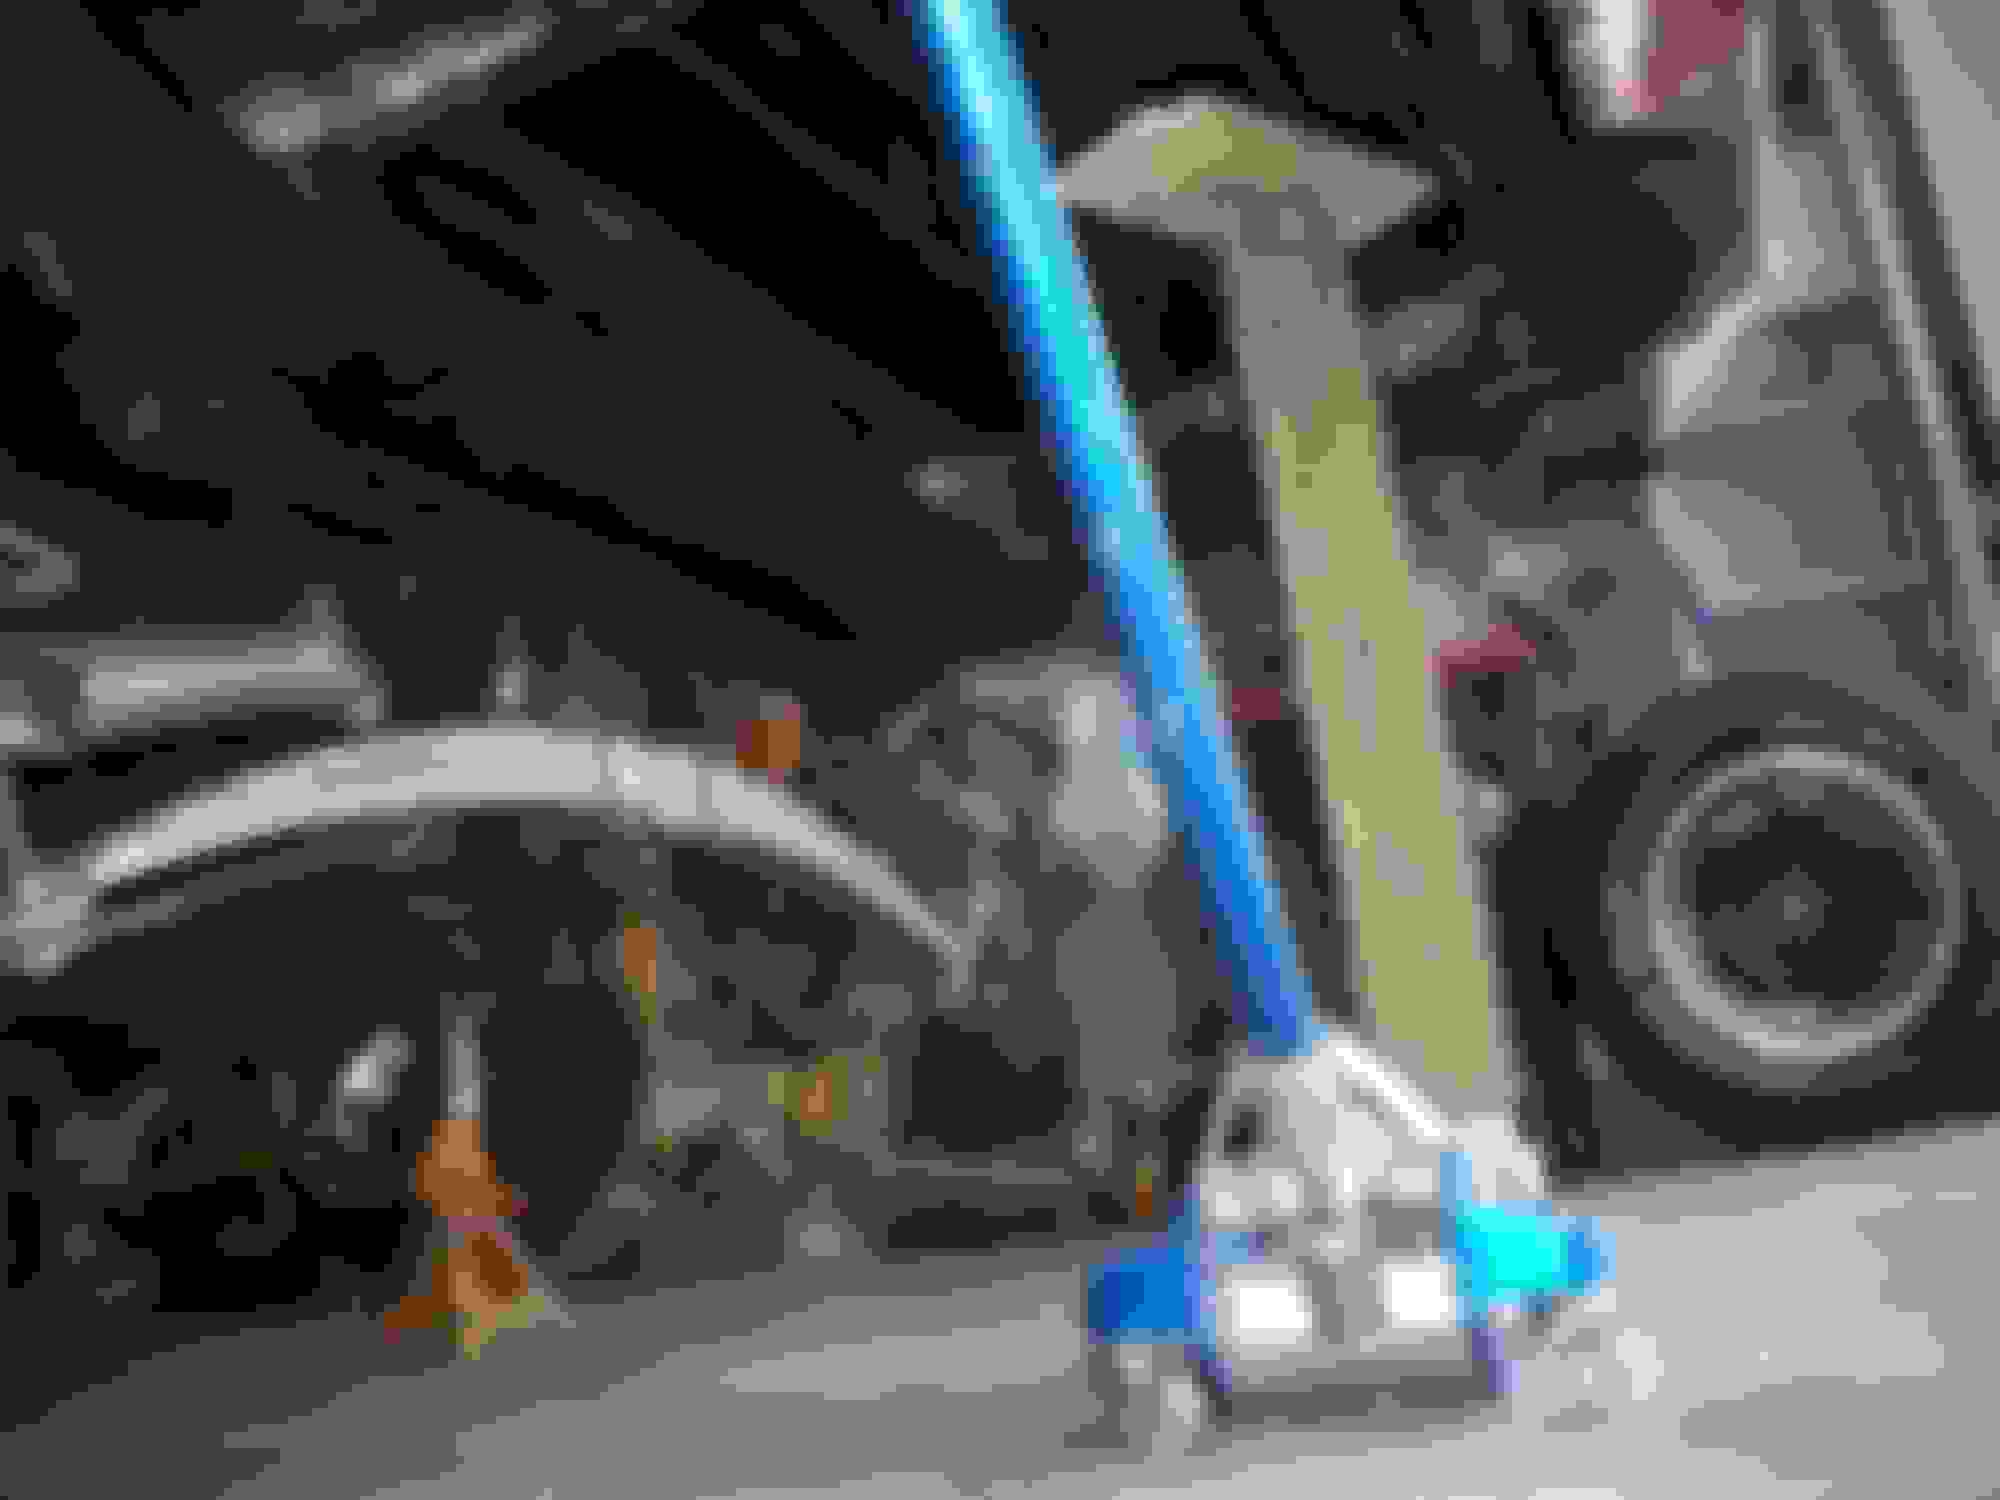
THEN I RAISED ONE CORNER AND STOOD THE 4" BY 4" UPRIGHT AND SET THE THAT CORNER OF THE BODY DOWN ONTO THE UPRIGHT 4' BY 4" SUPPORT.......I DID THE SAME TO EACH OF THE OTHER CORNERS'
Since all the aluminum spacers were destroyed/corroded/broken....I am replacing them with re-enforced rubber spacers sandwiched between thick flatwashers to support the rubber spacers (since the car is a restomod.
NOTE: I SUPPORTED THE "NOSE" WITH WOODEN BRACES CUT TO LENGTH TO FIT BETWEEN THE LOWER FRONT CROSSMEMBER AND THE UNDERSIDE OF THE "NOSE".
I USED THE FLOOR JACK AND A PIECE OF 4" BY 4" TO TEMPORARILY HOLD THE REAR OF THE CAR UP. I will buy a 2' by 4" board to lay across the frame rails between the cargo floor and the frame to support the rear body.
Since I will have the frame "Boiled/Derusted this winter I am only cleaning the areas at the cage nut mounts.
#2 and #3 frame brackets are cut aloose and rebuilt by welding new nuts directly to the brackets (rather than using cages)...............
That completes the frame brackets and new nuts........next I will have to rebuild the body fiberglass where both #4 mounting brackets will be riveted to the underside of the body.
I had to remove the driver-side hinge assembly and drill out rivets....
I taped the insideof the metal re-enforcement toprevent the fiberglass from sticking to it/then thoroughly sanded the area inside the mount.......then I pressed the re-enforcement into place under the body...................
Good thing I waited for the metal re-enforcements as DUB said.....I NEVER would have discovered the crack in the left-rear inside corner and never would have formed the inside fiberglass radius' correctly!
I will use a few small screws to hold the metal re-enforcement in place.
I made this per DUB so the repair will have a smooth flat bottom for the bolt and thick washer to seat against.................
After applying 5 layers of fiberglass cloth and resin and letting it cure for three hours I added a nice coat of satin black to hide al my sloppiness.......(I should have let it cure overnight before painting, but it should cure from the bottom up since I didn't paint that area.................................... ..
I started on the passenger-side #4 mount............
I will let the repair cure during lunch, then grind off excess cloth where the metal re-enforcement rivet-tabs will sit. I will remove the metal re-enforcement from the underside and apply a layer of woven cloth to the outside walls of the fiberglass mount and the outside areas where the long cracks were repaired.
Last edited by doorgunner; 03-04-2016 at 04:33 PM.
I KNOW you have it raised/supported so you can get to the bolts....BUT...just a word to the wise.....when you are done for the day....I would set it back on the ground.....OR...place the jack stands under the wide portion of the brake rotor so the car is being supported like as if it had wheels on it.
Doing this takes bit of effort due to needing to slowly let the weight down and tapping on the jack stands to get them to slide outwards so the car can settle.
OR...keep a floor jack under the engine cradle and rear differential so the weight is not causing the frame to sag.
It looks like you still have a floor jack under the differential in this photo because I see what looks like a handle of a floor jack....but I thought I would mention it.

 02-24-2016, 11:46 AM


 good thing I have a REAL crossmember on the garage pegboard..........................


 The PARTY begins!


