When you click on links to various merchants on this site and make a purchase, this can result in this site earning a commission. Affiliate programs and affiliations include, but are not limited to, the eBay Partner Network.
I bought the cheapies $150 each including balancing mounting road-hazard.........Futura Super Sport......I wanted the 255 series but it would have lowered the cruising rpm a little too much, so I went with the 245's.
Since I did the 4-wheel alignment myself I didn't want to ruin an expensive set of tires while dialing-in the alignment (I used the "string-alignment" on my '34 Ford street truck/brought it in to have the alignment checked--They said it was well-within tolerances).
On the Vette I found that not having a straight rear axle assembly (like on a Camaro) to base the front wheel alignment-on made it very hard to align the car---I spent several hours "squaring-up" the rear suspension with the frame before I was able to use the string-method on the front suspension. (That was when I discovered that the previous owner had bent/re-curved the trailing arms so the 295 series rear tires would fit without rubbing the trailing arms. I had to unbend the T.A.s before I could align the car.....the 2nd time
A good scrubbing on both sides to remove all the contamination.........
After rinsing it goes on the dyeing rack (BBQ pit) and the window gets taped off.......
Since I would not be submerging the top into a bucket of Tulip Permanent Black dye-solution, I mixed a quart of hot water with the dye and used a soft paint brush to coat the outside and inside several times when uneven spots appeared---it took the whole quart of solution. The inside took the dye with no problems on the first coat/the outside took several coats to cover it.
I'll rinse it and let it dry......tomorrow I'll recoat it with dye to cover any areas that didn't take evenly.
In the meantime I'll beadblast the surface rust on the frame and repaint it/repair-weld the weak arm/add filler to ares of the tack-strips that chipped while removing the tacks and staples/go to the hardware store and buy some stainless or brass wood screws.
Last edited by doorgunner; 02-13-2015 at 11:14 AM.
I'm backfrom the garage......the frame had much less rust than I noticed when I removed the canvas. A good wire brushing and a can of rust preventative....ooops/caplock..........took care of the metal.
I thoroughly soaked every seam and mating surface with paint to make sure moisture won't get into anything and also to stop any surface rust that started in places I couldn't get to with the brush.
Annnnnnnd the driver's side cracked brace finally left go leaving the main section in two pieces.....no problem/I will add a plate and weld it/then add a plate to the other driver's side brace.
20Mercury told me about a locksmith near Lafayette Louisiana.....went there....the owner said "No problem....but they won't be ready until next week because I'm swamped".
I wasn't sure if all three locks even matched the same doorkey (I don't have any keys/neither did P.O.) I'm just tickled that he could re-key them and make me some GM keys from his '60s stash.
The soft top material is completely dry.....the inside took the dye perfectly, but the outside is uneven.
The next pack of dye will get less than 1 pint of hot water which should really concentrate the dye....I'll put two coats which should use all the liquid.
Pics later today.......once the sun comes up....LOL!
First.....some background info. When I was a kid long ago my grandmother would dye her light-colored summer dresses dark colors for the winter. Why would I remember such a thing.......because....when she went into the house to get more clothing or dye I would run to the dyeing tub and stick my hands into the solution up to my wrists----which made me the coolest kid with dark blue hands in the town of 300 people.
The other thing I remember is after I got yelled at and chased by her and my mother (until they got tired)....it would take a week of me being forced to wash my hands 5 timeas a day before the dye would finally wear off.
The problem is obvious to me now....because of FDA rules permanent dye is much weaker than in the "old days"....here's the proof...the ends of my latex gloves tore while I was working the dye into the fabric with some shop (blue paper) towels. I was expecting to be stained black up to my palms for the next week......it didn't happen......No wonder people have such a rough time dyeing the vert tops.......
What I ended up doing was: The second pack of dye got only 7 ounces of steaming water added to it, which was enough to dissolve all the dye and salt after a couple minutes of constant stirring....then I used a 2" wide paint brush that I had cut the bristles shorter so they wouldn't flex as much.....then I applied the dye as though I was actually painting the top material...it was obvious where the dye did not soak in---so I had to work the dye into those ares with the paint brush...then I used paper towels to dab up the small puddles of dye that were left over from soaking the material......the whole process took an hour this time and the dye was nearly dried on the material by the time I had worked dye into all the problem areas.
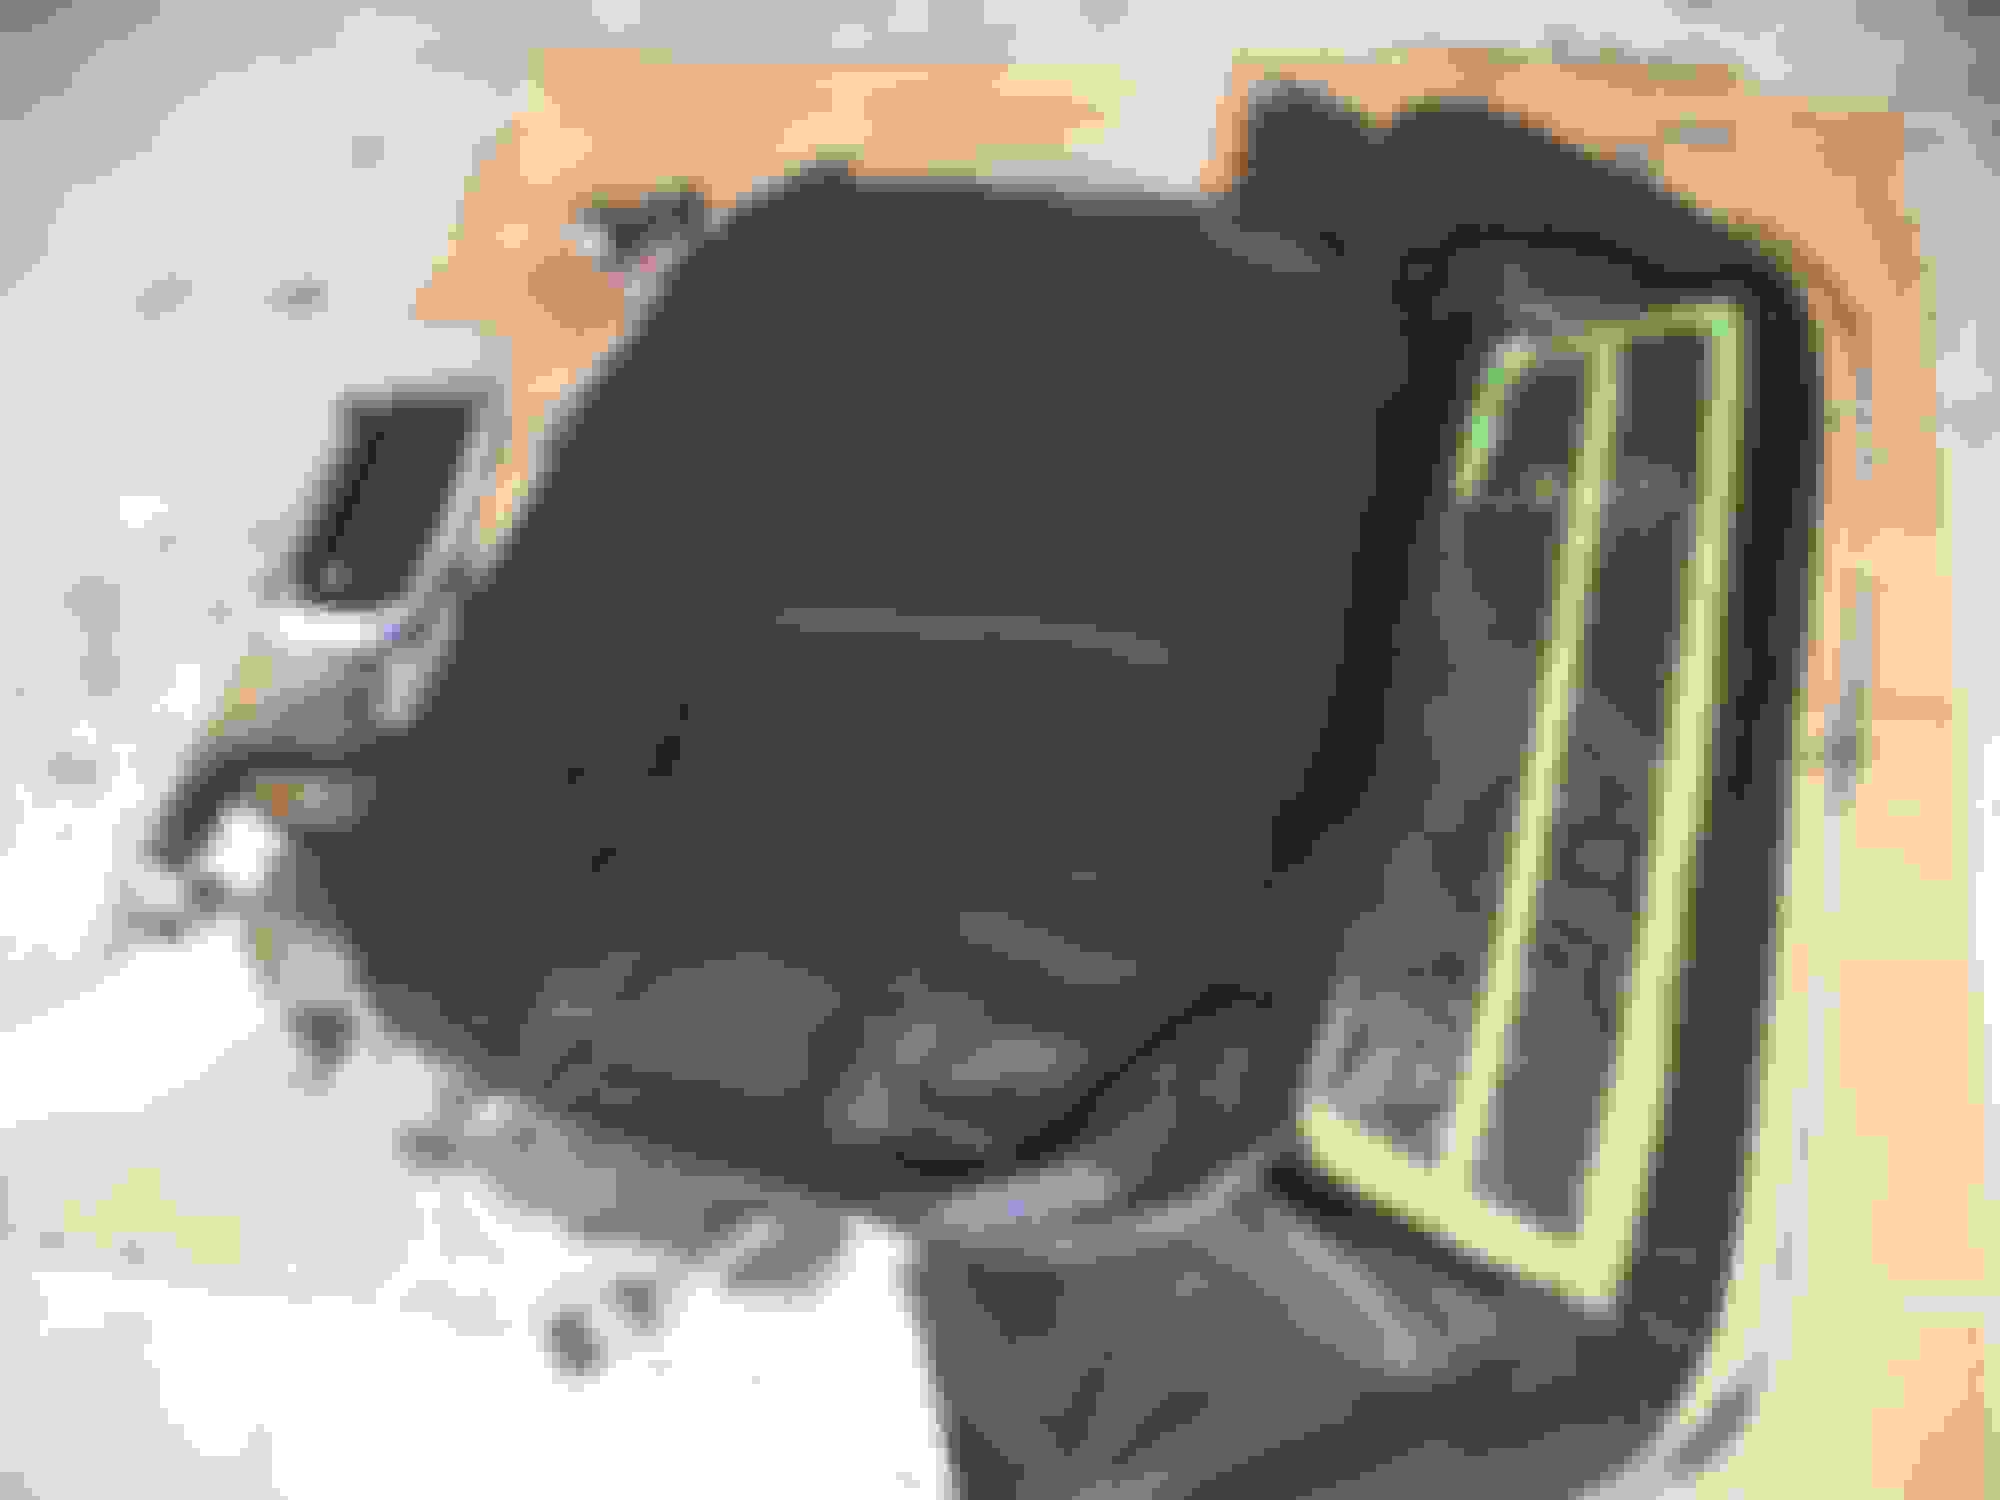
Here is a pick of the top before dyeing.......
Here is a picture after the 1st dyeing......you can see large sun-bleached areas that are drying and have turned a smoky grey color rather than a deep black.........................
Here is a picture of the top after the 2nd/final dyeing.....much better...daily driver quality......
I wouldn't advise anyone to do what I did.....there is no guarantee what your results might be. On the other hand.......$12 worth of dye/3 hours labor compared to a new top.
I'll let it drye for a few hours with a shop fan blowing on it. Then, instead of hosing it off with clean water as the instructions say, I will use an old towel dampened with warm water to wipe down the excess puddles to smooth out the shiny spots so there is an even black satin look over the entire top.
No mistaking that water tower in the background. I make that drive daily heading down to work. It is really nice down here on the coast.
You get to see great scenery every day!
Originally Posted by rajin cajin
Just reading through some of your posts. If you get to Lafayette, stop by........
I was in Opelousas yesterday dropping off my door locks at Ivan's Locks......saw 20Mercury and his cars.
UPDATE ON TULIP DYE: DON'T WASTE YOUR TIME! After using every trick that's not even in the "book" I went to the garage a few minutes ago and wiped down the top to remove the salt flakes which rise to the surface when the dye dries completely.
There was a huge smoke-grey spot in the center of the fabric about 18" square---even the cotton inner liner didn't stay an even solid black/apparently this rookie has a vinyl top and some weak black dye!
The rest of the top within 10 inches of the edges all the way around took the dye evenly and looks new.................R A T S !!!
Plan B: Upholstery dye!
56300
Last edited by doorgunner; 02-14-2015 at 04:49 PM.
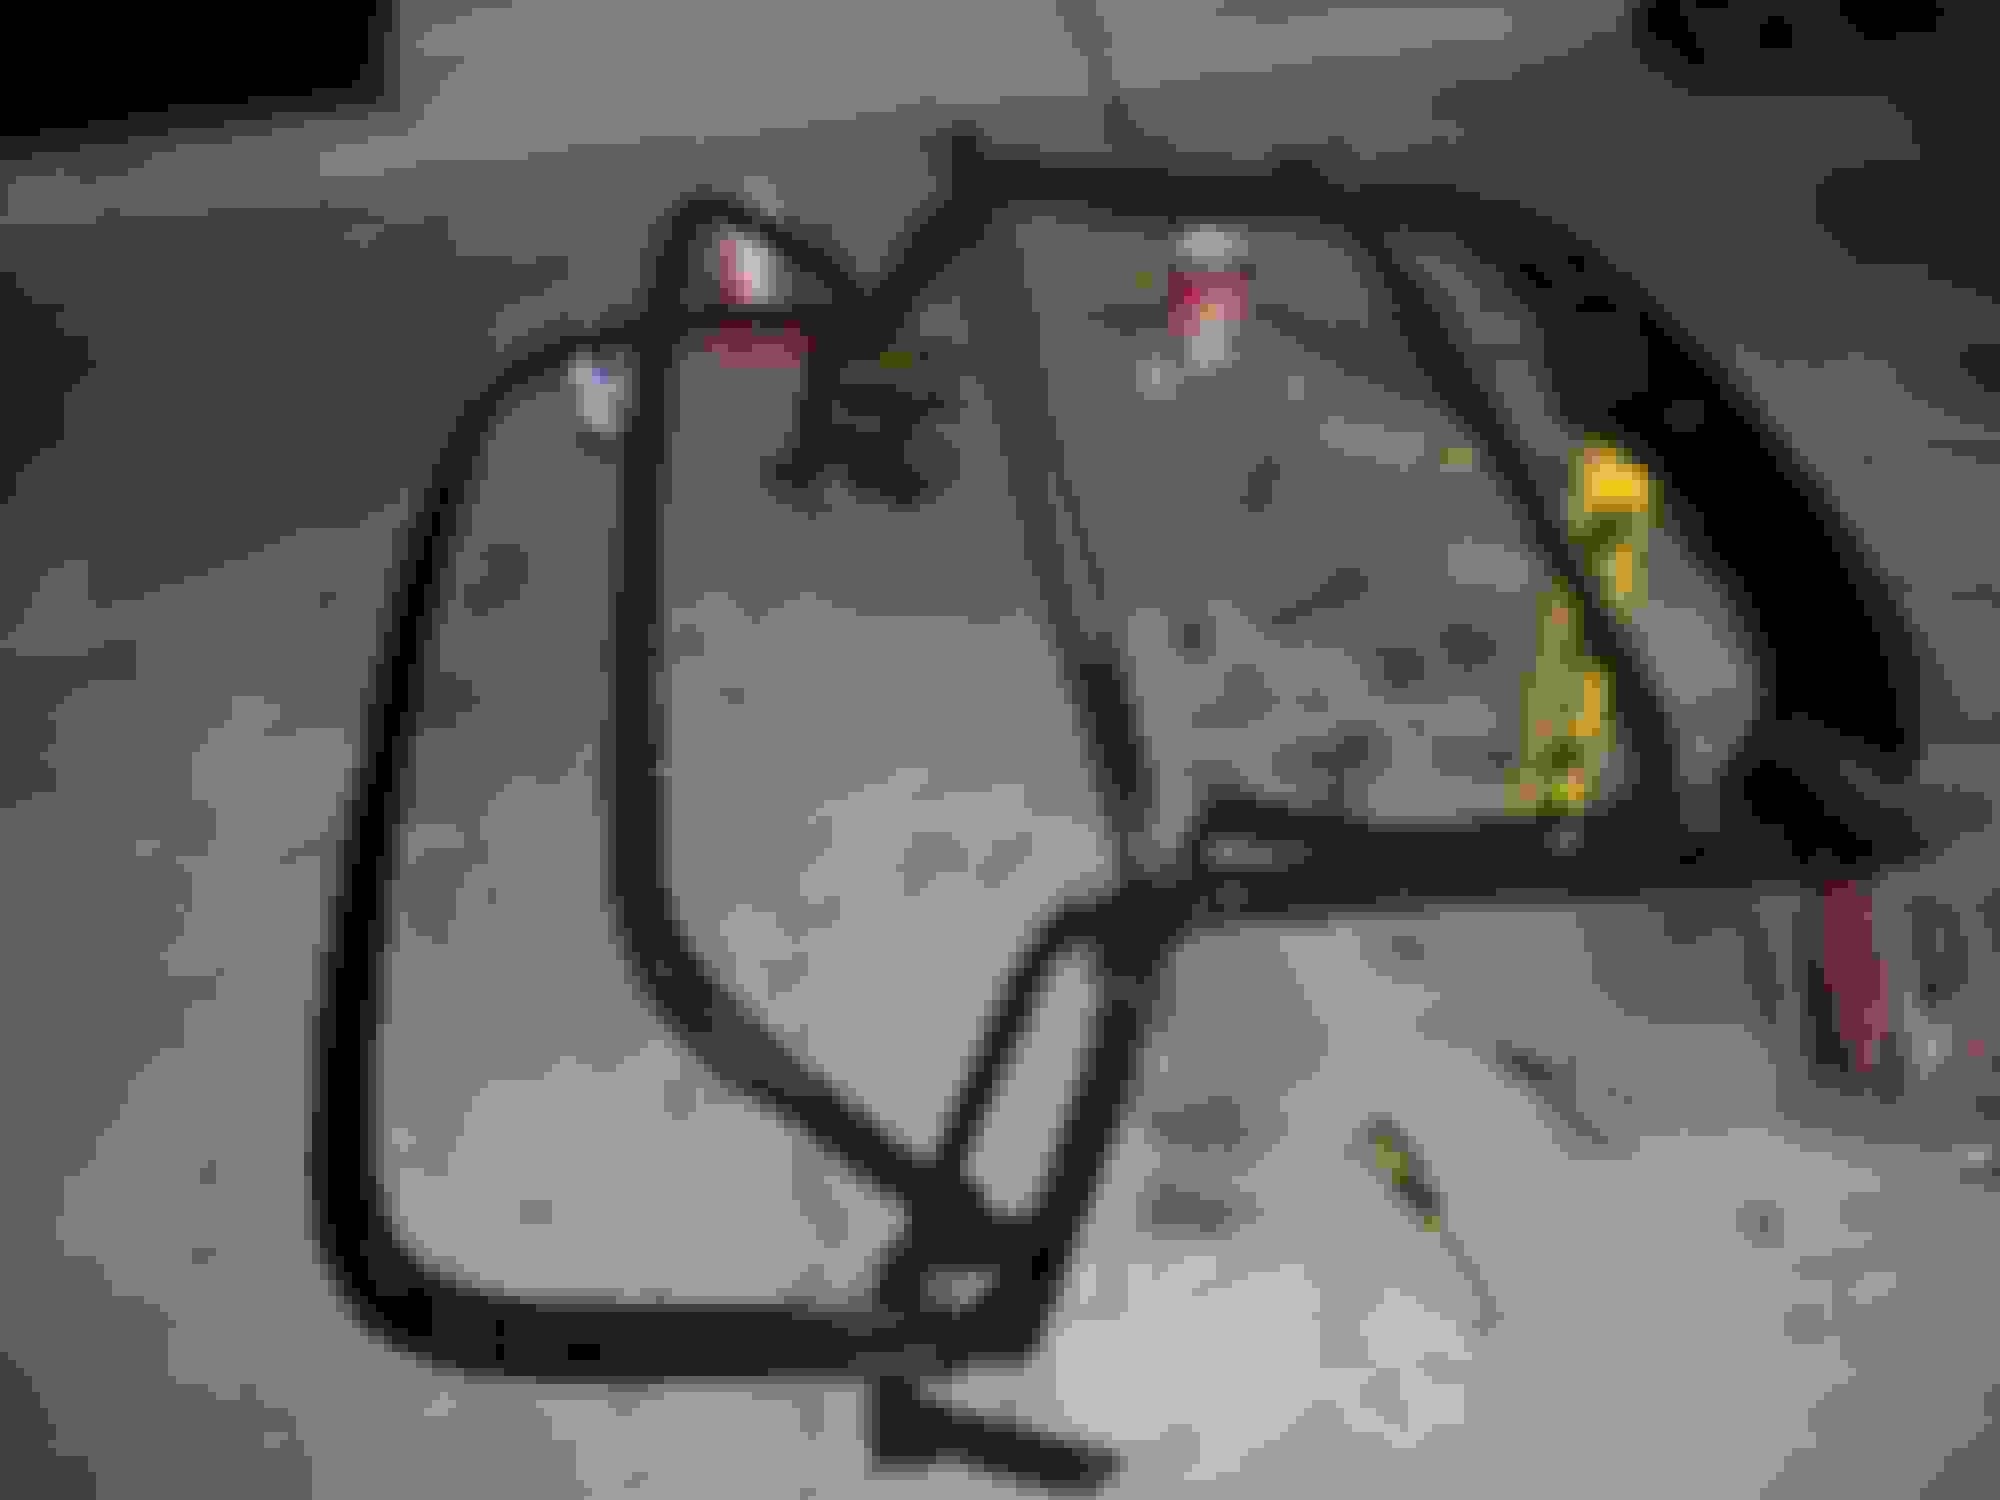
I made a little more progress today......I reassembled the soft top frame and putthe final coat of paint on it. I'll let it dry a couple hours and then start installing the top with my New Arrow pneumatic staple gun (I "got-to-thinking"....my hands would fall off by the time I shot a few hundred staple with my hand-squeeze commercial staple gun--the cocking spring is so strong that I have to use two hands when the muscles get tired in one hand...LOL)..........
After going out to eat dinner I returned to the garage and spent 2 hours removing a couple hundred old staples from the top cover and the cushions/pads....then I was able to start installing the dyed top....
I'm not going in the correct order with the installation because this top already has all the staple marks in it==all I have to do is line up the marks with the holes in the tack strip/put new rivets in the original holes where I drilled out the old rivets....New rivets and new staples are installed..........................
Note to self....Put protective duct tape over rivets/plate tomorrow
Looking at the underside of the rear bow---the bottom of the soft-top lower lip is pushed into the groove all along the rear bow with a dull flat-tip screwdriver...........
I started to install the weatherstrip under the rear bow but the screwdriver made it s-l-o-w work, so I'll stop for the night and pick up a roller-tool tomorrow at the hardware store to finish the installation of the weatherstrip.
I can definitely see how this would be a tricky job for a Rookie installing a new top that has no markings or reference points!
56600
Last edited by doorgunner; 02-16-2015 at 12:41 AM.
Nice progress Gunner, you can always get a job now doing dye jobs in a hair salon if you need extra cash for parts. Keep on.
Greg
Good info Calo69.....you are worthy of the AWARD.......(How are ya'll---You guys...LOL.....making it through all that snow?}...........
Now for this mornings progress....I dropped the hood off at the painter before starting on the top install........
I bought the weatherstrip installation tool and 10 minutes later the rubber piece and the cord were in place.........
The support padding is stapled to the rear bow passenger side and driver side (not shown}...........
The window-top is stapled to the rear bow.............
The staples and previous staple-holes were coated with black silicone exterior sealer even though the instructions didn't state it.......
The top cut is stapled over the window cut and sealed......
I will have to place the soft top assembly onto the car before I go any further to make sure the top is being installed tightly and that the front bow pulls down and clamps in place without being too tight or too loose.
Last edited by doorgunner; 02-16-2015 at 01:07 PM.
NOTE: When I started this thread, I had no idea of what life had in store...so this is turning into more than a build-thread.
I'm new to Corvettes and want to buy/"rescue" a very neglected '68 hardtop near my home with late '70s front & rear clips....
Side note: I've had the "fever" since 1968 when I saw that $4,550 red Corvette on the showroom floor at the local dealership.....and ended up with the $2,695 1969 Camaro convertible that was sitting next to the Corvette!
I'm not trying to "restore" to a factoy look since the car is a "rescue" vehicle......I have no bodywork experience.....just want to get the body back to 1968-looks....
and have a D.D./keeper just for me.....
Thanks for any input/threads-to-read...since I'm learning as I go....
EDIT: "Rescue" Convertible (avatar)...the beginning work and pics finally get posted on page 3......some of the experimental mods that I try on this car would NEVER EVER be tried by me on an original car!
Gunner, check out the custom pin striping thread in c3 general
Gunner, check out the custom pin striping thread in c3 general
I never really was into pin striping (on my car)...but I like it on other people's cars. I tend to like the wide racing "stripes" that some forum members have done on their projects. Stinger12's car, for one, comes to mind.
As for the convertible top re-install....I was thinking ( ).....the top hasn't been on a car in a few years----and it's nice and chilly outside. I think I'll attach the front edge of the top to the front bow....then use my heat gun to warm the entire top as I slowly extend the frame until it locks into place on the windshield corners.

 02-13-2015, 12:00 AM


 before I could align the car.....the 2nd time


 ).....the top hasn't been on a car in a few years----and it's nice and chilly outside. I think I'll attach the front edge of the top to the front bow....then use my heat gun to warm the entire top as I slowly extend the frame until it locks into place on the windshield corners.