
Richies 77 Corvette build starts now.


 11-06-2013, 06:04 PM
#22
Drifting

Thread Starter
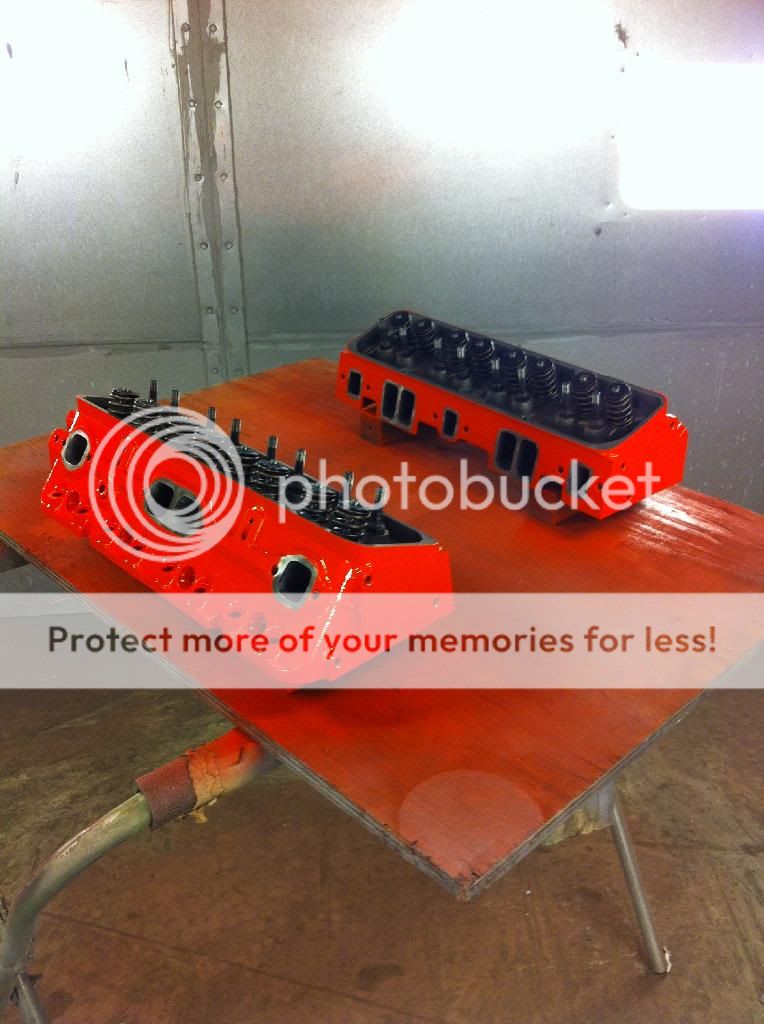
Yes. I still will have the oil pressure gauge in the center console.
Besides looking really old school kool. I am putting the direct read gauges to monitor the engine when wrenching under the hood.
Besides looking really old school kool. I am putting the direct read gauges to monitor the engine when wrenching under the hood.
Last edited by persuader; 05-06-2014 at 11:01 AM.
12-19-2013, 06:31 PM
#24
Drifting
Thread Starter
Yes sir! I used Plasti-cote engine paints with ceramic. I sprayed their primer first followed by color and their clear. looks real nice.
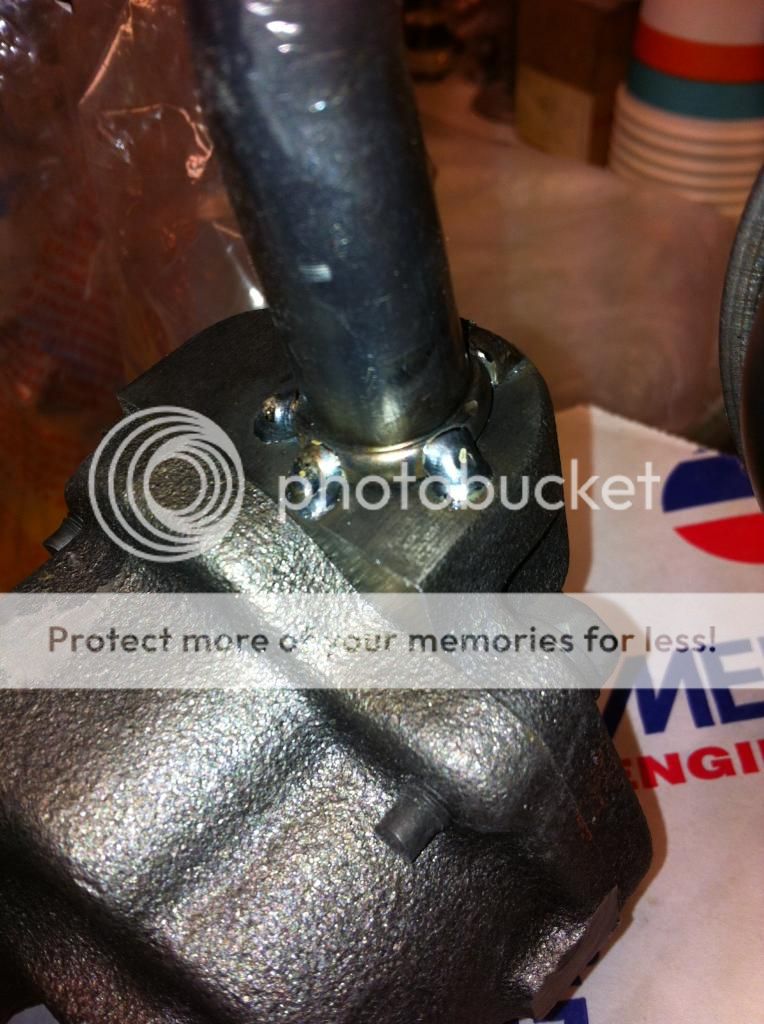
I tack welded the new pick up to the pump housing.
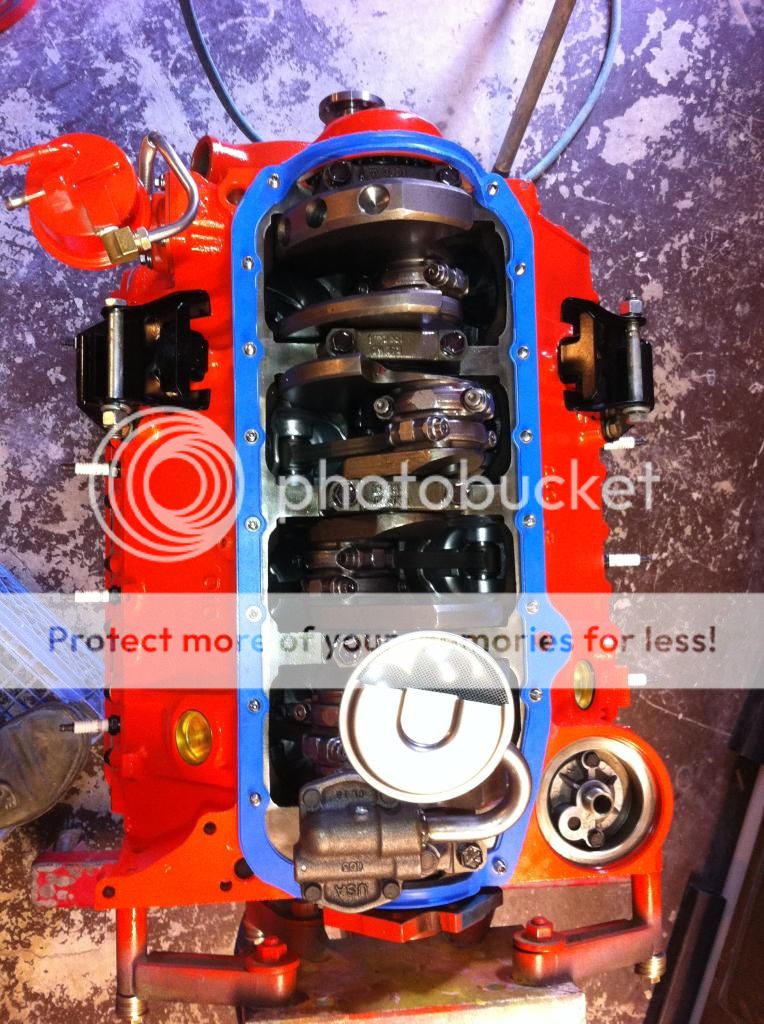
Here the pump is installed and the bolt torqued to 65 ft pounds. I then installed the oil pan studs and the felpro one piece gasket. I put a dab of black silicone in the usual four corners in the front and rear of the engine.
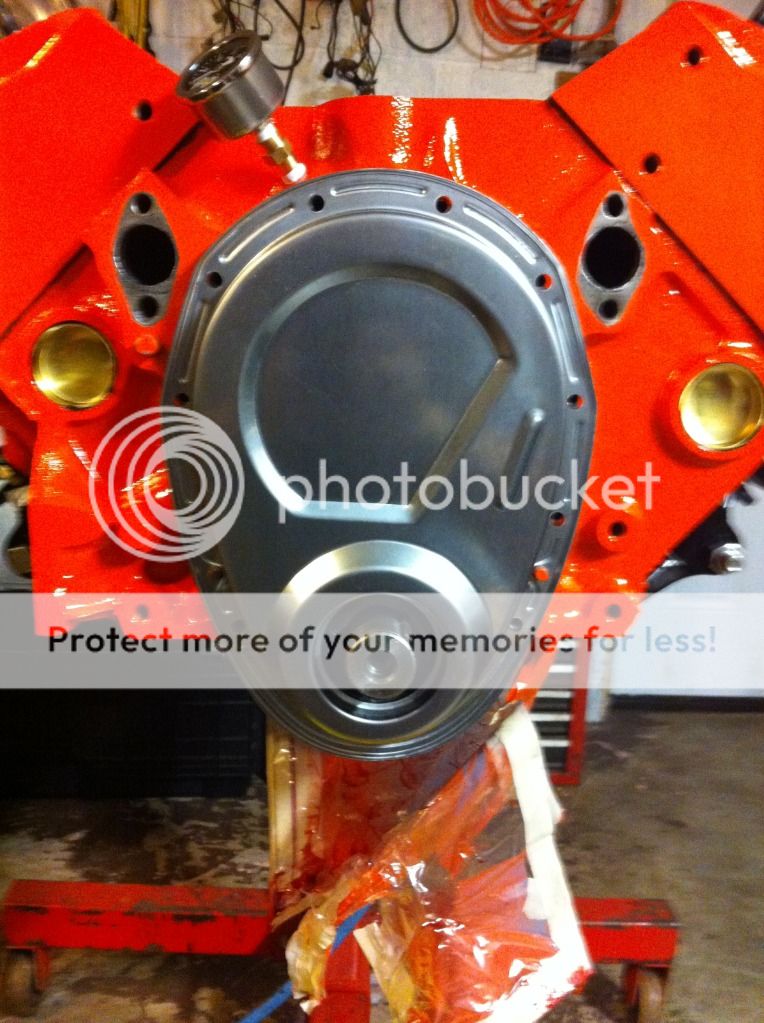
I have the engine pretty much done for now I will just put it aside and concentrate on the nose conversion.
Last edited by persuader; 08-17-2014 at 09:46 PM.
12-19-2013, 06:58 PM
#25
Drifting
Thread Starter
Hello everyone. I was planning on waiting till around feb. or mar. to start ordering the stuff I need for the front end conversion but I was able to score a fiberglass front bumper off of Ebay for under 300.00 shipped to my door. That is less than half the price that ordering one from Ecklers would have cost shipped to my door. So I suddenly got anxious and ordered the fender extensions and the new header bar and nose bar so I can get started right away.
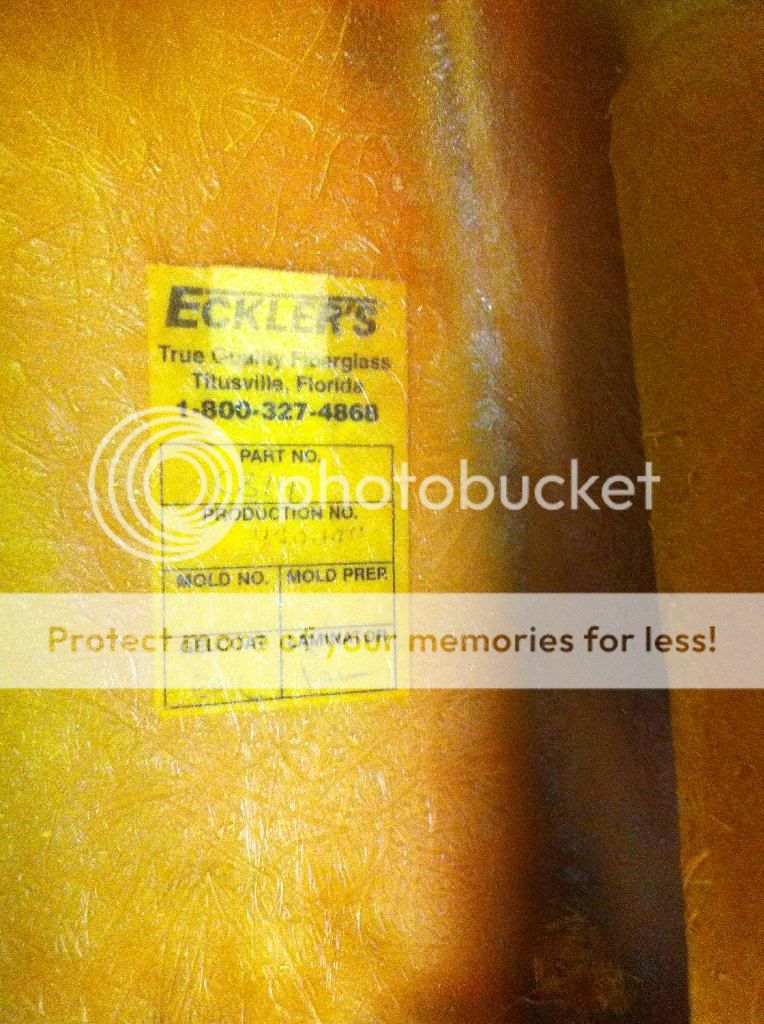
Here is the bumper. Looks new, Has no cracks, And appears to have been painted only once (going to strip it anyway).
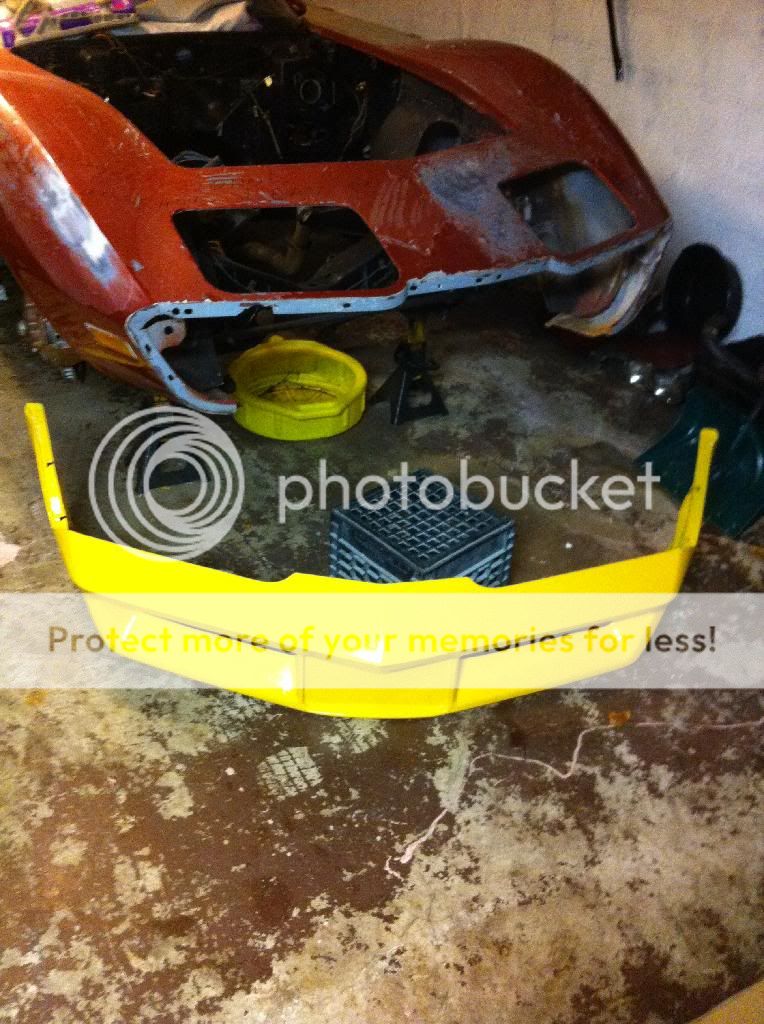
And its an Ecklers bumper. Cool!
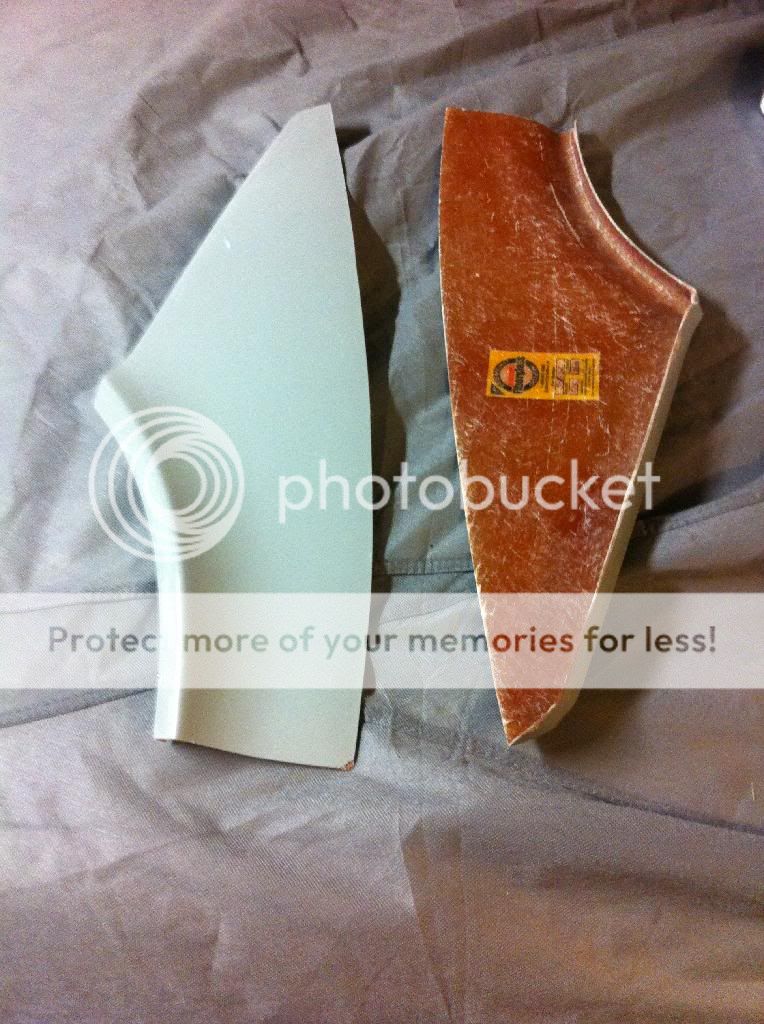
The new fender extensions.
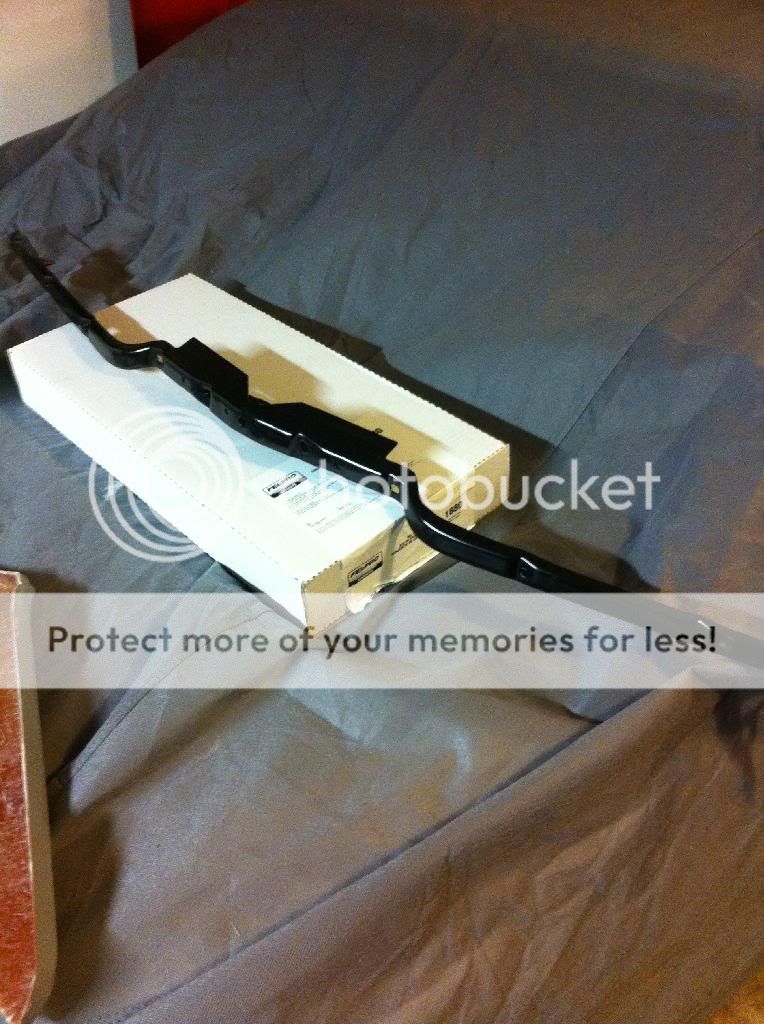
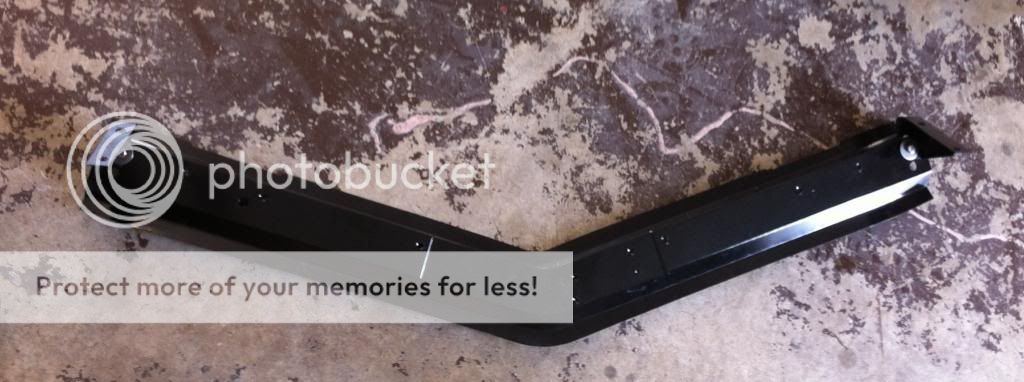
New nose bar.
New Header bar with stainless bolts and reinforcement plates. ( not shown)
Here is the bumper. Looks new, Has no cracks, And appears to have been painted only once (going to strip it anyway).

And its an Ecklers bumper. Cool!

The new fender extensions.

New nose bar.

New Header bar with stainless bolts and reinforcement plates. ( not shown)

Last edited by persuader; 05-06-2014 at 11:25 AM.
12-20-2013, 05:17 PM
#26
Drifting
Thread Starter
Although I am really excited to start the conversion process I still realize that I must proceed slowly and deliberately so I make no mistakes. I have worked on many a Corvette throughout my career as a body guy but in the last ten years or so mostly on C-4s or newer Vettes. And I haven't done this level of body mods to a C-3 since the 1980s when this type of mod was common.
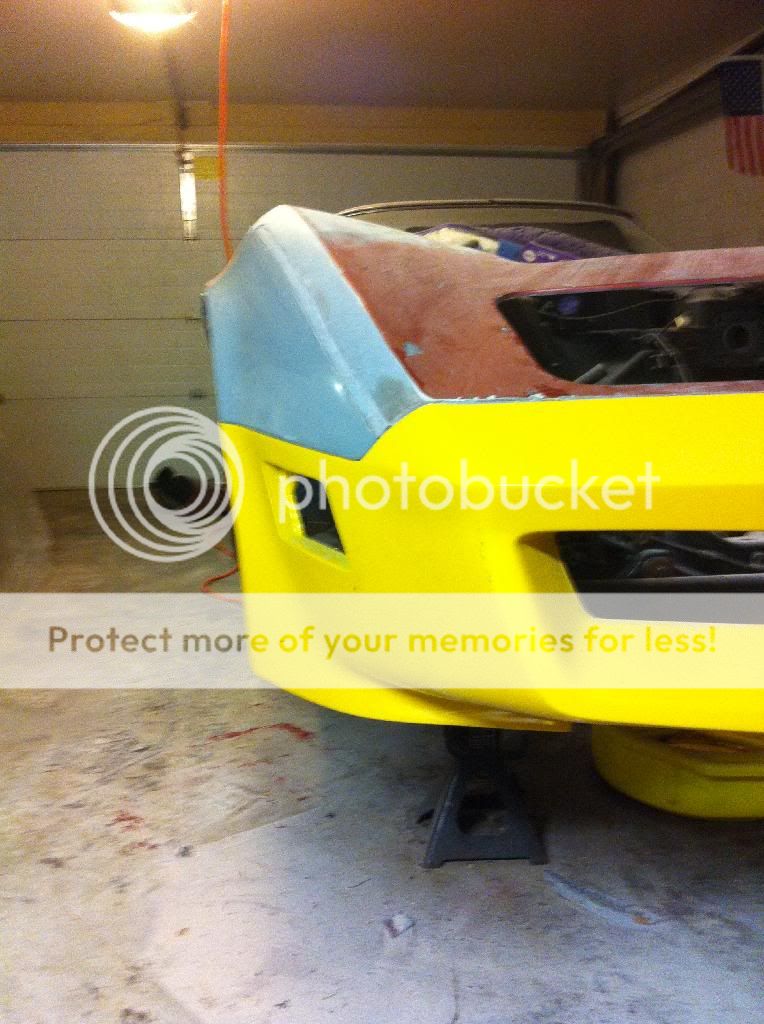
So lets get started. Today I spent a few hours attaching the extensions to the bumper And making sure they bolted together tightly without stressing the mounting area. And that the wheel arch looked straight as an arrow when viewed from the front. I am really digging' the yellow. It just may be my color for the car. ??????
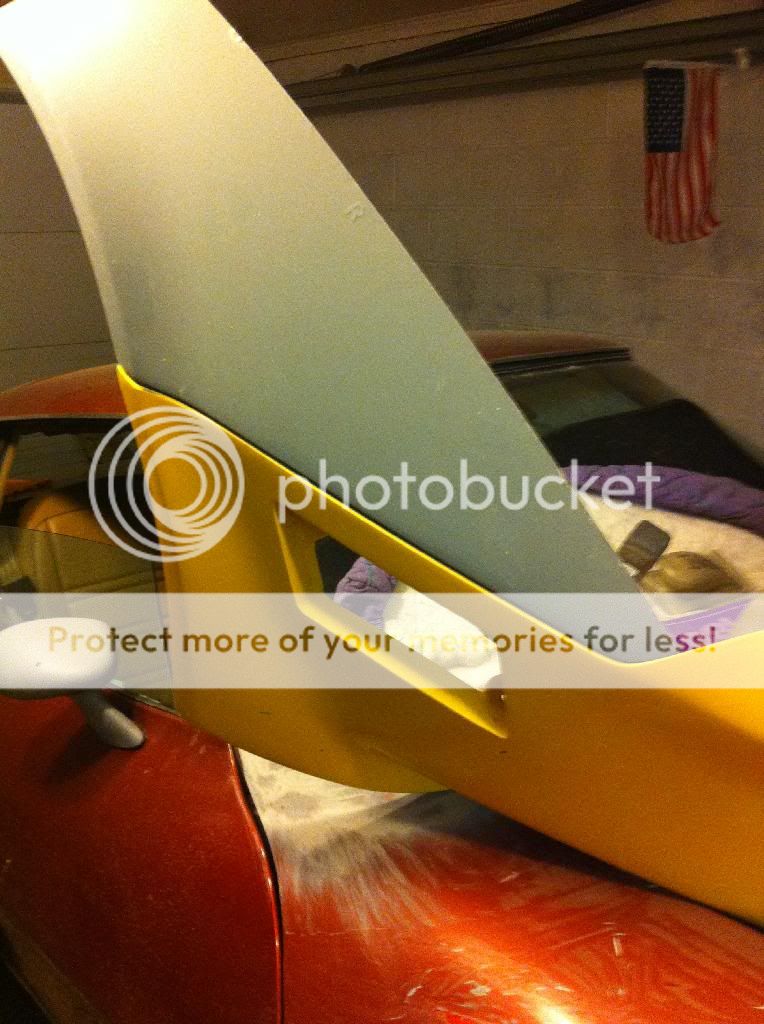
So lets get started. Today I spent a few hours attaching the extensions to the bumper And making sure they bolted together tightly without stressing the mounting area. And that the wheel arch looked straight as an arrow when viewed from the front. I am really digging' the yellow. It just may be my color for the car. ??????

Last edited by persuader; 05-26-2014 at 10:49 PM.
12-22-2013, 05:29 PM
#27
Drifting
Thread Starter
So today I decided to start the surgery on my car. Sorry if I haven't taken more detailed pictures. I sought of got carried away and forgot. I will try harder as I go forward.
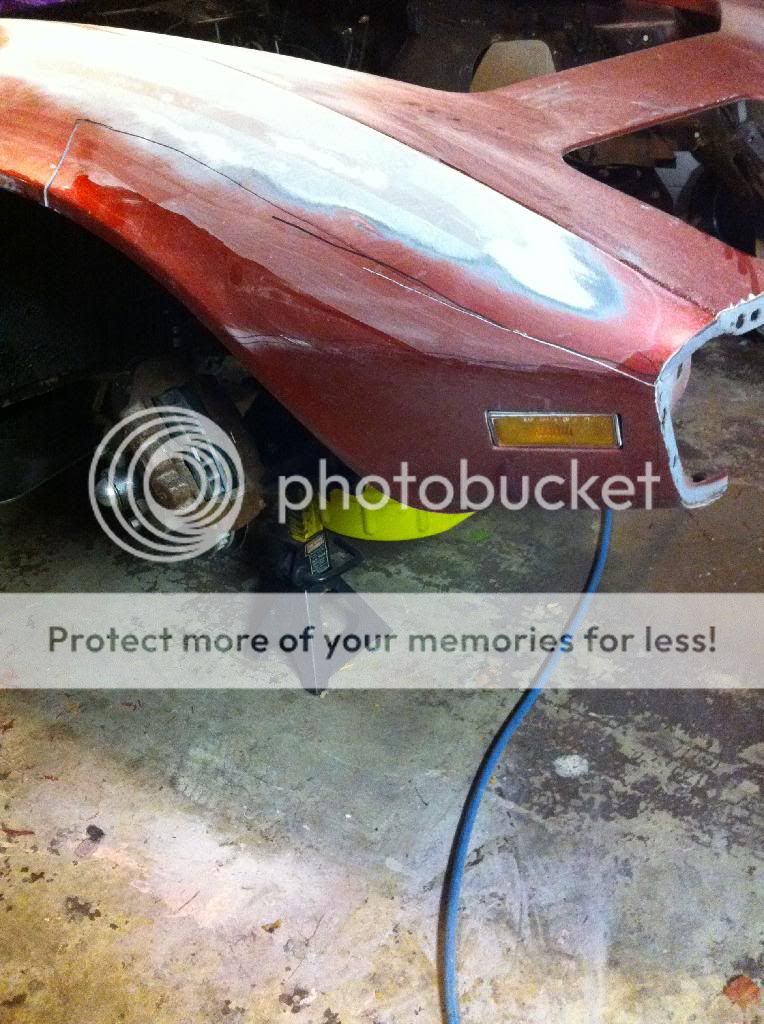
Anyhow, I first hit the front of the fenders with a DA and some 80 grit to expose the fender and the hood surround line in the front of the fenders. Then I just held the new piece up to the fender and marked more or less where the vertical cut at the rear would be. I made sure I was long so that I can make a more precise cut later. Iwent ahead and started cutting the fender just below the bonding strip and once that was out of the way I started to grind cut and chip away that part of the fender that was glued to the bonding strip. Once I had all the old panel adhesive of the bonding strip I clamped the bumper up to the car with the new extensions attached to the bumper so that I can make my mark for the vertical cut at the rear of the fender extensions. So far I have not bother with the fitment of the upper parts of the extensions since they will be glue down to the bonding strip just like the original fenders.
I took the bumper and the extension off and made the final cut on the fender. I trimmed that piece away and once again clapped the bumper and the extensions on the car.
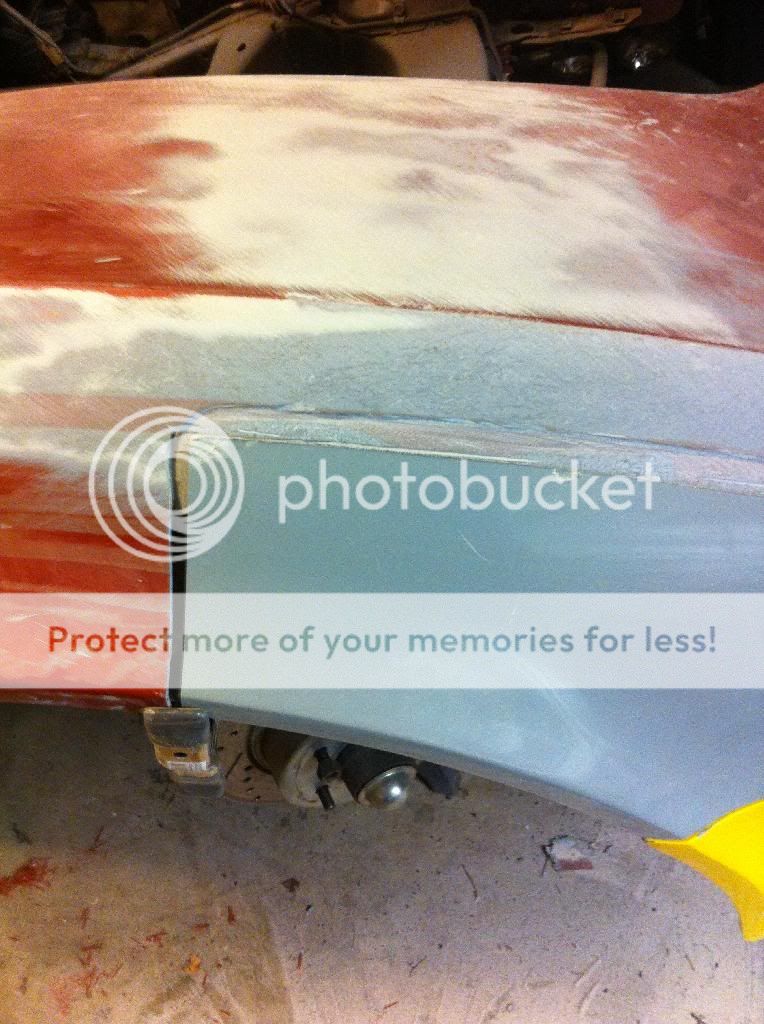
I proceeded to cut away the front of the fender right below the bonding strip.
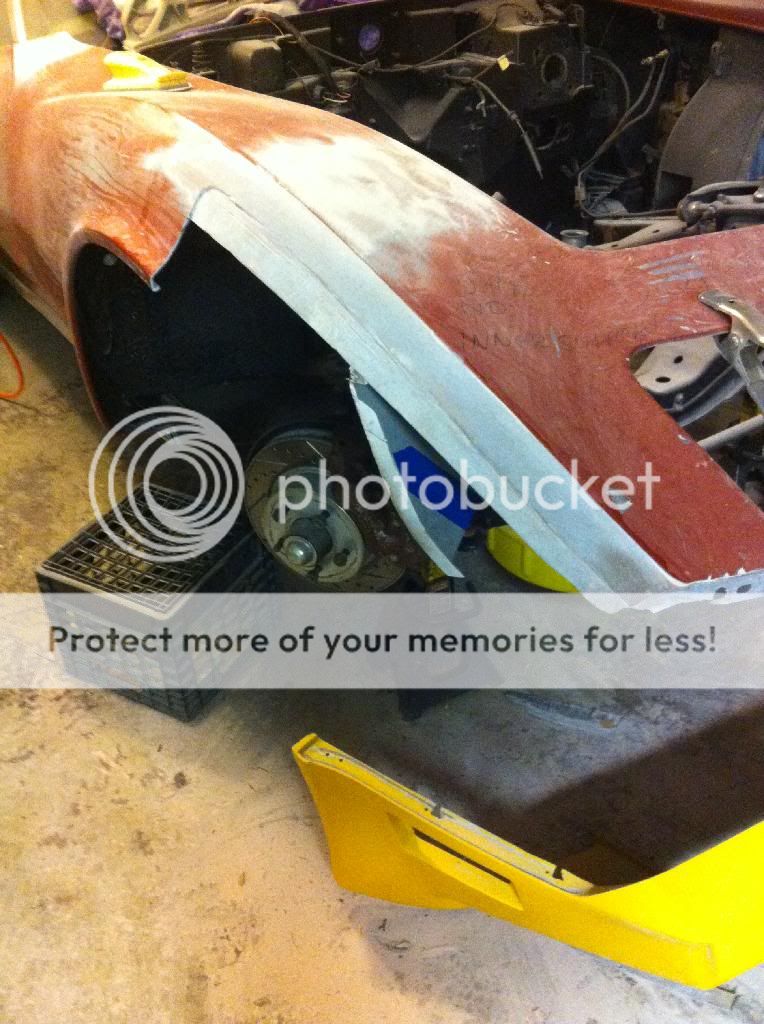
Bonding strip and inner wheelhouse ready for when the new extensions are to be adhered.

Front profile of wheel arch nice and straight.
After the last vertical cut was made I am ready to proceed with glueing the front tensions on the car.
She is starting to look like what I have pictured in my heads for many years. Yay!
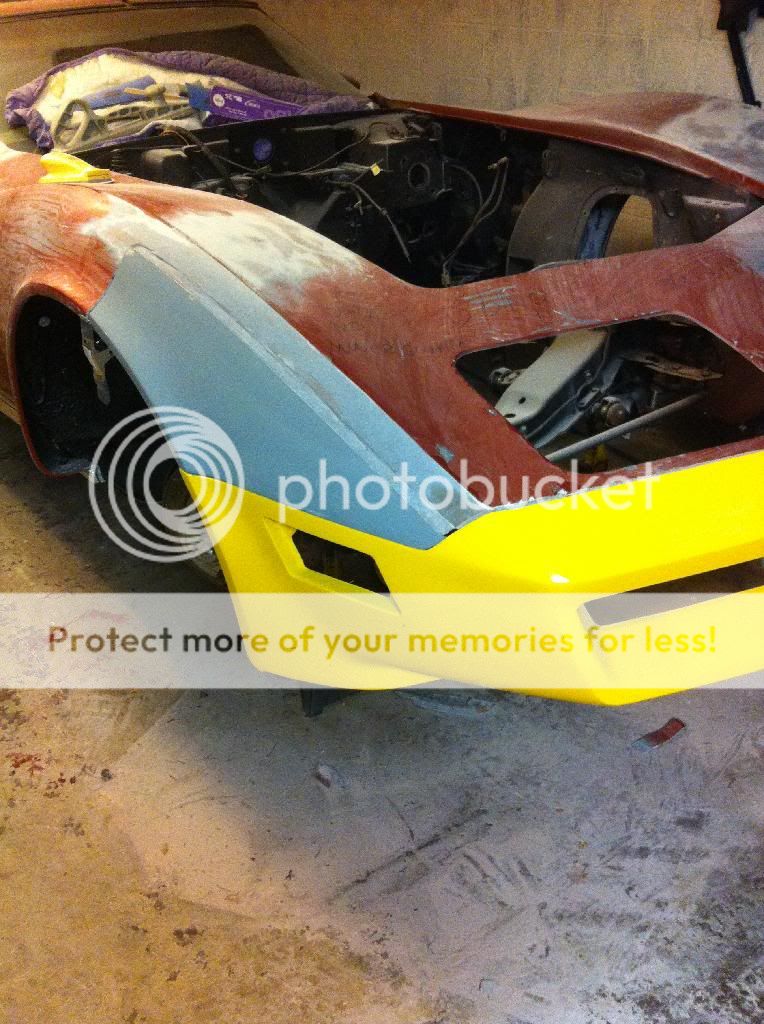
So far it has been a cakewalk but, Now the REAL fun begins!
Anyhow, I first hit the front of the fenders with a DA and some 80 grit to expose the fender and the hood surround line in the front of the fenders. Then I just held the new piece up to the fender and marked more or less where the vertical cut at the rear would be. I made sure I was long so that I can make a more precise cut later. Iwent ahead and started cutting the fender just below the bonding strip and once that was out of the way I started to grind cut and chip away that part of the fender that was glued to the bonding strip. Once I had all the old panel adhesive of the bonding strip I clamped the bumper up to the car with the new extensions attached to the bumper so that I can make my mark for the vertical cut at the rear of the fender extensions. So far I have not bother with the fitment of the upper parts of the extensions since they will be glue down to the bonding strip just like the original fenders.
I took the bumper and the extension off and made the final cut on the fender. I trimmed that piece away and once again clapped the bumper and the extensions on the car.
I proceeded to cut away the front of the fender right below the bonding strip.


Bonding strip and inner wheelhouse ready for when the new extensions are to be adhered.


Front profile of wheel arch nice and straight.

After the last vertical cut was made I am ready to proceed with glueing the front tensions on the car.

She is starting to look like what I have pictured in my heads for many years. Yay!

So far it has been a cakewalk but, Now the REAL fun begins!
Last edited by persuader; 05-31-2014 at 10:46 AM.
12-23-2013, 02:12 PM
#28
I'm with you Persuader, it is hard to remember to shoot pictures when you get rolling. Very impressive work you are doing there. I am not sure that is something I would feel comfortable taking on, but I am actually pushing the envelope on my winter rebuild since I've never done most of these jobs before. I am anxious to see it wham you get it all bonded. Seams look excellent.
Hope you have a good holiday. I am probably not going to get much done now until after Christmas.
John
Hope you have a good holiday. I am probably not going to get much done now until after Christmas.
John
12-23-2013, 02:21 PM
#29
Instructor

Member Since: Feb 2005
Location: Asheville NC
Posts: 231
Likes: 0
Received 0 Likes
on
0 Posts

Ready for paint.
[IMG]http://i959.photobucket.com/albums/ae72/checkmate86/null_zpsc17ab556.jpg[IMG]
I still may decide to have it powder coated black. Umm?
[IMG]http://i959.photobucket.com/albums/ae72/checkmate86/null_zpsc17ab556.jpg[IMG]
I still may decide to have it powder coated black. Umm?
 12-23-2013, 03:39 PM
#30
Drifting
Thread Starter
I'm with you Persuader, it is hard to remember to shoot pictures when you get rolling. Very impressive work you are doing there. I am not sure that is something I would feel comfortable taking on, but I am actually pushing the envelope on my winter rebuild since I've never done most of these jobs before. I am anxious to see it wham you get it all bonded. Seams look excellent.
Hope you have a good holiday. I am probably not going to get much done now until after Christmas.
John
Hope you have a good holiday. I am probably not going to get much done now until after Christmas.
John
12-23-2013, 05:36 PM
#32
Burning Brakes

Very nice work so far, sir!
Later,
Lee
P.S. Did it come with the '77 nose/bumper cover?
Later,
Lee
P.S. Did it come with the '77 nose/bumper cover?
02-10-2014, 08:34 PM
#34
Drifting
Thread Starter
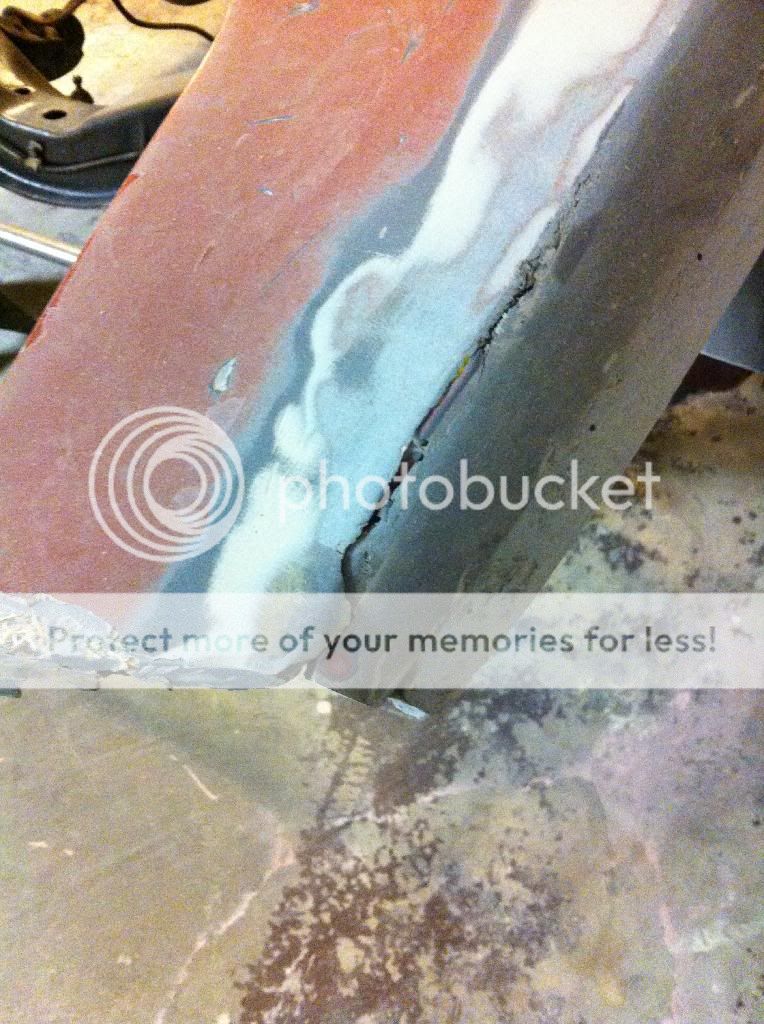
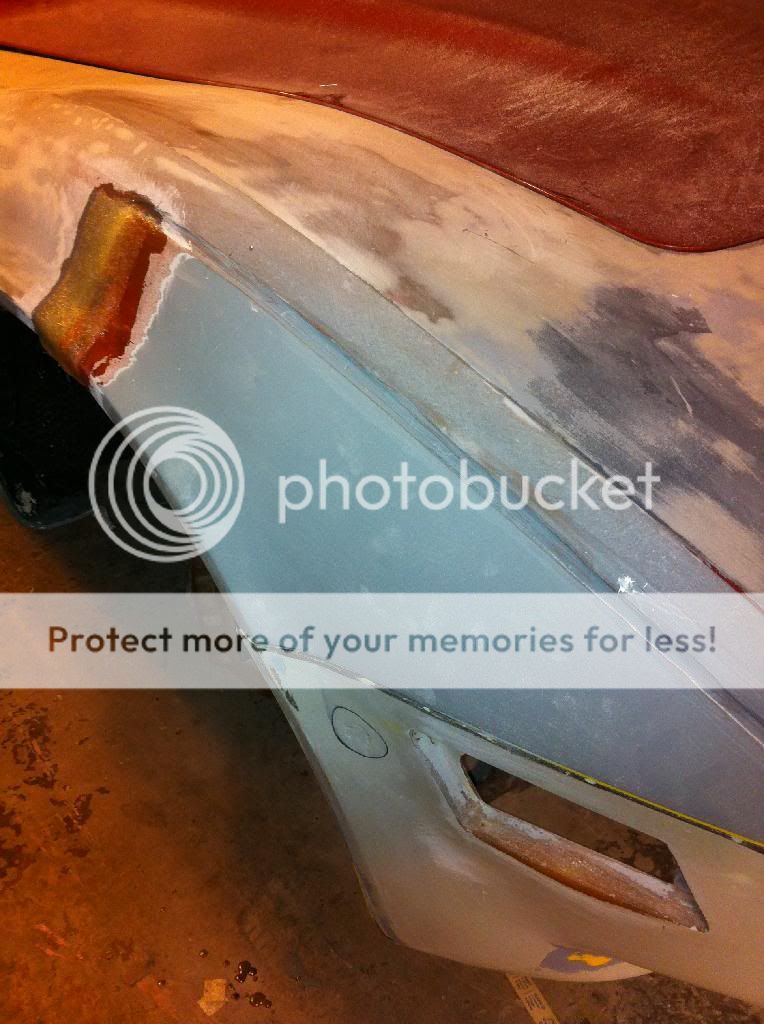
My left fender looks to have been replaced at one time and was loose at the door seam and had a crack above the scoop,a piece missing off the bottom and also was lifting at the seam between it and the hood surround so decided to remove it and repair the fender and re-attach it properly. This has to be done now before I can proceed with the bumper install.
I also discovered that Bubba had previously also repaired ( or tried to) the left front lower hood surround.
I will have to repair this damage after I remove, repair and reinstall the left fender on the car.
I also discovered that Bubba had previously also repaired ( or tried to) the left front lower hood surround.
I will have to repair this damage after I remove, repair and reinstall the left fender on the car.


Last edited by persuader; 11-30-2014 at 06:03 PM.
02-10-2014, 08:49 PM
#35
Drifting
Thread Starter
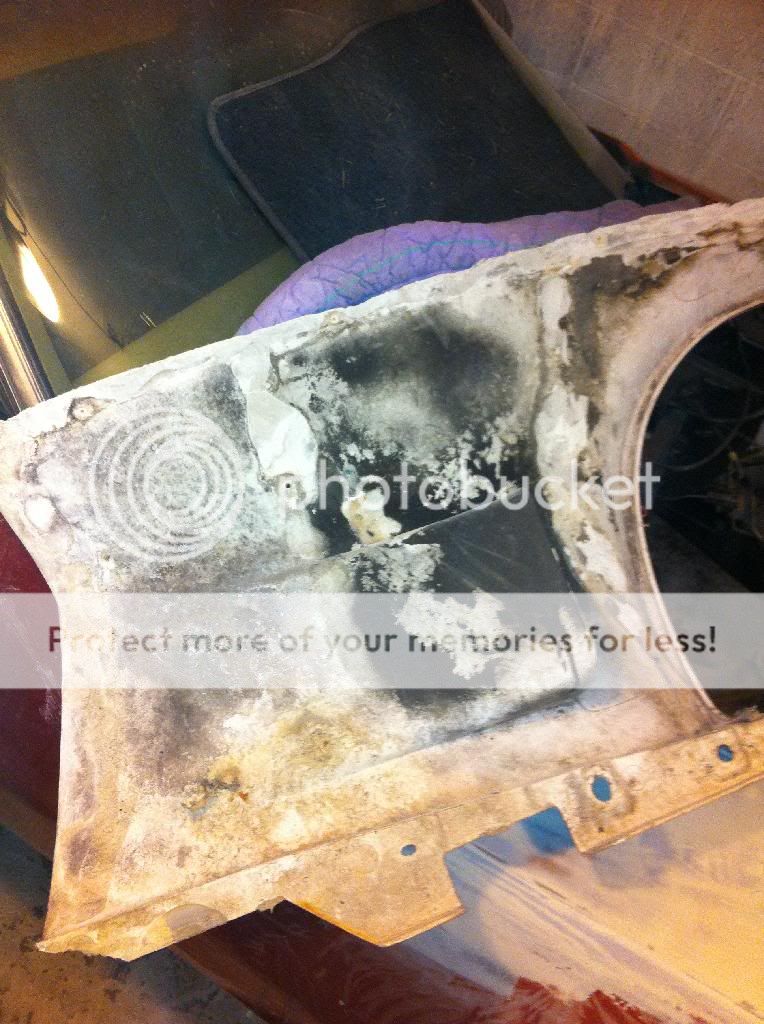
Fender repaired and ready to be reinstalled. I will be using Fusor 127ez to mount the fender on all the contact surfaces except where the fender mounts to the bonding strip where I will be using Evercoat 994 SMC Panel adhesive.


Last edited by persuader; 05-06-2014 at 12:17 PM.
02-10-2014, 09:17 PM
#36
Drifting
Thread Starter
I trimmed the front fender wells to resemble the ones on a 80-82. Thanks the DUB for providing me a picture that I used as a guide.

After trimming this side.

And the next. Looks good.


After trimming this side.

And the next. Looks good.

Last edited by persuader; 05-06-2014 at 12:42 PM.
02-20-2014, 06:26 PM
#37
Drifting
Thread Starter
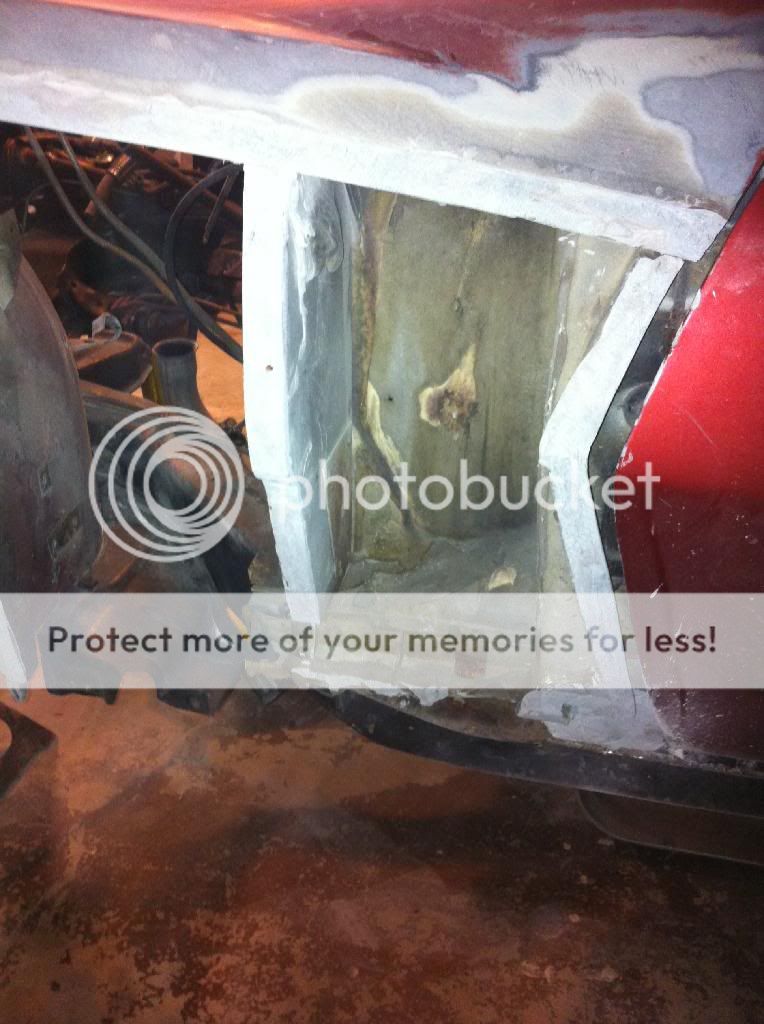
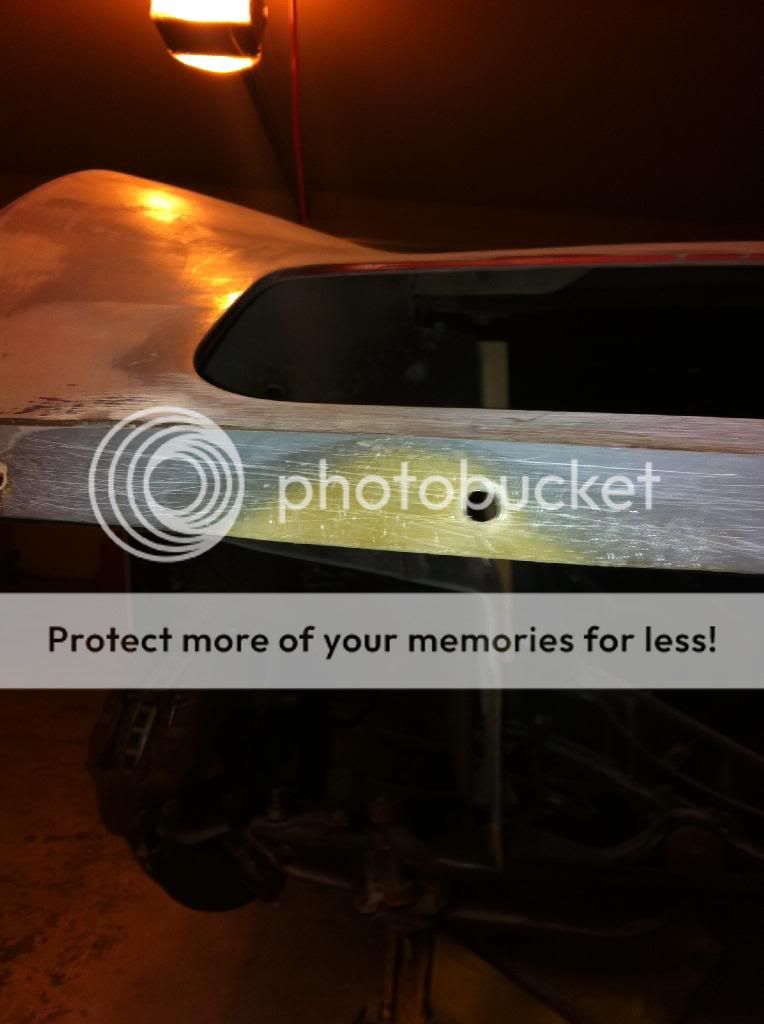
A small repair on the front of the hood surround before installing the nose bar.
Back side.
Ready to go.
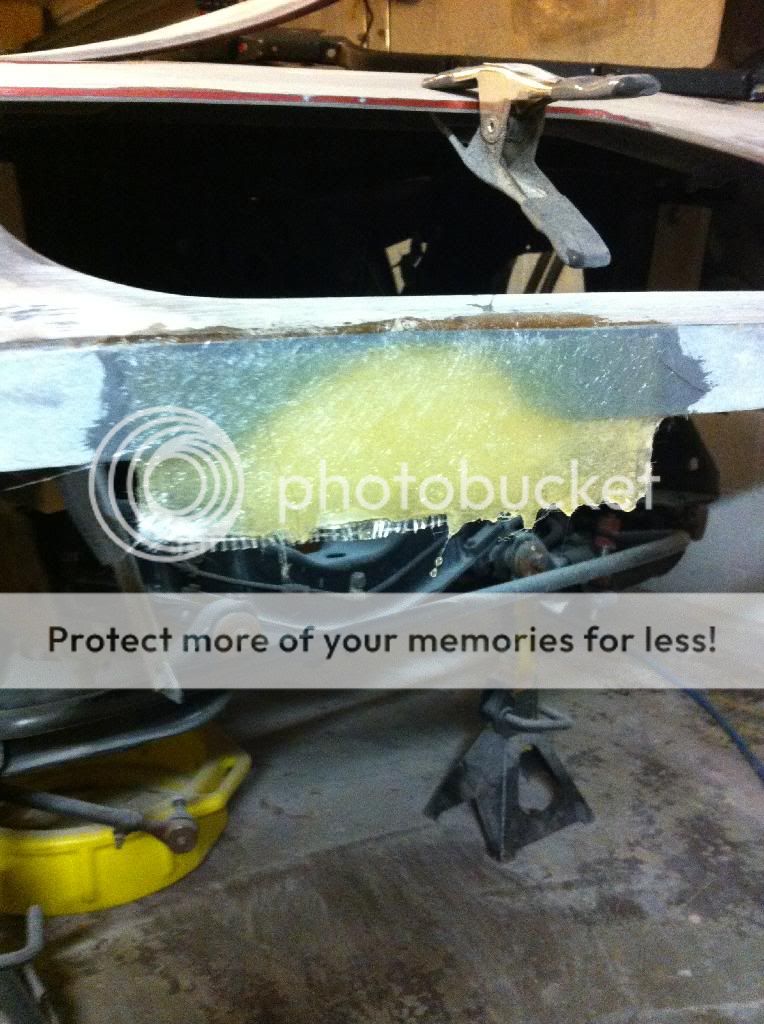
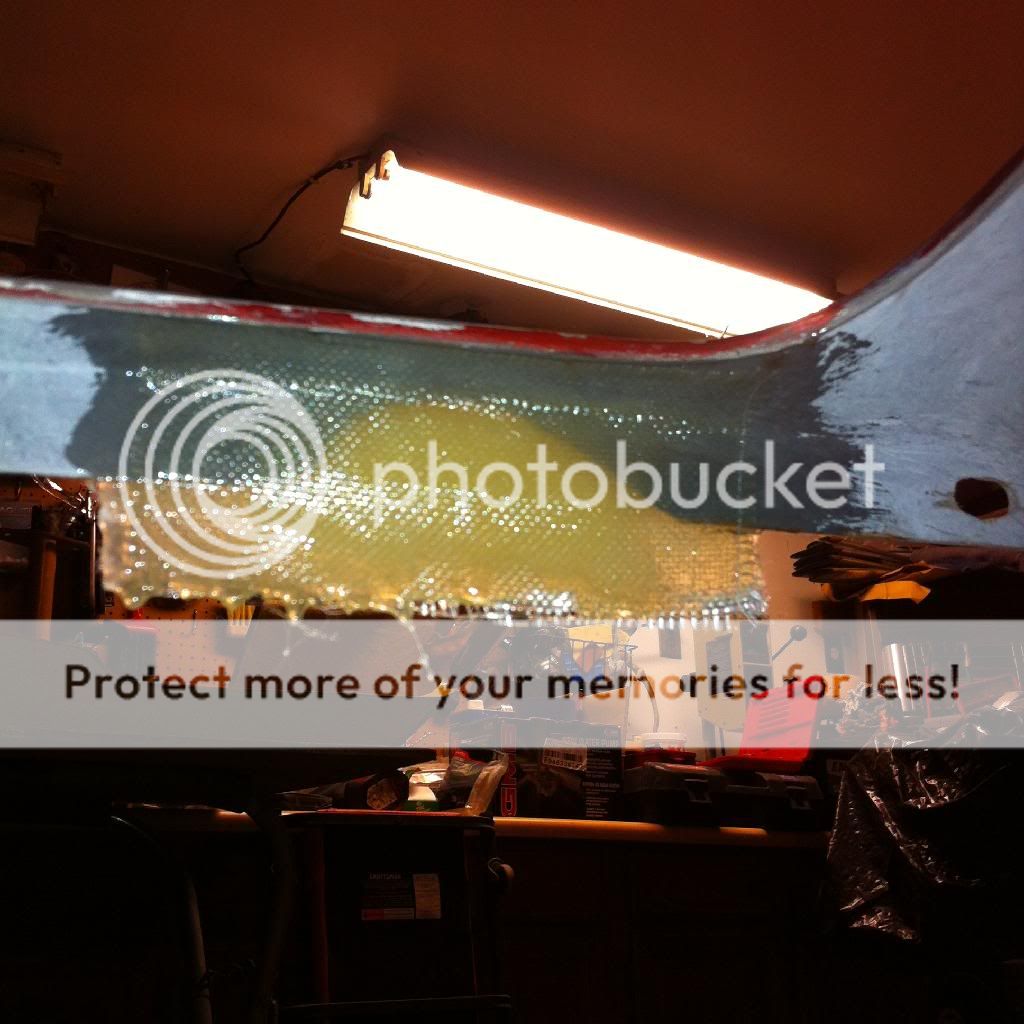
A little grinding and sanding with a mini DA and some 36 to prepare the surface of the hood surround. I applied fusor to the bar and clamped it in place.

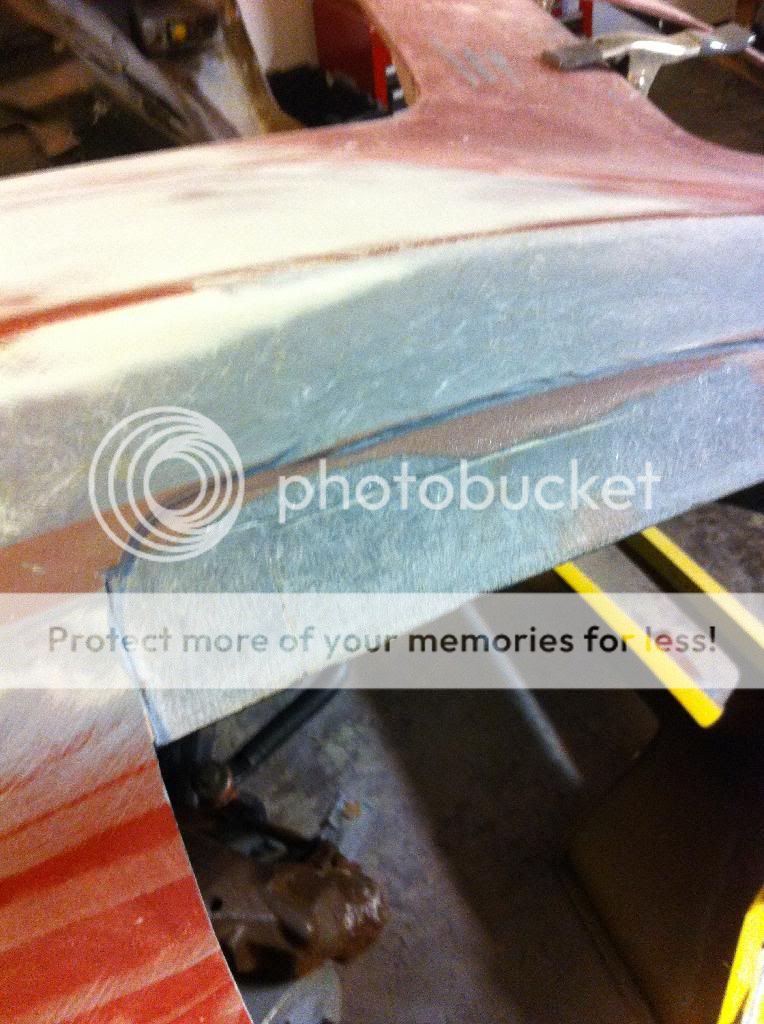
Using the Evercoat 994 I attached the two fender extensions being careful not to squeeze all the adhesive out and then cleaned out as much of the excess as I could from the joints.

After letting it all set overnight I ground down the upright joints and did my laminations on the outside for now. The inner are done the same way except I top the lamination off with a piece of woven fiberglass for added strength.


I can now take the bumper off and start the rest of the process of fitting the bumper and doing all the body work to the entire front end. I will also address the door to fender gaps also.
Stay tuned……………
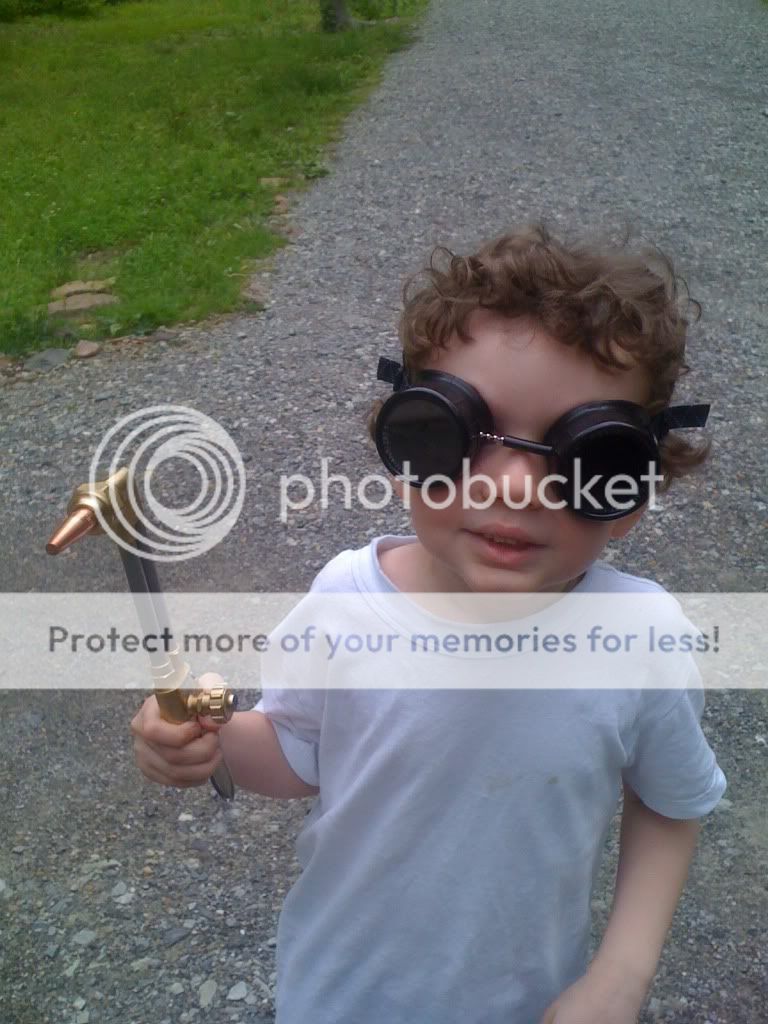
Almost forgot to add a picture of my little helper. My grandson, Dominik

Back side.

Ready to go.

A little grinding and sanding with a mini DA and some 36 to prepare the surface of the hood surround. I applied fusor to the bar and clamped it in place.

Using the Evercoat 994 I attached the two fender extensions being careful not to squeeze all the adhesive out and then cleaned out as much of the excess as I could from the joints.

After letting it all set overnight I ground down the upright joints and did my laminations on the outside for now. The inner are done the same way except I top the lamination off with a piece of woven fiberglass for added strength.


I can now take the bumper off and start the rest of the process of fitting the bumper and doing all the body work to the entire front end. I will also address the door to fender gaps also.

Stay tuned……………
Almost forgot to add a picture of my little helper. My grandson, Dominik

Last edited by persuader; 11-30-2014 at 06:21 PM.
03-06-2014, 12:58 PM
#38
Drifting
Thread Starter
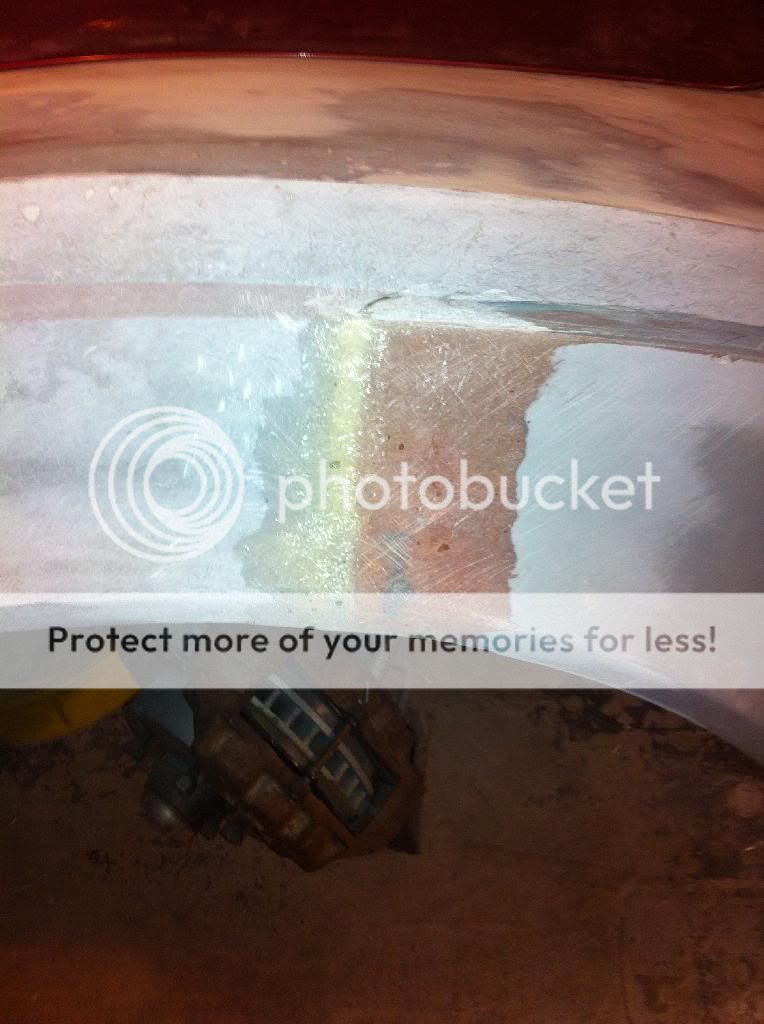
Work on my car is progressing at a snails pace for lots of reasons, But today I managed to spend a couple of hours finishing the laminations on the inside of the fender extensions. Now I will be almost ready to start the body work to custom fit the bumper to the body with the tightest gap possible.


Last edited by persuader; 05-06-2014 at 01:02 PM.
03-07-2014, 01:06 AM
#39
Nam Labrat


Member Since: Sep 2013
Location: New Orleans Loo-z-anna
Posts: 33,893
Received 4,173 Likes
on
2,735 Posts
Thanks for the pics so I'll have an idea of what I need to do later on!