C3 General General C3 Corvette Discussion not covered in Tech
Sponsored by:
Sponsored by:

Show us your NO or LOW COST HOME MADE do it yourself stuff C3 CORVEtte

Thread Tools
 
Search this Thread
 
Old 08-31-2016, 11:46 PM
  #161  
USAFVeteran
Racer
 
USAFVeteran's Avatar
 
Member Since: Apr 2016
Posts: 493
Received 66 Likes on 60 Posts
Default

Originally Posted by Rescue Rogers
Good job!!!
You should post up some pics.of your car!!!
Thank you, I'll try to load the pics on the laptop, and maybe start a thread on the last rebuild. We done two so far.


Thanks for the suggestion, it might be fun to do!!
The following users liked this post:
76CSRvette (11-11-2016)
Old 09-02-2016, 03:59 AM
  #162  
Richard Daugird
Melting Slicks
 
Richard Daugird's Avatar
 
Member Since: Dec 2015
Location: Texas City, TX Texas
Posts: 3,141
Received 717 Likes on 517 Posts
Default

Awesome job on the airbox. I love low or no-buck stuff that looks professional.
The following users liked this post:
76CSRvette (11-11-2016)
Old 11-15-2016, 12:56 PM
  #163  
The Punisher
Melting Slicks
 
The Punisher's Avatar
 
Member Since: Oct 2006
Location: hebron IL
Posts: 2,920
Received 167 Likes on 141 Posts
C3 of Year Finalist (appearance mods) 2019

Default

The following users liked this post:
76CSRvette (11-26-2016)
Old 11-15-2016, 07:27 PM
  #164  
Mooser
Race Director
 
Mooser's Avatar
 
Member Since: Apr 2011
Location: North of Toronto - Ontario
Posts: 10,854
Received 3,136 Likes on 2,069 Posts

Default brake/fuel line clamp removal tool

Sure, why not

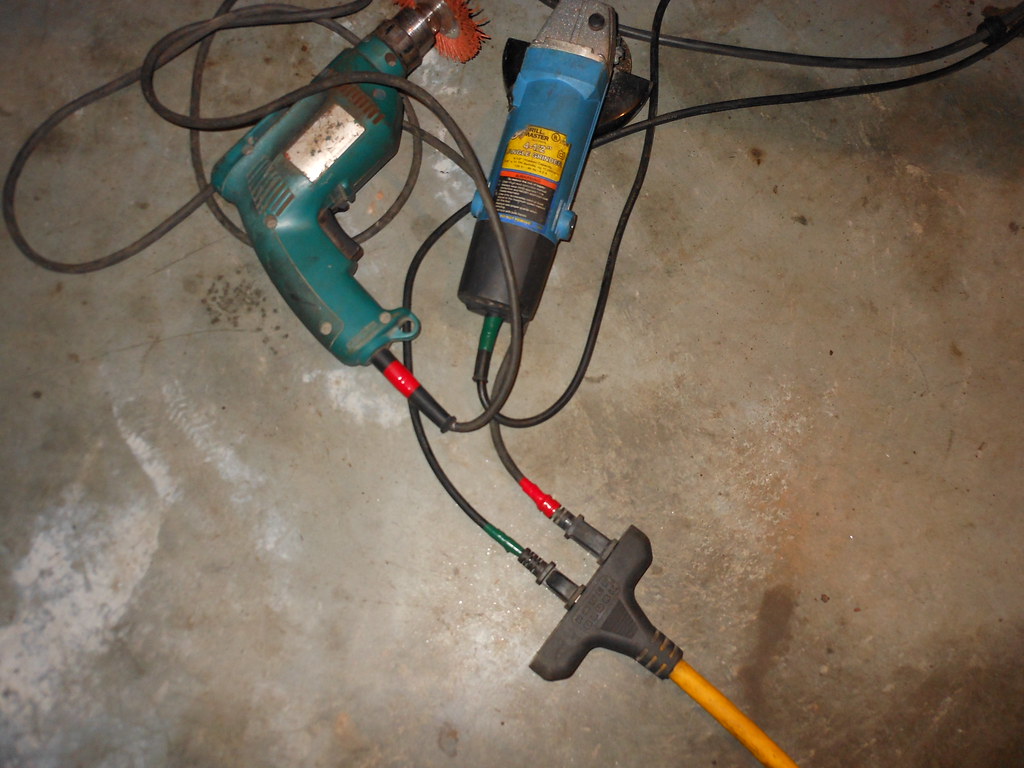
Cut the end off cheapo 1/2" socket and weld it to a strip of metal for a handle


Fits up over the lines and onto the bolts holding the clamps in place while the body is on. some 75 degree drop boxed end wrenchs work but don't get into all spots

M

Last edited by Mooser; 02-19-2018 at 09:07 AM. Reason: photofucket mess
The following 2 users liked this post by Mooser:
76CSRvette (11-26-2016), Majoho (11-20-2016)
Old 11-16-2016, 06:48 PM
  #165  
shok
Racer
 
shok's Avatar
 
Member Since: Aug 2012
Posts: 427
Received 20 Likes on 17 Posts

Default

I need to make one of those for the inner most intake mani bolts
Old 11-16-2016, 10:50 PM
  #166  
Richard454
Le Mans Master
 
Richard454's Avatar
 
Member Since: May 2003
Location: Fernandina Beach FL
Posts: 8,476
Received 3,218 Likes on 1,730 Posts
2023 Restomod of the Year finalist
2020 C3 of the Year Winner - Modified

Default

Got this idea from a friend of mine-

Colored electrical tape- less than $5 at Harbor Freight

Wrap some on the cord at the tool-and then at the end near the plug.

Next time you have several tools running- you'll know which is which with little or no thought!!!

DSCN4144 by Richard Hayes, on Flickr
The following 3 users liked this post by Richard454:
76CSRvette (11-26-2016), Majoho (11-20-2016), Rescue Rogers (11-20-2016)
Old 11-20-2016, 12:12 AM
  #167  
The Punisher
Melting Slicks
 
The Punisher's Avatar
 
Member Since: Oct 2006
Location: hebron IL
Posts: 2,920
Received 167 Likes on 141 Posts
C3 of Year Finalist (appearance mods) 2019

Default

I built a cheap rear speaker box
Measurements 35-3/4 long
7" tall
8.5" deep

Bought scrap shelving lumber from menards $5
Speaker terminals eBay $4
Black carpet from Walmart $8
Spray adhesive $6 walmart


Fits in nice and tight and is low enough for the convertible top
The following 2 users liked this post by The Punisher:
76CSRvette (11-26-2016), Majoho (11-20-2016)
Old 11-20-2016, 07:39 AM
  #168  
oldgto
Safety Car
 
oldgto's Avatar
 
Member Since: Feb 2012
Location: Orlando FL
Posts: 4,705
Received 991 Likes on 485 Posts

Default

Originally Posted by The Punisher
I built a cheap rear speaker box

Fits in nice and tight and is low enough for the convertible top
Beautiful job.... and the Stingray emblem is a nice touch!
The following users liked this post:
76CSRvette (11-26-2016)
Old 03-01-2017, 01:00 PM
  #169  
The Punisher
Melting Slicks
 
The Punisher's Avatar
 
Member Since: Oct 2006
Location: hebron IL
Posts: 2,920
Received 167 Likes on 141 Posts
C3 of Year Finalist (appearance mods) 2019

Default

bump
The following users liked this post:
76CSRvette (05-19-2017)
Old 05-21-2017, 06:12 PM
  #170  
76CSRvette
Burning Brakes
Thread Starter
 
76CSRvette's Avatar
 
Member Since: May 2014
Location: Los Angeles California
Posts: 1,094
Received 16 Likes on 14 Posts
Default Tractor tail ligjts led with ring

Some trailer led lights simple mod bought the tail end connectors for plug and play. Lost my phone with pics of installation and lights on car is still sitting waiting on more minor mods and suspension upgrades.
Attached Images    
Old 05-21-2017, 10:00 PM
  #171  
Danny.reamer
Instructor
 
Danny.reamer's Avatar
 
Member Since: Jan 2015
Location: shreveport Louisiana
Posts: 200
Likes: 0
Received 15 Likes on 8 Posts
Default

Here a couple cheap mods I did a while back
1st is the gas strut instead of the old hood prop. Strut cost about $20 and made the bracket from parts of the old hood prop
2nd I had a courtesy in the back so I took it out and installed the corvette symbol projector from eBay think it was $12. When you open the door it's comes on
Attached Images       

Last edited by Danny.reamer; 05-21-2017 at 10:01 PM.
The following 4 users liked this post by Danny.reamer:
76CSRvette (05-21-2017), docohm (04-18-2021), Jstan2014 (05-21-2019), Stingre' (05-26-2019)
Old 05-21-2017, 10:12 PM
  #172  
76CSRvette
Burning Brakes
Thread Starter
 
76CSRvette's Avatar
 
Member Since: May 2014
Location: Los Angeles California
Posts: 1,094
Received 16 Likes on 14 Posts
Default

Originally Posted by Danny.reamer
Here a couple cheap mods I did a while back
1st is the gas strut instead of the old hood prop. Strut cost about $20 and made the bracket from parts of the old hood prop
2nd I had a courtesy in the back so I took it out and installed the corvette symbol projector from eBay think it was $12. When you open the door it's comes on
Sick
Old 05-22-2017, 05:09 AM
  #173  
AirborneSilva
Melting Slicks
 
AirborneSilva's Avatar
 
Member Since: Aug 2012
Location: Titusville Florida
Posts: 3,487
Received 81 Likes on 68 Posts

Default

Originally Posted by Danny.reamer
Here a couple cheap mods I did a while back
1st is the gas strut instead of the old hood prop. Strut cost about $20 and made the bracket from parts of the old hood prop
2nd I had a courtesy in the back so I took it out and installed the corvette symbol projector from eBay think it was $12. When you open the door it's comes on
Looks great, I have a couple of those courtesy lights for another car that's been sitting for almost a year, I'm not the best at wiring and don't look like it's going to be fun to take the door apart... Good job on yours
The following users liked this post:
76CSRvette (05-23-2017)
Old 05-22-2017, 08:11 AM
  #174  
emccomas
Team Owner
Support Corvetteforum!
 
emccomas's Avatar
 
Member Since: May 2005
Location: Madison - just west of Huntsville AL
Posts: 31,361
Received 1,283 Likes on 732 Posts

Default

WOW! What a creative bunch we have here on the forum.

I think lowbuck72 still has the record. I mean, common, he painted a car with a roller, and it looks great.
The following users liked this post:
76CSRvette (05-23-2017)
Old 01-04-2018, 03:24 AM
  #175  
76CSRvette
Burning Brakes
Thread Starter
 
76CSRvette's Avatar
 
Member Since: May 2014
Location: Los Angeles California
Posts: 1,094
Received 16 Likes on 14 Posts
Default Speakers in kicker panel

https://www.corvetteforum.com/forums/c3-general/3526184-my-81-kickpanel-upgrade-w-kicker-speakers.html
Old 01-08-2018, 02:52 PM
  #176  
Danny.reamer
Instructor
 
Danny.reamer's Avatar
 
Member Since: Jan 2015
Location: shreveport Louisiana
Posts: 200
Likes: 0
Received 15 Likes on 8 Posts
Default

I did this on the underside of my hood. All you need is someone who has a graphic cutting machine and some vinyl. I bought 3m brushed metal vinyl do do this it is a dark reflective vinyl that is heat resistant and made for automotive applications. I wish I knew how to post a video because the picture doesn't do it any justice on how cool it looks. It just looks black in the picture but in a video it shows how at certain angles it almost disappears and at others it pops out.
Attached Images  
The following 3 users liked this post by Danny.reamer:
76CSRvette (01-08-2018), PainfullySlow (01-08-2018), thegavel (01-09-2018)
Old 01-10-2018, 05:17 PM
  #177  
L-46man
Melting Slicks
 
L-46man's Avatar
 
Member Since: Feb 2017
Location: PHX AZ
Posts: 3,235
Received 1,218 Likes on 844 Posts
Default

I don't have pictures taken, but here the procedure.

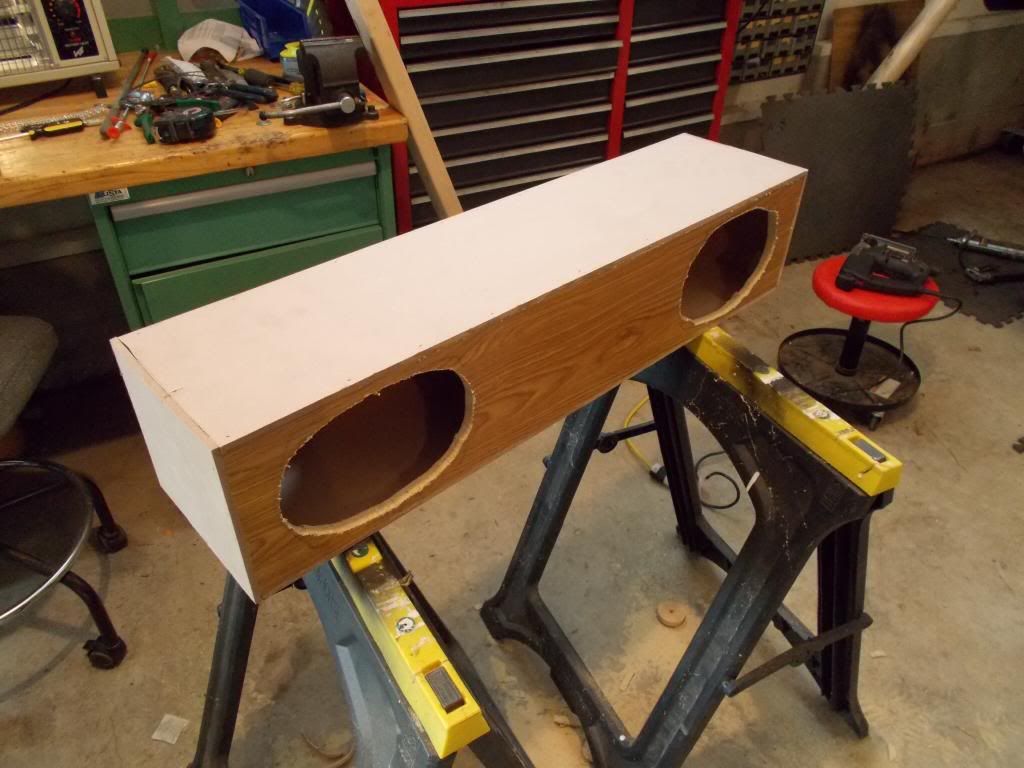
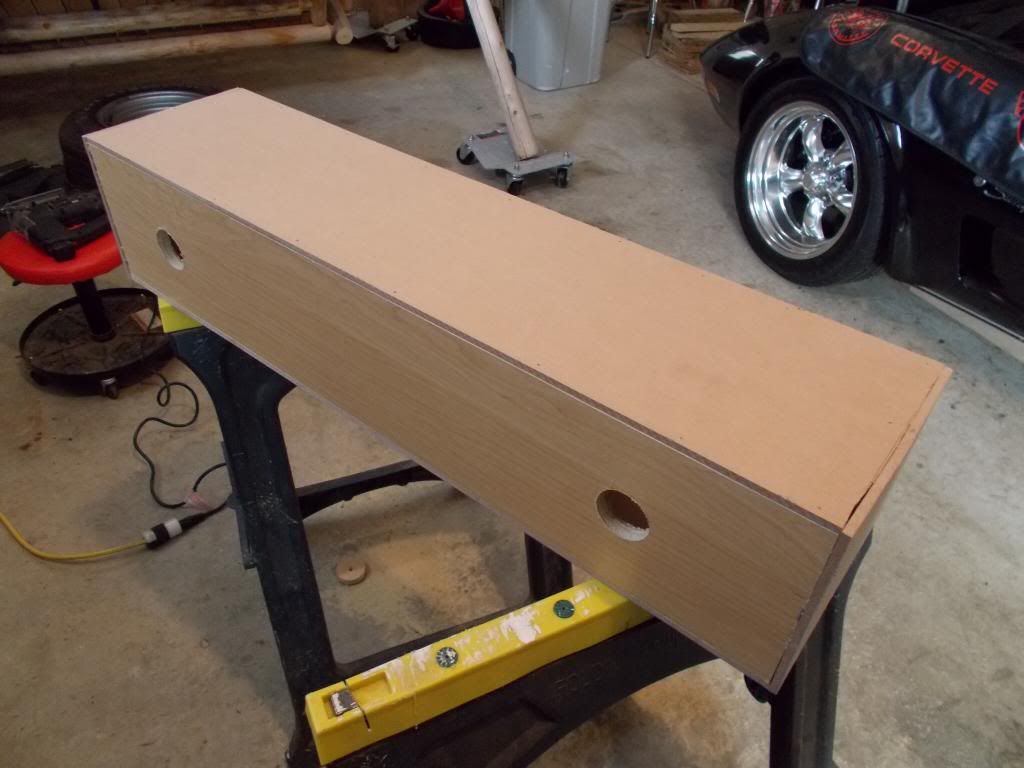
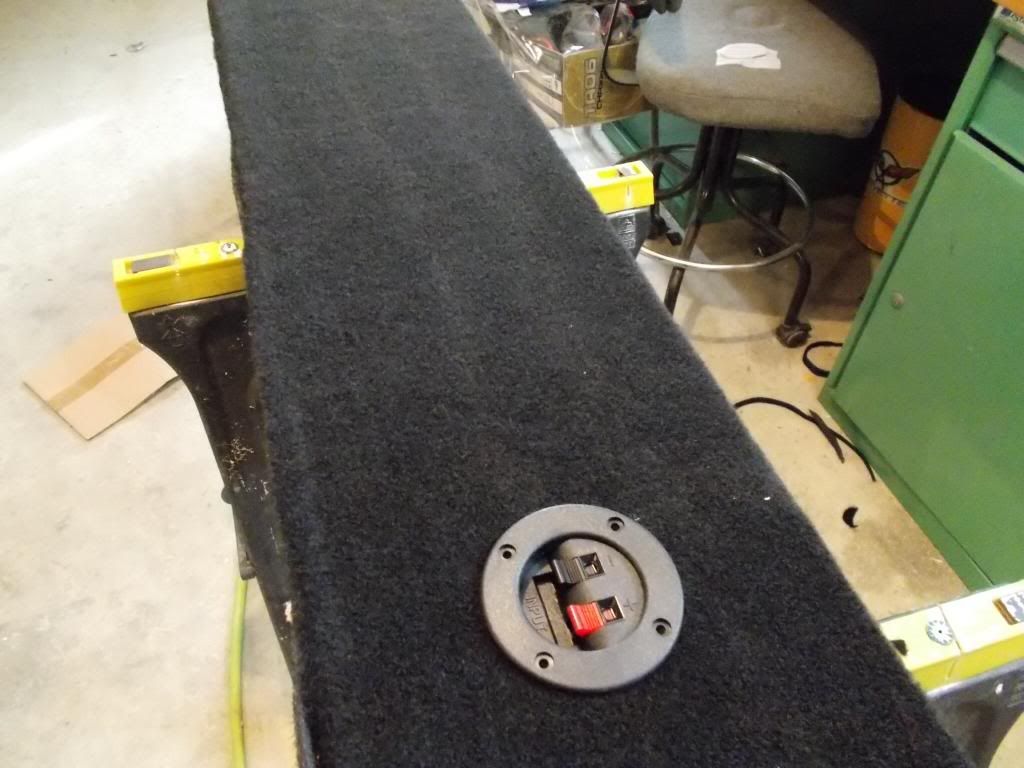
Mission; The speakers in the 82 CE suck so bad, the prior original owner DUCT TAPED the speaker cones!!!!

So I get on Amazon and look for speakers...all four, circa 2017. Fronts were no problem other than having to make a tool to get them out! Rears, Amazon pops up with a 'these speakers don't fit your car! (6x9') to which in my old curmudgeonly way, I say to myself
"what does Amazon know about old corvettes" and order them out of spite! lol

Okay they didn't fit!


But not in the way you think. snort!

Old 6x9's have TINY magnets...new modern speakers have GIGANTIC magnets.
So they would not recess correctly with the Erector-Set brackets (okay I'm old, Deal!) Chevy made for the late model C-3's (apparently a 3:00 am on Christmas Eve by the 'D' team who had no accrued vacation time).
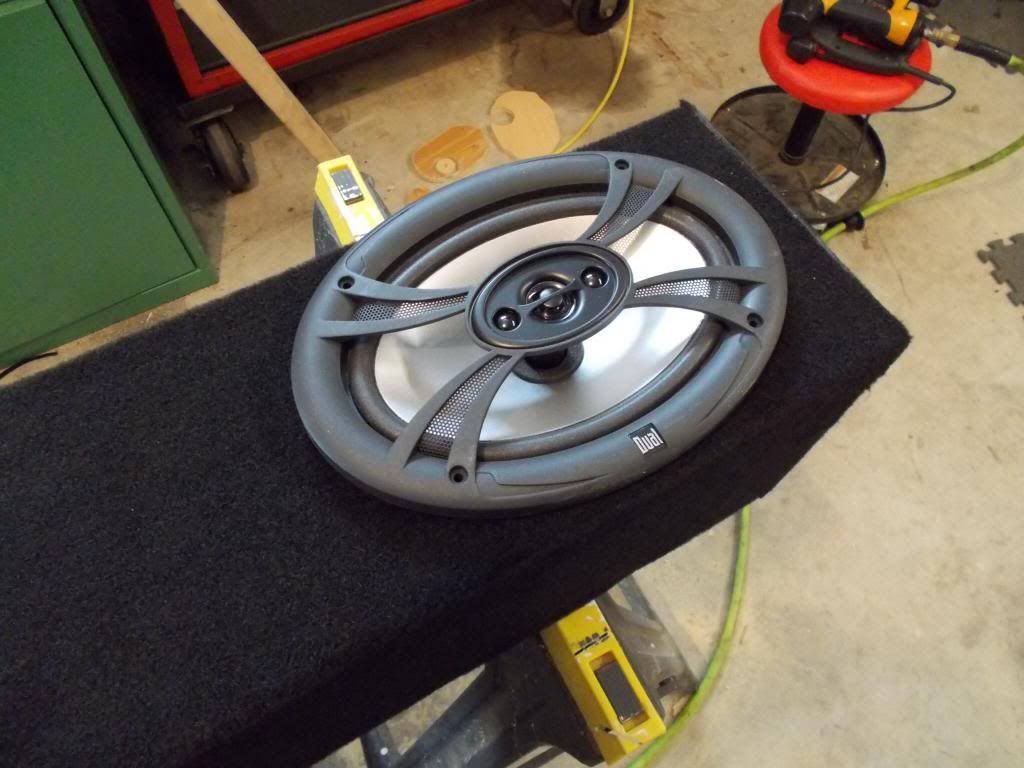
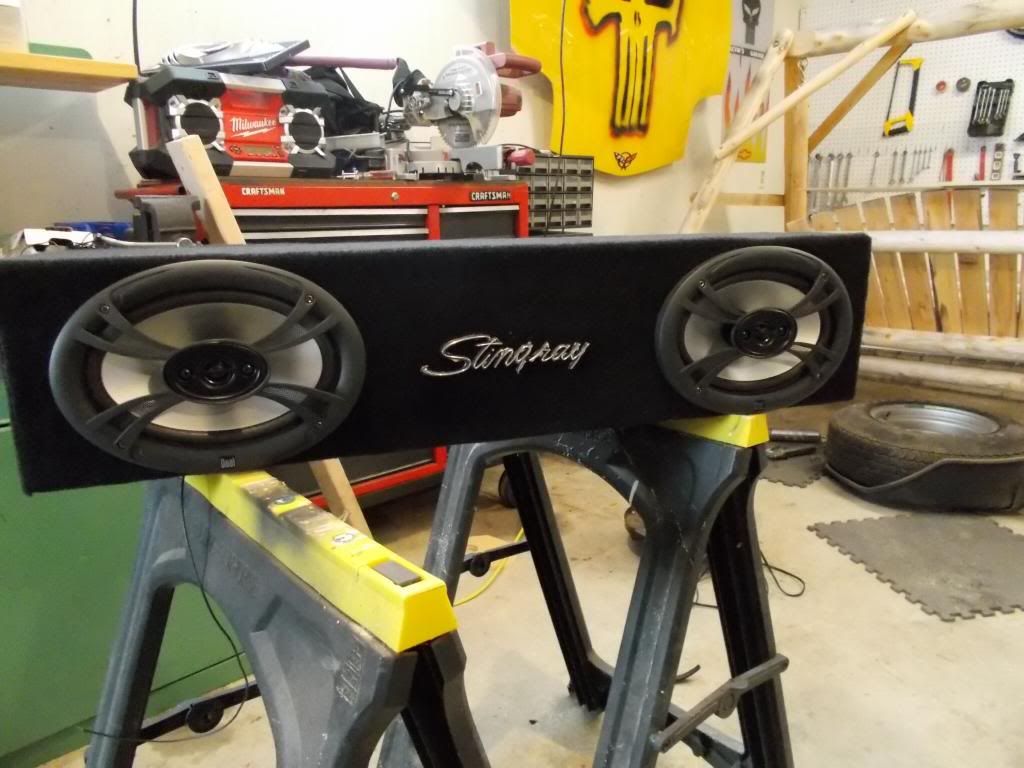
After pondering for a while I mounted the speakers in the GRILLES (they fit perfectly)
Then of course realizing that the huge magnets would not fit into the recessed back corner pockets...SWAPPED THEM. Side to side and rotated 90°. So the left went to the right, etc and then instead of
mounting them as original with the 9" flat/ horizontally so-to speak...I rotated them so they would utilize the hump cut-outs VERTICALLY. I bagged the Erector-Set brackets as not needed. (along with the 'ram-air flapper' that is the 'air obstruction flapper' really).

Upshot, they work, sound and look great...what does AMAZON know! lol.

Last edited by L-46man; 01-10-2018 at 05:29 PM.
The following users liked this post:
76CSRvette (01-10-2018)

Get notified of new replies

To Show us your NO or LOW COST HOME MADE do it yourself stuff C3 CORVEtte

Old 01-10-2018, 07:35 PM
  #178  
Richard454
Le Mans Master
 
Richard454's Avatar
 
Member Since: May 2003
Location: Fernandina Beach FL
Posts: 8,476
Received 3,218 Likes on 1,730 Posts
2023 Restomod of the Year finalist
2020 C3 of the Year Winner - Modified

Default

Since I'm not in the kitchen much, except to eat....I found out about this stuff covering some leftovers in the refridge-

I don't know how much it cost- but somehow I paid for it...

Quick Google search about $6-7 for 140sq/ft

It works GREAT for sealing all sorts of stuff.

I was cutting and soldering wires around my open intakes - needed something to seal them up.

Much easier than tape!!!

When you put pressure on it- the adhesive is activated-just rubbing it down with your hand and it holds well. When you peal it up- no residue.

Looks like it would be absolutely great to cover surrounding places you don't want paint over-spray...

Or scraping gadget material off and keep it out of the engine...

Or how about running a buffer and want to keep the spray from windows- tires- trim- you name it.

Another thought- at the drag strip to cover the quarters for easy rubber removal...


The following 2 users liked this post by Richard454:
76CSRvette (01-10-2018), Rescue Rogers (02-02-2018)
Old 02-02-2018, 05:52 PM
  #179  
76CSRvette
Burning Brakes
Thread Starter
 
76CSRvette's Avatar
 
Member Since: May 2014
Location: Los Angeles California
Posts: 1,094
Received 16 Likes on 14 Posts
Default

Originally Posted by Richard454
Since I'm not in the kitchen much, except to eat....I found out about this stuff covering some leftovers in the refridge-

I don't know how much it cost- but somehow I paid for it...

Quick Google search about $6-7 for 140sq/ft

It works GREAT for sealing all sorts of stuff.

I was cutting and soldering wires around my open intakes - needed something to seal them up.

Much easier than tape!!!

When you put pressure on it- the adhesive is activated-just rubbing it down with your hand and it holds well. When you peal it up- no residue.

Looks like it would be absolutely great to cover surrounding places you don't want paint over-spray...

Or scraping gadget material off and keep it out of the engine...

Or how about running a buffer and want to keep the spray from windows- tires- trim- you name it.

Another thought- at the drag strip to cover the quarters for easy rubber removal...


Definitely should come in handy
Old 02-02-2018, 05:55 PM
  #180  
flyeri
Drifting
 
flyeri's Avatar
 
Member Since: Mar 2011
Location: Kernersville NC
Posts: 1,338
Received 118 Likes on 103 Posts

Default

Originally Posted by Mick71
I cut a piece of wood a little thicker than the rotor to fit between the brake pads to make caliper installation a lot easier. Spread the pads, insert wood between them, then slide the caliper on and the wood comes out the top. Easy peasy and zero cost.
I just did this and used a socket that was 1.25" tall. Got the idea right here.


Quick Reply: Show us your NO or LOW COST HOME MADE do it yourself stuff C3 CORVEtte


All times are GMT -4. The time now is 06:45 PM.