When you click on links to various merchants on this site and make a purchase, this can result in this site earning a commission. Affiliate programs and affiliations include, but are not limited to, the eBay Partner Network.
My rear suspension is almost done. I got a fiberglass spring I must now fit to it. It requires a spacer, but I'm going to have to make one. Not a problem.
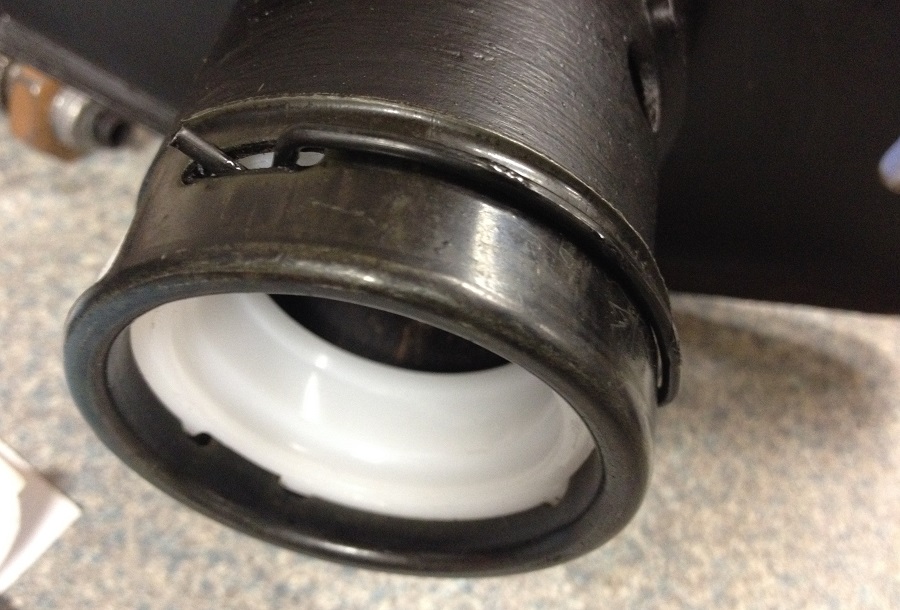
My steering column's main shaft bearing was ready to be replaced, as were the retainers and clip. Prices for these pieces could've easily exceeded $100 for everything if purchased from Corvette vendors. However, some research led me to a kit that also works on Jeep steering columns (go figure), and for $23.95 from Amazon.com I knew that if it didn't work I could return it for free and for a full refund. Well, it did work and proves that doing a little bit of research can save you money.
By the way, they also sell a steering column rack kit that includes bearings, rack, sector gear and spring which looks like it would also work for C3s. I did not purchase that one so I cannot say that it would work, but it sure looks like it should.
Reassembly of the steering column is one of those jobs that�at least for me�takes a few tries. What I mean by that is that I reassemble one component only to take it apart again a few minutes later after realizing that I forgot to install a part. It can be frustrating, but after a while you sort of get really good at steering column reassembly.
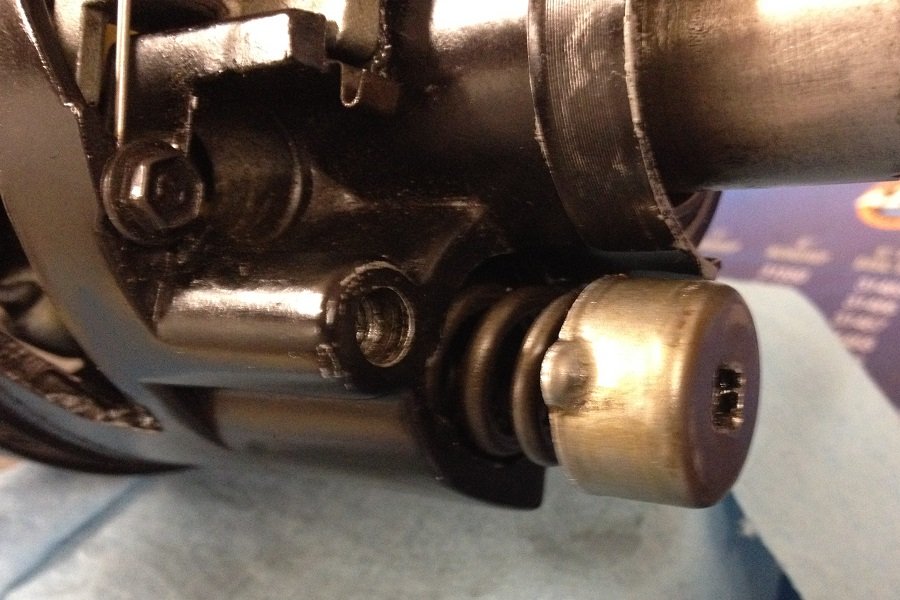
I did get a set of reverse-Torx sockets from Harbor Freight Tools, in order to properly tighten the four bolts that secure the lower housing in place. I used red Loctite to make sure they'll stay put. Thankfully red Loctite does not dry fast as this allowed me to remove the whole shebang since I'd forgotten to install the key release lever.
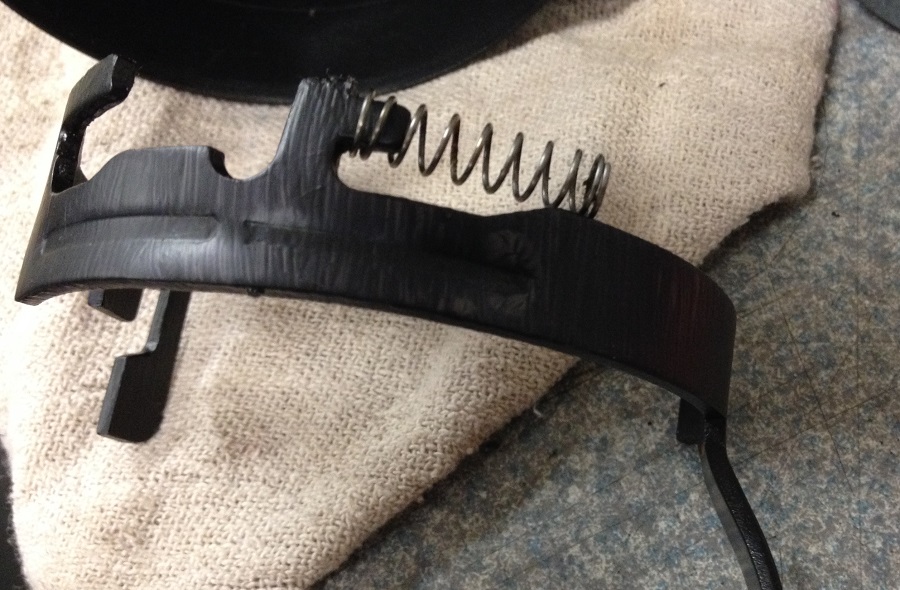
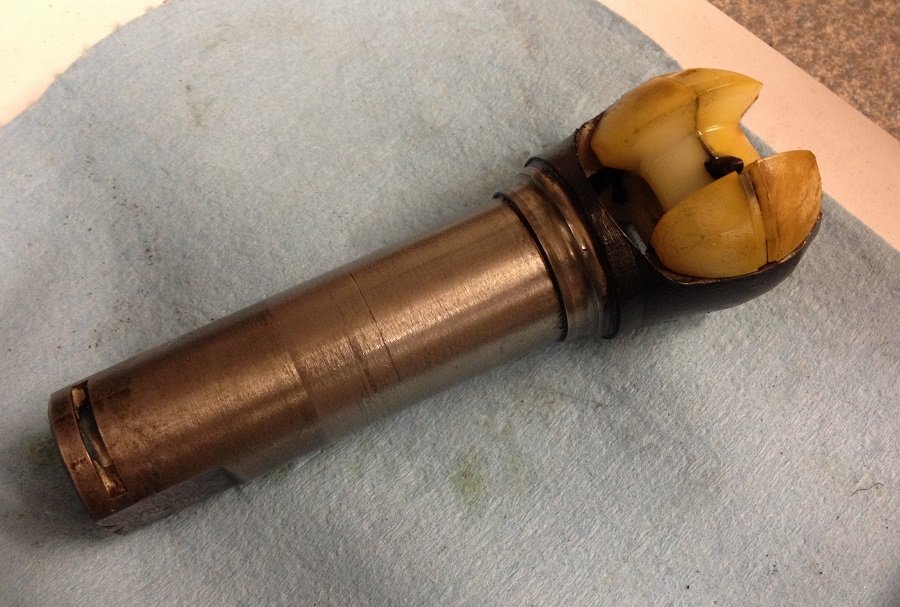
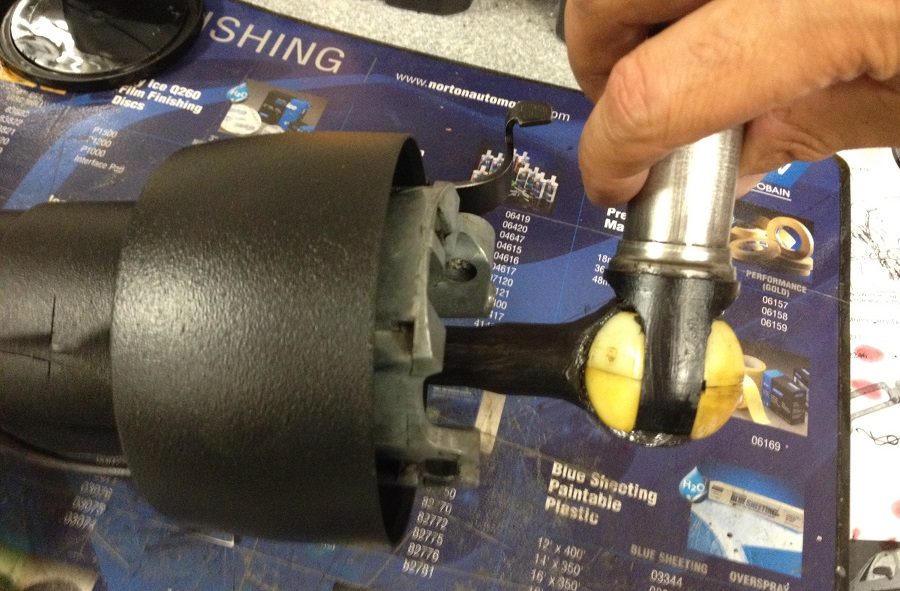
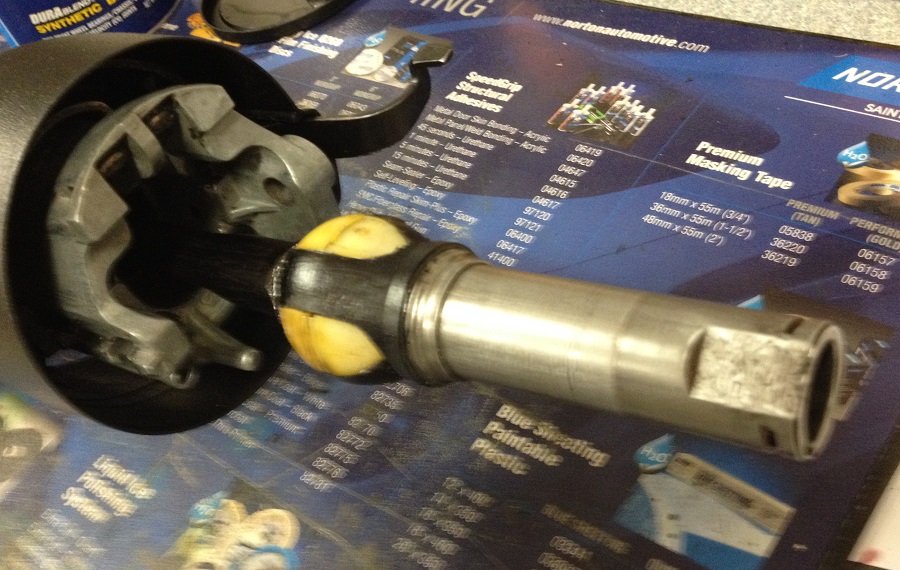
I then put the tilt ball joint back together and in the stub shaft, then reattached the stub shaft/ball joint to the main shaft.
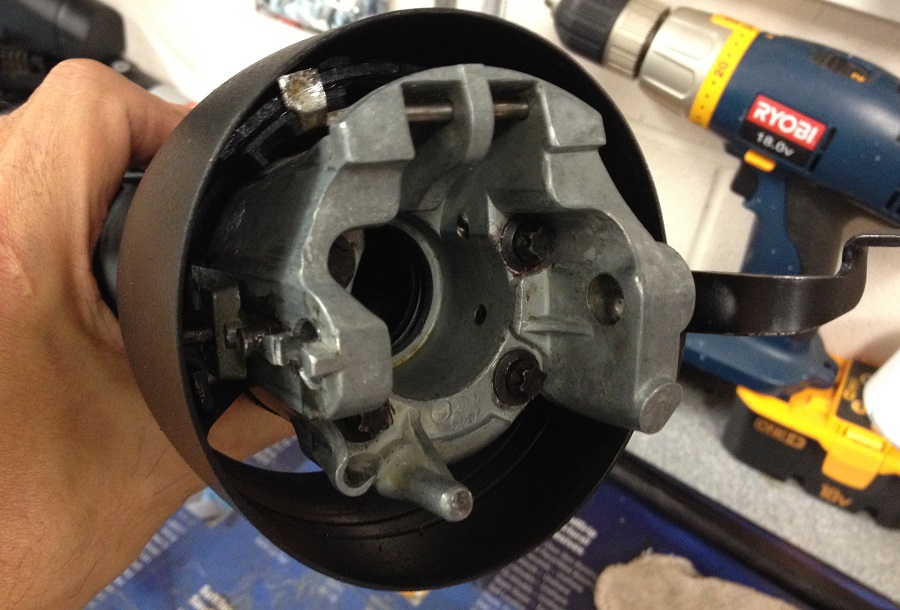
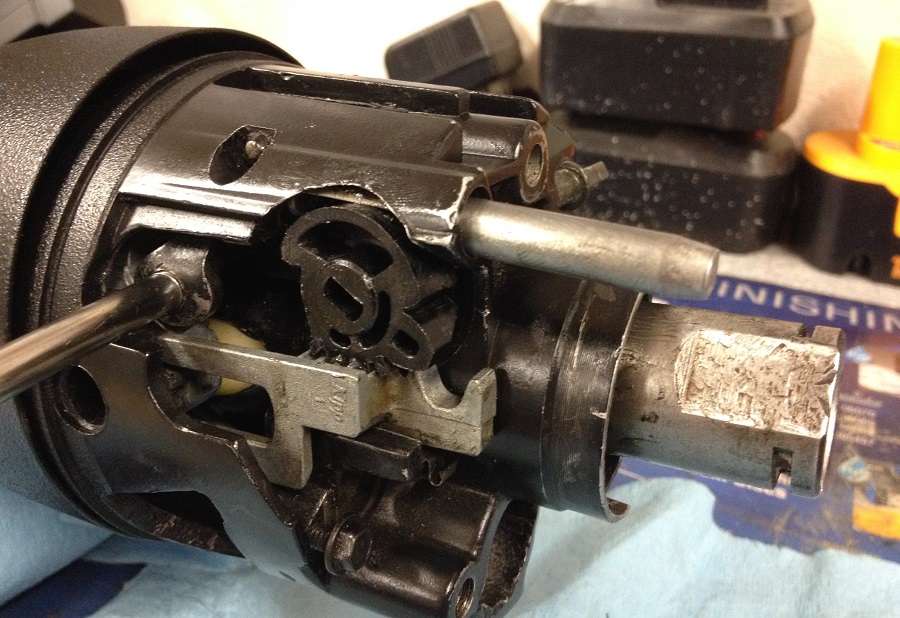
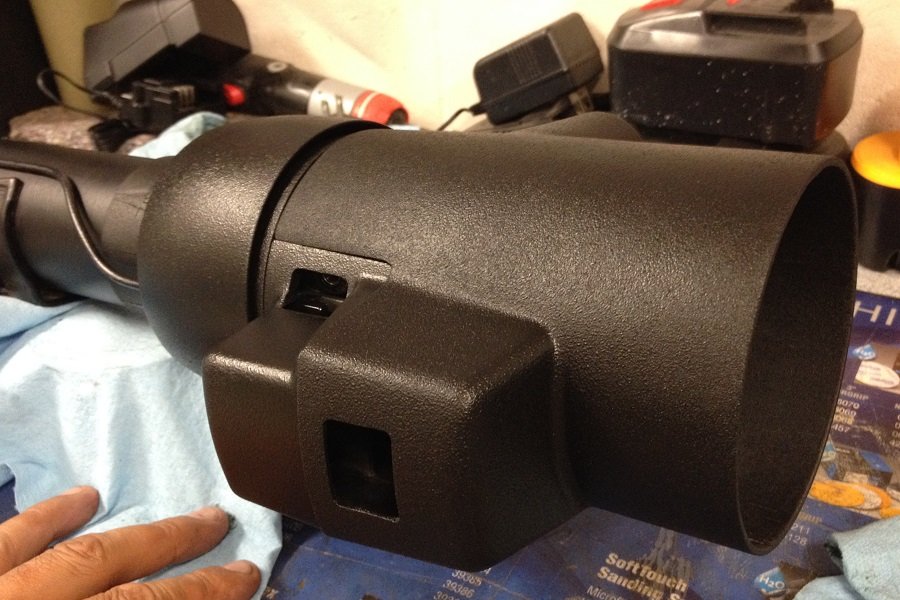
I reattached the upper housing after doing more of the attach-remove-install more parts-repeat, etc., a couple of times. I got so good at doing this I can now reinstall the upper housing/tilt mechanism with no hands!
But seriously, if you ever rebuild a T&T steering column you'll realize that reinstalling the upper housing requires you to use one hand to hold the steering column jacket, while your other hand pushes the upper housing, then your third hand pulls the tilt lever while your fourth hand snaps a picture of the operation.
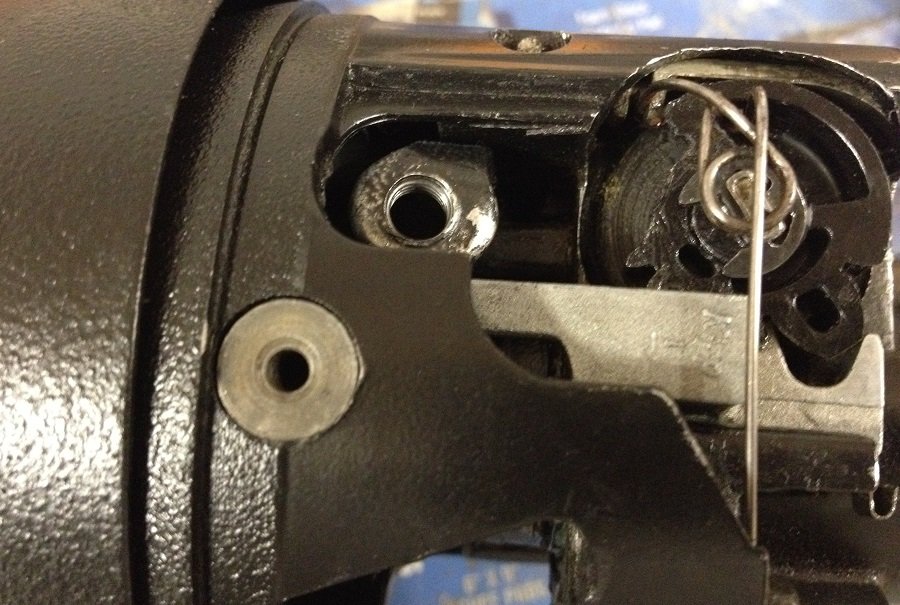
After making sure that I had everything in place and in working order, I reinstalled the two pivot pins. Just make sure that everything�and by everything I mean the rack, sector gear, ignition cylinder cross shaft, spring, steering wheel lock pin, etc.�works properly.
I then reinstalled the tilt mechanism (aligning pin, spring and cap). You will need a bigass (#3) phillips screwdriver to secure it in place. I had to prop the column on the floor in order to be able to exert enough pressure for the spring to compress so I could turn and lock the cap in place.
I also temporarily installed a couple of cover pieces to see how they looked.
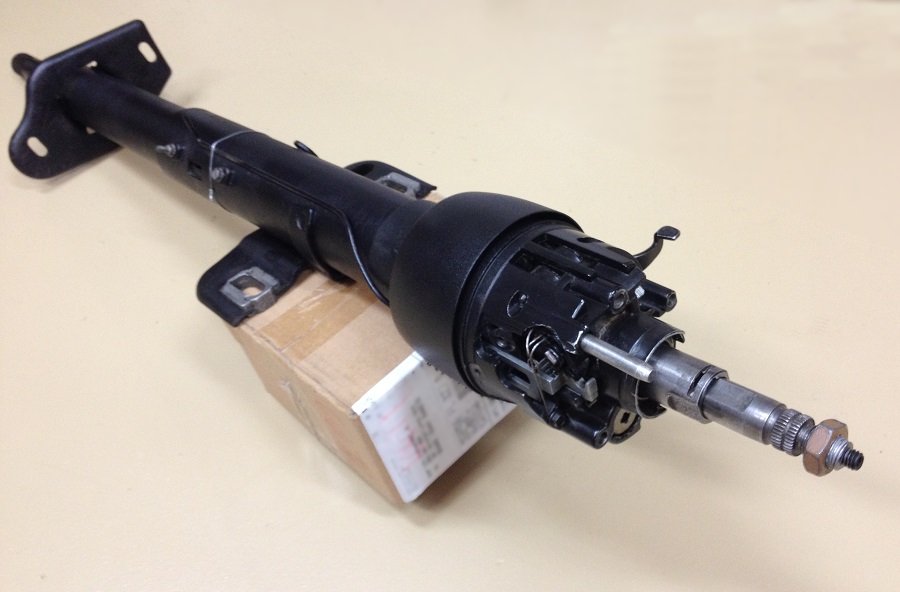
And here's my rebuilt '78 steering column so far. It's been an interesting journey up to this point and I hope I will get it to work properly in my car, as it sure looks good and I would love to be able to get the steering wheel closer to the dashboard.
And here's my rebuilt '78 steering column so far..........I would love to be able to get the steering wheel closer to the dashboard.
It is possible to "raise" the steering column another inch, which would give another two inches "rise" at the steering wheel.......which helped me enter/exit the car with no problem.
BUT.......the under-dash mounting bracket would no longer be original.
Now - you have tilt...that might be a problem w/ fitment. I need to go look at my 73 and check it out.
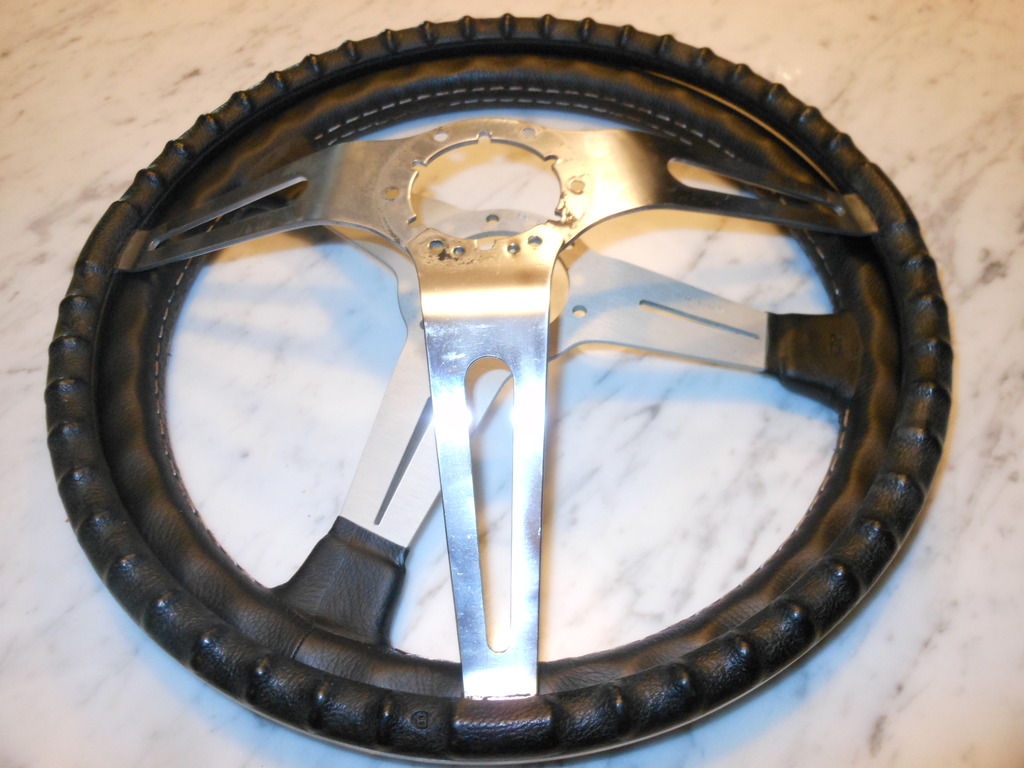
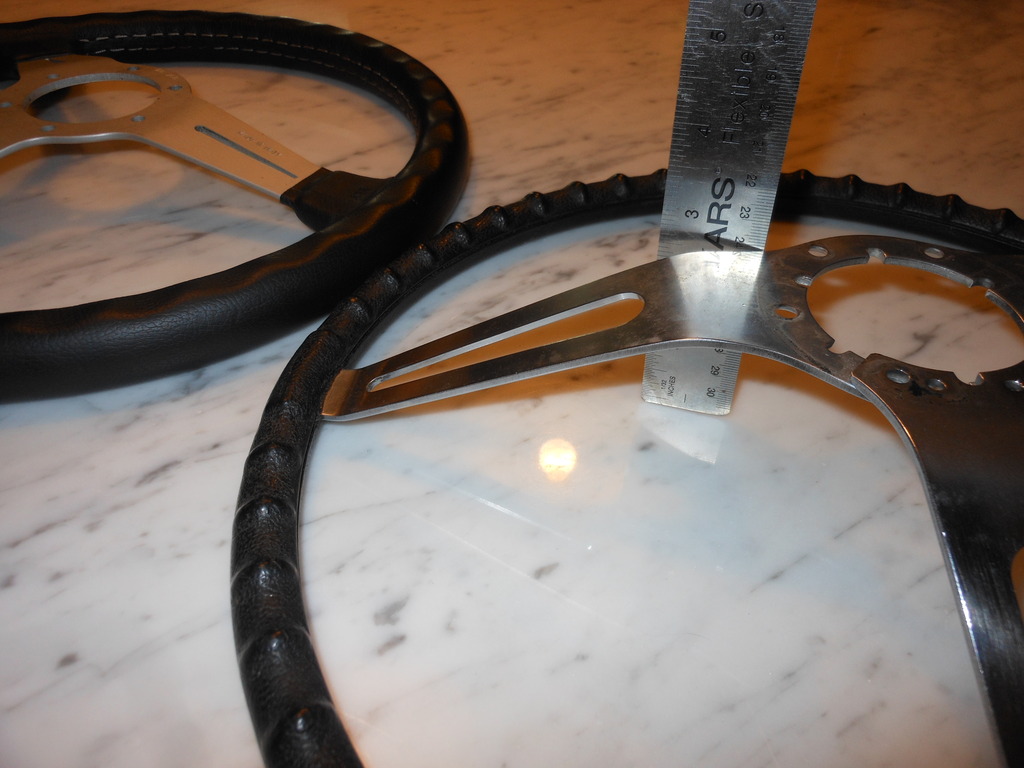
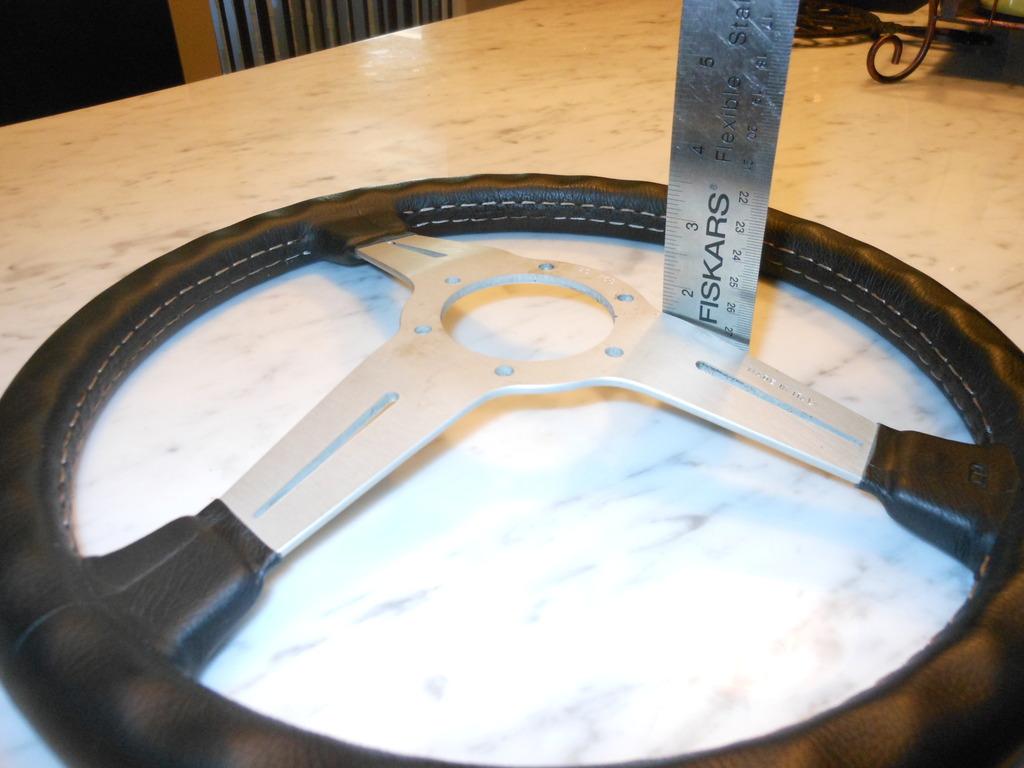
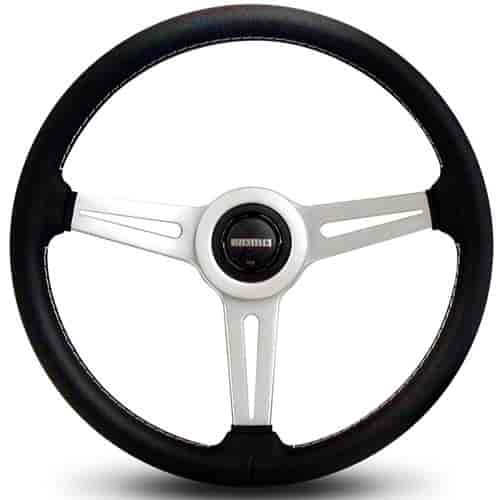
Nardi uses a 74mm PCD (Pitch Circle Diameter) w/ 6 bolts and the Corvette uses 2.75"" (70mm) PCD 6 bolt. That just happens to be the same as MOMO uses.No adapter required.
I'm going to use a Nardi to MOMO billet adapter (under $30) and mod the horn button mount so I can use the original button.
So- looks like a simple bolt on would be a MOMO- here's one that is similar- and not that pricey.
Be careful w/ eBay- There are dozens of TOTALLY bogus cheap fakes that are actually dangerous - sold everyday there!!!
It is possible to "raise" the steering column another inch, which would give another two inches "rise" at the steering wheel.......which helped me enter/exit the car with no problem.
BUT.......the under-dash mounting bracket would no longer be original.
After all that trunk work, you're worried about original?
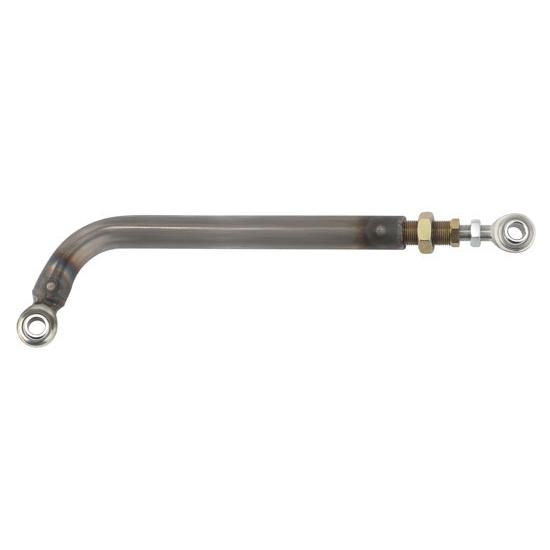
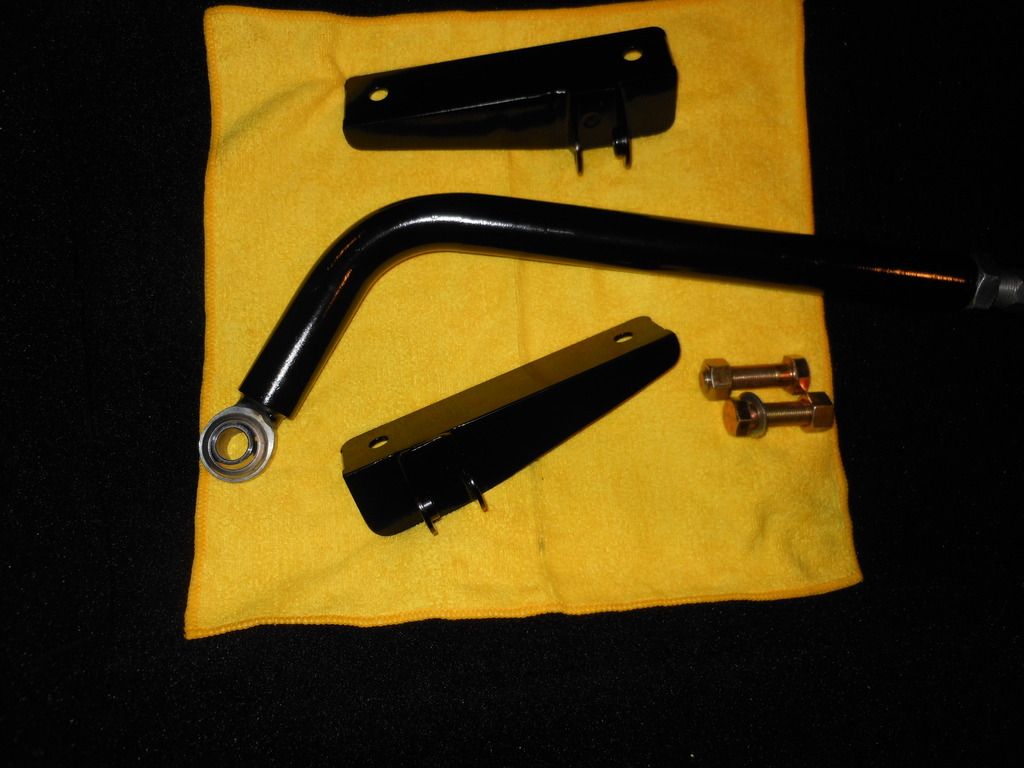
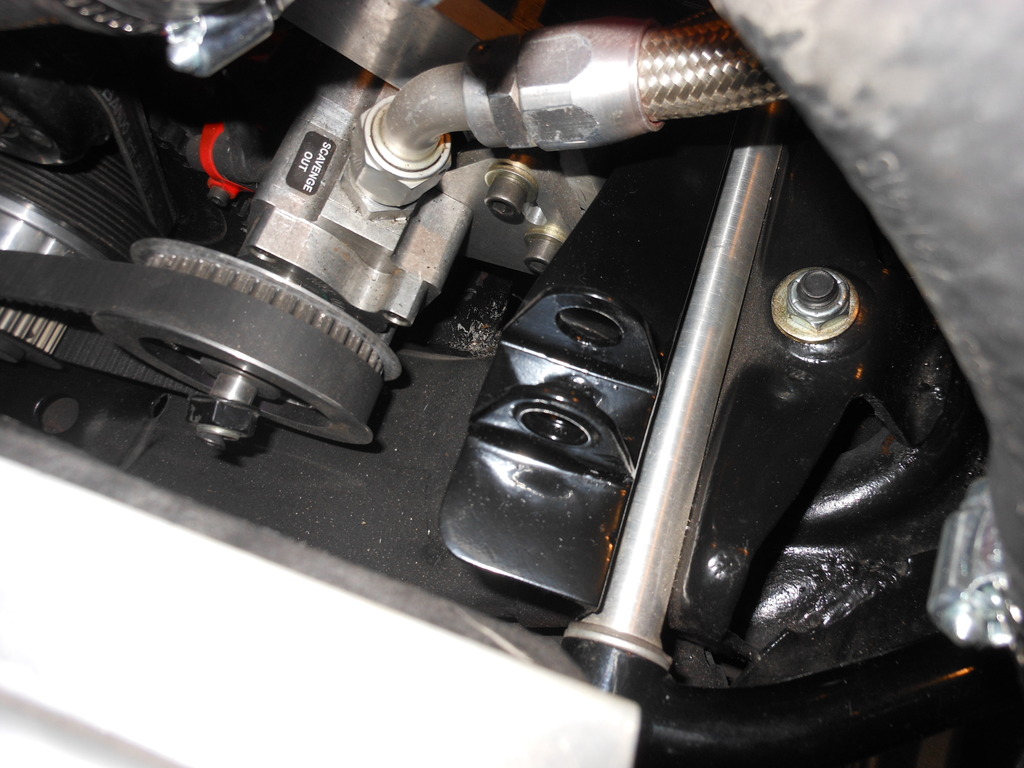
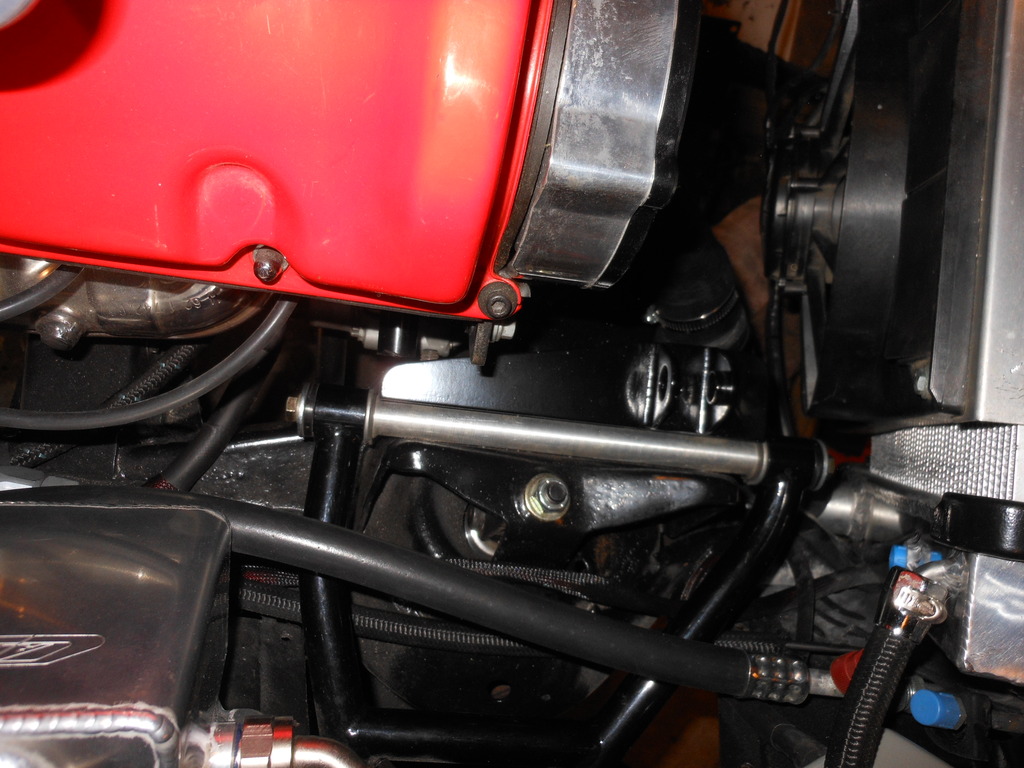
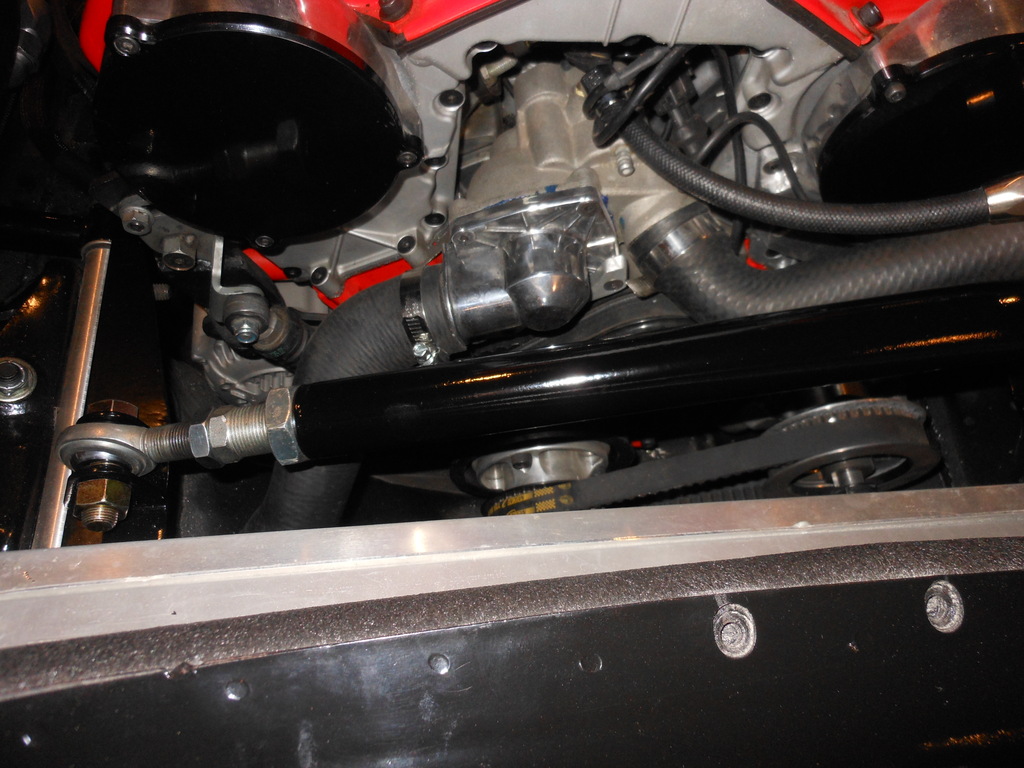
I had to clear my Dry Sump Pump- So my solution was to use a Chromoly Adjustable Panhard Bar w/ 5-1/2 Inch Bend -a couple of mounts and a few feet of 2" angle iron
Speedway motors had it on their Garage Sale $50
Prettied up w/ some black paint...cut the angle iron- made it look a little better and welded on the mounts
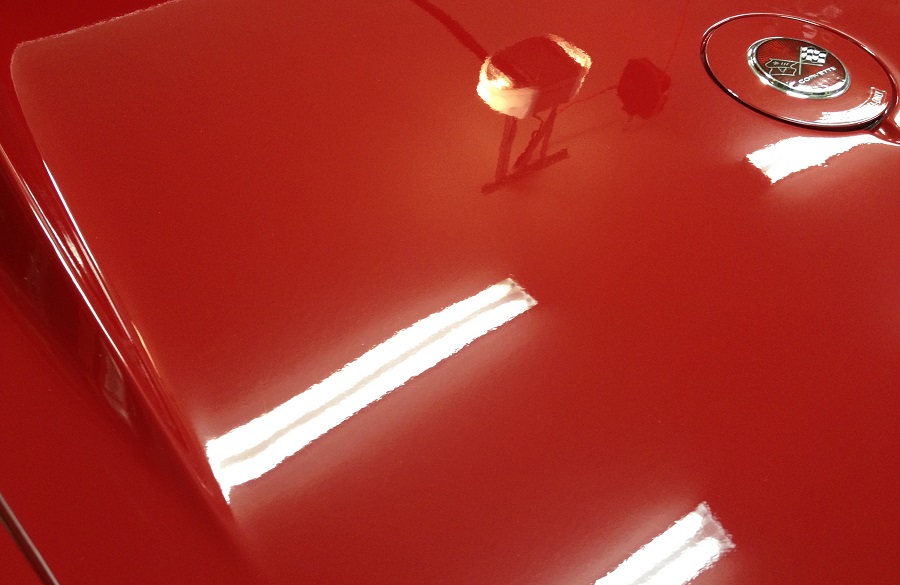
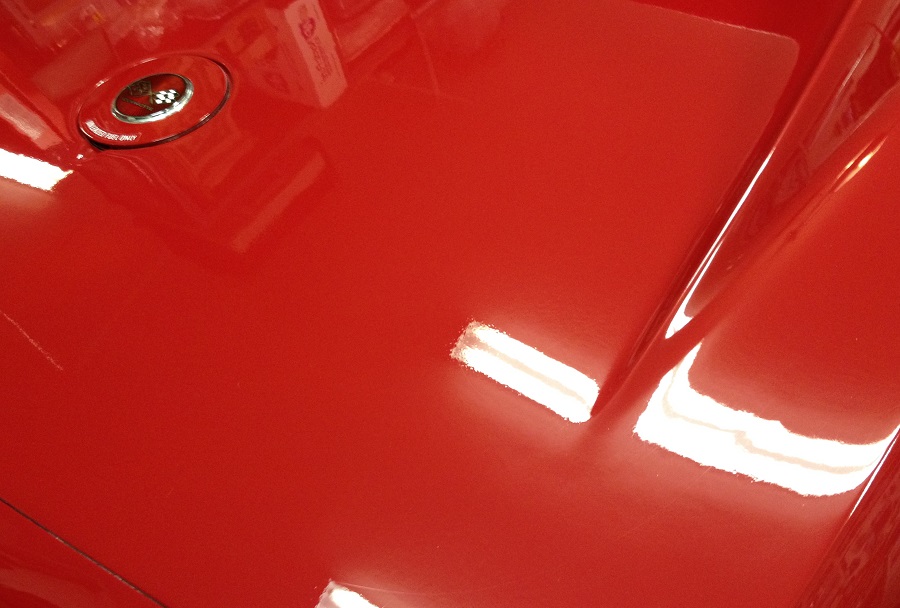
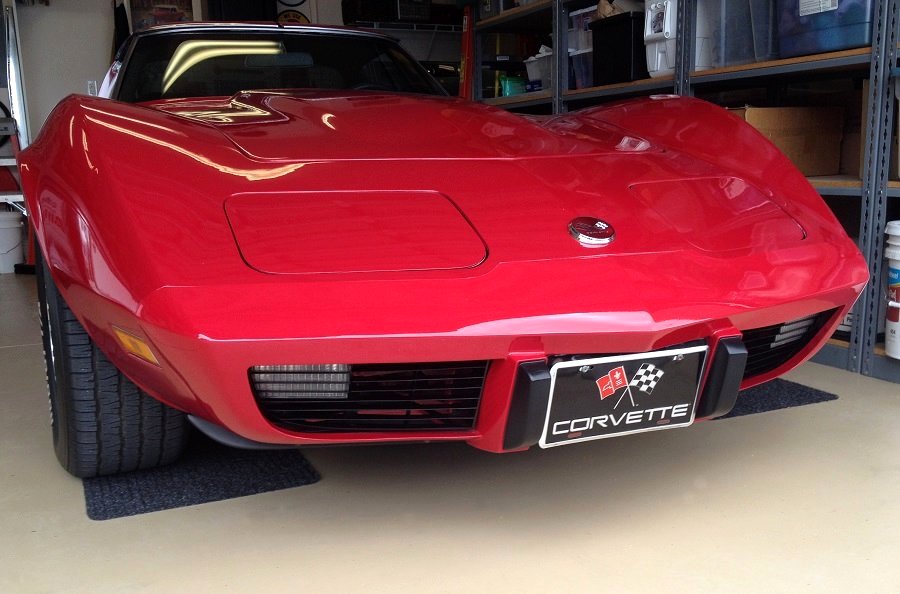
Since I am planning to take the Vette to a car show tomorrow morning, I polished the whole car with my Adam's Cyclo. First I used paint correcting polish (to eliminate swirl marks), then used Adam's Paint Finishing, with a final coat of liquid carnuba wax.
My car's paint is far from perfect and�as far as I can tell�the previous owner got a budget paint job about 10 years ago. It looks okay, but I would like to have the car repainted properly in the future.
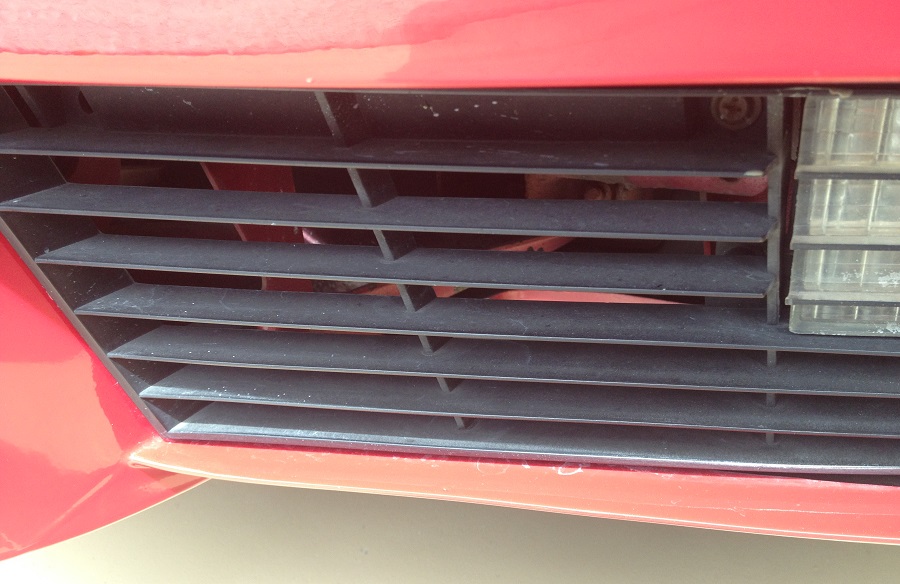
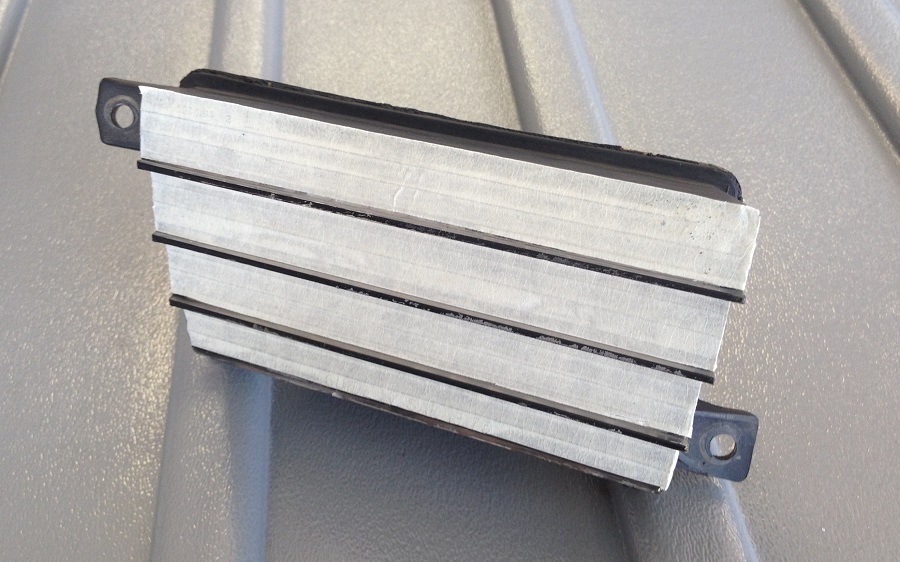
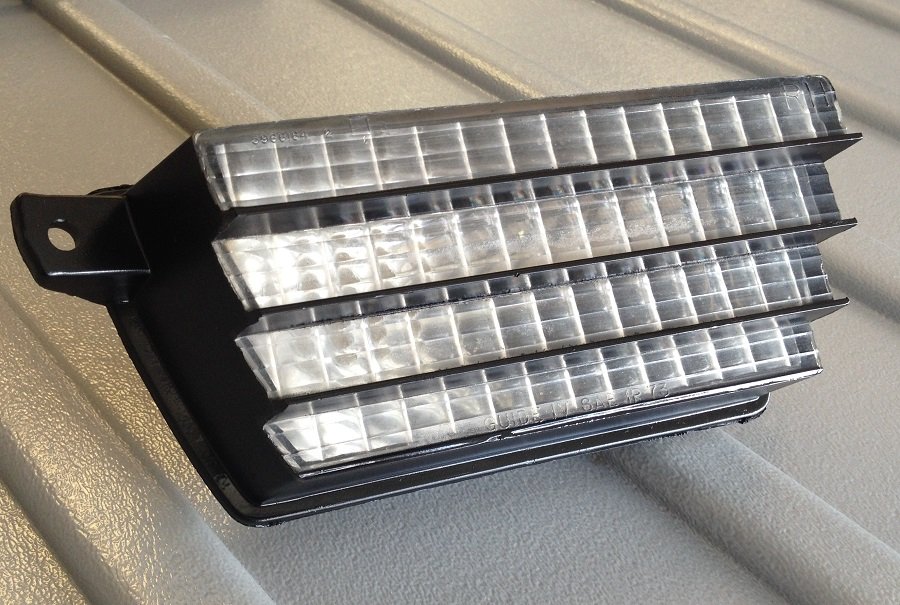
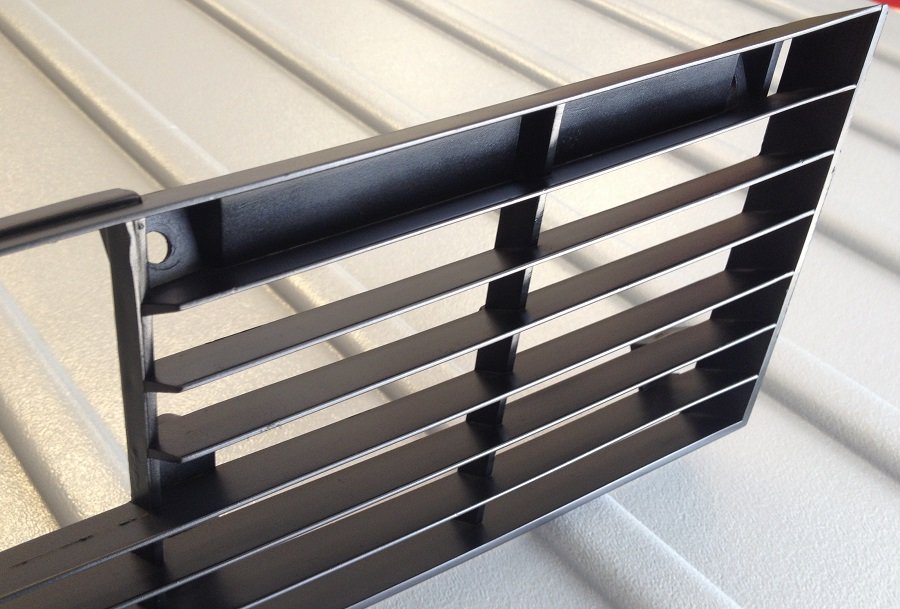
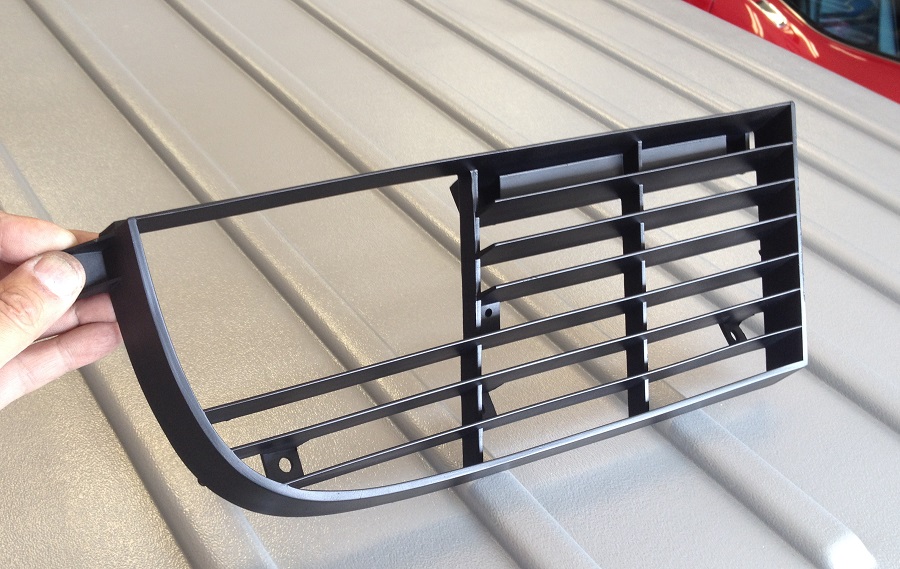
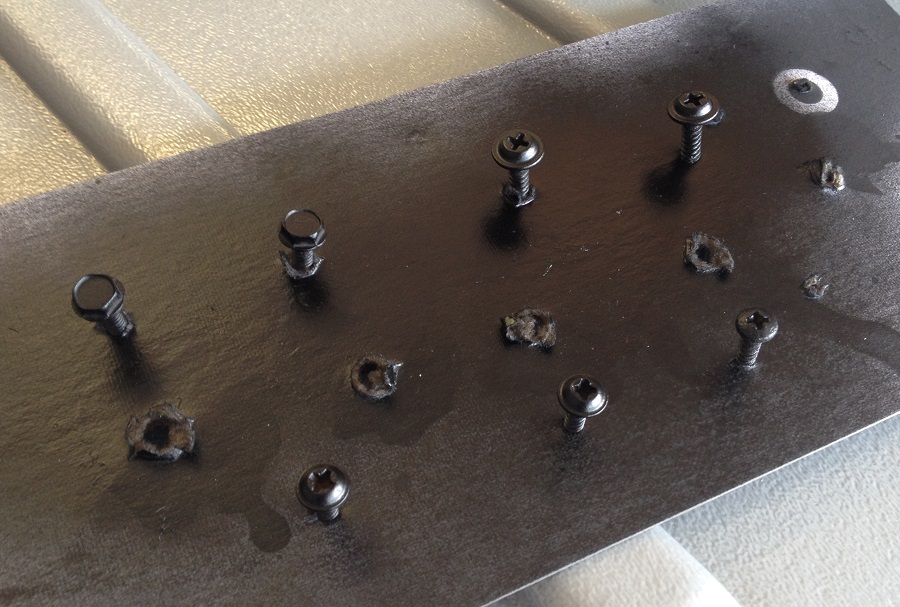
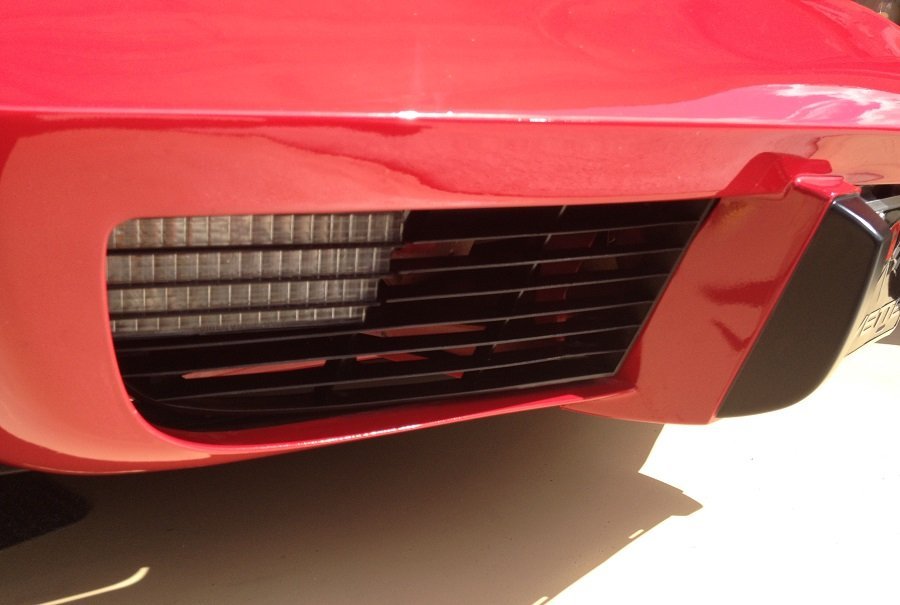
I then decided to take the grilles off the car since they looked tired. I prepped and repainted them. I also detailed the turn signal lenses.
Before:
During:
After:
Then the rims looked like they could use some polishing, so I did that, too.
I finally received my assembly manual but after a brief conversation with vb&p my composite spring is delayed for 6-8 weeks!! i wish i was aware of this but from what I've read is that it will be worth the wait.
Since I am planning to take the Vette to a car show tomorrow morning, I polished the whole car with my Adam's Cyclo. First I used paint correcting polish (to eliminate swirl marks), then used Adam's Paint Finishing, with a final coat of liquid carnuba wax.
My car's paint is far from perfect and�as far as I can tell�the previous owner got a budget paint job about 10 years ago. It looks okay, but I would like to have the car repainted properly in the future.
I then decided to take the grilles off the car since they looked tired. I prepped and repainted them. I also detailed the turn signal lenses.
Before:
During:
After:
Then the rims looked like they could use some polishing, so I did that, too.
I wish my paint looked that good.....
Finally took it out for a drive after all the recent work, put some 110 octane in it, grrr at $7.25 a gallon.... runs great though.
on my 72 I bought a few weeks ago, I lined up and adjusted the passenger door, new altenator , master cylinder, calipers, rotors, brake lines. put in a complete exhaust system with ceramic coated headers., new hei distributer, plugs, ceramic coated wires, valve covers and a new dual snorkel air cleaner. all new vacuum lines, actuaters and switches for head lights and wipers, but most of my week was spent on trying to align that stupid *** wiper door. finally had to take a break from that thing !!! what little hair I did have is now completely gone.

 02-17-2016, 09:06 PM