When you click on links to various merchants on this site and make a purchase, this can result in this site earning a commission. Affiliate programs and affiliations include, but are not limited to, the eBay Partner Network.
I too bought a similar looking new Tremec 600 for my 69 and I got a new rear mount piece from American powertrain which bolted straight on my crossmember . I had to cut a fair bit away from under the output shaft to get it to sit at the right angle for the drive shaft .
I think what's there and needs to come off is used to mount it in a Mustang? .
I had to offset the shifter myself to get it to come out the floor in the right area, which involved cutting a bigger hole in the floor to allow the homemade offset piece clearance as well. Maybe my trans tunnel was sagging a bit I'm not sure
I too bought a similar looking new Tremec 600 for my 69 and I got a new rear mount piece from American powertrain which bolted straight on my crossmember . I had to cut a fair bit away from under the output shaft to get it to sit at the right angle for the drive shaft .
Unfortunately the way the mount is on the automatic it's to far forward and hits the trans so it has to be cut off and shortened. The other option is to purchase a new cross member for this application, but I would rather save the money by modifying the one I have. Trying to stay within the budget so the savings is needed. e.
I think what's there and needs to come off is used to mount it in a Mustang? .
Tremec says they are for accessory brackets, not sure what that means. I was thinking of using them to mount mine, but it sits way to high to do that.
I had to offset the shifter myself to get it to come out the floor in the right area, which involved cutting a bigger hole in the floor to allow the homemade offset piece clearance as well. Maybe my trans tunnel was sagging a bit I'm not sure
From what I have read, it needs to go back 2 1/2" and to the left (drivers side) 2 1/2", so we will start there when we mod the shifter location. I know it's going to be snug, but maybe the earlier C3's had different tunnel dimensions? Either way we will be cutting out a nice size hole to have good access, and will make a cover to cover the hole when done. I saw a nice write up in this, and will reference it when i get to that point.
From what I have read, it needs to go back 2 1/2" and to the left (drivers side) 2 1/2", so we will start there when we mod the shifter location. I know it's going to be snug, but maybe the earlier C3's had different tunnel dimensions? Either way we will be cutting out a nice size hole to have good access, and will make a cover to cover the hole when done. I saw a nice write up in this, and will reference it when i get to that point.
Thanks for the tips.....
mine was a 4 speed manual originally so it had the big hole in the tunnel b ut I needed to cut a round hole so the raised tremec shift fork area could sit up . As for your crossmember, I wouldnt bother swapping it out , unless you want to run twin exhaust under there. Do you have access to an oxy set ? If so you could bend up a steel plate for a gbox mount yourself !
Sorry for not posting lately. I pretty much gave up because the speed of my DSL dropped down below 1mbps and it just couldn't run this site. Luckily this past week they ran cable down my road, so now I have 110mbps, so no more problems with posting to the site.
I spent the last 4 months working on the house getting it ready to put on the market, and so all of that work is done. I can now concentrate on the car for the rest of the summer, unless we find a house to relocate to then we may not get the entire summer to work on it. But for now it's full speed ahead!
Even with all the house projects I still managed to make some progress on the car, I finished up the transmission install and set the body back on the frame. But because of a couple of minor issues the body is coming back off. I have to remove the trans to, because I was sent the wrong clutch fork. Since the car was originally an automatic I didn't know what it should look like. I trusted I was purchasing the right one since it said it would fit an 81 model Corvette. I figured it out when I was installing the rest of the linkage. Oh well, it's easier now having just put the body back on, easy to take off.
Here are a couple of pics, one of the wiper area and one of the interior that is now painted. I also threw in one taken for the back of the car. I would post more, but I haven't been taking any pictures since I couldn't post them. I will go back and take more pics of the progress so we can get everyone caught up. More to come later.
welcome back ! the cars looking good , looking forward to seeing more of it
Thanks bazza77, good to be back!
Here's another pic this one of the tires I purchased back in December. I decided to go with the Cooper tires in a 255/60/15 on all four corners. I am still planning on painting the rims black between the polished vanes. We will save that until the end, that way they will look fresh and clean. Enjoy!
Great thread!
I was particularly interested in your body work from an older post. Last winter I had my '81 striped for repaint. It turns out the filler used to fill in the panels caused the paint to crack, just like what you found on your 81, I think. I was wondering if there were others that had encountered this problem...
I decided to have the old filler ground out and replaced with modern quality product so the cracks in the paint would not reappear years later.
PeterC3 - I agree on the filler and you made the right call by removing all of the it from your car. I'm not sure if it's inferior product or inferior work. I don't know how yours was but this seems to be softer than normal plastic filler. It comes off quite easy and just doesn't seem like it ever cured properly. Either way we are doing the same here, removing it all and starting from scratch.
Rescue Rogers - thanks, I appreciate the compliment on the wheel/tire setup. I originally wanted to go with 17's or 18's but it just wasn't in the budget. Too much money needed elsewhere. I think the cyclone/turbine wheels look really good on a Vette and I like the fact that they are period correct for the car. I can't wait until I can get some black paint on them to make them look even better!
PeterC3 - I agree on the filler and you made the right call by removing all of the it from your car. I'm not sure if it's inferior product or inferior work. I don't know how yours was but this seems to be softer than normal plastic filler. It comes off quite easy and just doesn't seem like it ever cured properly. Either way we are doing the same here, removing it all and starting from scratch.
My body guys thinks it was ordinary cheap filler, not SMC compatible. I suspected that if mine suffers that way a large number of the 81's should as well, at least from the St. Louis plant. So far you're the only one I've seen that has experienced the same defect. Some owners of Bowling Green cars of the same year don't seem to have the problem, they have the original paint that looks great....
Front right quarter panel with filler carved out.
Carved out filler replaced with SMC compatible filler and cloth. The joint is now stronger than the body!
Just read through the whole thread, your attention to detail is splendid! I love yellow C3's, I'm excited to see yours all back together. With all the new and refreshed parts it should drive like a dream when it's done.
My body guys thinks it was ordinary cheap filler, not SMC compatible. I suspected that if mine suffers that way a large number of the 81's should as well, at least from the St. Louis plant. So far you're the only one I've seen that has experienced the same defect. Some owners of Bowling Green cars of the same year don't seem to have the problem, they have the original paint that looks great....
Carved out filler replaced with SMC compatible filler and cloth. The joint is now stronger than the body!
I'm pretty sure the white filler was from a repair. The evidence suggest a new quarter panel on the passenger side and maybe a door skin. Both areas had the white filler and were resprayed. The drivers quarter had a few layers of paint but no white filler. The filler on the drivers side was green and didn't have any paint cracks, so it must have been the right filler for the job. So I don't think it came from the factory but was a victim of below par body work. I wonder how long it lasted before the paint started showing signs of cracking!
Just read through the whole thread, your attention to detail is splendid! I love yellow C3's, I'm excited to see yours all back together. With all the new and refreshed parts it should drive like a dream when it's done.
Thanks dannyzabolothy! I can't wait to start spraying the color on it, for sure. Yellow is one of my favorite colors on this year vette. I was hooked from the first time I saw this poster, just had to wait 36 years to find one. Haha!
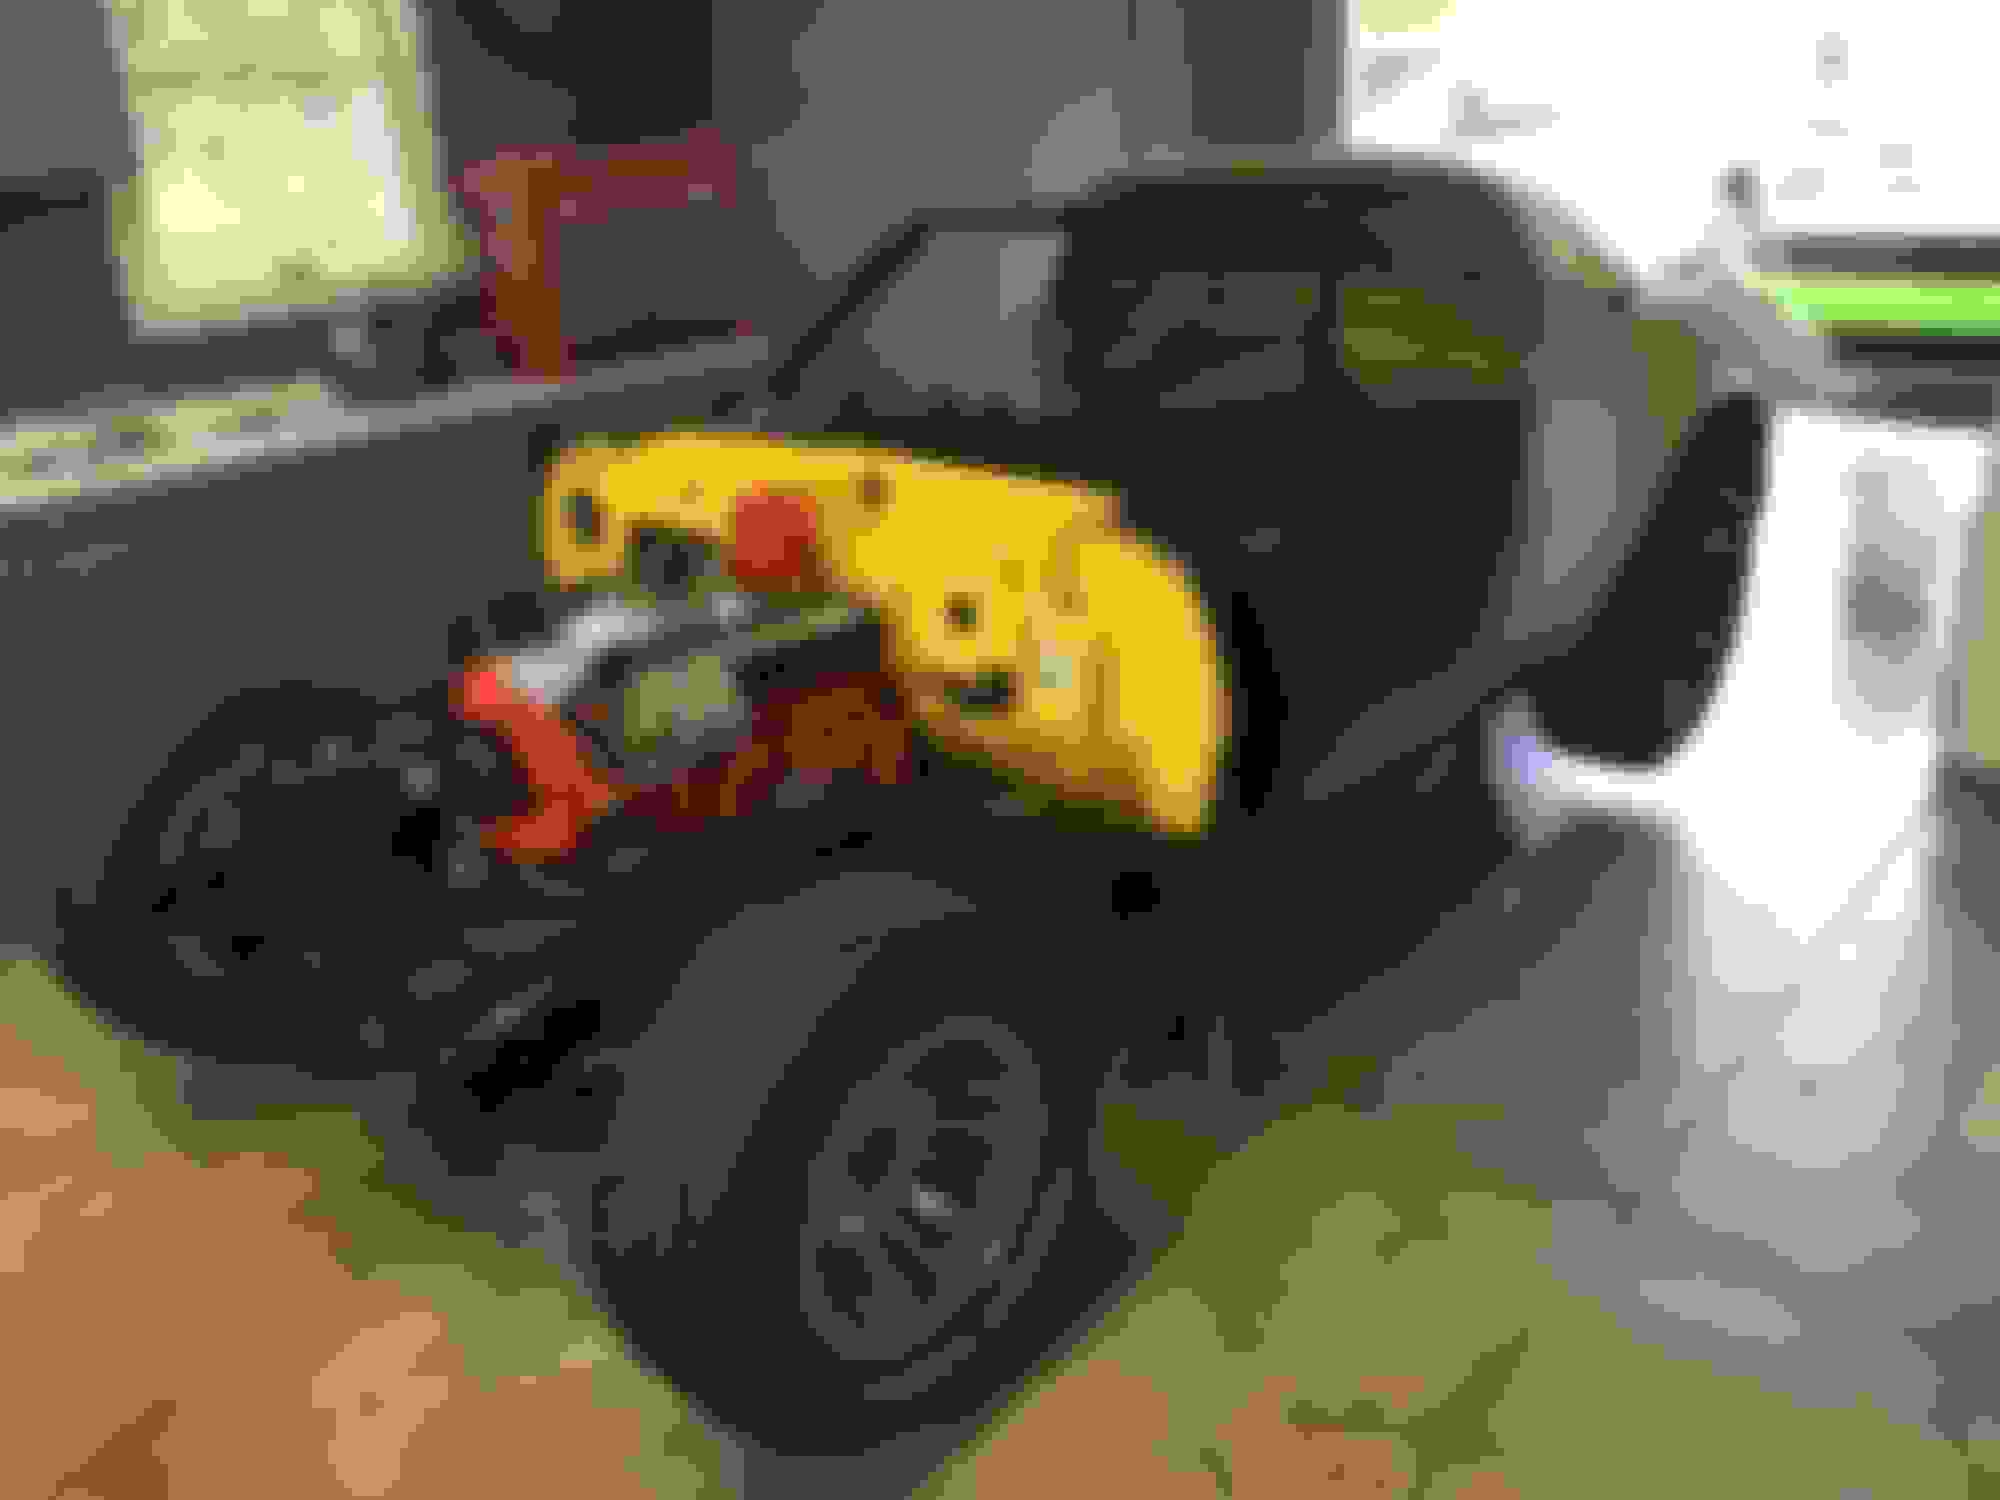
Here's a little work we did a few months ago. Modifying the trans mount for the TKO600.
This pic shows the original location for the mount, to high and to far forward. I am holding it in place because I had already cut it off before remembering to take a pic.
Pic of the accessory mounting holes on the trans that need to be cut off. They prevent the trans from sitting low enough for proper alignment.
Accessory mounting holes removed. I shortened the cross member mount, lowered it and re-welded it to the cross member. I then welded in extra supports on both sides and one on the bottom. Fits perfect now!
Ran down to Sylvania, Ohio to take in a Corvette show and to get some inspiration. It always helps to see some complete cars for a change rather than staring at the one in the garage still in pieces. Haha!
Been working on a lot of small parts again, cleaning and painting. I sent out the door hinges and front bumper for sandblasting, and just got them back. Getting a little tired of the wire wheel and given the tight areas which I couldn't reach with the wheel, sand blasting is the best option.
I also got the clutch fork switched out with the correct one. The engine and trans are back in the chassis. The parking brake cable is now installed too. My plans for the week are to finish up the rear, including brakes and shocks, and then getting the body back on. New fiberglass is ordered and will be made this week, so looking forward to seeing how that's going to look on the car. Later!
Just read through this whole thread. I'd say it's hard to notice that you're doing this on a so called budget. All the work looks pretty top notch to me. I'd say you're pretty skilled if you're doing all the mechanical work, body work and paint yourself. Great progress so far!
Just read through this whole thread. I'd say it's hard to notice that you're doing this on a so called budget. All the work looks pretty top notch to me. I'd say you're pretty skilled if you're doing all the mechanical work, body work and paint yourself. Great progress so far!
Thanks for the post C3 4ME. I went back and and read my first post again, now that was some pretty funny reading! The only thing in my first post that may come true is not doing anything to the interior, otherwise nothing has gone as first planned. Haha!
The initial budget would have been tight, but it has since loosened up a little. Even though I am doing almost all of the work myself, I am certainly spending more than I thought I would. Now my wife is increasing it even more. She said the air conditioning had better be working like a new one, so it looks like we may be spending a little more in that area than originally planned. I still have a budget, it keeps me from getting to crazy with the purchases.
Thanks again for the post, and the compliment. I hope you continue to enjoy following along.
I wasn't planning on spending much time on the car, but I ended up spending most of the day. I was able to install the back brake calipers, shocks, wiring from the battery box to the alternator and the positive battery cable to the starter. Most of this I should have done before setting the body on the chassis the first time.
Sorry no pics other than the body back on the chassis.
I did the refurb on the brake pedal assembly last month just didn't post the pic. I modified the original brake pedal and then added the clutch pedal to the assembly. This went a lot easier than I thought it would. The angle of the cut for the pedal on the brake looks a little funny in the pic, but I took a pattern off of the clutch pedal, for the cut, so it's an exact match.
Last edited by Johnnycyclone; 06-05-2017 at 10:43 PM.

 12-07-2016, 05:06 PM