
Show us your before and after pics


 02-01-2015, 07:16 AM
#5
Melting Slicks

Well, it's certainly no BB tri-carb, but here you go.
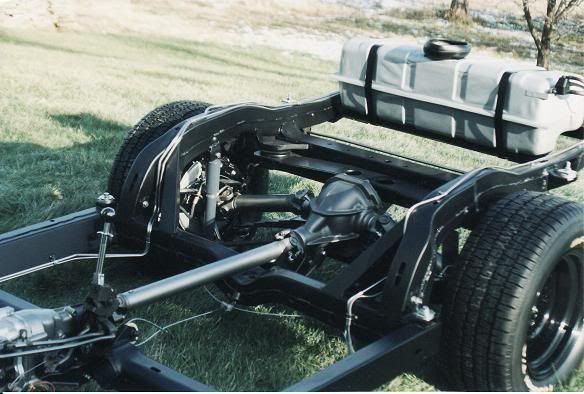
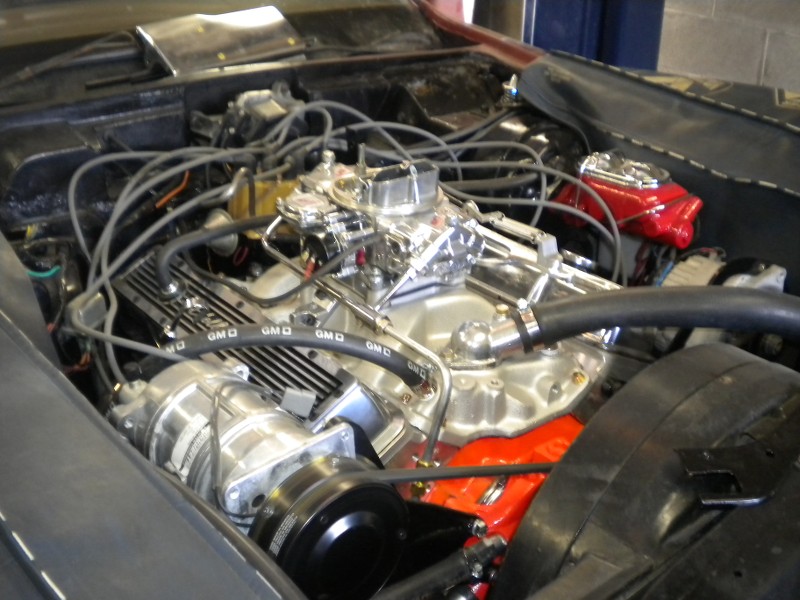
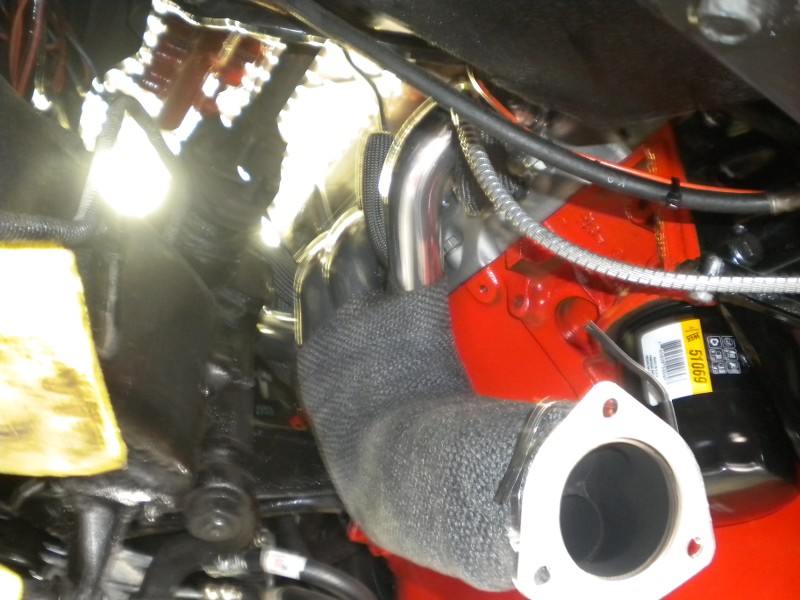
Engine Compartment


Interior


Wheel(s) - after LOTS of sanding and buffing to remove damage.

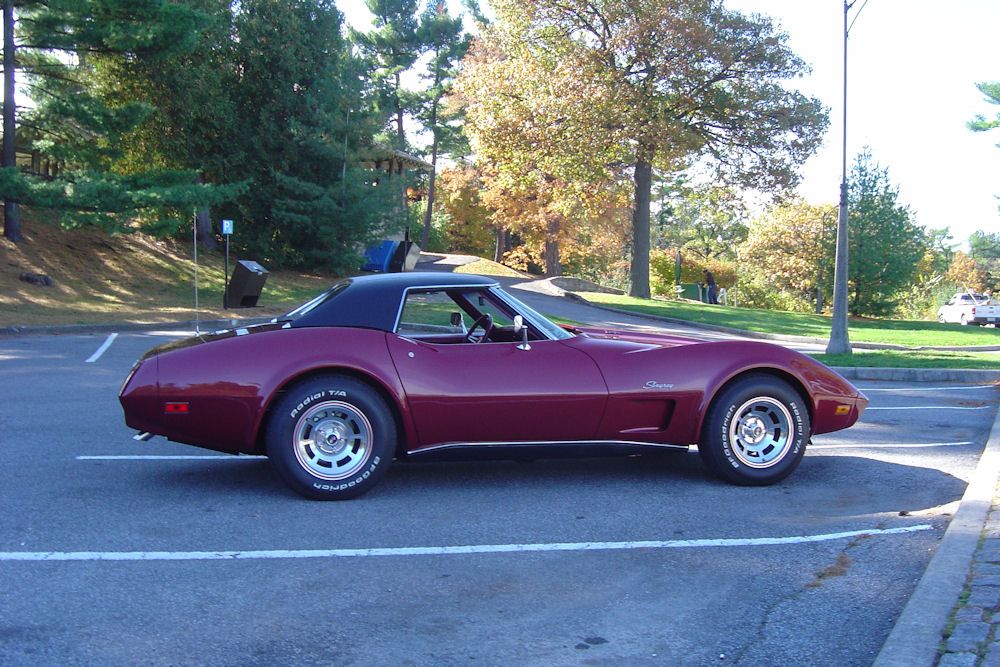
Before / After first stage of body work.

Engine Compartment


Interior


Wheel(s) - after LOTS of sanding and buffing to remove damage.

Before / After first stage of body work.


 02-01-2015, 07:53 AM
#7
Team Owner

Member Since: Sep 2006
Location: Westminster Maryland
Posts: 30,173
Likes: 0
Received 2,878 Likes
on
2,515 Posts

Hi,
A LOT of WORK and attention to DETAIL shown in the replies so far!!
Regards,
Alan
A LOT of WORK and attention to DETAIL shown in the replies so far!!
Regards,
Alan
02-01-2015, 08:00 AM
#8
Team Owner
Member Since: Sep 2006
Location: Westminster Maryland
Posts: 30,173
Likes: 0
Received 2,878 Likes
on
2,515 Posts
Hi Sug,
That's a great looking bb engine compartment.
I can well imagine the hours spent disassembling, restoring, and then reassembling, to have those results!
Well Done!
Regards,
Alan
That's a great looking bb engine compartment.
I can well imagine the hours spent disassembling, restoring, and then reassembling, to have those results!
Well Done!
Regards,
Alan
02-01-2015, 08:17 AM
#9


I have to second what Alan said. The after pictures on everyone's cars are great. Many have spent time on the details. Great work.
R


Had to show my stuff.
R


Had to show my stuff.
02-01-2015, 08:31 AM
#10
Burning Brakes

I know most have seen this before.


It is now running again. Will post video when link will work.
Donnie


It is now running again. Will post video when link will work.
Donnie
Last edited by DonnieP73; 02-01-2015 at 12:09 PM.
02-01-2015, 08:37 AM
#11
Race Director


The transformations seen in this thread already are amazing.
Lots of hard work rewarded with outstanding results.
Well done!
Lots of hard work rewarded with outstanding results.
Well done!
02-01-2015, 08:43 AM
#12
Safety Car

We`re still working on our 71 coupe, so how about some "before & as-of-now" shots?


 02-01-2015, 09:45 AM
#13
Race Director
Member Since: Apr 2011
Location: North of Toronto - Ontario
Posts: 10,854
Received 3,136 Likes
on
2,069 Posts

After looking at the posts, I'm not sure if I need to make my before pictures look worse or work harder to make the after results better....


M


M
02-01-2015, 01:30 PM
#14
Burning Brakes


 02-01-2015, 02:55 PM
#17
Nam Labrat


Member Since: Sep 2013
Location: New Orleans Loo-z-anna
Posts: 33,884
Received 4,154 Likes
on
2,727 Posts
Raccoons have been re-deployed..............................


Last edited by doorgunner; 07-27-2017 at 08:44 PM.
02-01-2015, 05:36 PM
#18
Racer


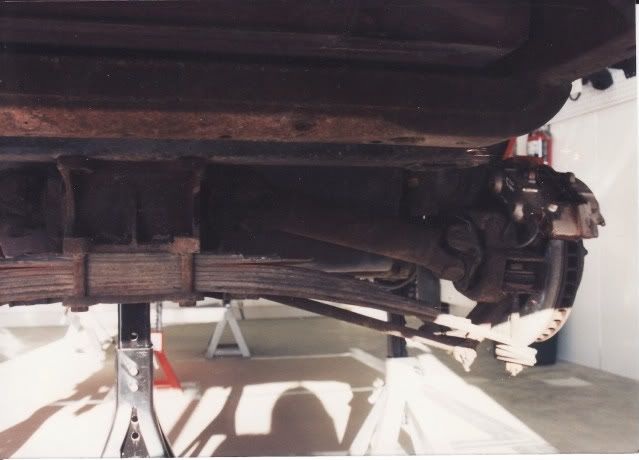
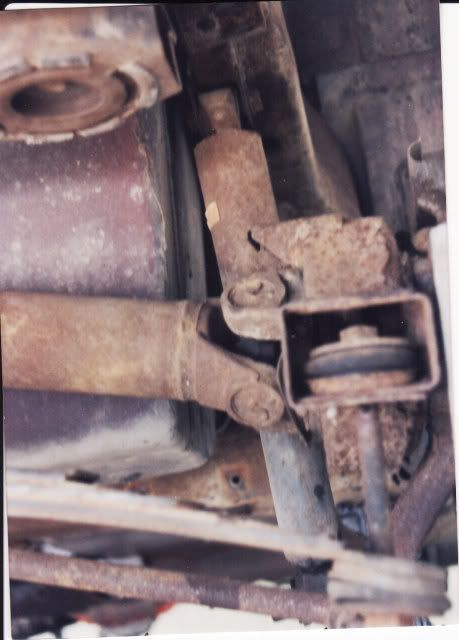
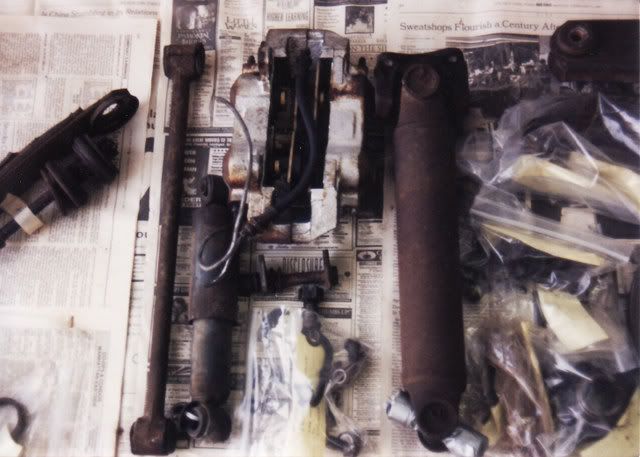
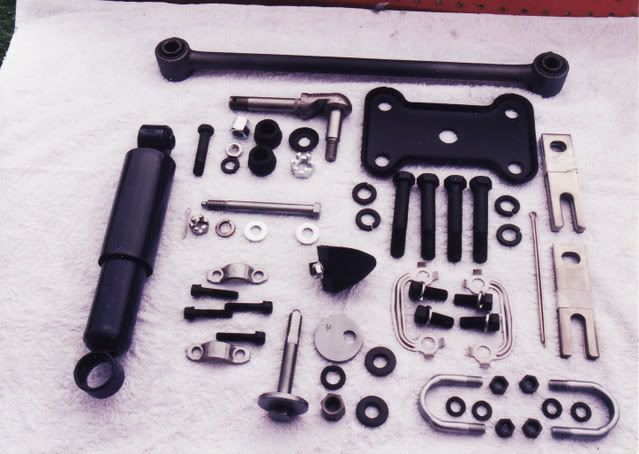
Before I sent it up for a manifold, cam shaft and over all de greasing the underside.
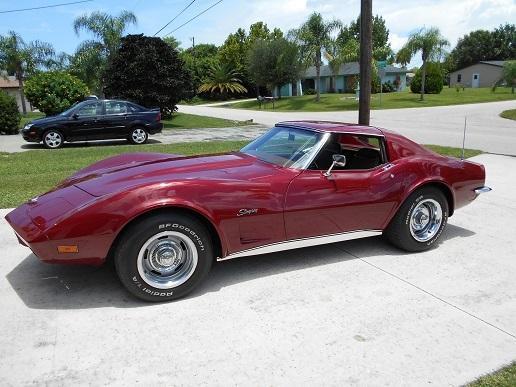
After it was on the lift we found out it was in need of a whole lot more.
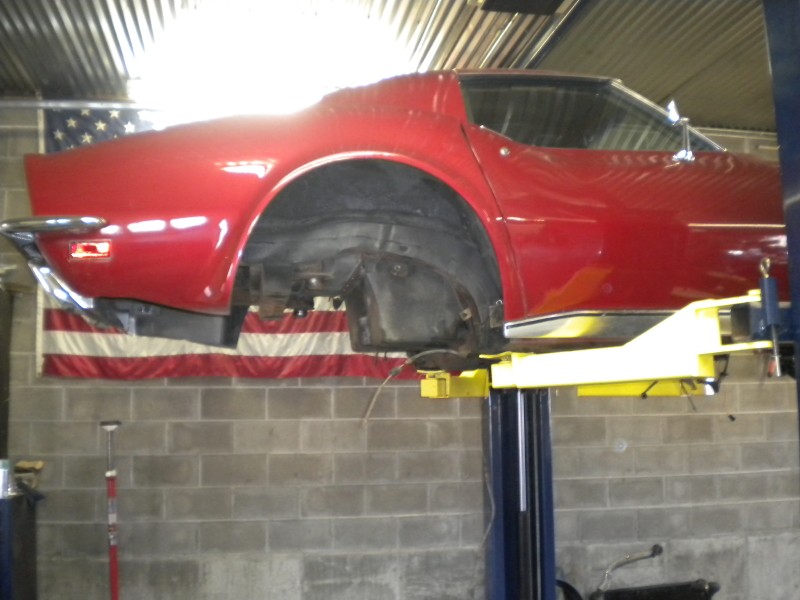
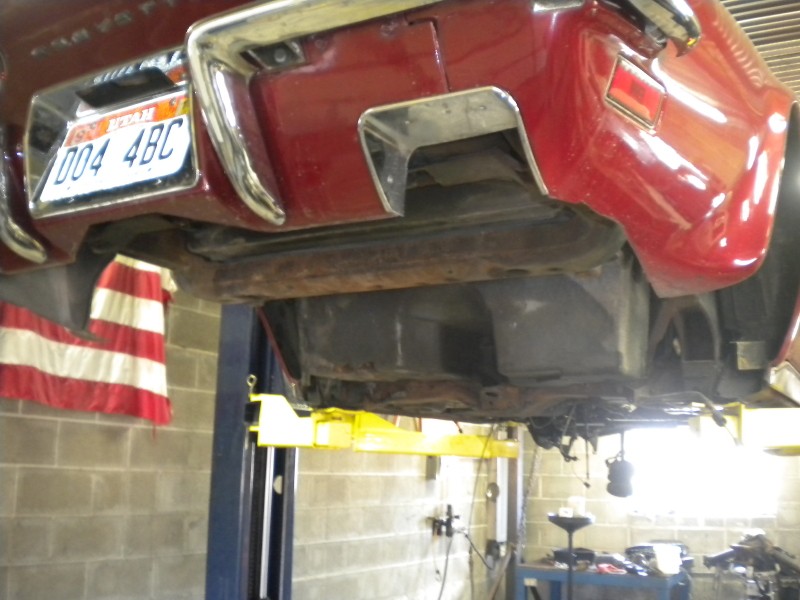
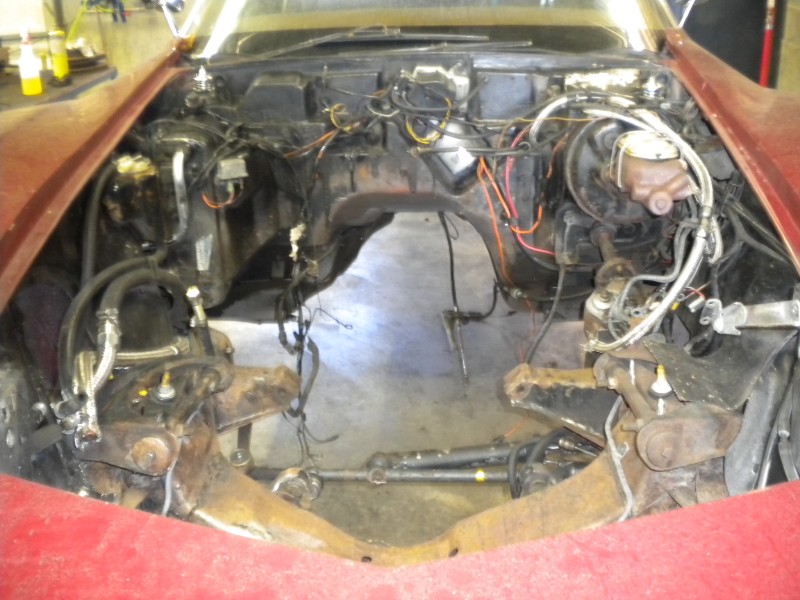
Scrapped the truck engine for a ATK 375 HP 350, had the trans rebuild and higher stall torque convert installed, all new bushings, bearings, seals, hoses, trans lines, springs, shocks, gas tank and what ever else could be replaced has been replaced under the car.

Waiting to install a fuel reg and then it is time for the interior work to start.
Karsten
After it was on the lift we found out it was in need of a whole lot more.
Scrapped the truck engine for a ATK 375 HP 350, had the trans rebuild and higher stall torque convert installed, all new bushings, bearings, seals, hoses, trans lines, springs, shocks, gas tank and what ever else could be replaced has been replaced under the car.
Waiting to install a fuel reg and then it is time for the interior work to start.
Karsten
02-01-2015, 05:51 PM
#19
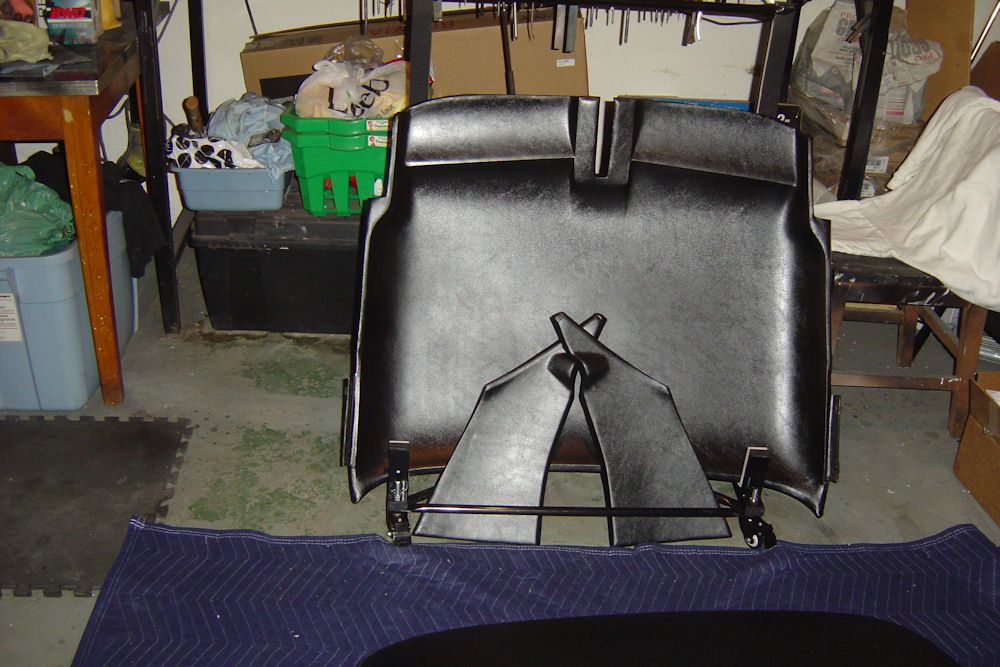
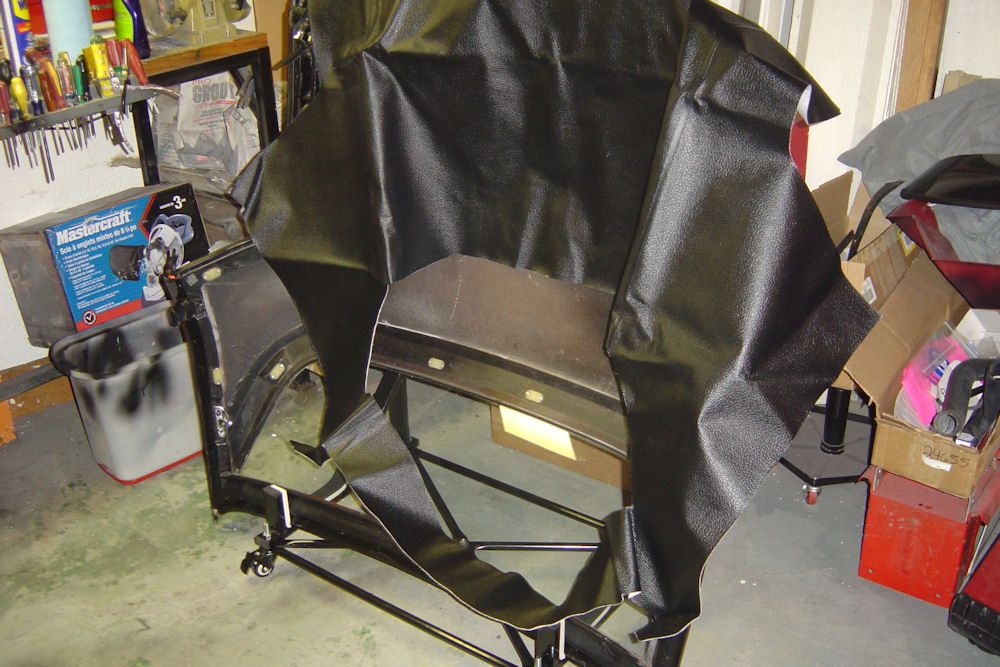
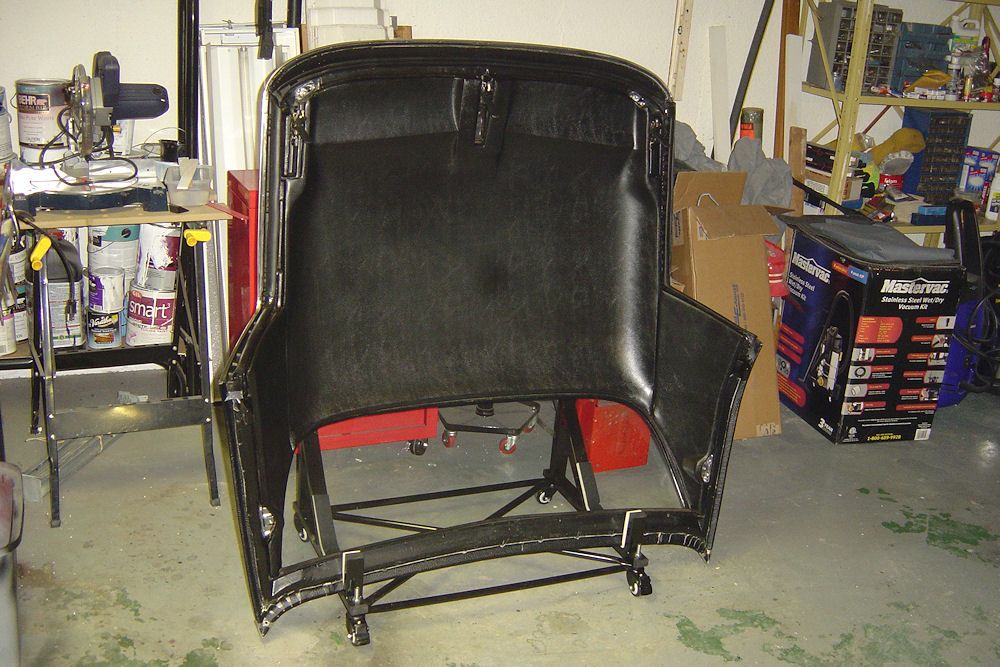
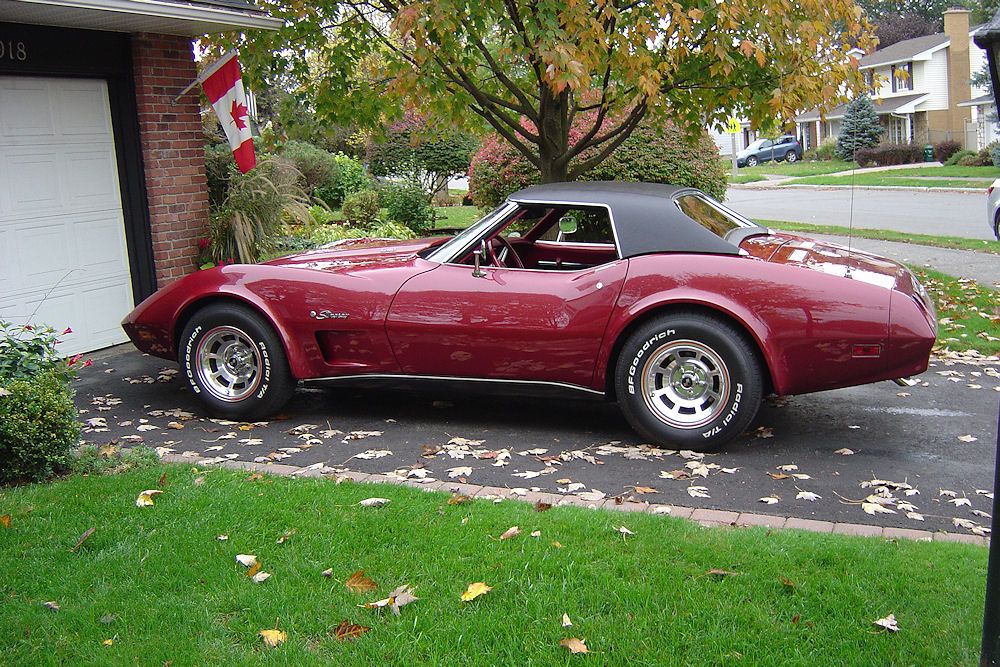
Team Owner

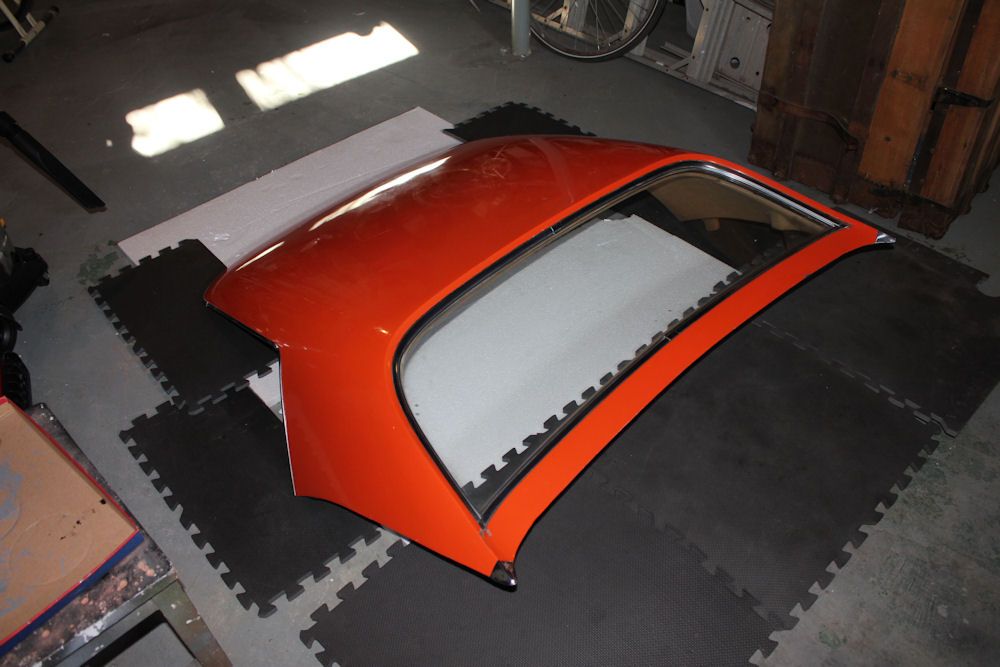
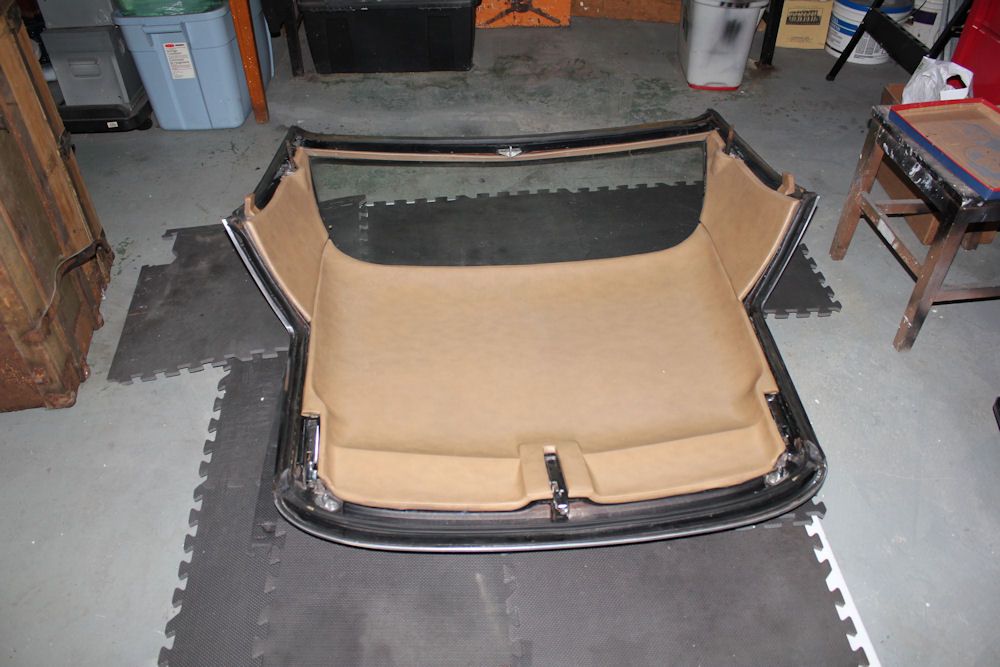
 . It is not an easy job with the right prep, proper glue, and heat stretching techniques. I do not have that talent. I did the liner (Krylon Black Fusion Plastic paint), all weatherstripping, and almost all new hardware, including new rear deck side mount bolt fittings. Believe it or not, it snaps down and fits at the soft top adjustments! Once you manhandle the darn thing out of the basement...it is heavy!
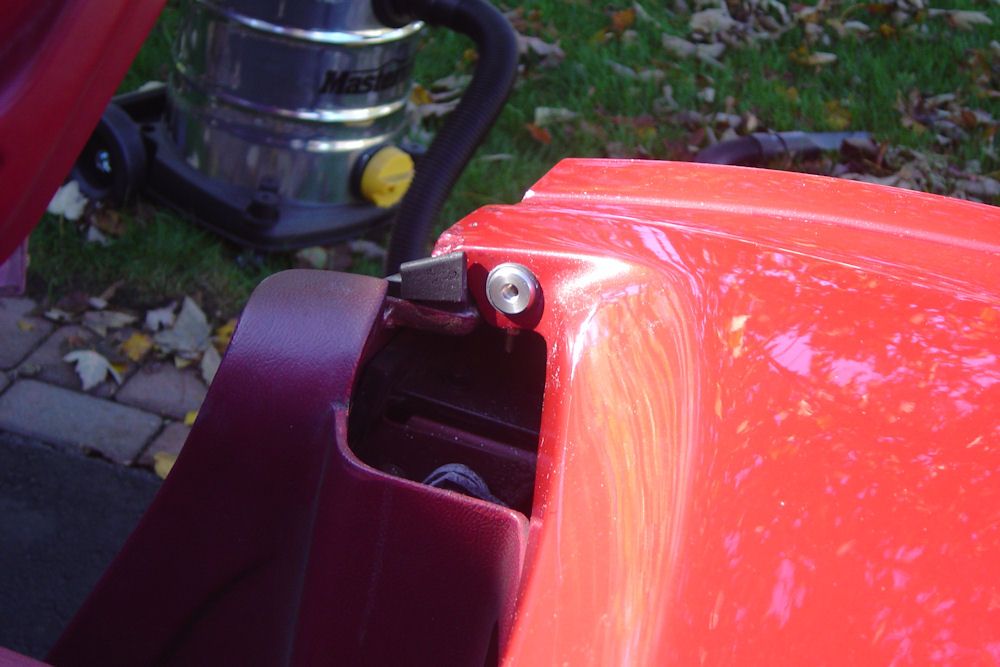
Last edited by Paul L; 02-01-2015 at 05:58 PM.
02-01-2015, 06:25 PM
#20
Race Director
Member Since: Apr 2011
Location: North of Toronto - Ontario
Posts: 10,854
Received 3,136 Likes
on
2,069 Posts
My appreciation of Alan and his car just went up a few more notches based on those before pics....
I knew it was basically complete but never saw the starting point before.

I knew it was basically complete but never saw the starting point before.